Search models, users, collections, and posts
KLR650 Lower Dash Mount (Parametric & Reinforced)
IP Report


Print Profile(1)
High-Strength Structural - 6 Walls, 40% Infill
Designer
3.7 h
2 plates
Open in Bambu Studio
Boost
3
9
0
0
2
1
Released
Bill of Materials
List other parts
- Rubber Washers x 4: Standard 1/2" or M8 size from any hardware store
- Flanged Bronze Sleeves x 4: 10mm ID x 12mm OD x 6mm Long
Description
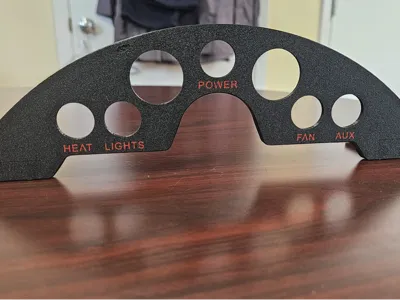
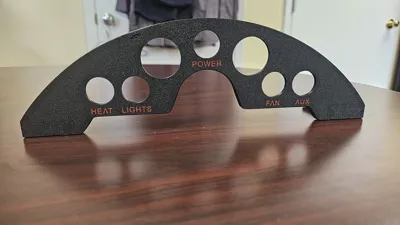
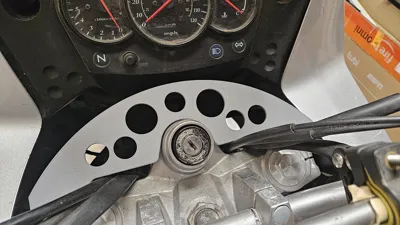
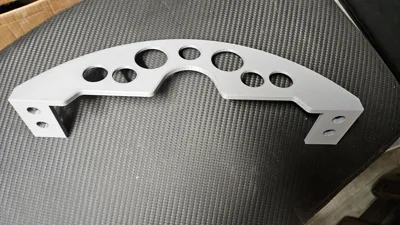
I made this because I was tired of 3D-printed brackets that looked great but ended up cracking or getting crushed as soon as I torqued the mounting bolts down. This is a dashboard for the Gen 2 KLR 650 that’s built to actually handle a trail ride. It features seven mounting holes for whatever gauges or switches you’re running, with built-in wire management mounts and "armor" for the high-stress areas.
Why this one is different:
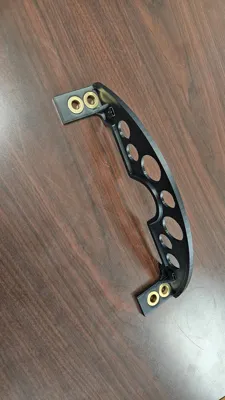
- It won’t crush: If you’ve ever bolted plastic to a bike, you know the bolt usually just digs in until the part snaps. This design uses cheap, standard bronze sleeves (bushings) as "crush sleeves." The bolt squeezes the metal, not the plastic.
- Made for the "Thump": I designed it to fit a rubber washer between the bracket and the bike. It takes the edge off the vibration and keeps your electronics a lot happier.
- Clean Look: I used flush, multi-color inlays for the labels (Power, Fan, Heat, etc.). If you have an AMS, it prints as one smooth, professional-looking face. No stickers to peel off in the rain.
- Adjustable: I’ve shared the Fusion 360 files with parametric "safety rails." If your gauges are a different size than mine, you can just change the number in the settings and the whole model updates without breaking.
Hardware you’ll need:
To get the most out of this, I recommend grabbing these (total cost is usually under $10):
- 4x Flanged Bronze Sleeves: 10mm ID x 12mm OD x 6mm Long. (These are standard "sintered bronze" bushings you can find on Amazon or McMaster).
uxcell 6Pcs Flange Sleeve Bearings, 10mm Bore x 12mm OD x 6mm Length, Self-Lubricating Sintered Bronze Bushings: Amazon.com: Industrial & Scientific - 4x Rubber Washers: Standard 1/2" or M8 size from any hardware store.
How I printed mine:
- Material: Definitely use PETG-CF or ASA. PLA will melt in the sun or warp.
- Strength: I used 6 walls and 40% Gyroid infill. It feels solid and doesn't "flex" when you're pushing switches.
- Orientation: Print it face-down on a textured plate for that nice matte OEM finish.
A note on the community: I’m a controls engineer by trade, so I tend to overbuild things. If you have a specific gauge size or a label idea I missed, let me know! I’d love to see this on your bike. Safe riding!
License
This user content is licensed under a
Creative Commons Attribution-Noncommercial-Share Alike
Comment & Rating (0)