Customizable Modular Hotend Box (v3)


Print Profile(27)

Bill of Materials


Description
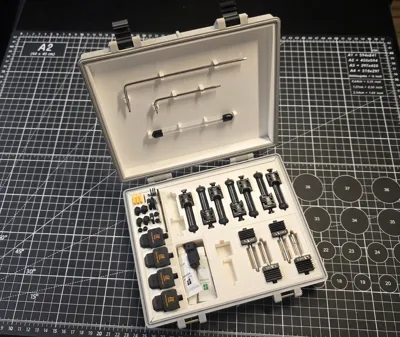
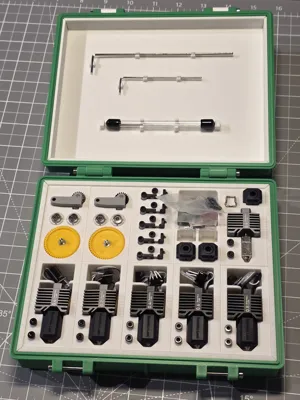
Customisable Modula Hotend & Accessories Box (v3)
Features
- Arrange interlocking cutout inserts as you see fit.
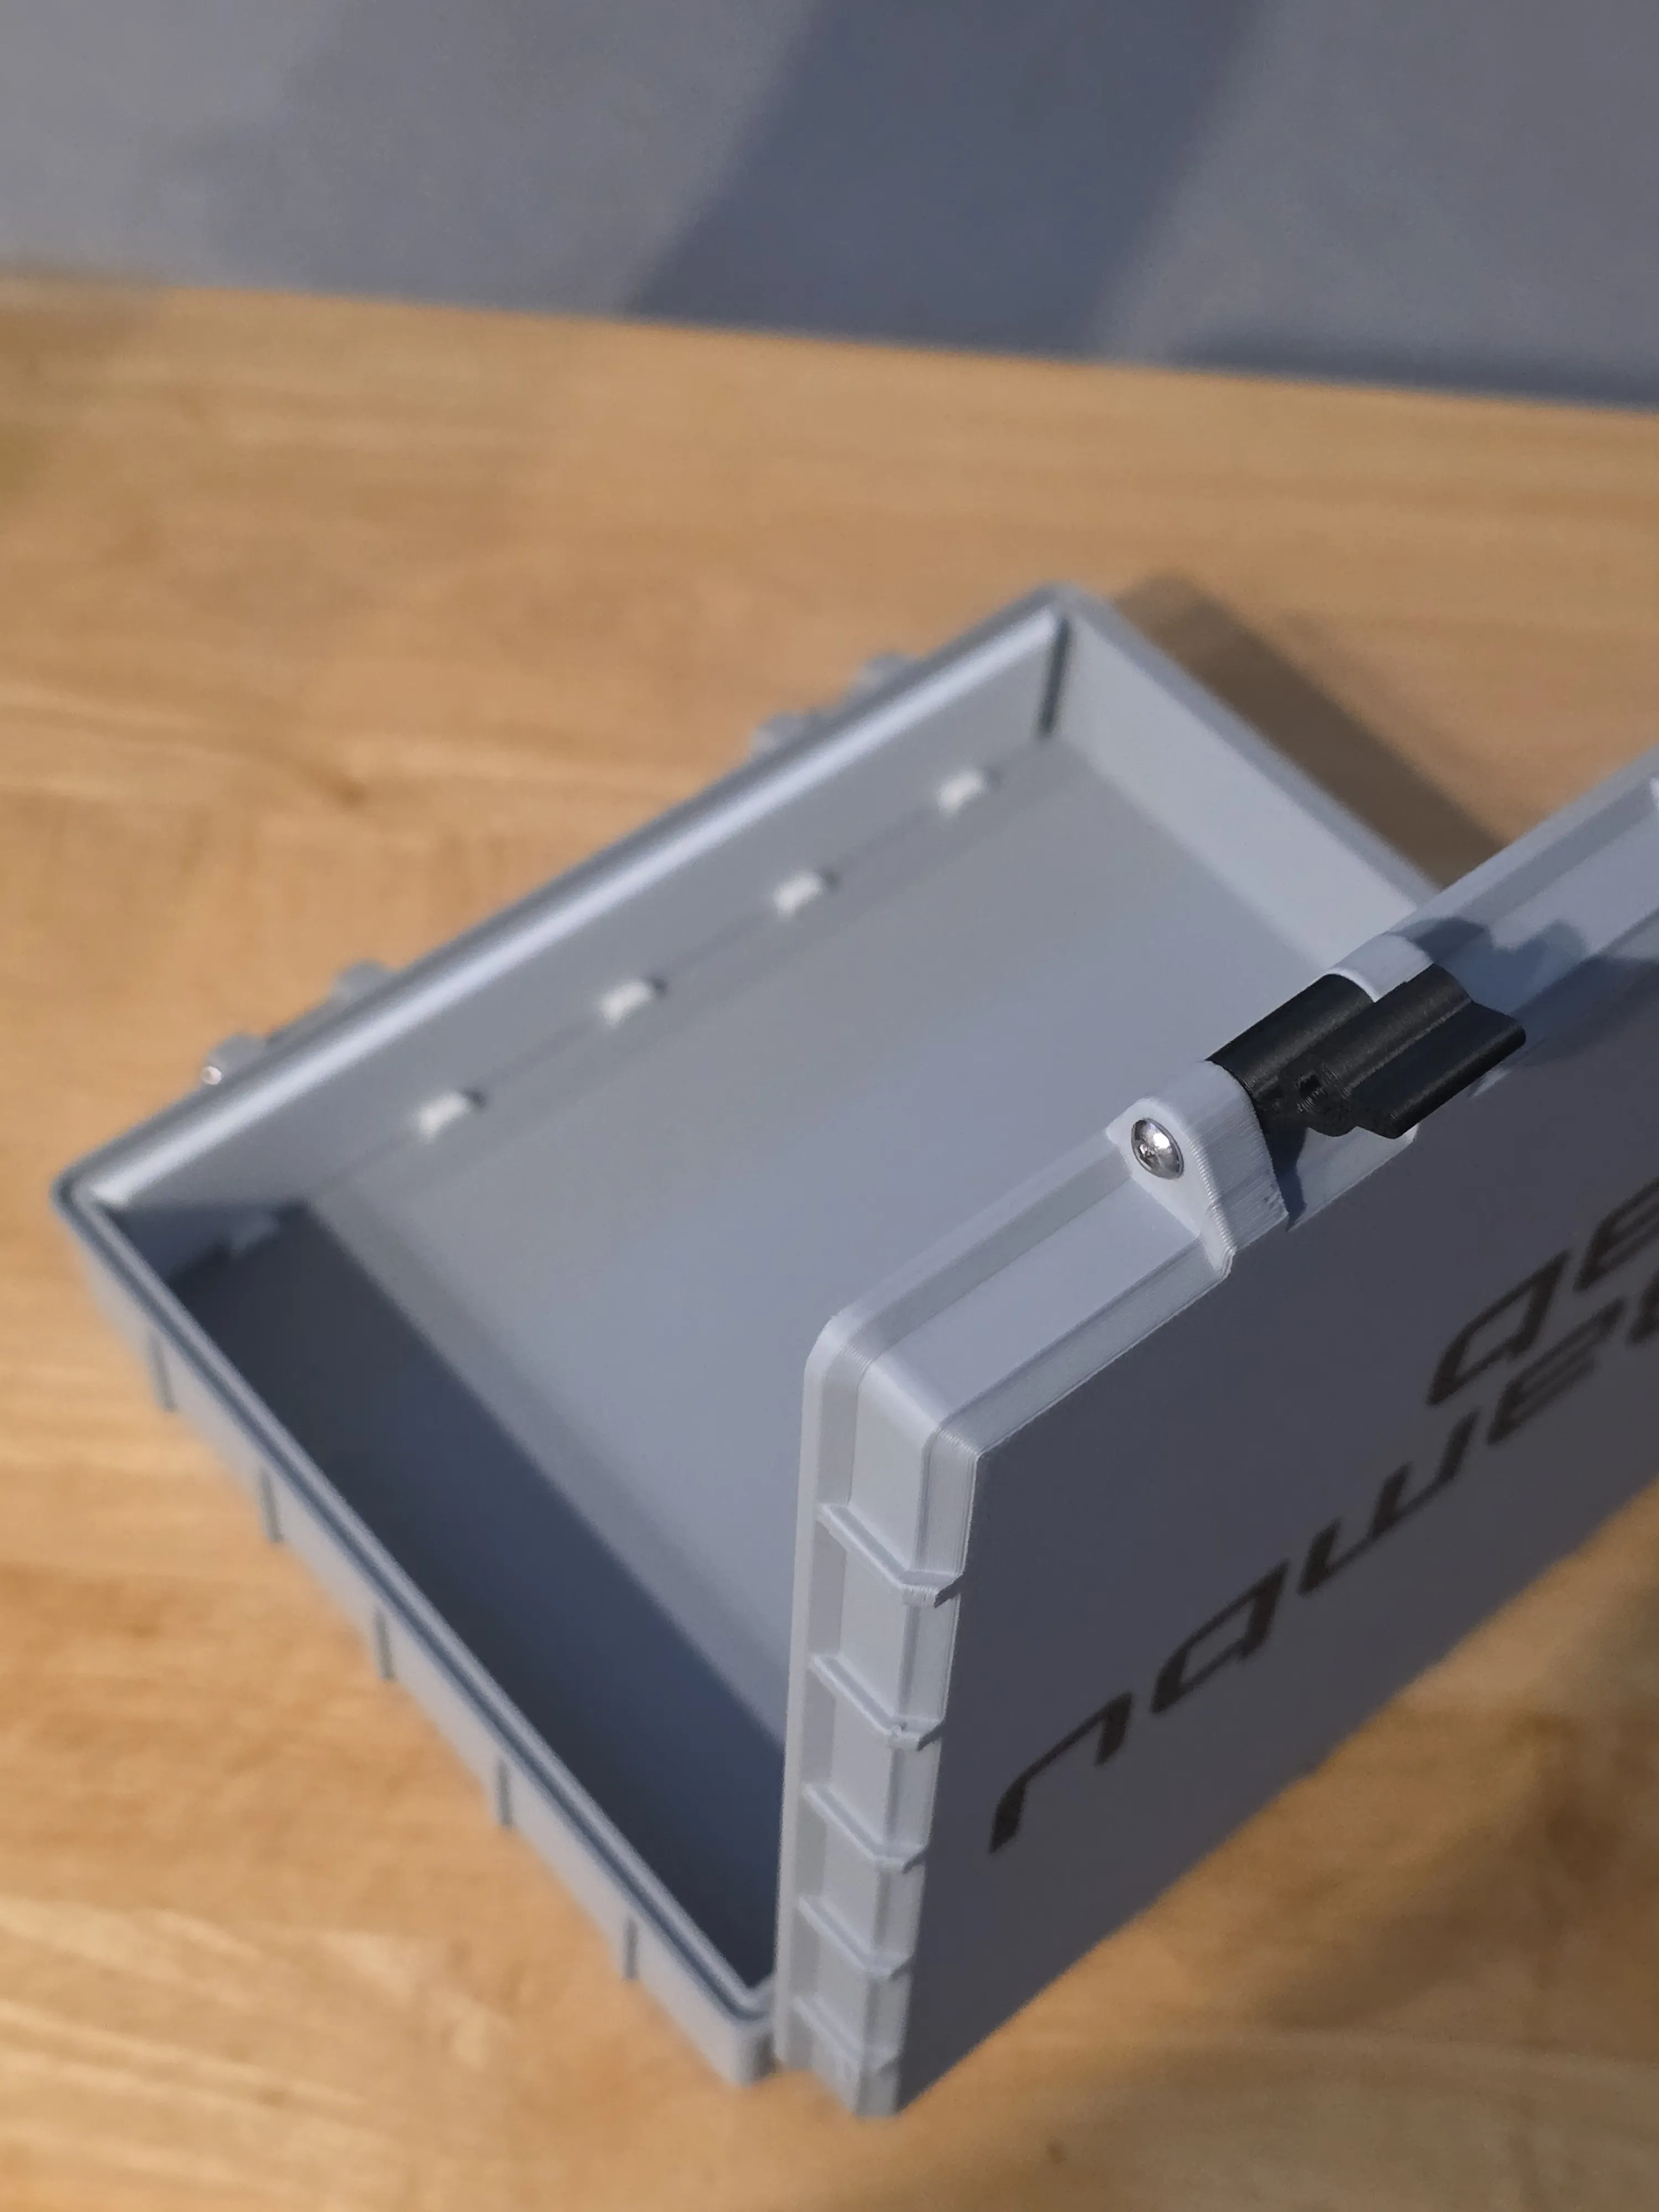
- Rugged box design with a strong clasp mechanism.
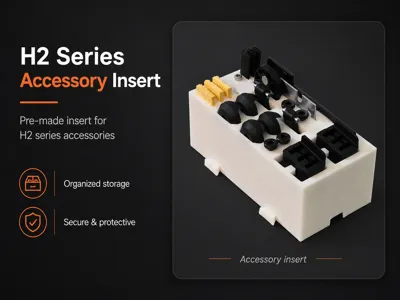
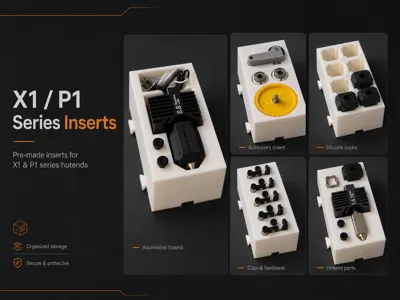
- Several pre-made cutout inserts provided (Bambu Lab A1, P1, P2, X1, X2, H2, H2C).
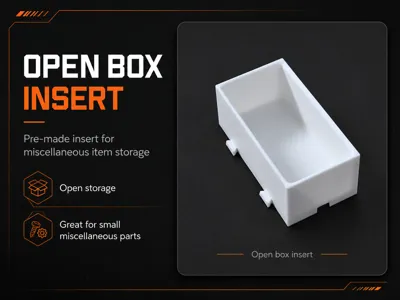
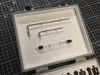
- Blank insert included for customization.
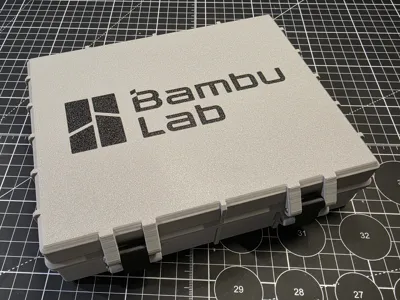
- Blank lid or optional lid with Bambu logo provided.
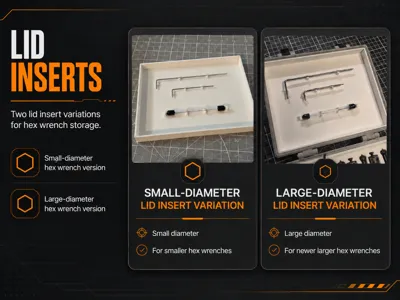
- New deeper v3 Lid option to accomodate lid insert.
- Included Autodesk Fusion file (.f3d) of a blank insert, ready to edit.
NOTICE: This version is not compatible with my V1 modular box. This is a new and improved design with better clearances and fitments.
YouTube Video Instructions for adding your own logo
Assembly Instructions
- Attach the lid to the bottom using 2x M3, 30mm hex screws.
- Screws should be driven from outside in. Do not over-tighten.
- Attach the clasp to the lid using 2x M3, 30mm hex screws.
- Screws should be driven from outside in. Do not over-tighten.
- Screw the latch catch screws into the lower latch receiver.
- Screws should be driven from outside in. Do not over-tighten.
Install the bottom spacer so that the tabs face outward (toward top of box).
- Install the right spacer so that tabs face outward.

- Install the cutout insert you want in the bottom-right position.
- Always install inserts from bottom, right-to-left.
Slide inserts down onto the tabs, one at a time, to interlock them.

Continue installing inserts, one at a time, along the bottom row, from right-to-left.


Then install top row of inserts from right-to-left, interlocking each as you go.


- Now install the left spacer, having female tabs facing outward.
- Using the edge, you can pry a gap and snugly press it into place, starting from an angle, from back to front (as shown)
- Note: spacers are designed to be 1mm taller than the insert boxes. All boxes, however, should be flush.


- Note: spacers are designed to be 1mm taller than the insert boxes. All boxes, however, should be flush.
Use a similar procedure for installing the top spacer (as shown)


- Using the edge, you can pry a gap and snugly press it into place, starting from an angle, from back to front (as shown)
General Printing Recommendations
- Always dry your filament before printing.
- Wash your build plate with quality dish soap, removing residue with 99% Isopropyl Alchol (IPA).
Makerworld Boosting
Boost Me (for free)
If you found this design useful, please consider giving it a Boost! 🚀
Disclaimer & Liability Waiver
This 3D model and any associated files are provided “as is”, for personal use only, without warranty of any kind, express or implied. The designer makes no guarantees regarding fit, strength, durability, or suitability for any specific tools or use case.
3D printed parts may vary significantly based on printer calibration, filament type, print orientation, slicer settings, and post-processing. Improper printing, assembly, or use may result in damage to tools, property, or personal injury.
By downloading, printing, or using this design, you acknowledge and agree that the designer shall not be held liable for any direct, indirect, incidental, or consequential damages arising from the use or misuse of this model.
Use at your own risk.
License
You may create derivative works based on this object, provided that all such derivative works are published exclusively on the MakerWorld platform and include proper attribution to the original creator. You may not share, upload, host, distribute, or publish this object—or any derivative work of this object—on any other digital platform, marketplace, or distribution channel. Commercial use of this object and any derivative works is strictly prohibited. This includes, but is not limited to, selling, renting, sublicensing, or using the object in any context in which you receive monetary compensation or other financial benefits.
Comment & Rating (39)