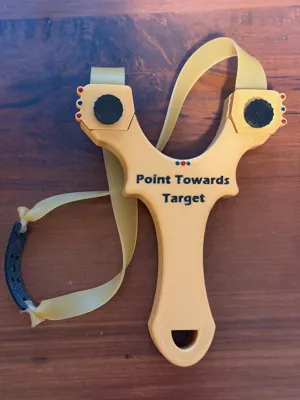
Performance Slingshot


Print Profile(5)

Description
Boost Me (for free)
I really appreciate the boosts, so if you enjoy or find useful, Please consider boosting me! Thanks.
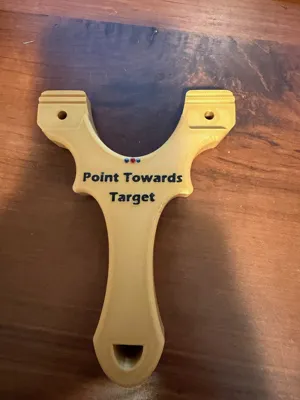
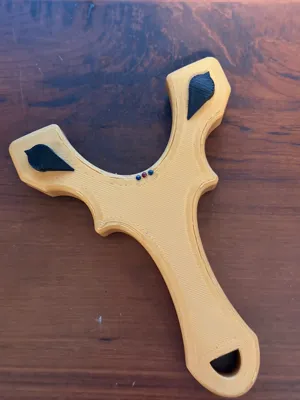
Performance slingshot
I was intrigued about making a nice sling shot so started taking a look at what was available and discovered that there were several models that obviously used some of the simple-shot commercial models as inspiration, which is a very popular slingshot.
I liked that design so decided try one that looked pretty good.
For the most part it was good, but I saw some room for improvement. So I set to work, and after I improved most of the areas that I wanted I offered to load as a profile for the person who originally designed it, but they asked me not to and reminded me that the license didn’t consent to remixes and such, so I immediately removed my profile and set to work designing one from scratch.
Now all sling shots basically consist of a Y frame, so not a lot that you can do there and the simple shot is a very popular one. My goal was to make something similar, that was:
- East to print
- Didn’t need specialized parts (other than sling shot band)
- Easily modified to change things up
- Most importantly – safe and strong…
The one that I tried was close to that but found a few pieces breaking and cracking when assembling do to stress areas, tolerances too tight, etc. It could have also been my printer, so in my design I tried to correct these areas.
All in all, I’m very happy with the outcome and all you need to get for hardware are 2 M5 x 25 bolts and nuts to go with them.
There are minimal supports but if printing in PETG (recommended) I have set it up to use PLA as the support interface so the come off cleanly.
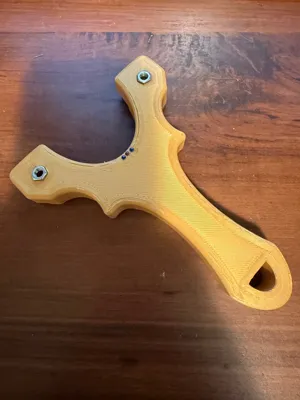
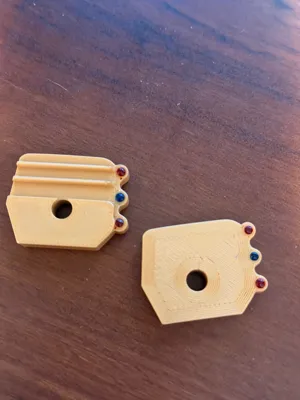
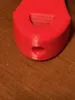
Band Clamps
No supports in my model and they have a foot so when used there is no additional stress caused on the frame or the clamp and they still hold the bands nice and snug. There is a secondary clamp that you can uses as well that has a smaller step, suitable for bands that are under 1mm. They are a quick print so use what works best for you, print both and try them.


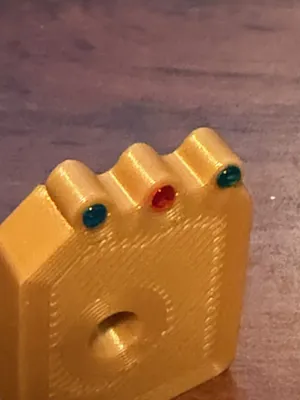
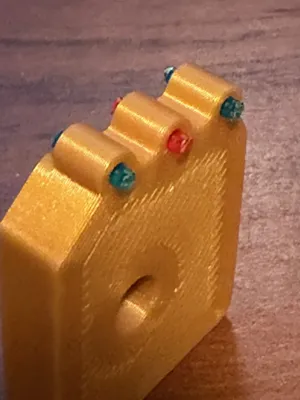
Simply use transparent filament in the color of your choice and push into holes, they should go in easily, but you may need to grip with some small pliers.
Cut so that there is a little bit of filament out each side as in picture and try to keep uniform. Then take your torch or heat gun and gently melt, doesn’t take long, you just want it to go clear. I dab with my finger after and holds it nicely in place.
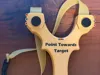
Main Frame
Once done some stringing may occur on the main frame, a few quick touches with heat gun smooths it out very nicely, I have two printers one prints a little cleaner than other, but it could also be the filament. Simply remove the support plugs for the nuts, then add a small dab of glue on the perimeter of the nut and press into position, careful to not get anything on the threads. Then do similarly with the transparent filament as you did with the clamps. Adds a nice touch

You can also anneal the whole frame for added strength if you chose.
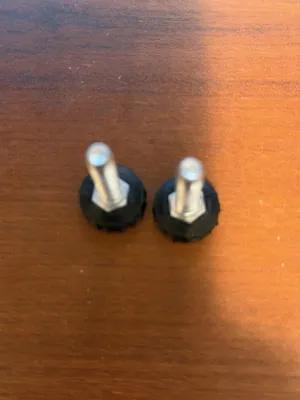
Prepare the bolts by simply adding some glue to the knurled cap then press into the cap, they are snug so a gentle tap with a small hammer helps.

I have purposely made the holes in the band clamps and the sling shot so that the threads do not grab, this is so that when your tightening things up on the band you are not imposing addition stress on the clamps or the frame. The bolts and nuts hold everything so they don’t need to thread into the frame or the band clamps.
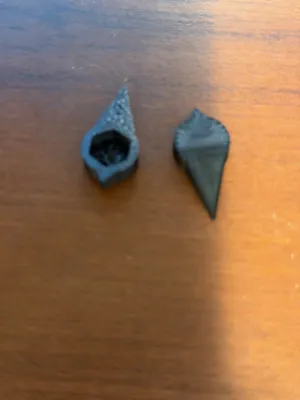
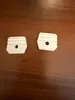
You can use the optional nut covers to hide the silver nuts or could easily design your own.

Again a little glue on the perimeter of the cover then press over the nut.
Simply attach the band of you choice and your good to go!

Now please keep in mind sling shots are not toys and can seriously hurt people or living things. Hard clay shot is recommended as it will dissolve quickly, shoots well and as a lot less prone to ricochet.
You should always wear eye protection with sling shots and always inspect the band and all frame components for damage prior to using. Replace and discard if damaged.
Myself and friends have found these to work very well and have not broken anything yet other than some bands, but I accept or assume no responsibility on anything you’re making. We have printed many and they are all still intact and functioning well, so they have proven to be very tough & durable, but you need to have decent filament and good layer adhesion.
Use at your own risk.
As always if there is something of mine that you like and would like tweaked in someway or perhaps something new created, please send me a message!
License
You may create derivative works based on this object, provided that all such derivative works are published exclusively on the MakerWorld platform and include proper attribution to the original creator. You may not share, upload, host, distribute, or publish this object—or any derivative work of this object—on any other digital platform, marketplace, or distribution channel. Commercial use of this object and any derivative works is strictly prohibited. This includes, but is not limited to, selling, renting, sublicensing, or using the object in any context in which you receive monetary compensation or other financial benefits.
Comment & Rating (15)