120mm Print Bed Cleaner V1


Print Profile(1)
Description
120mm Print Bed Cleaner V1
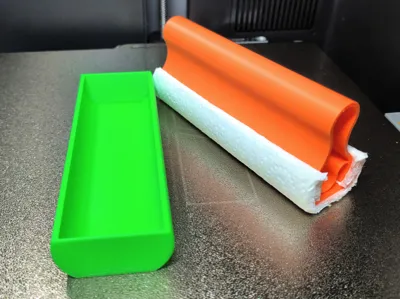
You've surely seen various surface cleaners, but none like this one, easy to use, store, and assemble. It has it all and is ready for you to print
Features:
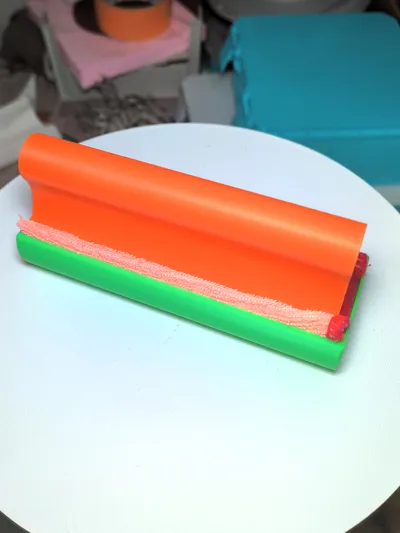
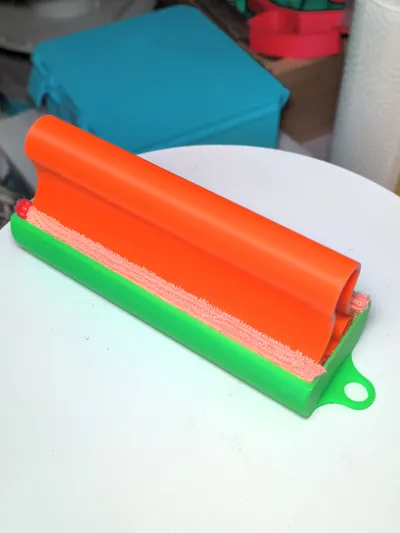
- Design.- Its light and elongated design allows cleaning half of the hot surface with a single pass.
- Size.- Its length is 120mm with a width of 35mm. with a handle height of 50mm.
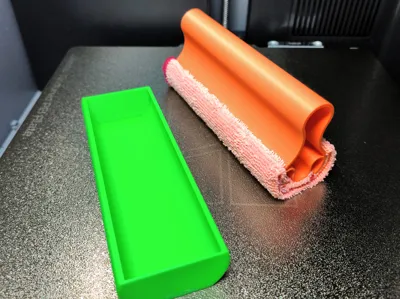
- Cleaning Cloth.- It is recommended to use microfiber cloths with a minimum length of 124mm and a minimum width of 140mm. This is held by pressure inside the cleaner's body. It is also compatible with kitchen towels which can be folded to reach the ideal thickness.
- Note: minimum 2mm extra on each side to avoid direct contact.
- Resistance.- The model is designed to be resistant and flexible. normal filaments can be used for it.
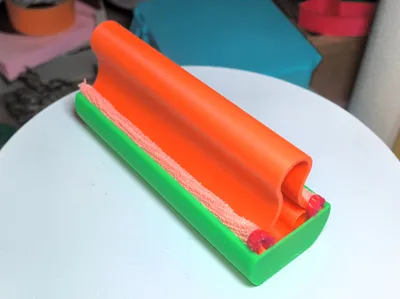
- Efficient Design.- it is designed not to use any extra components other than the microfiber, it also uses geometric shapes to apply pressure and resistance between the components of the model.
Printing Characteristics:
Recommended Filament: PLA or PETG.
Tolerance: 0.2mm
Walls 3, infill 10%.
Supports: Yes (Tree).
Bed Adhesion: Yes (Raft type / outer brim only / 5mm)
Boost Me (for free)
You surely liked the model and I hope you support me with a comment and, if you wish, a boost. Thank you.
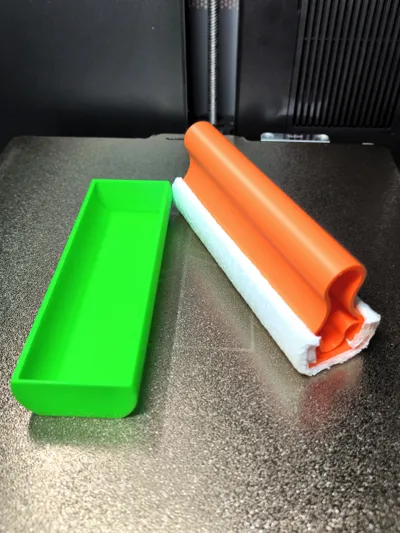
Microfiber Cloth Assembly
1) A piece of microfiber is needed with a minimum length of 120mm and a minimum width of 100mm to 140mm
so that it holds well to the body's contour.

Note: minimum 2mm extra on each side to avoid direct contact.
2) place one end of the cloth inside the outer surface.

3) Place the other end inside and over the other tip of the cloth.

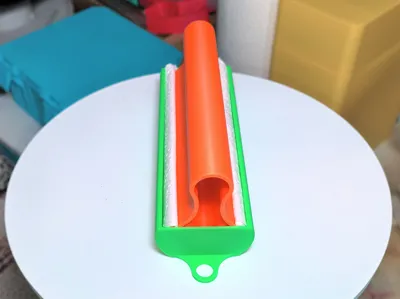
4) insert the handle piece inside the contour.
Note: first insert the side of the cloth that is over the other end of the cloth,
this way we will prevent the cloth from coming loose.

5) Finally, fully insert the other end of the handle.

Kitchen Towel Assembly
1) It is necessary to fold the kitchen towel beforehand so that it creates pressure between the contour and the handle.

2) In this case, it is better to insert the handle from one end.

3) Fully insert the handle into the body.

Documentation (1)
License
You shall not share, sub-license, sell, rent, host, transfer, or distribute in any way the digital or 3D printed versions of this object, nor any other derivative work of this object in its digital or physical format (including - but not limited to - remixes of this object, and hosting on other digital platforms). The objects may not be used without permission in any way whatsoever in which you charge money, or collect fees.
Comment & Rating (2)