
Print Profile(5)
Bill of Materials











Description
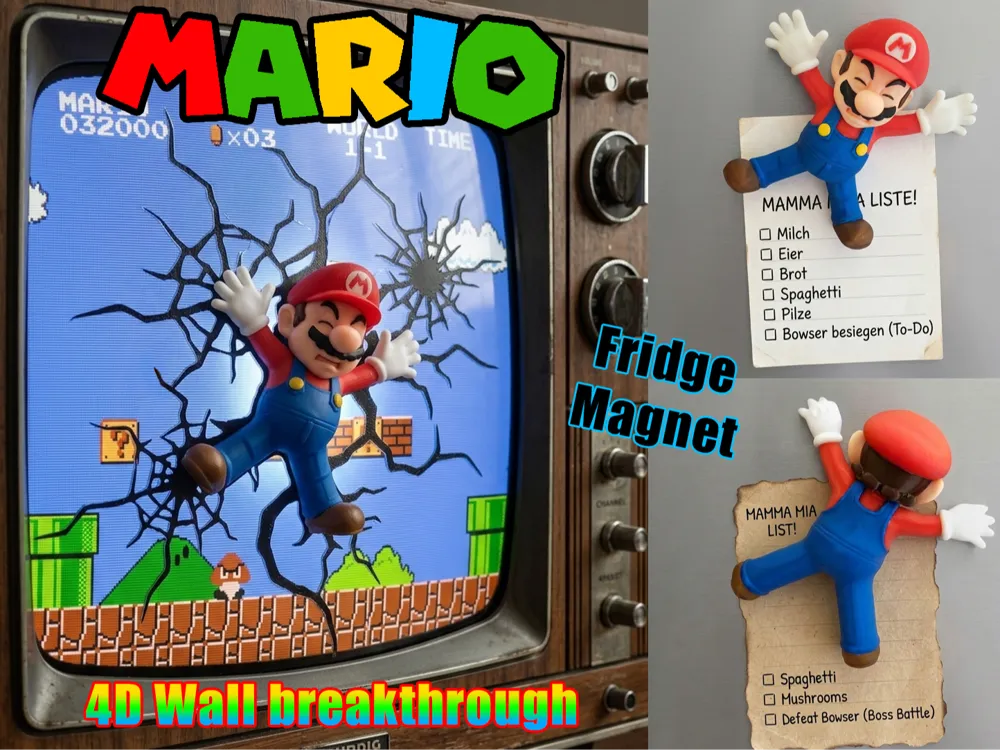
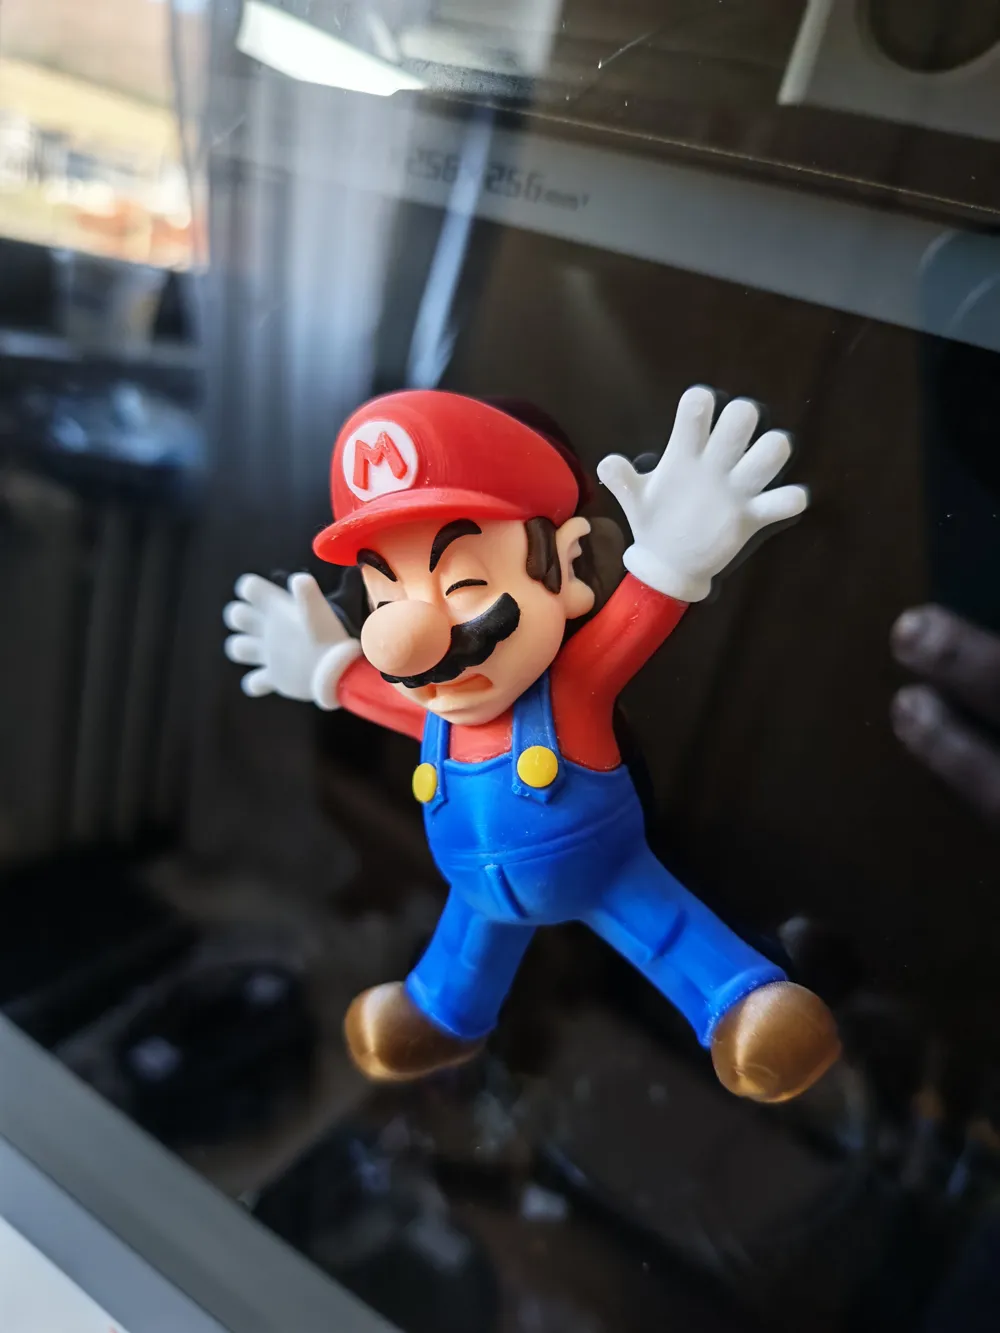
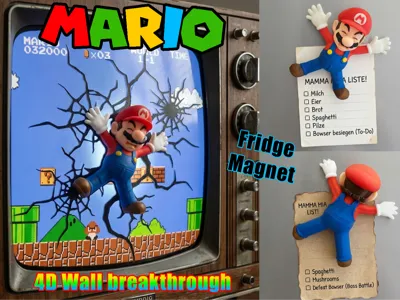
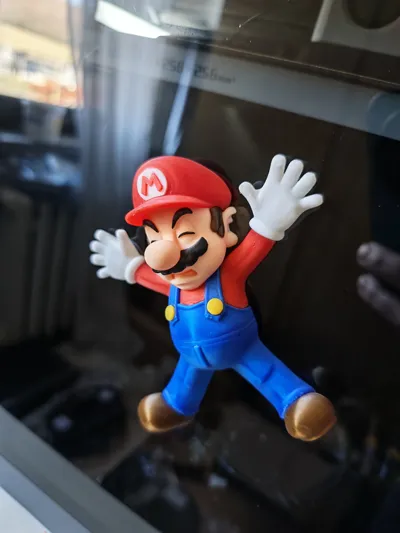
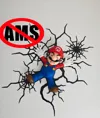
💥 Mamma Mia! Mario crashed into the TV wall (through glass)! 💥
Who hasn't experienced it? You take the pipe a bit too fast and BAM – Mario sticks to the TV screen! This model brings the iconic plumber directly to your living room, window, or refrigerator
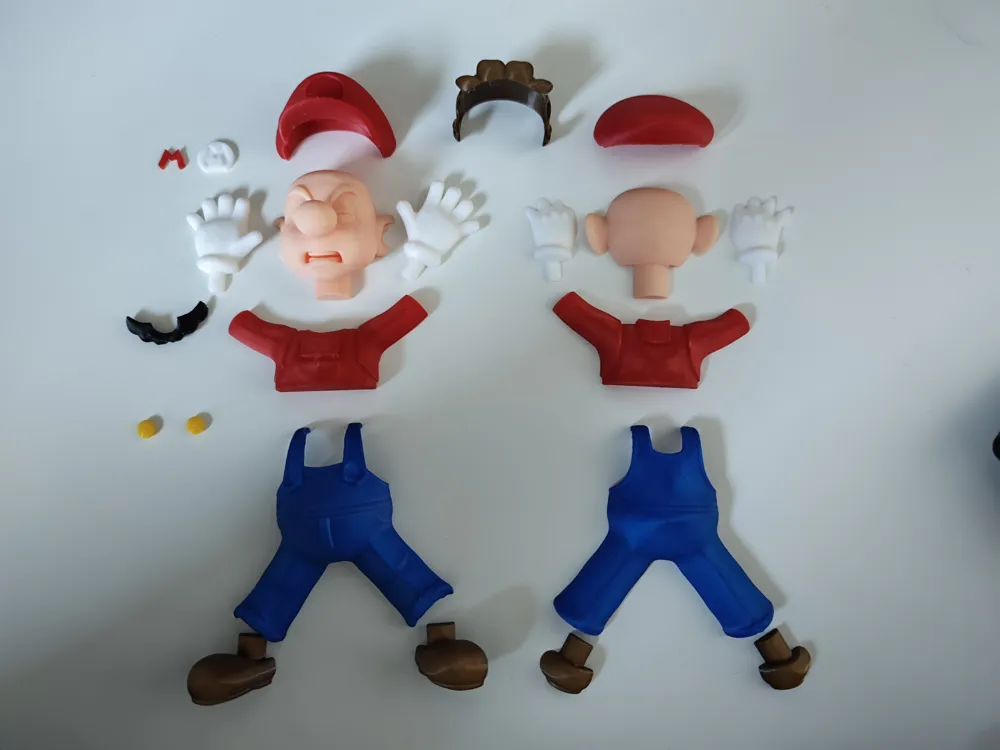
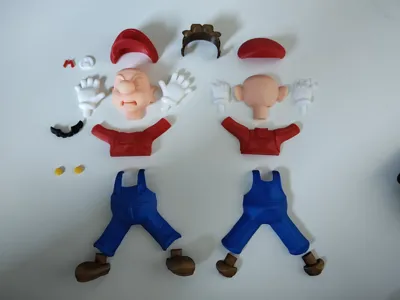
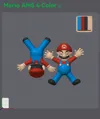
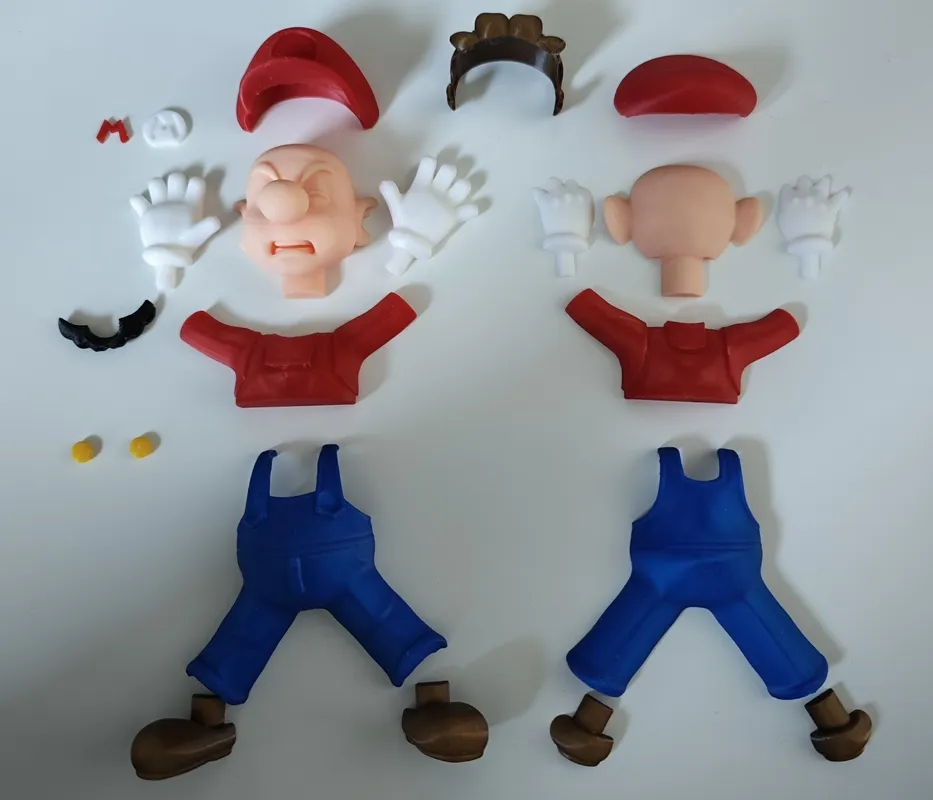
The best part: You don't need 2 AMS units with 8 colors to achieve this colorful result! Everything is optimized so you can print the individual parts in their respective colors and then easily assemble them
Assembly instructions below!
Highlights of this model:
- Multicolor look for everyone: Since Mario proudly wears 7 colors, the model is designed in such a way that everyone (even without AMS!) can achieve a perfect result

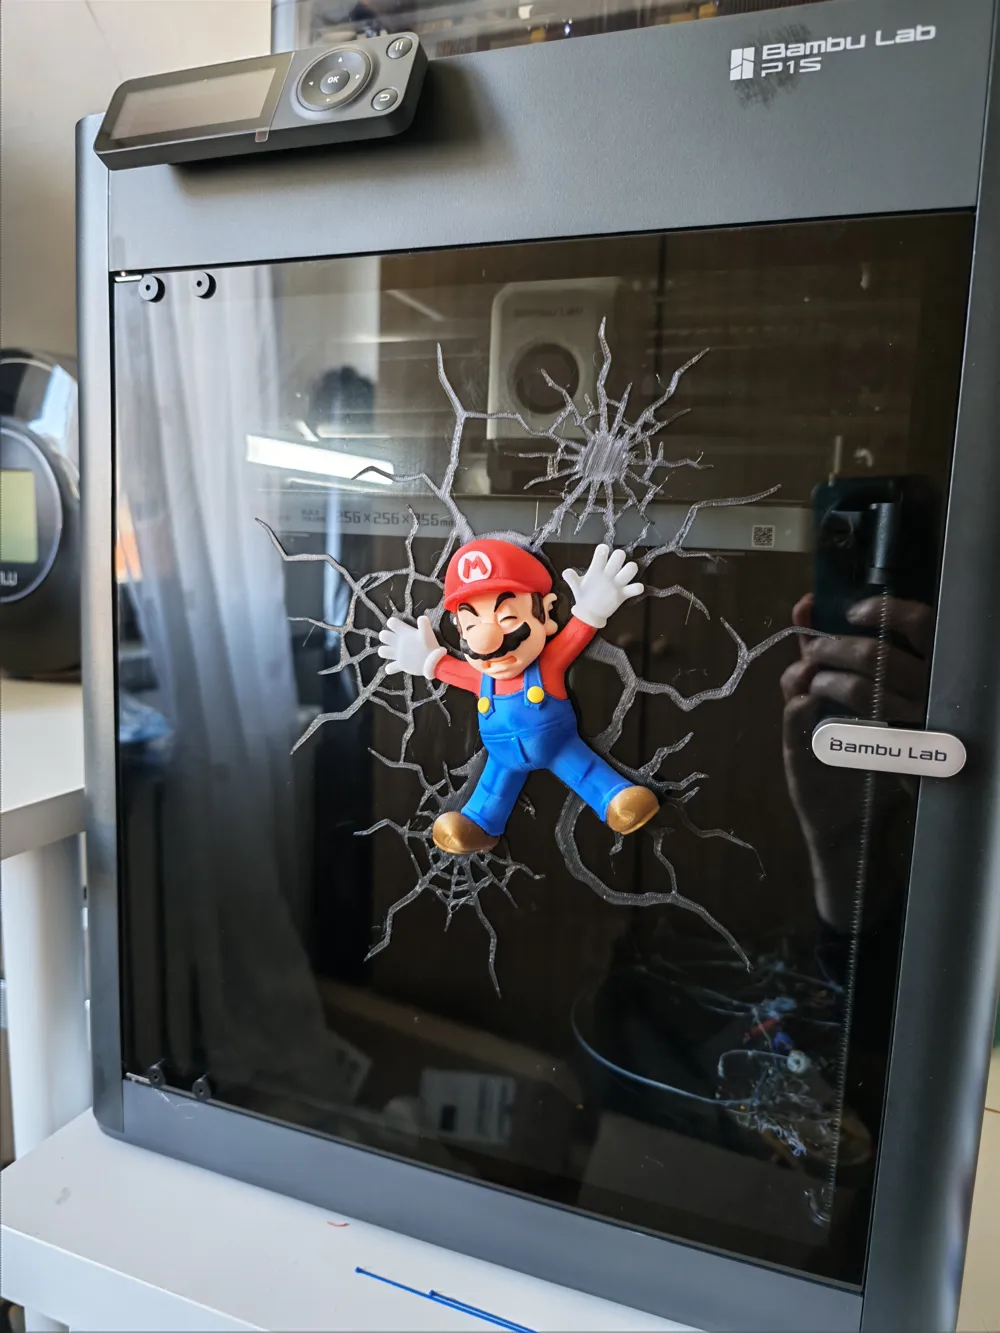
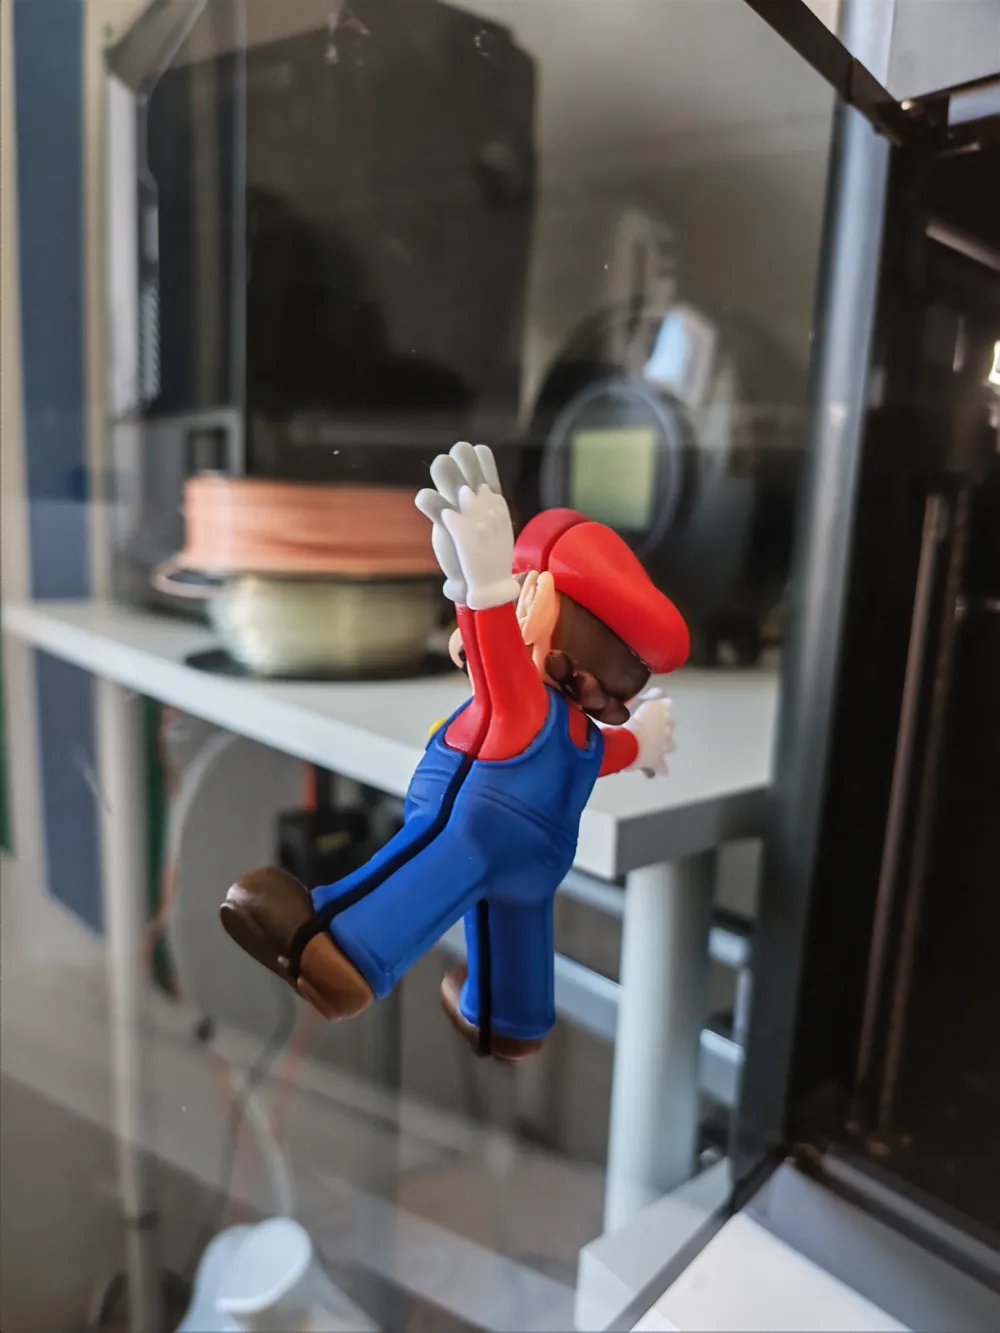
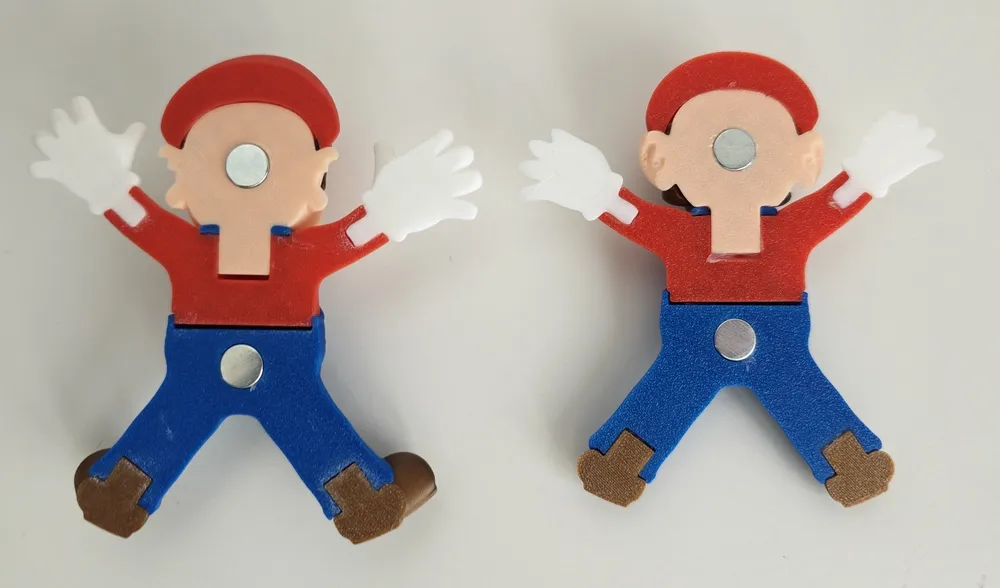
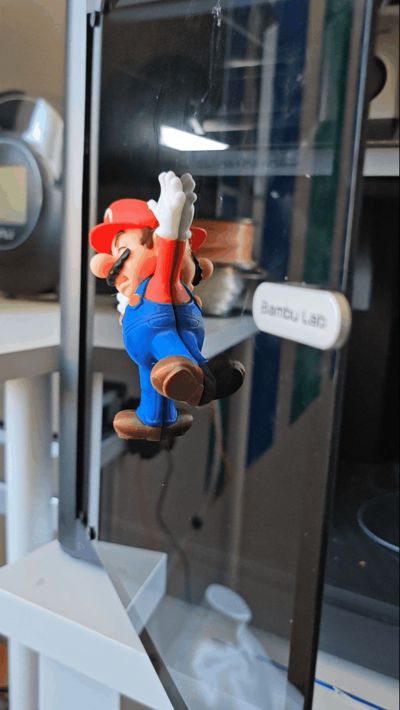
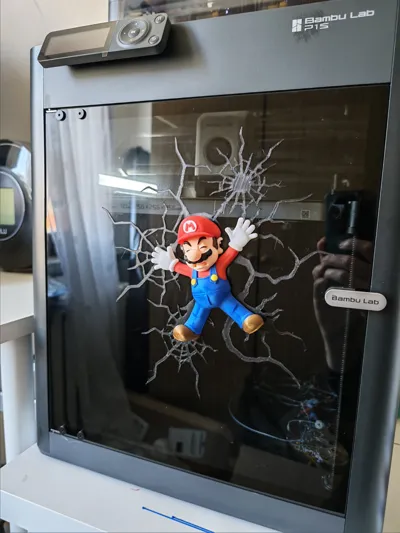
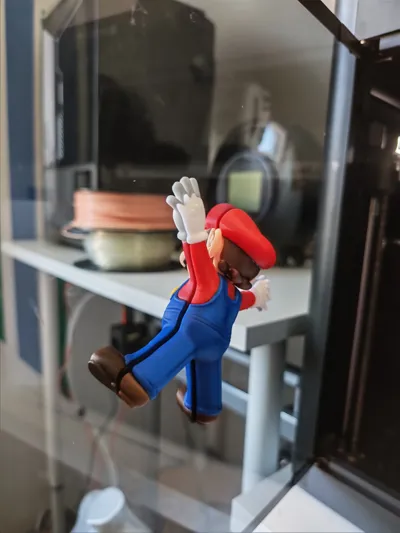
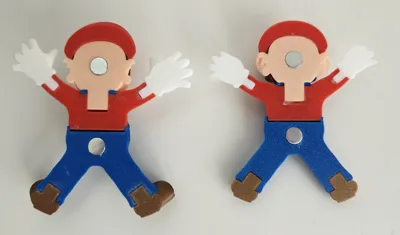

- The "Glass-Crash" Effect: Mario consists of a front and back. Place him on both sides of a glass pane to achieve the perfect bullet-hole effect!
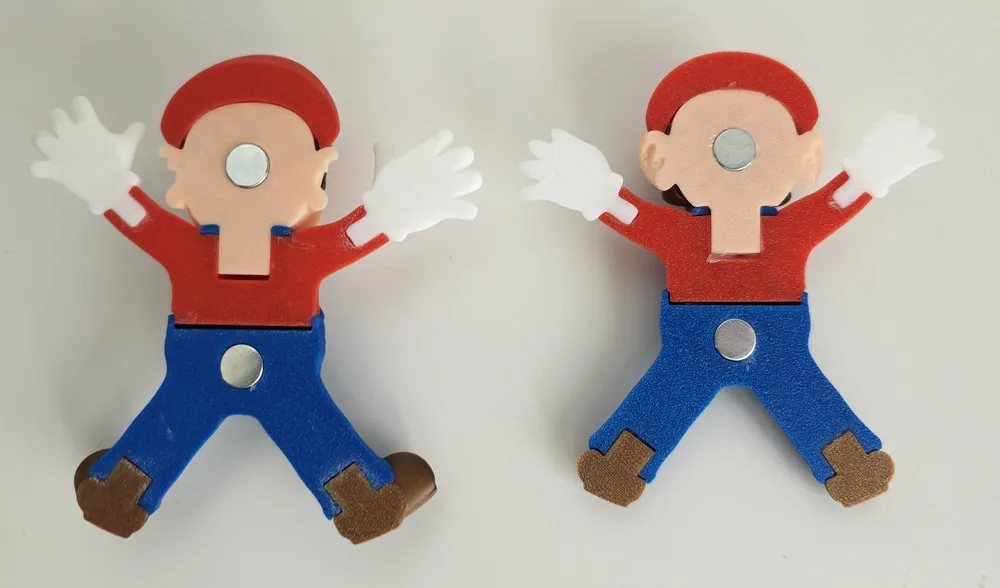
- Magnetic Power: There is space for 10x2mm magnets in the head and belly
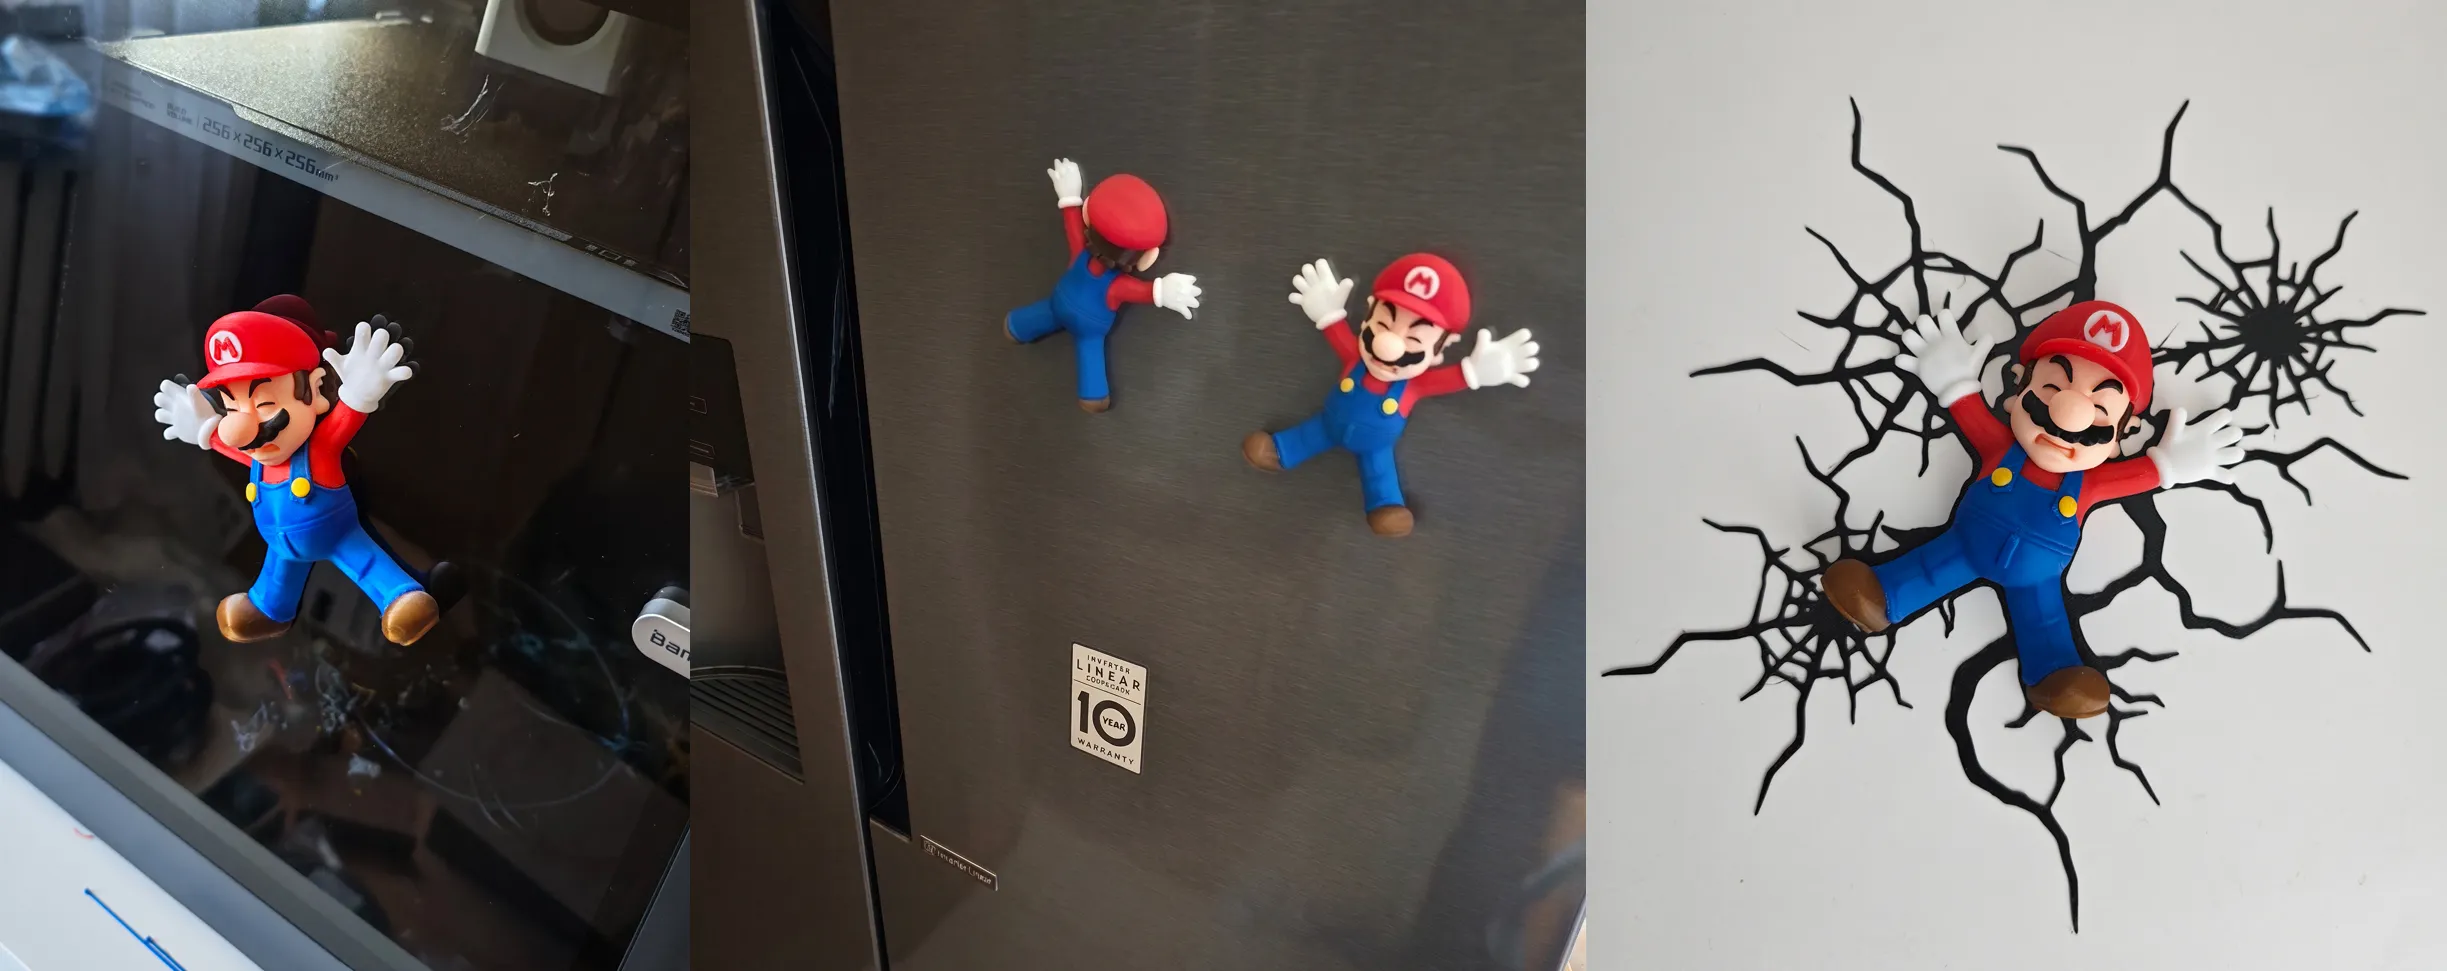
- Versatile use:
- Window Gag: With the shattered glass base, it looks like Mario just shot through your window
- Refrigerator Magnet: Use the front or back individually as a stylish eye-catcher for your notes
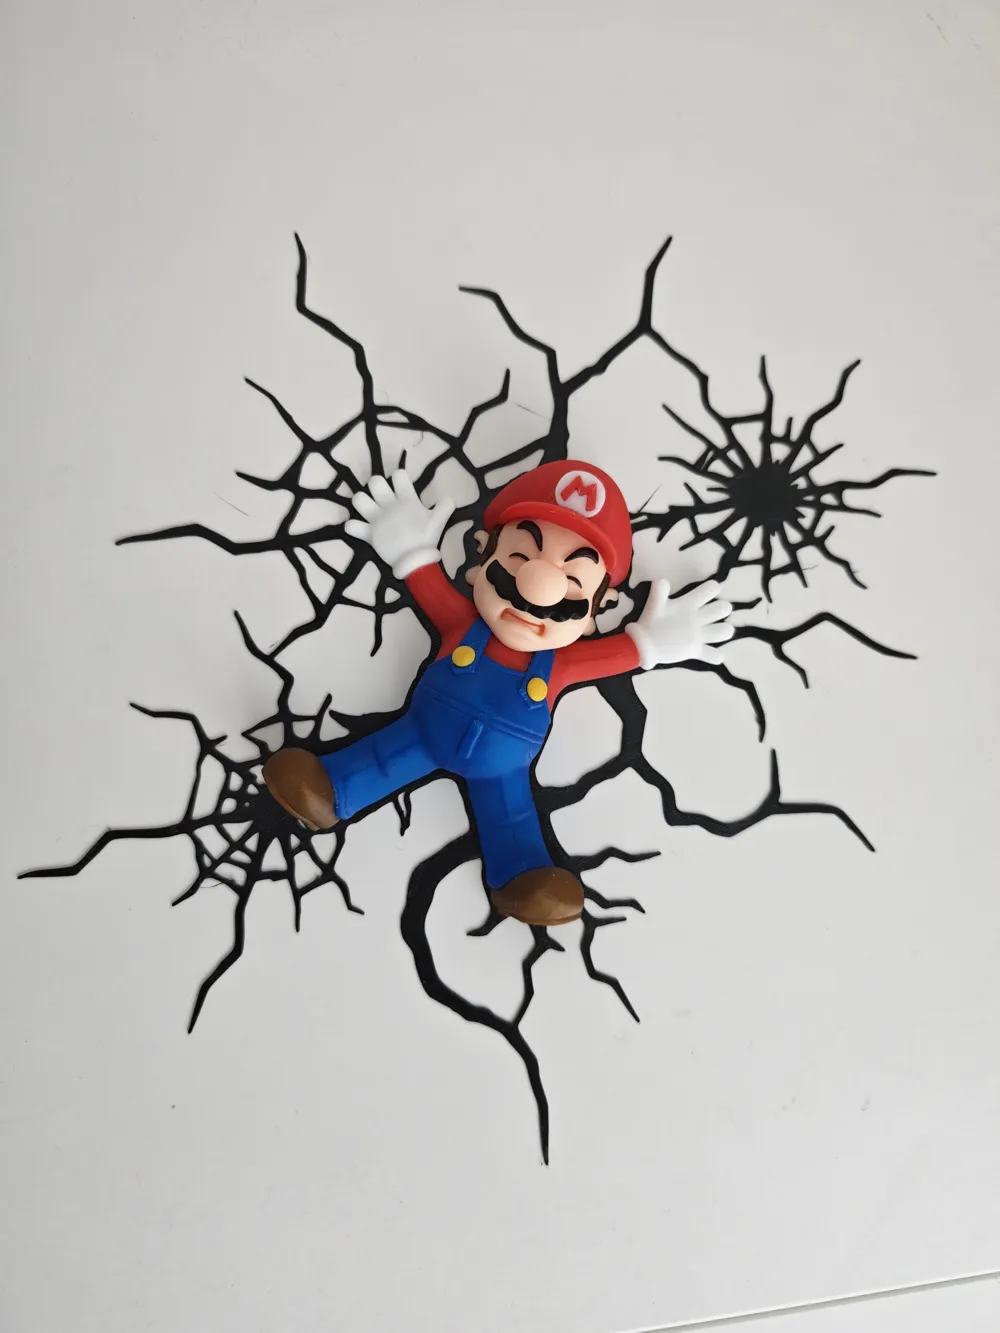
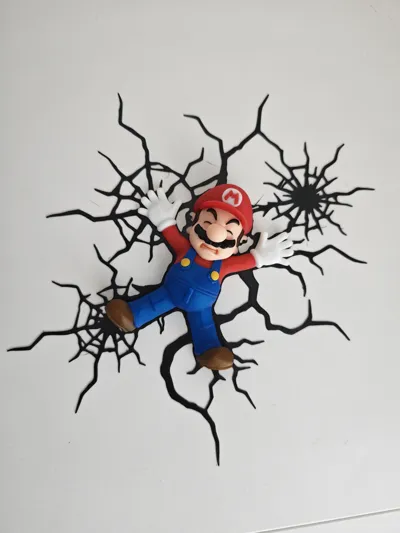
- Wall Decal 2.0: Simply stick the shattered glass base and Mario onto a white wall
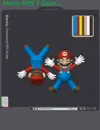
NO AMS Print Profile Plate Overview

🛠 Assembly & Instructions
You still need to cut the hair, I had to design it this way for better printability. Here's a quick guide. You can watch the exact instructions for cutting and gluing in the video!
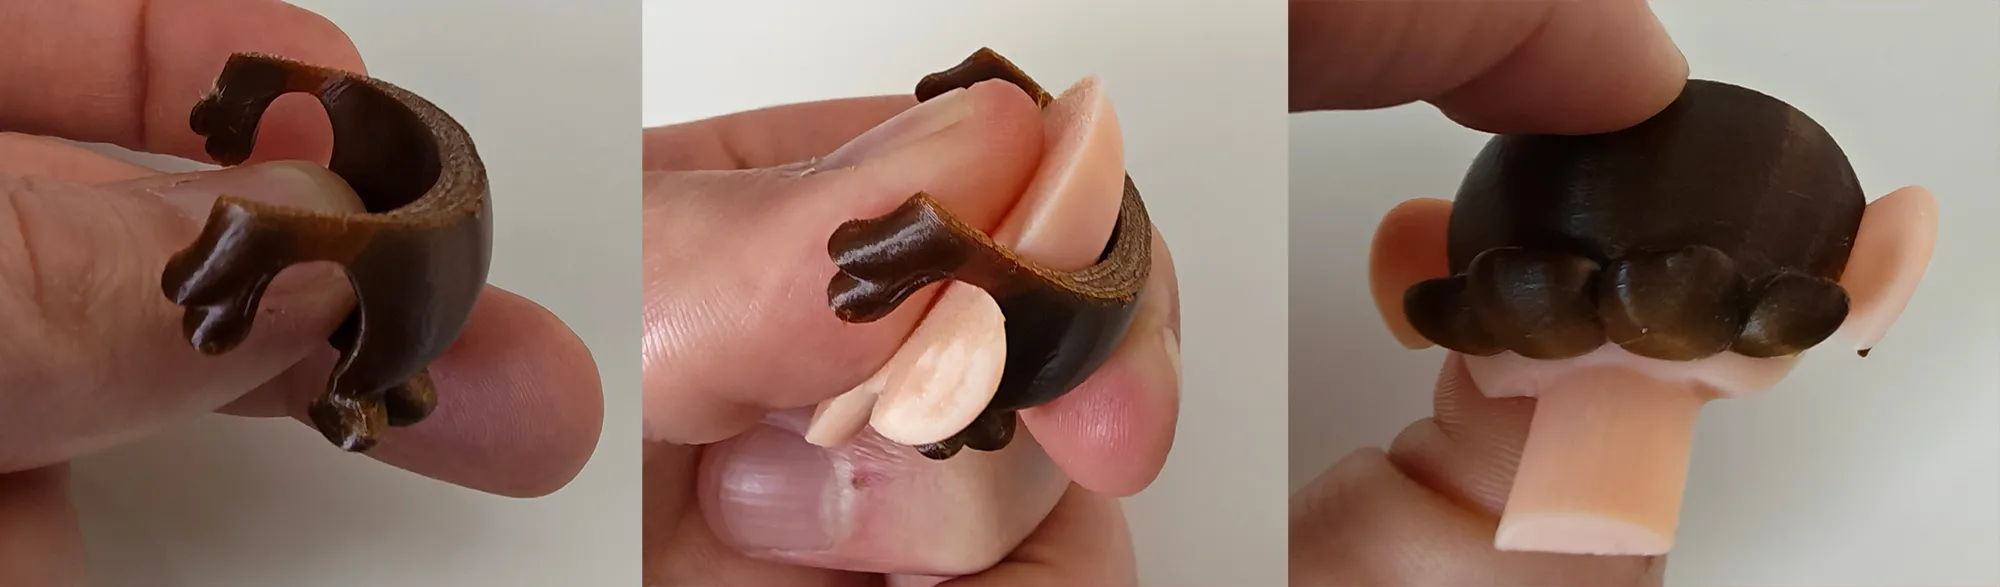
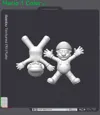
Press the hair firmly onto the back head plate, as shown in the middle image! Then, use a scalpel or pliers to cut off the side parts of the hair for the front (the sideburns) of the head! Short GIF to show what I mean, but it's shown better in the YouTube video!


You need to paint the eyebrows and eyelashes with a black pen (edding), tips for this are also in the YouTube video!
Don't worry, assembly is child's play! To ensure everything fits perfectly, I have prepared a video tutorial for you. There I will answer all open questions and show you step by step how the parts interlock and where the magnets go
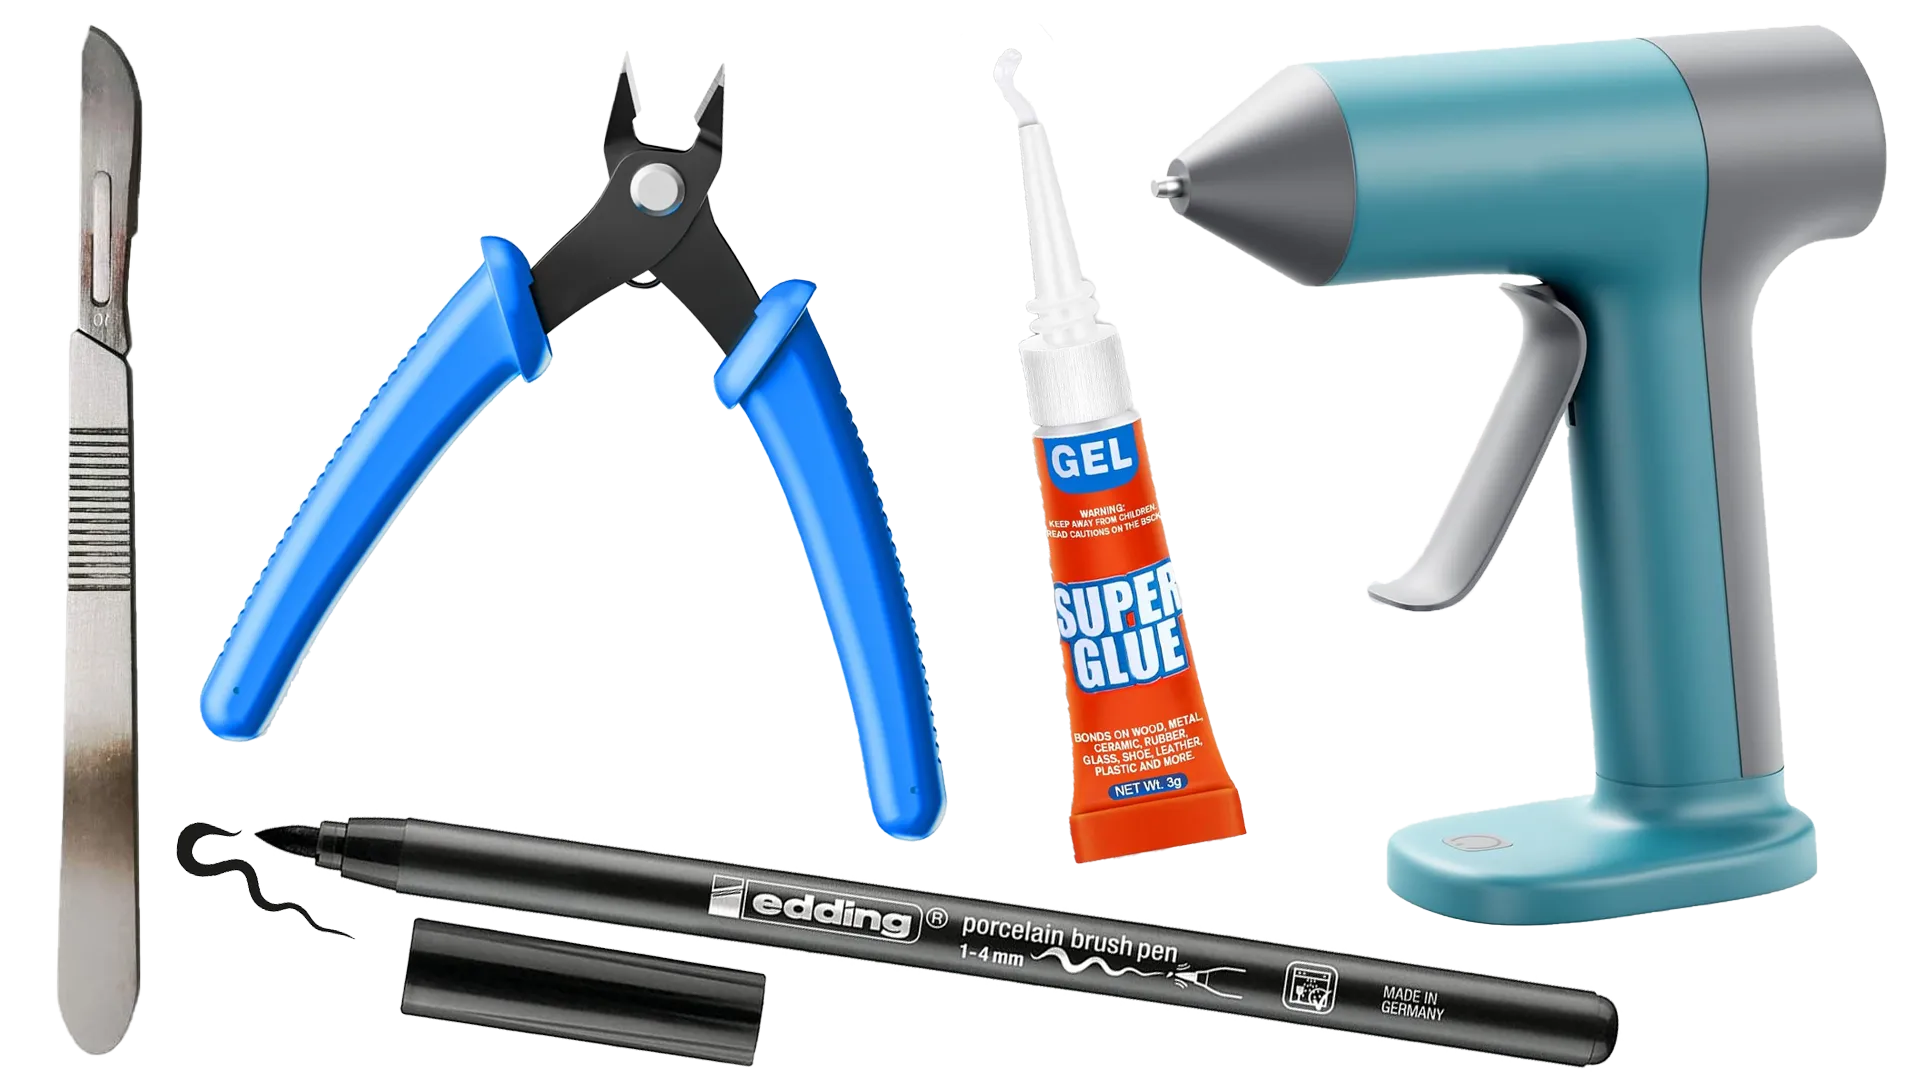
Recommended optional tools: craft scalpel, precision pliers, fine-tipped permanent marker pen (porcelain edding), superglue gel or hot glue gun
Attention
I printed everything with the Bambu PEI without adhesion problems. However, if adhesion problems occur, for example with the Wall Crack (wall breakthrough) base, check if your filament is dry enough! Overly wet filament adheres poorly to the build plate! If possible, use a glue stick or other means to improve print bed adhesion. Or even better: a Bambu Cool Plate SuperTack or BIQU Panda BuildPlate CryoGrip Pro, all prints hold rock-solid on these! Alternatively, print the Wall Crack from PETG using the extra profile I provided for it; that also adheres very well to the original PEI plates
I intentionally designed Mario so that you can also use him without a mustache or hair, for anyone who might find that funny. That's why these parts do not have plug-in holes and must be precisely positioned when gluing them
📸 Show off your prints!
Have you placed Mario in a particularly funny spot? I'm really looking forward to your make photos and reviews!
License

You shall not share, sub-license, sell, rent, host, transfer, or distribute in any way the digital or 3D printed versions of this object, nor any other derivative work of this object in its digital or physical format (including - but not limited to - remixes of this object, and hosting on other digital platforms). The objects may not be used without permission in any way whatsoever in which you charge money, or collect fees.


Comment & Rating (24)