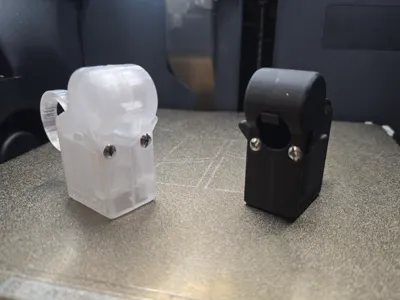
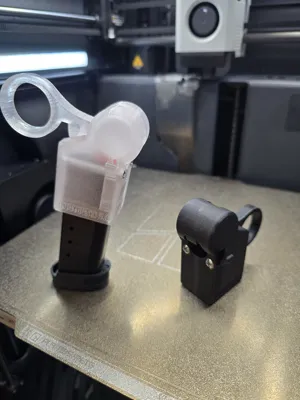
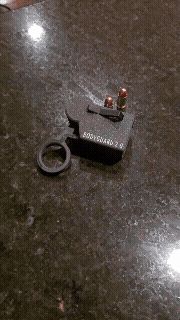
Smith & Wesson Bodyguard 2.0 Auto Loader


Print Profile(4)
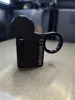
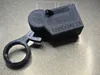
Description
This is a one-handed 380 ammo loader that performs both actions to depress the round in and retract it into the mag. This has been tested with the Bodyguard 2.0 mag and Fiocchi Target Max 380. Due to the small form factor of this ammo, there are incredibly tight tolerances to create a lever with a plunger and retractor. Due to that, along with deviations in filament and printer calibrations, some after-print mods may be needed, such as filing or sanding down places of extreme tightness.
NEW VERSION 1.17, improved retractor mechanism, adds additional support to ensure tip doesn't break off.
NEW VERSION 1.16, improved catching mechanism to hold the bullet down prior to retraction. I've had ZERO issues with the new design.
OG VERSION 1.14, original release
Instructions:
- Download the Bambu 3mf file and load it into your printer. PLA works great, but you can also use PETG.
- Print the parts and remove your supports. Clean areas where your interface might have left extra filament. Or, use my pre-made Bambu Studio print profile BodyGuard380v17.3mf.
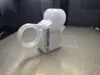
- Use a tap and die set to tap screw threads into the mag-release lever holes; the hole extends deep into the body (see slicer)
- Install levers on both sides
- Take two #6/32 flat head screws that are approx 1" to 1.25" and insert them into the holes to hold the mag release levers in place. Use gentle tension on the screw to add/subtract to the lever. You could also leave it loose, and put a rubber band around your entire unit to act as a spring-mechanism to keep the mag lever plunged in. Personally, I just leave it so the lever doesn't flop out but has resistance from rubbing in the lever cavity.
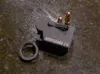
- Assemble the body by placing the plunger into one of the sides of the body and align the other side in preperation for gluing.
- *Use your favorite glue for the filament you chose. For PLA or PETG, I used acrylic weld-on #4 fluid cement to weld together the parts. Superglue should probably work if you don't have access to weld-on acrylic fluid.
- Press the unit together and rapidly move the plunger so any squeezed-out glue on the trunnion bearing doesn't also glue your plunger to the body. Allow to properly dry per glue/solvent recommendations (weld-on is about 5 min!).
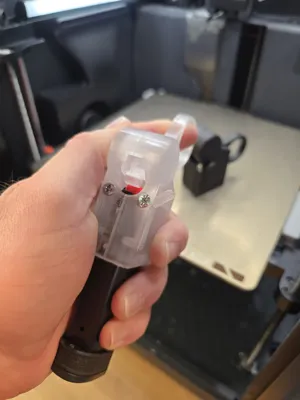
- Insert your mag, and make sure to press in your mag-release levers ‘in’ to set them into the mag catch.
- Use the plunger to depress the spring and then drop a round in the front, gently pull up to set the round into the mag.
- Once you have loaded all your rounds, simply push on the top of the mag-levers, and it will allow your mag to drop out.
- Enjoy not having sore thumbs.
*Note, you may want to dry fit everything first to test for tolerance issues or anything that needs adjustment. You can test most features by simply using half the body and the plunger by holding down the trunion bearing so you can simulate the action.
Documentation (1)
License
You shall not share, sub-license, sell, rent, host, transfer, or distribute in any way the digital or 3D printed versions of this object, nor any other derivative work of this object in its digital or physical format (including - but not limited to - remixes of this object, and hosting on other digital platforms). The objects may not be used without permission in any way whatsoever in which you charge money, or collect fees.
Comment & Rating (30)