Search models, users, collections, and posts

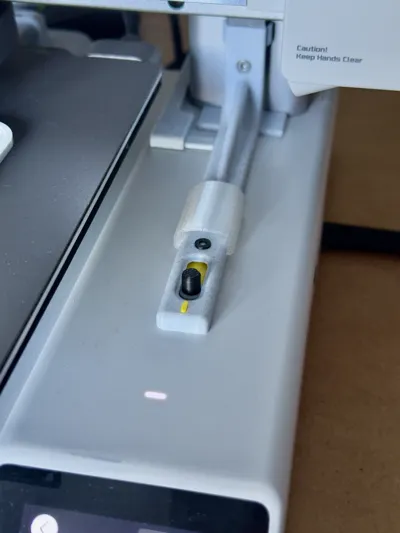
A1 Mini - Front ON OFF Switch (Optimized)
Remixed by
IP Report

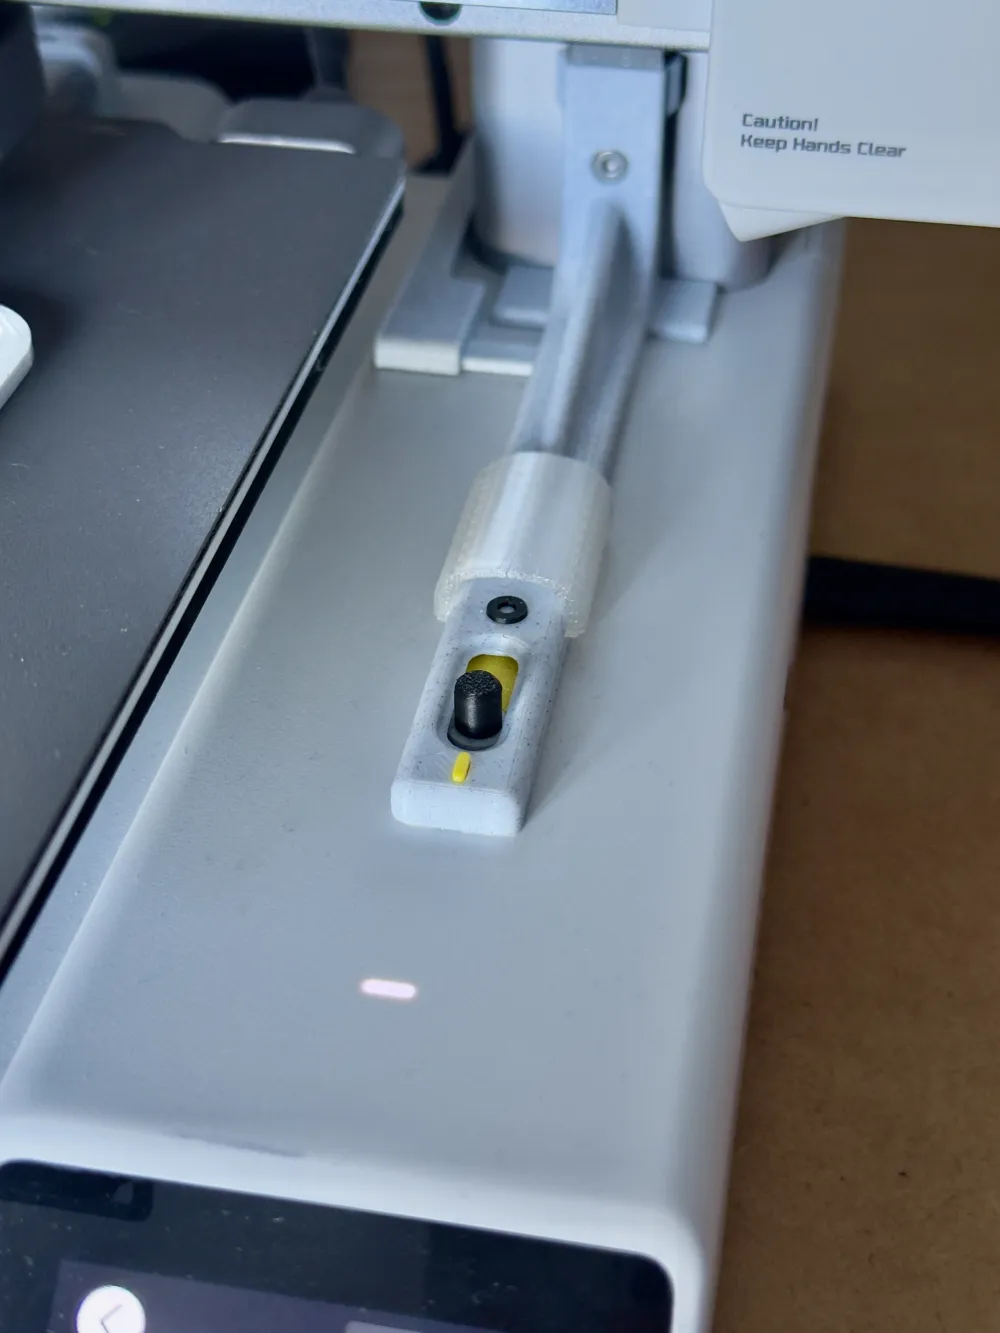
GIF
Print Profile(1)
0.12mm layer, 5 walls, 100% infill
Designer
6.4 h
6 plates
Open in Bambu Studio
Boost
87
217
5
0
99
47
Released
Description
THE DESIGNER
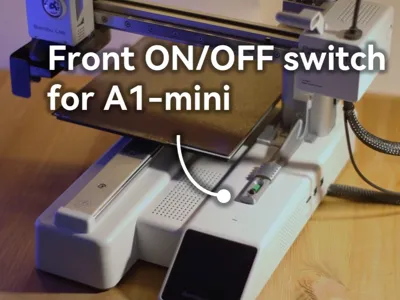
The original design was made by @simon.rob and can be found here , including assembly instructions if needed. However read my description here before assembling everything.
YOU NEED
- PLA in one or more colors
- the hex wrench[es] that come with the printer
- [optional] one little screw from the “Heatbed nozzle wiper - A1 Mini” set or a similar screw
- [optional] thin double sided tape (see for yourself if you want to additionally fixate the non moving parts of the mechanism to the printer. Fixating the lower part of the piece that gets screwed to the spool holder part may help with the reliability of the mechanism, but I hadn't problems without it yet.)
- [optional] thin fabric (a thin mircofiber cloth / glasses cloth) that you can cut to little pieces and glue with thin double sided adhesive tape to the underside of the button switch part. This may help to prevent scratching your printer exterior in the long run.
WHAT I CHANGED
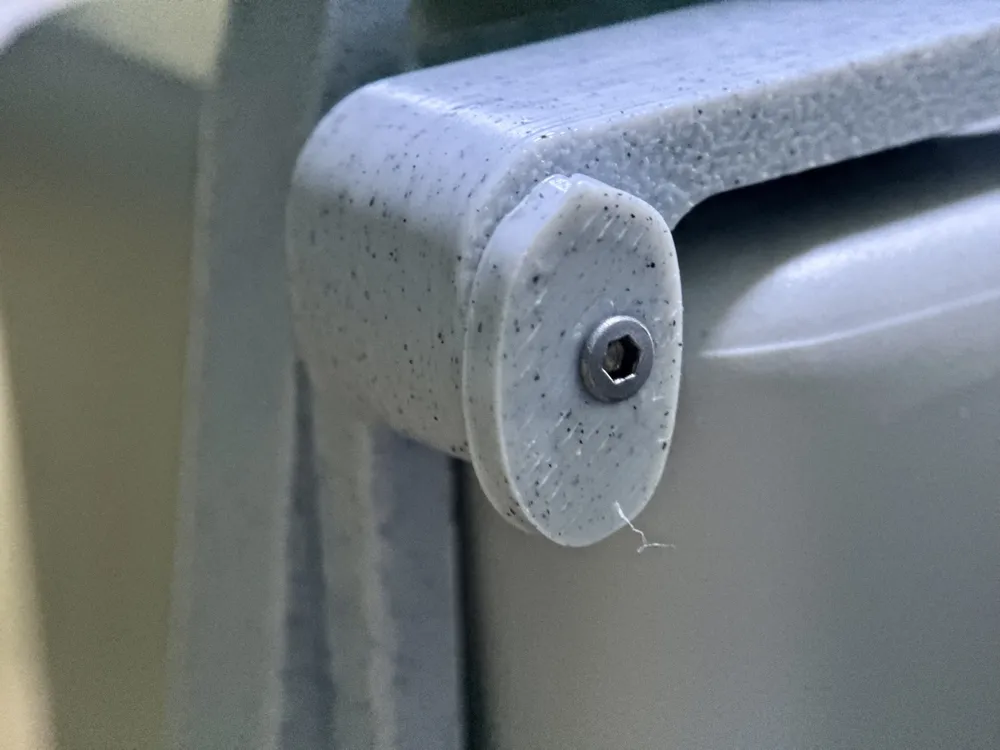
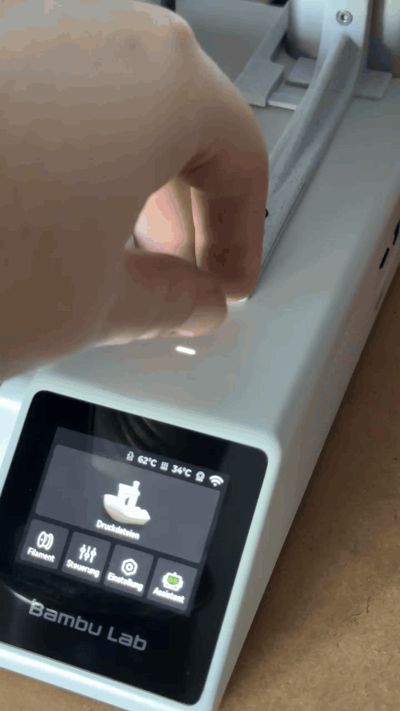
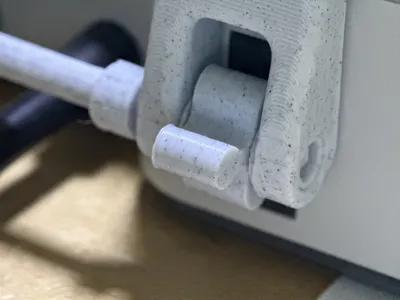
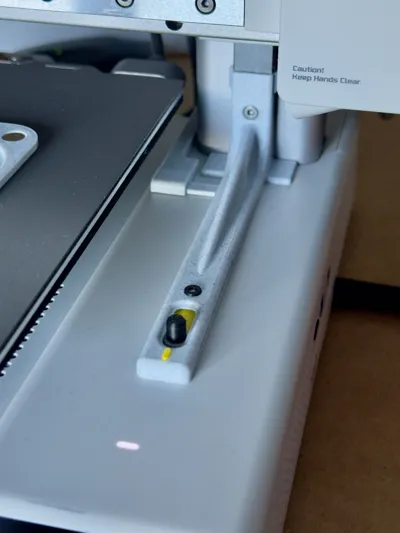
- I redesigned the button and everything else that would need an AMS to get a different color, making it accessible to everyone
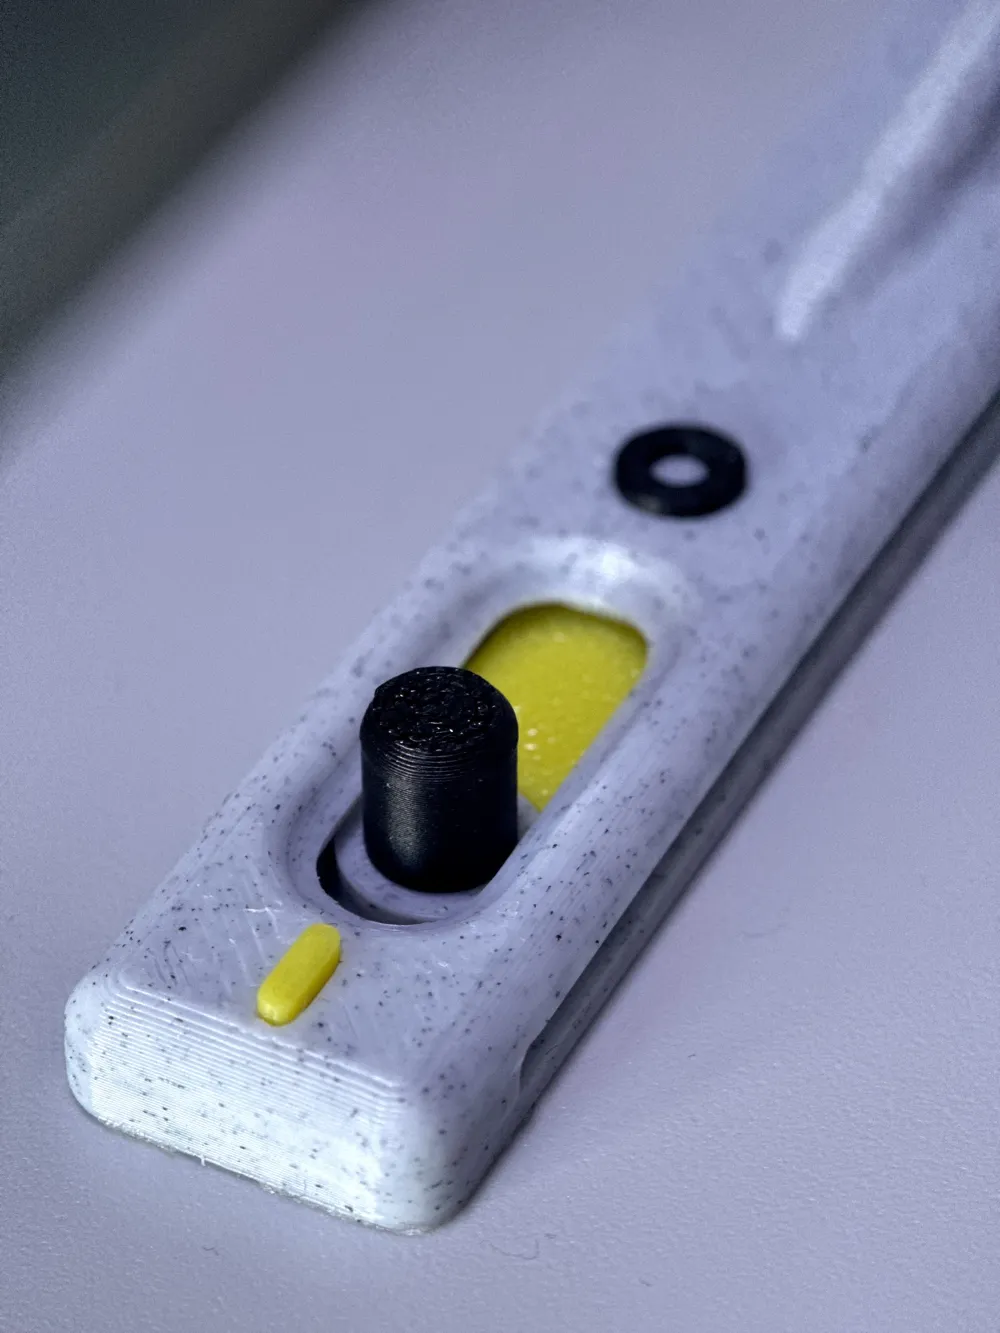
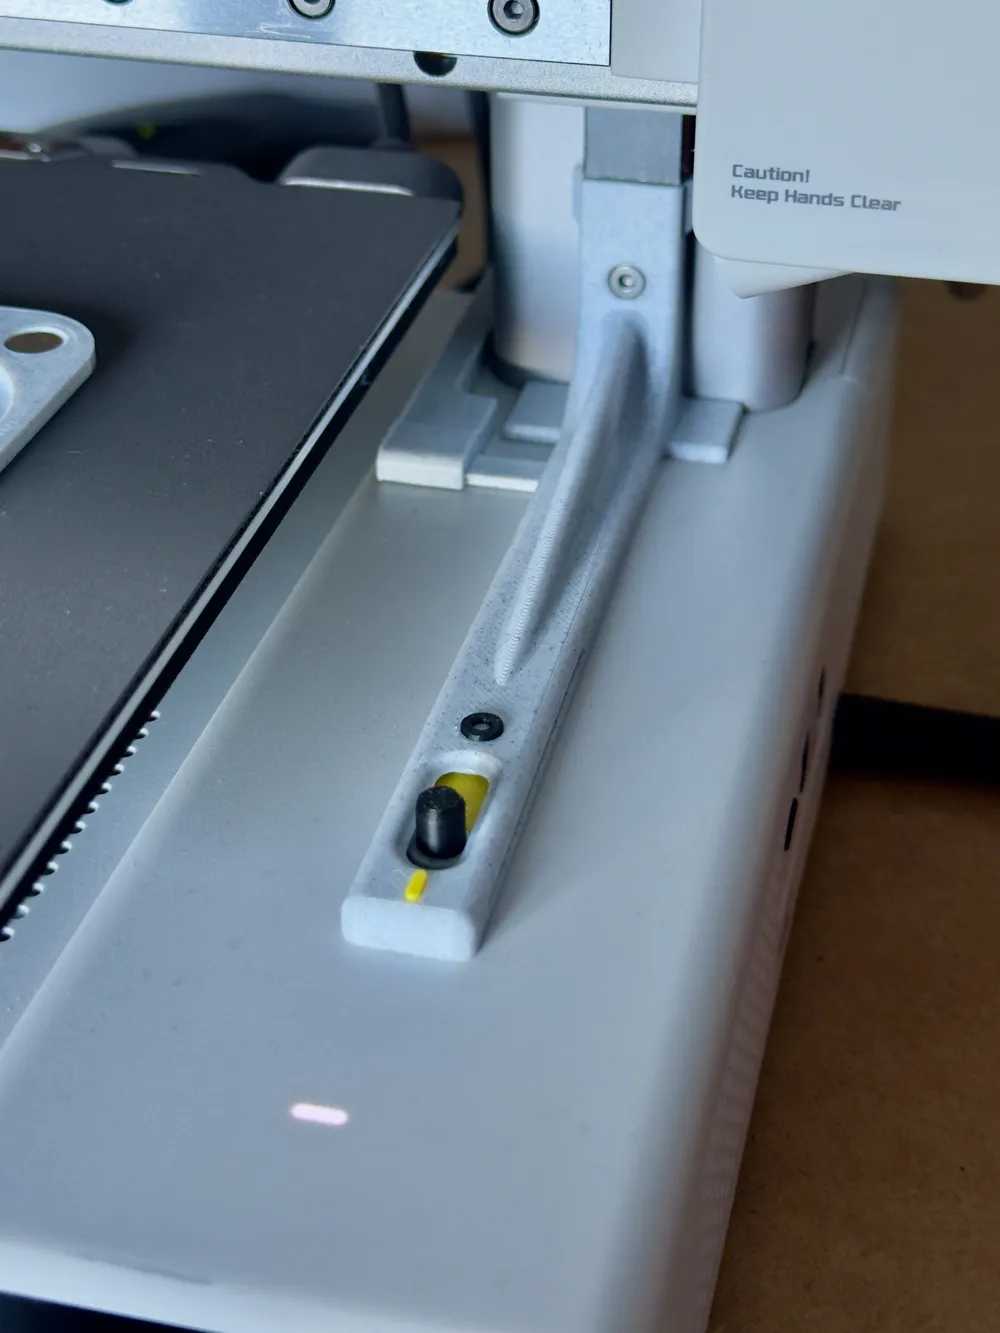
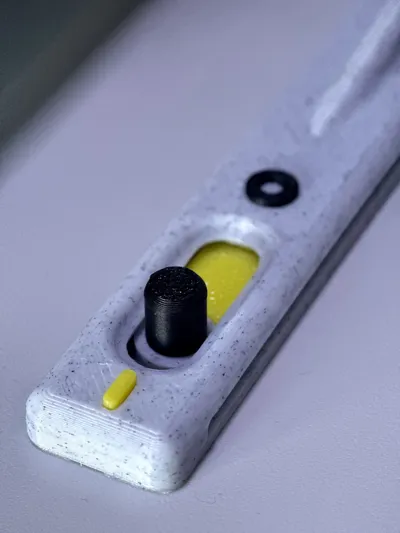
- I redesigned the button switch piece to have more tolerance when sliding, allowing for less friction and easier movement and modified to part to fit a colored indicator
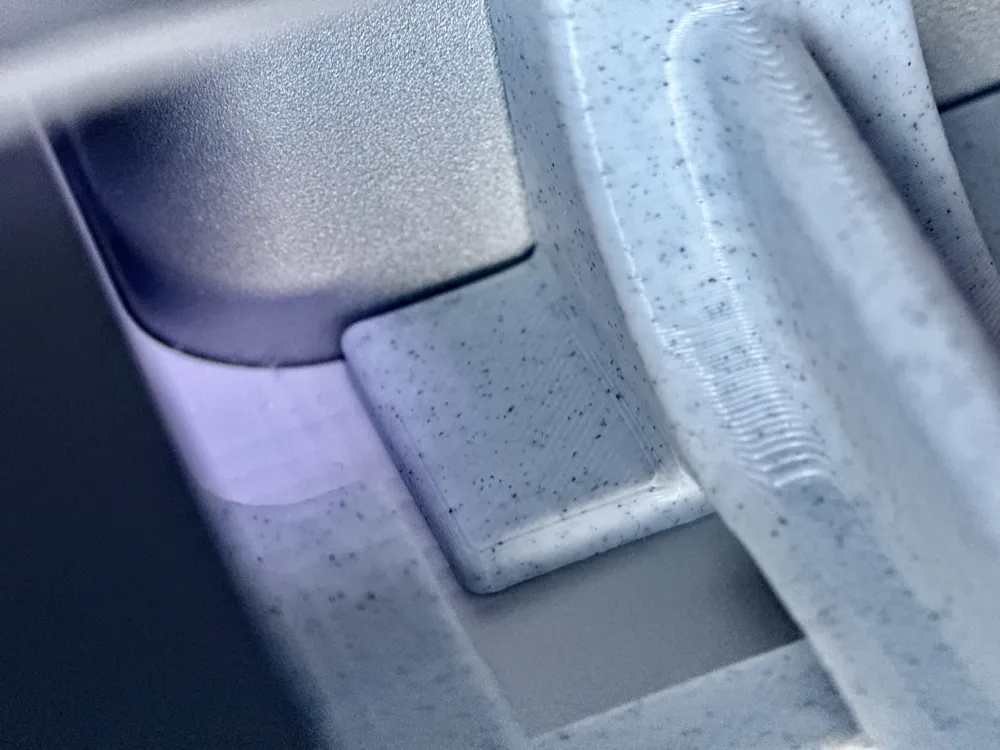
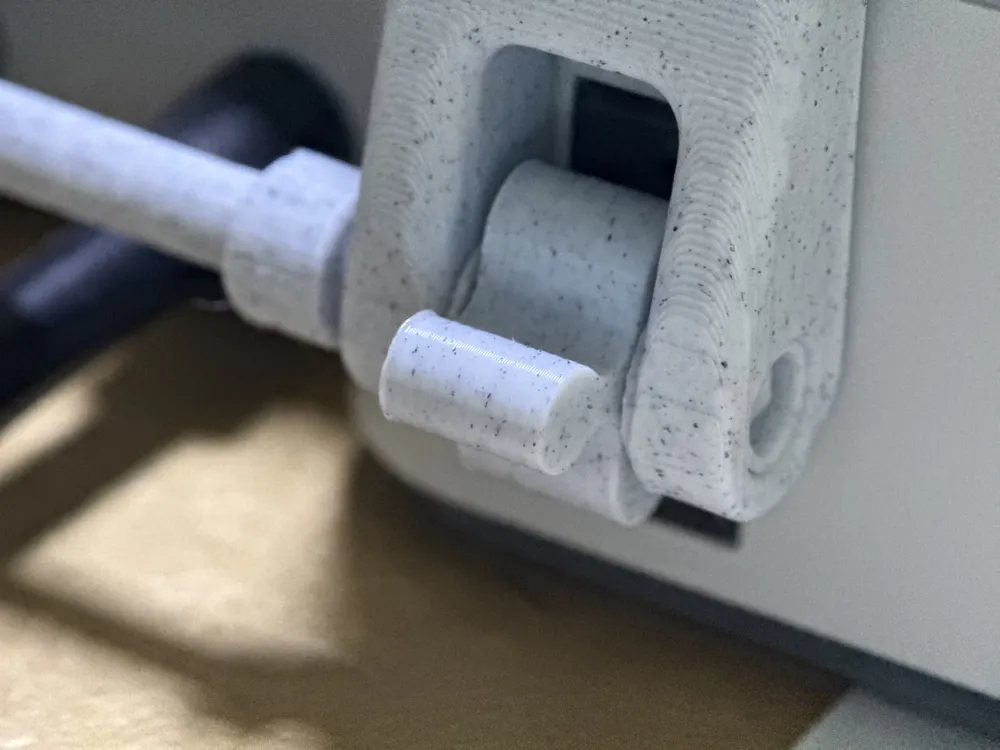
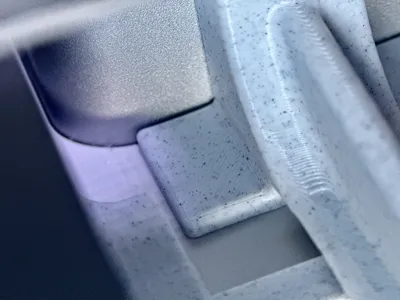
- I redesigned the part that connects to the z axis, closing two ugly gaps, making it possible to insert colored on / off symbols and I changed the interior part holding the button switch piece making it easier to move
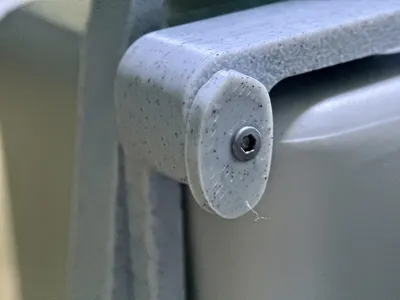
- I added a part that connects to the button switch piece with an added screw hole. This secures the parts and should ensure proper function
- I redesigned the axis that connects to the button controller because the tolerances where to tight and the parts didn't fit.
- I redesigned the optional button cover because I didn't like the design.
- For the print profile I removed unnecessary supports and added my color parts in different sizes, so you hopefully find a piece that fits into the appropriate hole without the need for glue.
Tips & Tricks
- Print the parts as given in the print profile. Don't change anything (except of course if you need to because something isn't working for you) to save time / printing cycles.
- Insert the on / off symbols with the print bed side first. The first layer is printed slightly thicker than the rest, making it easier for the pieces to hold without glue. Use tweezers if you have trouble with the little parts.
- Use pliers with a piece of kitchen paper or something similar in between to screw the button in, if you're having trouble. The thread is very small and little artifacts can make it hard to screw the first time.
- When assembling everything, add the two thin round pieces before screwing in the part that connects to the y axis.
- The button switch part that gets screwed to the z axis is printed without supports. I didn't have any troubles doing it like this, however if your part has some artifacts, you should sand it down slightly, to ensure the functionality. Just check before screwing everything together to save yourself some time.
Disclaimer: Use these file at your own risk. I am not responsible for any damage to your printer, hardware failure, or personal injury resulting from the use or installation of this modification. By downloading you agree that your are solely responsible for ensuring the safety and compatibility of your machine.

This remix is based on

License

This user content is licensed under a
Creative Commons Attribution-Noncommercial-Share Alike


Comment & Rating (5)