C4 Corvette Infinity Tail Lights (1984-1990 ONLY)


Print Profile(0)
Description
WORK IN PROGRESS - last update (March 31, 2026)
Build your own infinity style tail lights for your corvette! These are designed by me, with the main tail light being scanned on my own 3d scanner, with the rest of the cad work done by me in Tinkercad. Print them in ASA, as it's designed for long term outdoor use, and use a soldering iron to seal the two together. I also reinforced with black electrical tape around the seal.
You ONLY need to print the Housing and Endcap pieces, the Full Mockup file is to be used as a reference while putting everything together.
Assembly and Instillation guide below:
---ASSEMBLY---
Make you you have everything from the Amazon list below. Carefully follow these steps in order to assemble.
The LED ring has a diffuser ring already on it when you open the box. Remove the small mounting clips on the LED rings to make them flush with the diffuser, but leave them in the diffuser. Remove the adhesive backing and stick the LED ring to your regular, one sided mirror. (Piece 1)
Cut a square out of the reflective film and attach to the first acrylic disc. Carefully cut off the excess with a razor blade or sharp cutting tool for smooth sides. It should cover the acrylic disc completely, and note which side it is on. (Piece 2)
Repeat the first step and stick the second LED ring to the second acrylic ring. (Piece 3)
Grab the third (and last) acrylic disc and place it inside the endcap. This is the outermost disc and will serve to keep the lens protected. Use a small amount of superglue to secure if desired. (Piece 4)
Once you have all the pieces prepared, remove any protective film still left, and prepare to assemble.
Using the completed assembly as a reference, put them all on top of each other inside the main housing. Do this in order of piece number (1 goes in first, with 2 on top, and so on). The DARKER side of the tinted acrylic disc should be facing OUT, and it should be sandwiched between the top of the first LED ring (piece 1) and the bottom of the second acrylic ring (Piece 3). Pull the LED wires through the gap in the ring, and out the back of the housing. I recommend using masking tape to secure and label the wires to remember which wires are for which LED ring.
There should be very little space or play between the main casing and the endcap, and if there is, seal it with the weatherstripping glue later. Alternatively, if there is some motion or looseness inside the part, place an extra acrylic disc at the very back to use up the surplus space.
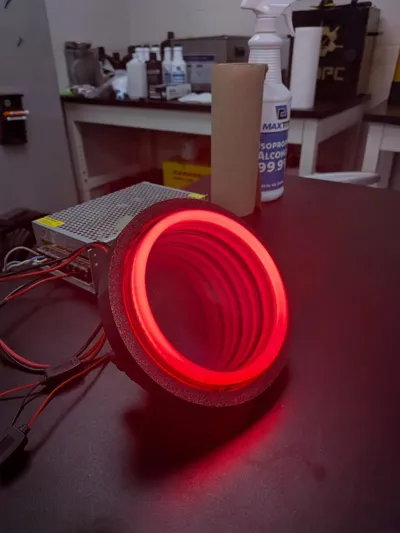
Test the two LED rings with a 12v power supply, and if the mirror effects are very dim or faded, double check the orientation of the reflective tinted disc.
Once you're satisfied, pull out the old tail light and disconnect the wires. For this step, you can either just cut them and make connectors to fit on, or directly splice the wires together. This next step is important, so pay close attention.
Connect the BRAKE wires to the OUTER LED, and the DRL wires to the INNER LED. This way, you get the slightly dimmer infinity effect whenever the car lights are on, and the brighter, non infinity ring comes on when you hit the brakes. Test with the car running, including the brakes.
Once they are firmly in place, bolt on the new headlight with the same bolts as before.
Do the same thing three more times, and boom! Infinity tail lights.
Everything you need is linked below:
1kg OVERTURE ASA Filament 1.75mm, Black ($19.99) amazon.com/dp/B09DCQ972K/?coliid=I1C8VSCE50UUJW&colid=3B92ZK80X2QRI&psc=1&ref_=list_c_wl_lv_ov_lig_dp_it
12 Pcs Acrylic Round Mirrors 5 Inch ($11.99) https://www.amazon.com/dp/B0BGS8QF8Z/?coliid=I16XLV3L3XC9N2&colid=3B92ZK80X2QRI&psc=1&ref_=list_c_wl_lv_ov_lig_dp_it
(GET 4 OF THESE) 1 Pair Qasim Red 120MM Angel Eyes COB 87SMD LED ($15.28) https://www.amazon.com/gp/product/B081377GN6/ref=ewc_pr_img_1?smid=A23FLVUX8DYTEZ&th=1
If you like this project, I also sell a fully completed and assembled set for you to install without having to do all the diy stuff. Contact me through Thingiverse if you are interested, the set starts at $320.
Feel free to contact me about this project if you have any questions, run into trouble, or want to support the project.
Print Settings
Printer Brand:
Bambu Lab
Printer:
Bambu X1
Rafts:
Yes
Supports:
Yes
Resolution:
Any
Infill:
15%
Filament: Overture ASA Black
Notes:
Print with 20% infill and double-layered walls.
Comment & Rating (0)