
Qudelix 5K Case with Independent Buttons
Print Profile(1)
Description
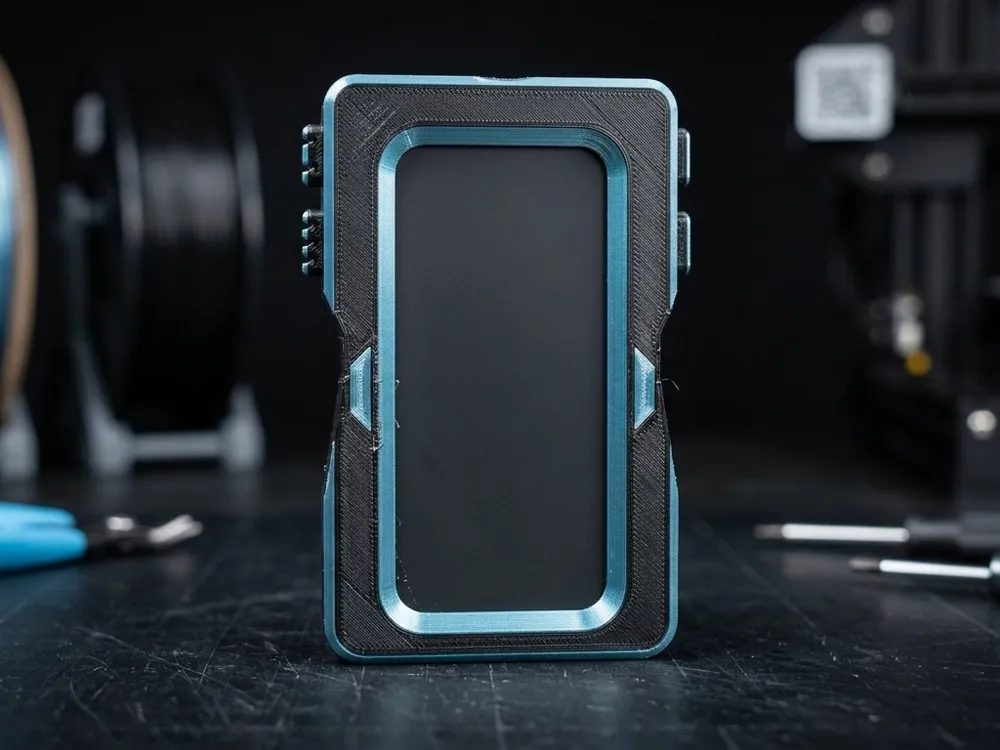
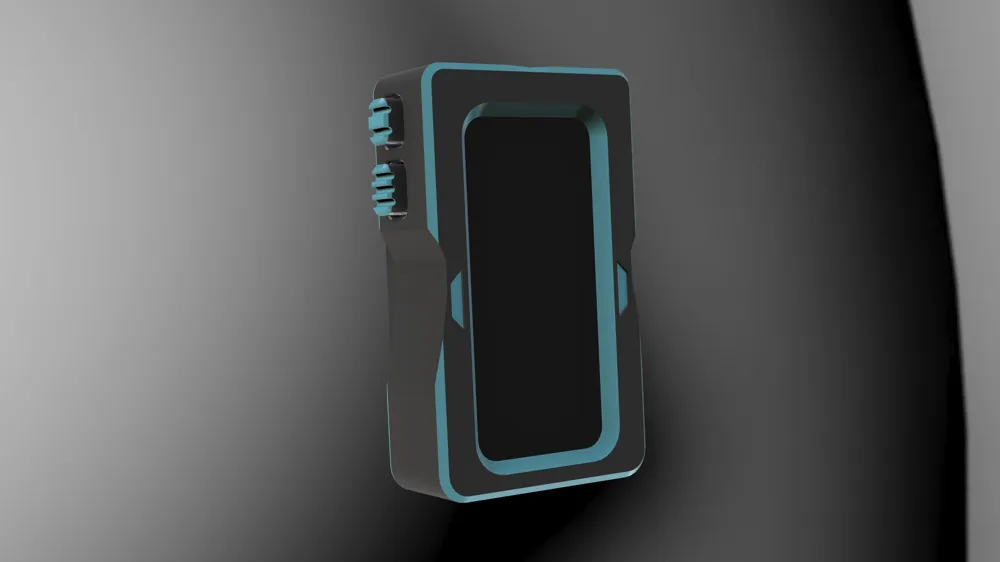
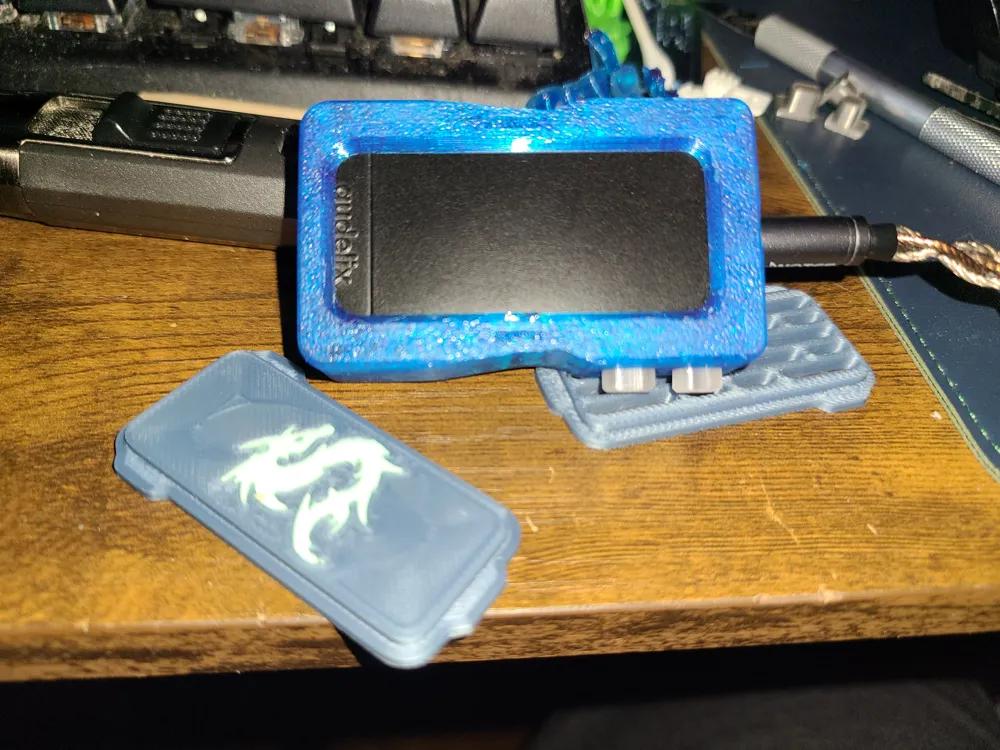
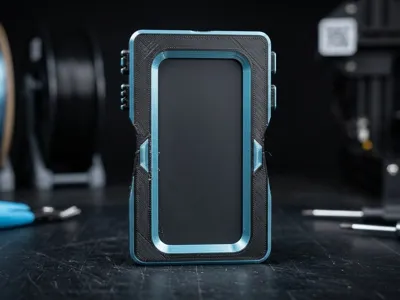
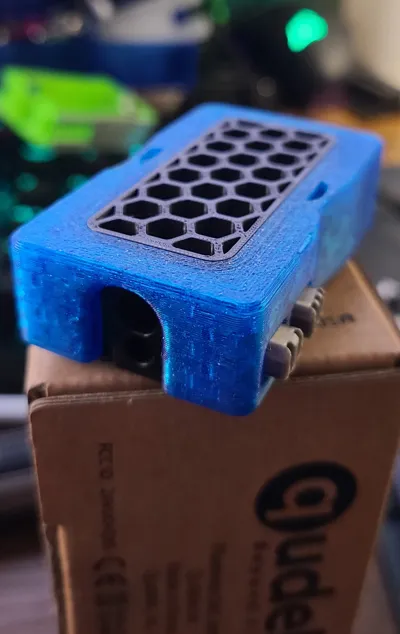
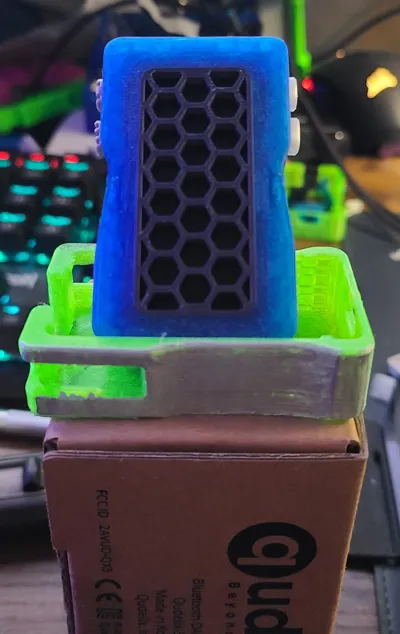
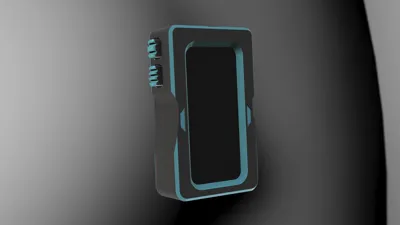
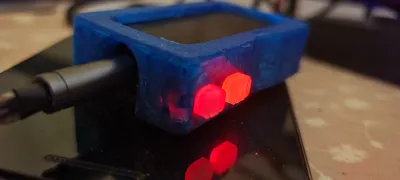
I designed this case because I've never liked the stock rocker buttons on the Qudelix 5K. Most cases I've seen don't really address them, they just leave an open slot, which makes the already awkward rockers even harder to press.
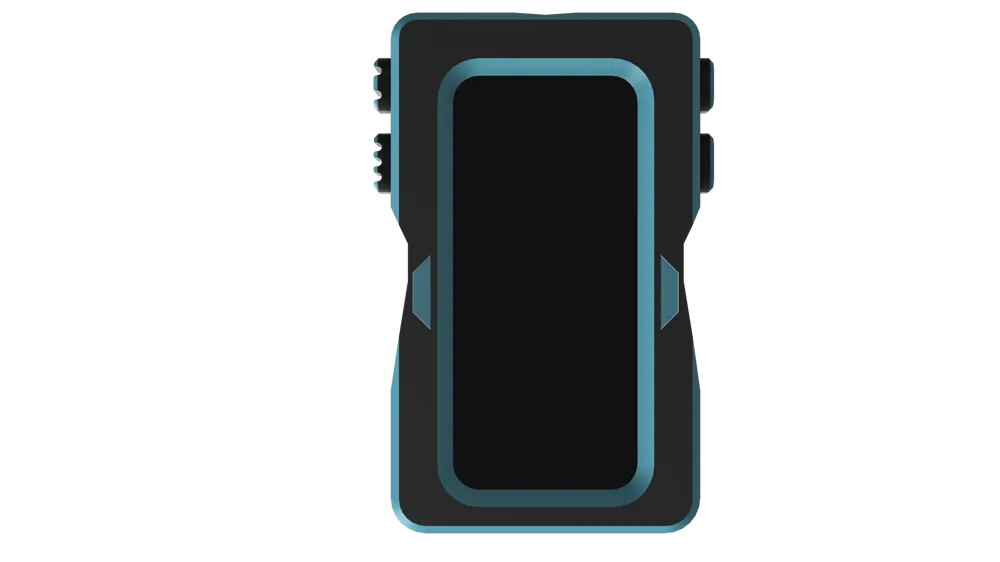
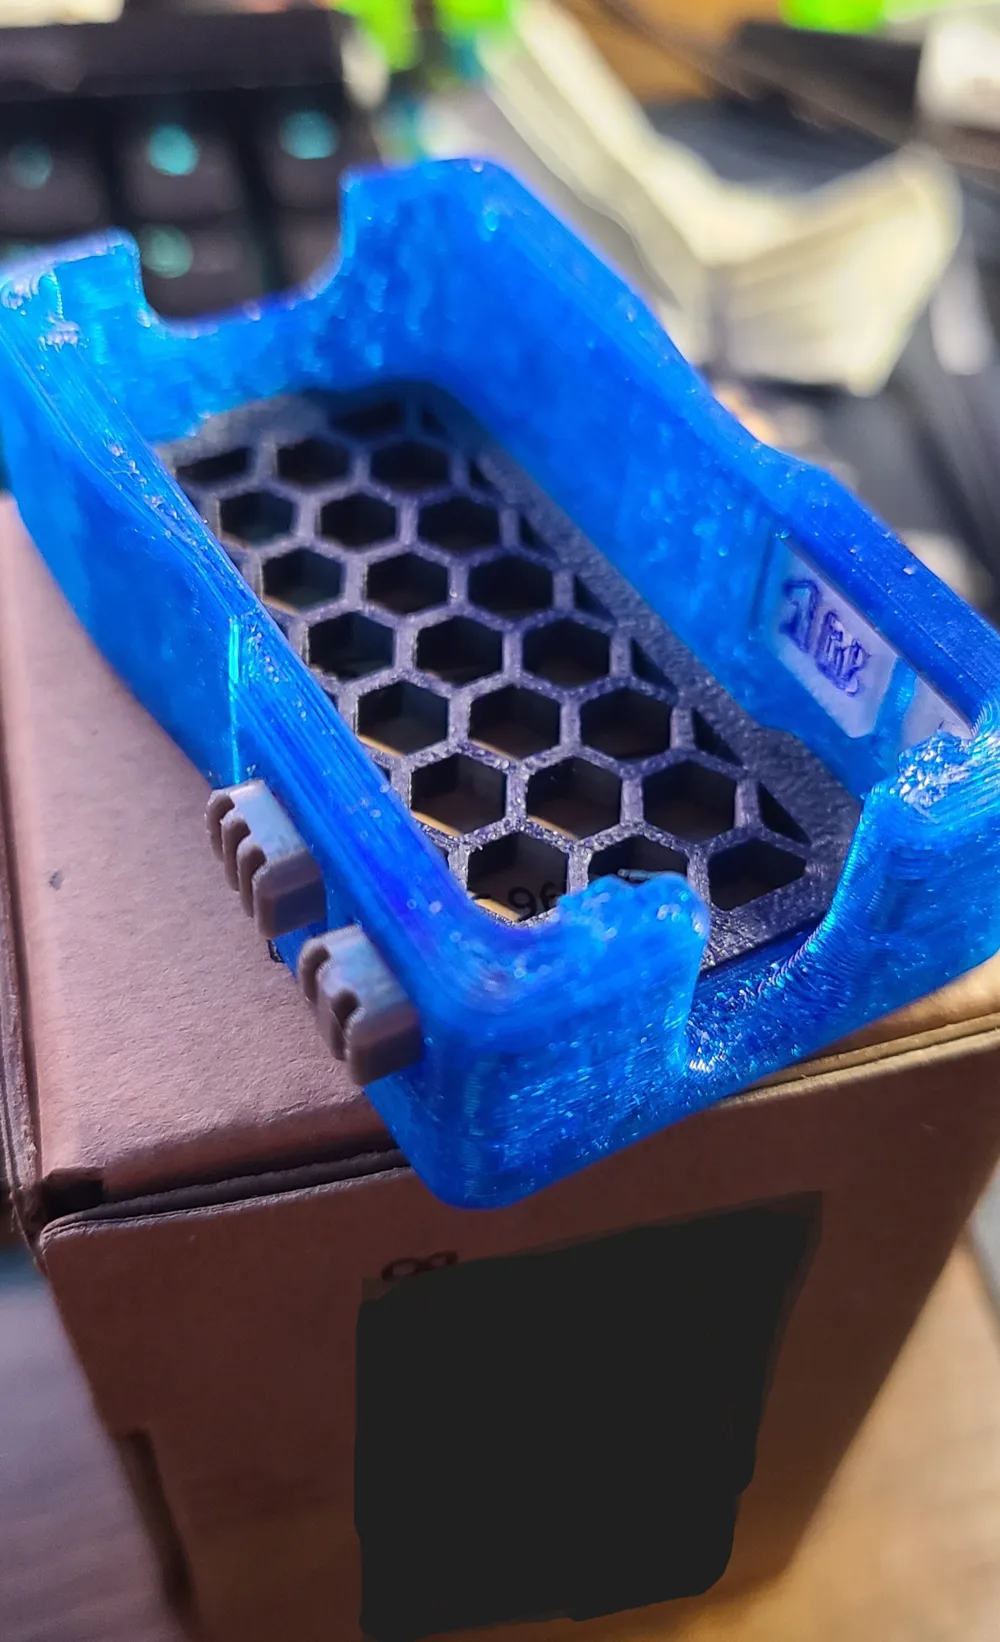
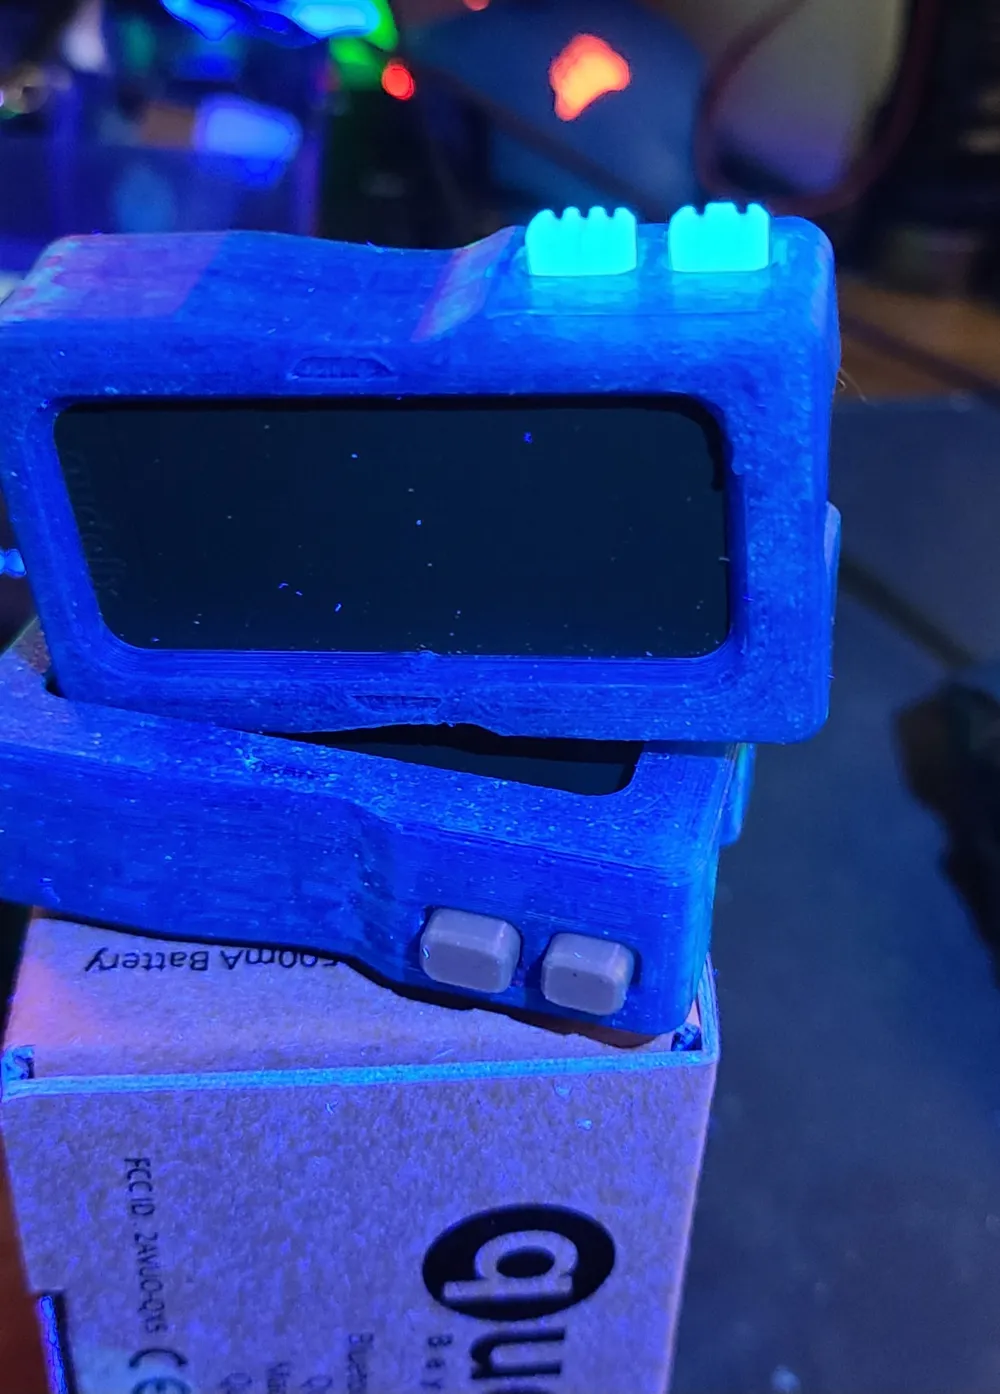
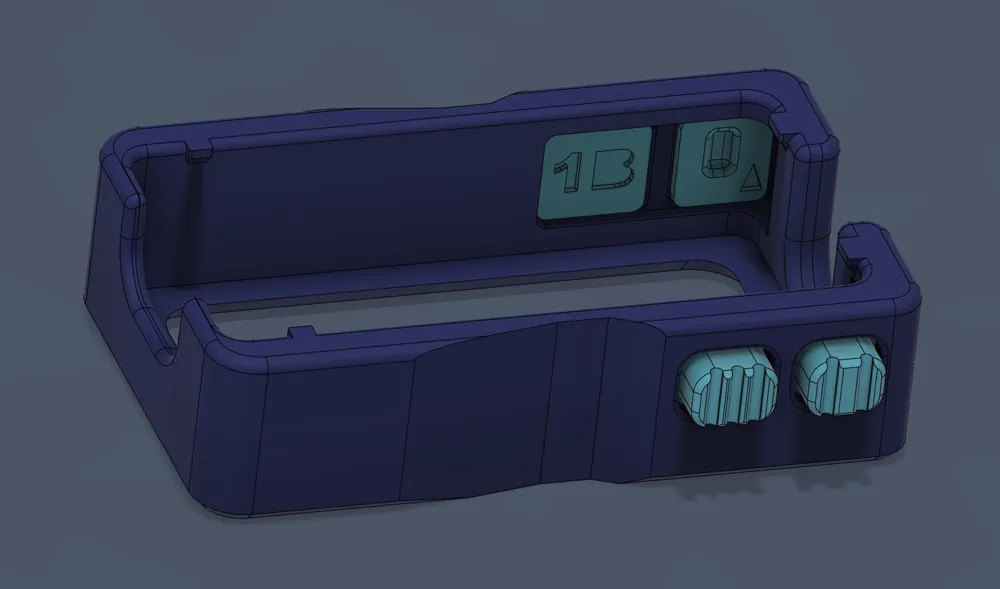
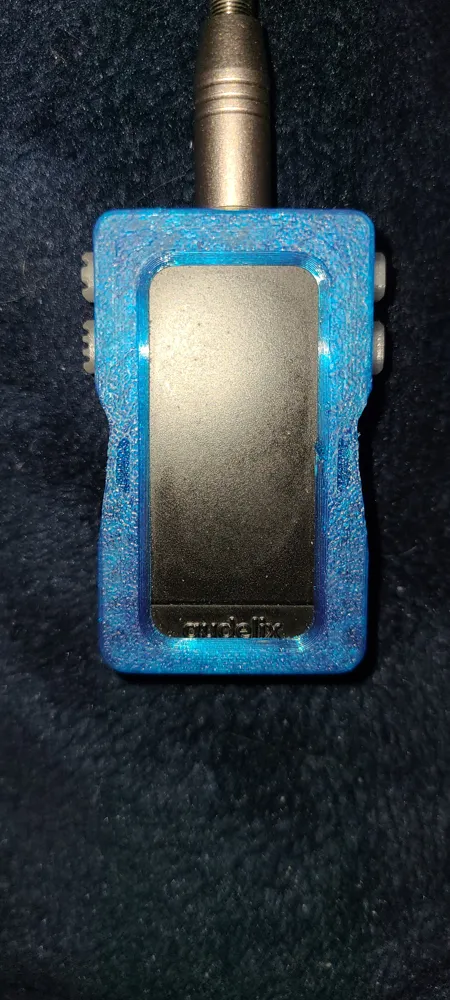
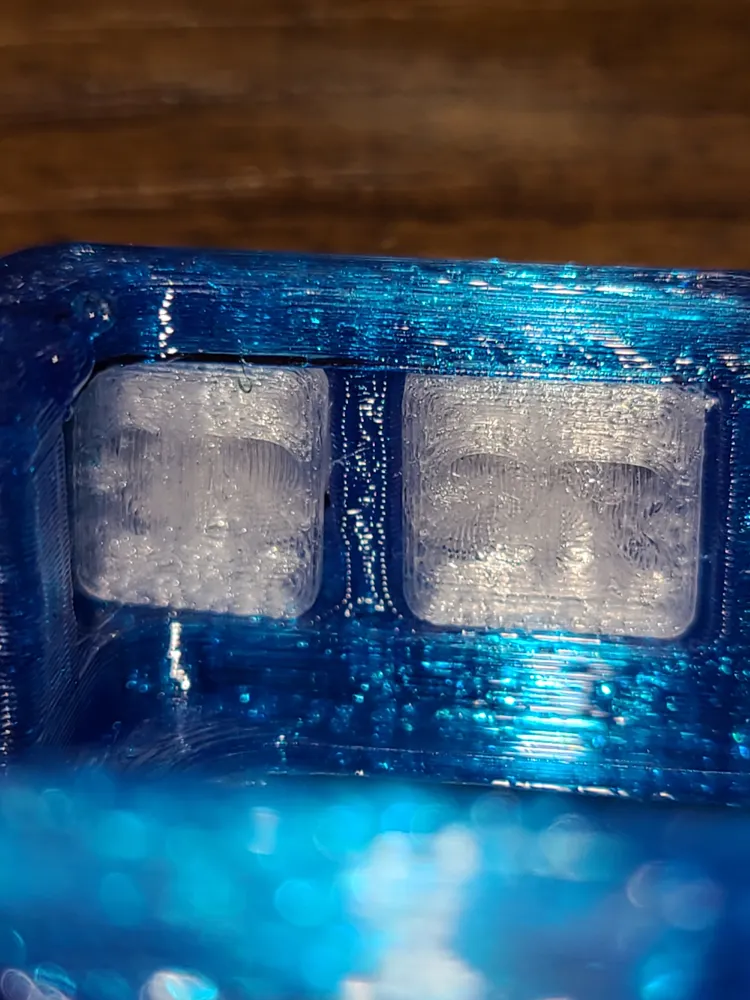
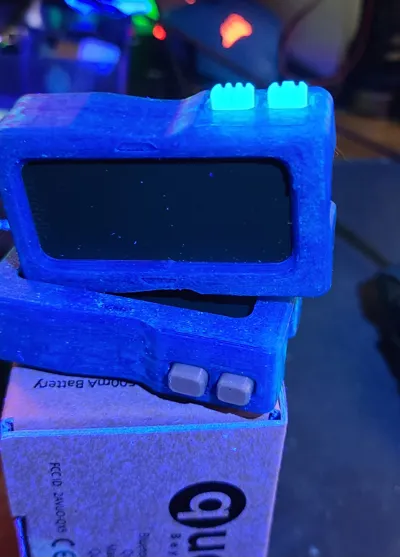
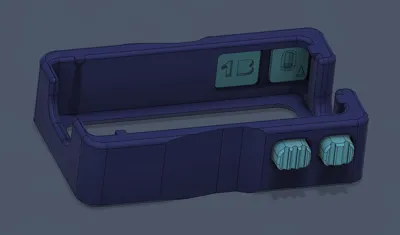
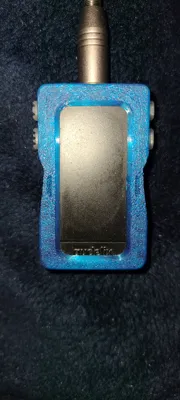
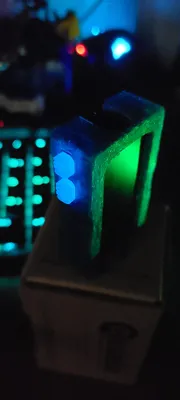
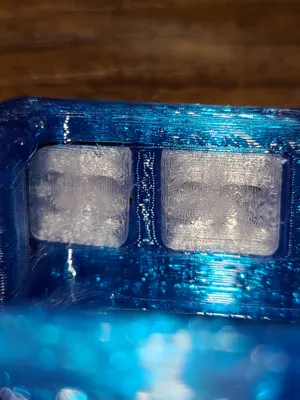
This cases fixes that by adding independent, functional buttons, making control a lot more precise and satisfying. I've added texture to the volume buttons while leaving the other buttons smooth so you don't have to look to know which button you're pressing.
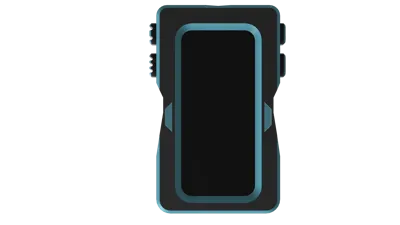
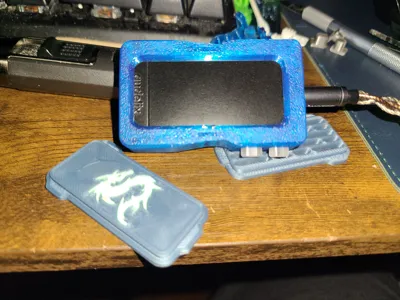
I've included three different styles so you can pick whichever you like best:
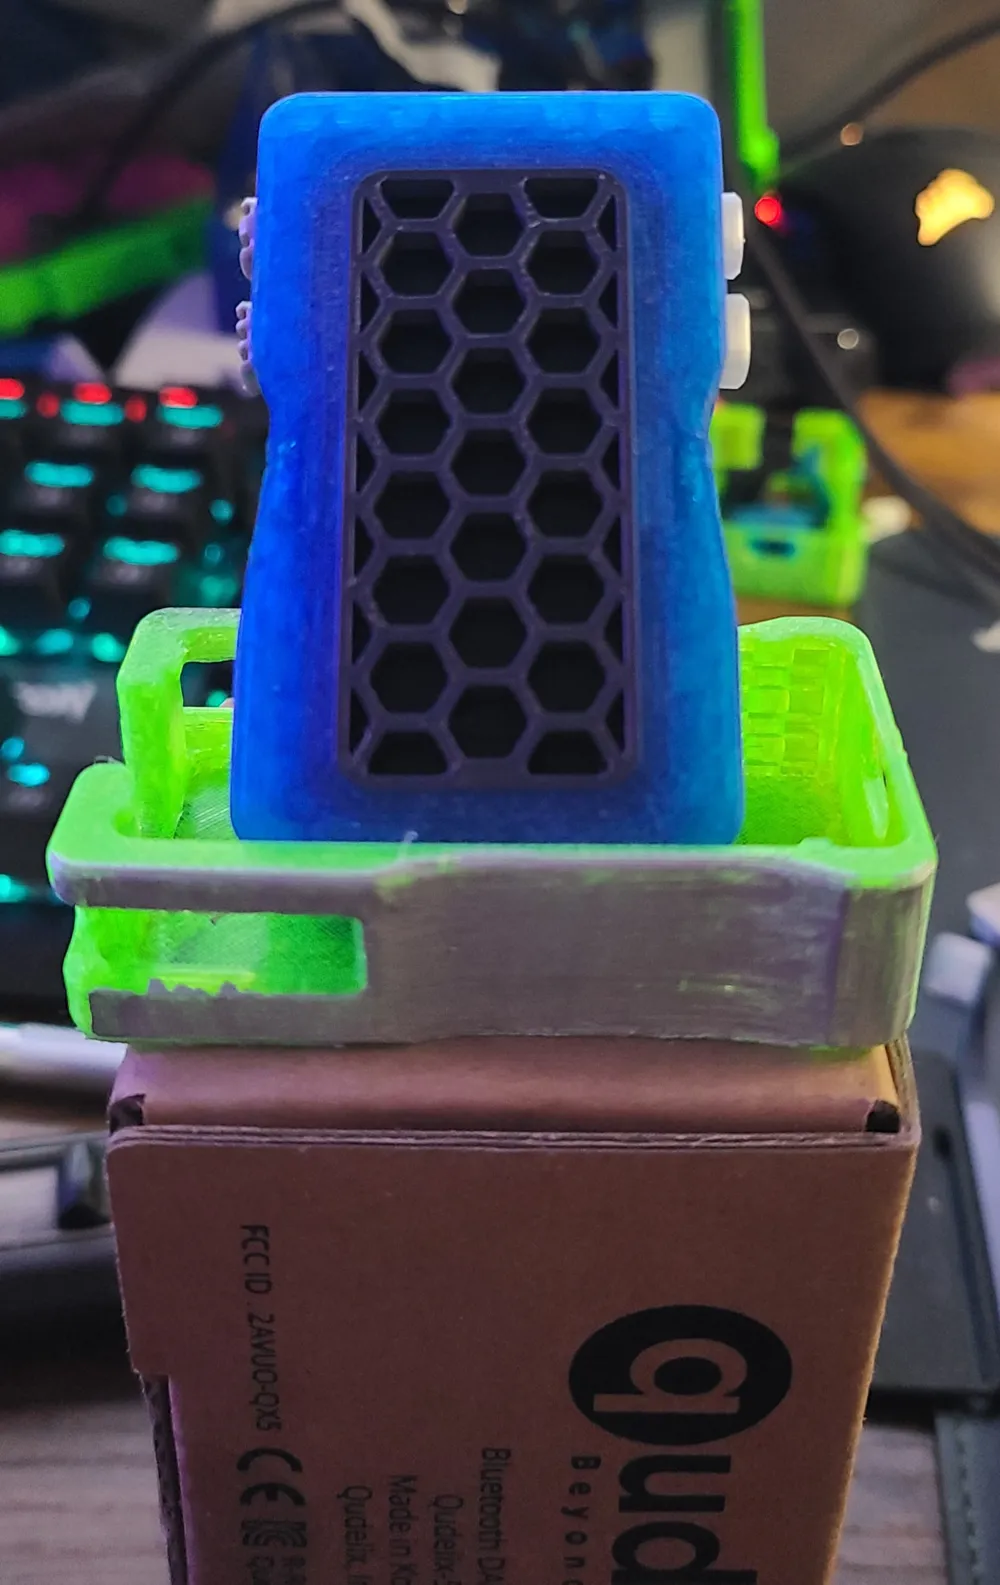
- Mostly Enclosed (except for the clip)
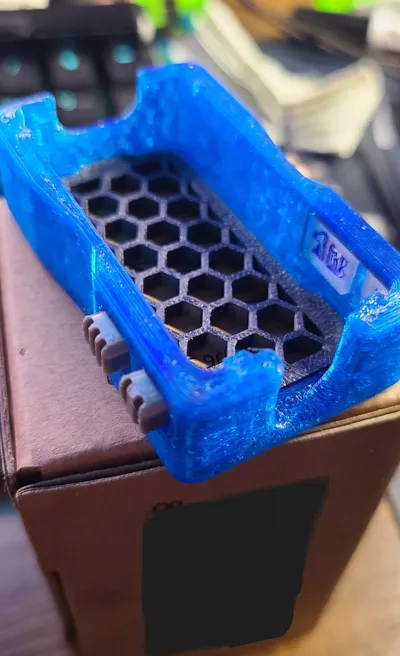
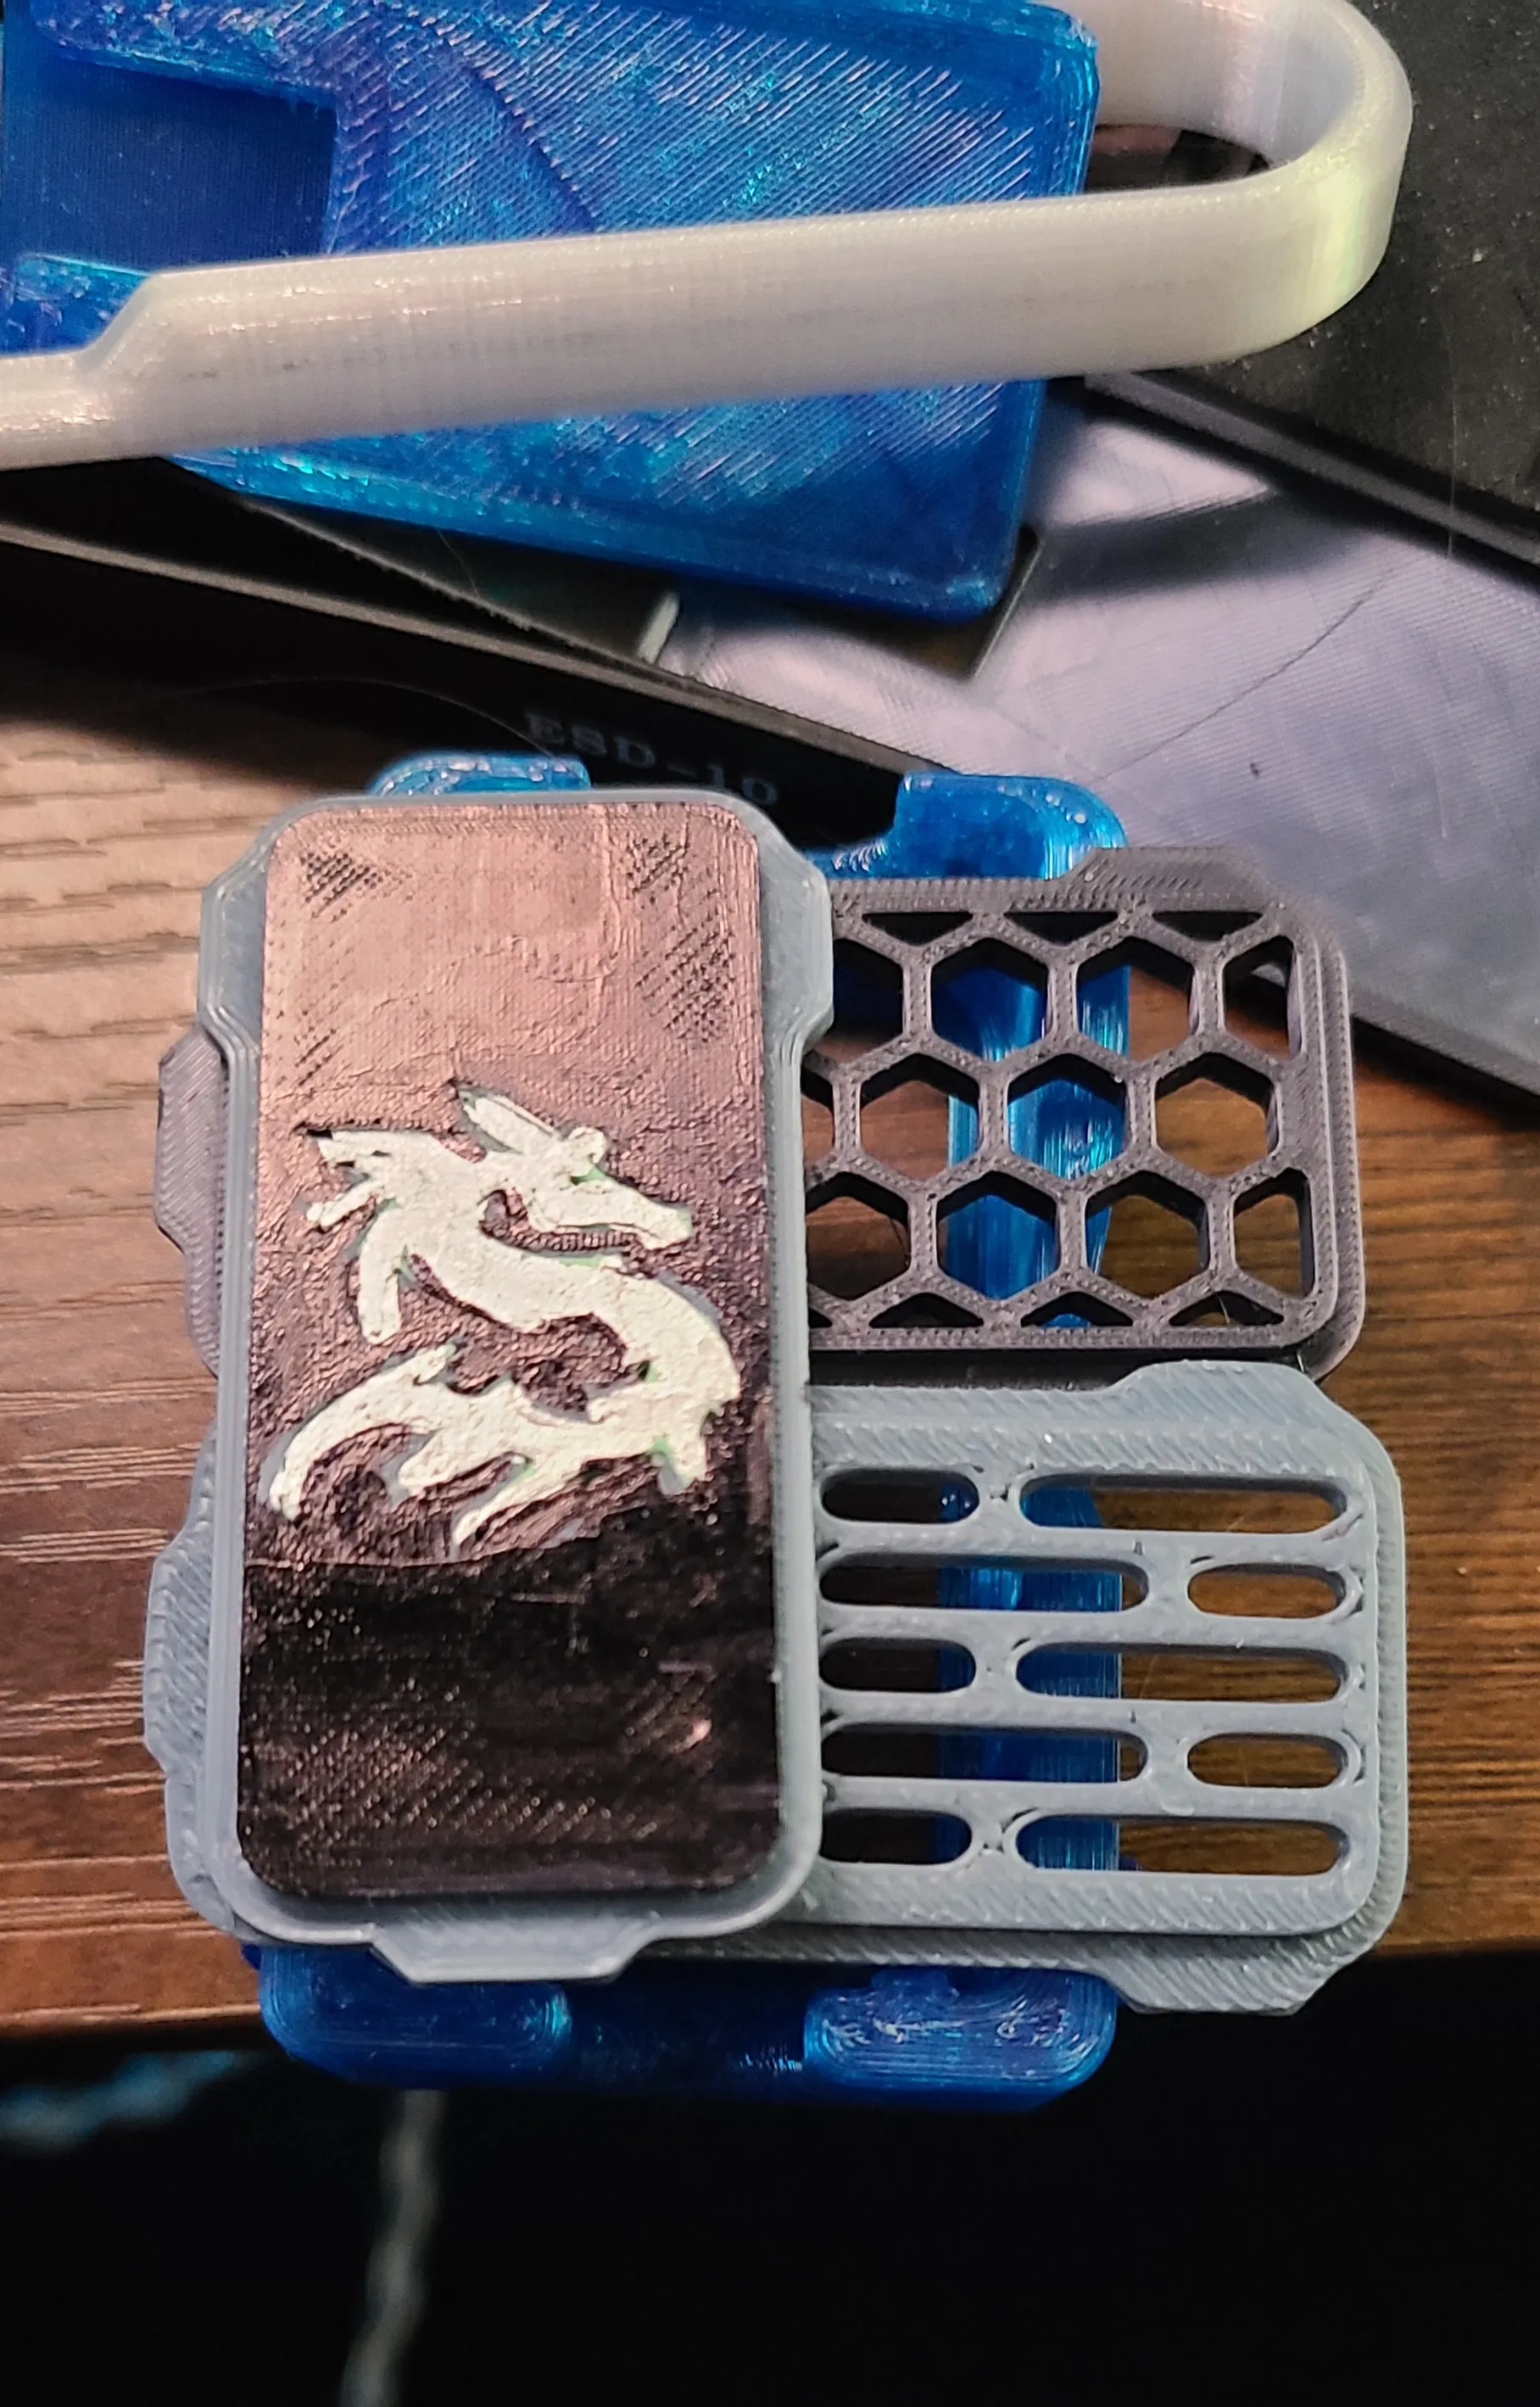
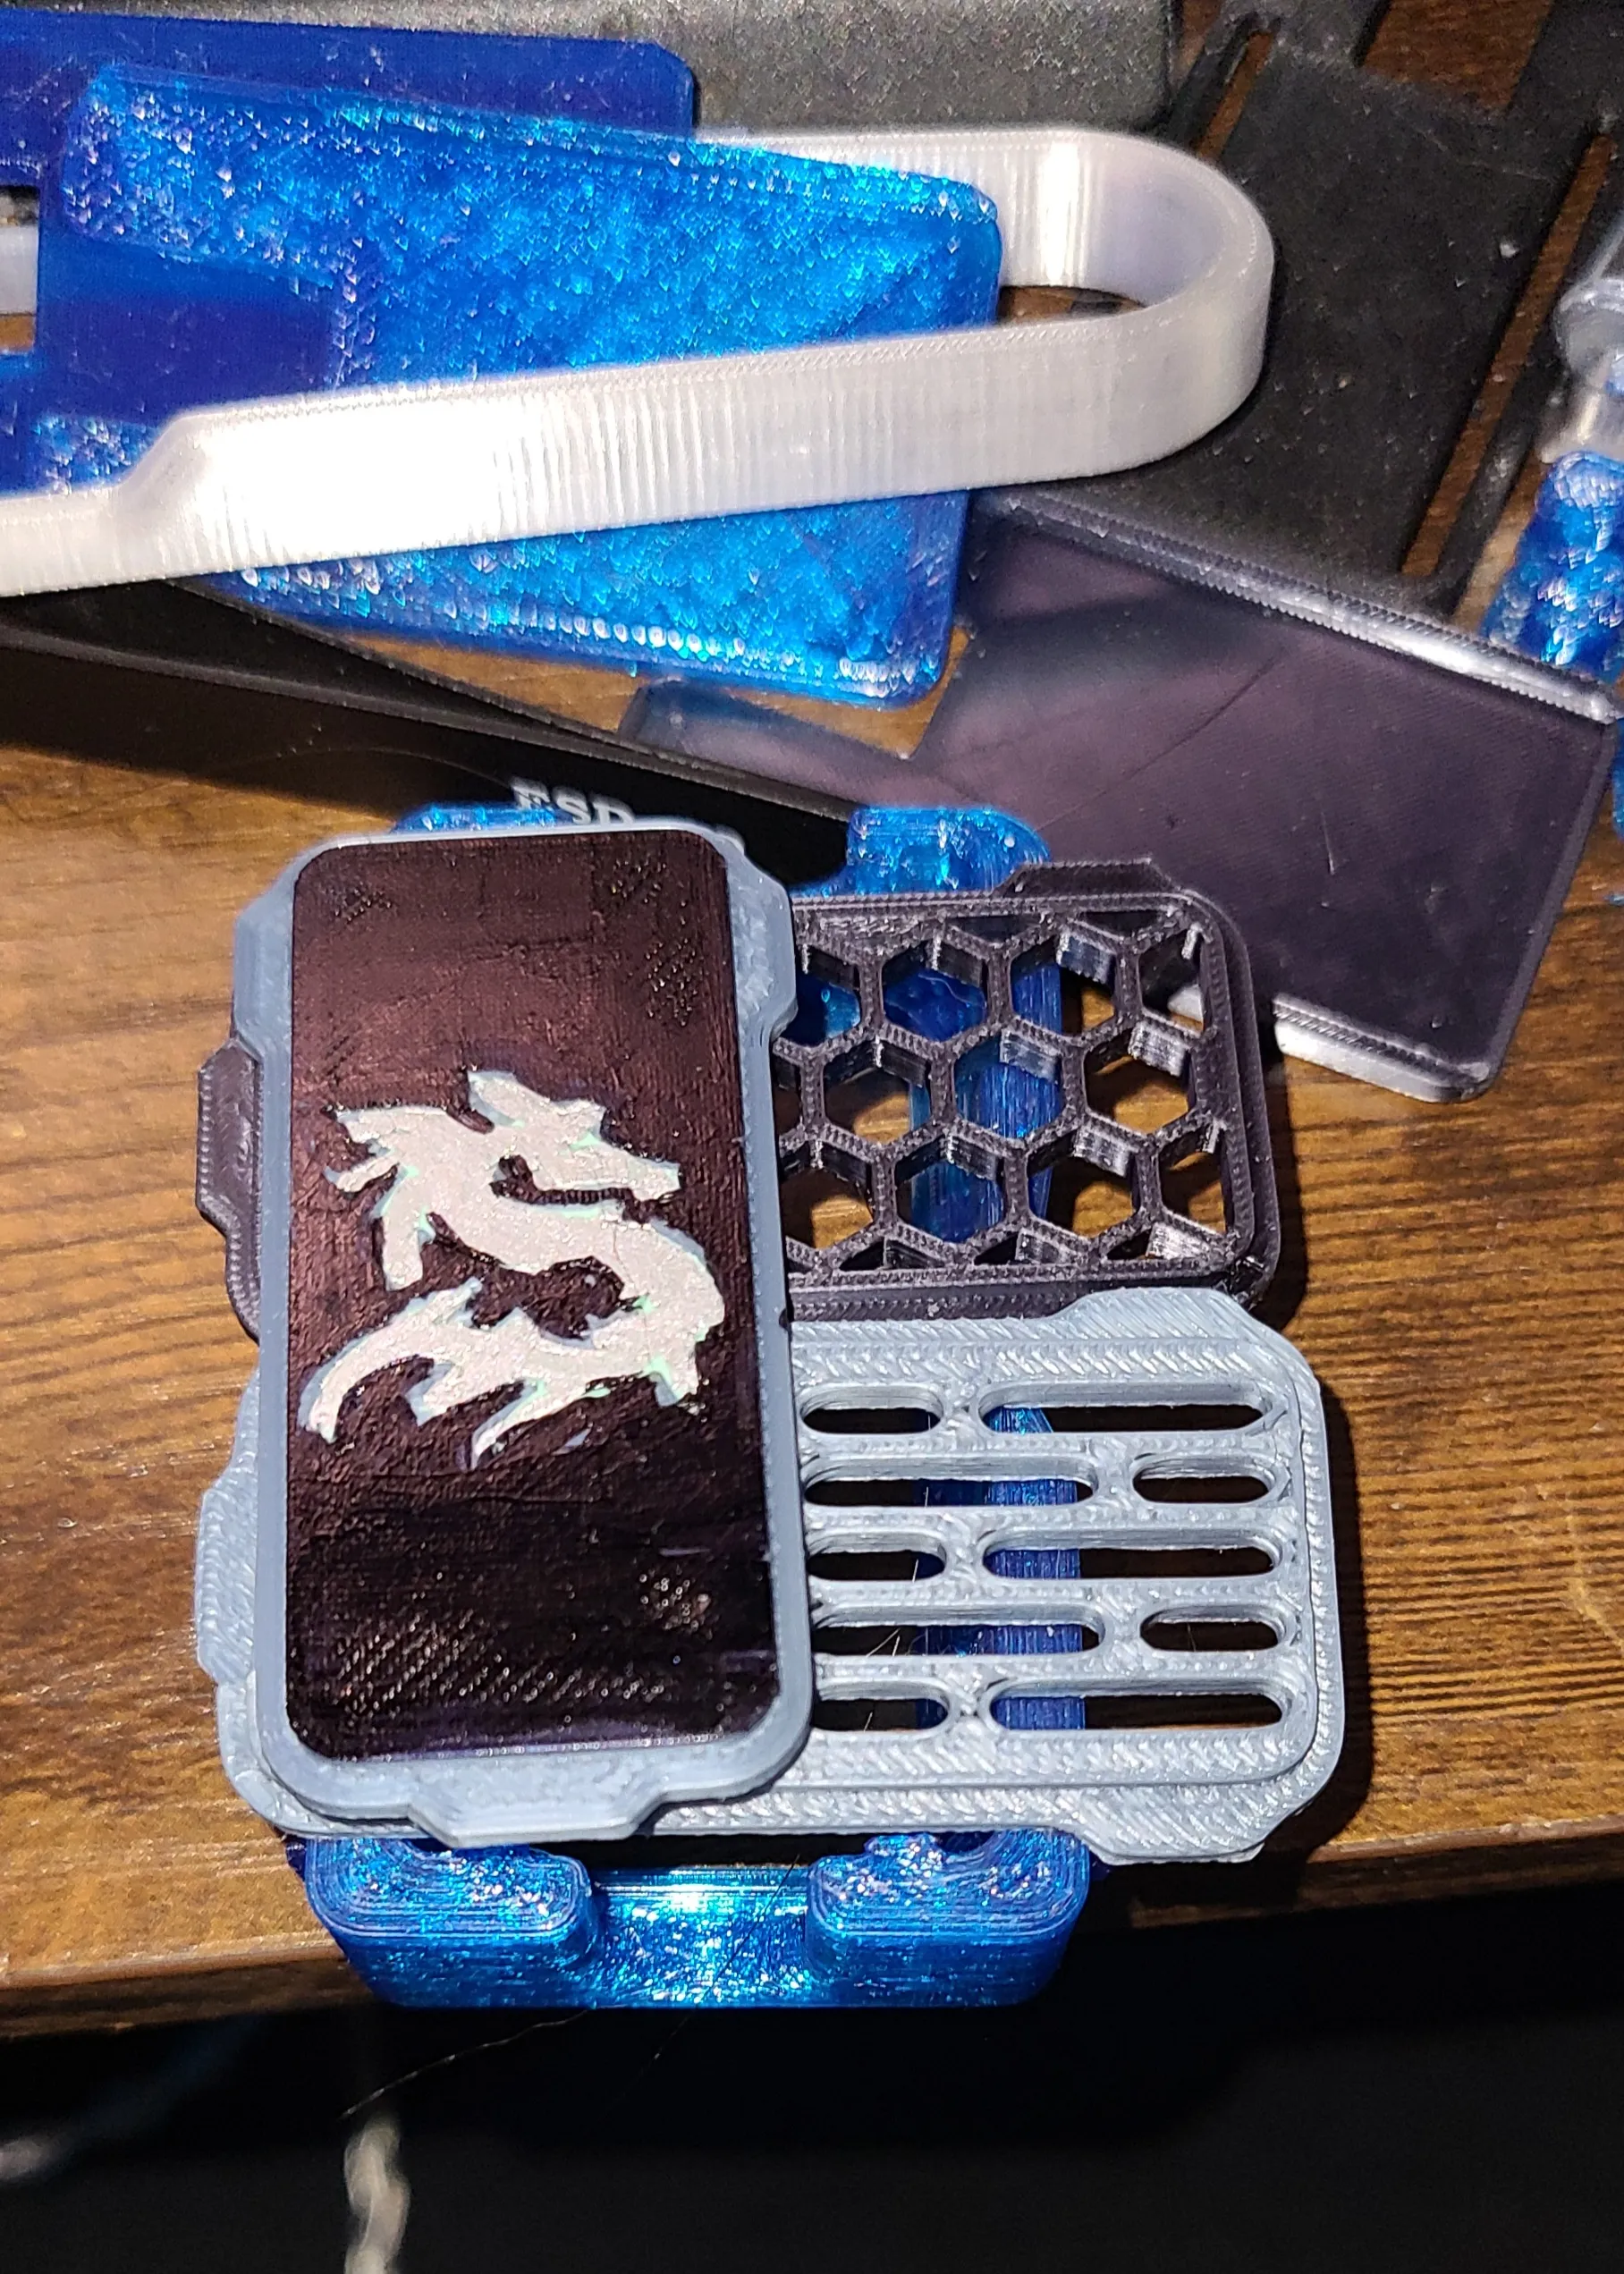
- Open Front with recessed slot for inserts (you can use whatever material and color for the inserts)
Bumper Style
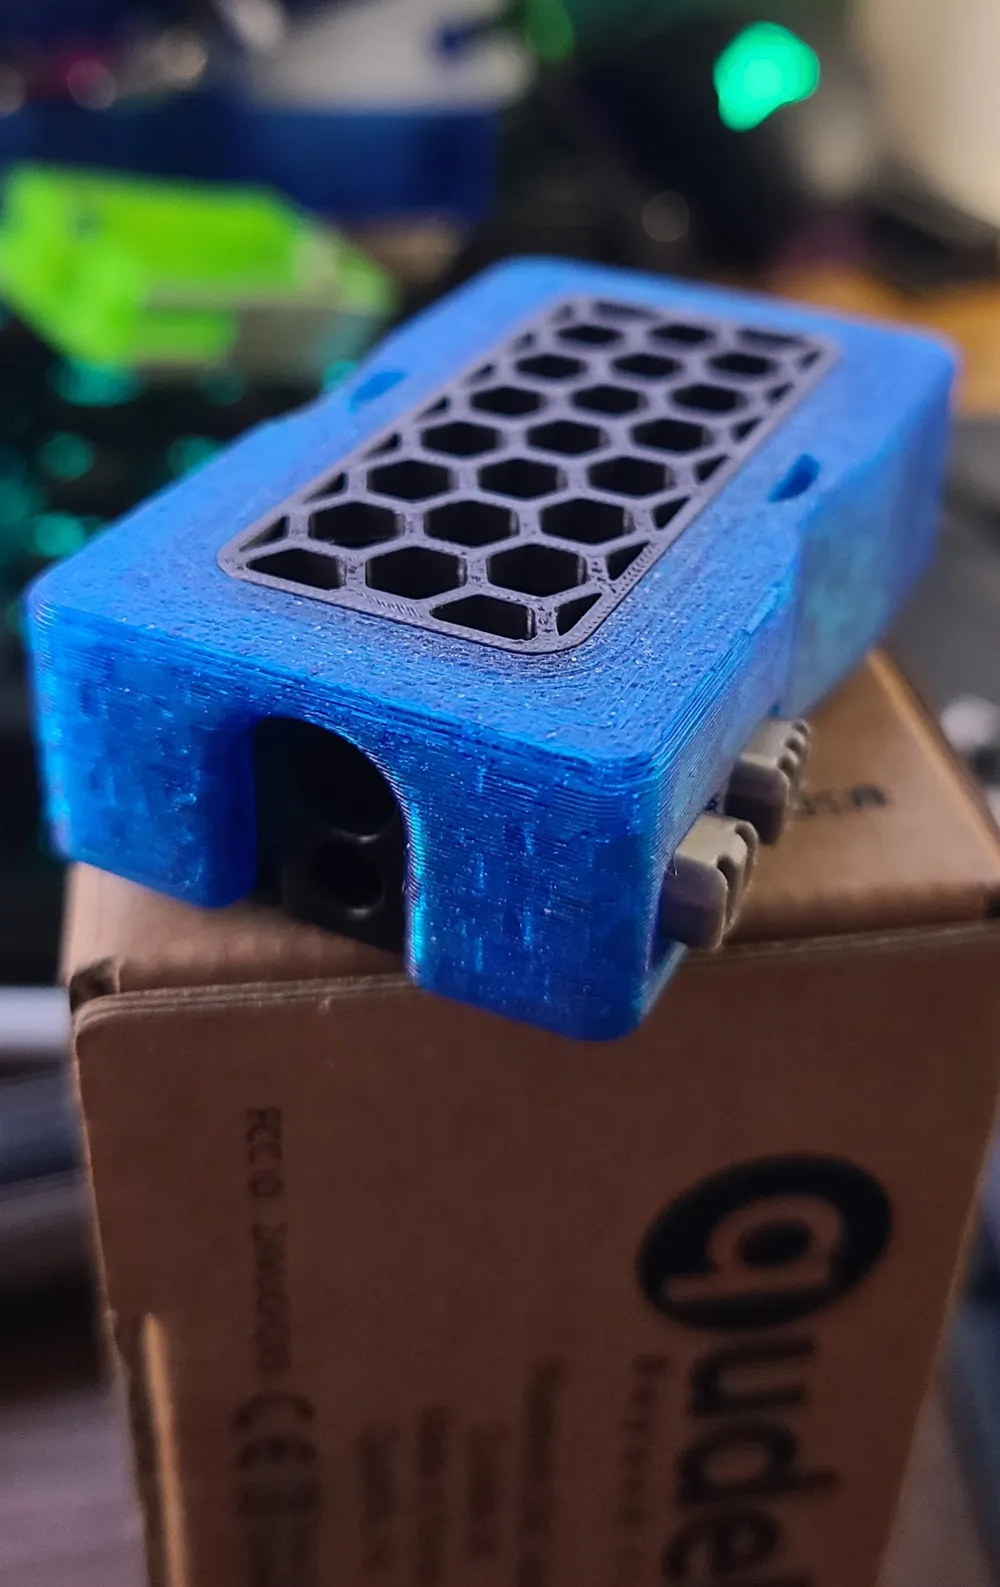
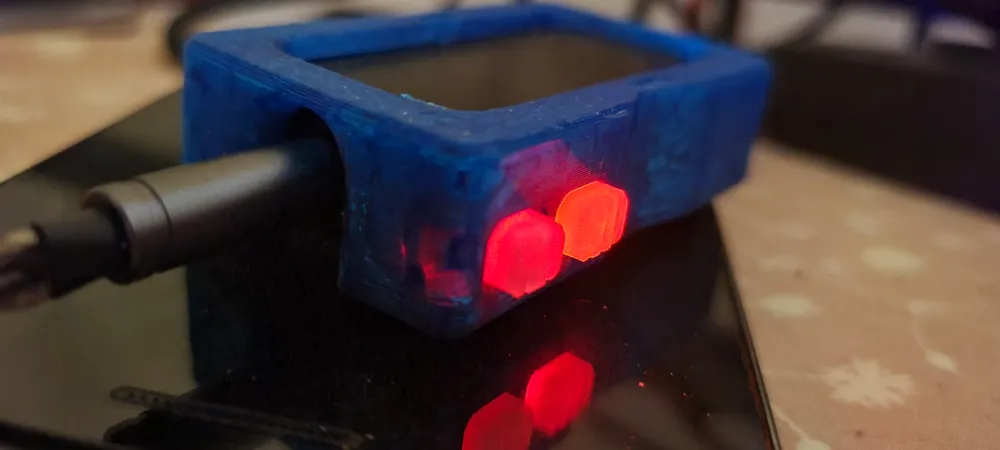
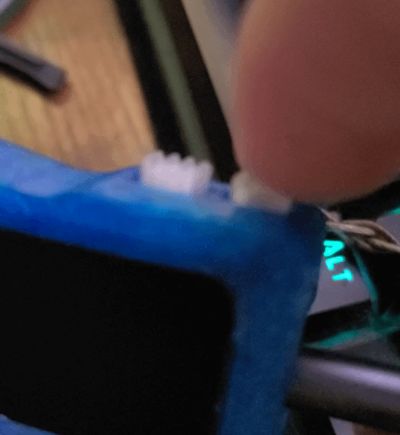
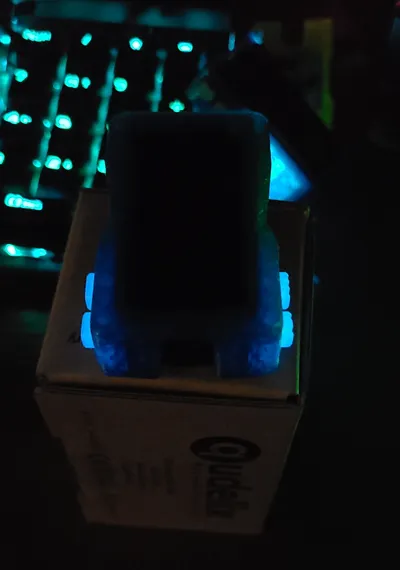
The buttons are designed to be printed separately and can be done in pretty much any filament. I've personally tested:
- PLA
- Translucent PETG
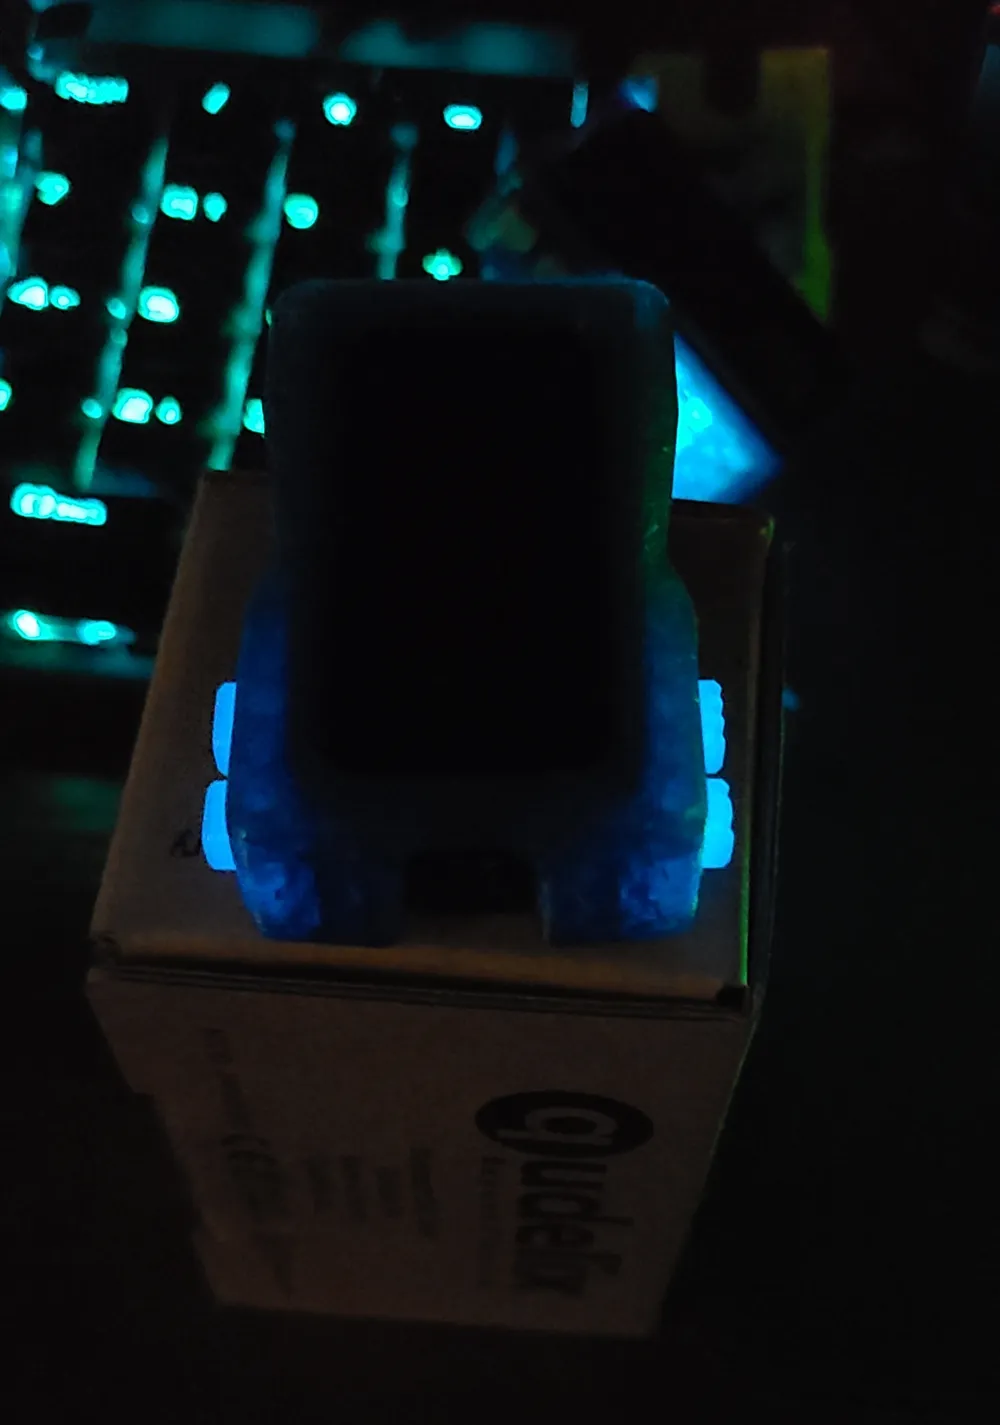
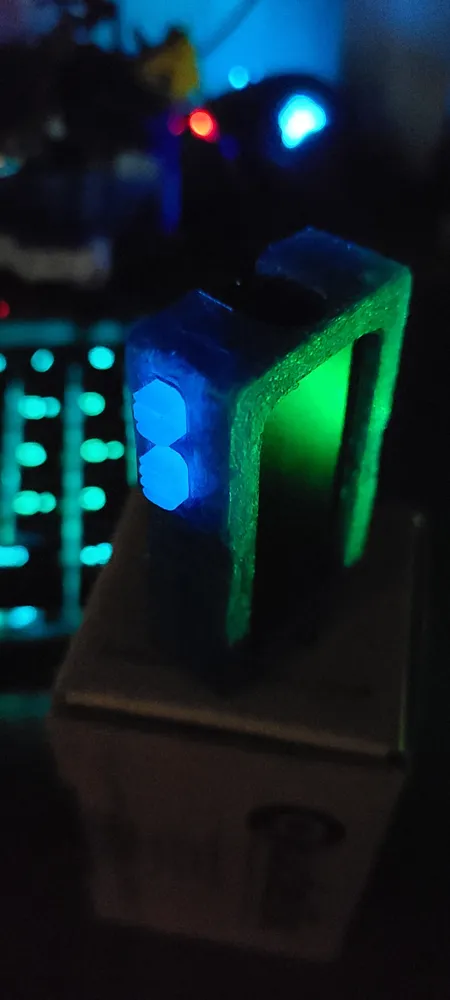
- Glow-in-the-dark PLA
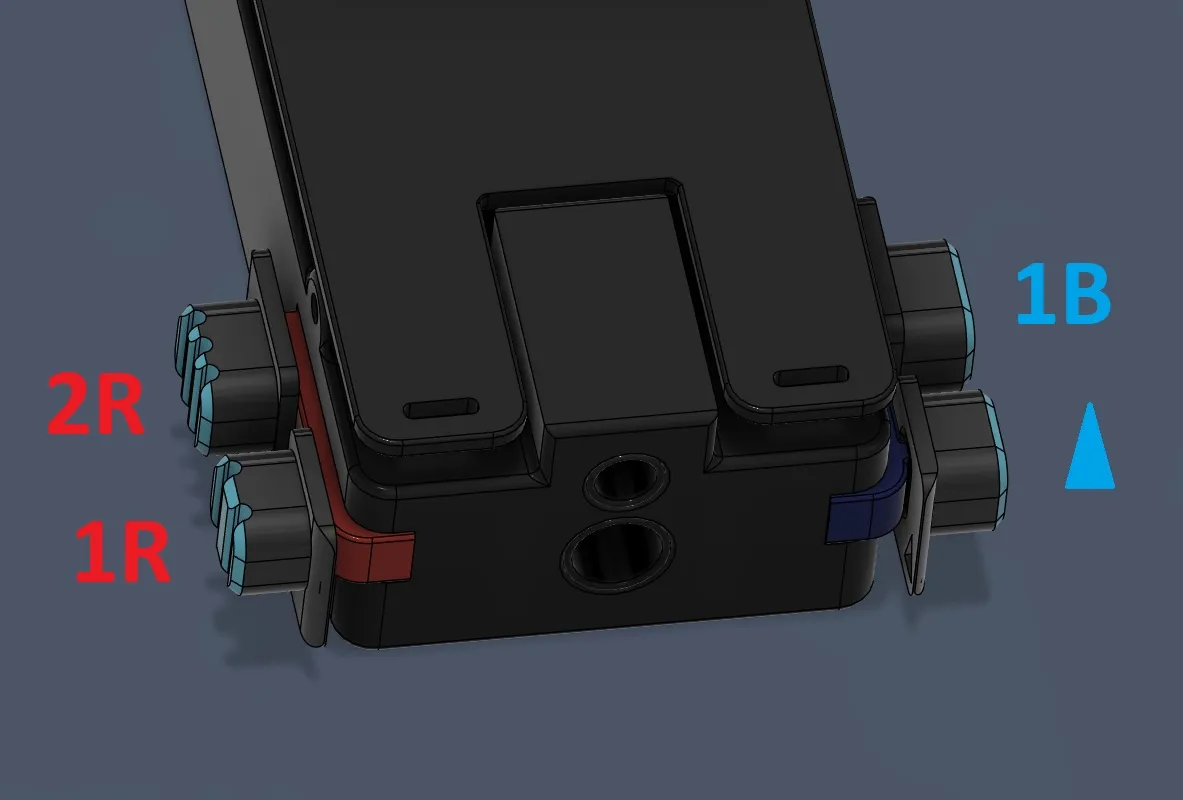
Each button has markings on the bottom so you know the right side and orientation to install them in. I recommend using precision tweezers to get them seated cleanly. I've added two versions for the button, one is taller so the buttons stick out a bit, the other is lower profile so the buttons stick out just enough to be pressed comfortably.
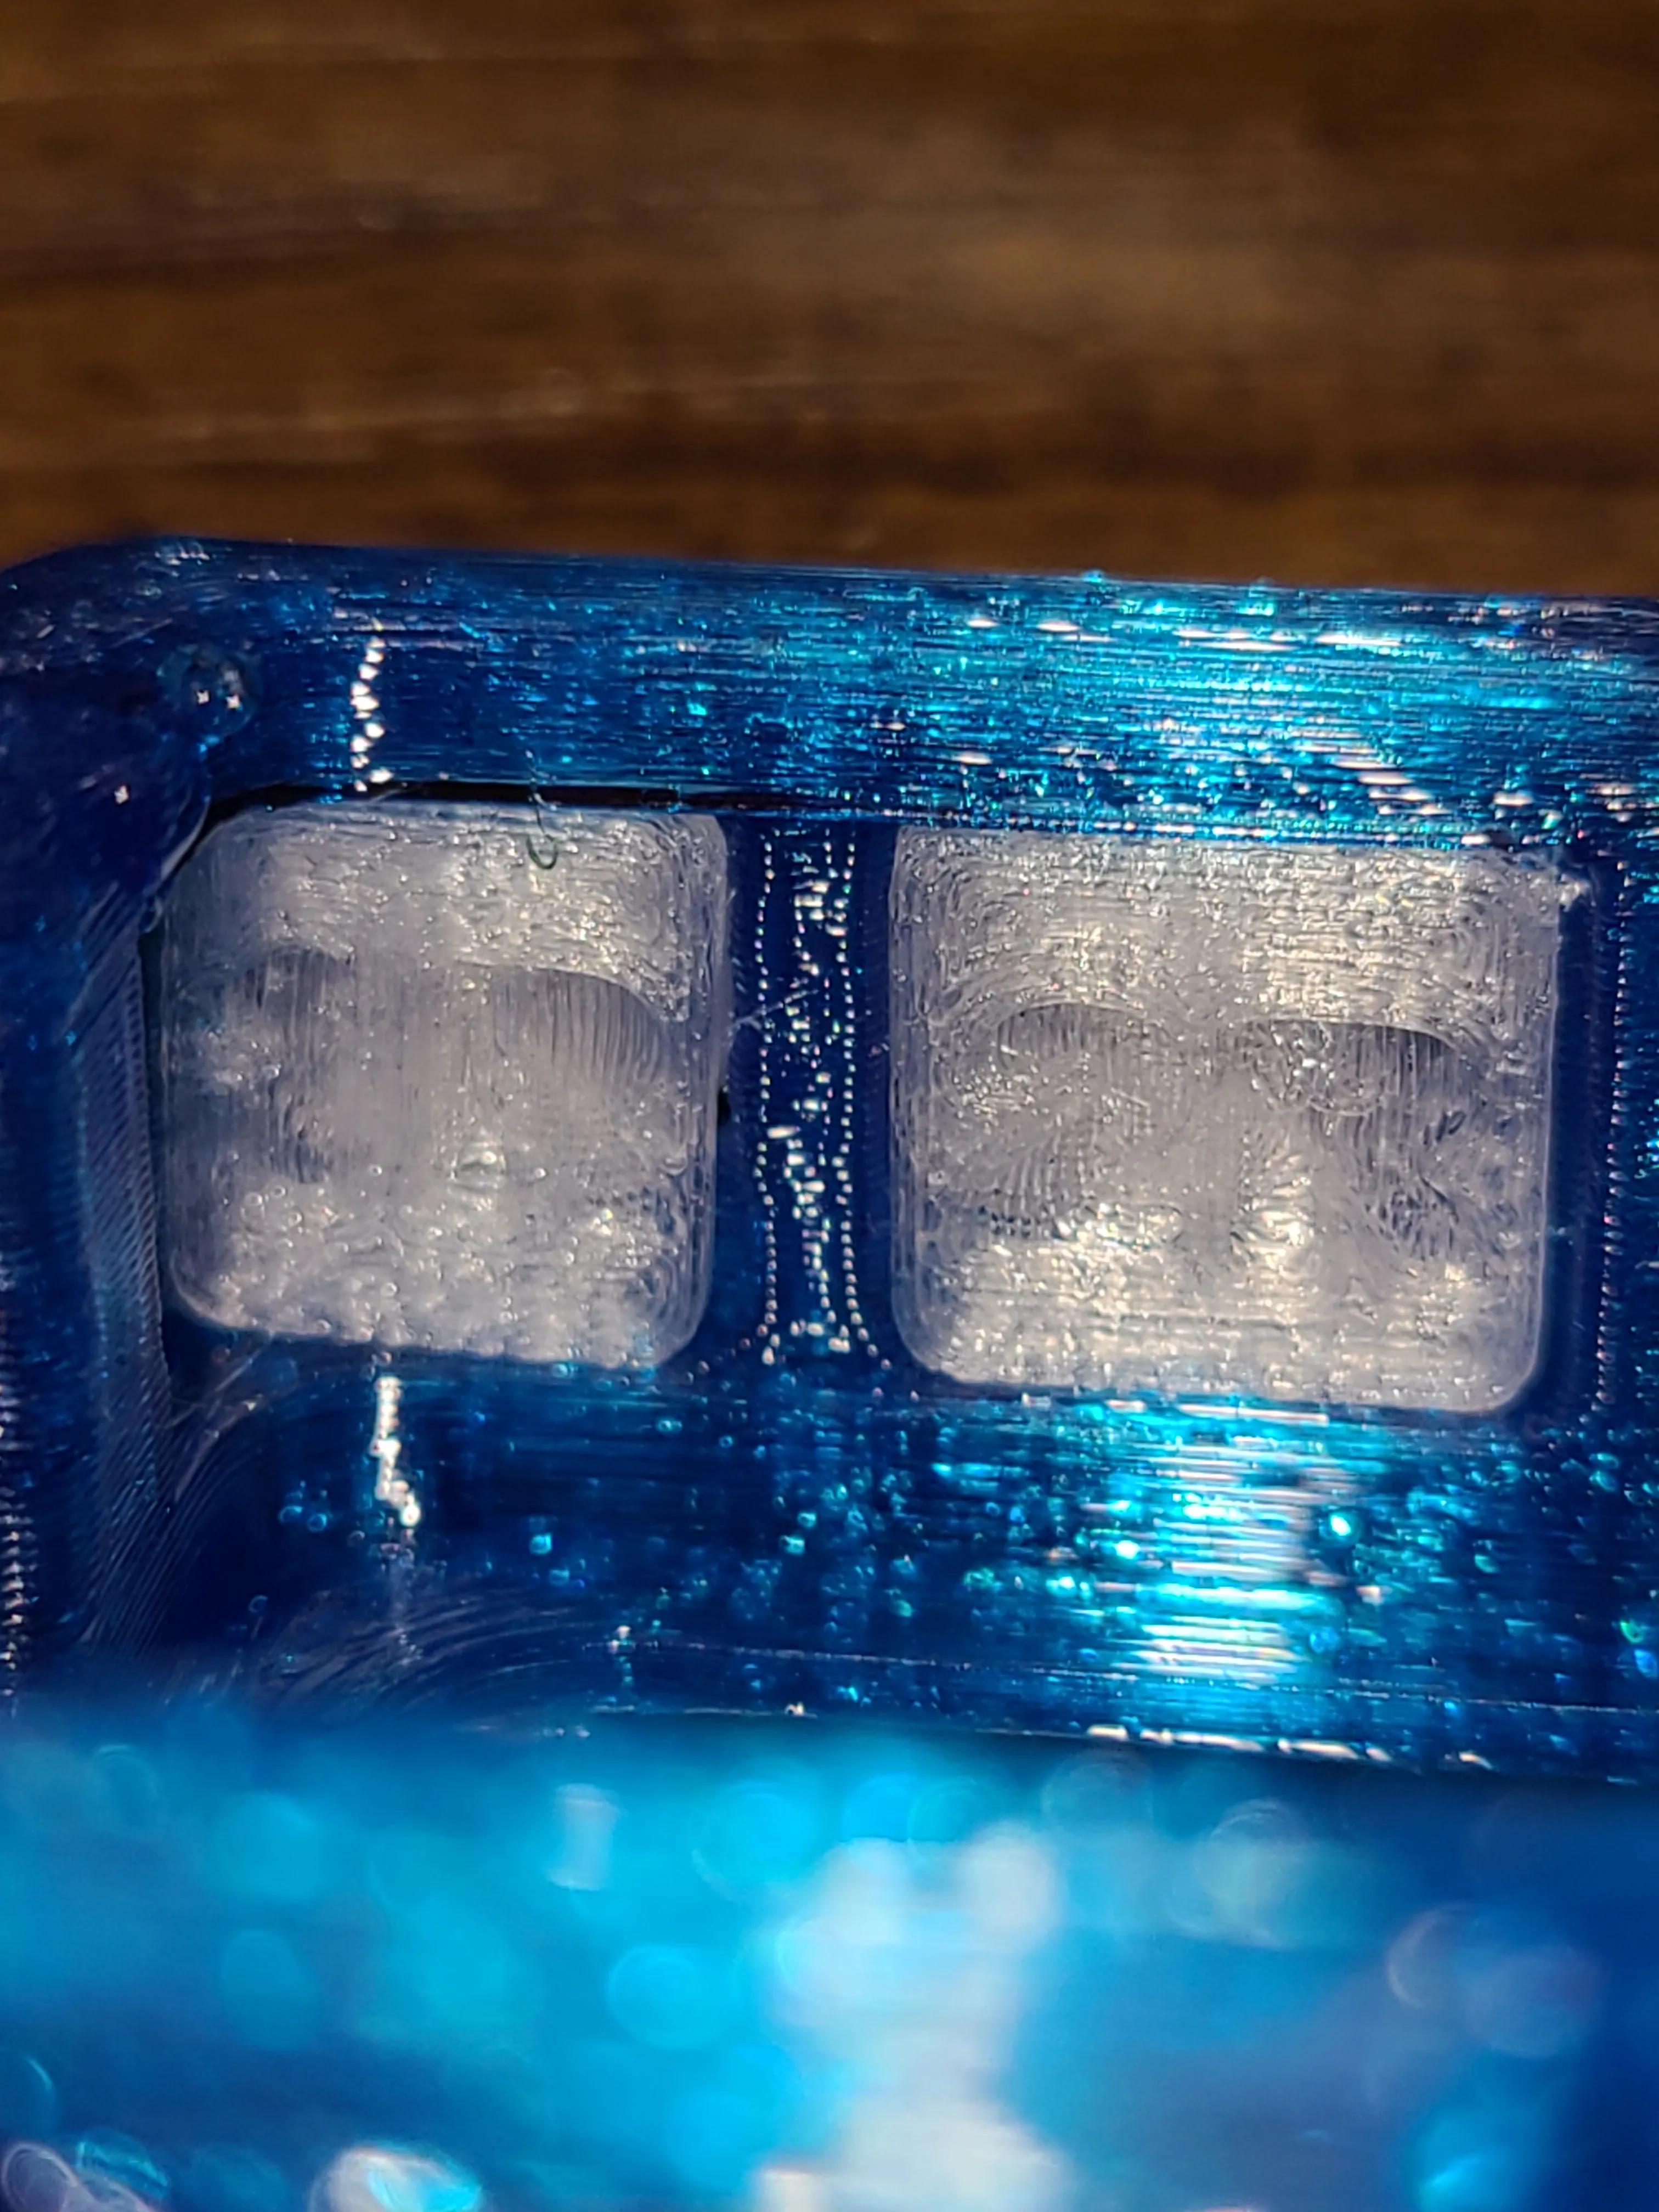
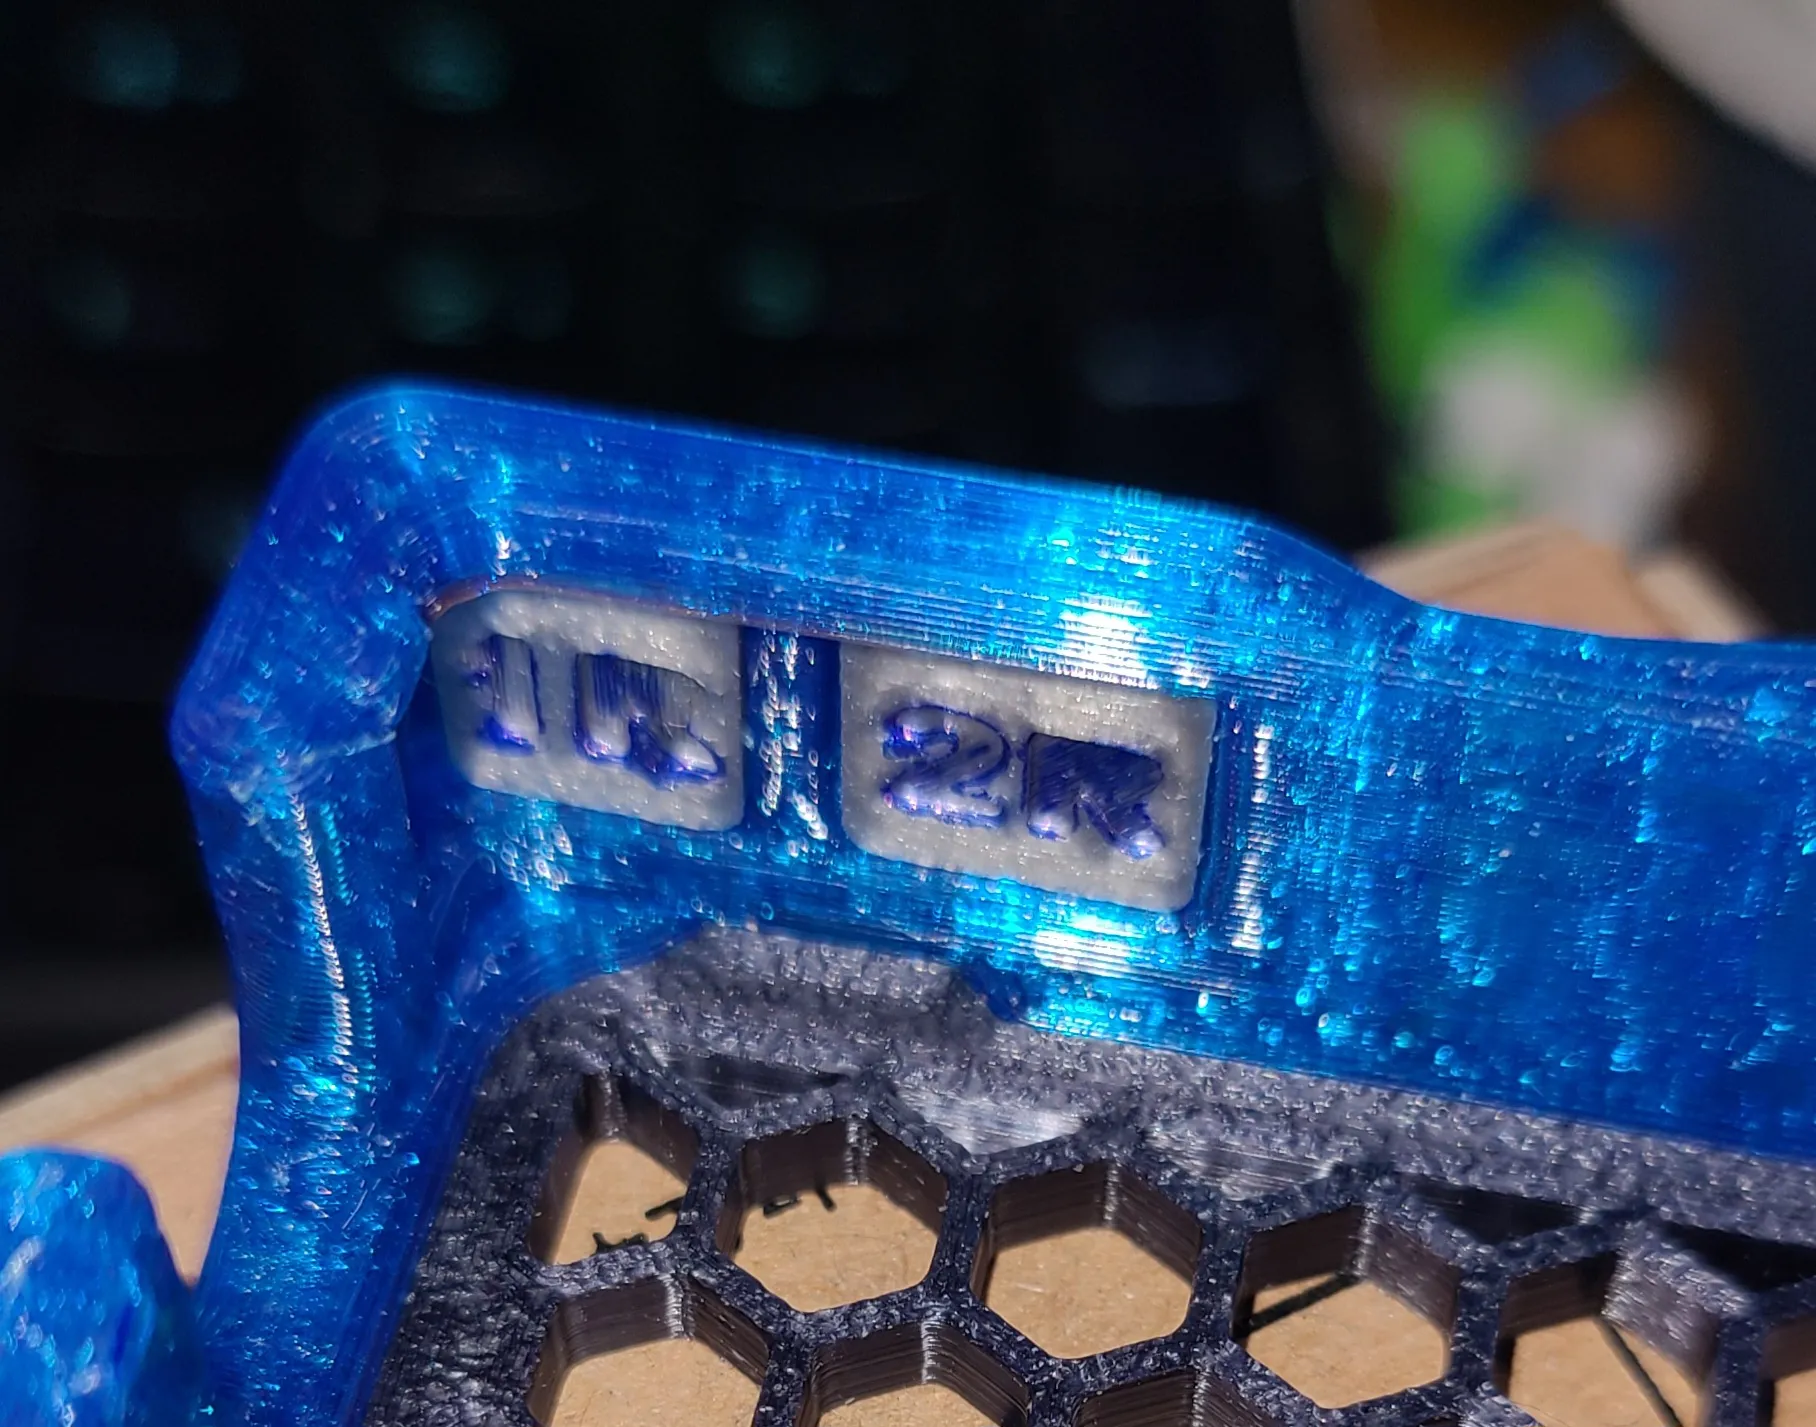
The profile is tuned for a 0.4mm nozzle. Though I recommend printing the buttons using a 0.2mm nozzle as it makes the details sharper.

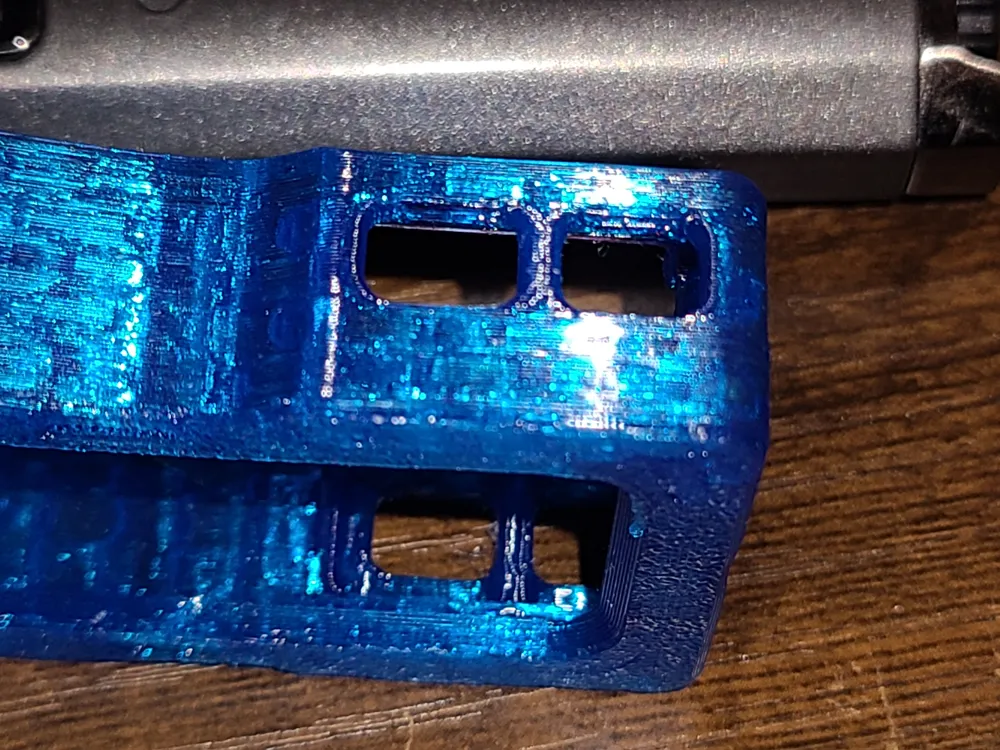
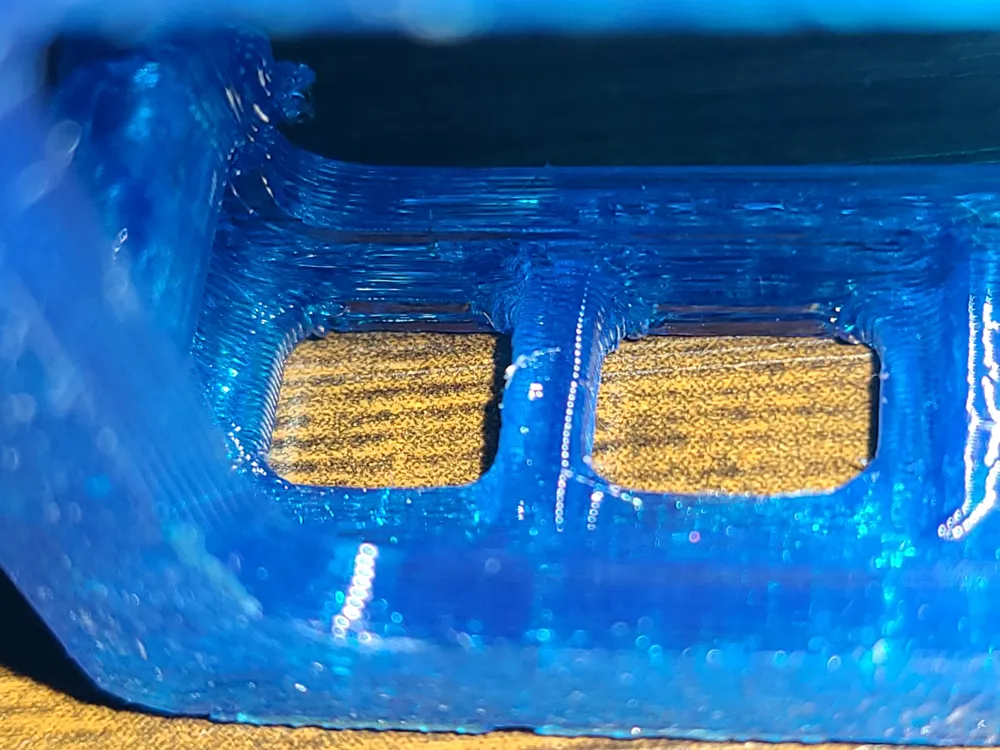
The case itself is designed to be printed in TPU. Using rigid materials will make installation very difficult. TPU allows for the sides to flex out of the way so the Q5K snaps right in. The profile includes two versions for each style of the case. One has 2 pauses for each of the cases. The pauses are there so you can use a marker and paint the support interface as the Top Z Distance has been decreased to 0.1mm. This makes removing the supports very easy and prevents sagging from bridging which can affect the use of the buttons. The other version has no pauses and the supports have the standard 0.2mm Top Z Distance.
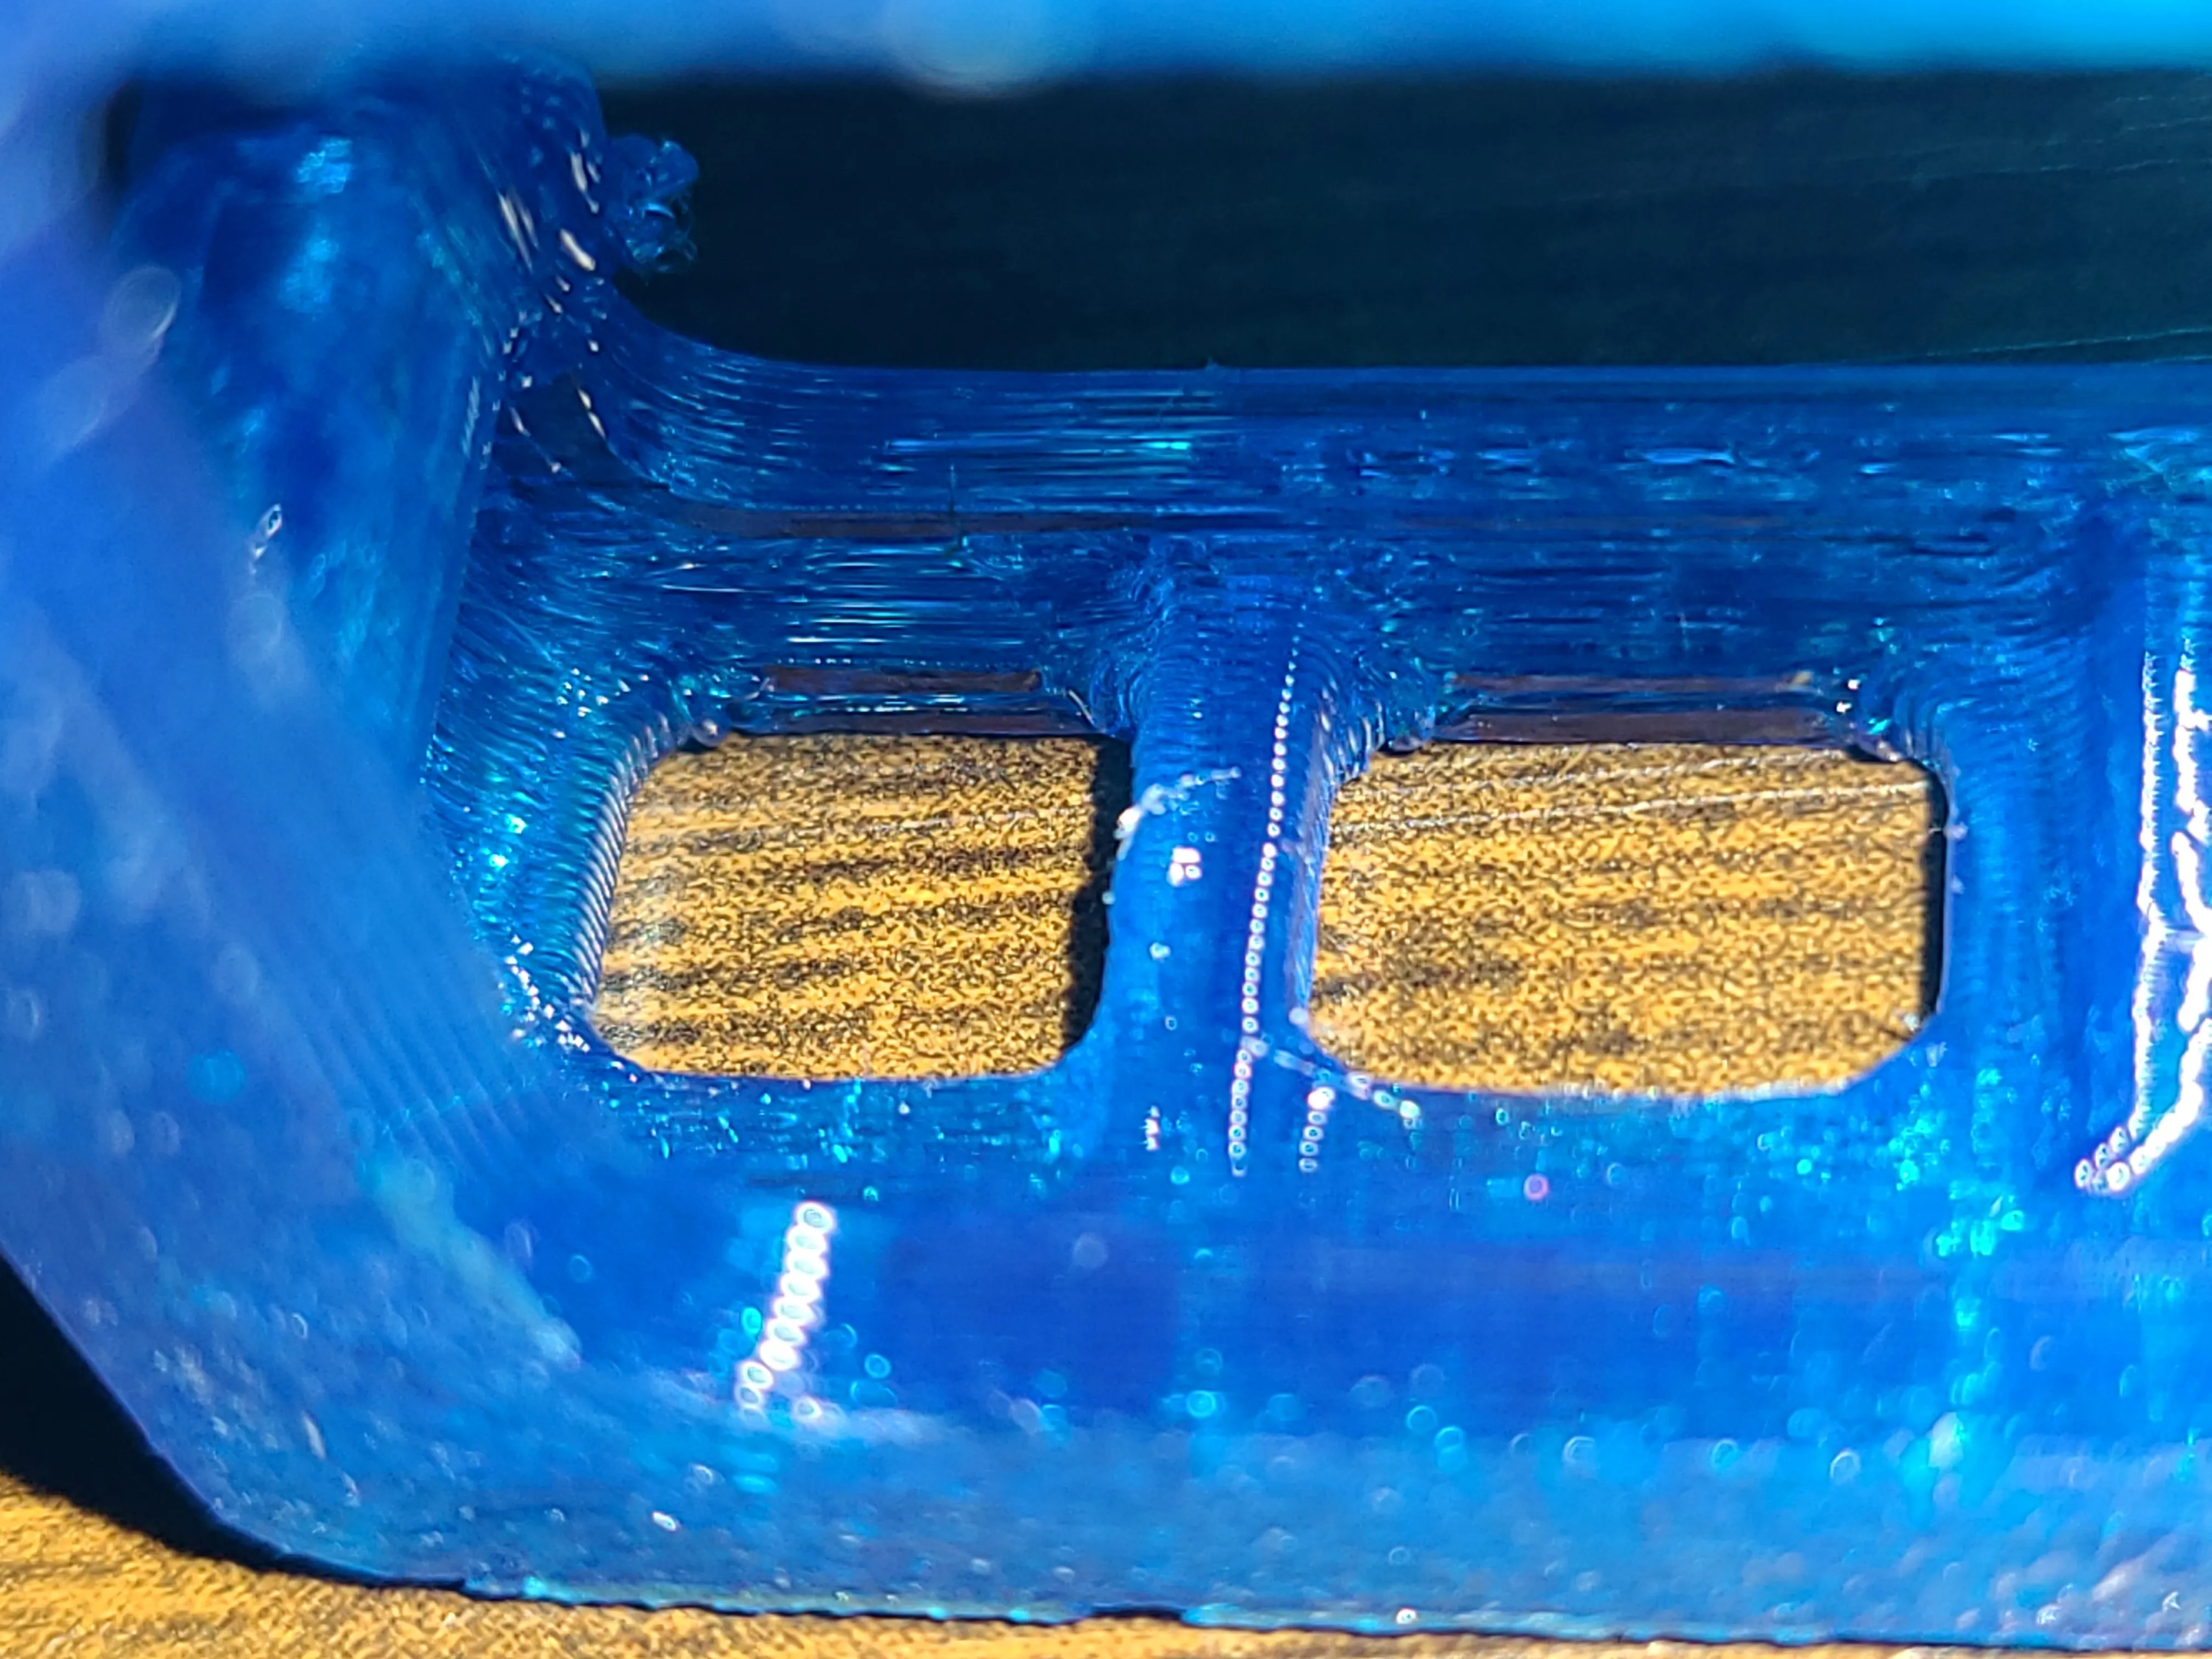
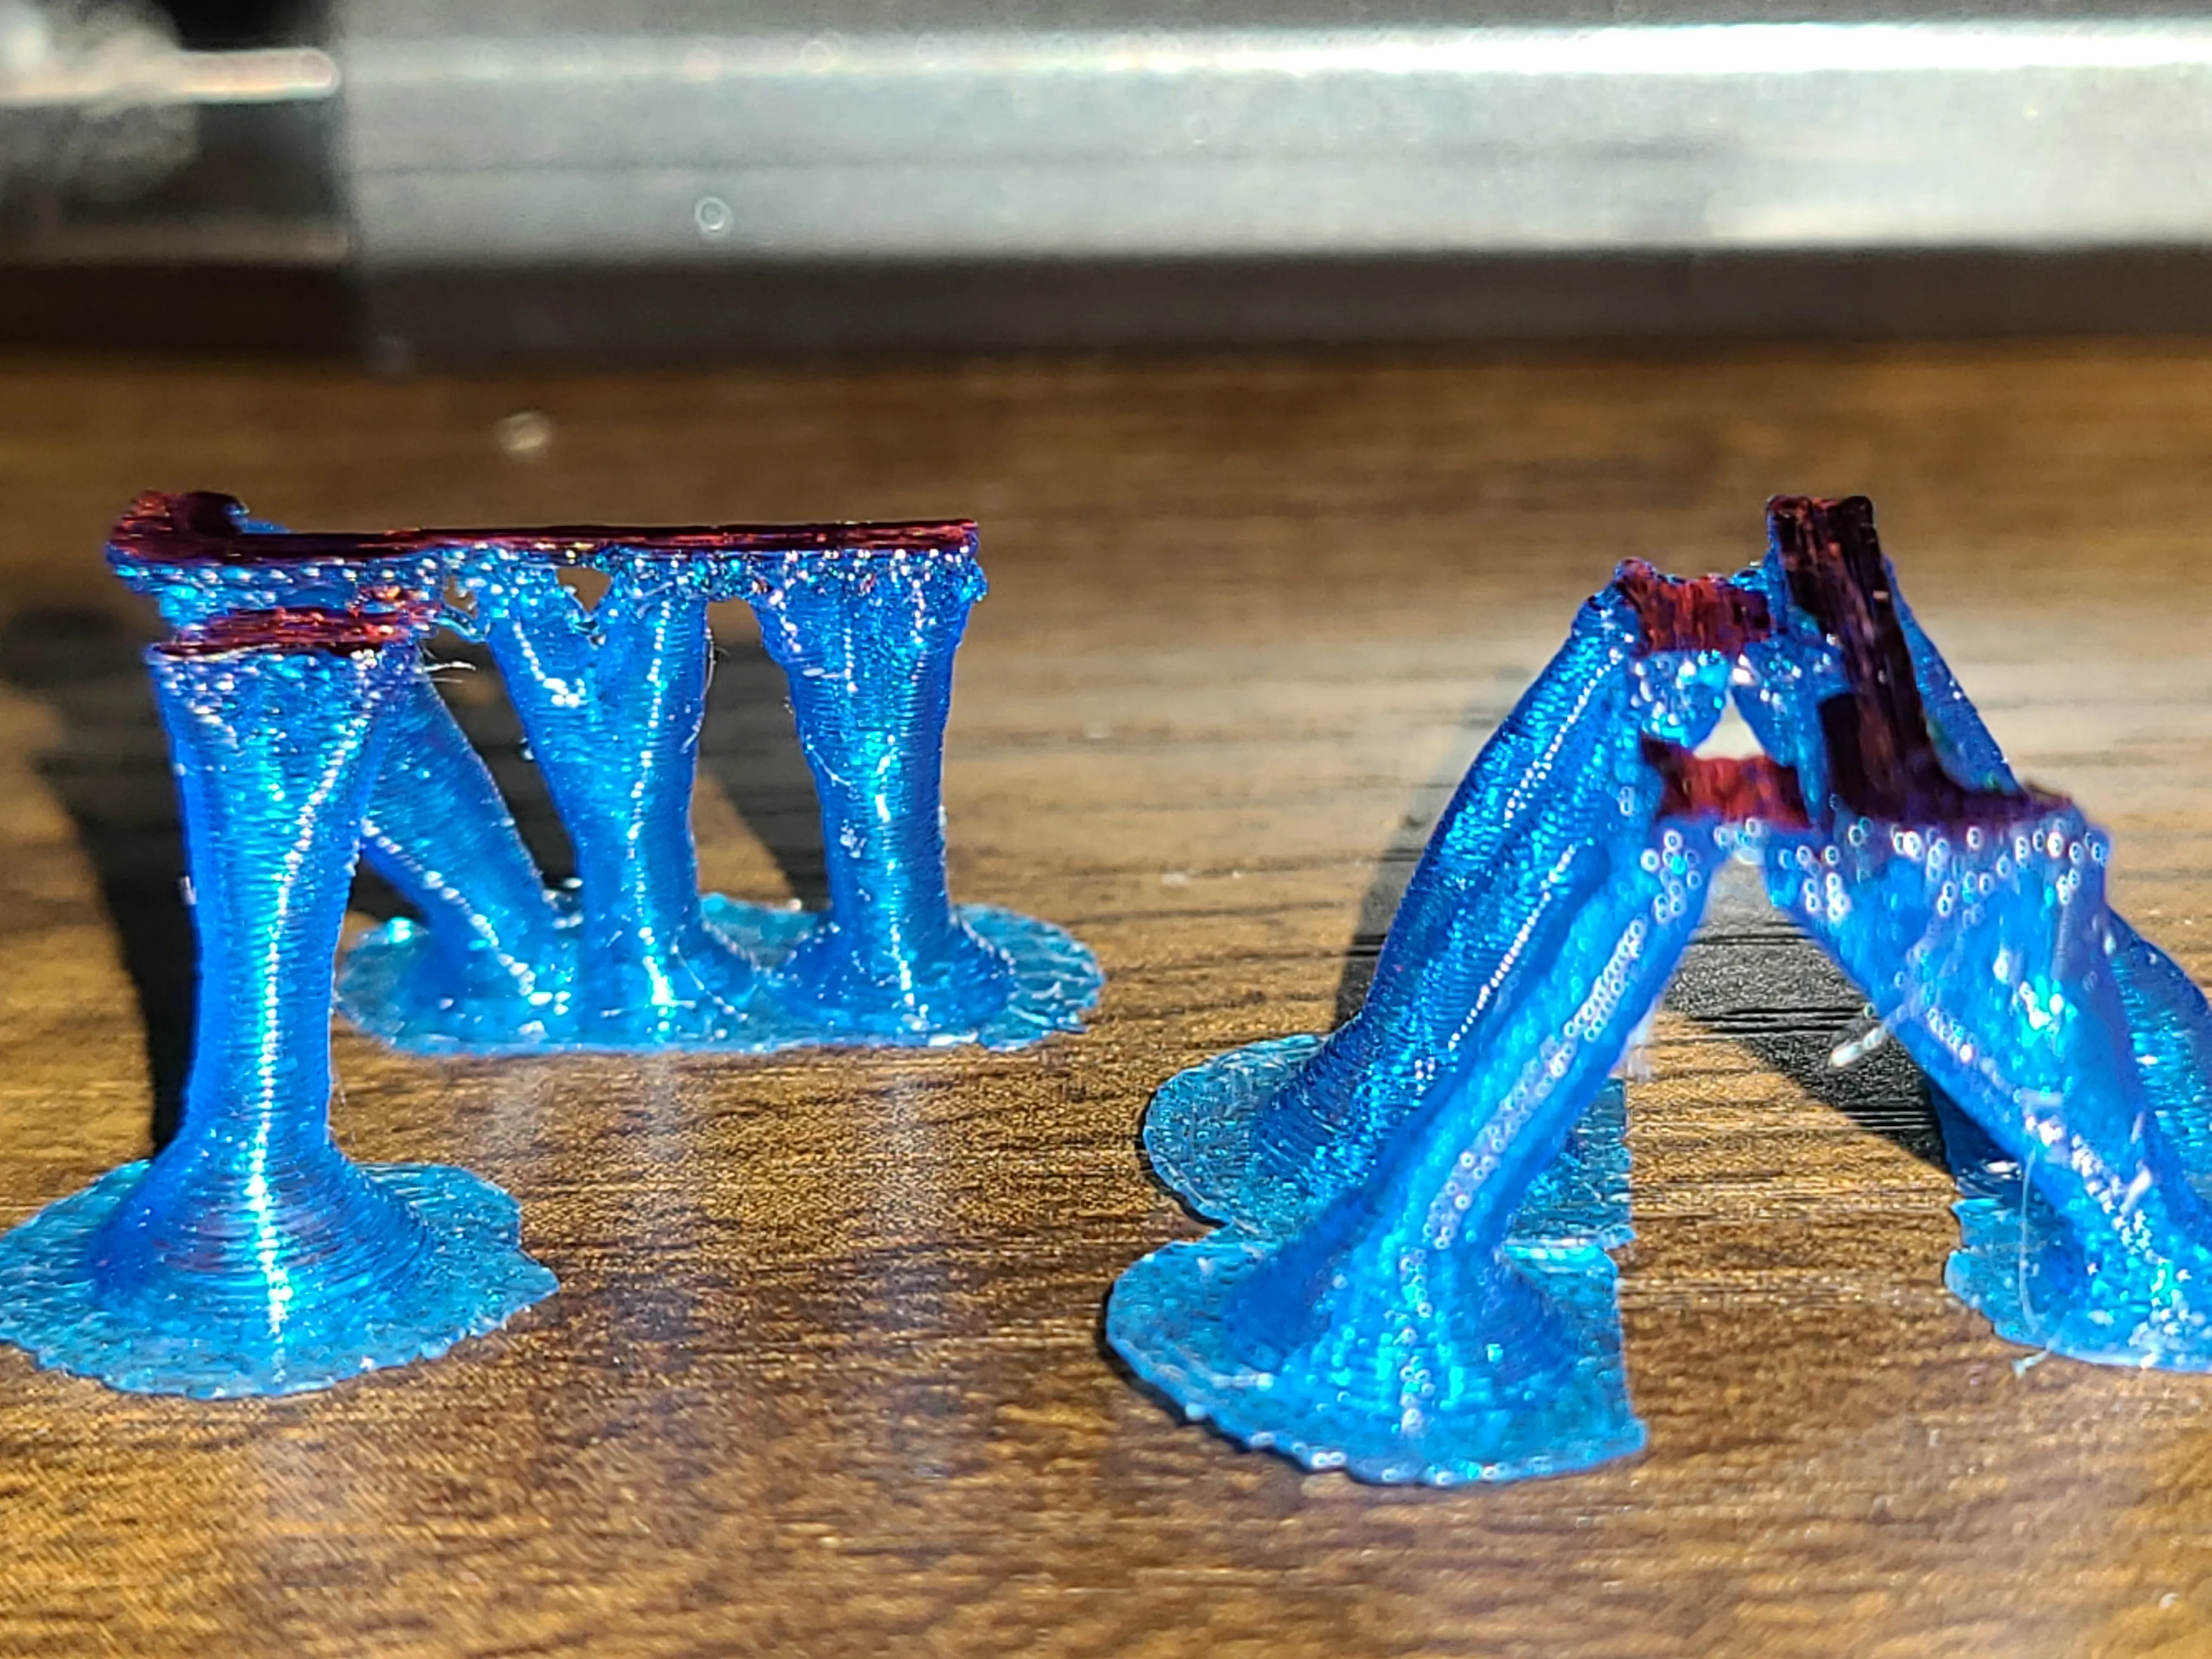
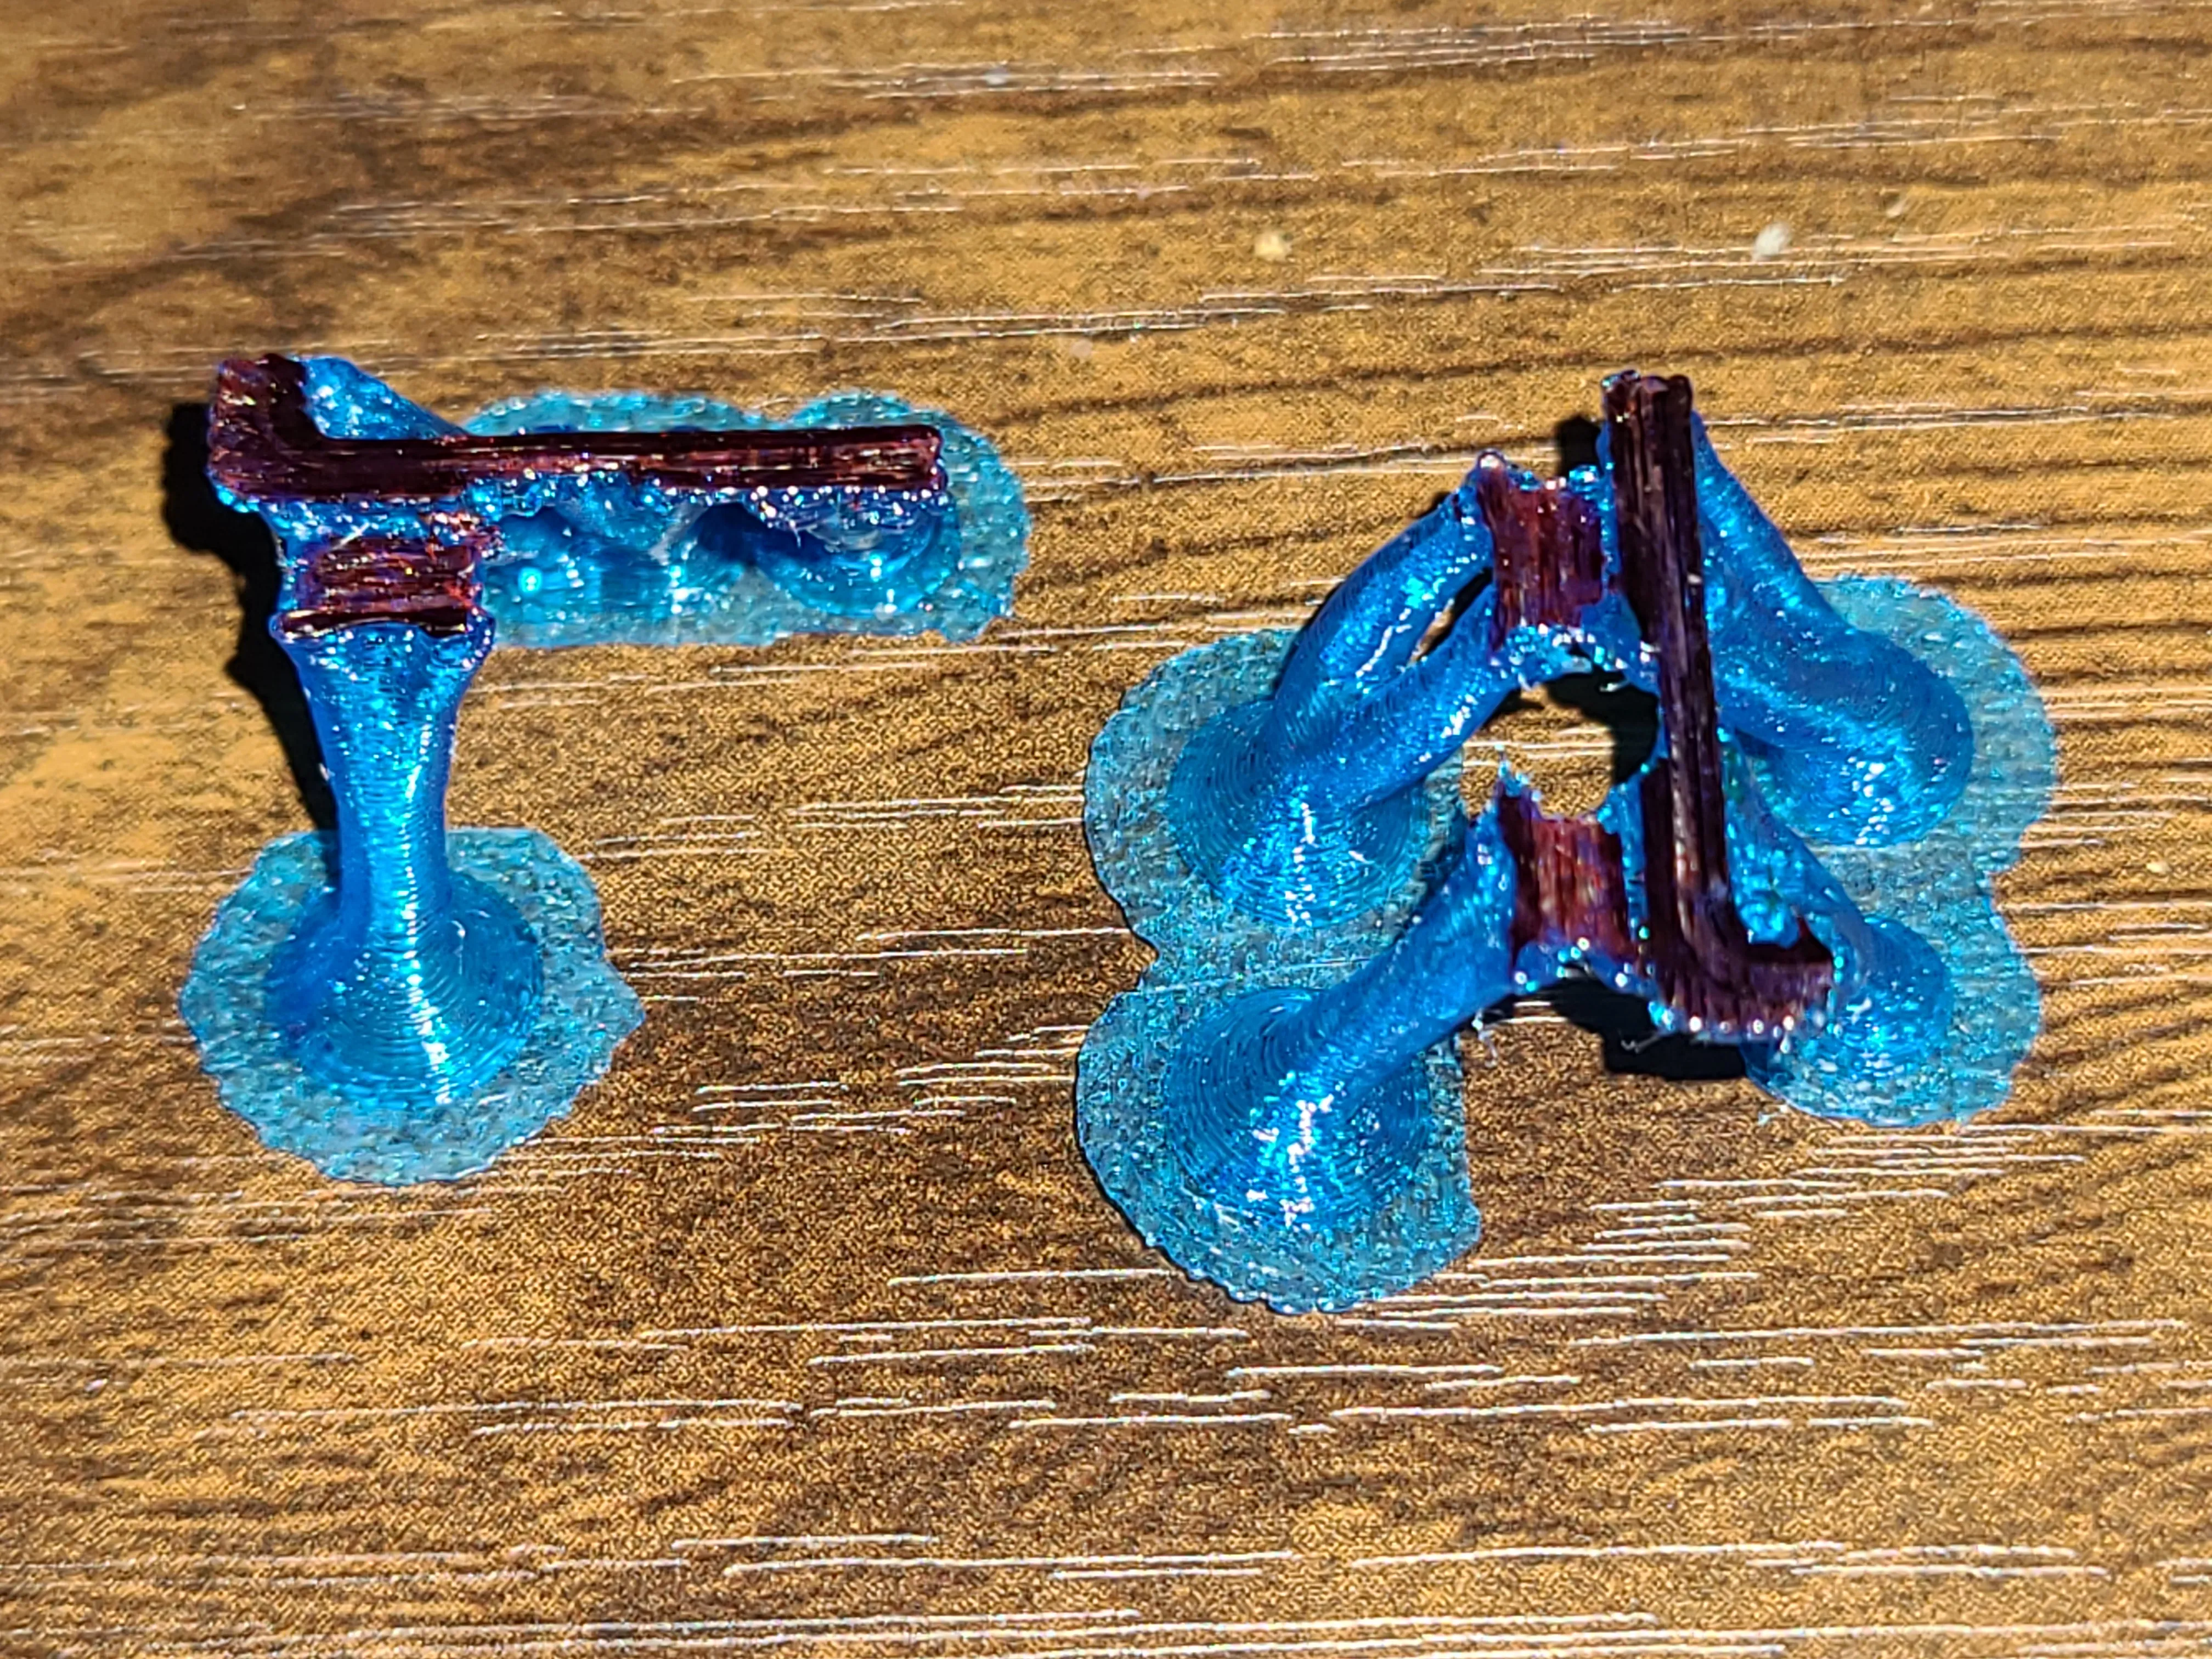
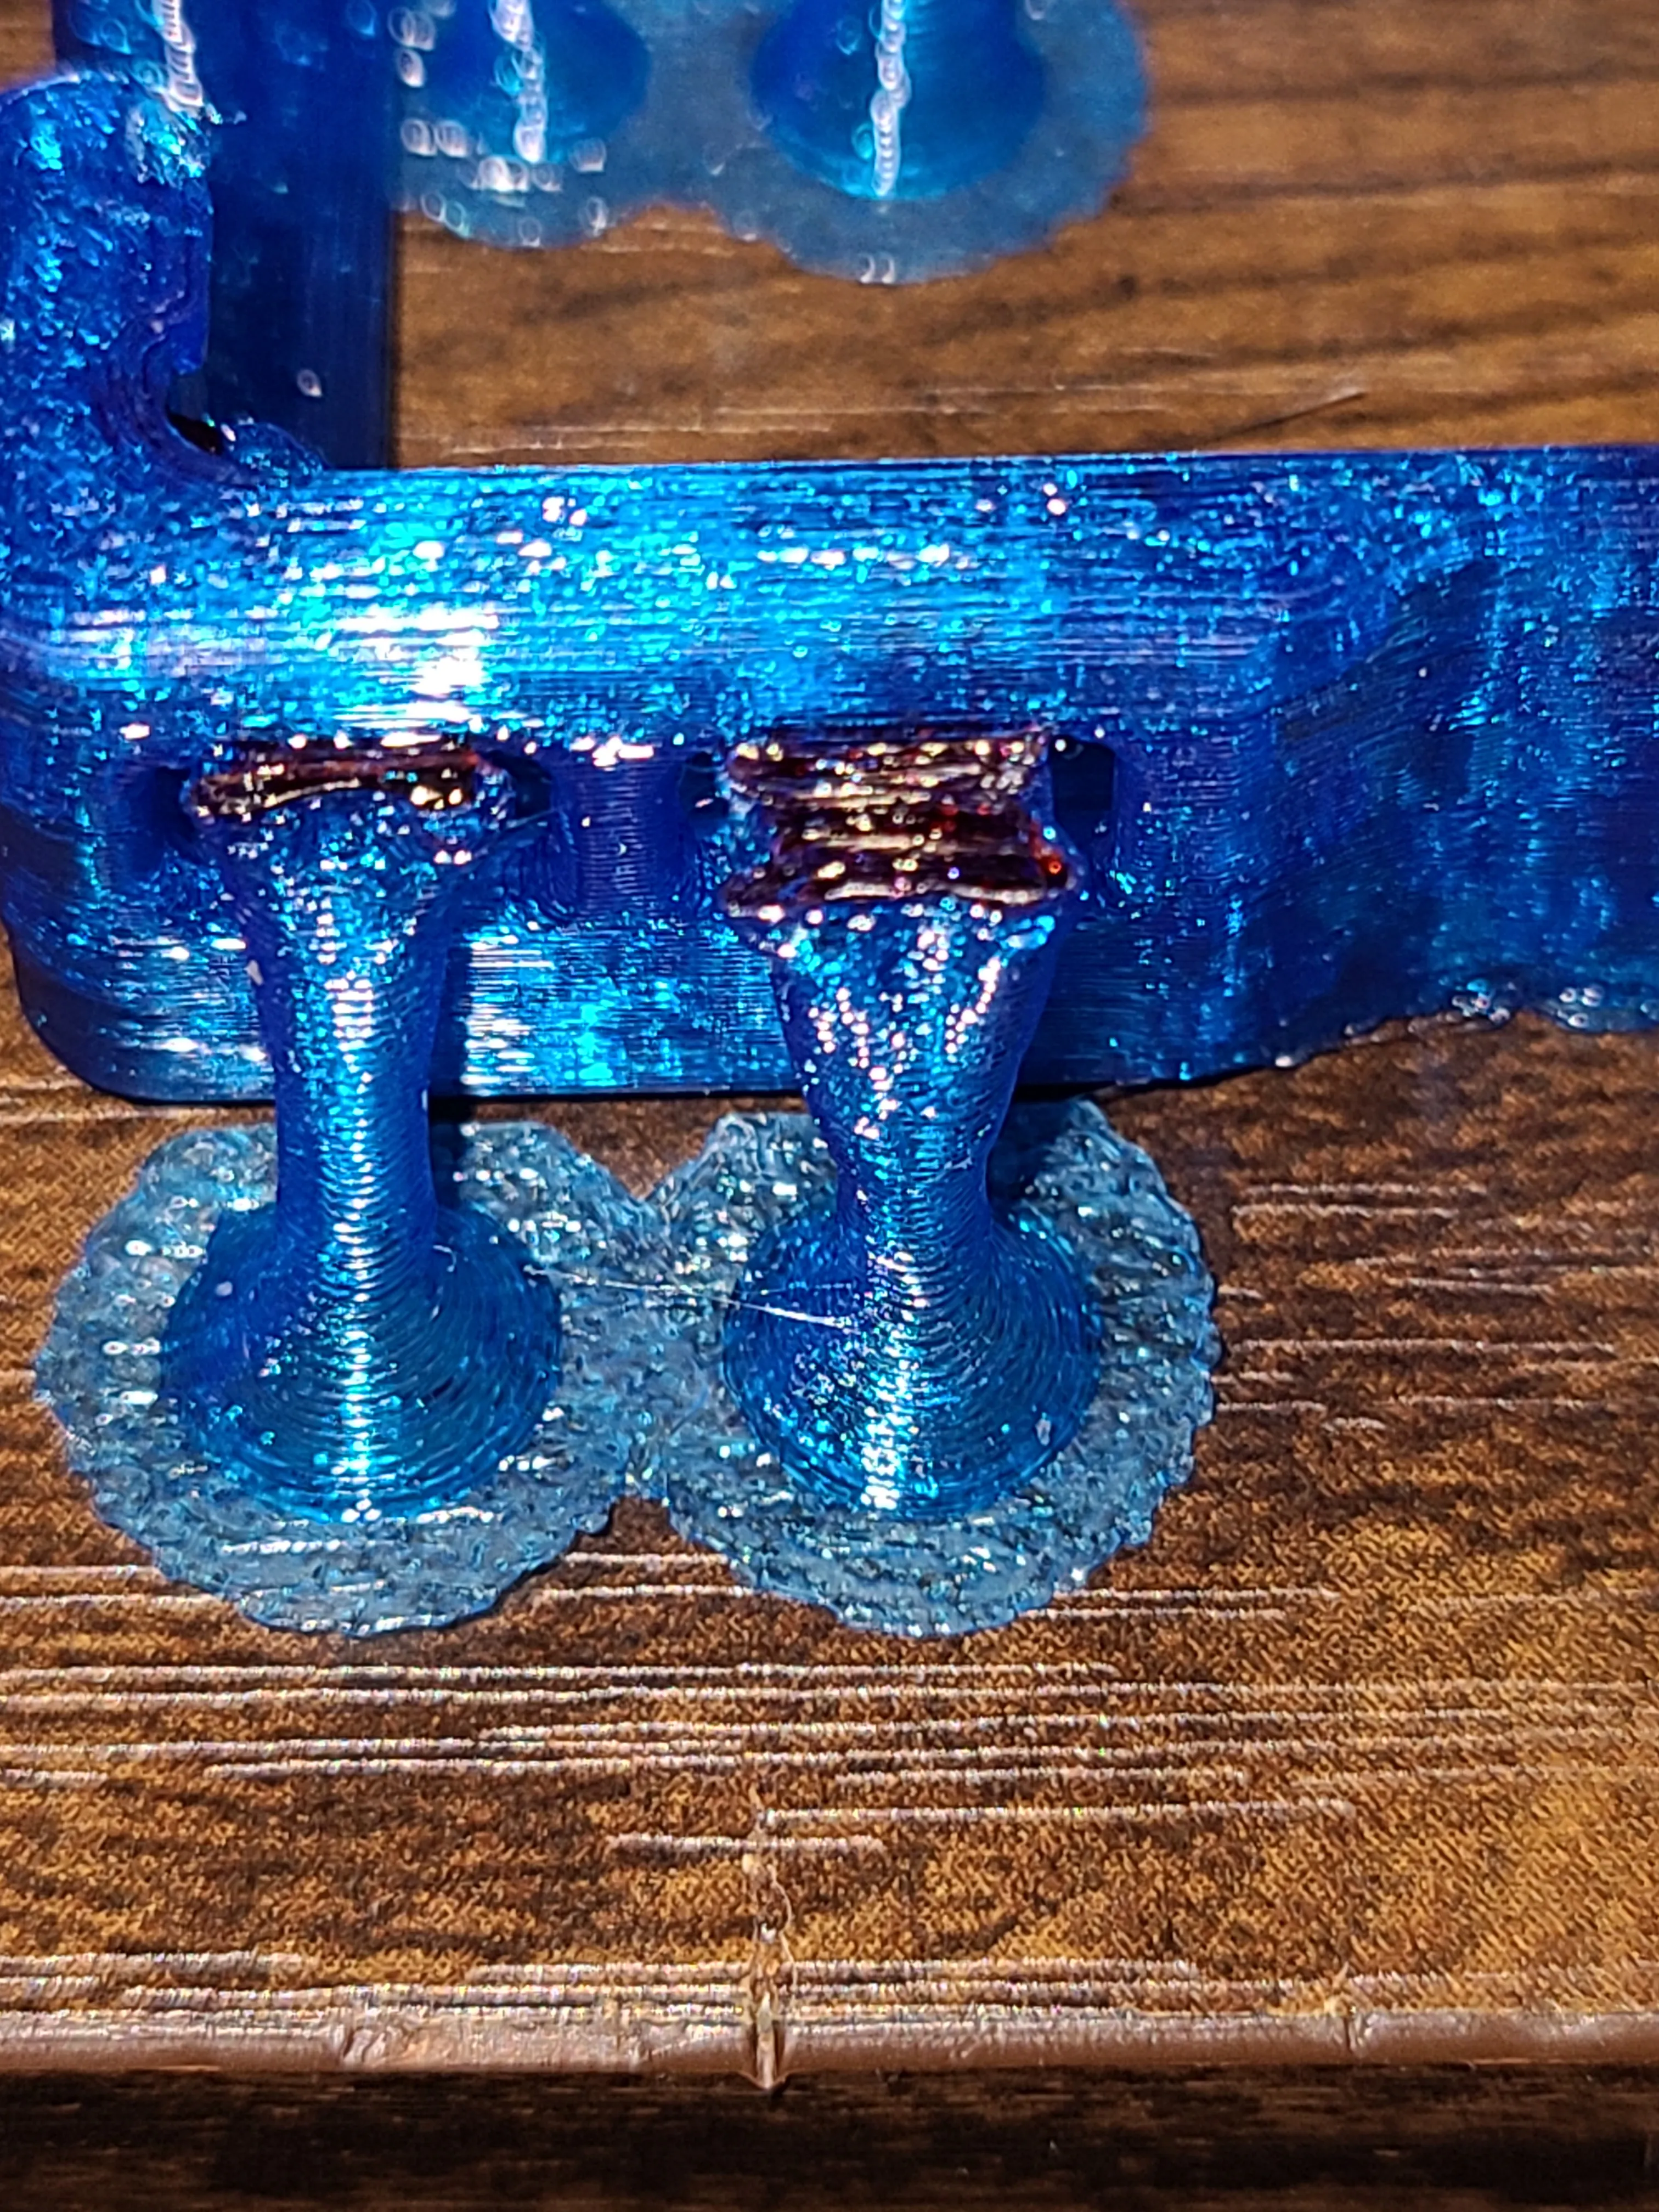
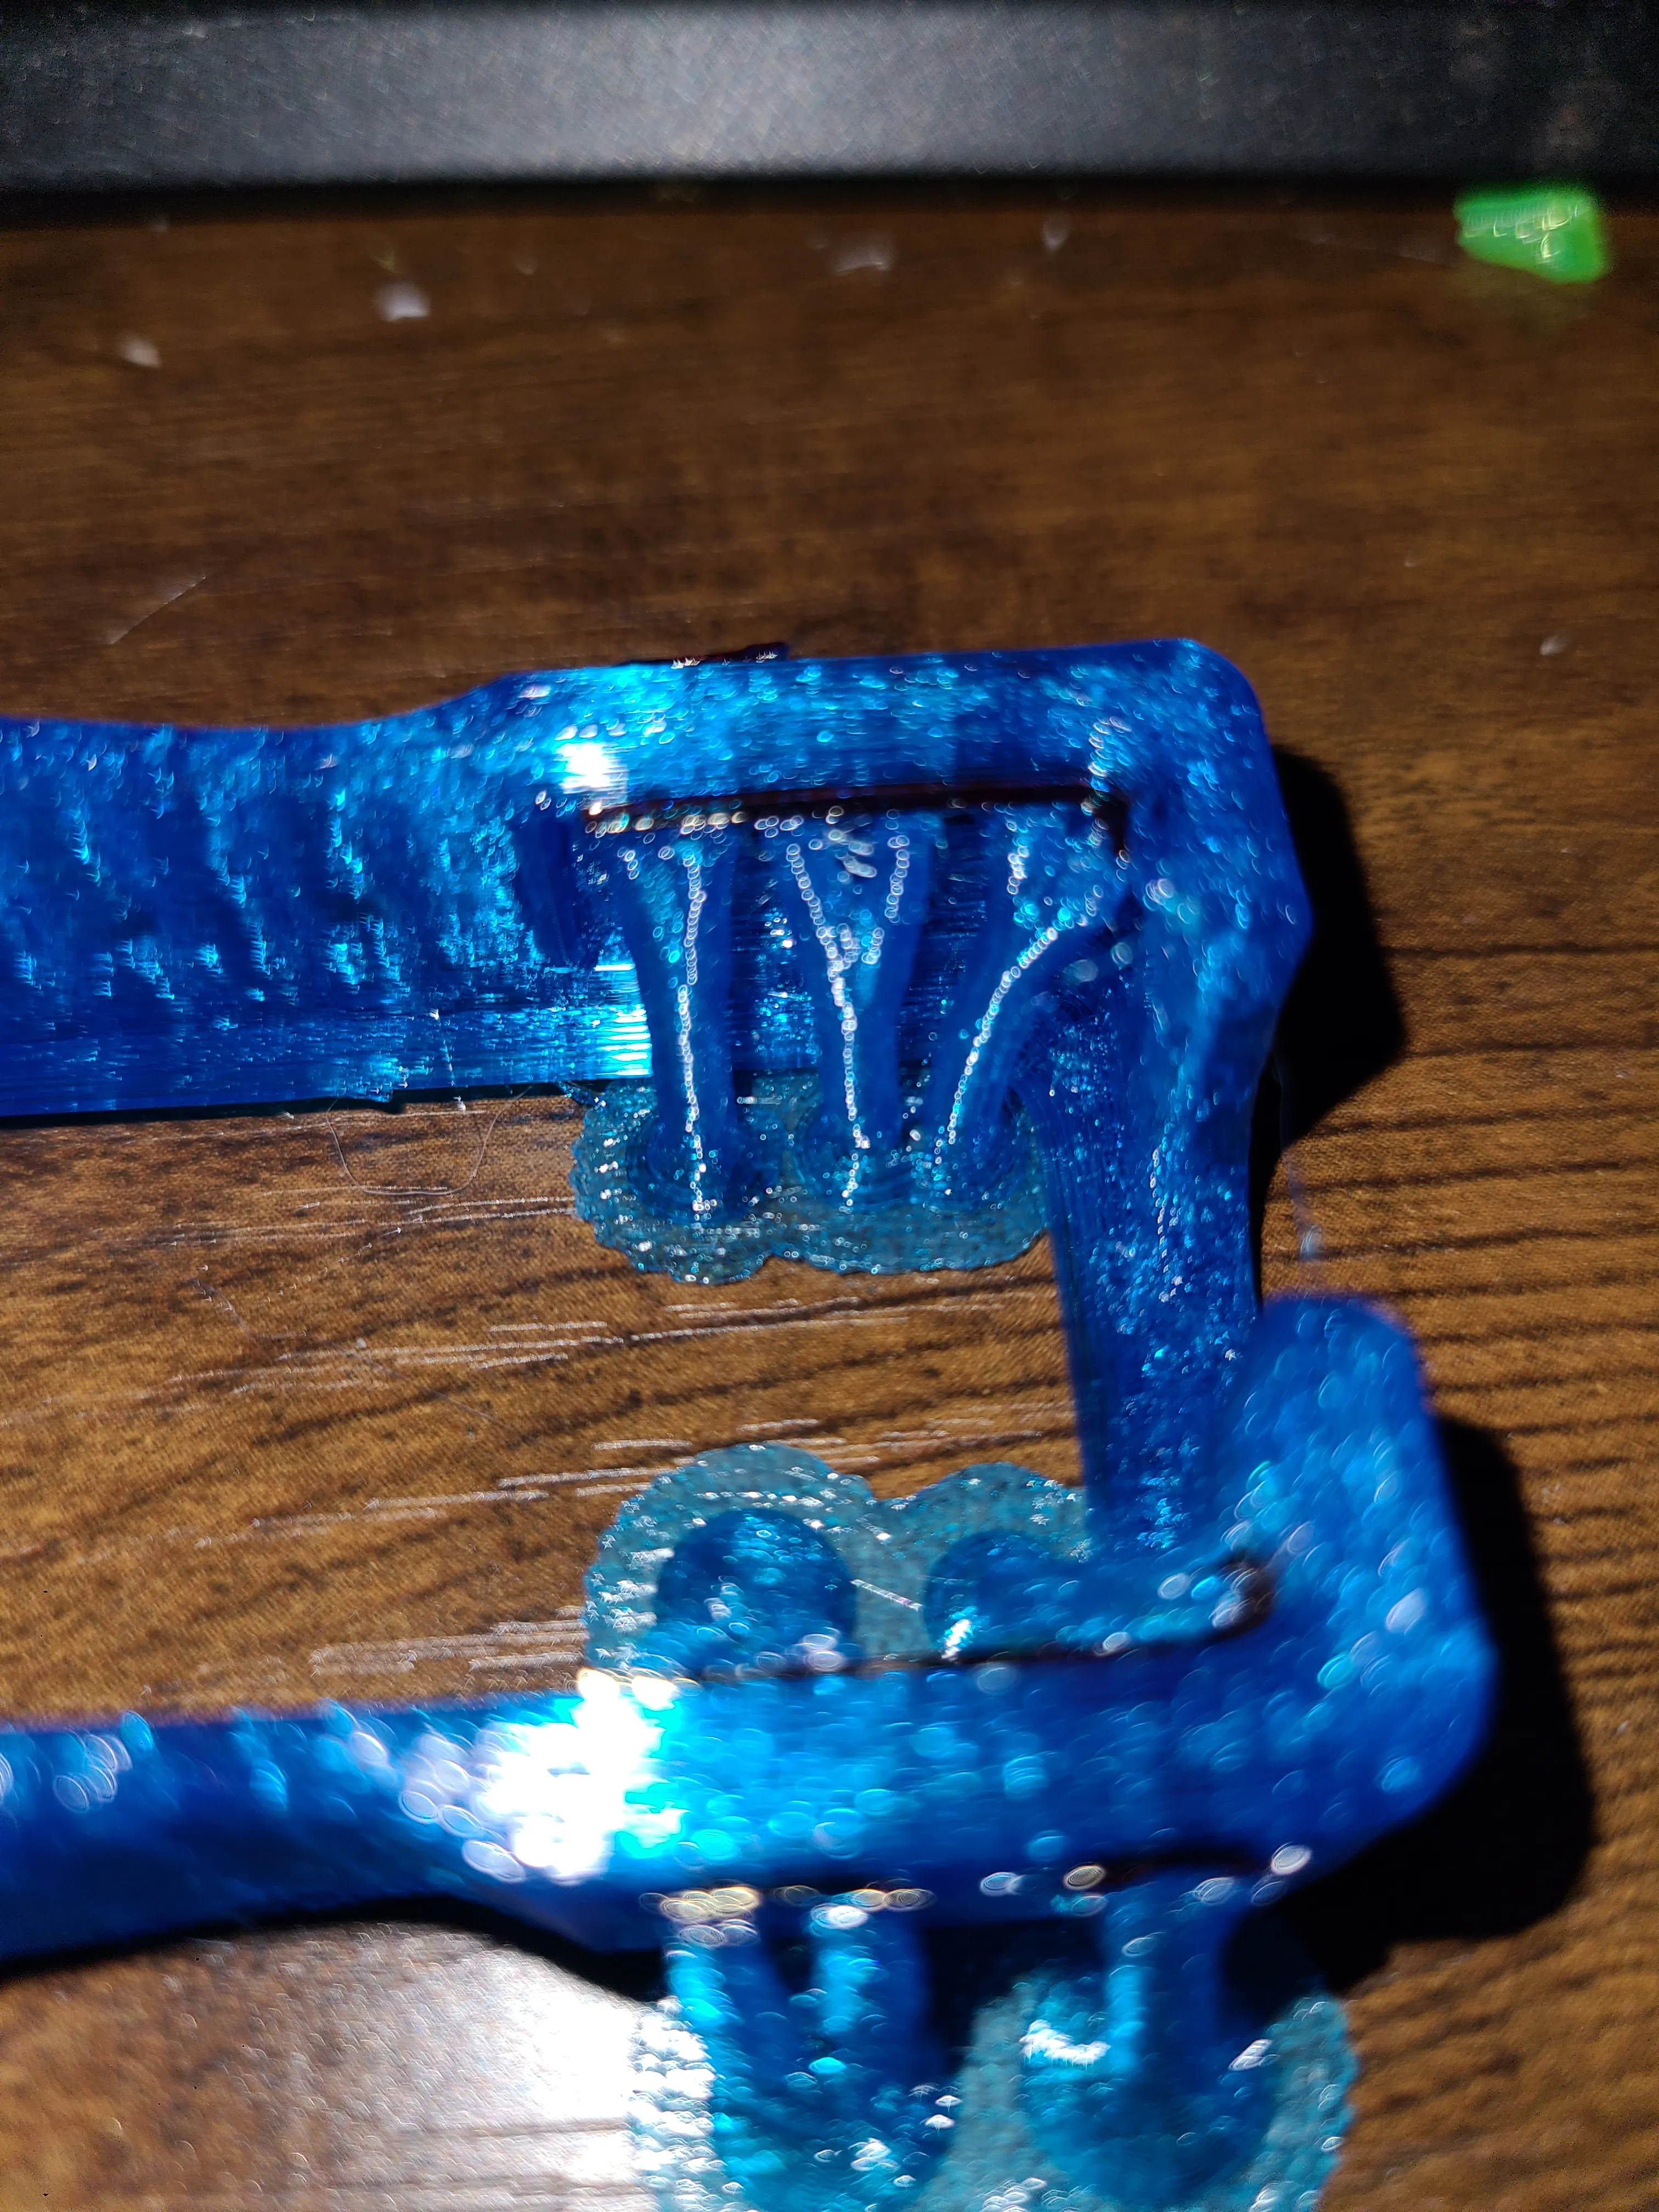
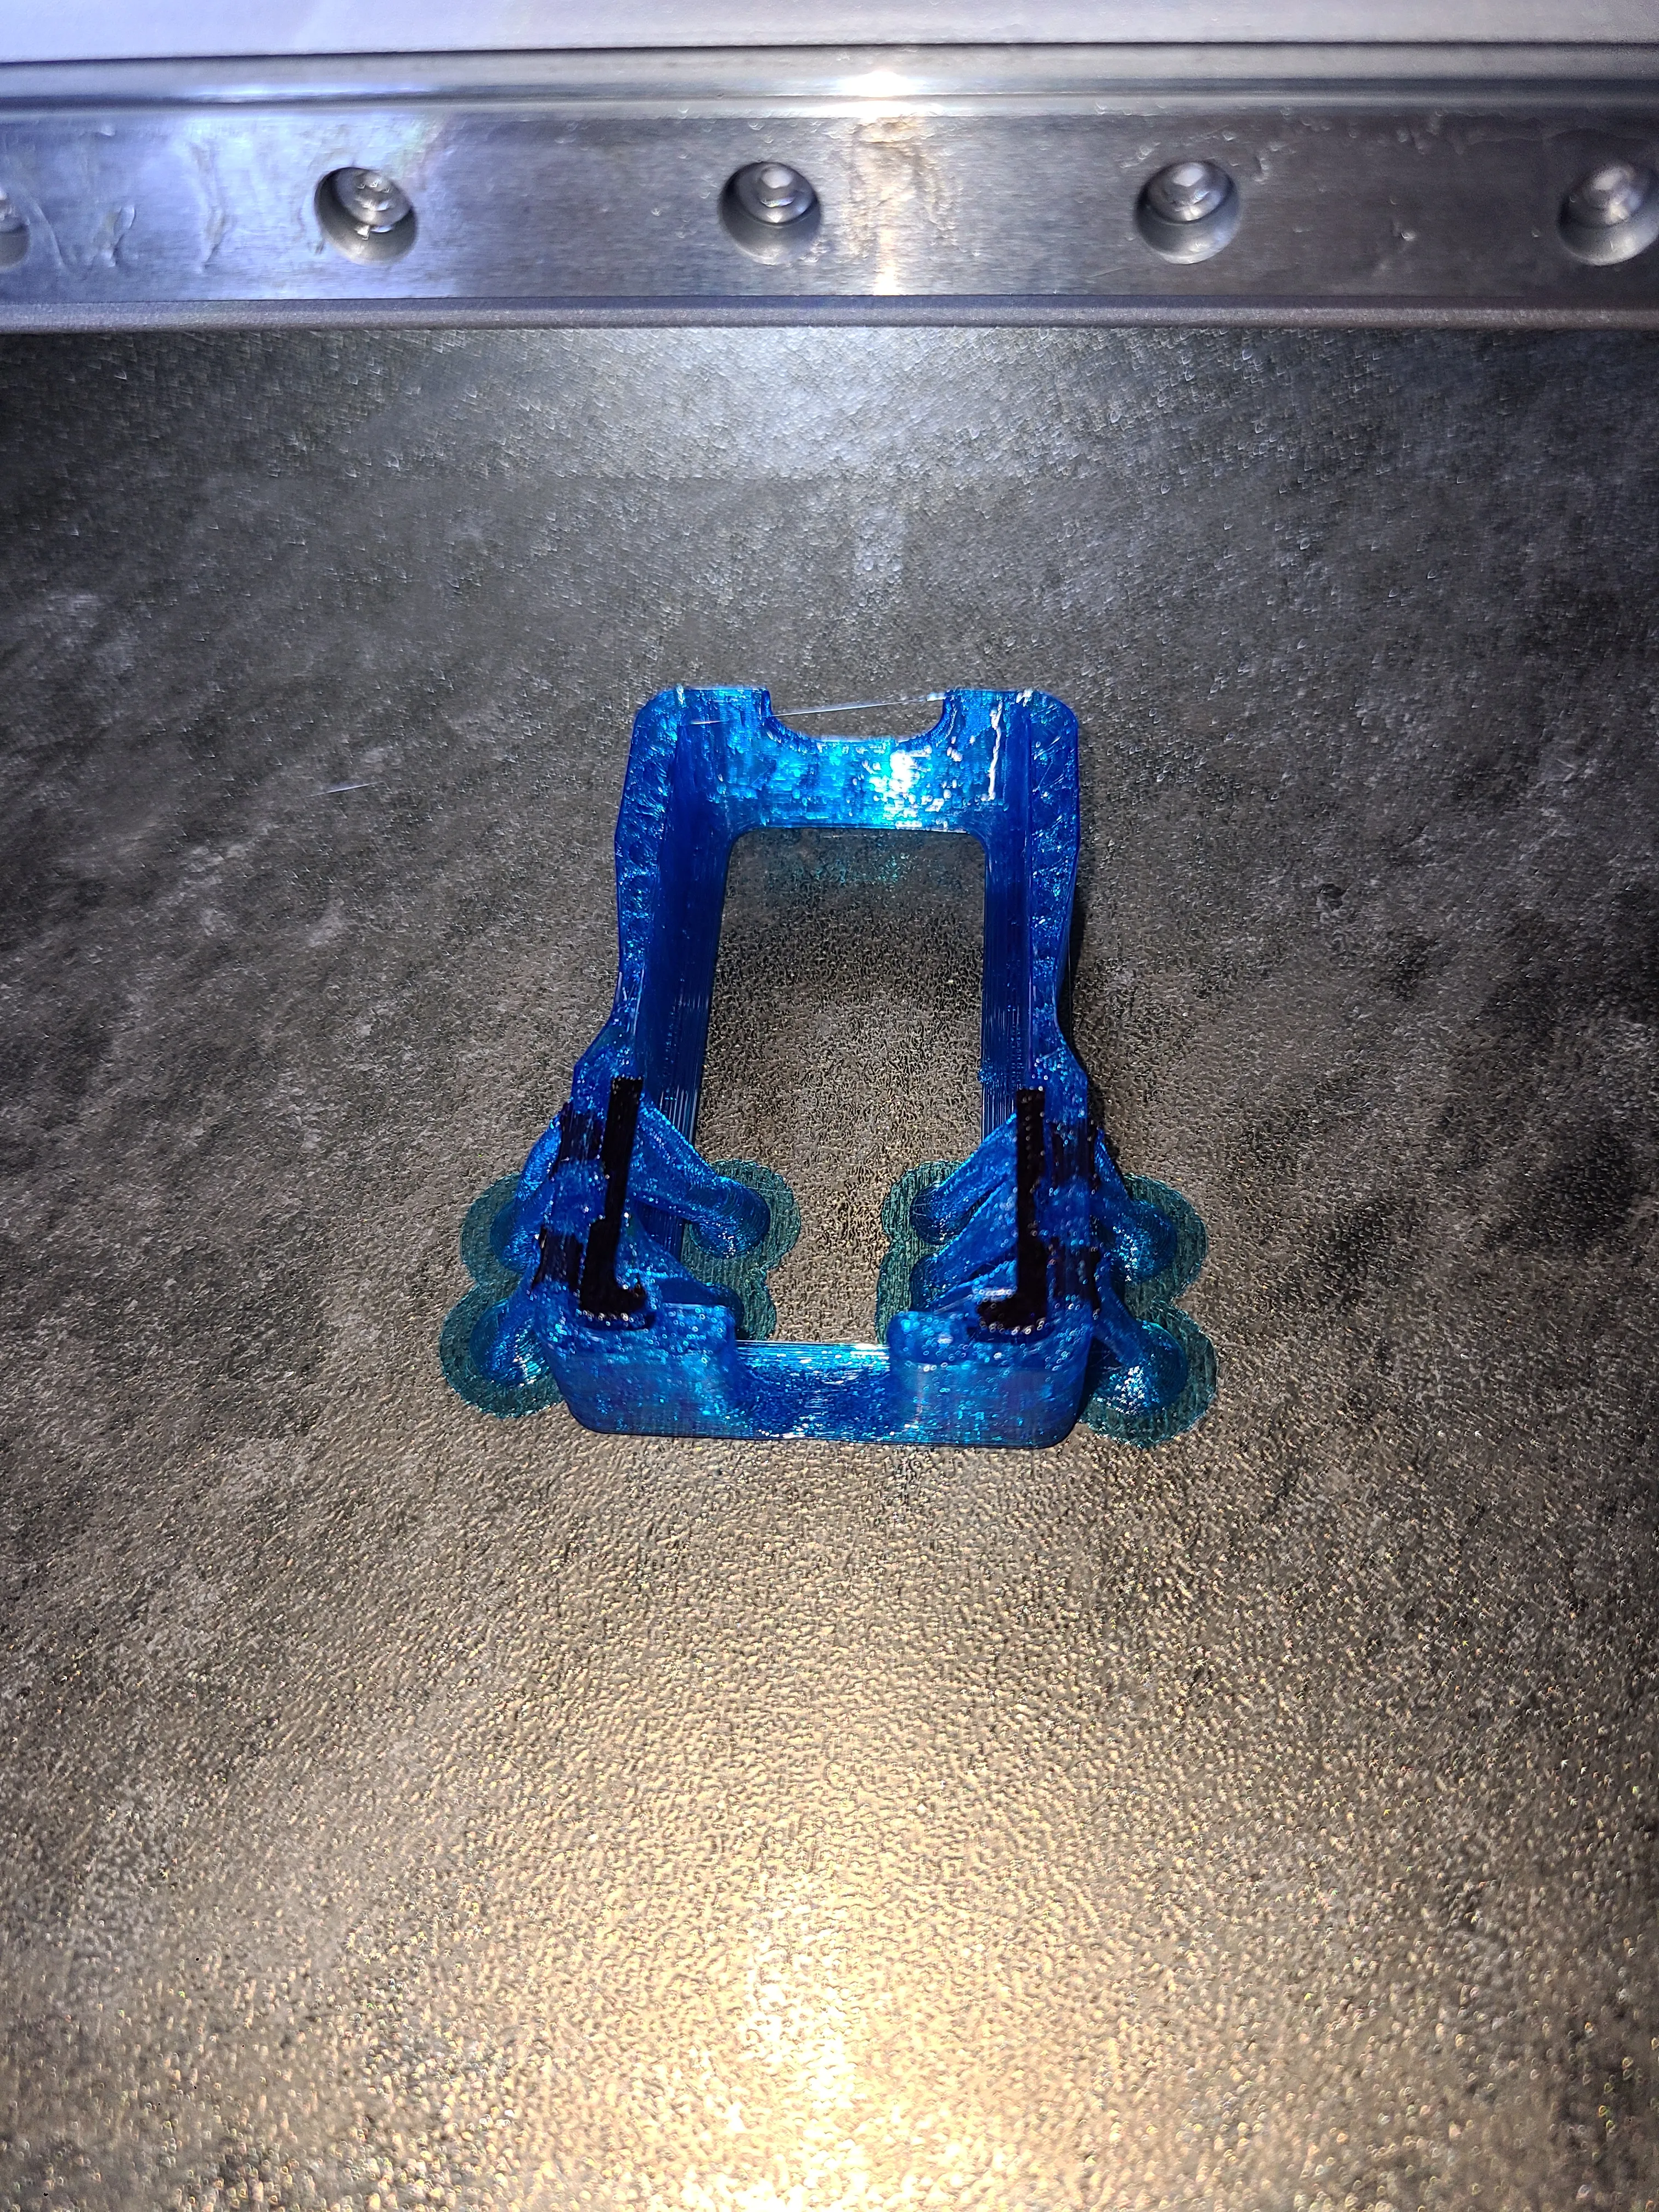
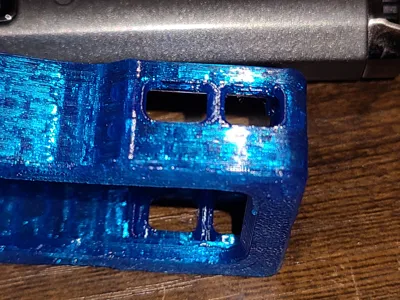
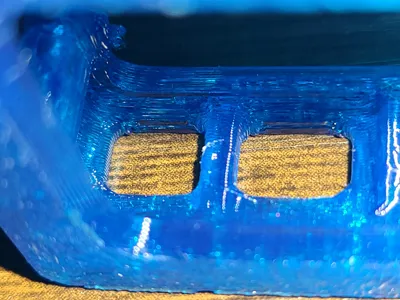
You can see in the images above how to paint the support interface.
These are some of the inserts:
License

You shall not share, sub-license, sell, rent, host, transfer, or distribute in any way the digital or 3D printed versions of this object, nor any other derivative work of this object in its digital or physical format (including - but not limited to - remixes of this object, and hosting on other digital platforms). The objects may not be used without permission in any way whatsoever in which you charge money, or collect fees.


Comment & Rating (1)