Flsun T1 Effector Mod: Rapido and Sherpa Mini


Print Profile(1)
Description
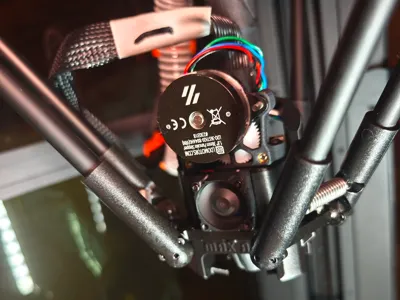
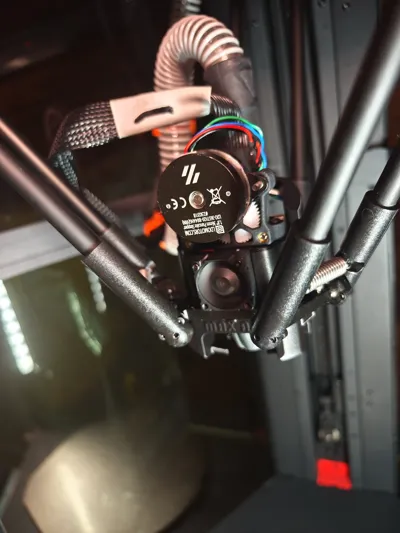
Flsun T1 / T1 Pro effector / toolhead mod for Rapido hotend and Sherpa Mini extruder.
V1:
I printed the parts with PCCF but ABS should be fine.
My print settings (feel free to use your own!): 3 walls, 35% infill, no supports
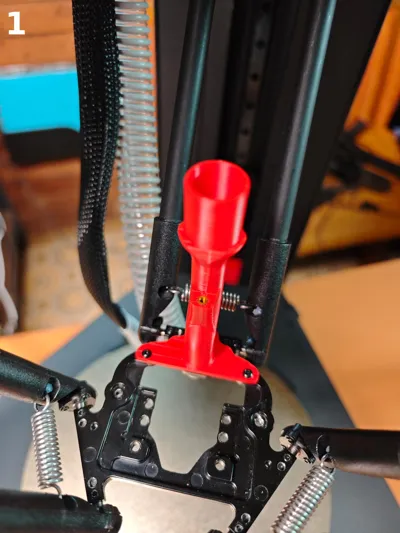
Air Funnel
First print the file "airfunnel_vx.stl", place the M2 heat insert and use the holes left and right to screw it in place with 2x M2.5 screws as shown in the picture with the number 1.
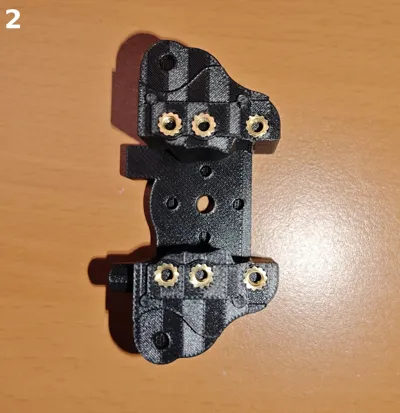
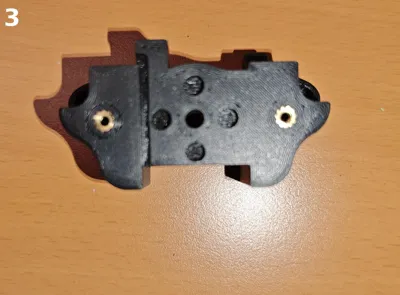
Main body
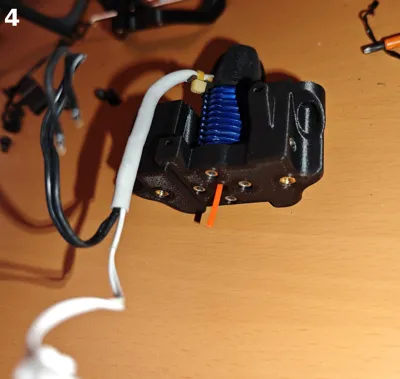
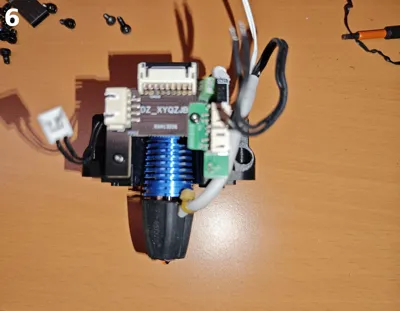
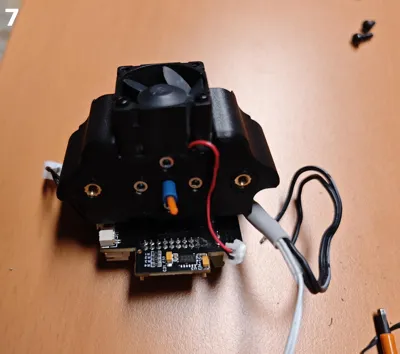
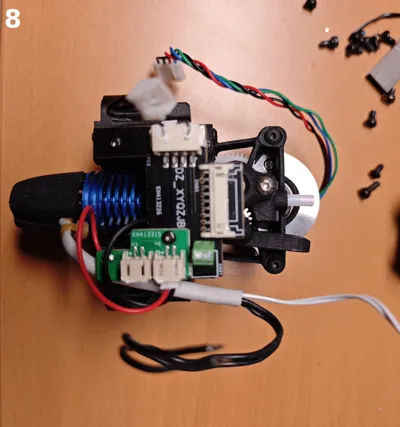
For "mainbody_vx.stl" you will need 10x M3x4x5 heat inserts. 6x on the bottom as shown in picture number 2, 2x on the top for the extruder (picture 3) and 1x on each side. Then screw the hotend in place with the original rapido screws as shown in picture 4. Now use the original hotend fan of the old extruder und use 2x M2x20 screws for fixation as in picture 5. As next step place the board as shown in picture 6 and use the original screws or 2x M2 or M2.5 4-5mm to fix it. Place the bowden tube with approximately 3cm into the top hole (picture 7), place the cable of the hotend fan into the cablechannel and screw the extruder with 2x M3x12 on top as shown in picture 8.
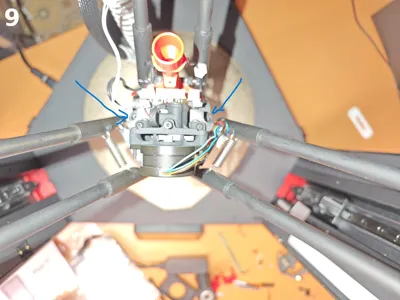
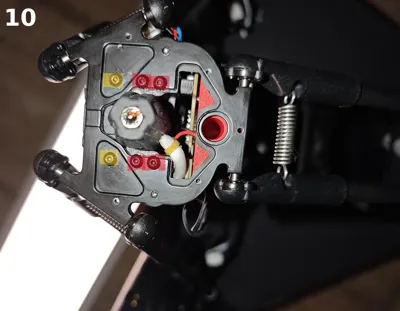
Place the toolhead on the adapterplate und use 2x M3x8 screws left and right as shown in picture 9. On the underside use 4xM3x6 for the red marked screws and 2xM3x8 for the yellow marked screws (picture 10).
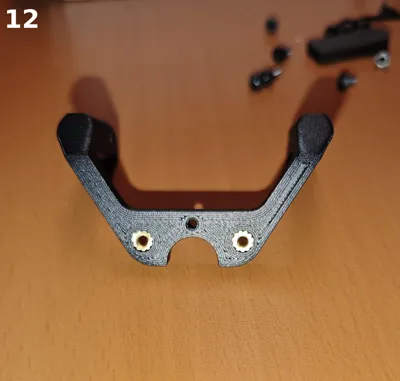
Funnel support
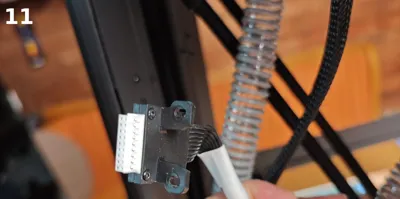
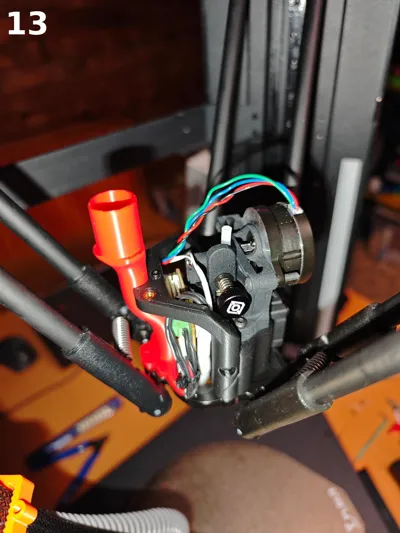
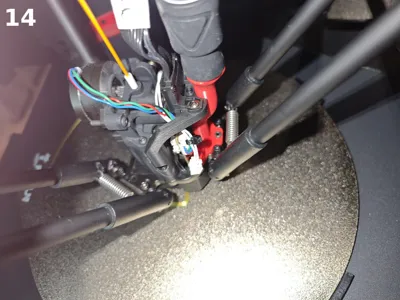
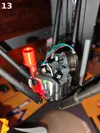
Rotate the fixation of the Toolhead Cable as shown in picture 11. Use 2x M3x4x5 heat insert for "support_vx.stl" (picture 12). Now do some cable management and connect everything you need to. Place the support as shown in picture 13 and use a M3x6 screw on both sides. Use a M2x10 screw to connect the support and the funnel. Then plug in the big connector and use 2x M3x6 to secure it (picture 14).
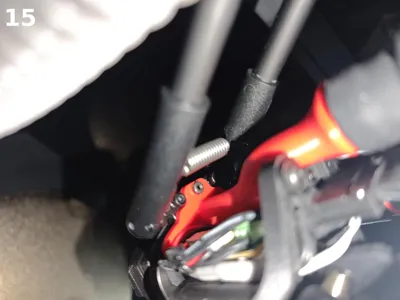
Part fan
I used this model on makerworld as part fan: FLSUN T1 - MAX AIR-Duct
Scale it in z only to 27mm and it wil fit. You can use the original M2.5 on the front, for the back you need alonger M2.5 and a nut for the third hole of the air funnel (picture 15). Connect the air hose at the end.
The original filament sensor is no longer used, because i have another solution.
Sorry for the bad pictures, but my phonecamera didn't like the light :)
The .step files are also available for better remixing.
Add your comments for version 2.
Comment & Rating (1)