
Window for IKEA SAMLA 45L Box – Snapmaker U1 Mod
Print Profile(1)
Bill of Materials


Description
Boost Me (for free)
IKEA gives you a tiny pencil and no instructions. I gave you a window and a description. Boost button is right there.
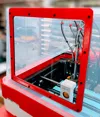
I think the IKEA SAMLA will be my permanent enclosure, so I wanted to pimp it. Don't see why I'd spend $130 on more or less the same OEM enclosure
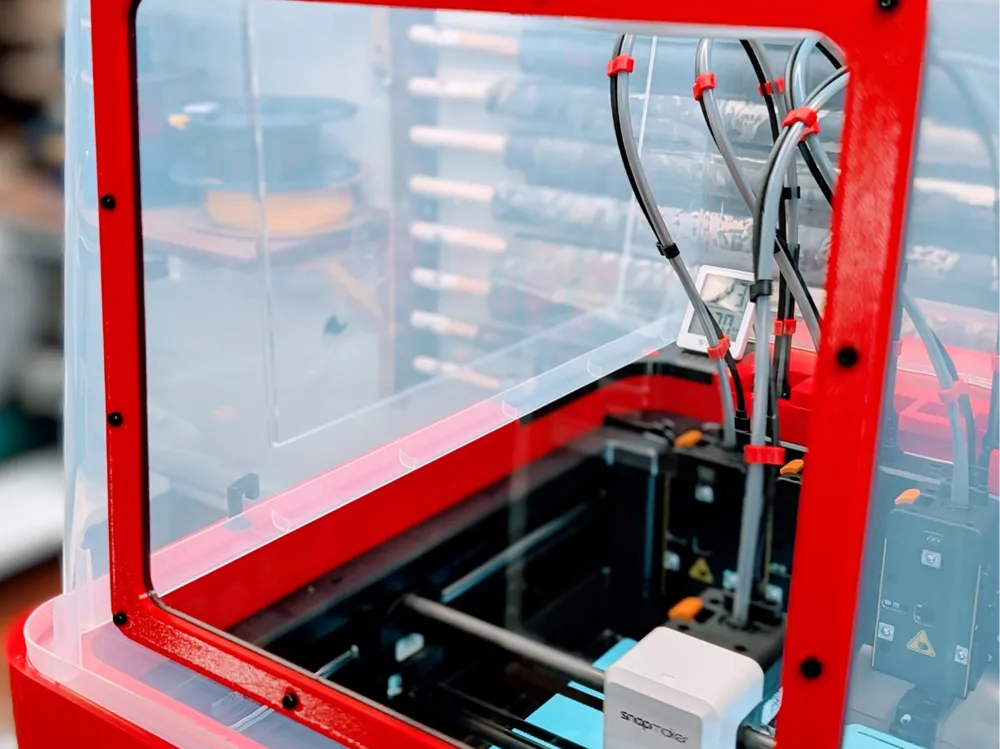
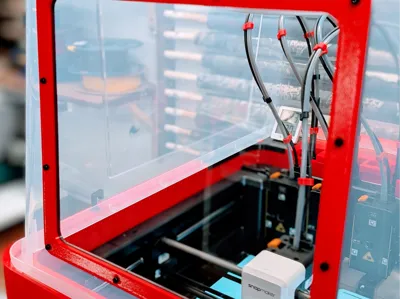
The IKEA SAMLA 45L is the go-to budget lid for the U1. Five bucks at IKEA, print parts, done. Except you end up staring through frosted, wavy plastic like you're trying to spot your print through a shower door.
This window mod fixes that. 120g ish of filament (I prefer PETG), 12 screws, acrylic panel, an electric cutter and 10 minutes. Now it actually looks like something you meant to buy instead of something you grabbed on the way to the meatballs.
I'm lying, everyone knows the meatballs come first and then you go for the box.
Snorca profile available. Select ‘’Download STL'' and then the 3mf, (Snorca Profile).
Instruction:
What you need:
- Samla 45L box, obviously
- Electric cutter, rotary tool, multi-tool or any cutting tool.
- 12x M3x10 screws (min lenght) and nuts. Socket or pan head.
- 1x 2mm thick & 249mm x 219mm acrylic panel (Includes 0.5mm tolerance on each side).
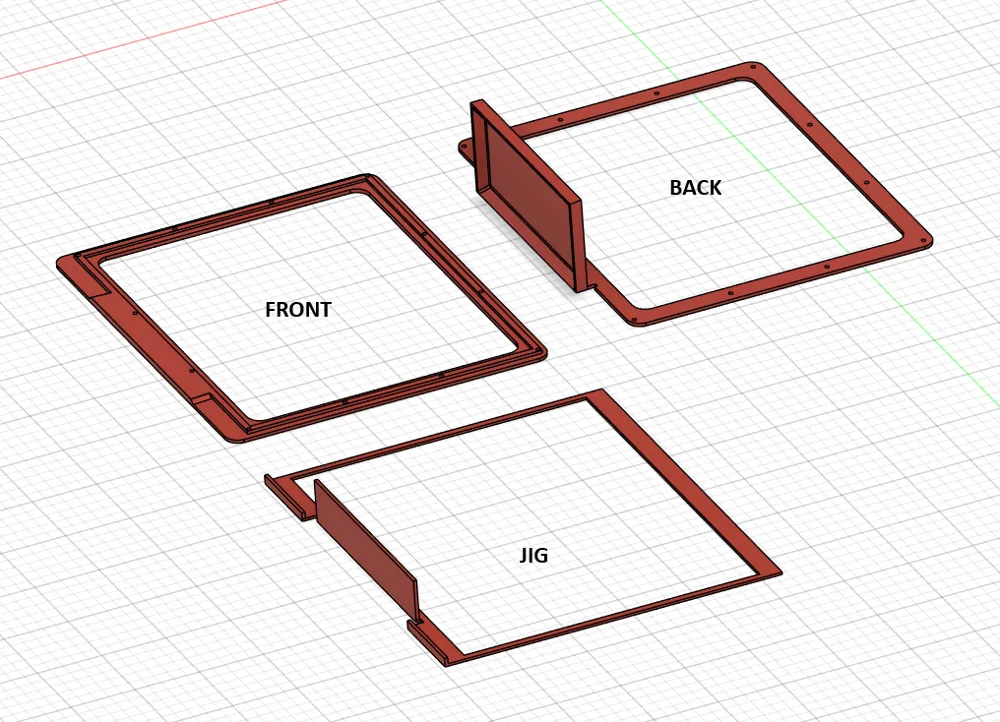
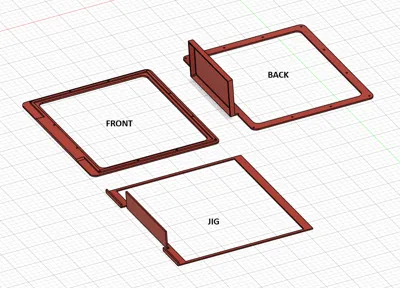
1- Print parts. This uses the full 27cm of the U1. Make sure Z-hop type is set to "Normal" (Printer settings / Extruder used / Z-hop / Z-hop type). Nothing special, no support.
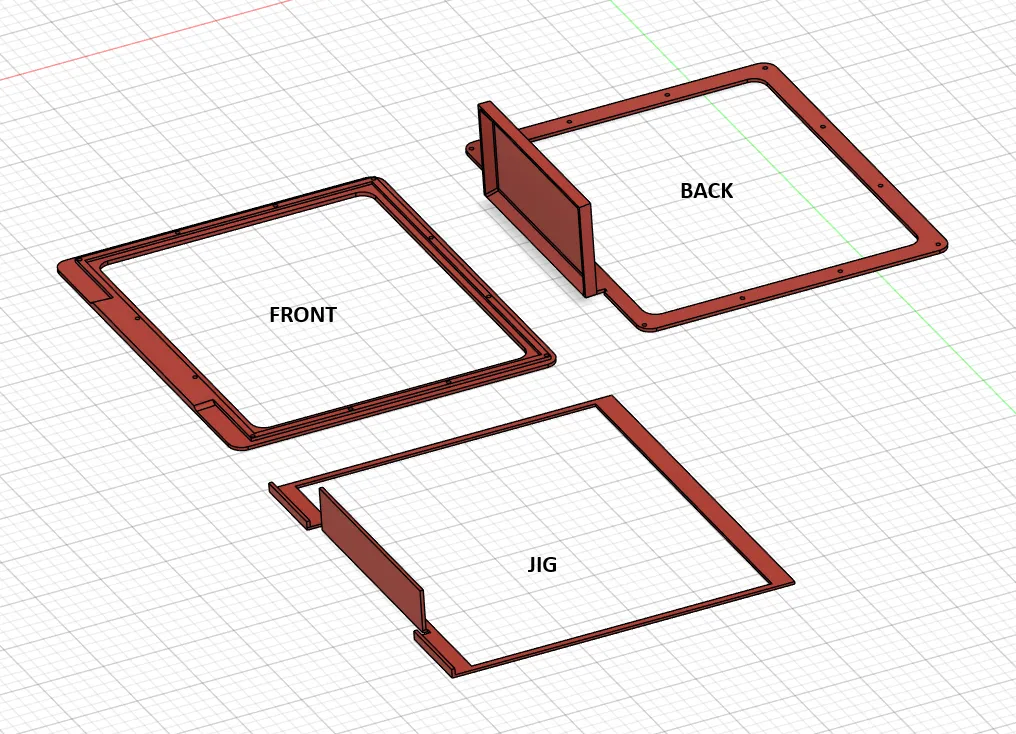
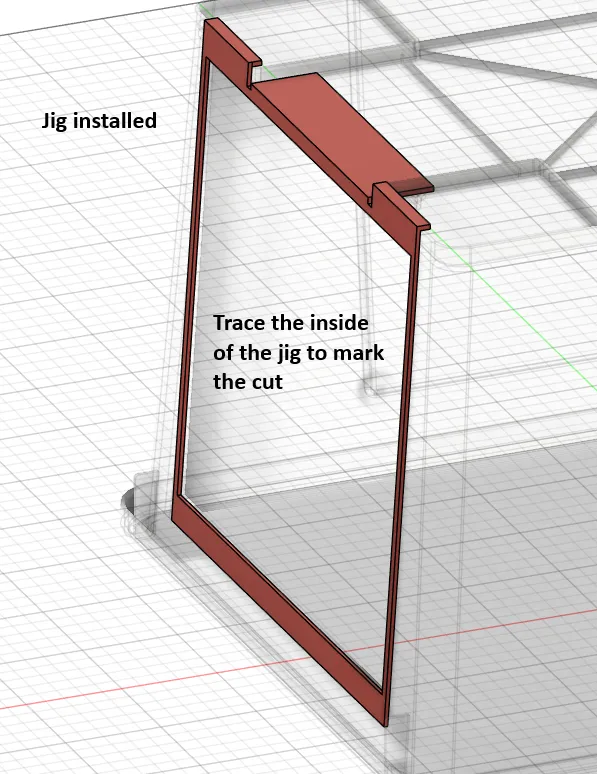
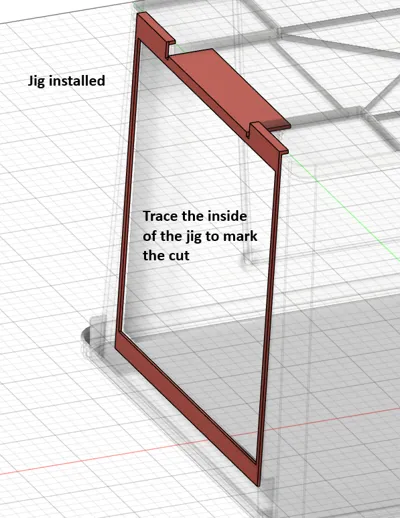
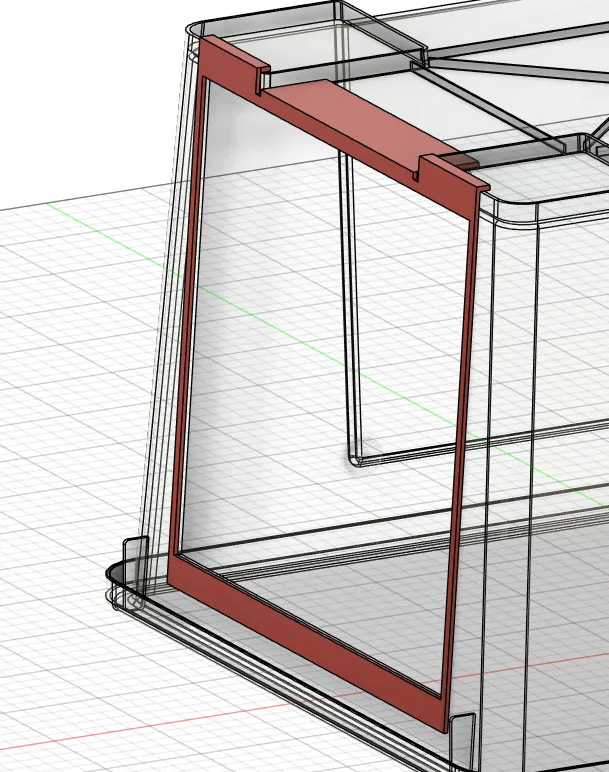
2- Install the jig, tape it on all sides and mark the inside with a permanent marker.
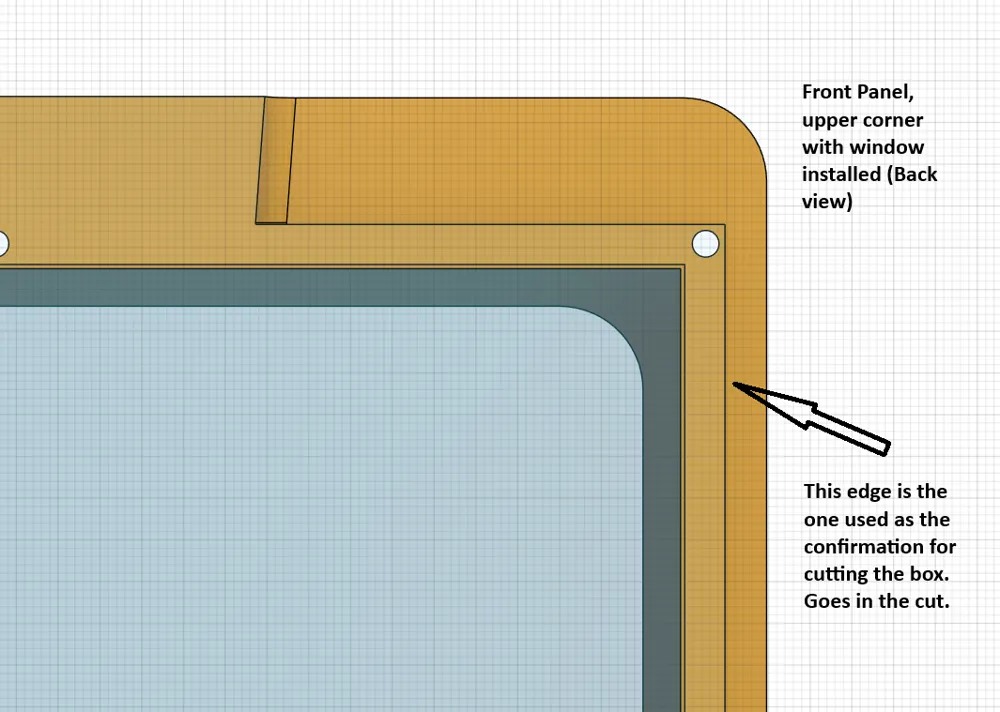
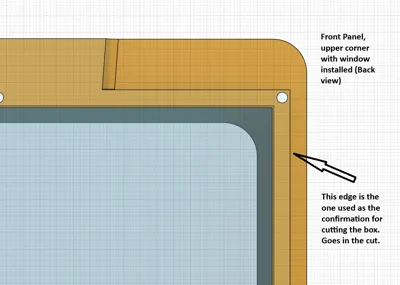
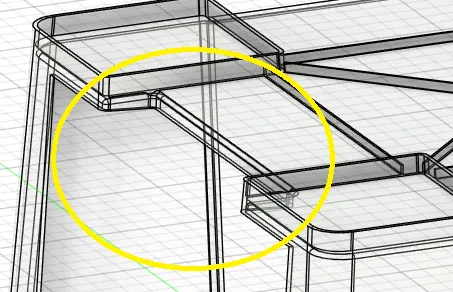
3- Cut the box just a tiny bit outside your marker lines. It doesn't have to be perfect since you have a 5mm margin. Nice to have, but easy to overdo. I undercut mine and had to trim it back. Super easy to fix with a sharp knife. For the recess part of the box, just follow the same cut angle as the rest. It won't affect the installation and it'll be hidden anyway (See the circled area in the picture).
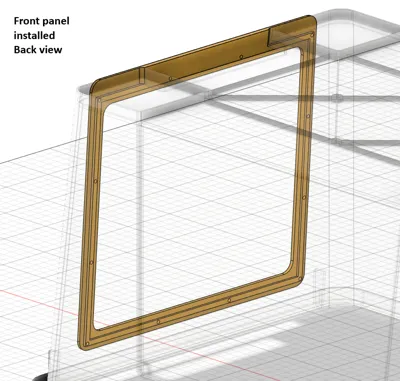
Note: Test the opening with the front panel before installing it.
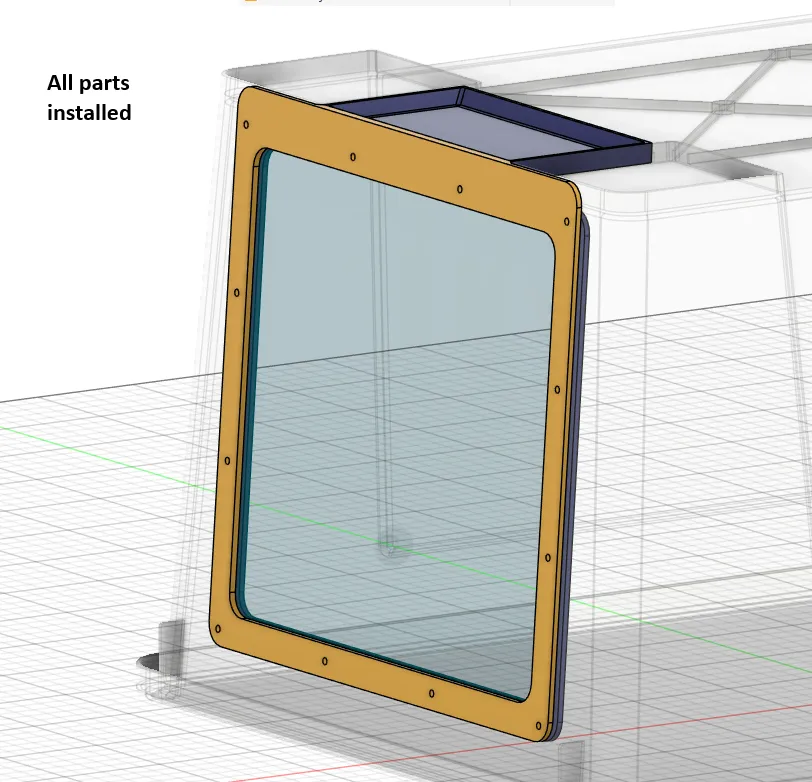
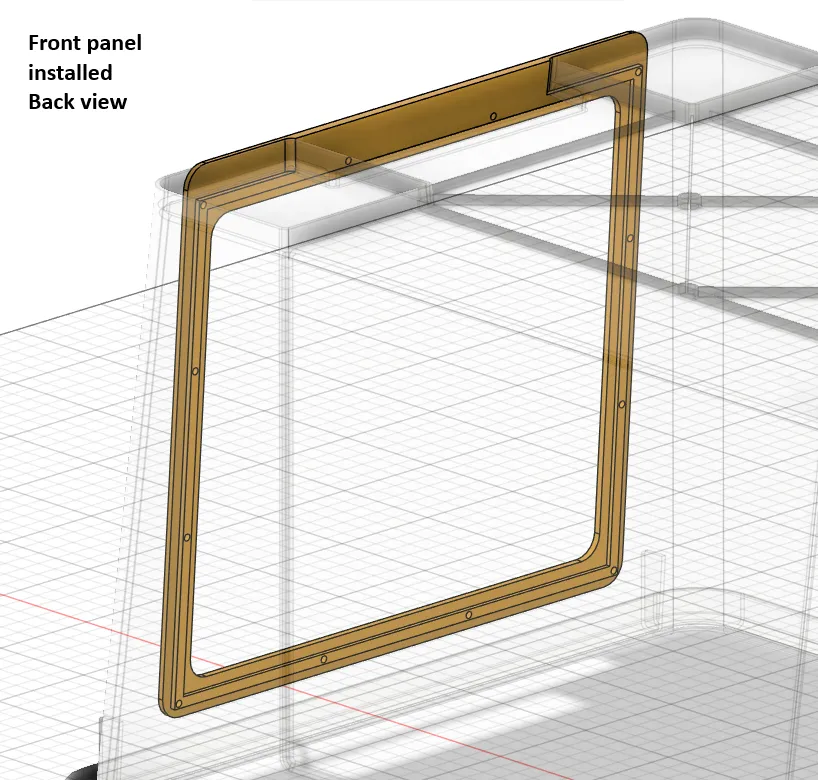
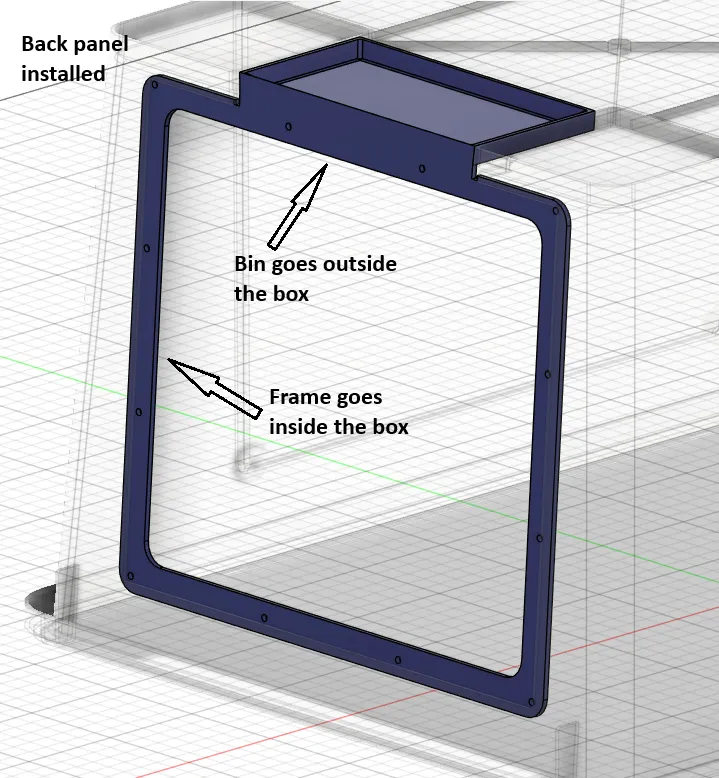
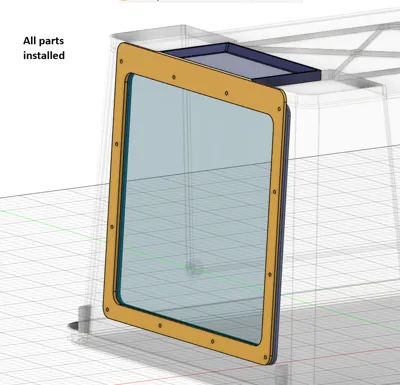
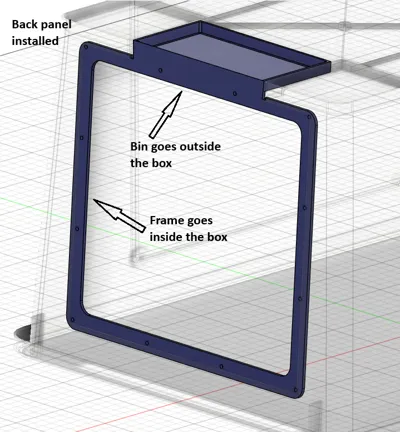
4- Install the parts. The back panel goes first (frame inside, bin outside, see reference picture). I found it helpful to put a small piece of double sided tape under the back panel bin. A small drop of hot glue works as well, just do not use too much or it will misalign the whole thing.
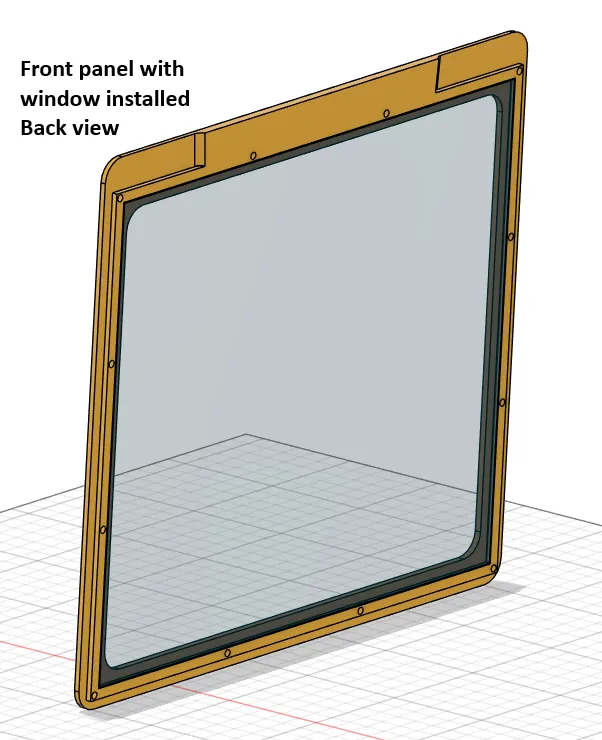
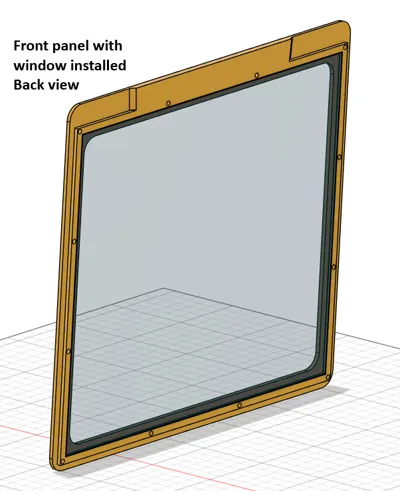
5- Install the acrylic panel inside the front panel. Tape both together with non permanent tape on the front and outside.
6- Voila. Put two cinnamon rolls in the microwave for 15 seconds and eat them like a champ. Because I know you bought some. Don't lie.
Boost Me (for free)
IKEA gives you a tiny pencil and no instructions. I gave you a window and a description. Boost button is right there.
License



Comment & Rating (6)