
Minisforum MS-A2 4U Rack Enclosure
Print Profile(1)
Description
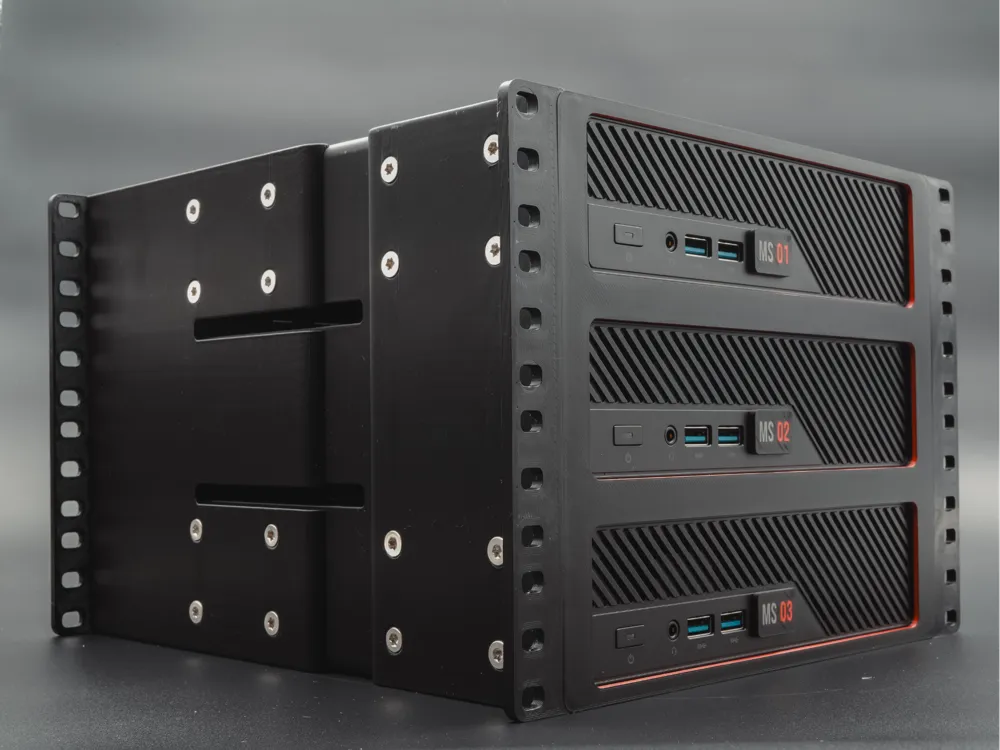
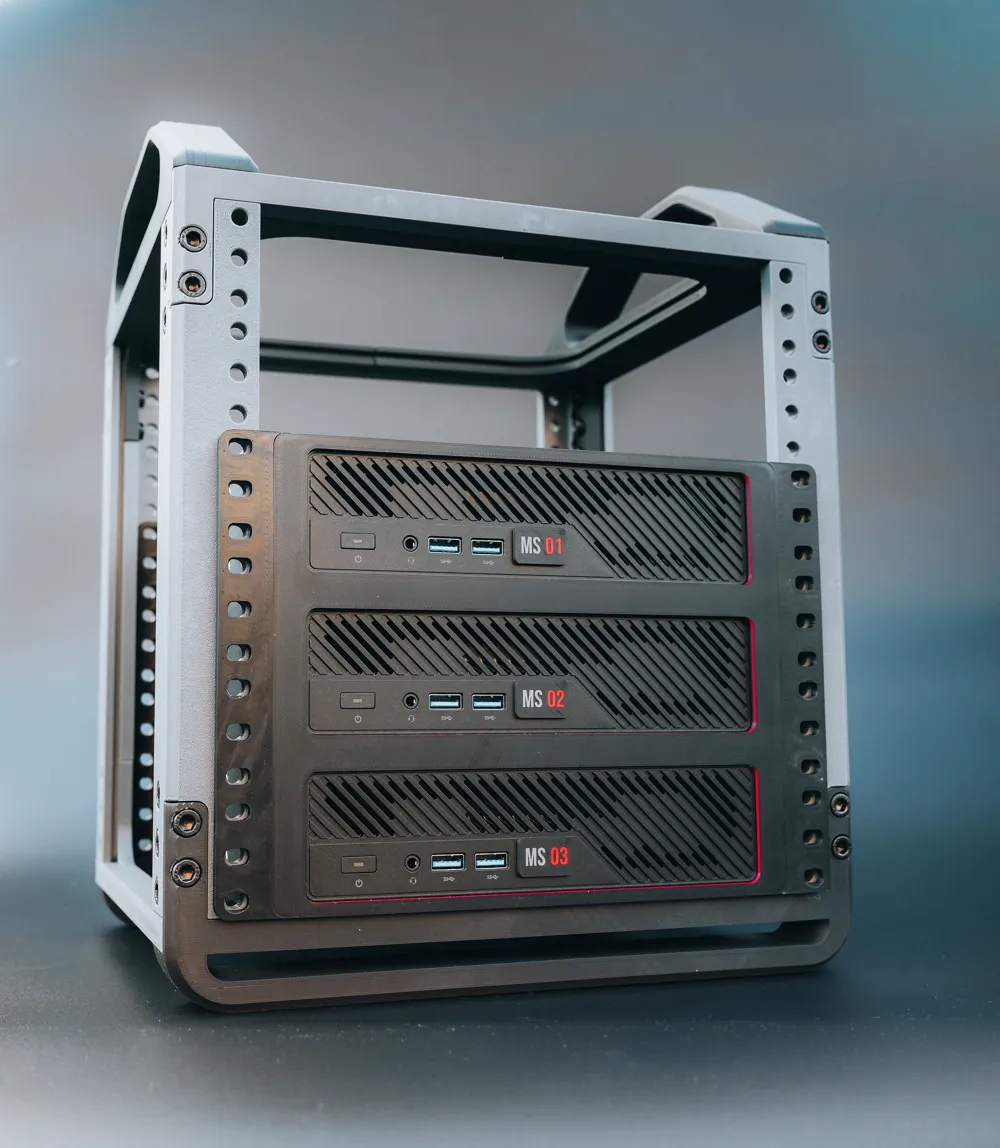
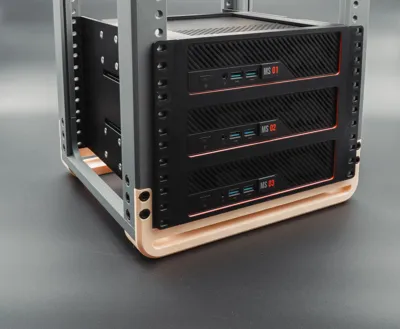
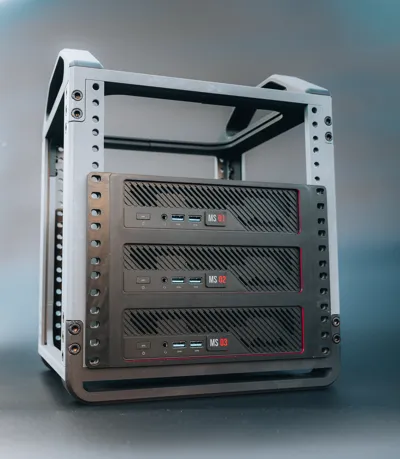
4U 3-Node Enclosure for Minisforum MS-A2
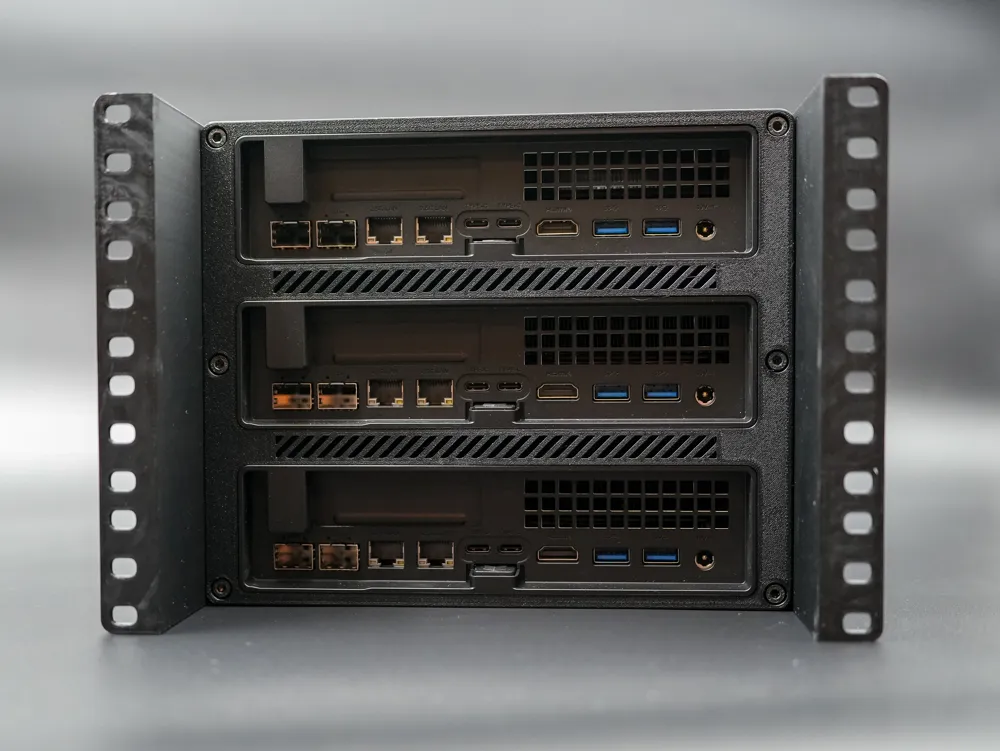
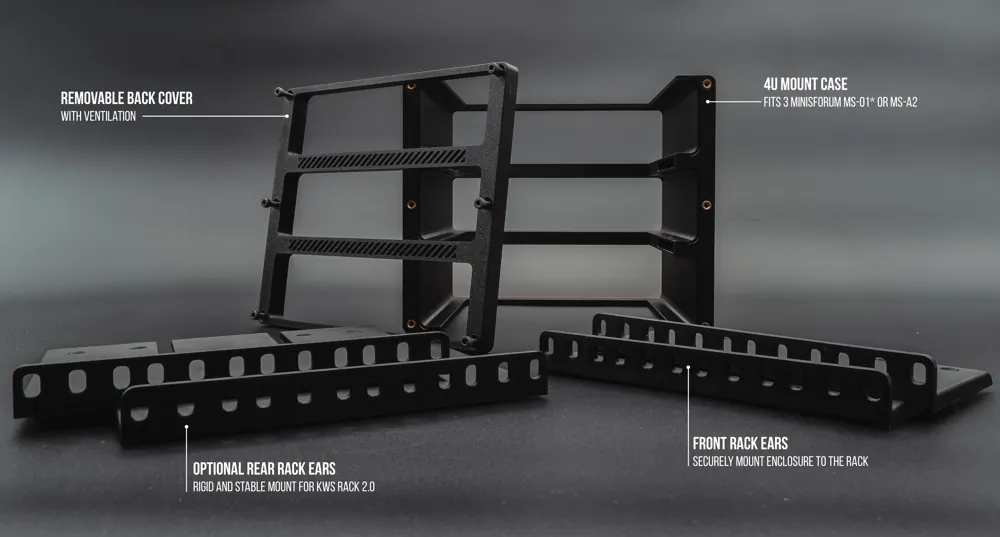
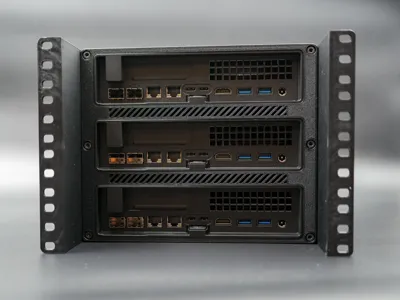
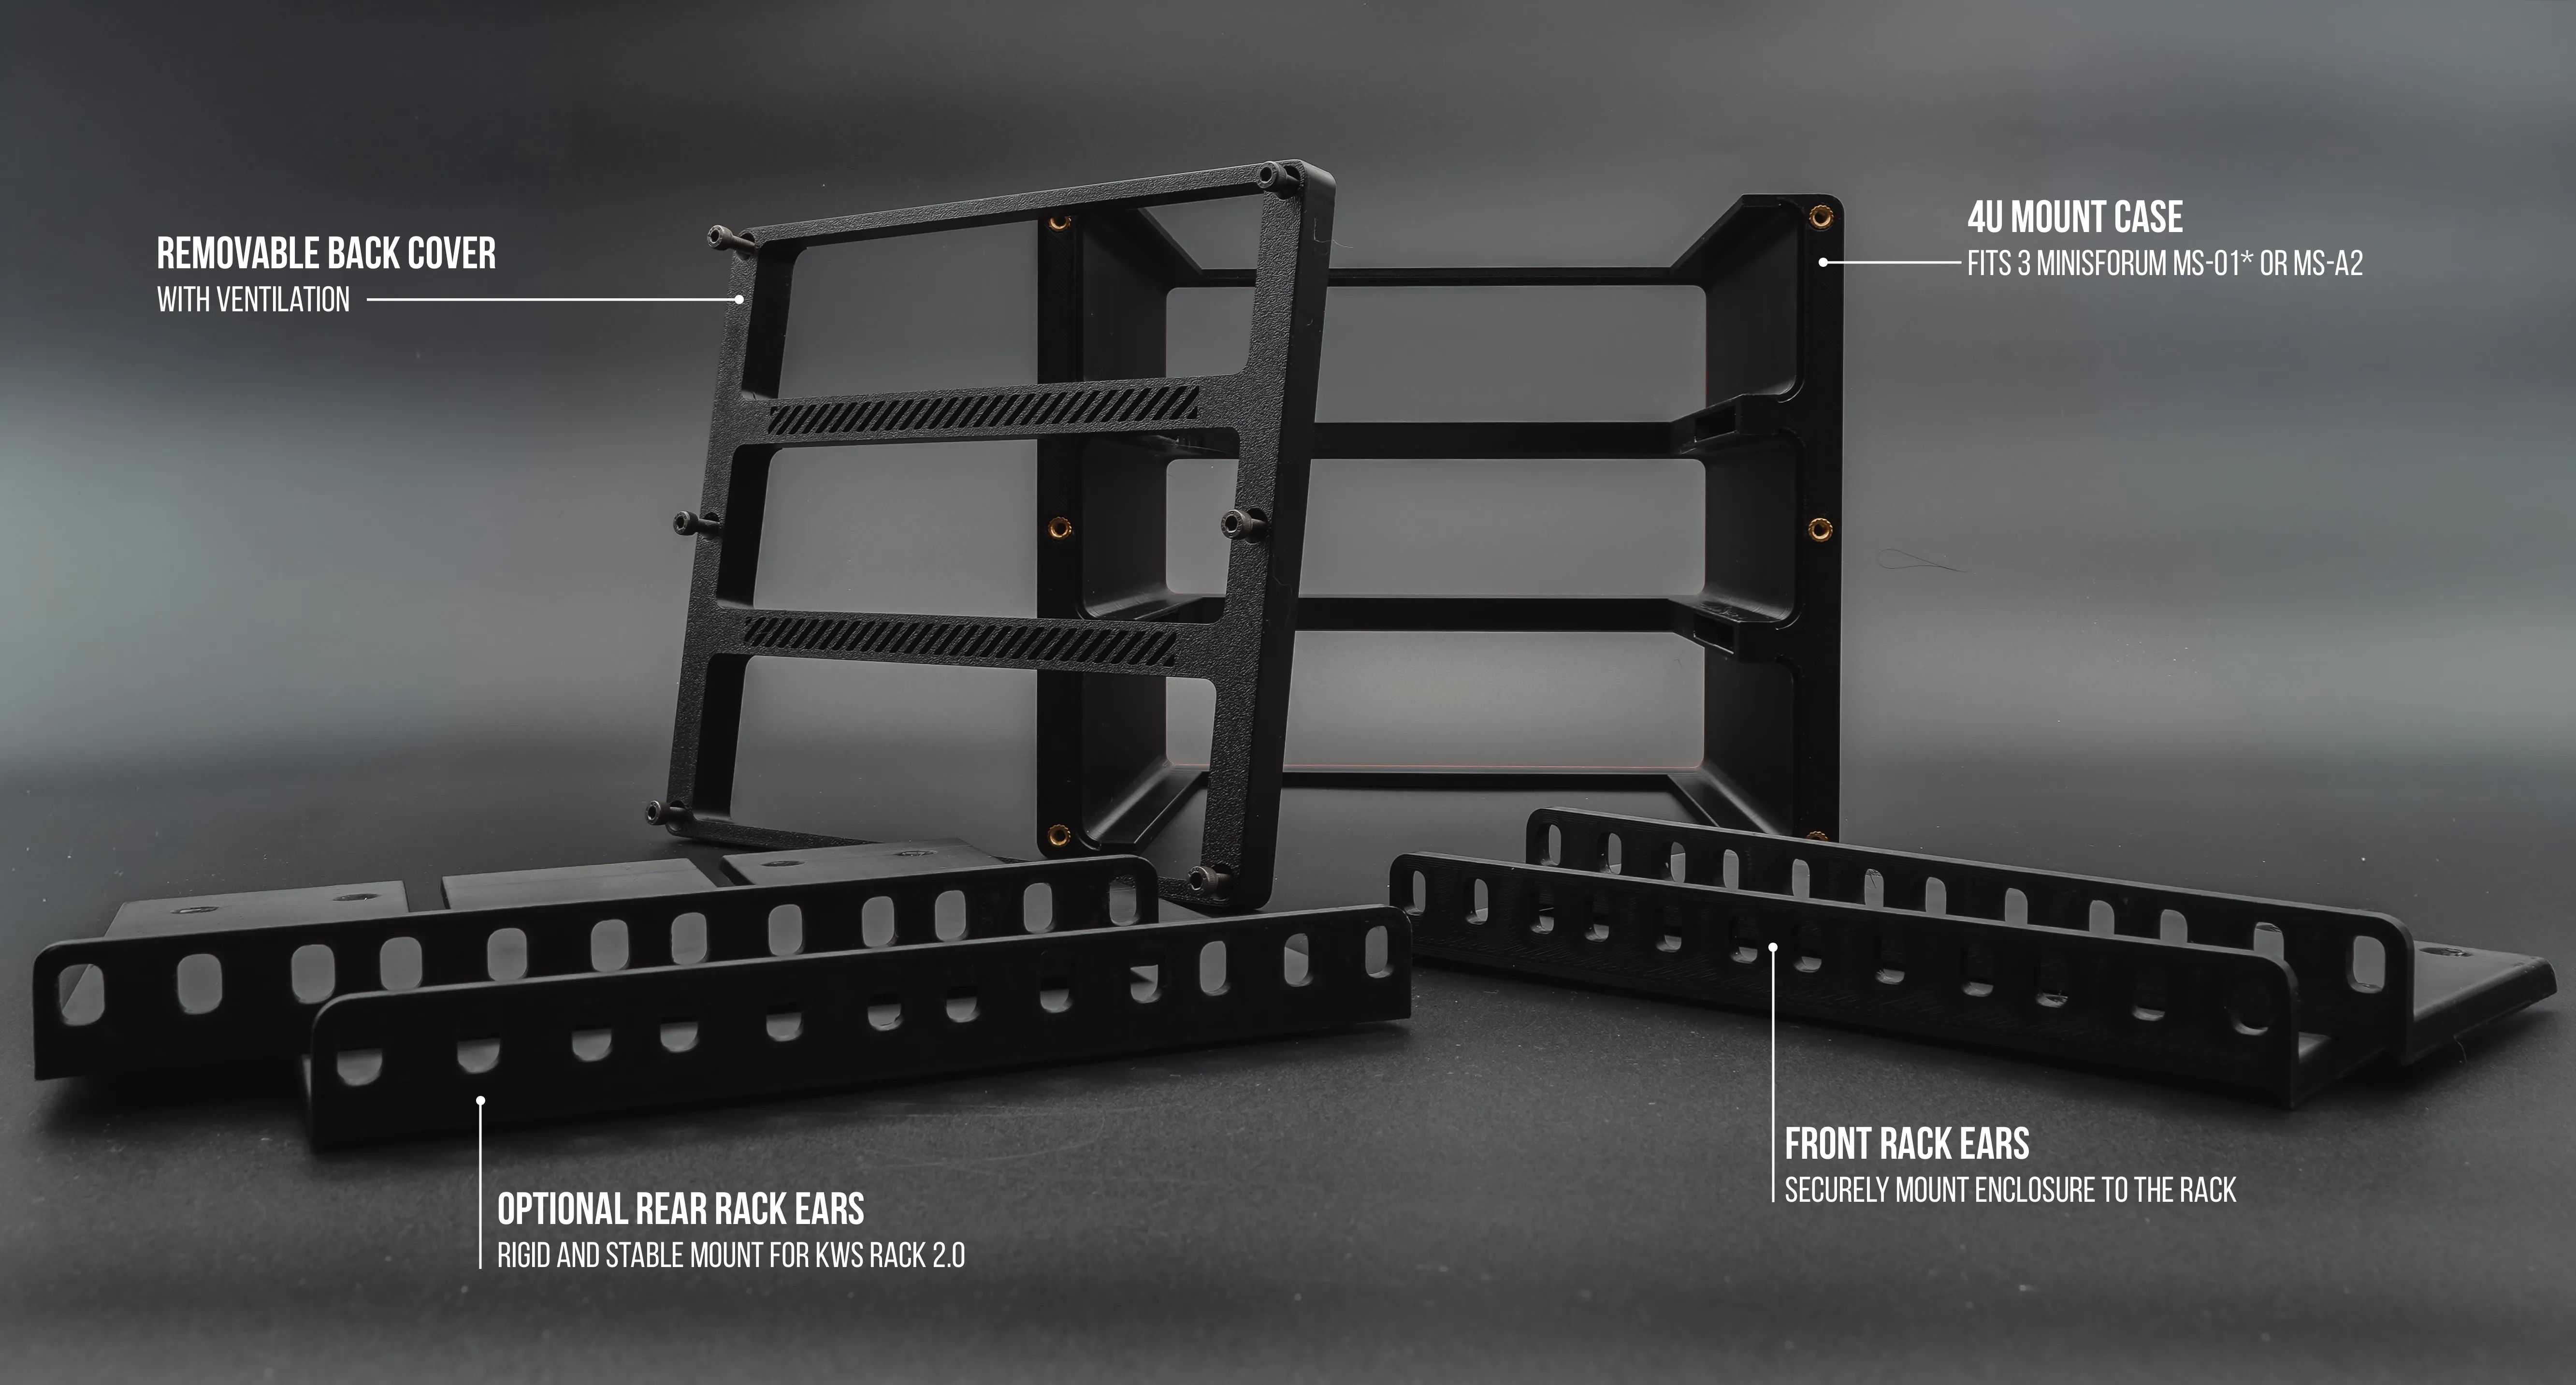
This 10-inch 4U rack enclosure is designed to comfortably house up to three Minisforum MS-A2 nodes. The design features a snug rear-loading system where the nodes push in perfectly from the back and are safely locked in place by a secure, bolt-on backplate.
NOTE: After some user feedback it seems like MS-01 is supported for this model, see makes.
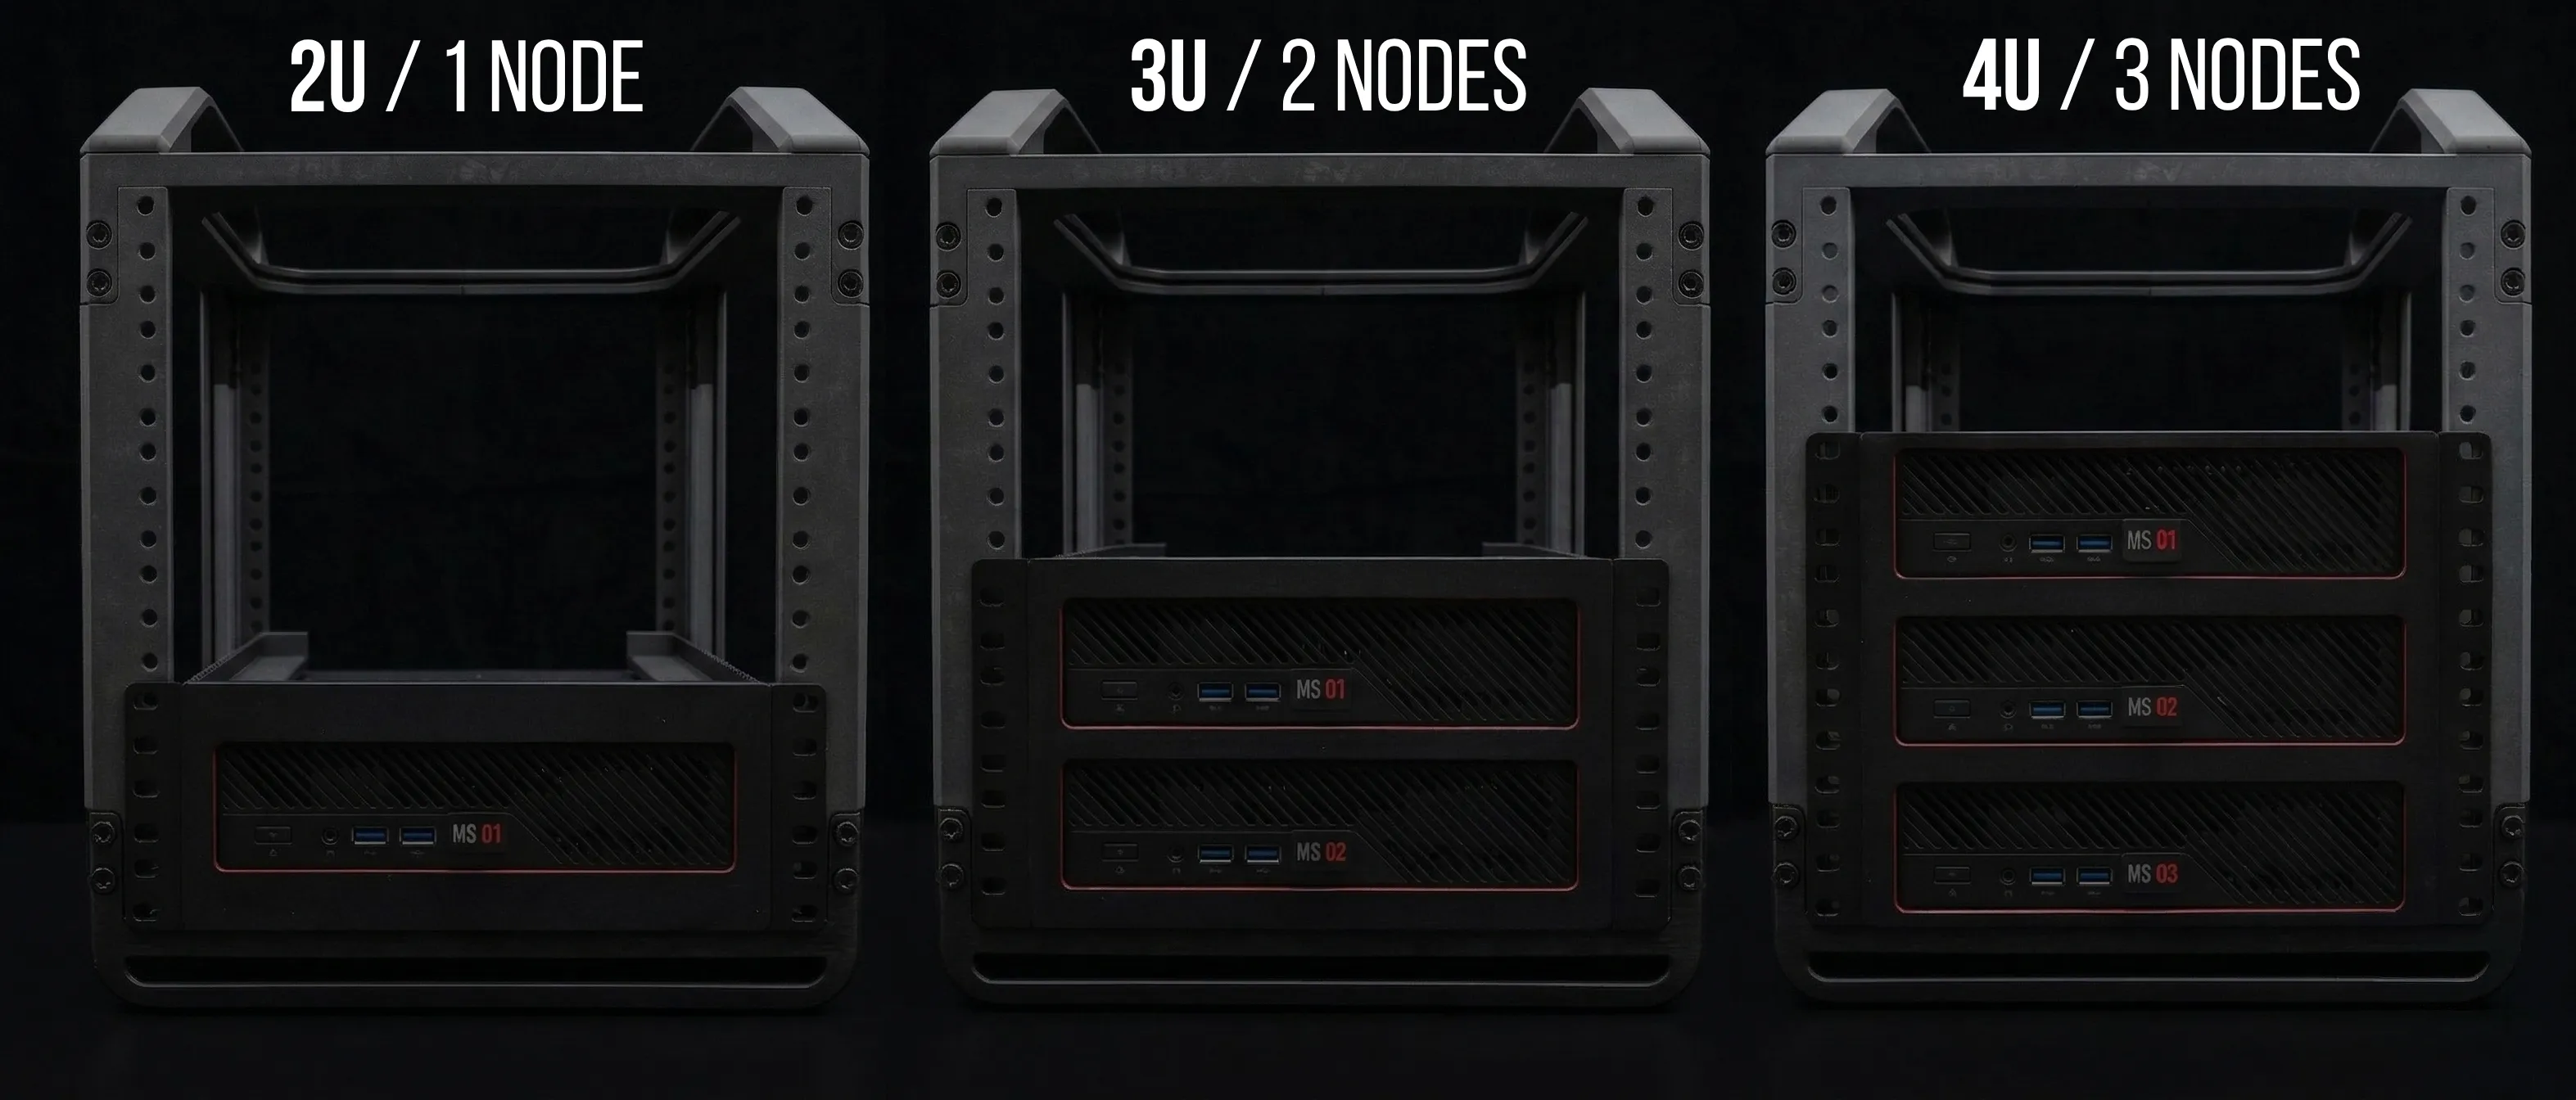
This model is available in 3 versions:
Key Features:
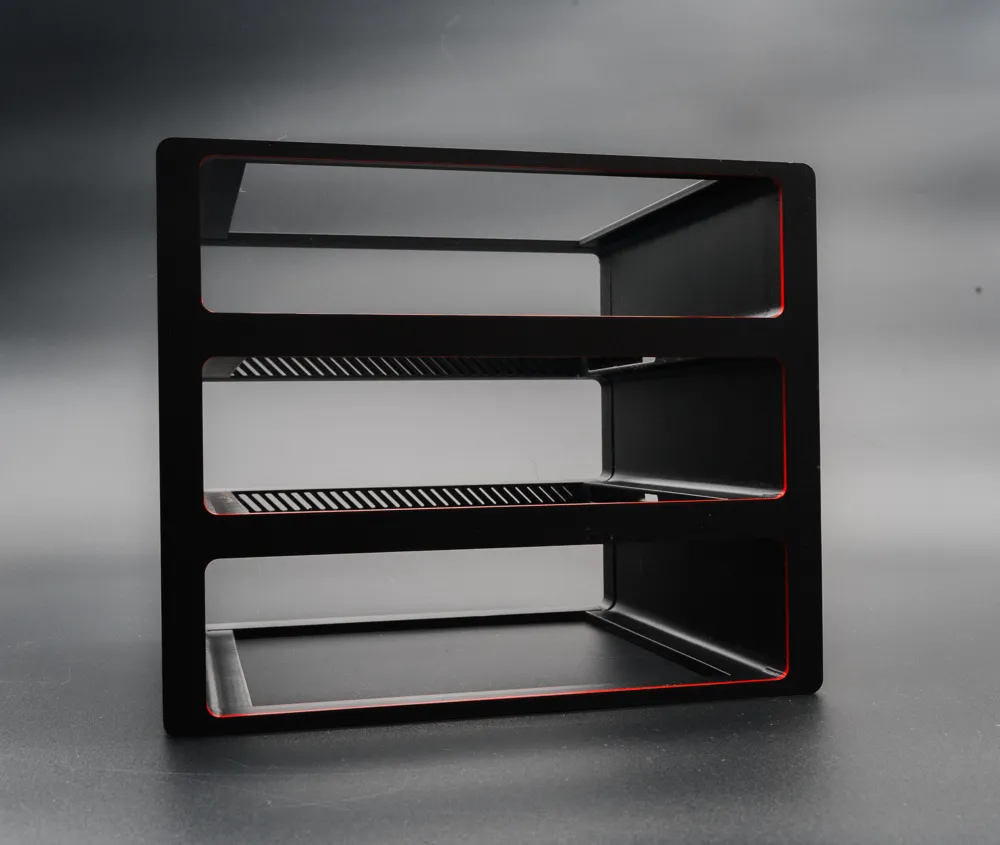
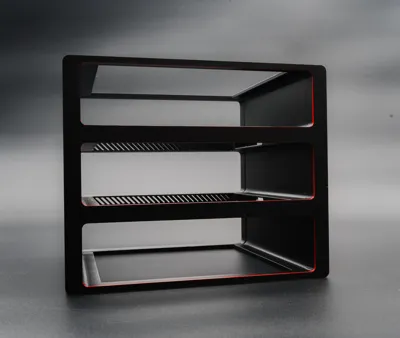
- Each node slot is recessed by 1mm and features a customizable edge line, allowing you to print an accent color to make your rack stand out.
- I have tried my best to add adequate airflow, heat is always an issue packing stuff this tight. The model has side ventilation, in addition to extra ventilation in the back to keep heat from building between the nodes.
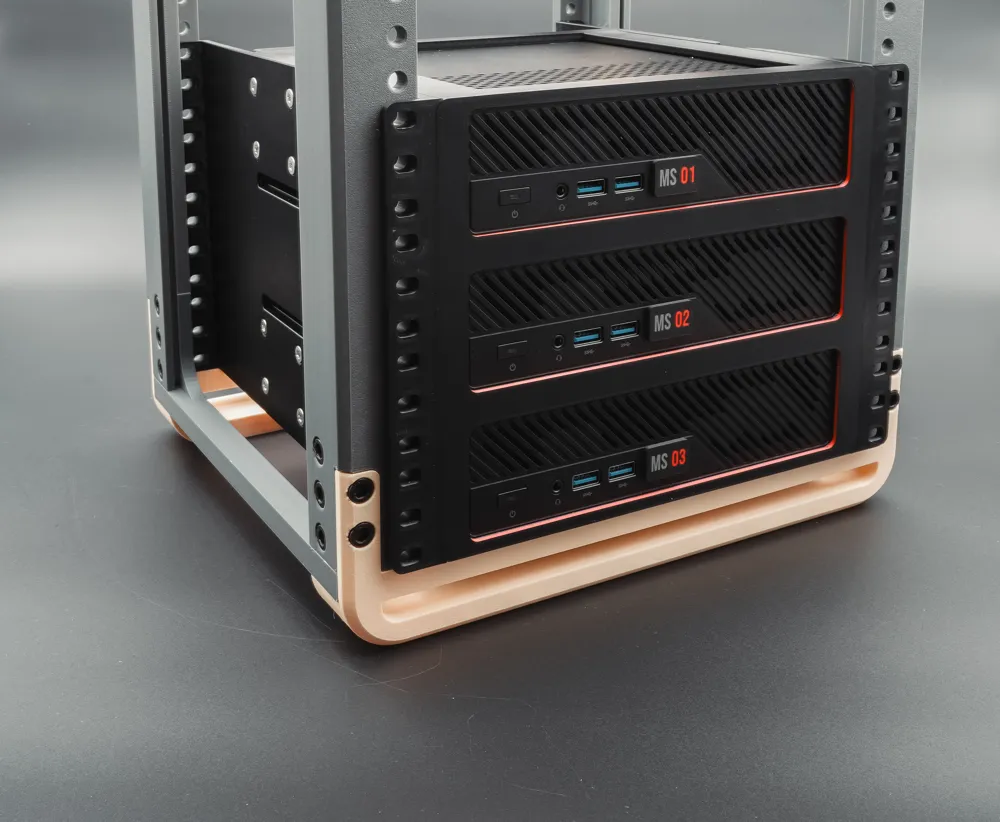
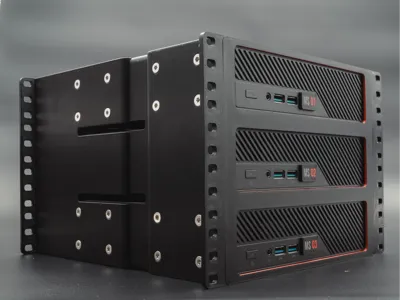
- Adding the rear support brackets provides massive stability to both the nodes and the rack itself. (For context, I run this in the middle of a 15U KWS rack, and it feels incredibly sturdy!)
Print Guidelines & Files
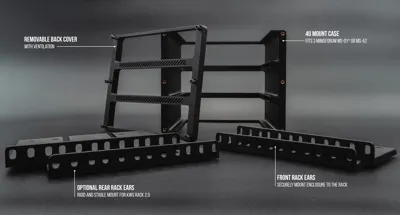
This model can be printed support-free! Inside the provided `.3mf` file, you will find:
- Main Enclosure / Carcass
- Securing Backplate
- Front Rack Ears
- Rear Rack Ears *(Compatible with KWS Rack 2.0 and standard 10" racks following the Common 10 inch rack specification)
I highly recommend printing this in PETG. The nodes generate a fair amount of heat, and PETG will handle both the operating temperatures and the physical weight of the cluster.
Important Mounting Note: If you decide to skip the rear rack ears, keep in mind that the front mounts will be under a considerable amount of stress. If you go that route, I strongly suggest resting the enclosure directly on a shelf or placing it at the very bottom of your rack. However, for 10-inch rack users (especially if you are using a KWS rack), using the rear ears is highly recommended. It takes the strain off the front and makes the entire setup incredibly solid.
Hardware Required:
- 32 x Threaded Inserts (M4) (or similar)
- 32 x M4x10 or M4x12 mm countersunk screws
- 6 x M4x16 mm HEX screws
Assembly Instructions:
- Prep the parts: Print your required pieces and decide whether your specific rack setup allows for the rear rack ears.
- Install inserts: Melt all the threaded inserts into their designated holes. *(Note: You can skip the rear inserts if you are not using the rear ears).
- Attach the front: Screw the front rack ears onto the main enclosure.
- Load the cluster: Slide your Minisforum nodes into their slots from the back, then secure them by screwing on the backplate.
- Rack it up: Carefully slide the entire assembly into your desired 4U slot in your rack.
- Secure the rear: Attach and mount the rear rack ears to lock everything perfectly in place.
Compatibility Matrix
| Rack System | Fit Status |
|---|---|
| KWS Rack 2.0 | ✅ Verified |
| Lab Rax | ❓ Not verified |
| Mod10 | ❓ Not verified |
| Rackfinity | ❓ Not verified |
| GALAXY Rack | ❓ Not verified |
The pictured USB Labels can be found here!
Boost Me (for free)
I design these models for my own homelab and love sharing them with the community. If you found this enclosure useful, a like or a boost is incredibly appreciated! It directly helps me buy more filament to prototype and test future projects. There's absolutely no pressure, though—seeing your printed setups is reward enough, so please post your makes! Happy printing!
License



Comment & Rating (15)