
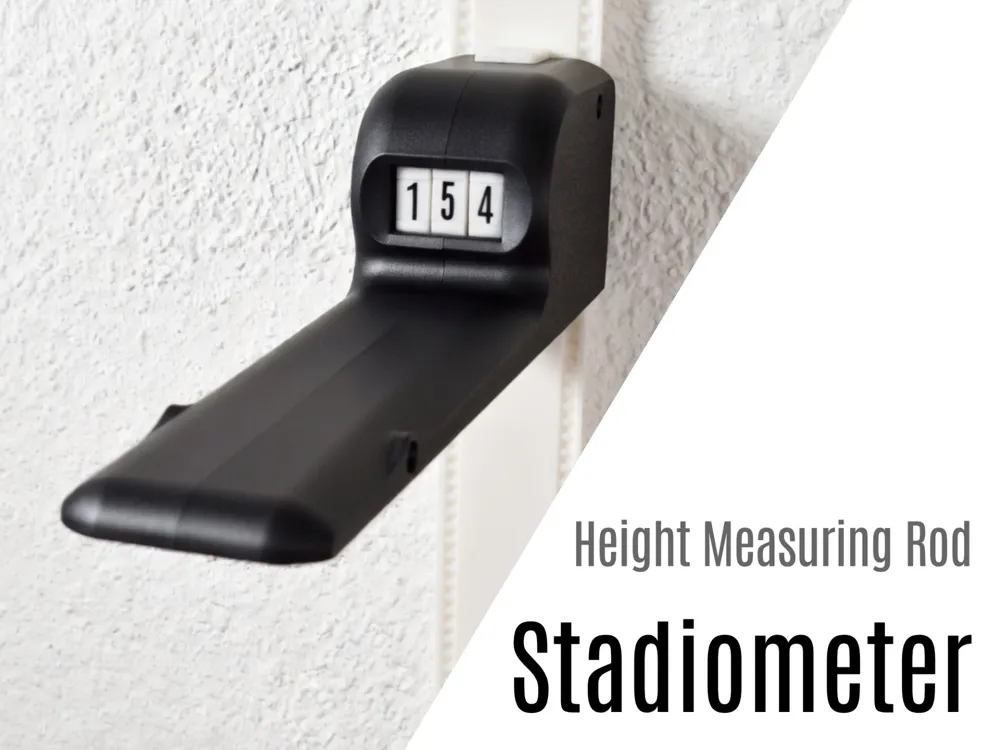
Stadiometer - Height Measuring Rod
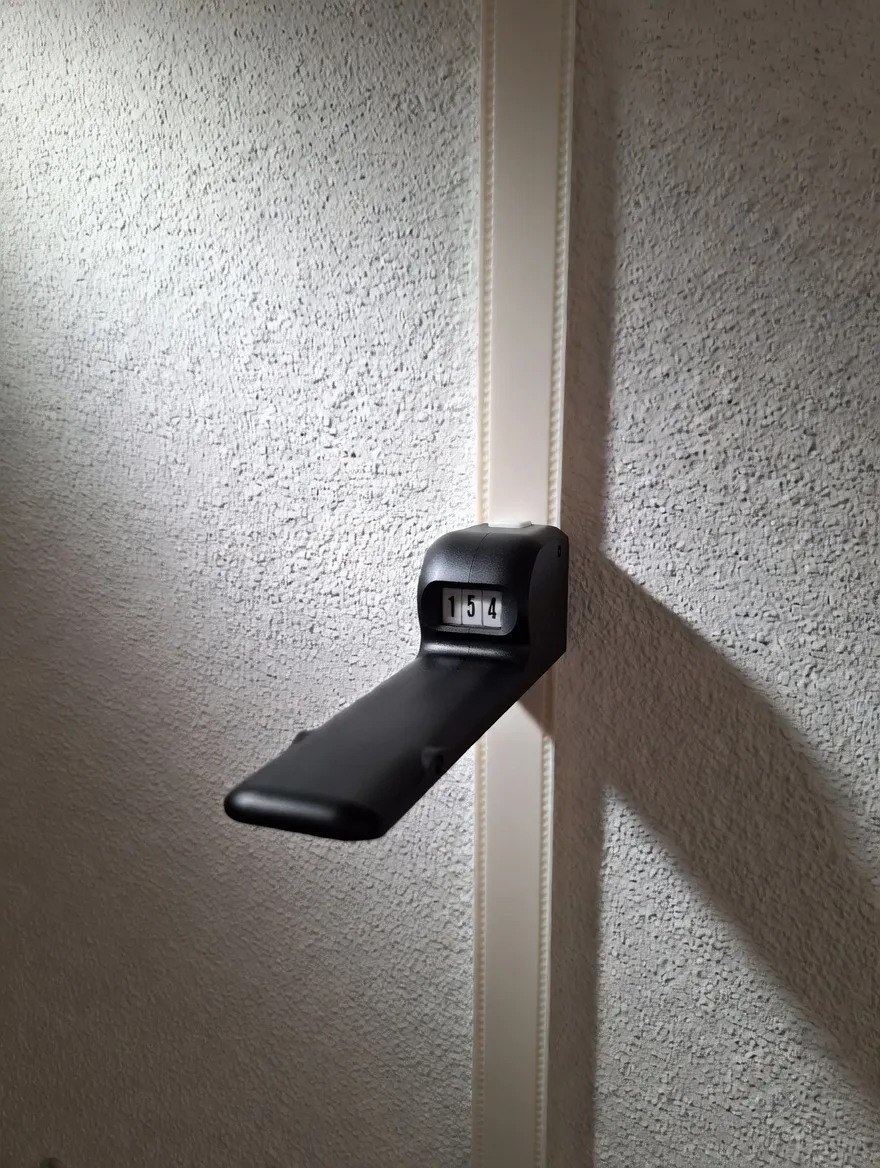
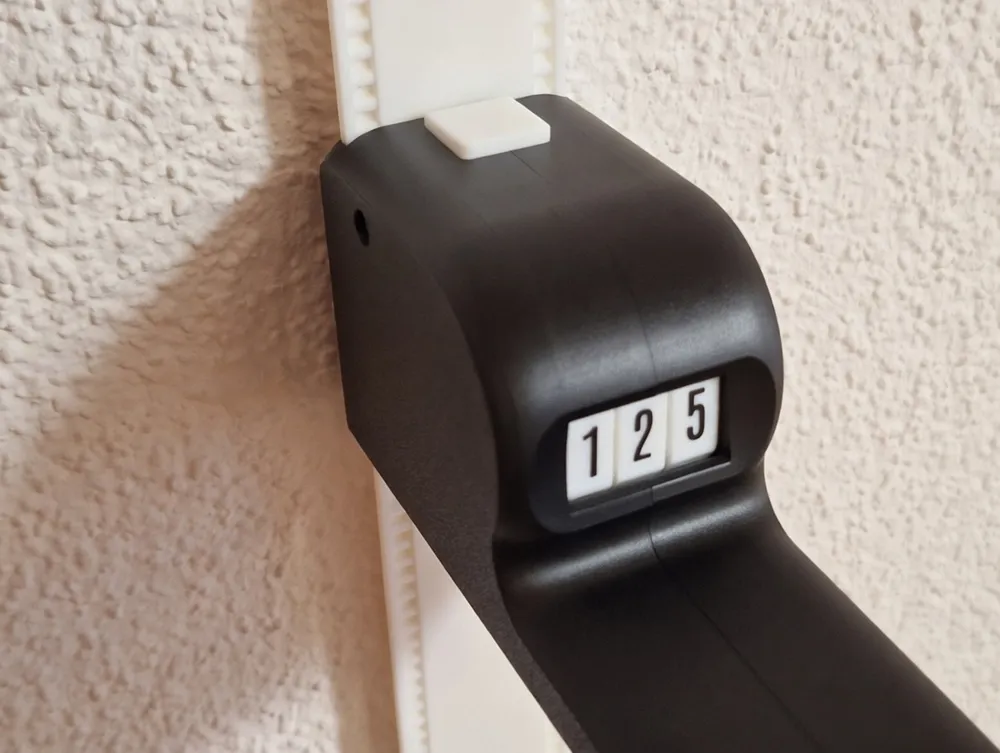
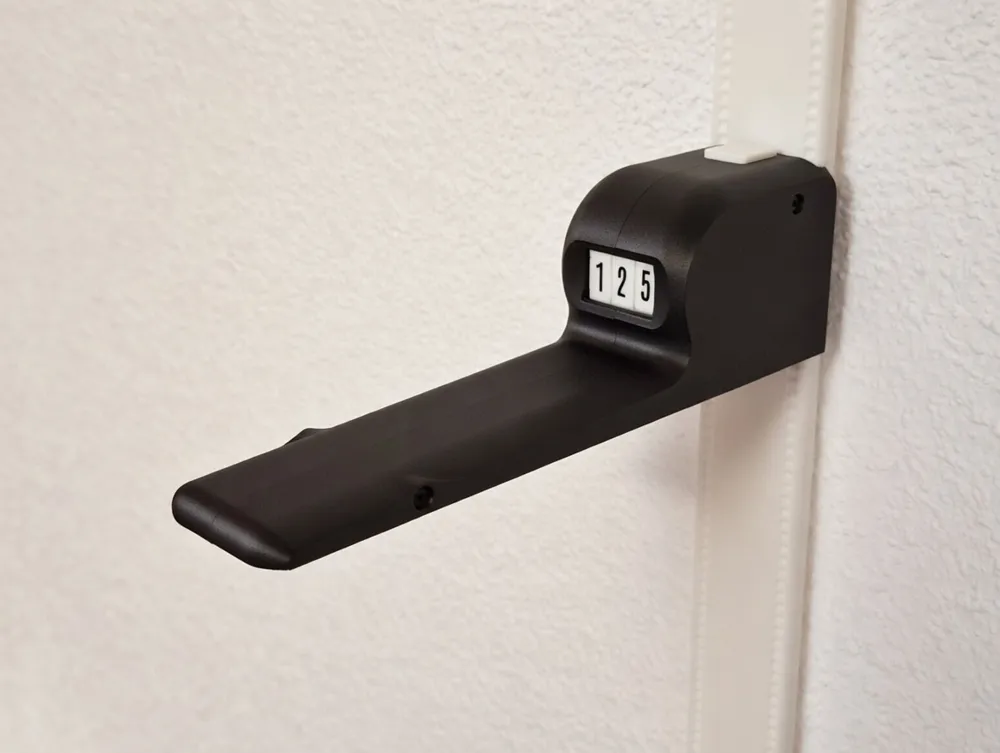
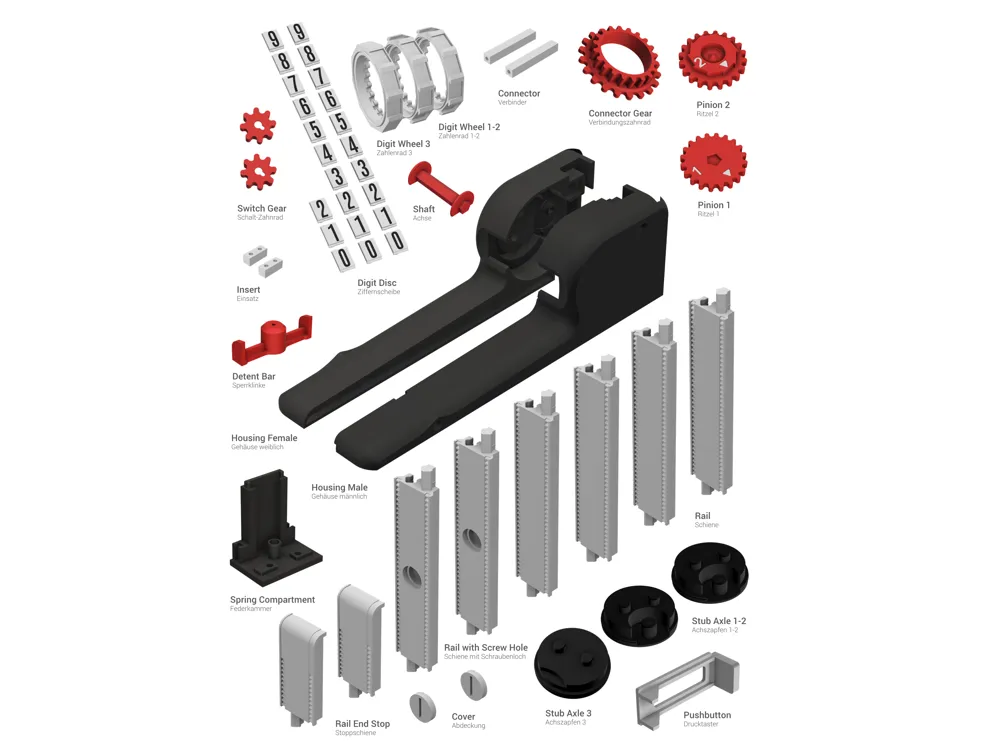
Print Profile(1)
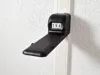
Bill of Materials


- Screw Set for Wall Mounting x 2: e.g. wall plug + screw ⌀3-4 mm + washer
Description
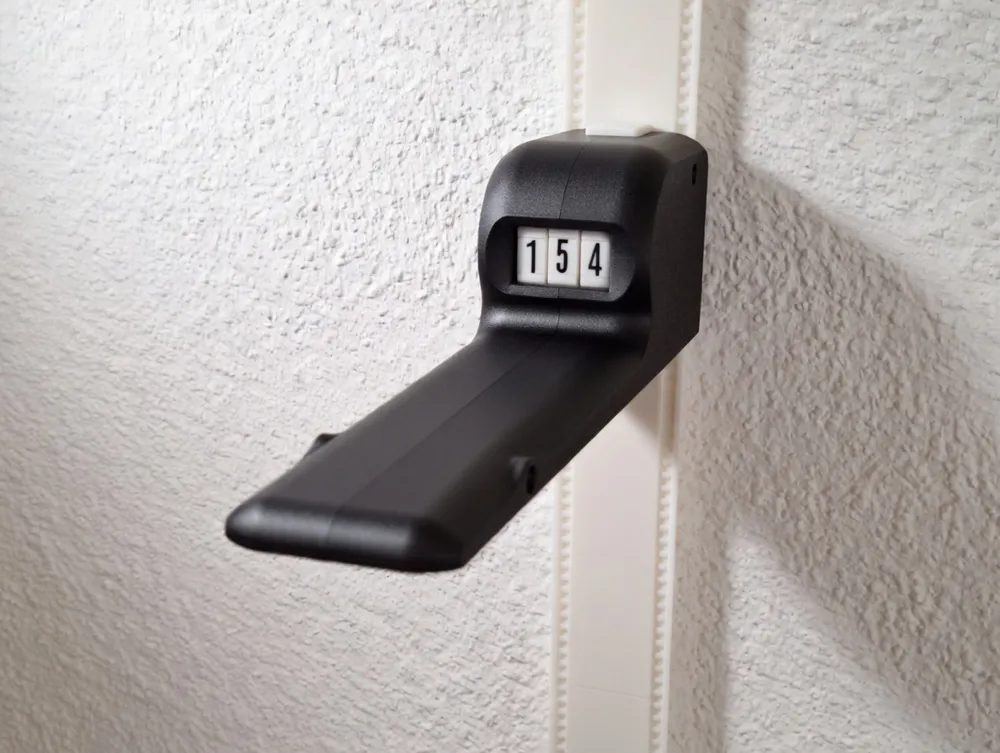
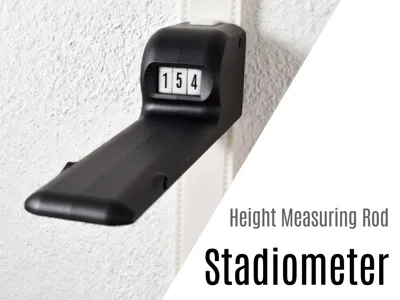
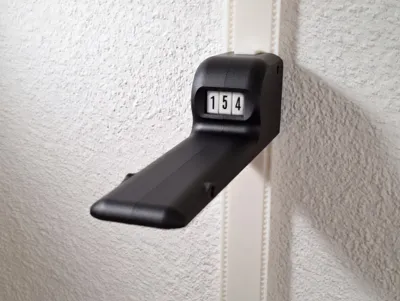
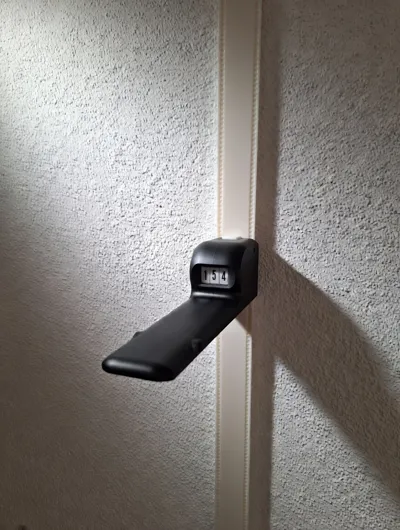
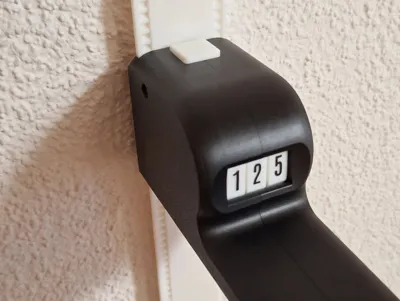
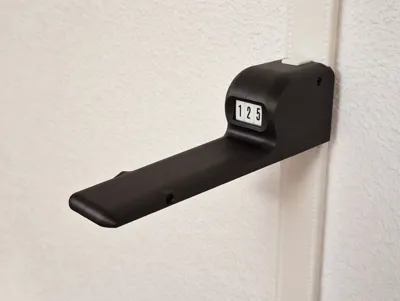
This is a fully functional, wall-mounted stadiometer designed for real-world height measurement. I developed it specifically for home use, just like the professional versions found in medical practices, schools, and fitness studios. Use it to track your children's growth over the years or measure the height of your clients/customers with ease and precision. What makes this model special is its cleverly engineered mounting and assembly process – once built, it becomes a practical, reliable tool for everyday use.
Please study the assembly instructions (in the documentation for this model) to see what awaits you with this model. Don't worry - with the clear step-by-step assembly instructions, building this stadiometer is sure to be a success!
Boost Me (for free)
This model was created through many hours of development work over several weeks. If you like the model, I’d be very happy about your small but valuable appreciation in the form of a free boost.
Technical Specifications
- Measurement range: 72 – 201 cm
- Resolution / Graduation: 1 cm
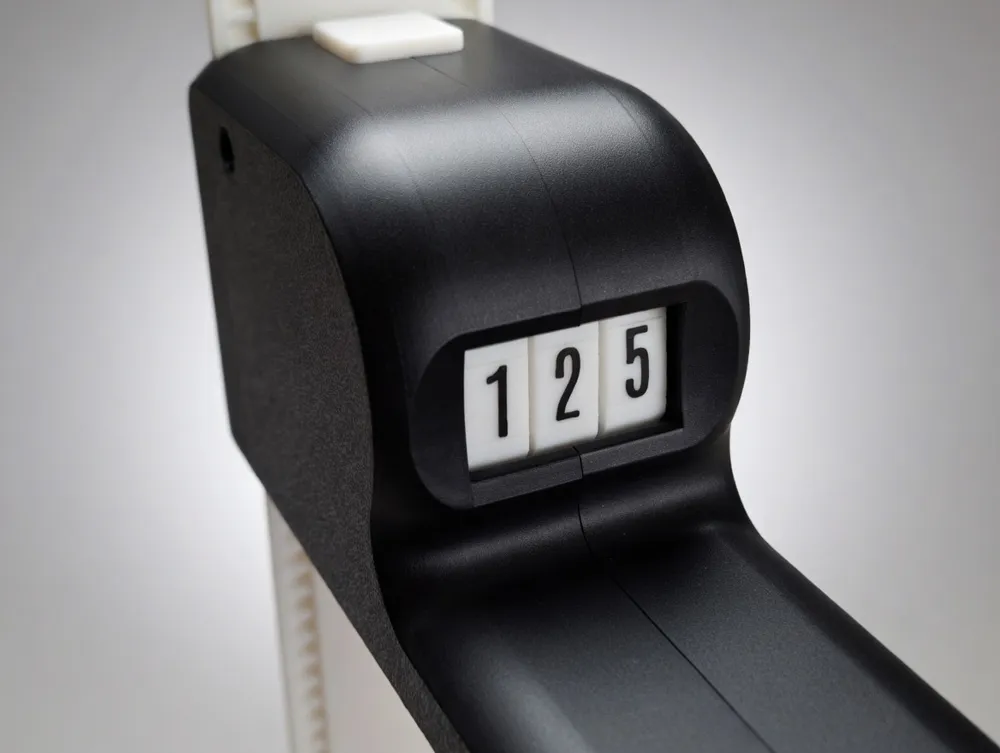
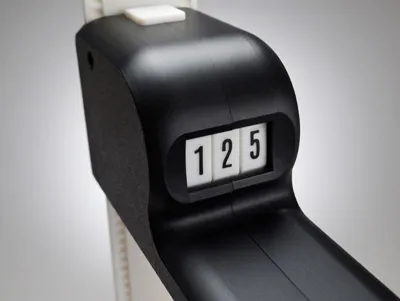
- Height readable directly on the device
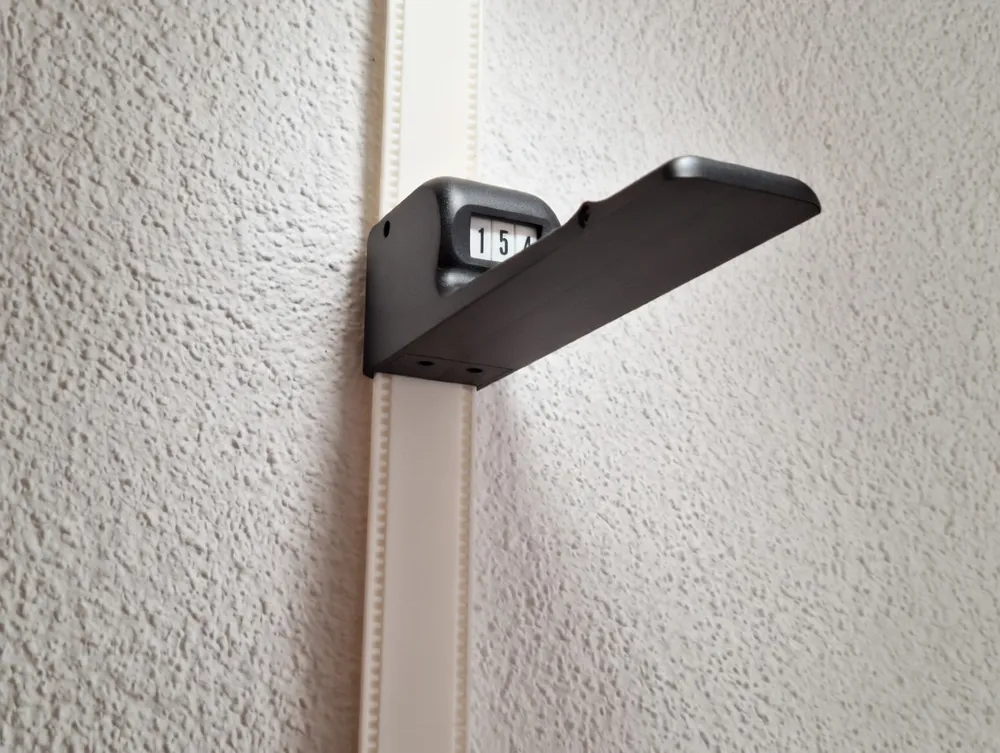
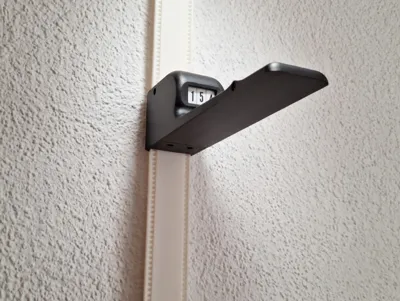
- Wall mounting (using screws)
- Sophisticated mechanism with automatic locking of the measuring headpiece
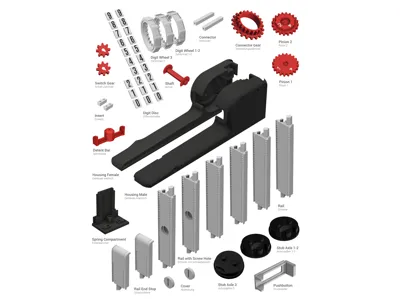
Main Components
- Measuring headpiece with gear mechanism for height display and automatic locking
- Wall rails / guide rails
Non-Printed Parts
The model requires:
- 6 screws (3×10 mm)
- 1 compression spring (0.5x5x25 mm)
- 2 ball bearings (12x8x3.5), they are optional – the model works perfectly well without them
- 2 appropriate screw sets (e.g. wall plugs + screws ⌀3-4 mm + washers) for mounting the wall rails
A ballpoint pen spring can serve as a suitable substitute for the compression spring. Please refer to the parts list in the detailed assembly instructions for exact sizes and tips on alternative components.
Reliable Printing & Detailed Assembly Instructions
The model has been specifically optimized for 3D printing – no supports are required during printing. This ensures excellent surface quality, sharp details, and reliable functionality of all moving parts. A comprehensive, step-by-step assembly guide (English/Deutsch) is included to help you put everything together easily and correctly.
Patience pays off with this print. The settings are tuned for smooth, high-quality surfaces and precise fit - because the best results are worth the wait.
Wall Mounting
The guide rail is printed in convenient 20 cm segments that simply snap together. It is then wall-mounted using two screws and wall plugs (washers are recommended). Please carefully follow the assembly instructions regarding the correct mounting method and the required distance from the floor.
Documentation (1)
License

You shall not share, sub-license, sell, rent, host, transfer, or distribute in any way the digital or 3D printed versions of this object, nor any other derivative work of this object in its digital or physical format (including - but not limited to - remixes of this object, and hosting on other digital platforms). The objects may not be used without permission in any way whatsoever in which you charge money, or collect fees.


Comment & Rating (7)