
Zen Cascade Desk Fountain
Print Profile(1)
Bill of Materials

Description
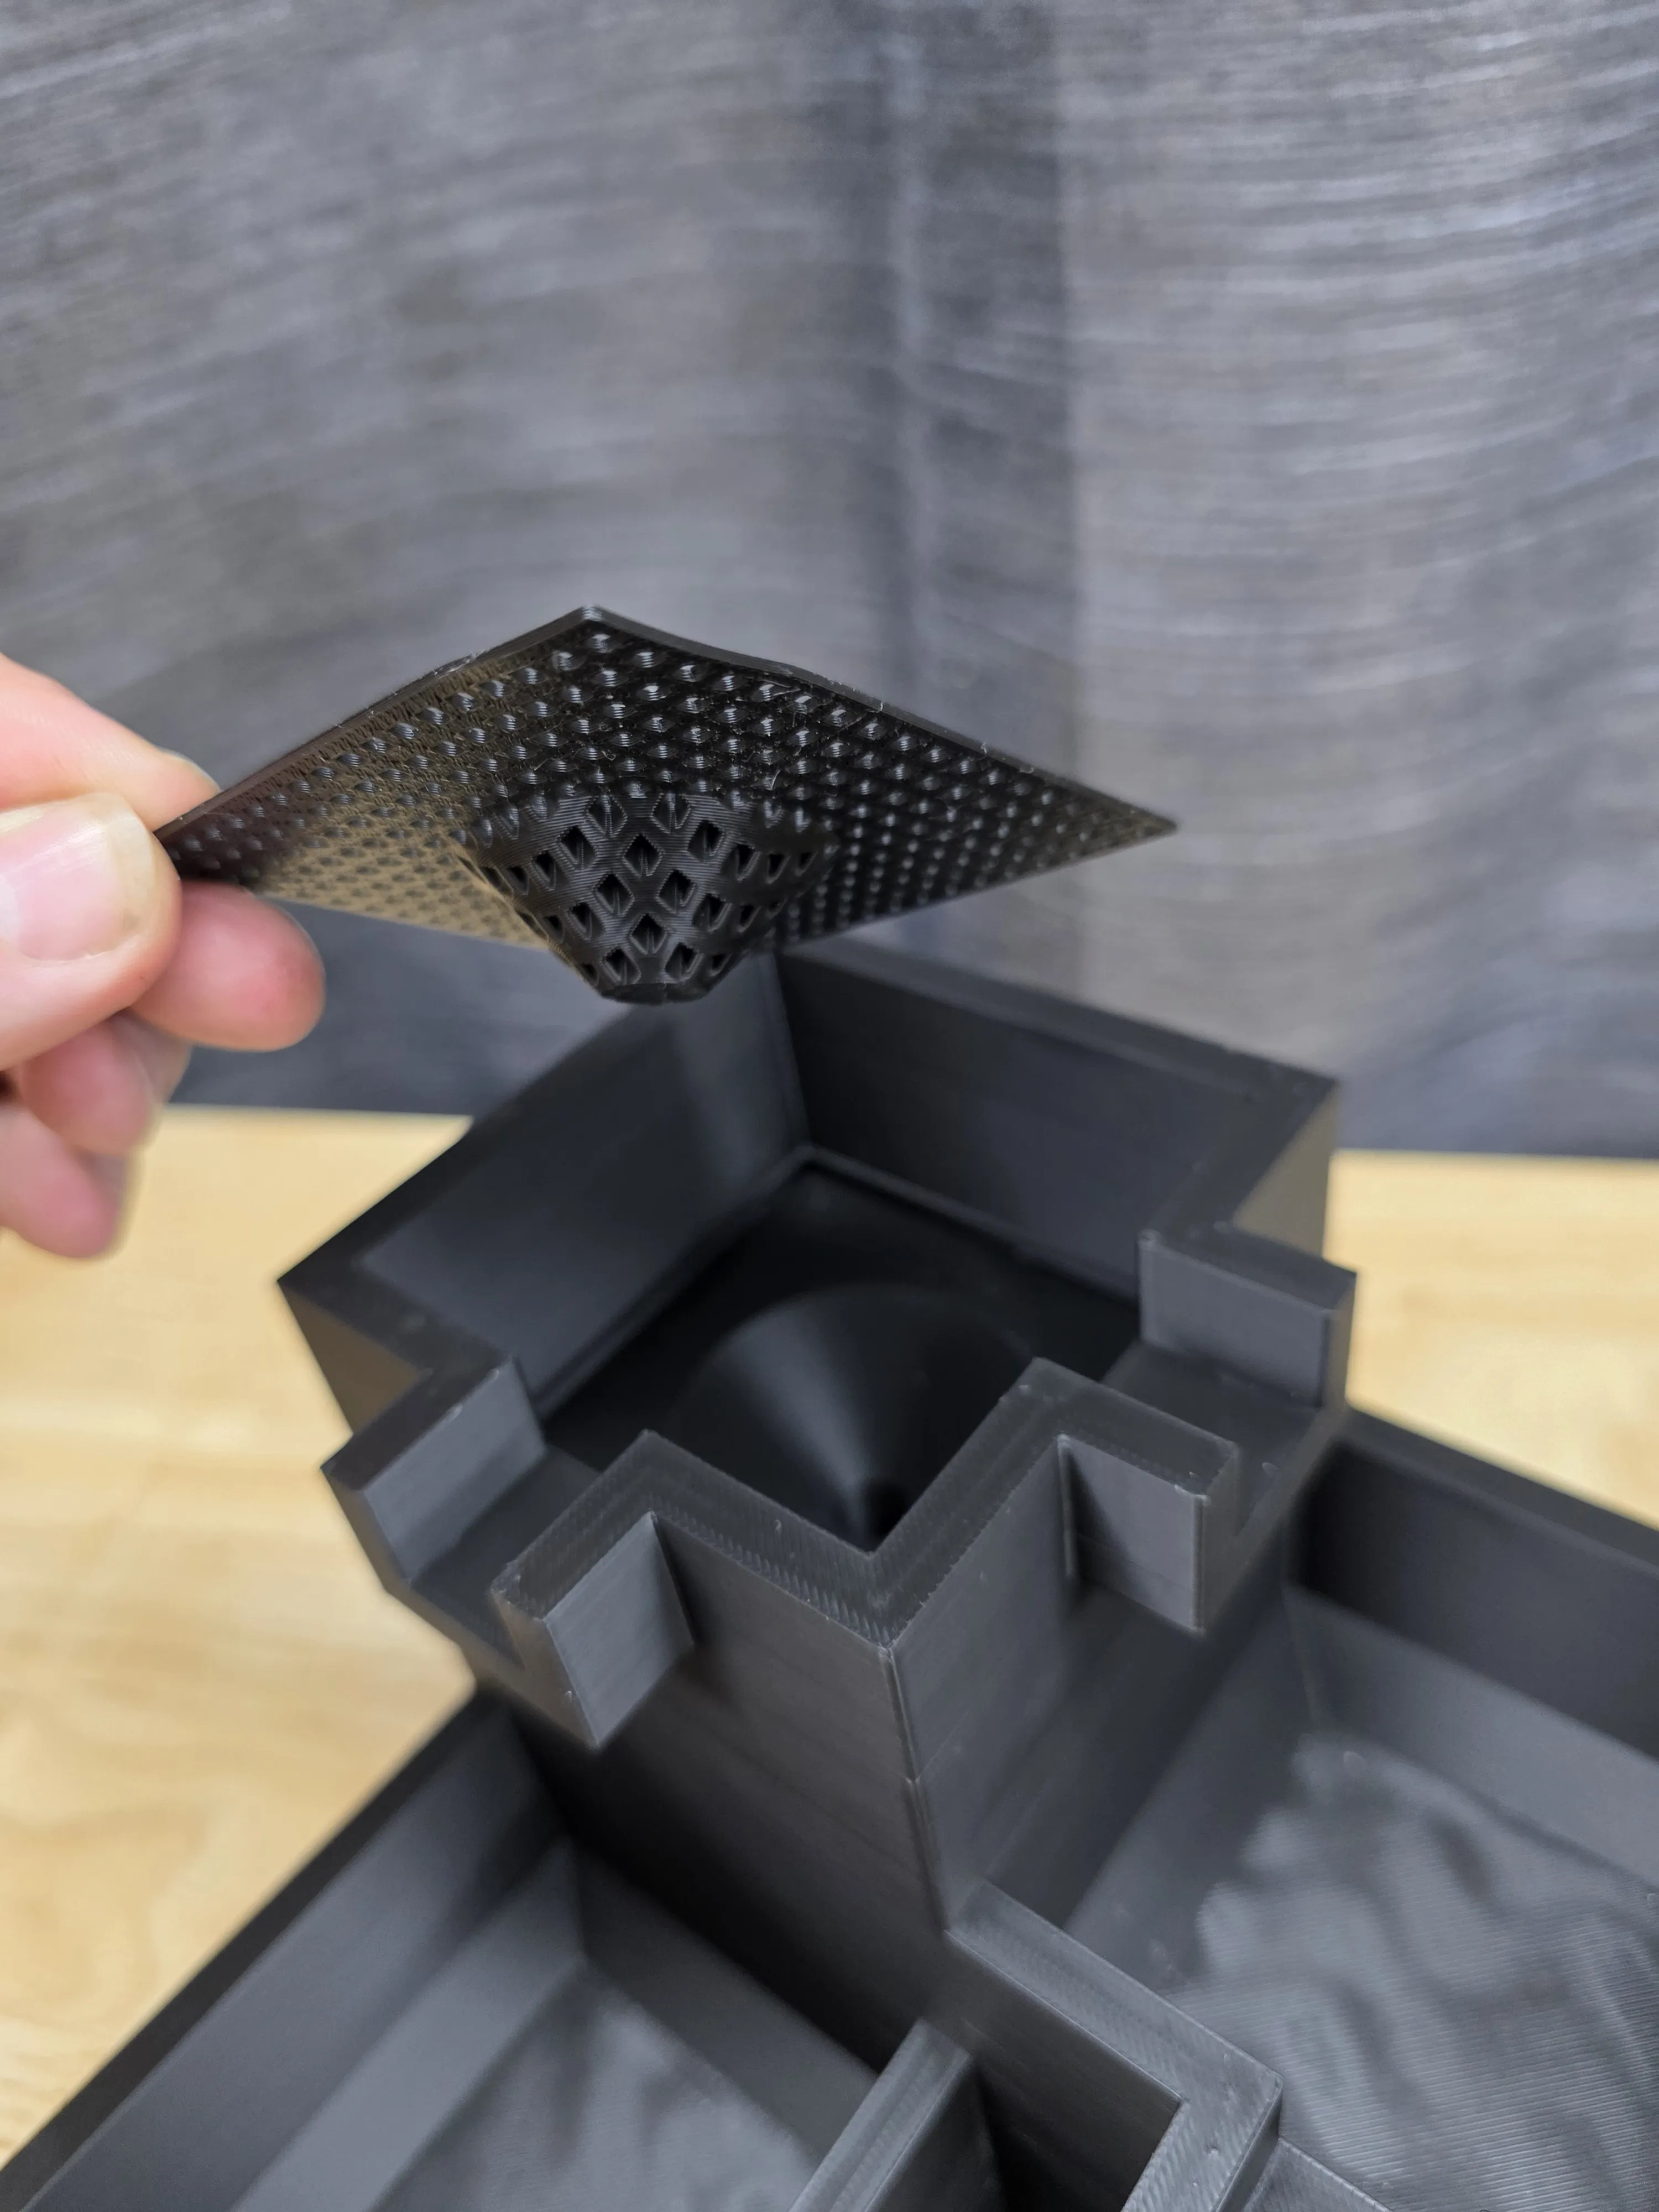
Zen Cascade Desk Fountain
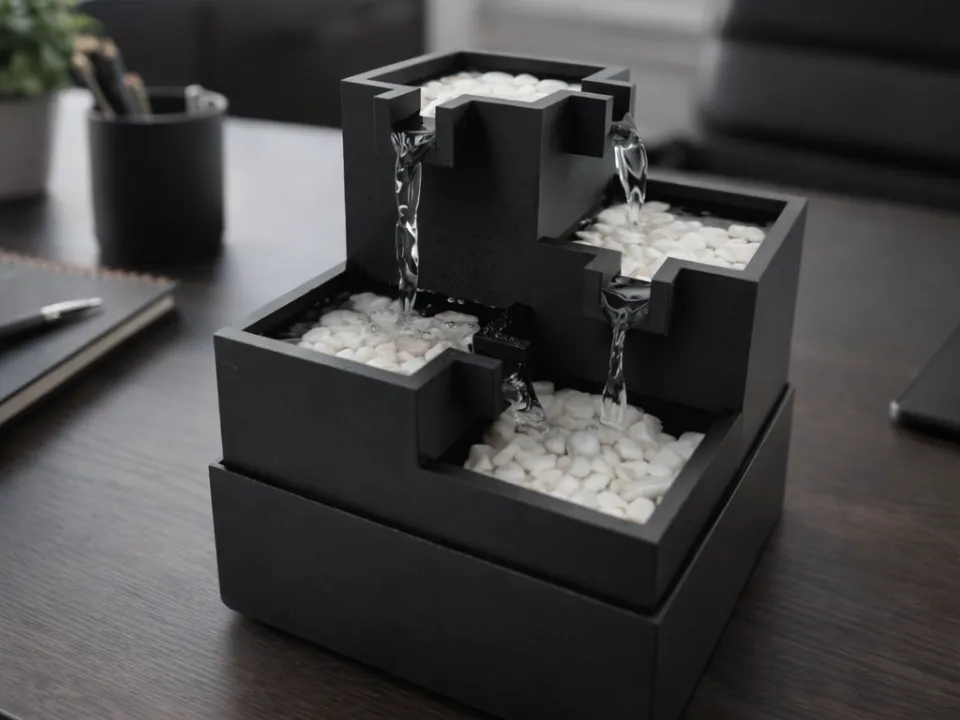

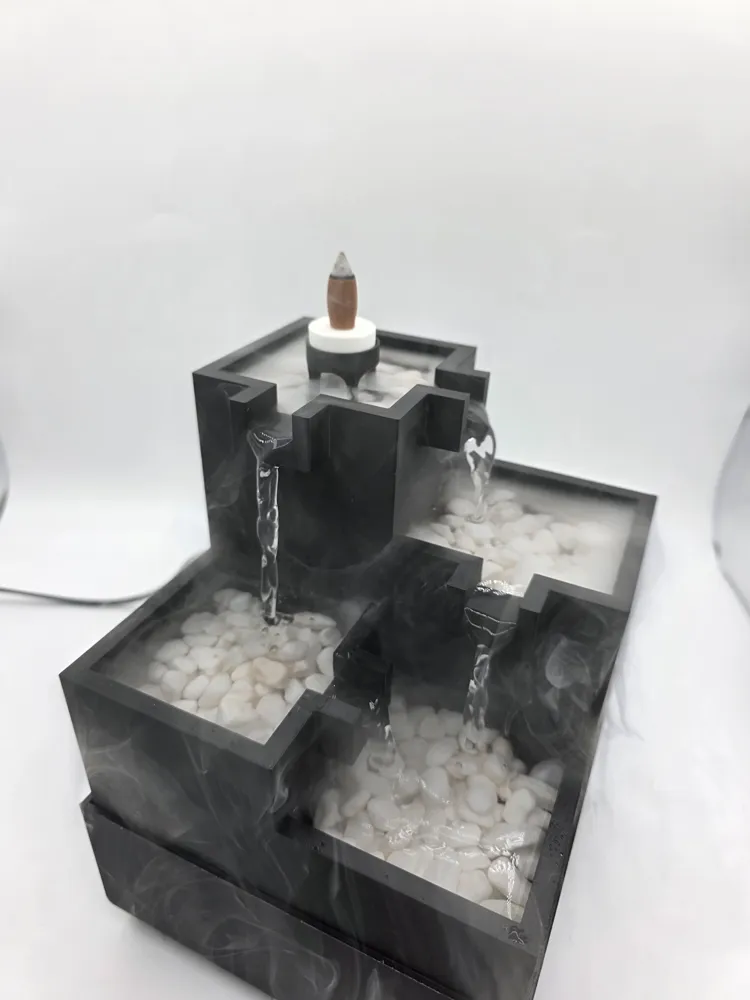
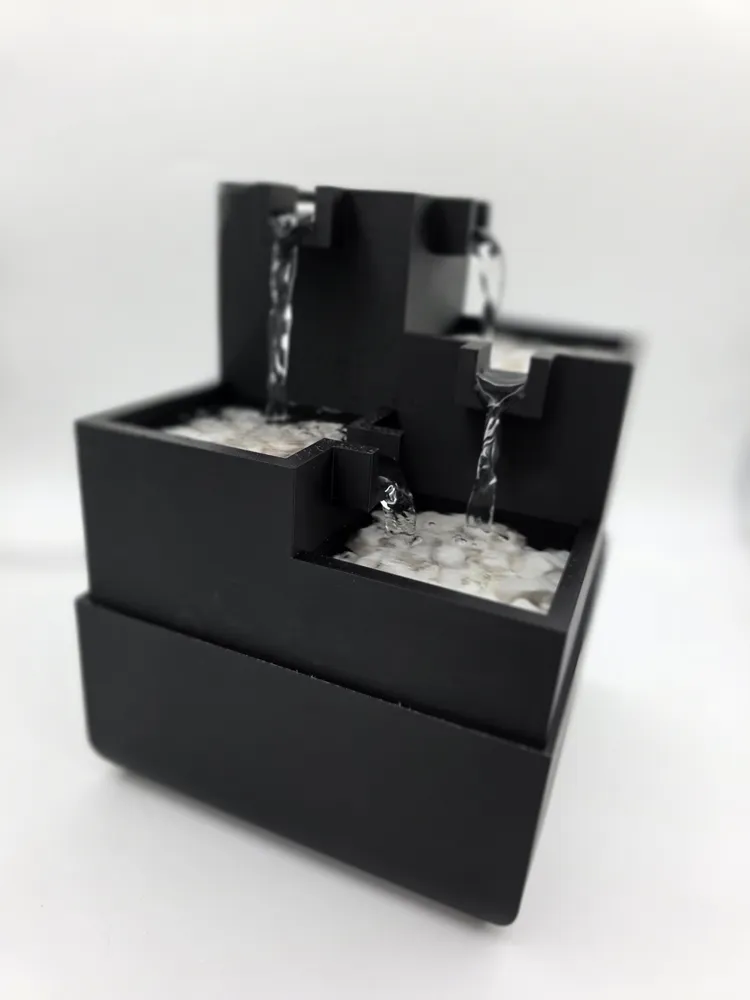
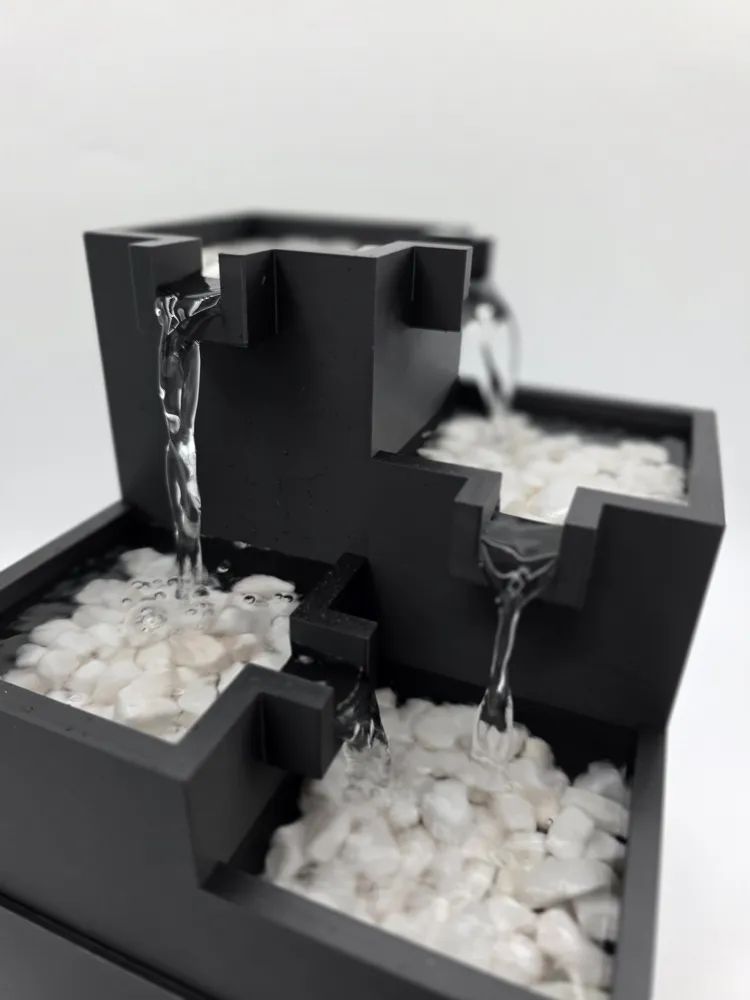
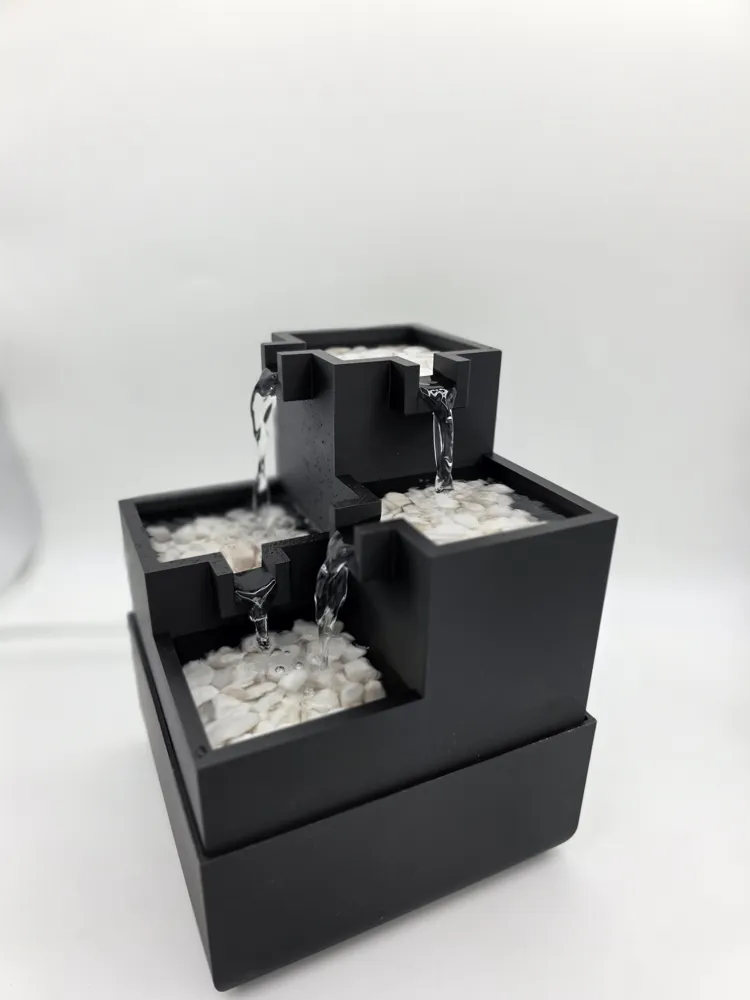
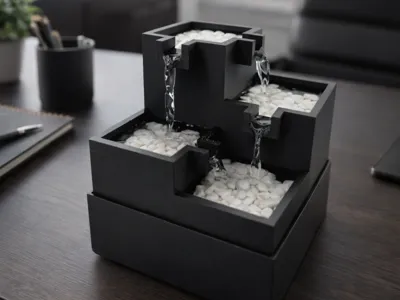
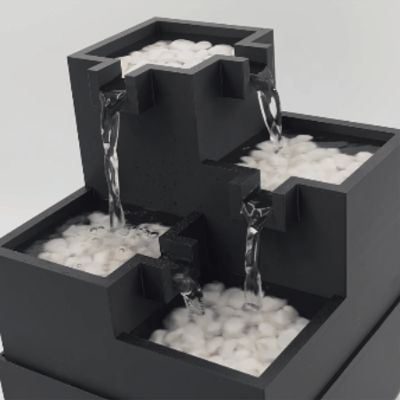
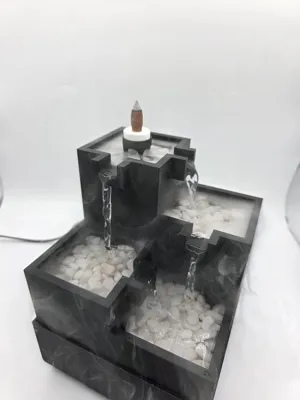
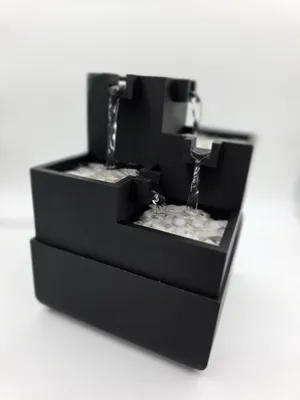
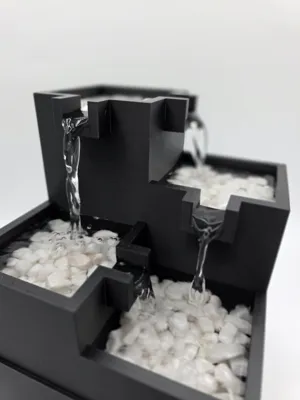
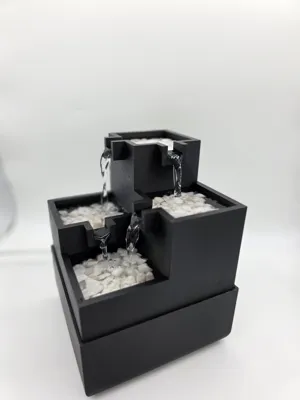
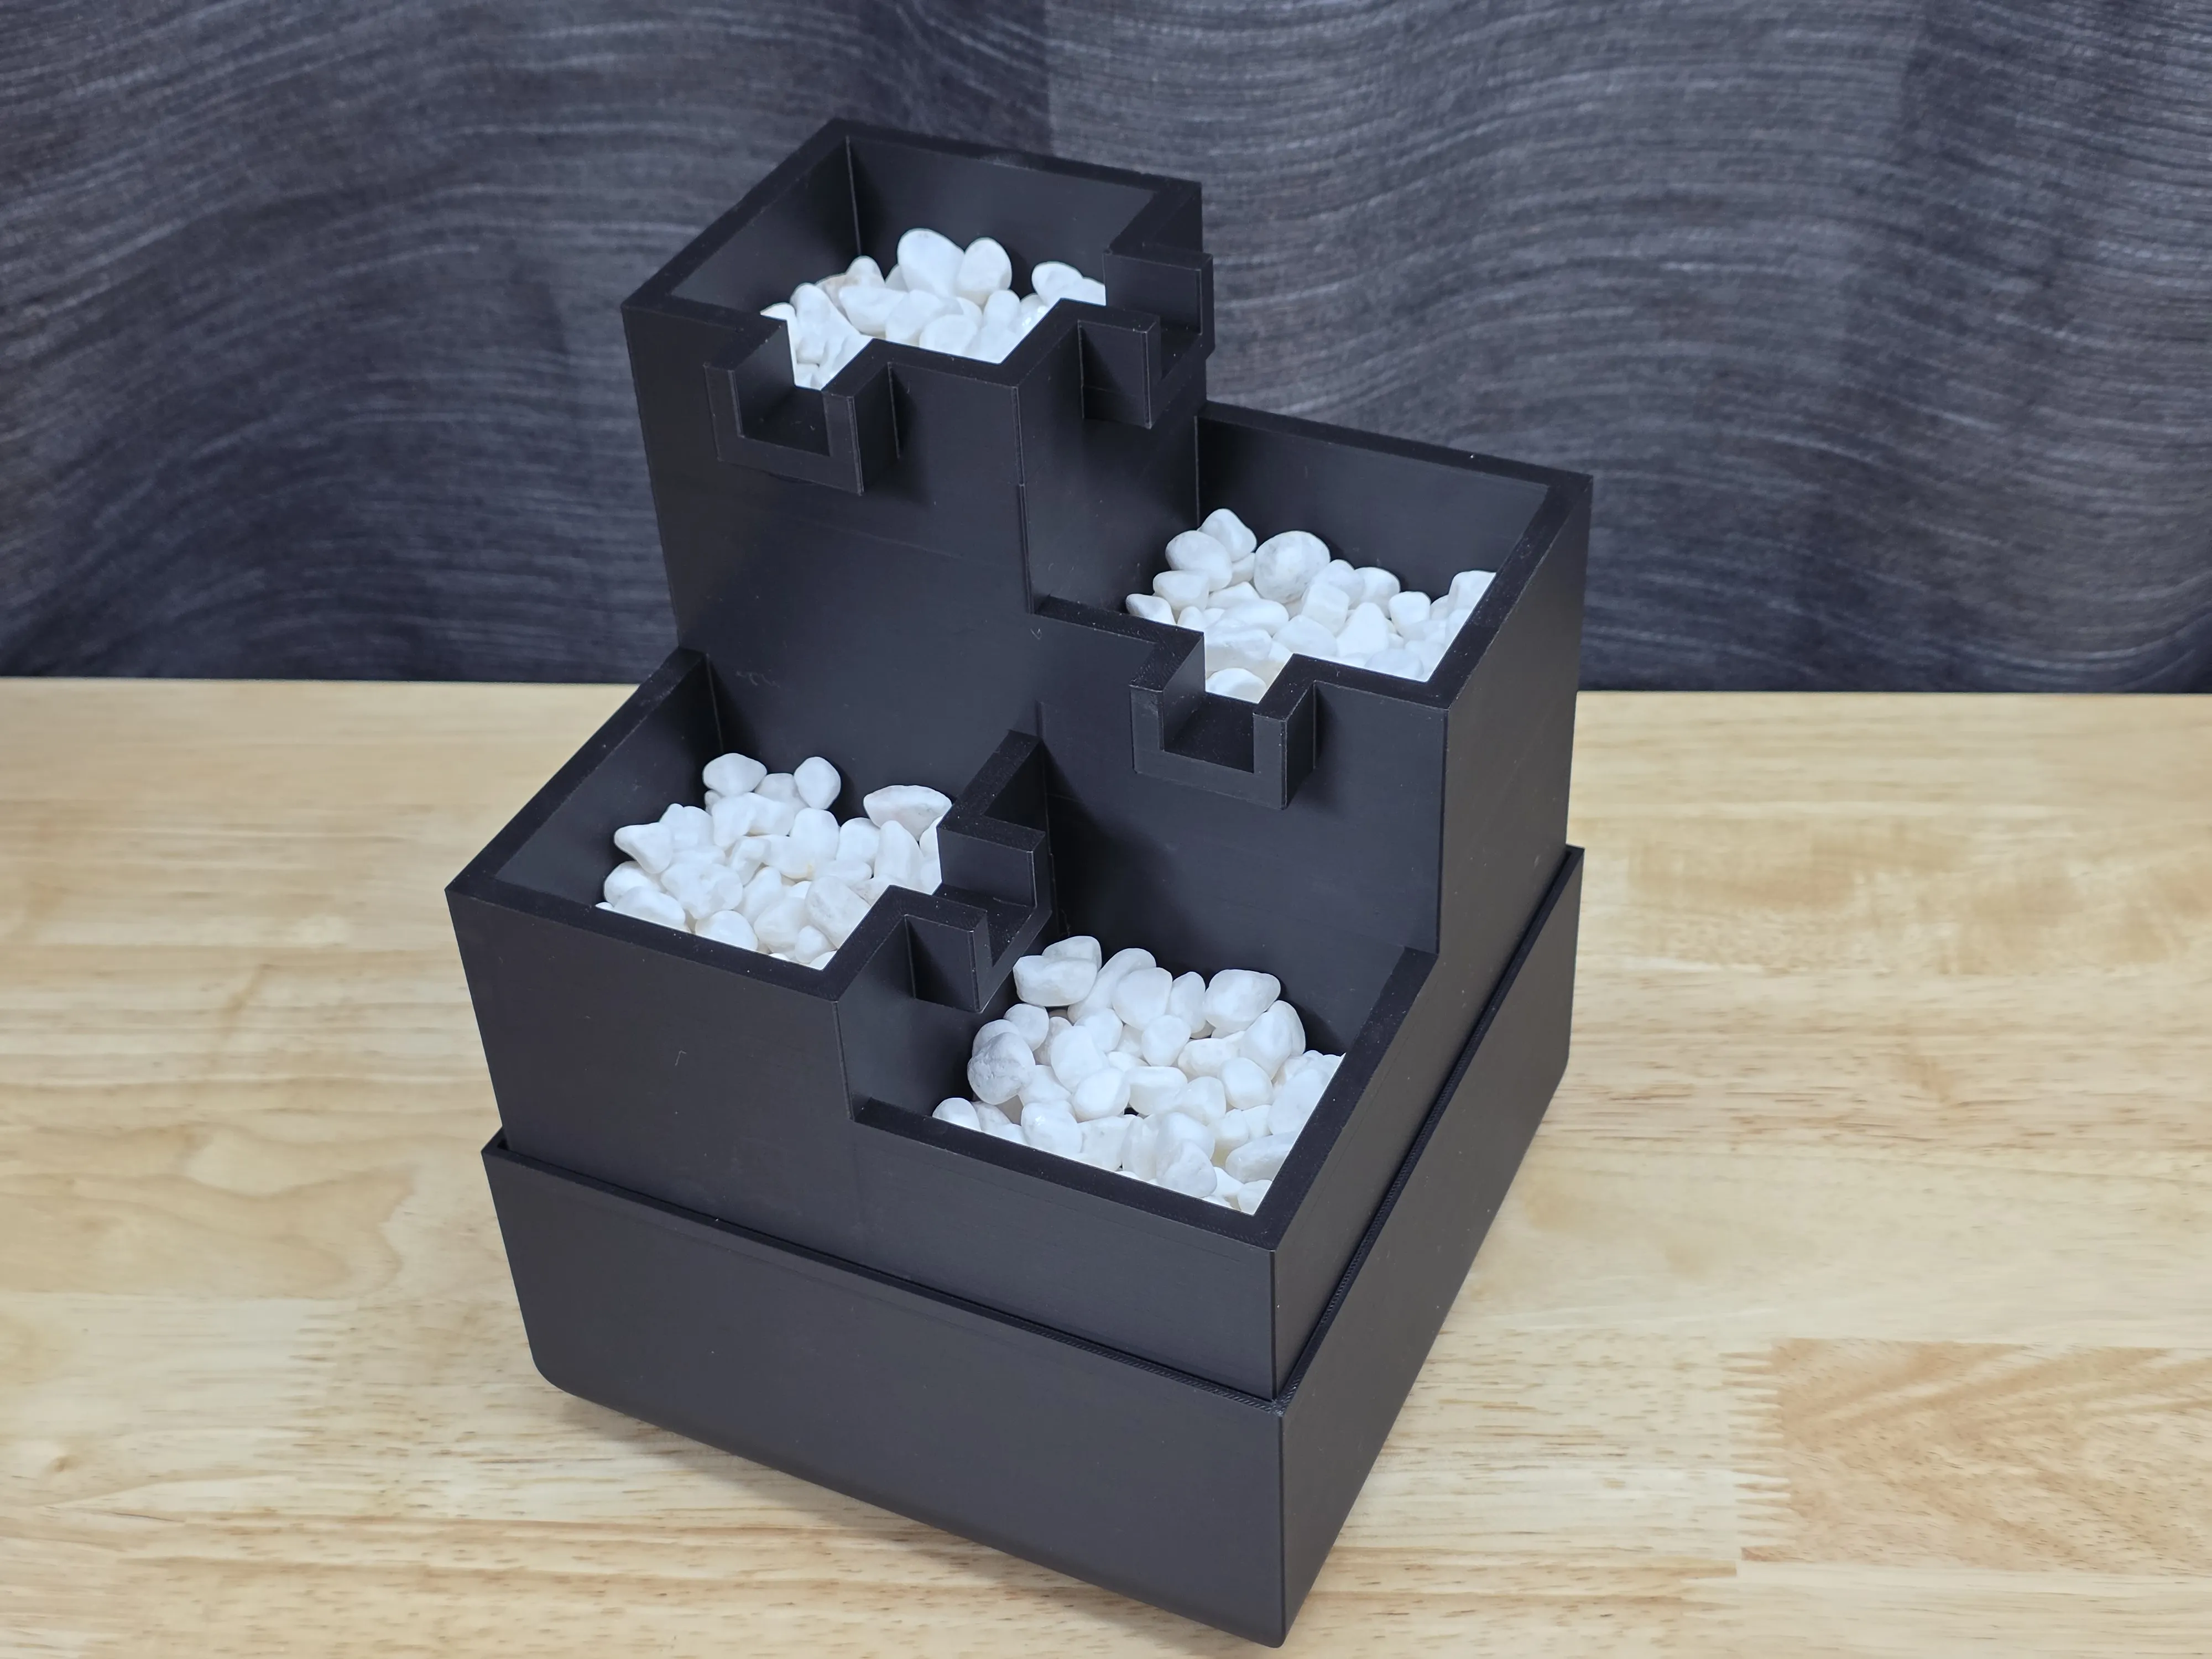
A relaxing desktop water fountain designed for desks, offices, and workspaces. Water flows from the top tier, cascades through the two side pools, and then drops into the final basin where it quietly recirculates back through the base.

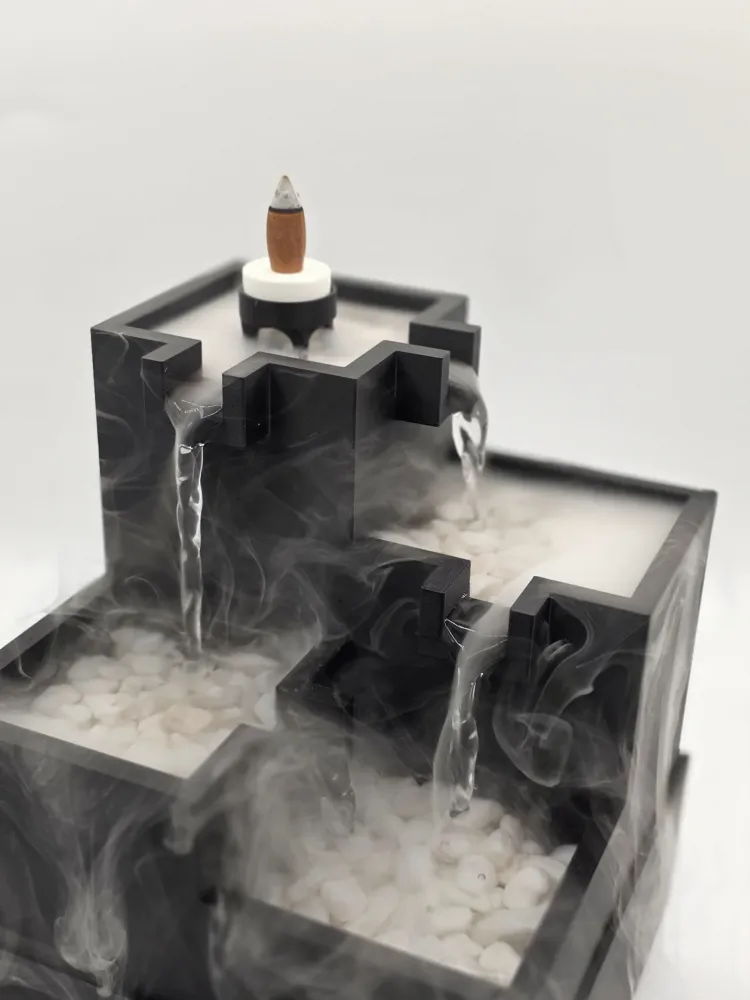
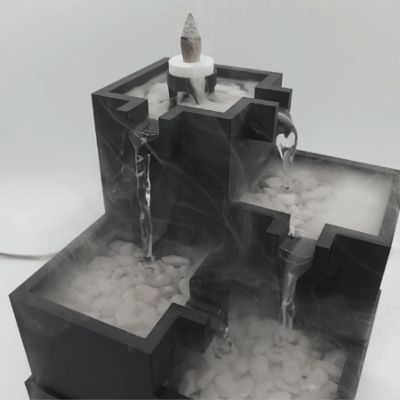
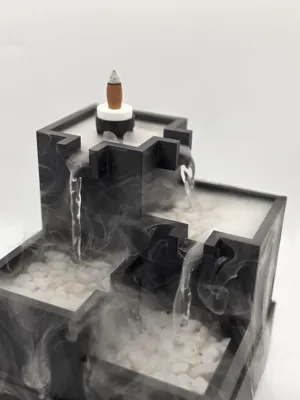
The top platform can also hold an incense cone, letting smoke drift down through the fountain for an added atmosphere.
Two diffuser options are included:
• A hidden diffuser that sits under the stones for a clean look
• A ceramic washer holder that protects the print from heat when using incense
Ceramic washer size: 25 mm diameter × 10 mm thick with a 5 mm center hole
https://www.aliexpress.us/item/3256810243745234.html?src=google&gatewayAdapt=glo2usa
Fill the pools with crushed stone, gravel, or decorative rocks and customize it with any filament color combination you like.
A simple modern desk fountain that adds a calming water feature to any workspace.
Assembly Instructions
Step 1 — Gather parts
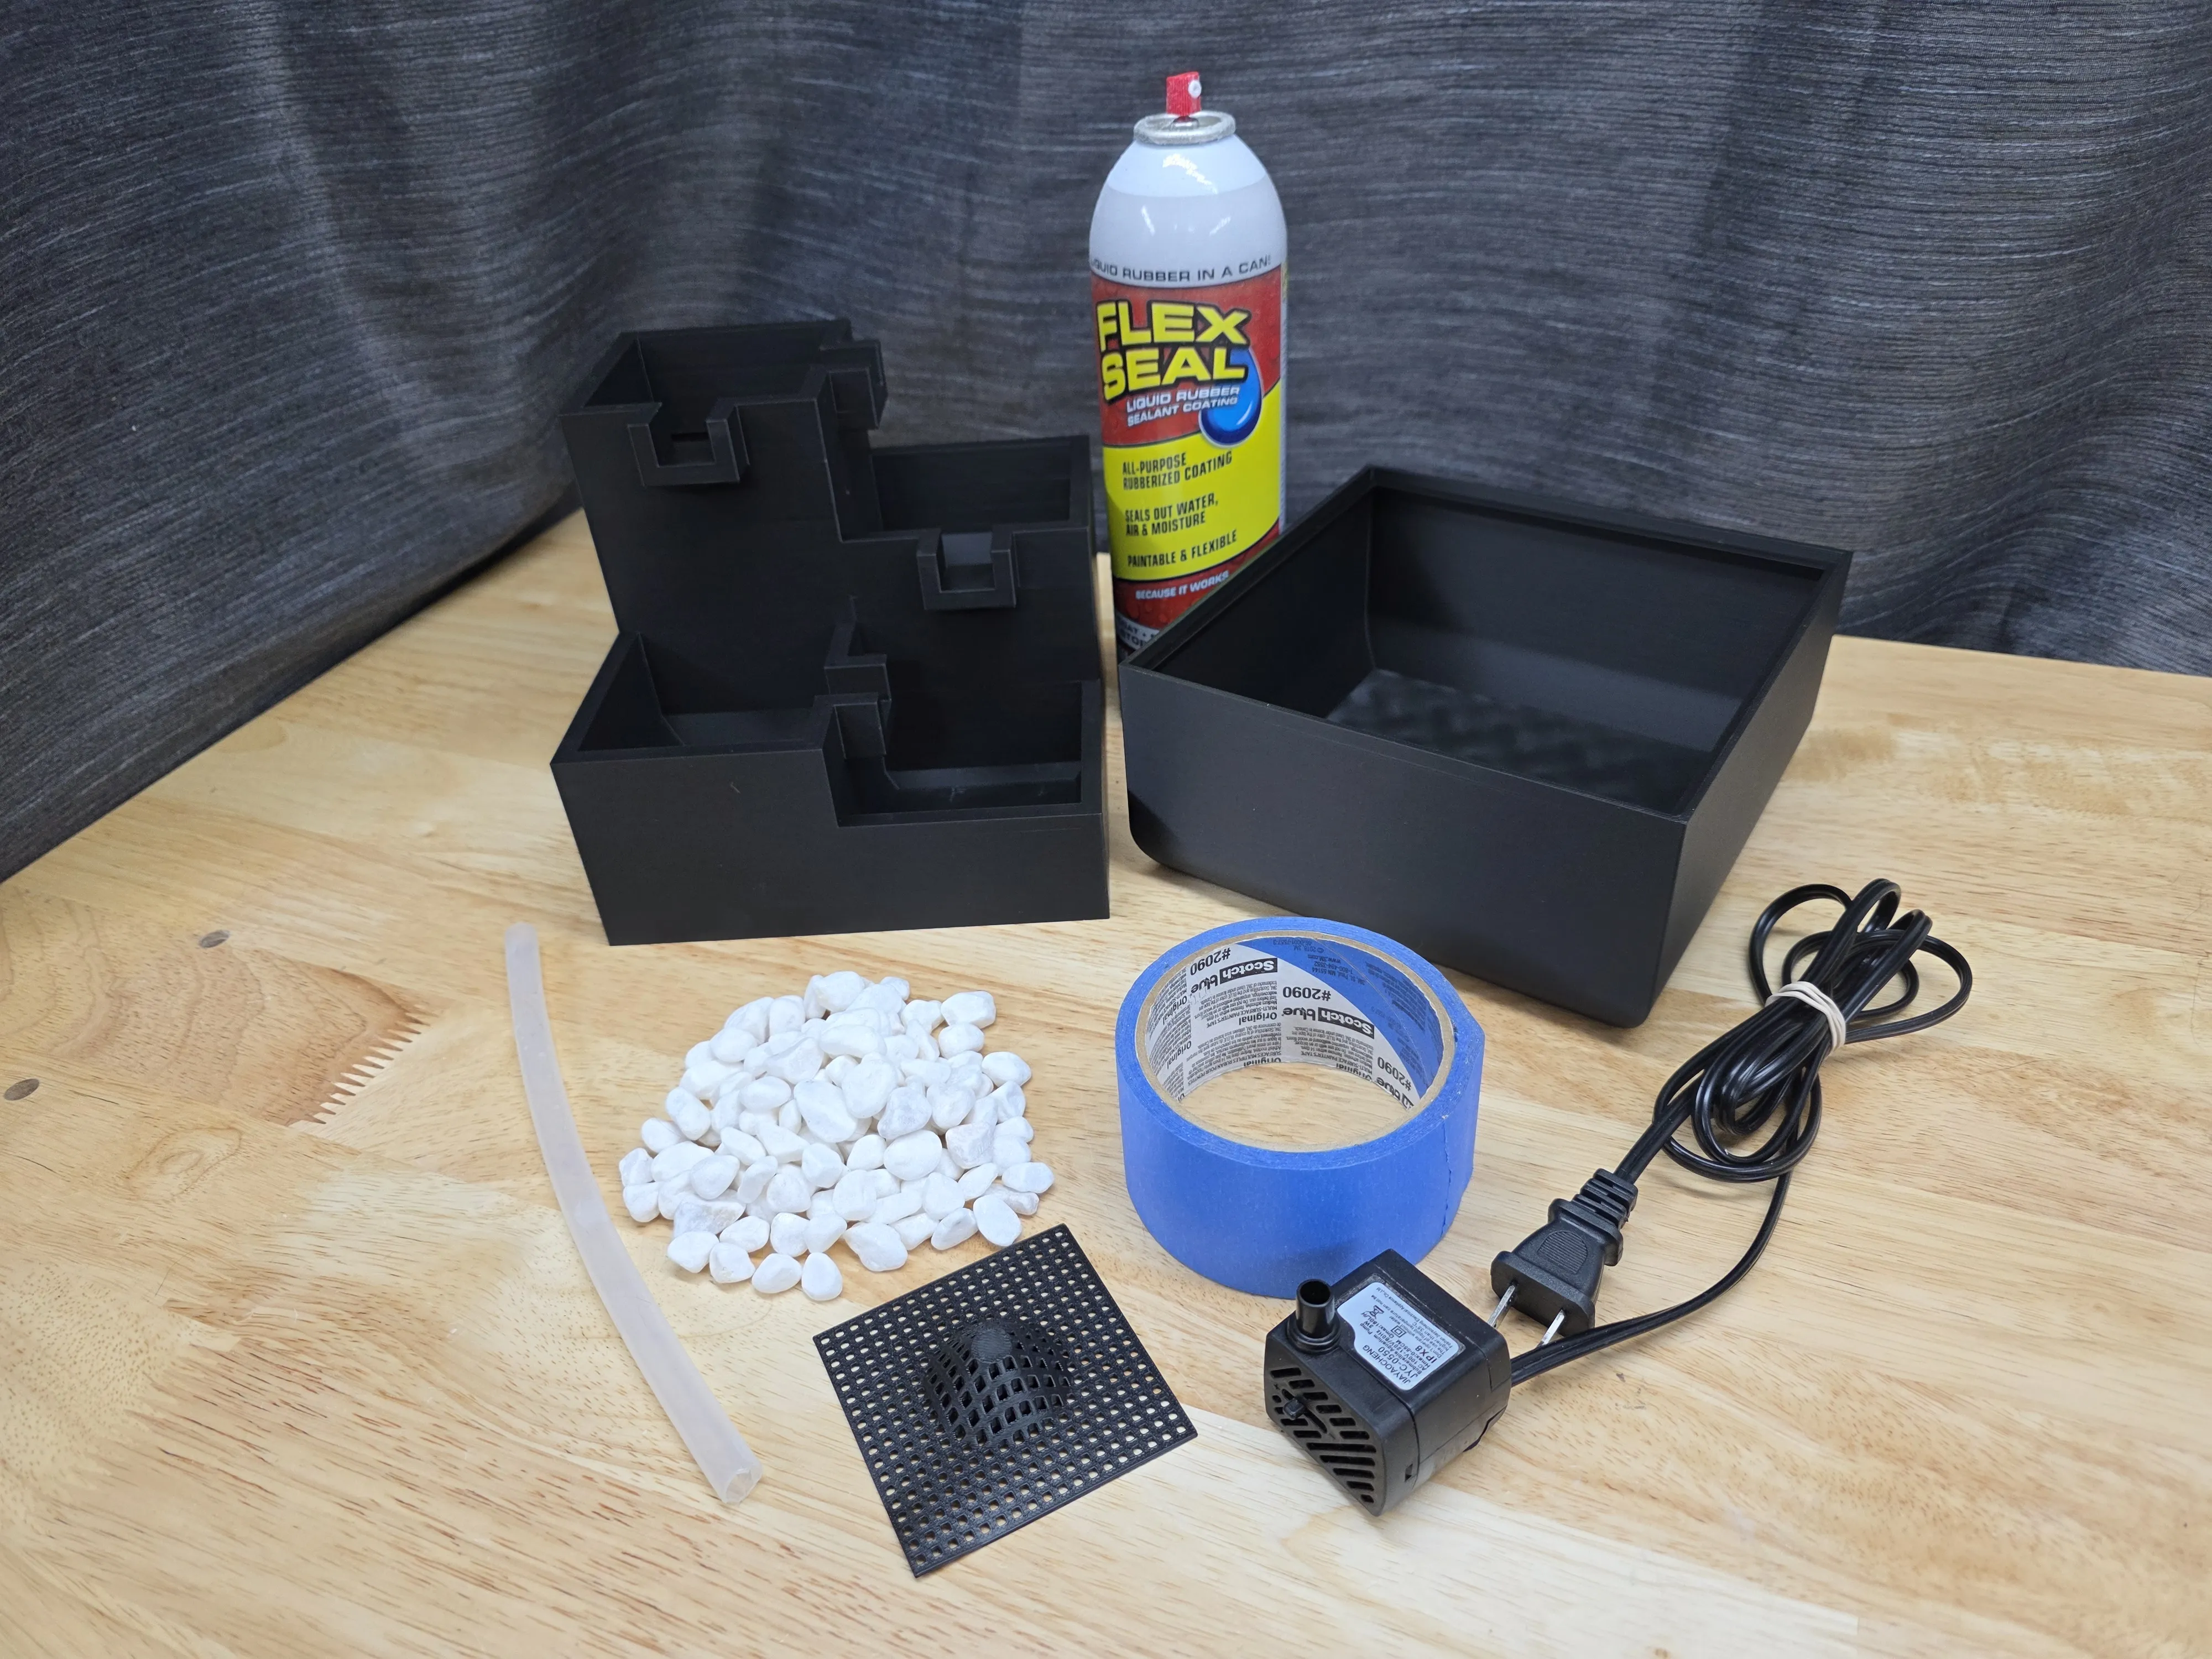
You will need the printed fountain base, the cascade body, a small submersible pump (such as a JYC-0550), https://www.amazon.com/dp/B07SKGYNYZ/ref=sspa_dk_detail_4?s=hi
silicone tubing, the printed diffuser grid, decorative stones or gravel, painter’s tape, and Flex Seal or another waterproof coating.
Step 2 — Waterproof the base
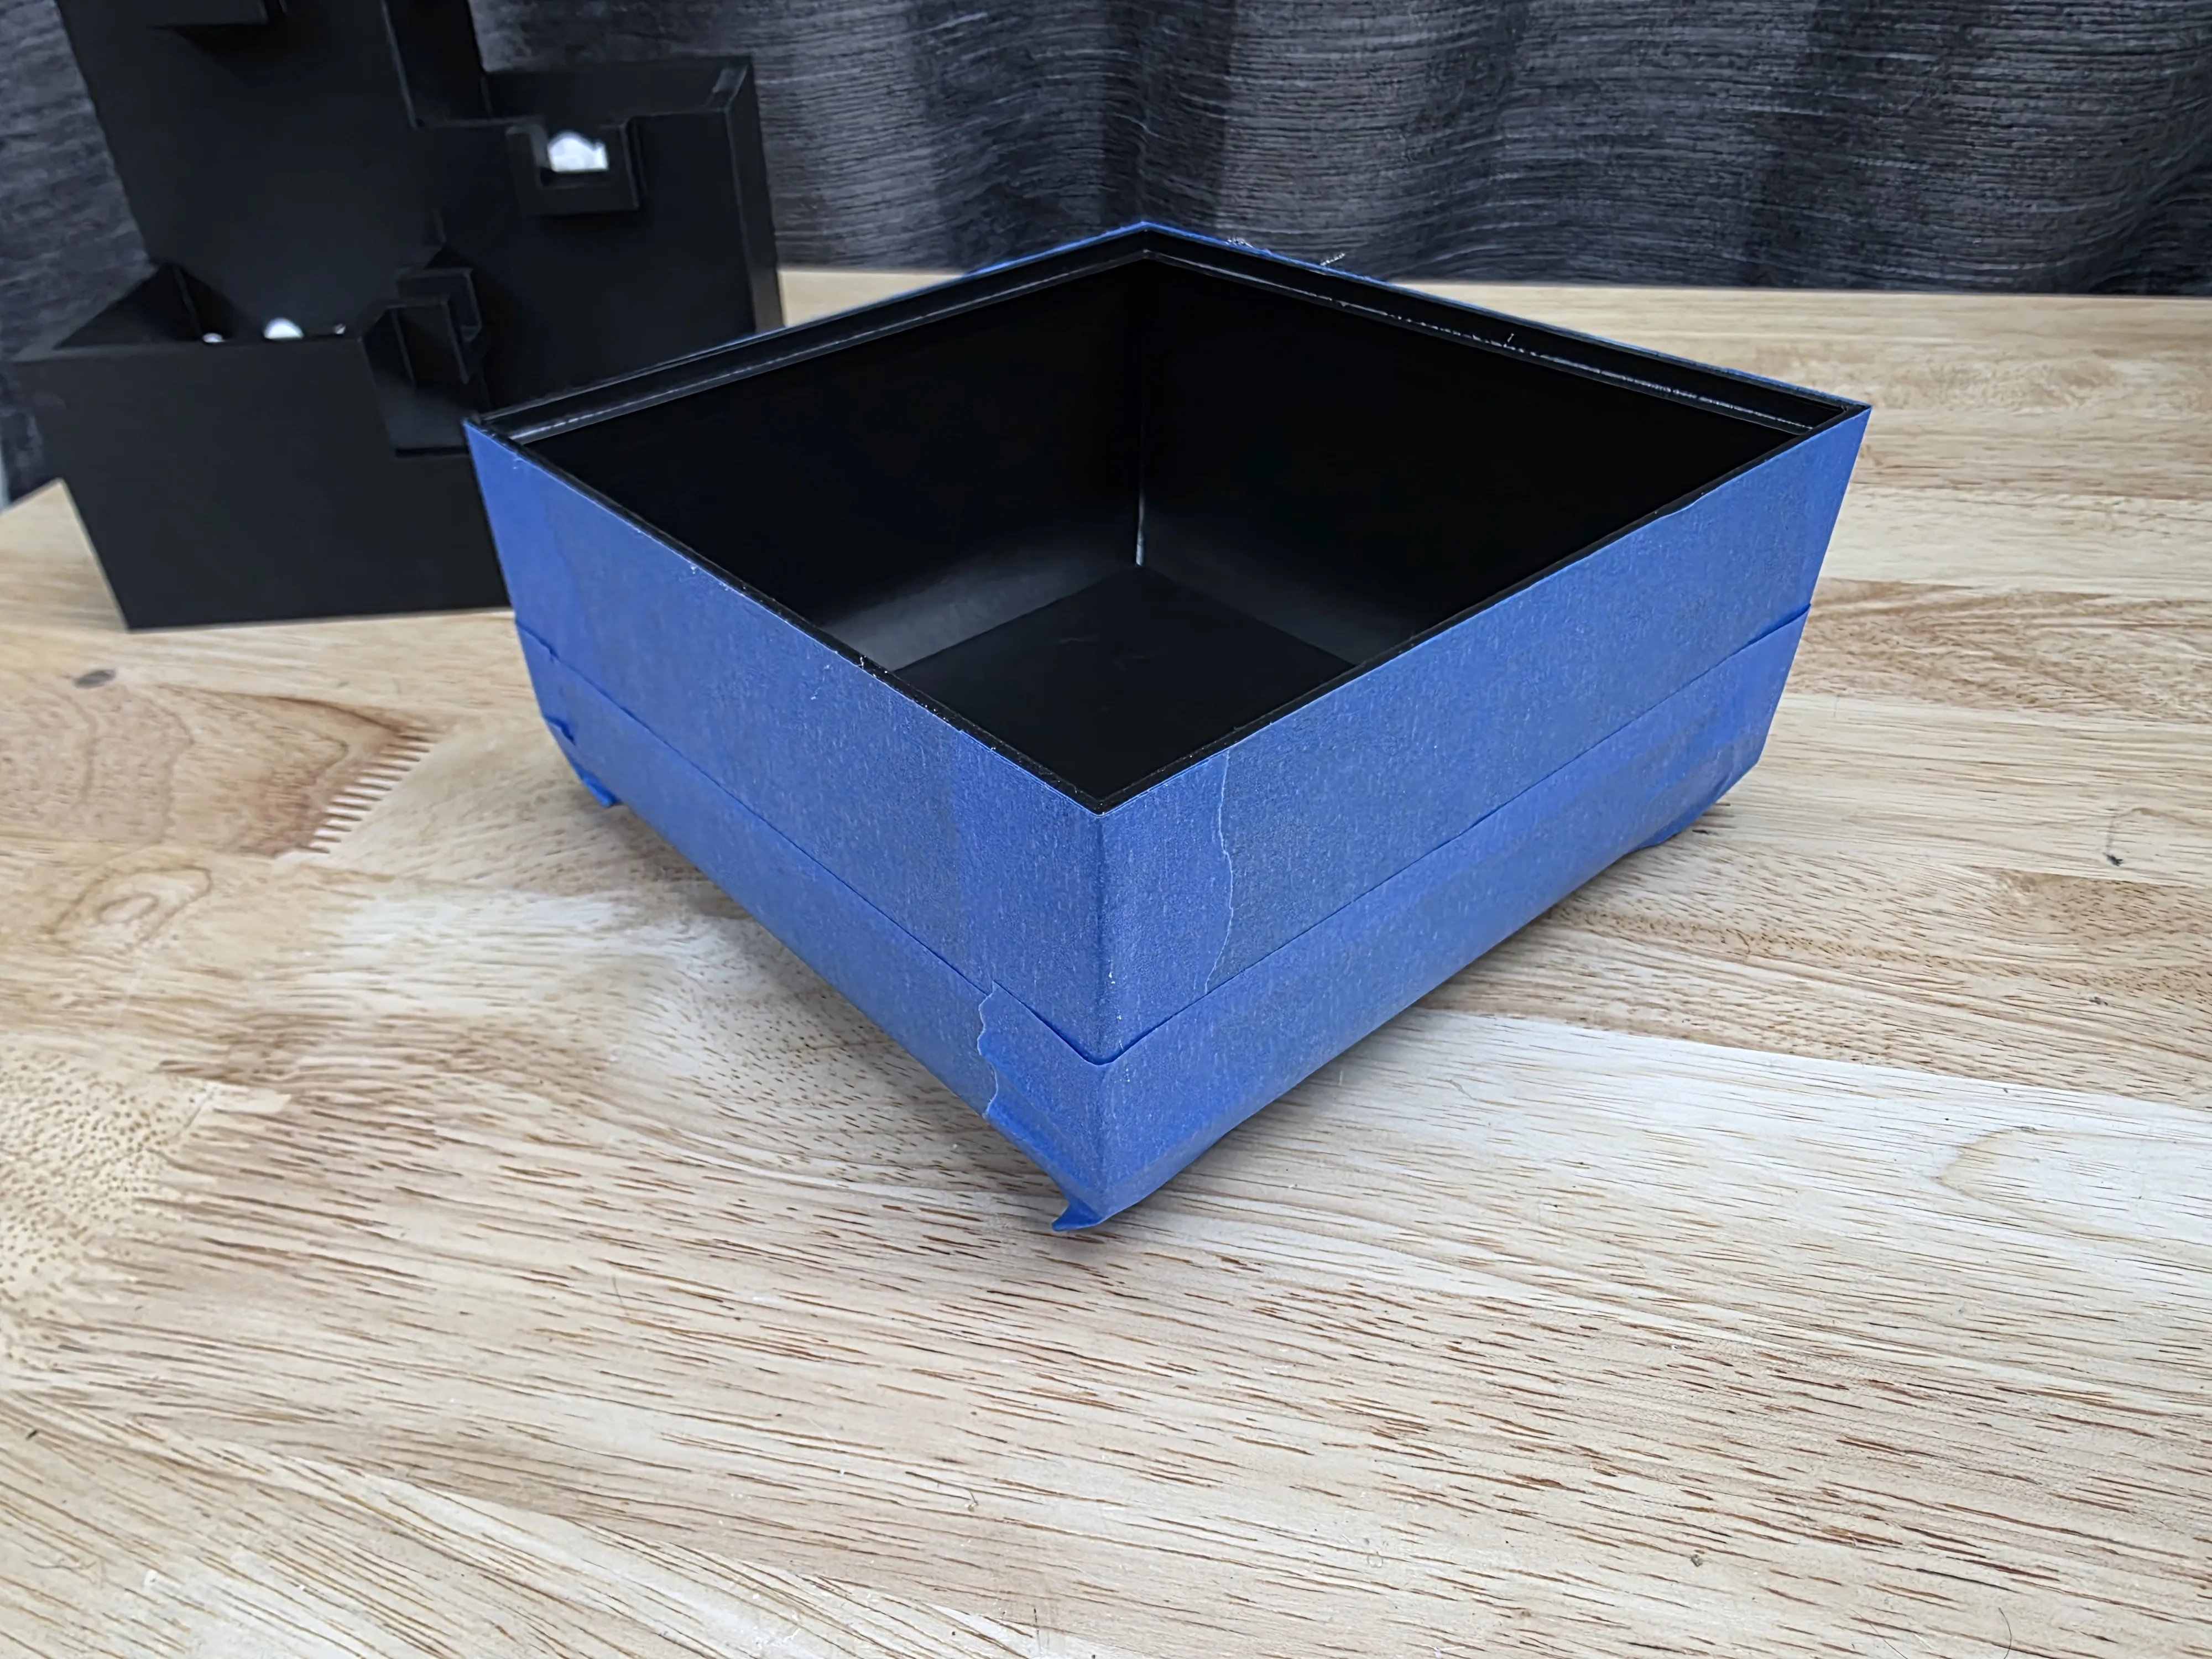
Mask the outside of the base using painter’s tape. Spray the inside of the reservoir with Flex Seal or another waterproof coating. I recommend applying at least two coats to ensure a good waterproof seal. Allow it to fully dry before continuing.
Step 3 — Install the tubing
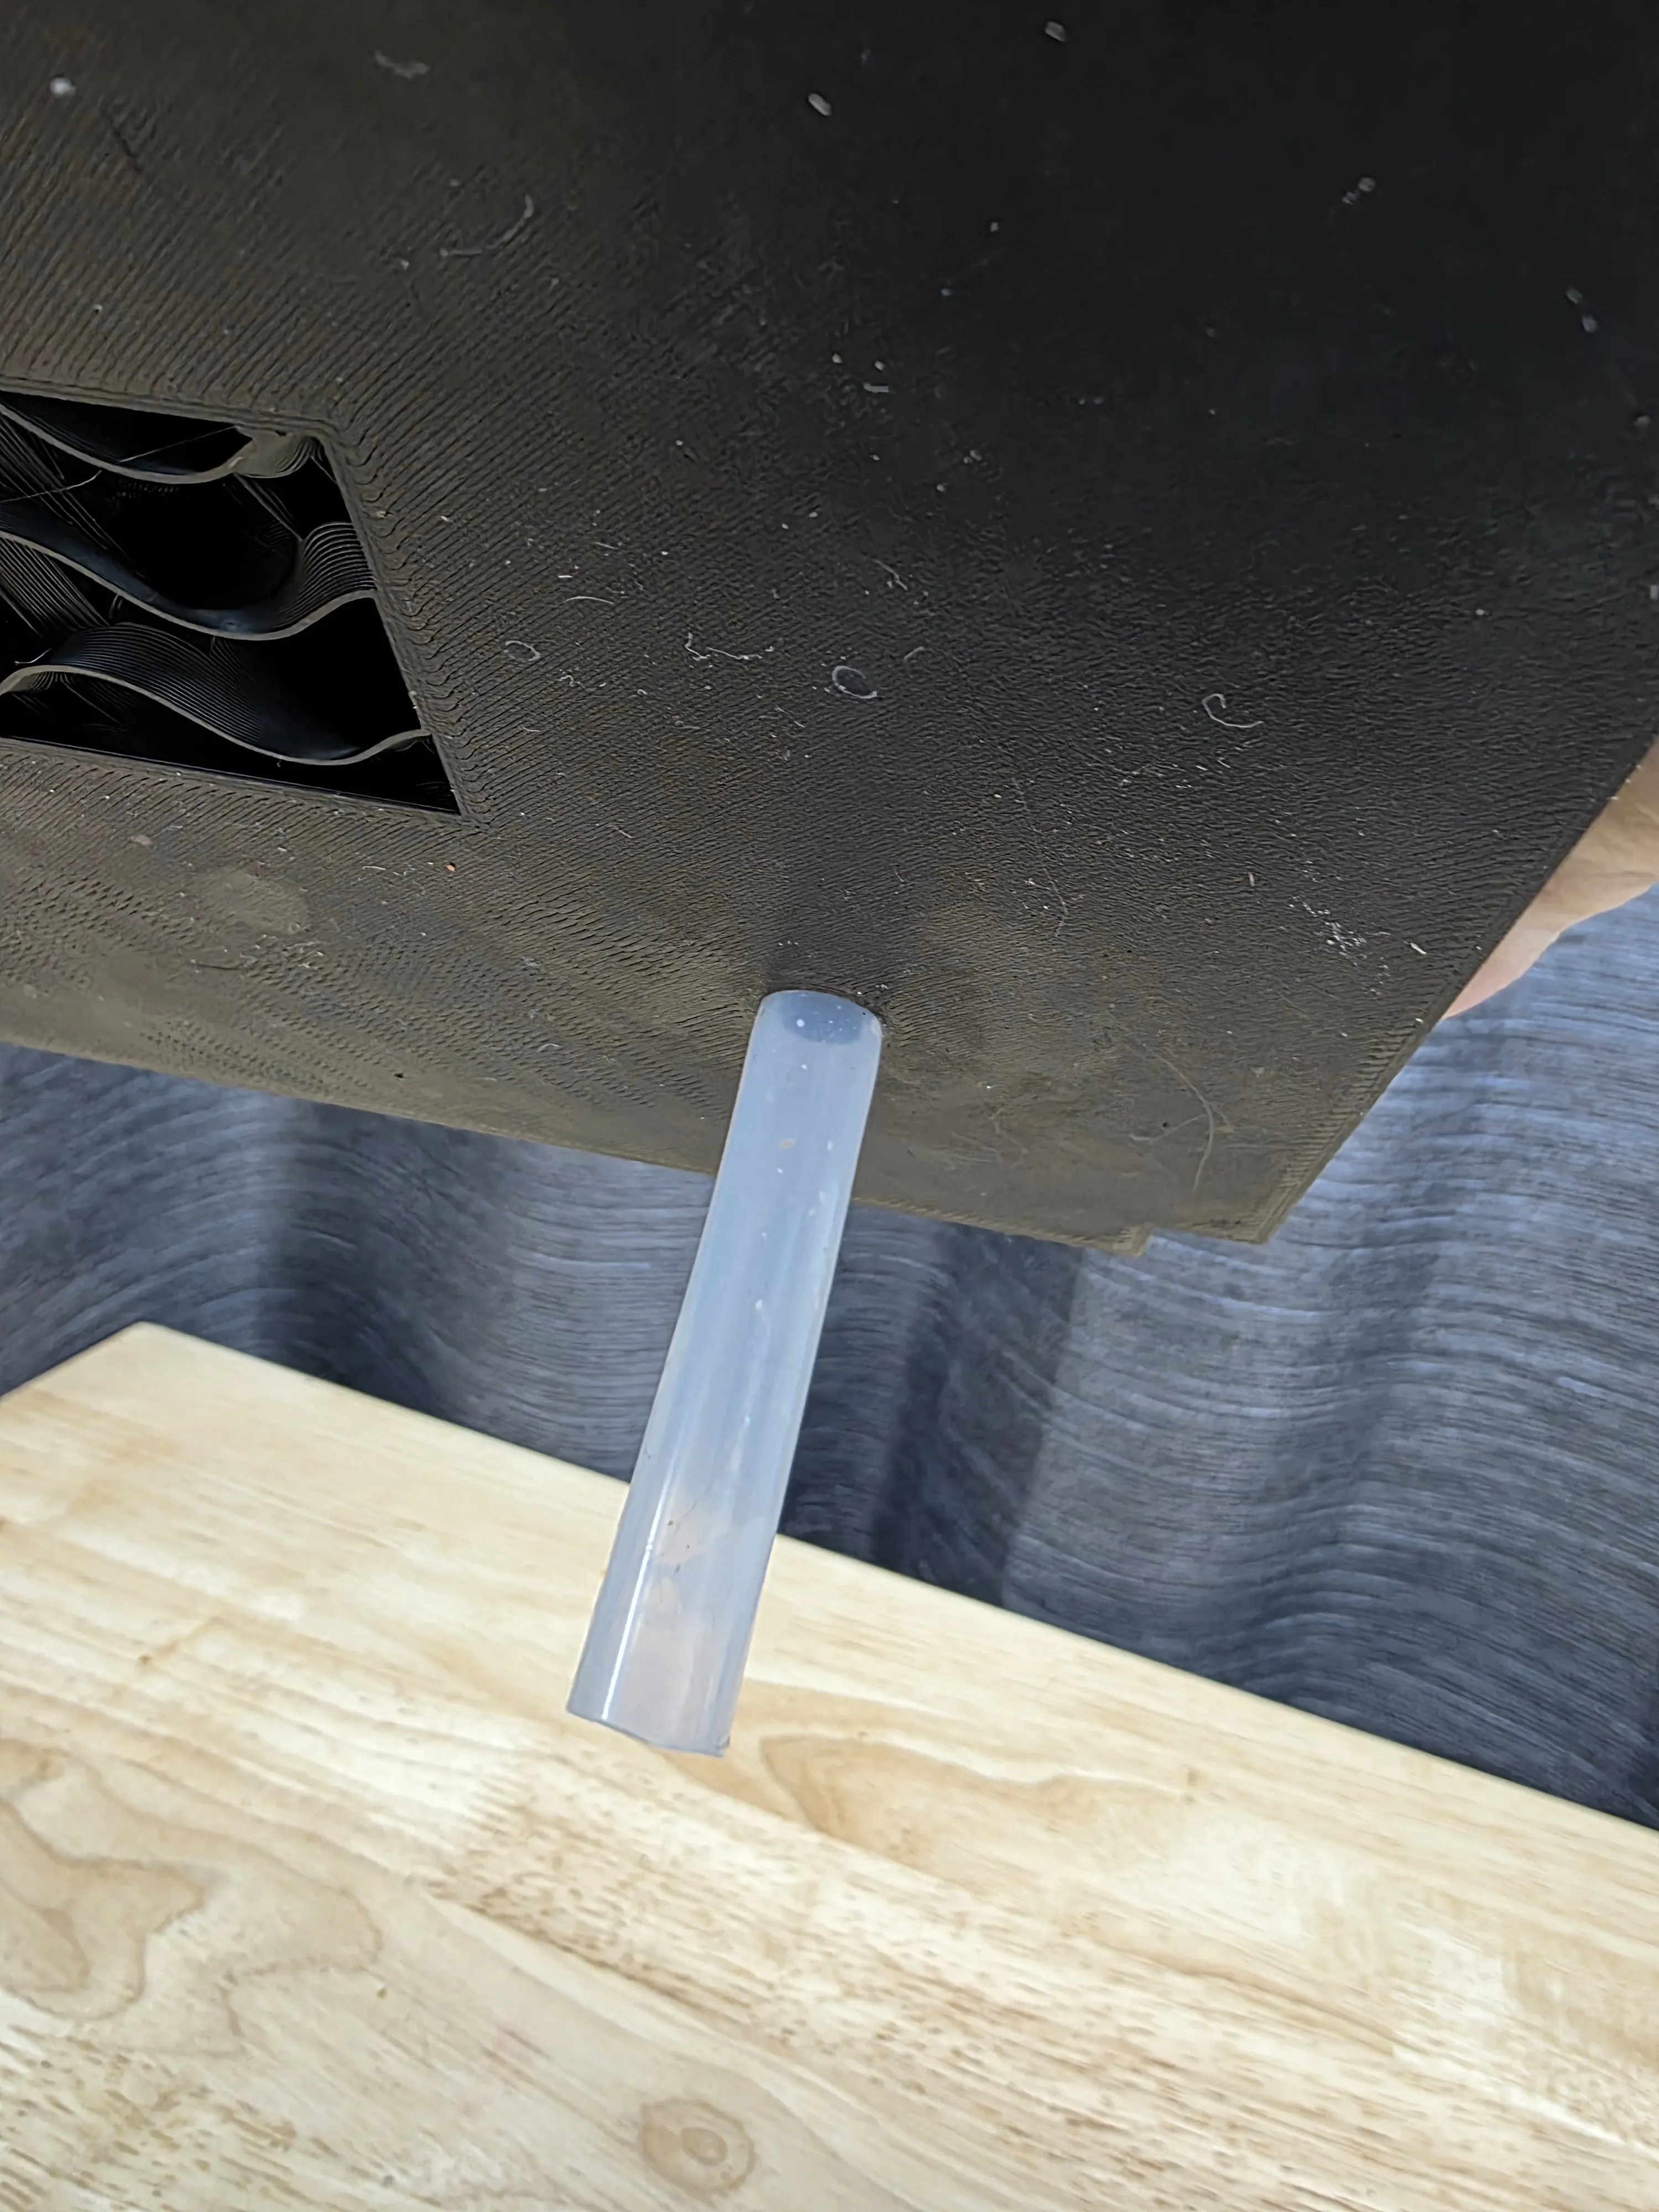
Insert the silicone tubing into the bottom inlet hole of the fountain body. It only needs to go in about one inch. It does not need to reach all the way to the top of the fountain. Once the tubing is inserted, attach the other end to the outlet of the pump.
Step 4 — Install the diffuser
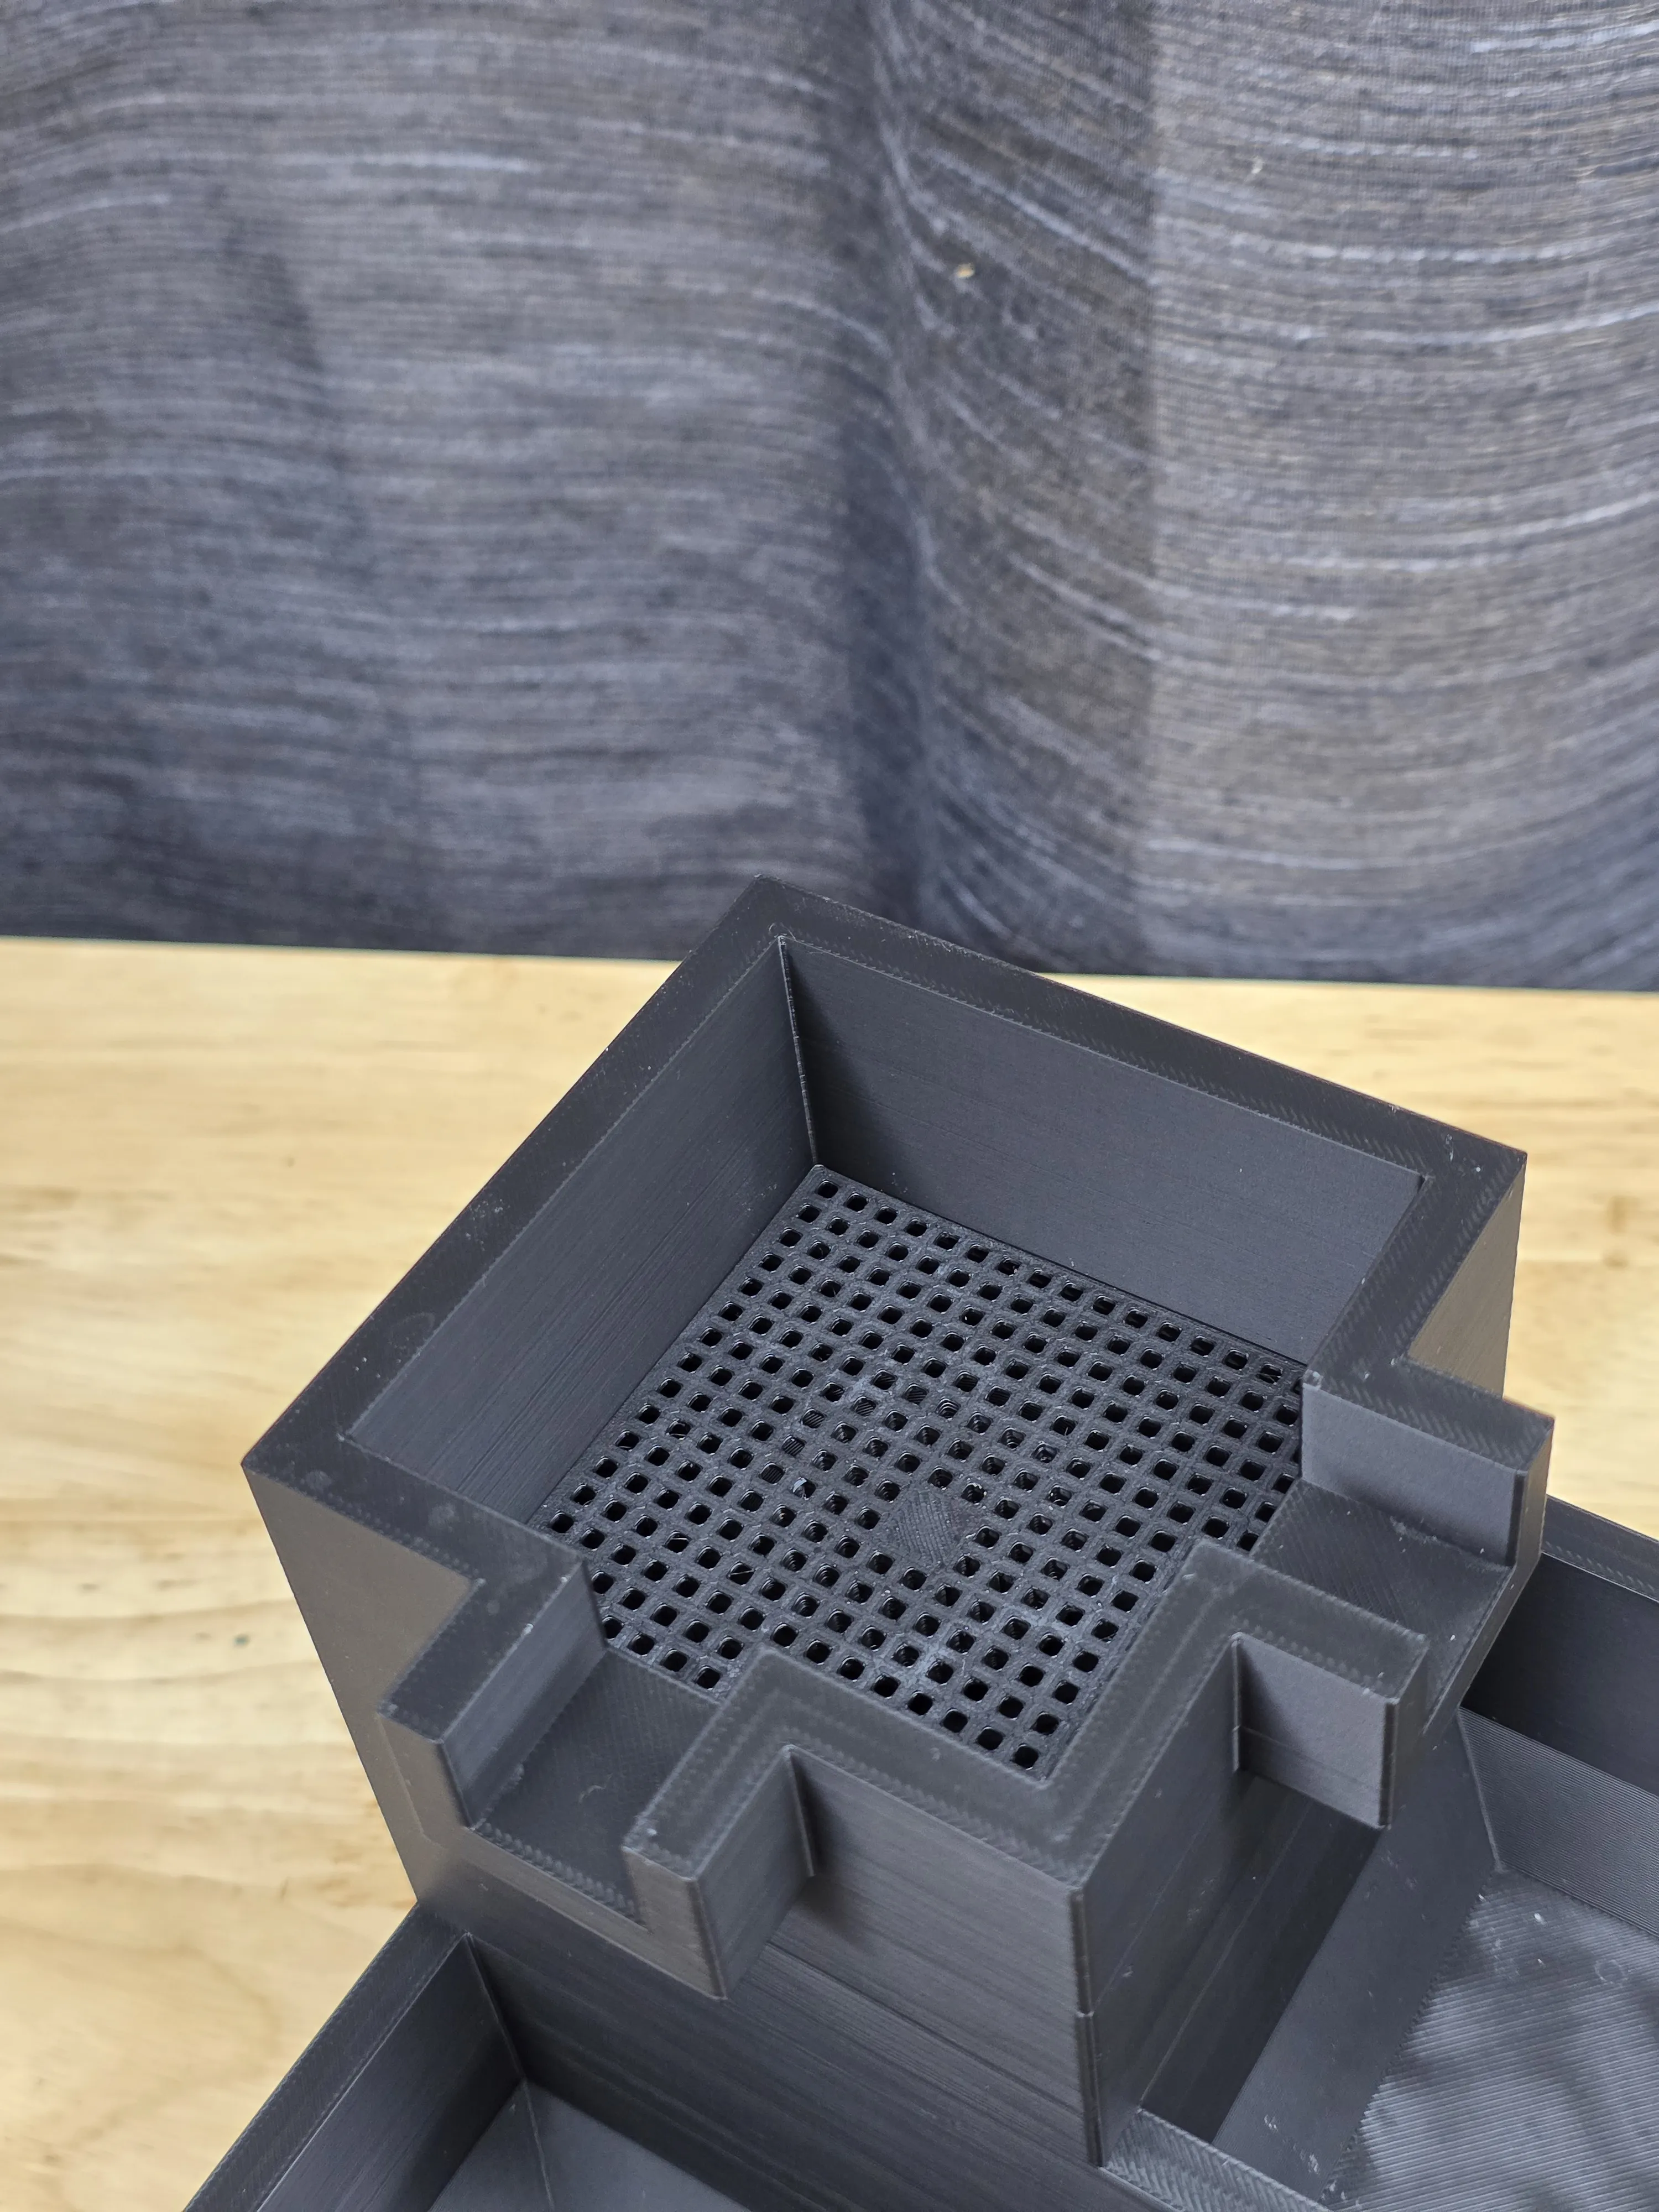
Place the printed diffuser grid into the top pool so it sits flat. This helps distribute the water before it flows down through the cascades.
Step 5
Place the cascade body onto the base reservoir. Make sure the tubing runs down into the base and the body sits flush.
Fill the pools with decorative stone, gravel, or crushed rock. This hides the diffuser and gives the fountain its finished look. Avoid blocking the waterfall openings.
Step 6 — Fill with water
Fill the base reservoir until the pump is fully submerged. Plug in the pump and test the water flow. Water should flow from the top pool, cascade through the two side pools, and then drop into the final basin before returning to the base.
License

You shall not share, sub-license, sell, rent, host, transfer, or distribute in any way the digital or 3D printed versions of this object, nor any other derivative work of this object in its digital or physical format (including - but not limited to - remixes of this object, and hosting on other digital platforms). The objects may not be used without permission in any way whatsoever in which you charge money, or collect fees.


Comment & Rating (76)