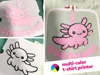
Multi-Colour T-Shirt Block Printer


Print Profile(2)

Description
Ever want to print, as in 2d, with ink, your own shirts or fabrics?
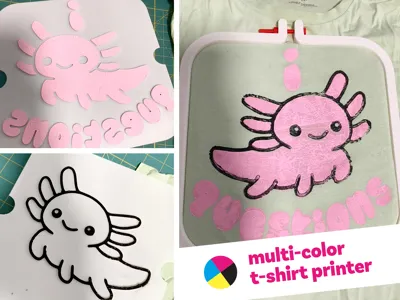
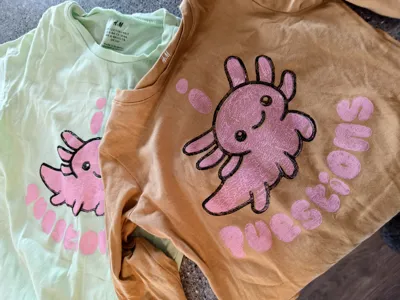
This model isn't particularly fancy or complex but allows you to print shirts with multiple colours with decent registration, ie alignment. There is no real limit to the number of colour inks you use.
It works like an embroidery hoop, in that the shirt is held in place by the outer hoop. The inner platen is solid so you have something to press your block print onto (like a giant stamp). The process is much like lino block printing, but we aren't carving lino, we are 3d printing raised designs instead.
You will need a few things:
- A piece of felt or fabric at least a few mm thick
- An M5 60mm screw and nut, I just printed this one
- A design
- Screen printing ink
- A Brayer (a rubber roller for applying the ink)
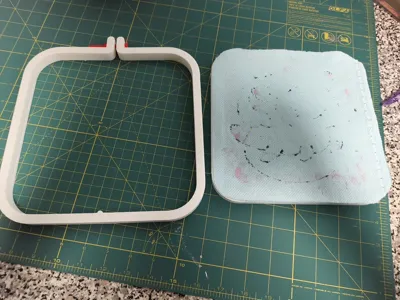
The hoop and platen are straight forward. You can then cut your piece of felt to the shape of the platen and tape or glue it to the platen. This gives us some squish for our stamp to get a better print. From there you can stick your platen in your shirt and line it up where you'd like to print. Stick the outer hoop on top and use your screw to cinch it finger tight.
Designs
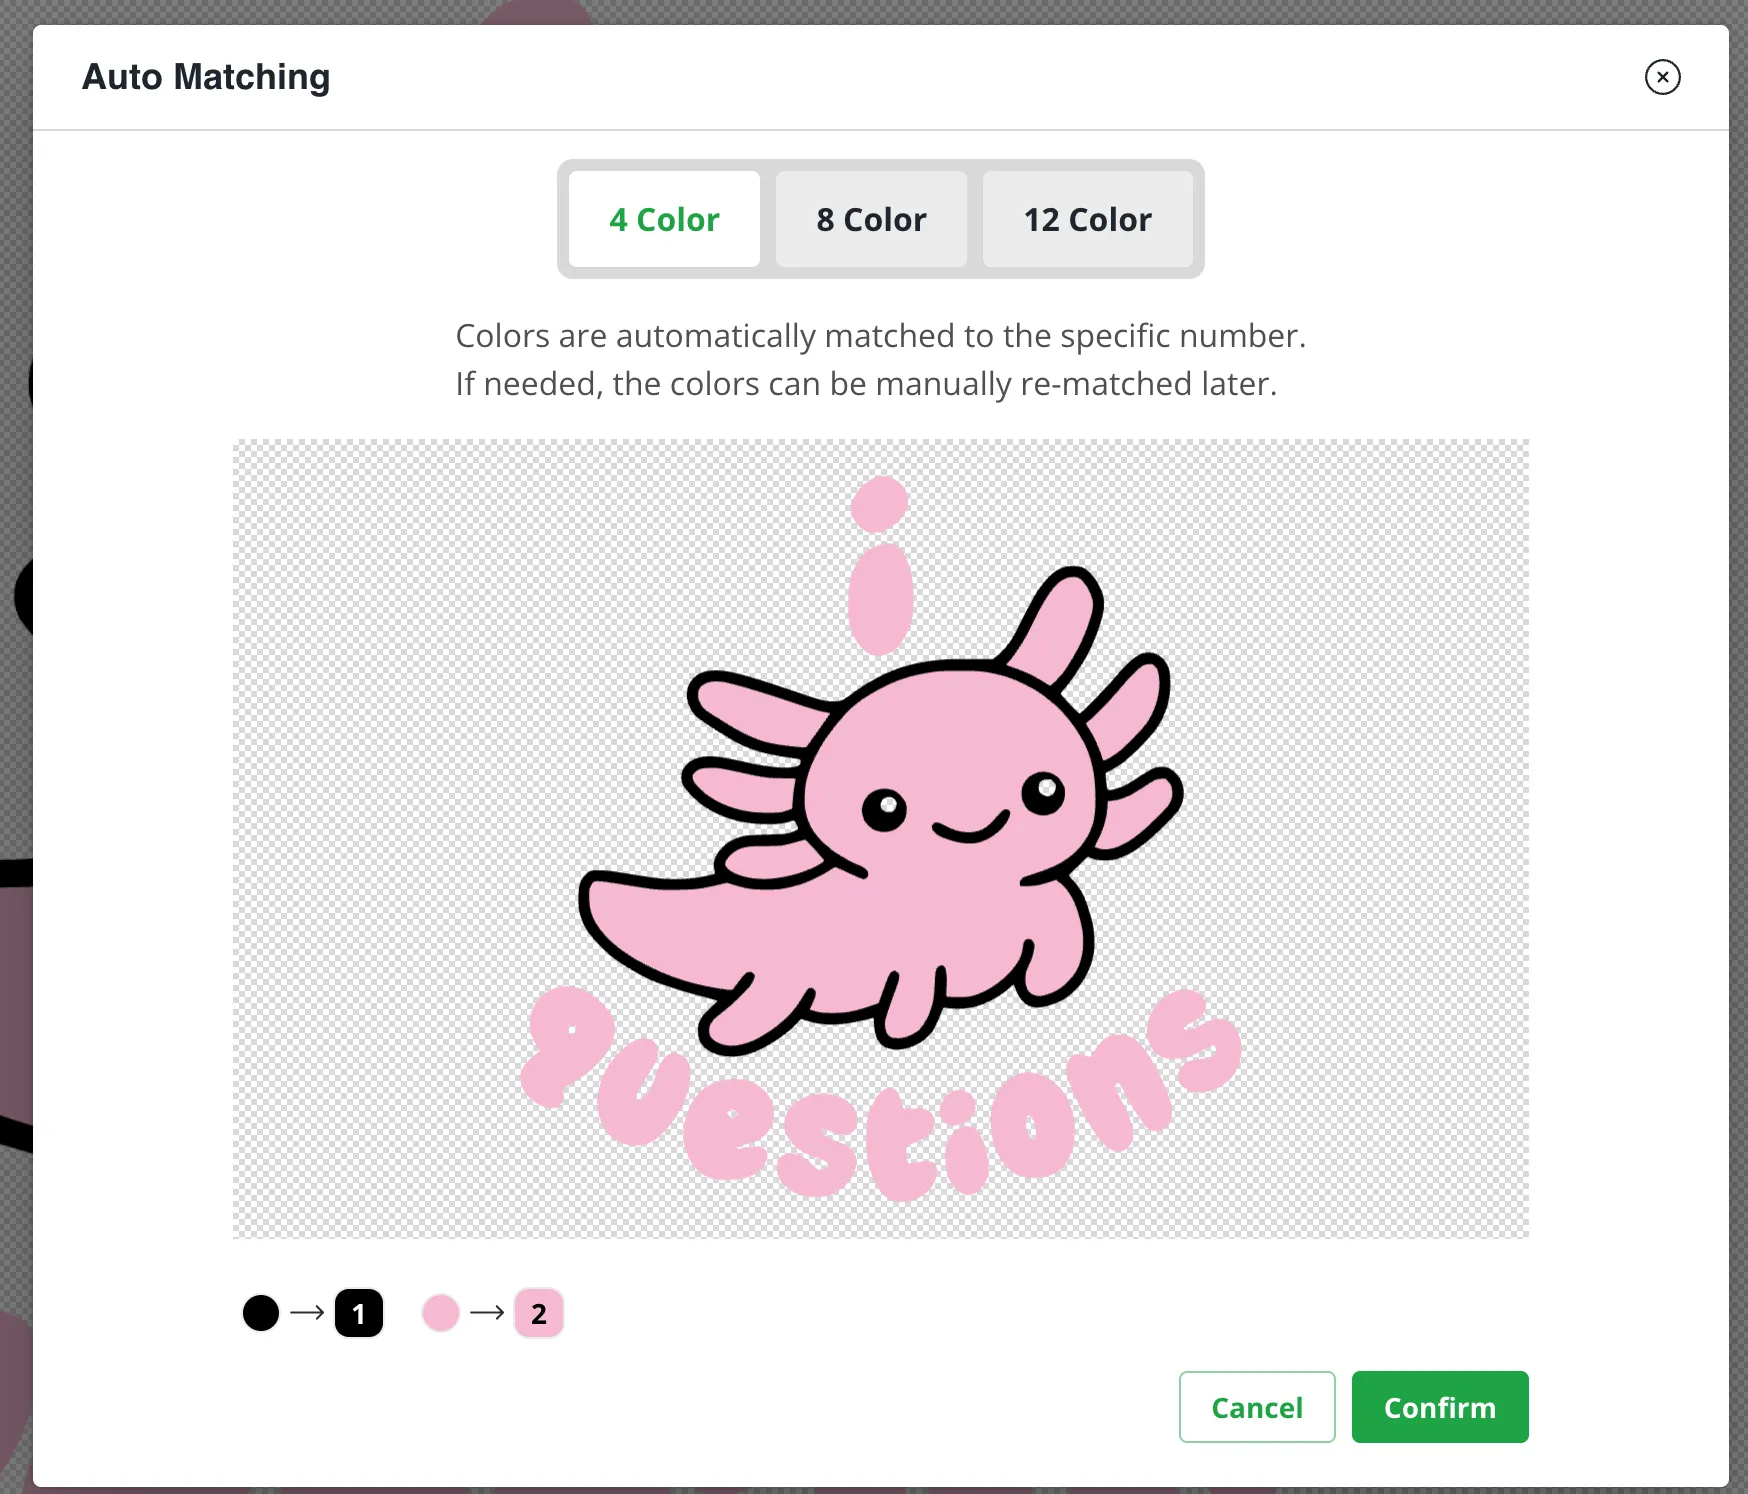
To do multi-colour, your design will need to be separated into each colour and then placed on the plate I provided. Be sure to mirror your image before printing!
You can create plates many different ways, I started with Tinkercad, but found a method through MakerLab that might be easier and more accessible for people. So here's that process using the MakerLab Image to Key Chain tool :
Load your image, PNG, SVG, whatever it is into the tool.

Choose the number of colours you have, or as close to, in the design
Set your plate to Double Sided and Facedown Mode. After that you can export your 3MF file.

Open up the plate file I created. Then import the 3MF the image to key chain creator made into the same file. Scale up your design to whatever size you'd like that fits on the plate. Then right click and center it. Then scale with uniform scale off just the z height. Set it to 3mm.

Now we can start separating the colours. In the objects view you can select all of the parts with the same colour, right click and “Sub merge” (not in water, I find it an odd term here). Repeat this process for each colour your plan to print.

You can now select one of the colours as a whole object and the print plate and merge them. Move this whole new object off and onto a new plate (3d printing plate in Bambu…just realizing the confusion I caused calling my 2d part a plate). Import another plate.3mf file, center it up, and merge that with your next colour, and so on.

There's no need for the 3d prints to be different colours, I have done so for demonstration. I print my plates as one solid colour.
- Go ahead and print our your plates. I use Draft setting since the only detail that matters is the top surface. You can experiment with ironing here to see if it improves or changes your final ink print.
Printing
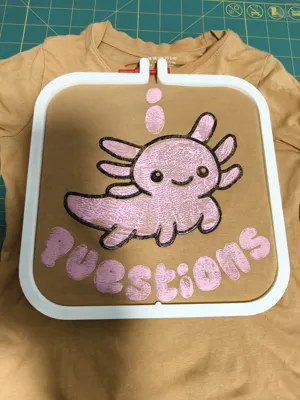
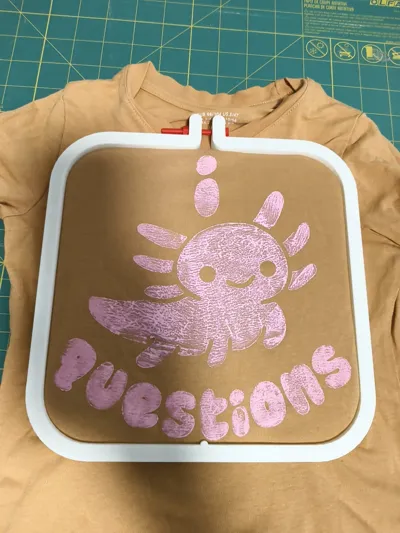
Put some ink down on a washable surface, I'm using a plastic take-out container. I'm sure there are special tools lino printers will know about and use for this. Roll your brayer back and forth on it to load it. Make sure it is relatively even. Then roll the ink on to you your print plate. Take time to get the ink even here. You can then flip your plate over and line up the notch at the bottom with the hoop on your shirt. Press firmly to transfer the ink. Then slowly peel your plate off. If you go too quickly it may pull or stretch your fabric a bit, making the next colour slightly misaligned. Best to air dry or blow dry between inks. After all your colours are printed, you can undo the hoop and remove the platen. Follow the directions of your ink, but likely you need to let it dry out before using an iron to heat press / set the ink. For cotton I just use the highest setting and iron for about 5 min or more all over the design.
License
You shall not share, sub-license, sell, rent, host, transfer, or distribute in any way the digital or 3D printed versions of this object, nor any other derivative work of this object in its digital or physical format (including - but not limited to - remixes of this object, and hosting on other digital platforms). The objects may not be used without permission in any way whatsoever in which you charge money, or collect fees.
Comment & Rating (0)