
3D Printed Screen Print Stencil - MeshFuse Screen
Print Profile(4)


Description
Boost Me (for free)
If you find MeshFuse Screen useful, please consider boosting this model.
Your support helps me keep developing new maker tools.
MeshFuse Screen
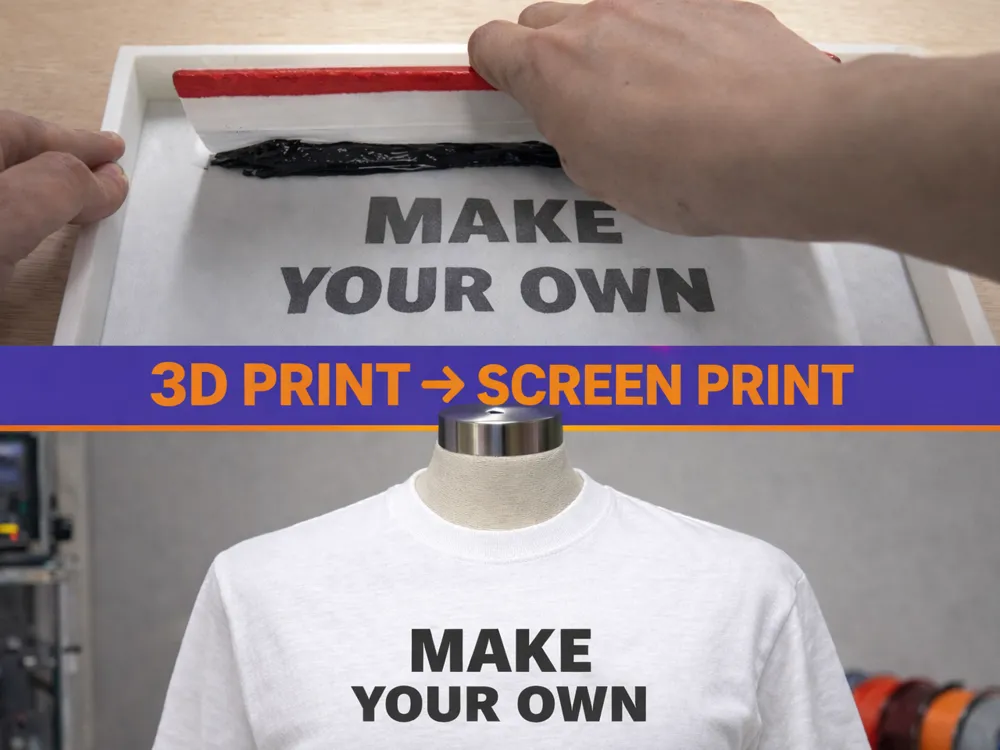
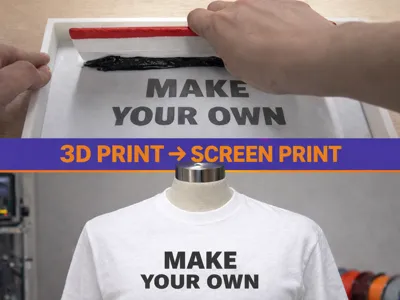
Turn your 3D printer into a screen printing stencil maker.
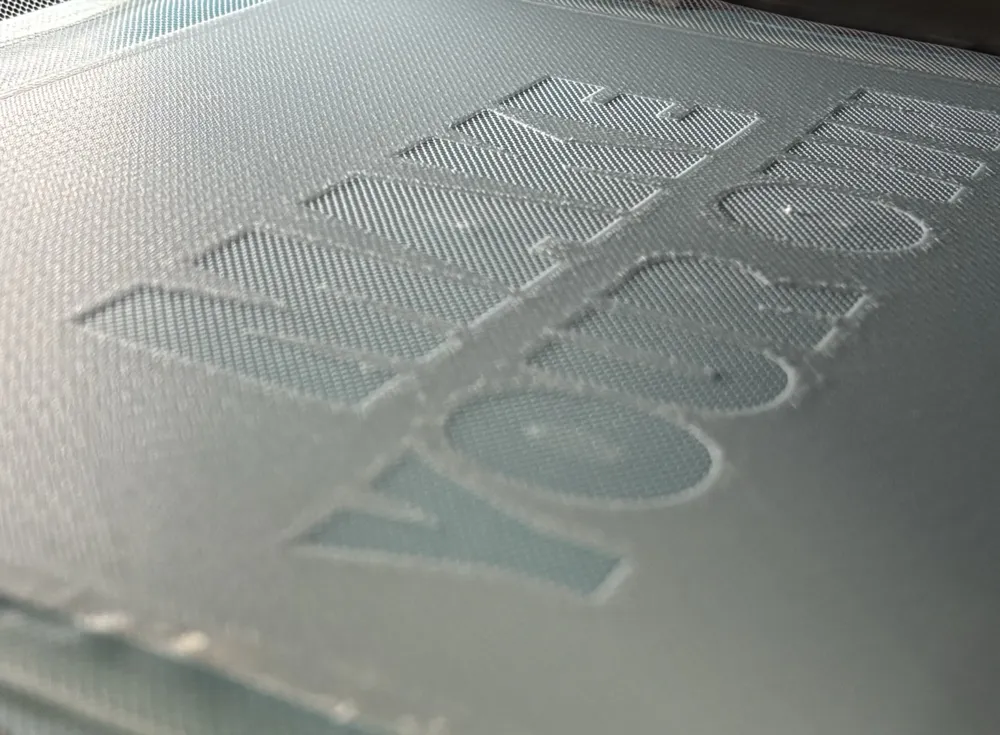
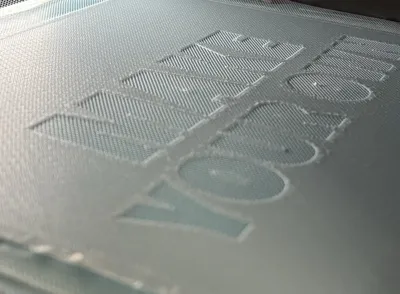
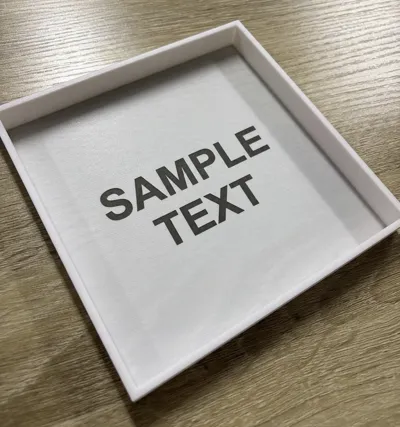
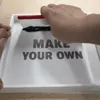
MeshFuse Screen is a 3D printed screen printing stencil created by fusing mesh inside a 3D print.
This allows you to make screen printing stencils using only an FDM 3D printer, without traditional screen making tools or emulsion.
Traditional screen printing can be difficult to prepare. Making the stencil often requires special equipment, materials, and experience, and sometimes the result still fails.
When I saw the idea of inserting mesh during 3D printing, I wondered if it could be used to create screen printing stencils.
After searching online and not finding anyone doing exactly this, I decided to try it myself.
Features
No emulsion or traditional screen making process required
Stencil can be produced using a normal FDM 3D printer
Suitable for small-batch production
Can produce durable prints that survive washing and tumble drying when using proper fabric ink
There are some limitations:
Fine details are difficult because the mesh is coarse
The stencil size is limited by your printer's build plate
The durability may be lower than a traditional screen depending on the design
However, for small production runs it works surprisingly well.
Other methods like printing directly on fabric with a 3D printer or heat-transferring TPU prints often lack washing durability and cannot withstand tumble dryers.
Using proper screen printing ink with this stencil can produce prints that are suitable even for products you intend to sell.
Build Plate
A smooth and flat surface is recommended for best results.
Highly textured PEI plates are not ideal because the texture can transfer to the stencil surface and cause ink bleeding.
This model is currently set to use the Textured PEI profile in Bambu Studio, but some textured plates are much flatter than others.
If possible, choose the flattest build plate you have.
Additional note:
SuperTack build plates can make the stencil difficult to remove after printing.
The strong adhesion may cause the tulle mesh to tear when peeling the stencil from the plate.
Peel the stencil off slowly and carefully, or consider using a thicker and stronger mesh.
Materials
For making the stencil
PLA or PETG filament
(ABS can also be used, but some solvent-based inks may dissolve ABS. Test your ink first.)
Hard thin tulle mesh*
(very thin mesh with fine threads is strongly recommended — 20D works well)
Double-sided tape
Mesh that is too fine (such as organza) will not work.
*Silk screen mesh at 50 mesh has also been tested and works well.
Finer mesh may be too dense for the filament to grip properly, so it might not work reliably.
Tulle mesh is easier to find and usually much cheaper, which makes it a good option for beginners or quick testing.
Silk screen mesh often gives cleaner and sharper print results, especially for repeated printing and better ink control.
Thick-thread mesh reduces ink flow and can cause poor print results.
If you want the easiest setup, tulle mesh is recommended.
If you want the best print quality, silk screen mesh is usually better.
For printing
T-shirt or other printable surface
Screen printing ink
Plywood board
Temporary spray adhesive
Squeegee wider than the design
A rubber squeegee will provide better print quality, but I created this model for those who don’t have one. Please refer to it here.
Silicone spatula, cutter, sponge, tissue, towel, etc.
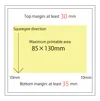
Maximum printable area
When creating the stencil, be sure to leave the following margins for reliable printing:
Top margin: at least 30 mm
Bottom margin: at least 35 mm
The bottom margin is used to place ink.
The top margin is needed for smooth squeegee movement.
If the margins are too small, the squeegee becomes difficult to control and printing may fail.
Stencil creation steps
Open the model in Bambu Studio.
Edit the text using the text tool, or import your own design as a negative part.
Adjust the height so the design creates holes in the stencil area, then center it.
Slice the model and confirm that the print will pause before layer 2.
Cut the tulle mesh to the size of your build plate.
Apply double-sided tape around all four edges of the build plate and remove the backing paper.
Do not place the mesh yet.
Start the print.
When the printer pauses before layer 2, stretch the mesh across the build plate and attach it to the tape along all four edges.
Make sure it is flat and wrinkle-free.
Resume printing and let the print finish.
Trim the excess mesh.
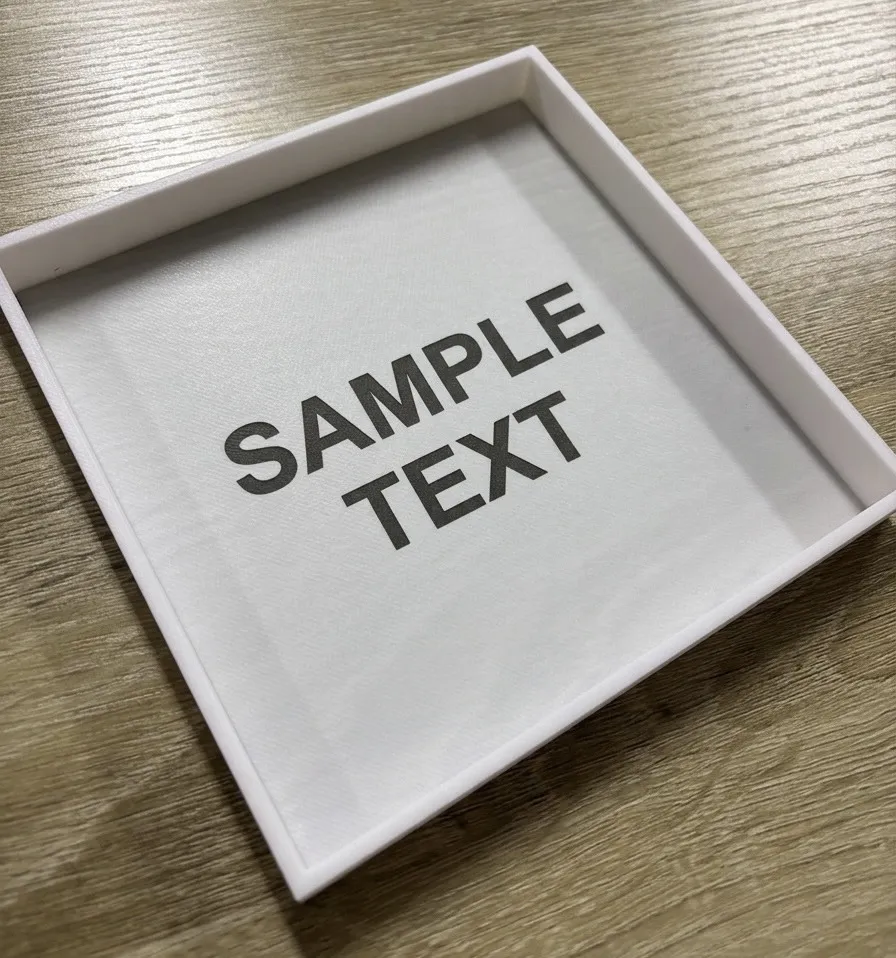
Your stencil is now ready to use.
Printing steps
Spray temporary adhesive on one side of the plywood board.
Attach the inside of the T-shirt (or other fabric) to the board.
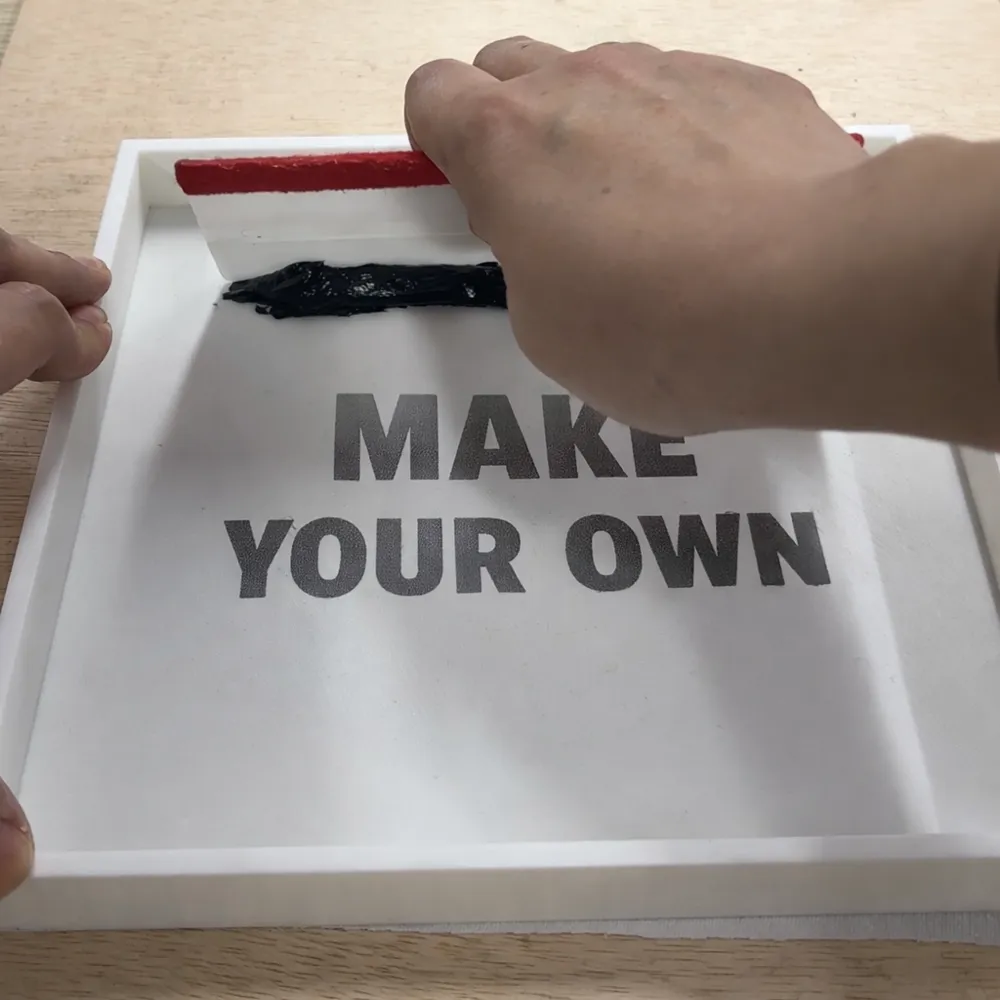
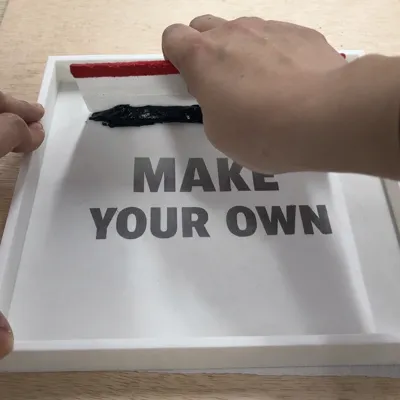
Place a line of ink along one edge of the stencil.
The width should be slightly wider than the design.
Before printing your actual project, practice first using scrap fabric or absorbent paper until you get consistent results.
Hold the stencil with one hand and pull the squeegee across the design.
Keep the squeegee at a constant angle (45–60°) and move at a steady speed in one continuous motion from start to finish.
Do not stop midway or change angle/speed, as this may cause uneven prints or failure.
If necessary, print twice.
Slowly lift the stencil from one edge.
Repeat for additional prints.
Let the print dry. For fabric, heat set with an iron.
Immediately collect remaining ink and wash the stencil gently with water and a sponge.
If ink dries in the mesh it may clog and ruin the stencil.
Dry with a towel or air dry.
If you want to change colors, wash the stencil first before printing again.
Important Note
This model includes slicer settings.
When opened directly from MakerWorld in Bambu Studio, the print profile settings will be applied automatically.
If you download the file and import it as geometry, those settings will be lost.
For other slicers, or when making a larger screen, please use these settings:
- Layer height: 0.16 mm
- First layer height: 0.12 mm
The first and second layers together will be 0.28 mm thick.
A thin layer is the key to success, but making it too thin may prevent the mesh from being embedded properly. This setting gave the best results. - Pause: after the first layer, before the second layer starts
Place the mesh during the pause. - Ironing: after the second layer
Ironing is optional, but a smoother surface helps reduce ink usage and printing cost.
Boost Me (for free)
License



Comment & Rating (63)