
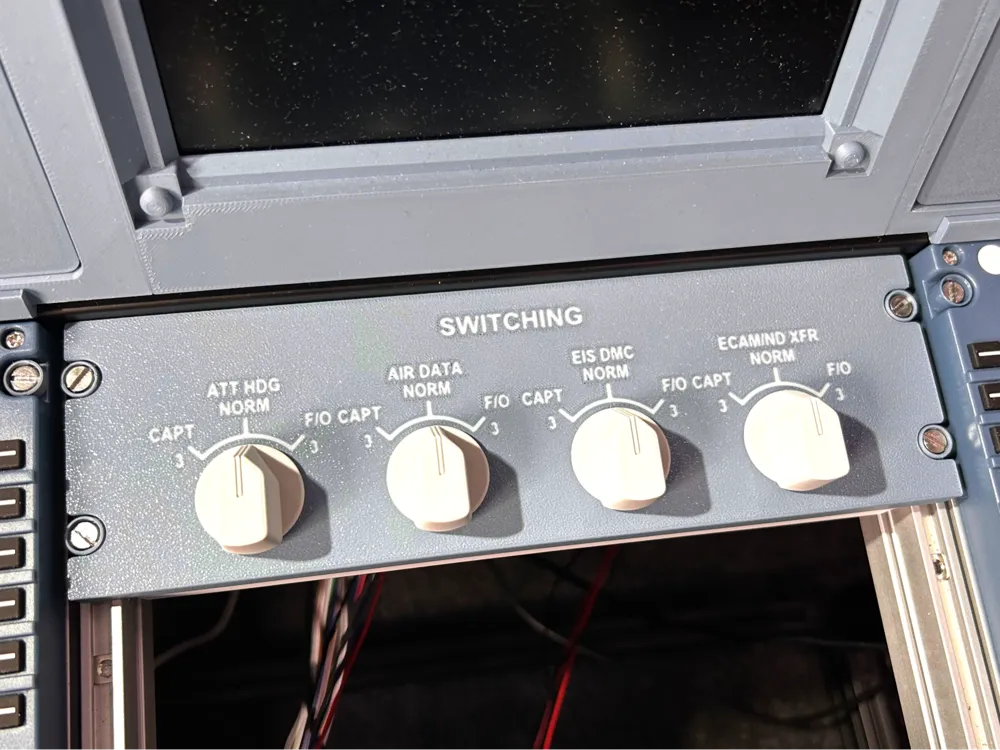
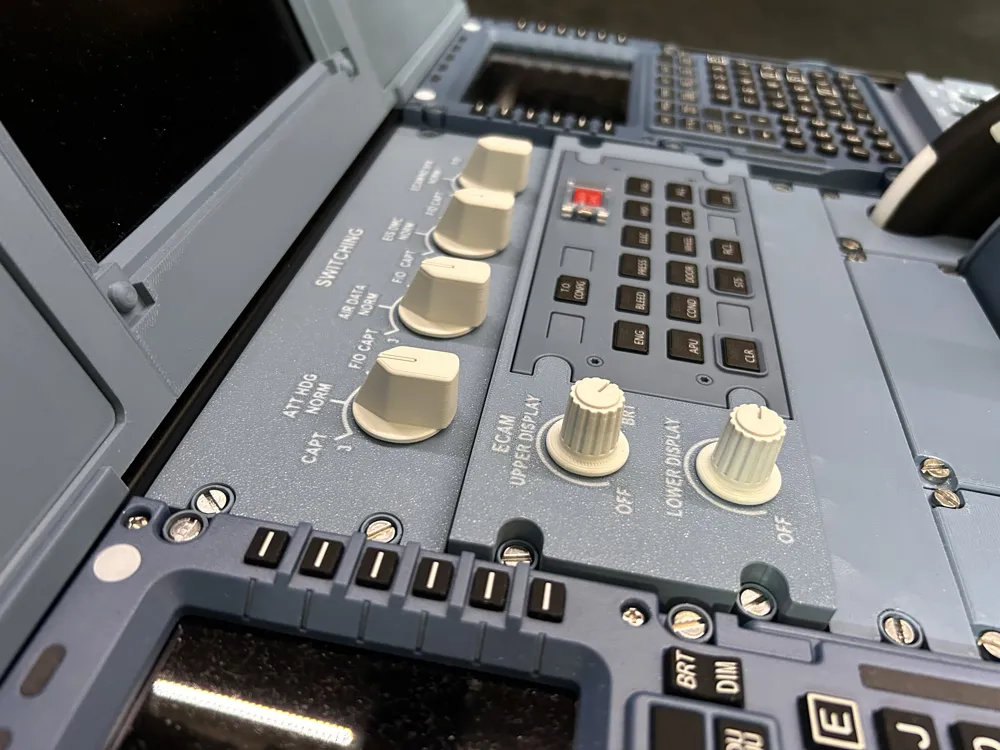
A320 Switching panel standalone
Print Profile(3)
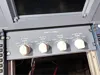
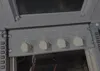
Description
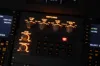
Update April 26: I have created a version of the top panel which is optimized for backlighting. It can be found under the profile “Top panel – optimized for backlighting”. This new version reduces the thickness of the blue/grey layer and adds a thin black layer to reduce light bleeding. Then a third transparent layer is added to act as a diffusor for the light. This achieves a much more even lighting of all the text of the panel. To print this new version of the panel, you need an AMS with blue/grey for the top layer, black and white as well as transparent PLA. The grey layer in the file has to be printed with transparent PLA! The profile is for a 0.2mm nozzle but can also be printed using a 0.4mm nozzle. However, using a 0.2mm nozzle is highly recommended!
This is an A320 switching panel for flight simming. It can be made fully functional by adding 4 rotary switches. Backlighting is also possible as the panel includes a hole for a DC jack to connect an LED lightstrip.
This panel can be combined with my “A320 ECAM panel standalone (for Winctrl ECAM module)”, but can also be used standalone.
To make this a fully functional panel, you need 4 rotary switches like the following:
4 rotary switches (1 pole 8)
https://de.aliexpress.com/item/4000700243796.html?spm=a2g0o.order_list.order_list_main.11.6f6b1802idGqA8&gatewayAdapt=glo2deu
For assembly instrutions please refer to the exceptional YouTube channel „The Cockpit Printer“ (this is not my channel but I can highly recommend). There you can see how to connect the panel to the simulator using an Arduino and Mobiflight and also how you can add backlighting to the panel.
To succesfully print the panel, you must ensure very good first layer adhesion, because the initial layer width is reduced to 0.35mm in order to get finer text. If you struggle to print the top panel, then try to reduce the initial layer width in the Quality tab to 0.5mm (default value). It is recommended to print the panel with a layer height of 0.2mm in High Quality mode.
License

You shall not share, sub-license, sell, rent, host, transfer, or distribute in any way the digital or 3D printed versions of this object, nor any other derivative work of this object in its digital or physical format (including - but not limited to - remixes of this object, and hosting on other digital platforms). The objects may not be used without permission in any way whatsoever in which you charge money, or collect fees.


Comment & Rating (10)