
Hex-Style Magnetic Disposable Glove Dispenser
Print Profile(1)
Bill of Materials

Description
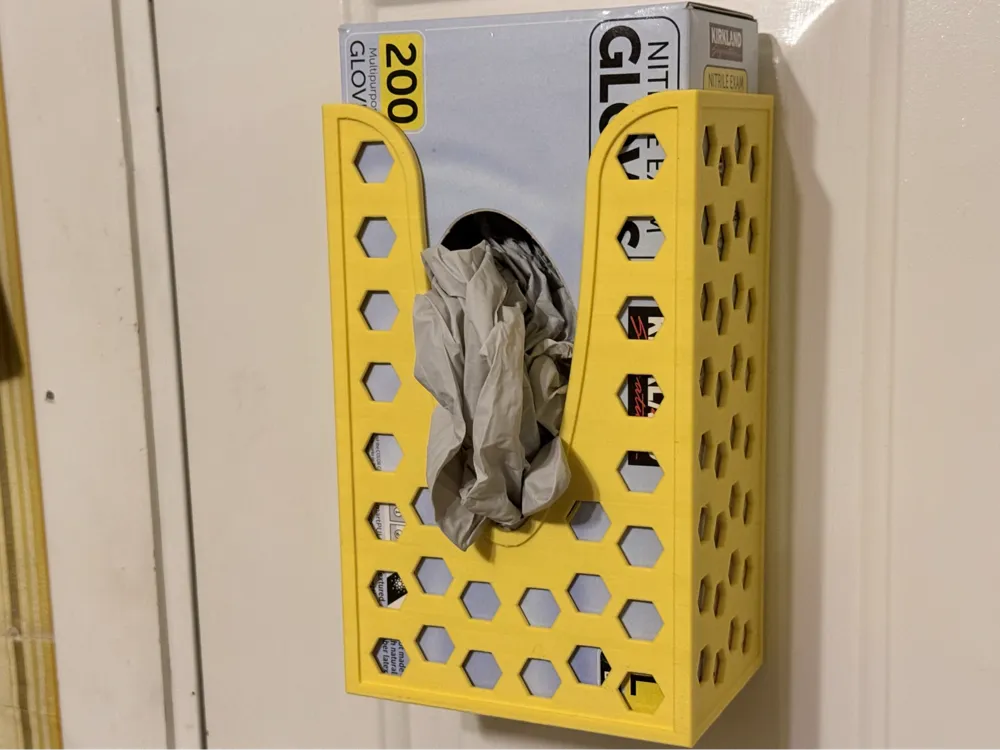
Modernist Magnetic Disposable Glove Dispenser
v1.0 | Heavy-duty, anti-slip mounting for home, workshop, or garage.
Follow me on Makerworld for future design releases!
Boost Me (for free)
This is the first time I've designed a model, and I really hope you find it useful. I spent a significant amount of time and material iterating over this design to make it suitable for sharing. As a new creator, your support helps me get the filament I need to keep designing, testing, and sharing new tools with the community!
Overview
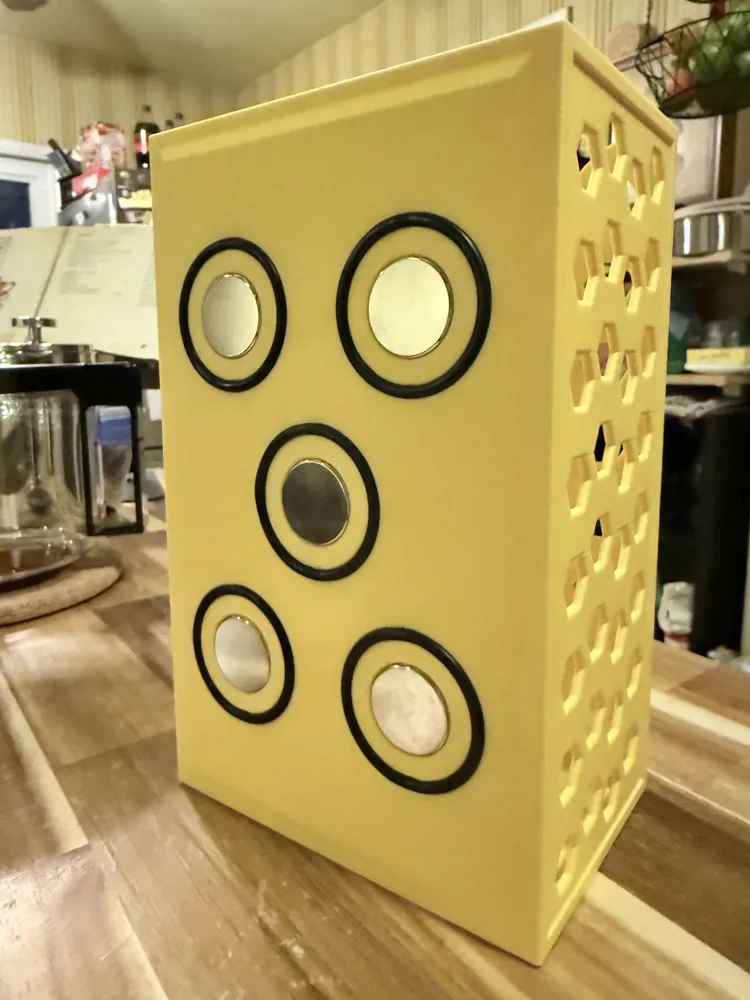
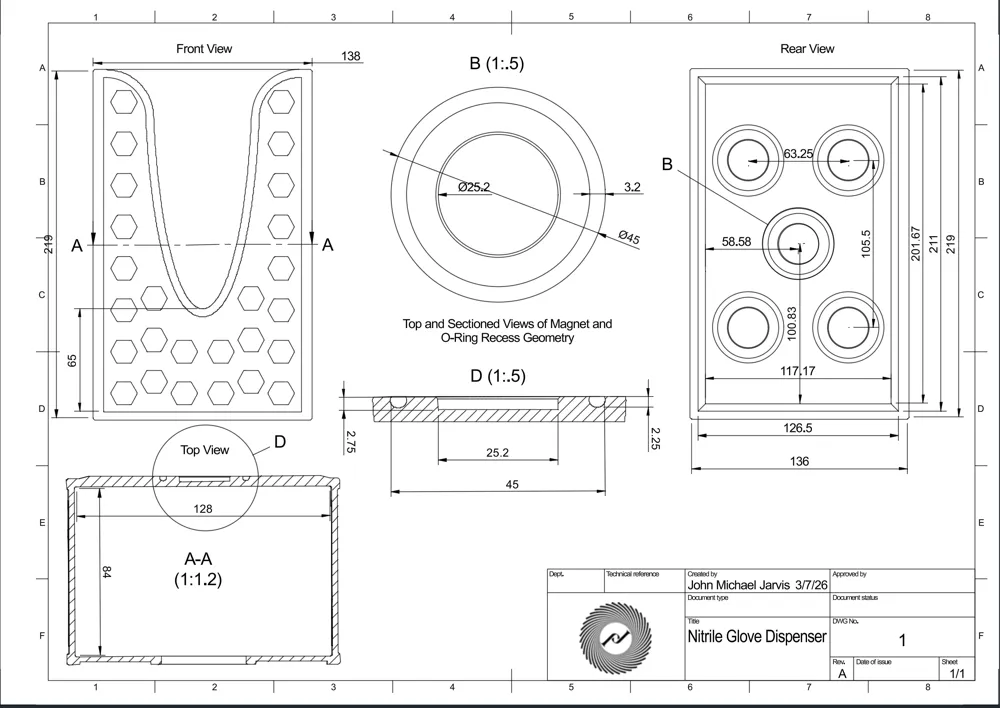
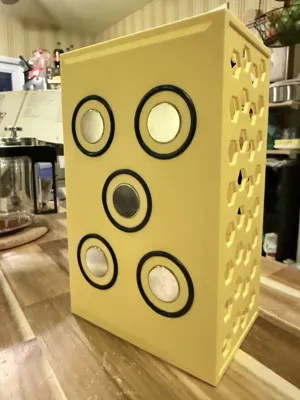
This dispenser features a secure magnetic mounting system designed for metal surfaces without the need for drilling or adhesives. This design solves the common "sliding issue" by combining the pull-force of high-strength magnets with the friction-inducing qualities of standard rubber O-rings.
- Anti-Slide Design: The O-rings sit slightly proud of the rear surface, preventing the dispenser from sliding down while reducing the number of magnets required.
- Surface Protection: Because the magnets don't fully contact the metal, this design reduces surface marring and makes horizontal removal easier.
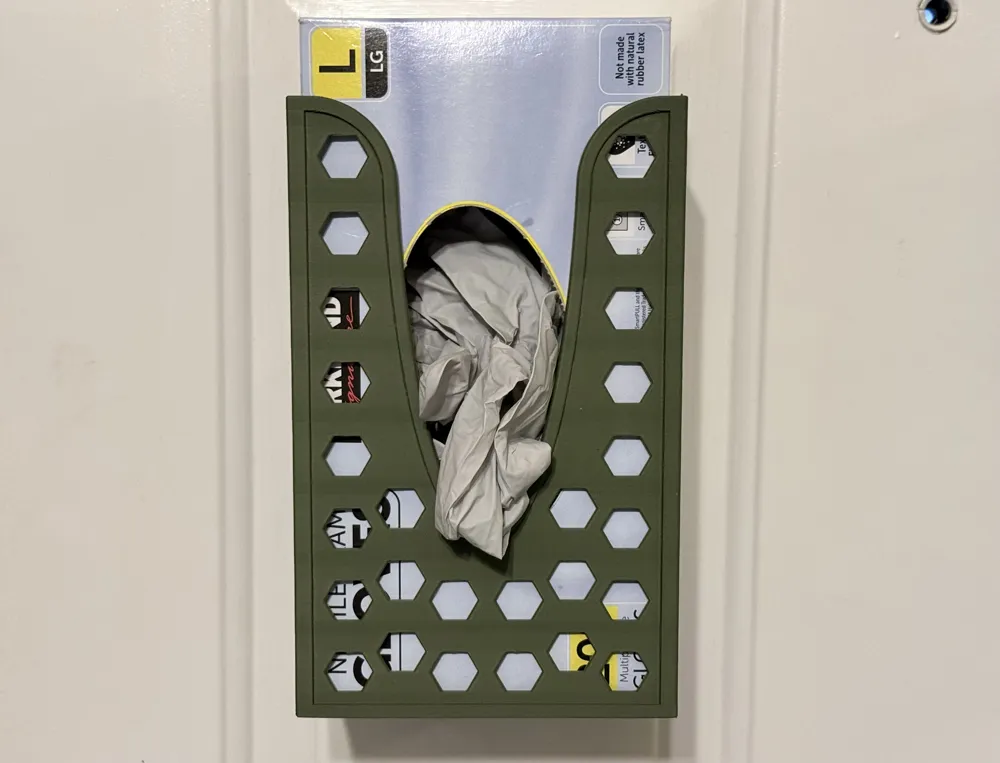
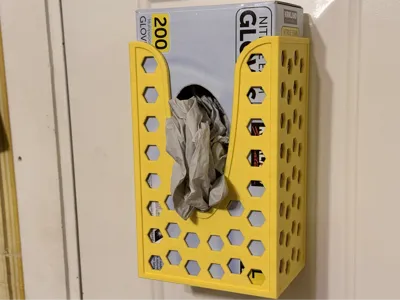
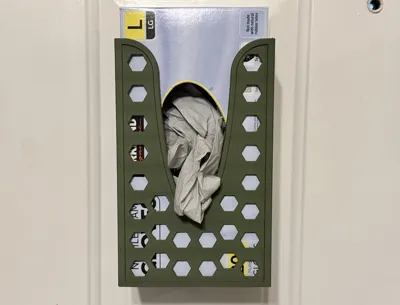
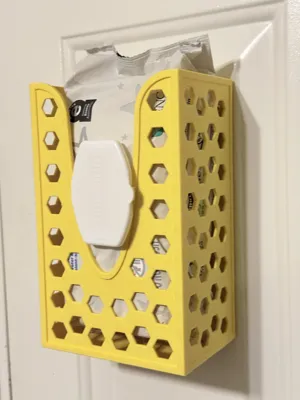
- Aesthetic & Strength: Drawing from Bauhaus and Industrial Functionalism, the stylized hexagonal cutouts and raised rims reduce filament usage while maintaining high structural rigidity.
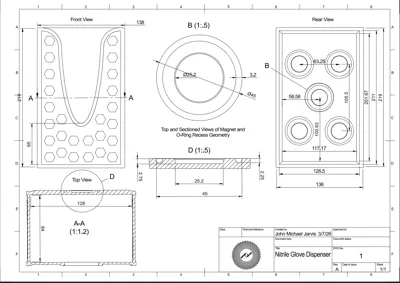
Compatibility: Designed specifically for Kirkland Nitrile Glove boxes (245x128x80mm), but works with any similarly sized box.
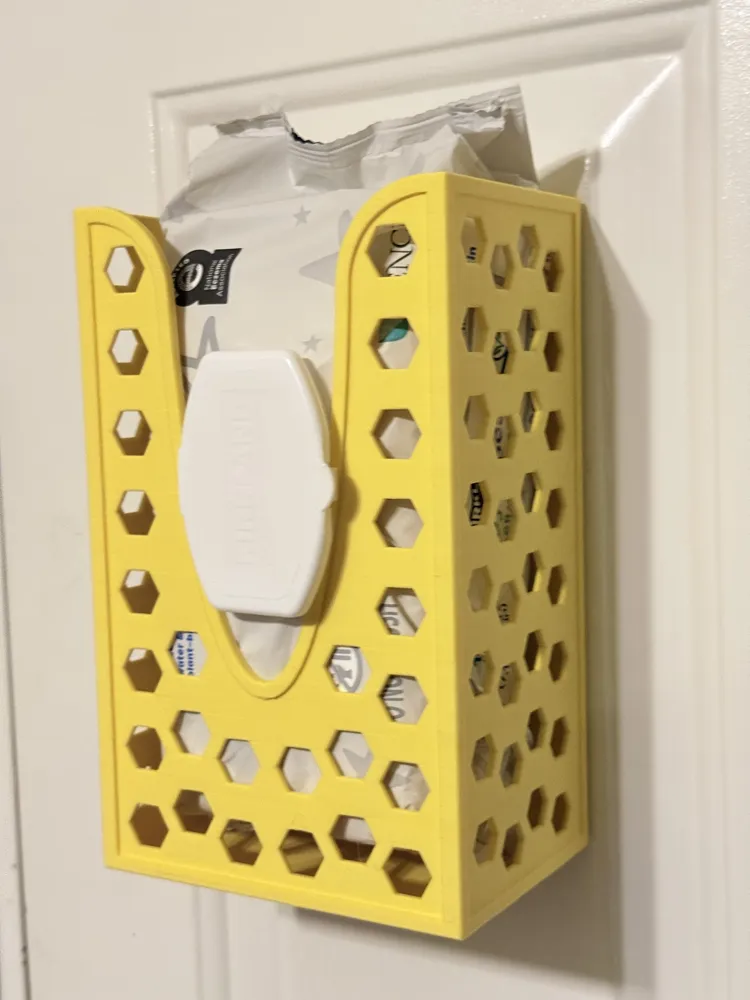
- Weight Capacity: Successfully tested to hold 878g (the weight of Kirkland baby wipes) using only four magnets without sliding.
Hardware Required
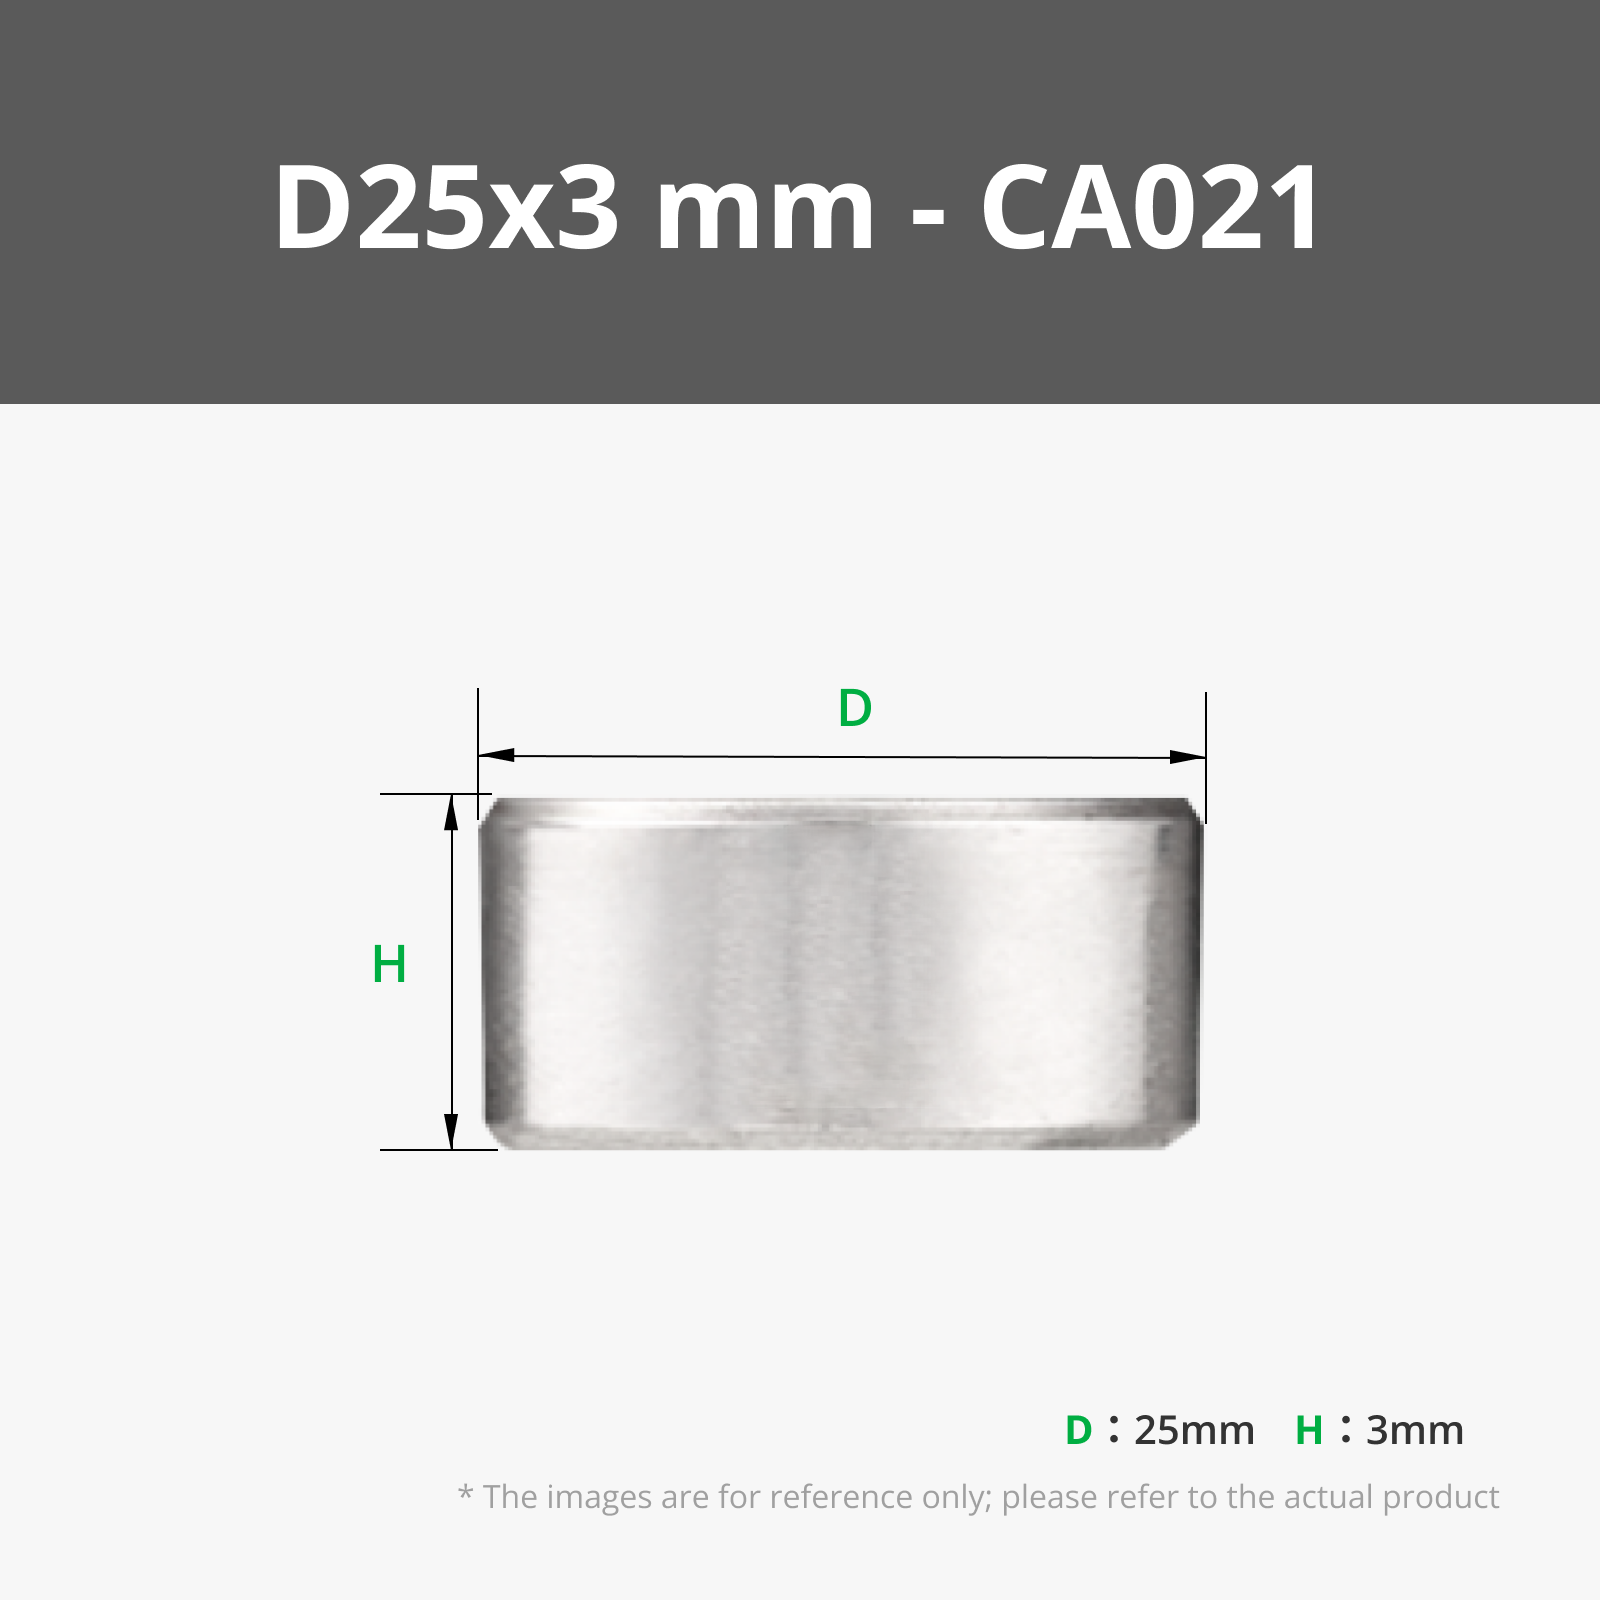
- Magnets: 5x (25mm x 3mm)
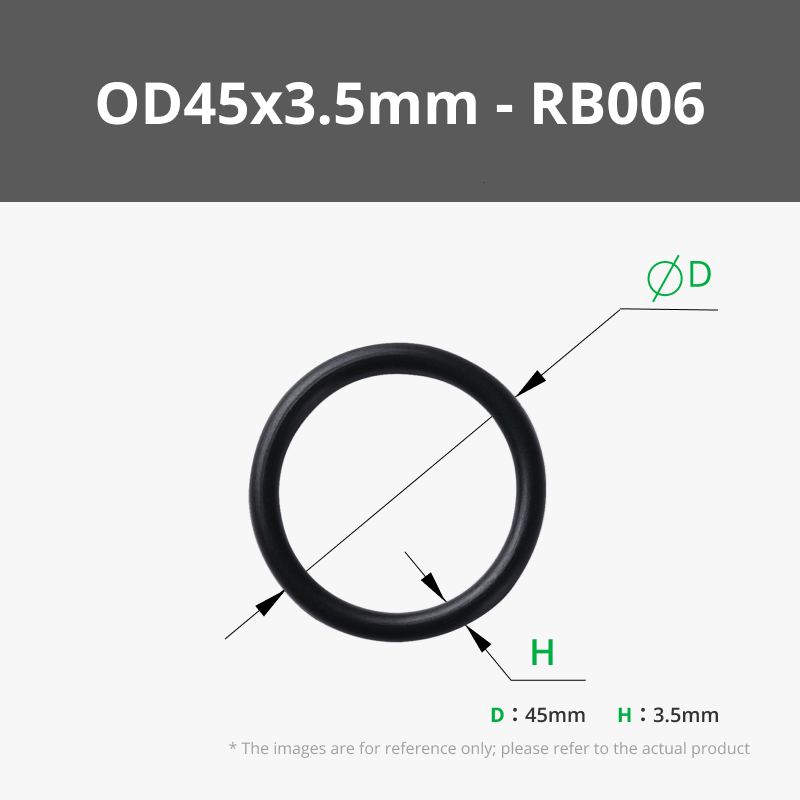
- O-Rings: 5x (45mm x 3.5mm) — Mandatory for stability.
- Note: I have found that the model holds very well to a steel door using just four magnets.
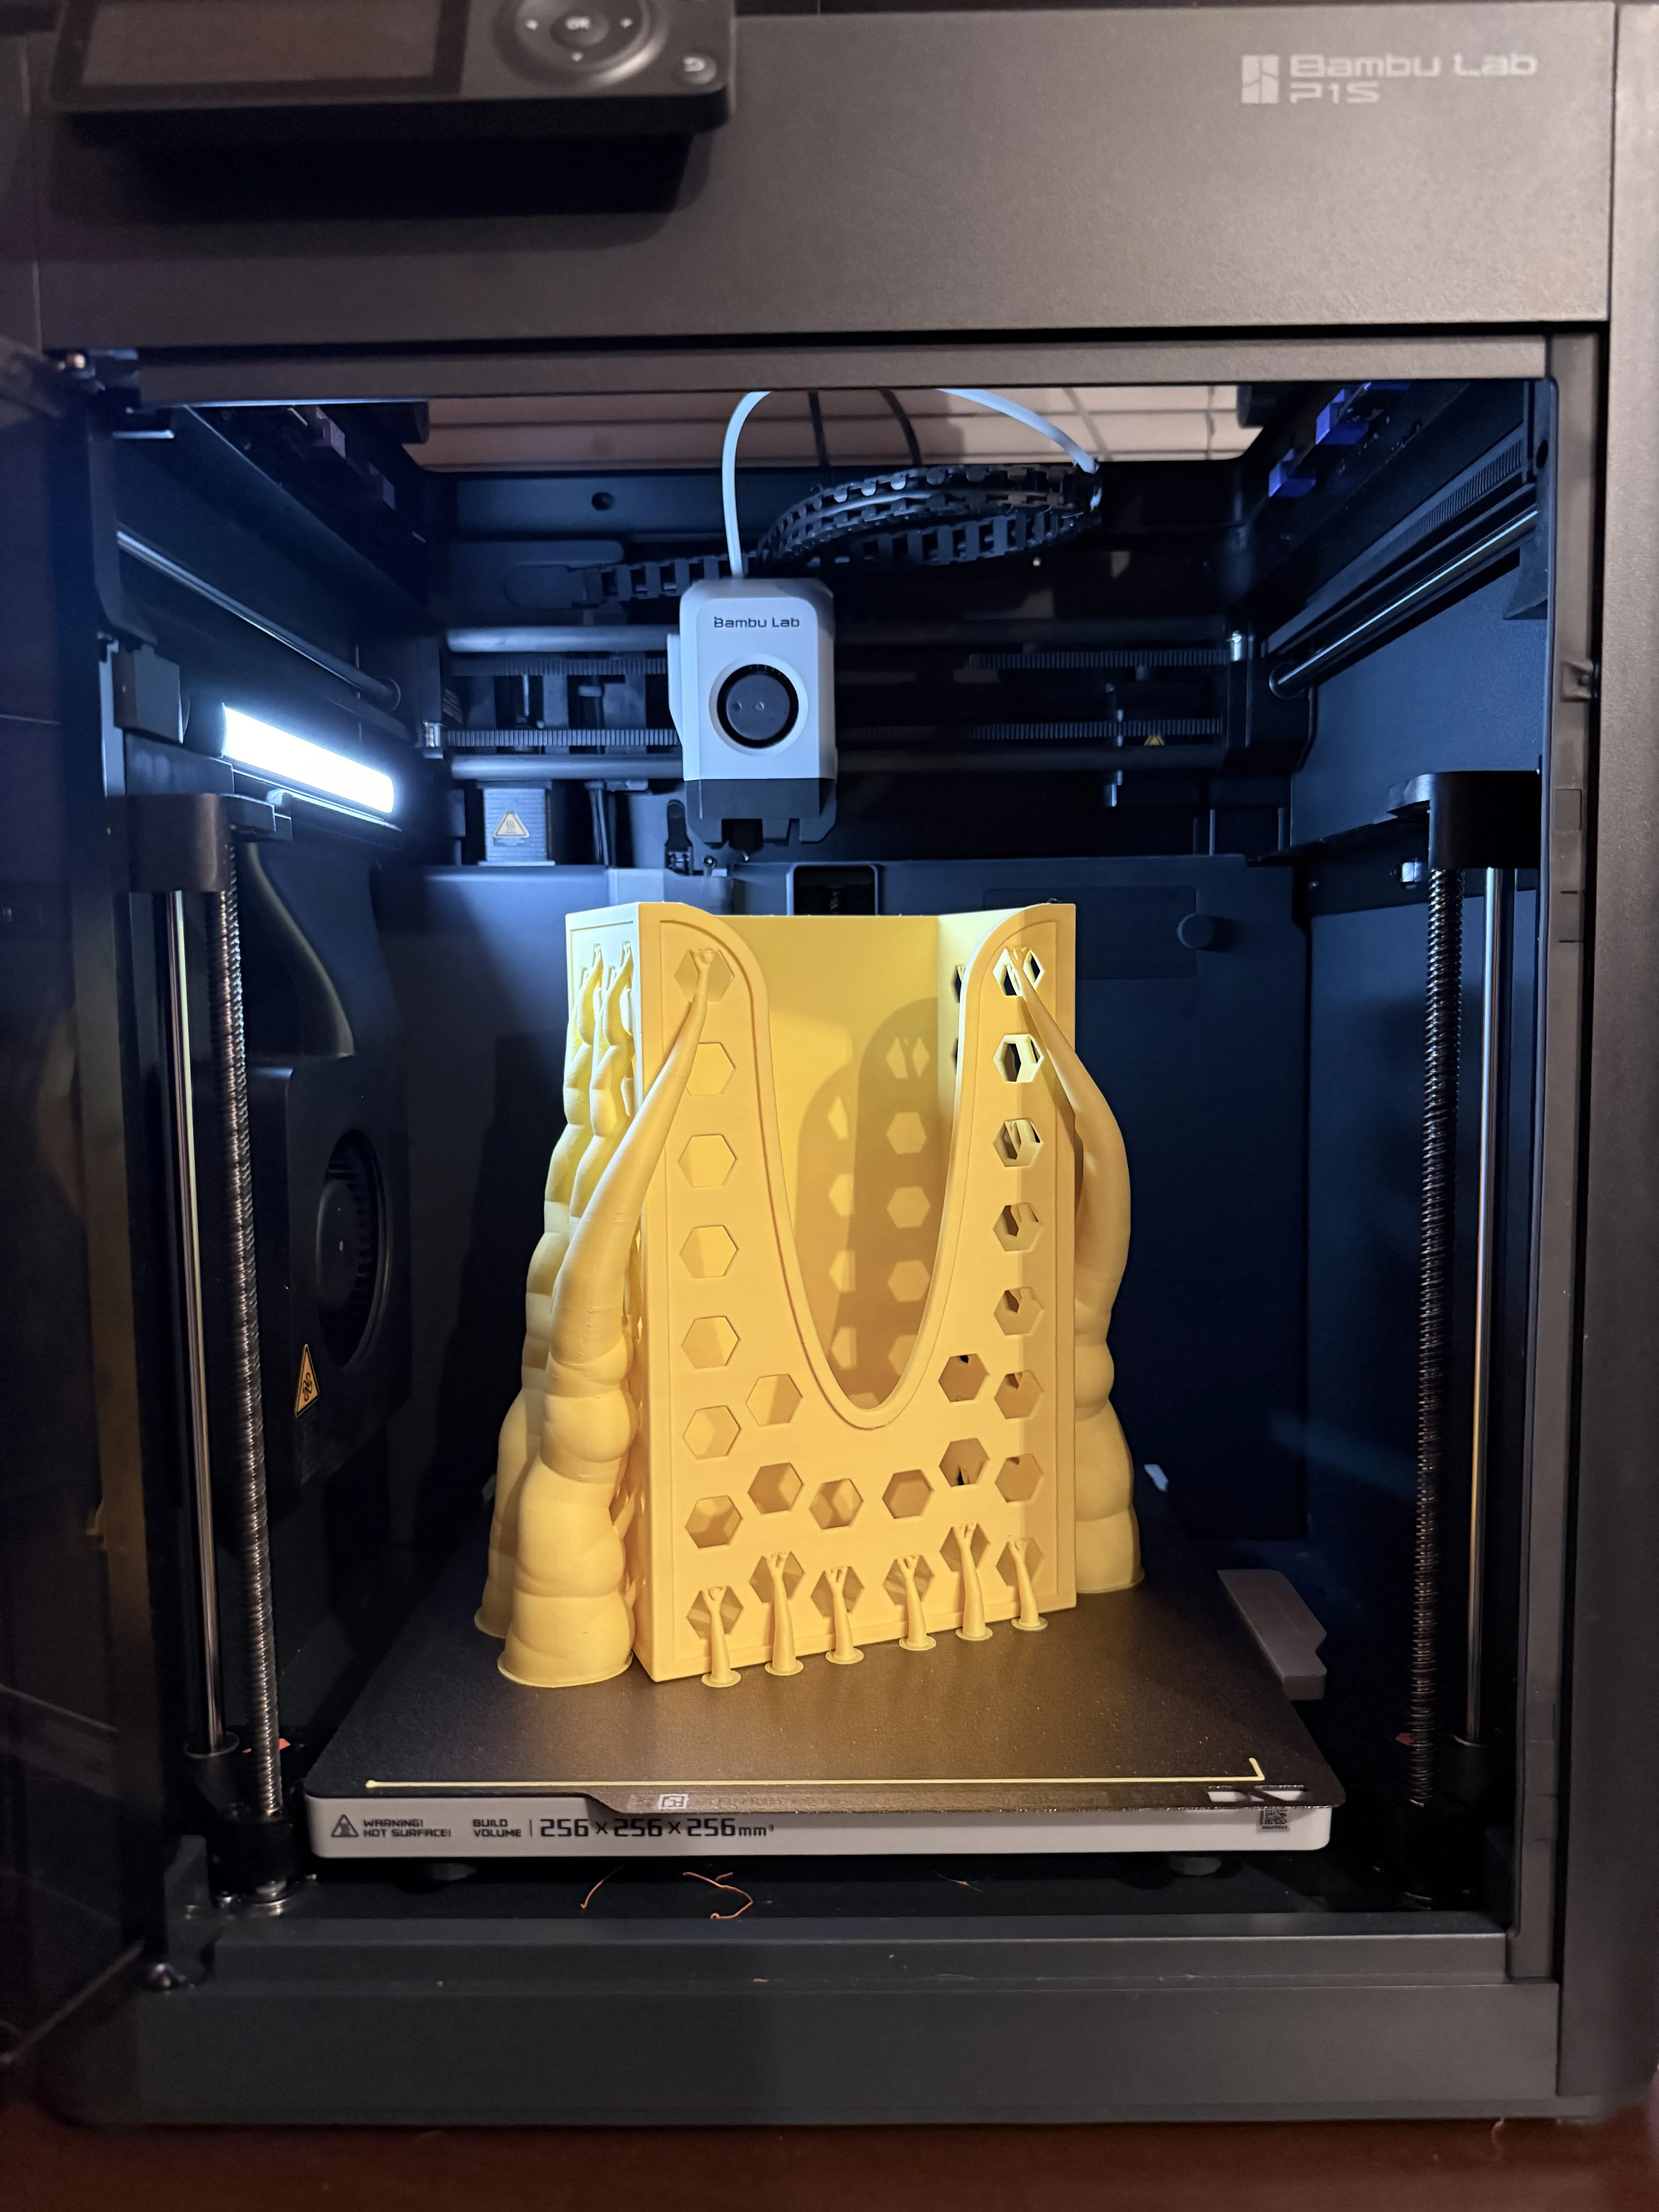
Print Profile
| Nozzle Size | 0.40mm |
| Layer Height | 0.16mm |
| Wall Loops | 2 |
| Infill | 15% Adaptive Cubic |
| Supports | Enabled (Tree Supports recommended) |
| Note: I chose Adaptive Cubic infill because it neatly fills the space behind the magnet recesses better than Gyroid. | |
Assembly Instructions
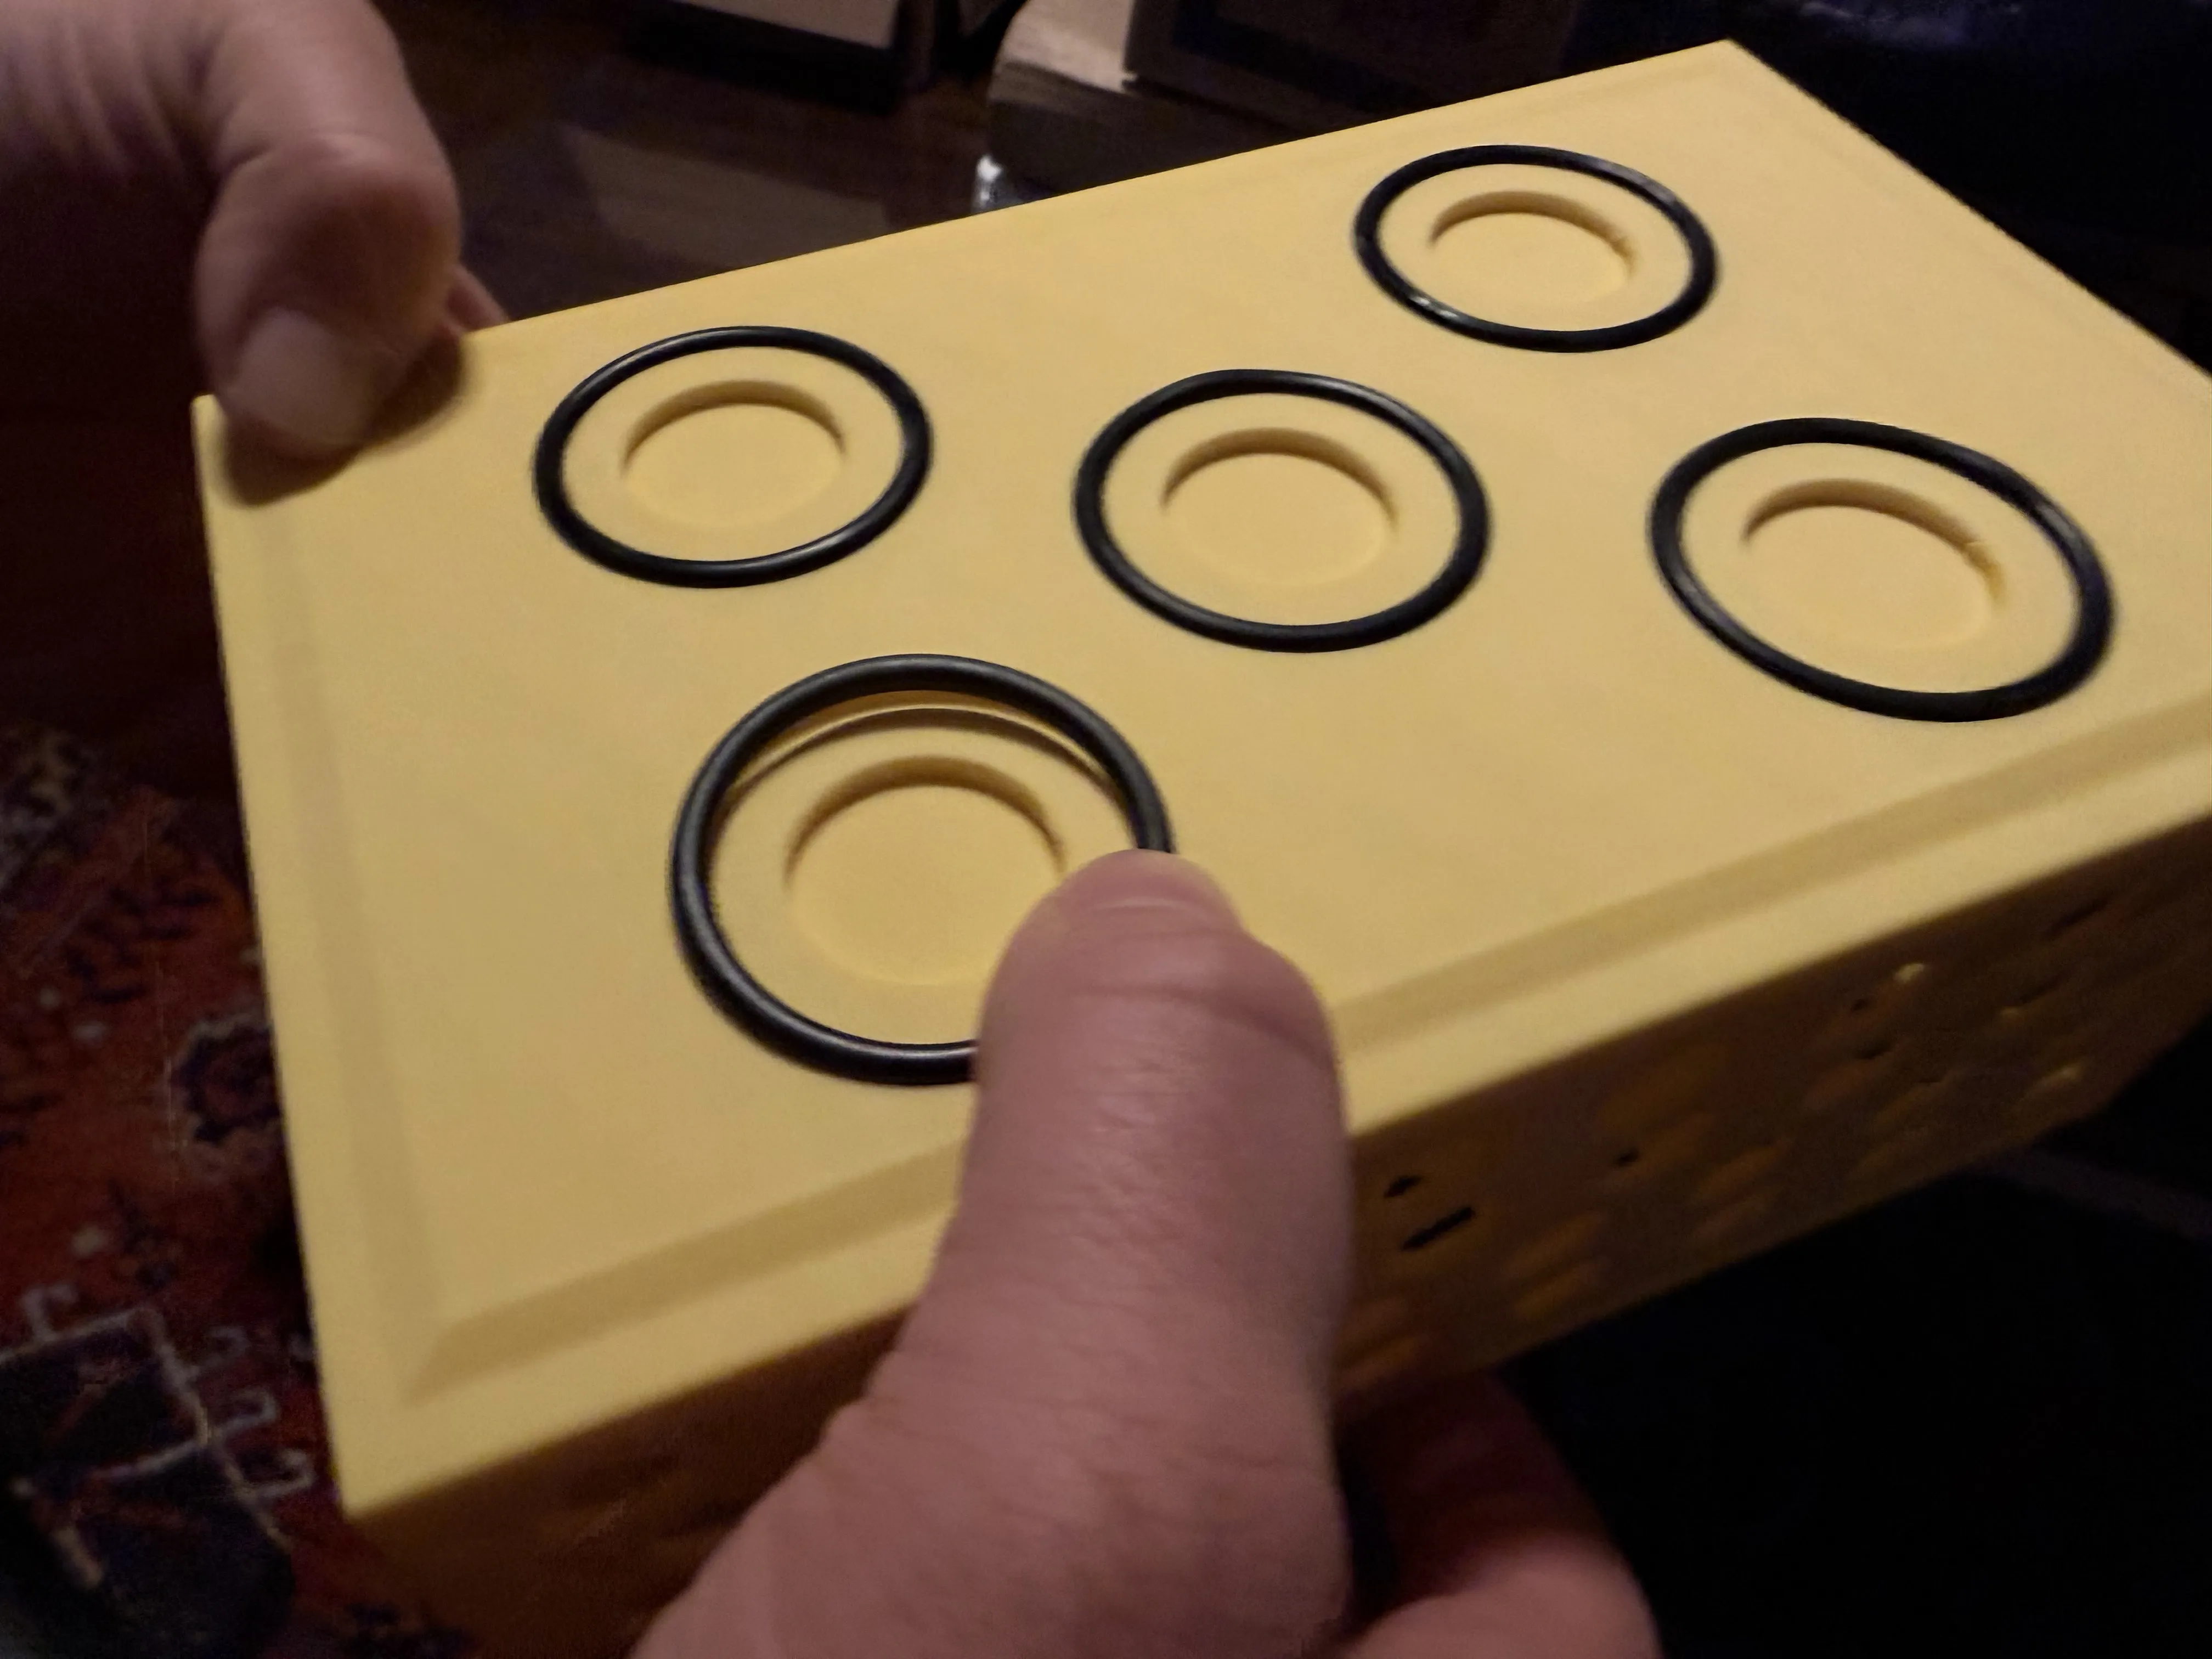
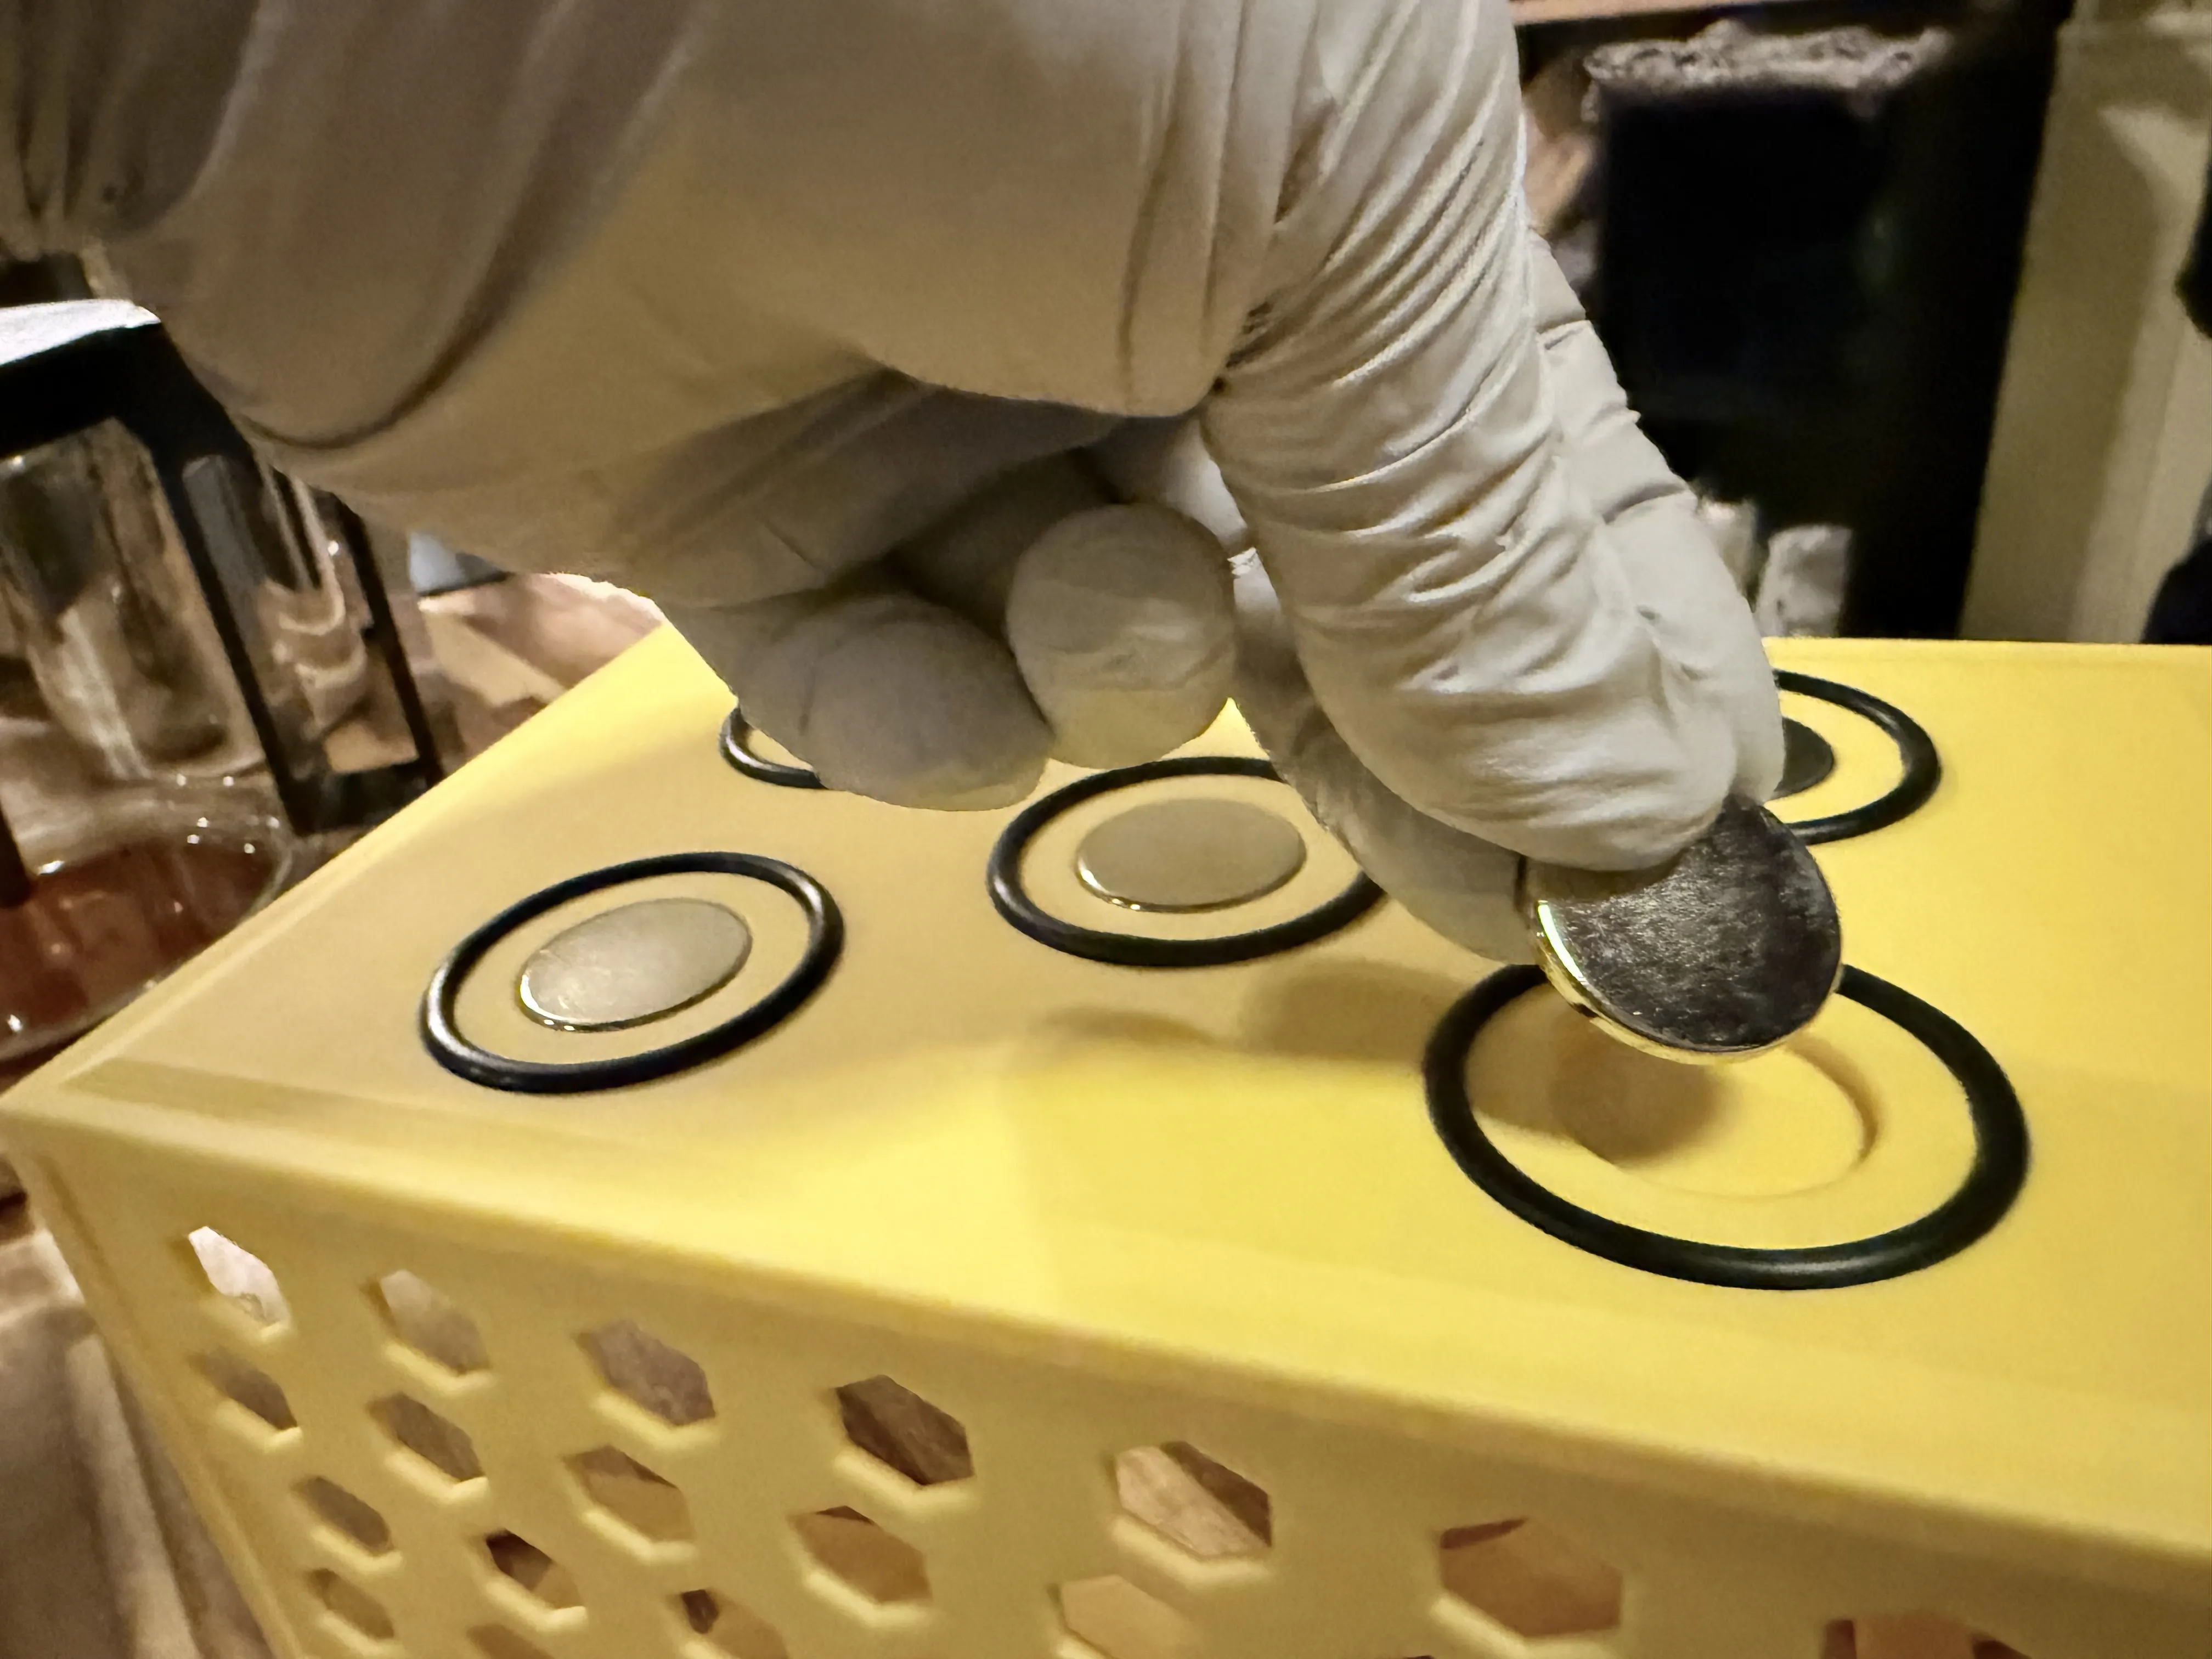
O-Ring Installation: Press the 45mm o-rings into the circular slotted tracks surrounding the magnets. The curved pocket is designed to lock the o-ring in place. Note that the o-rings are difficult to remove once seated.
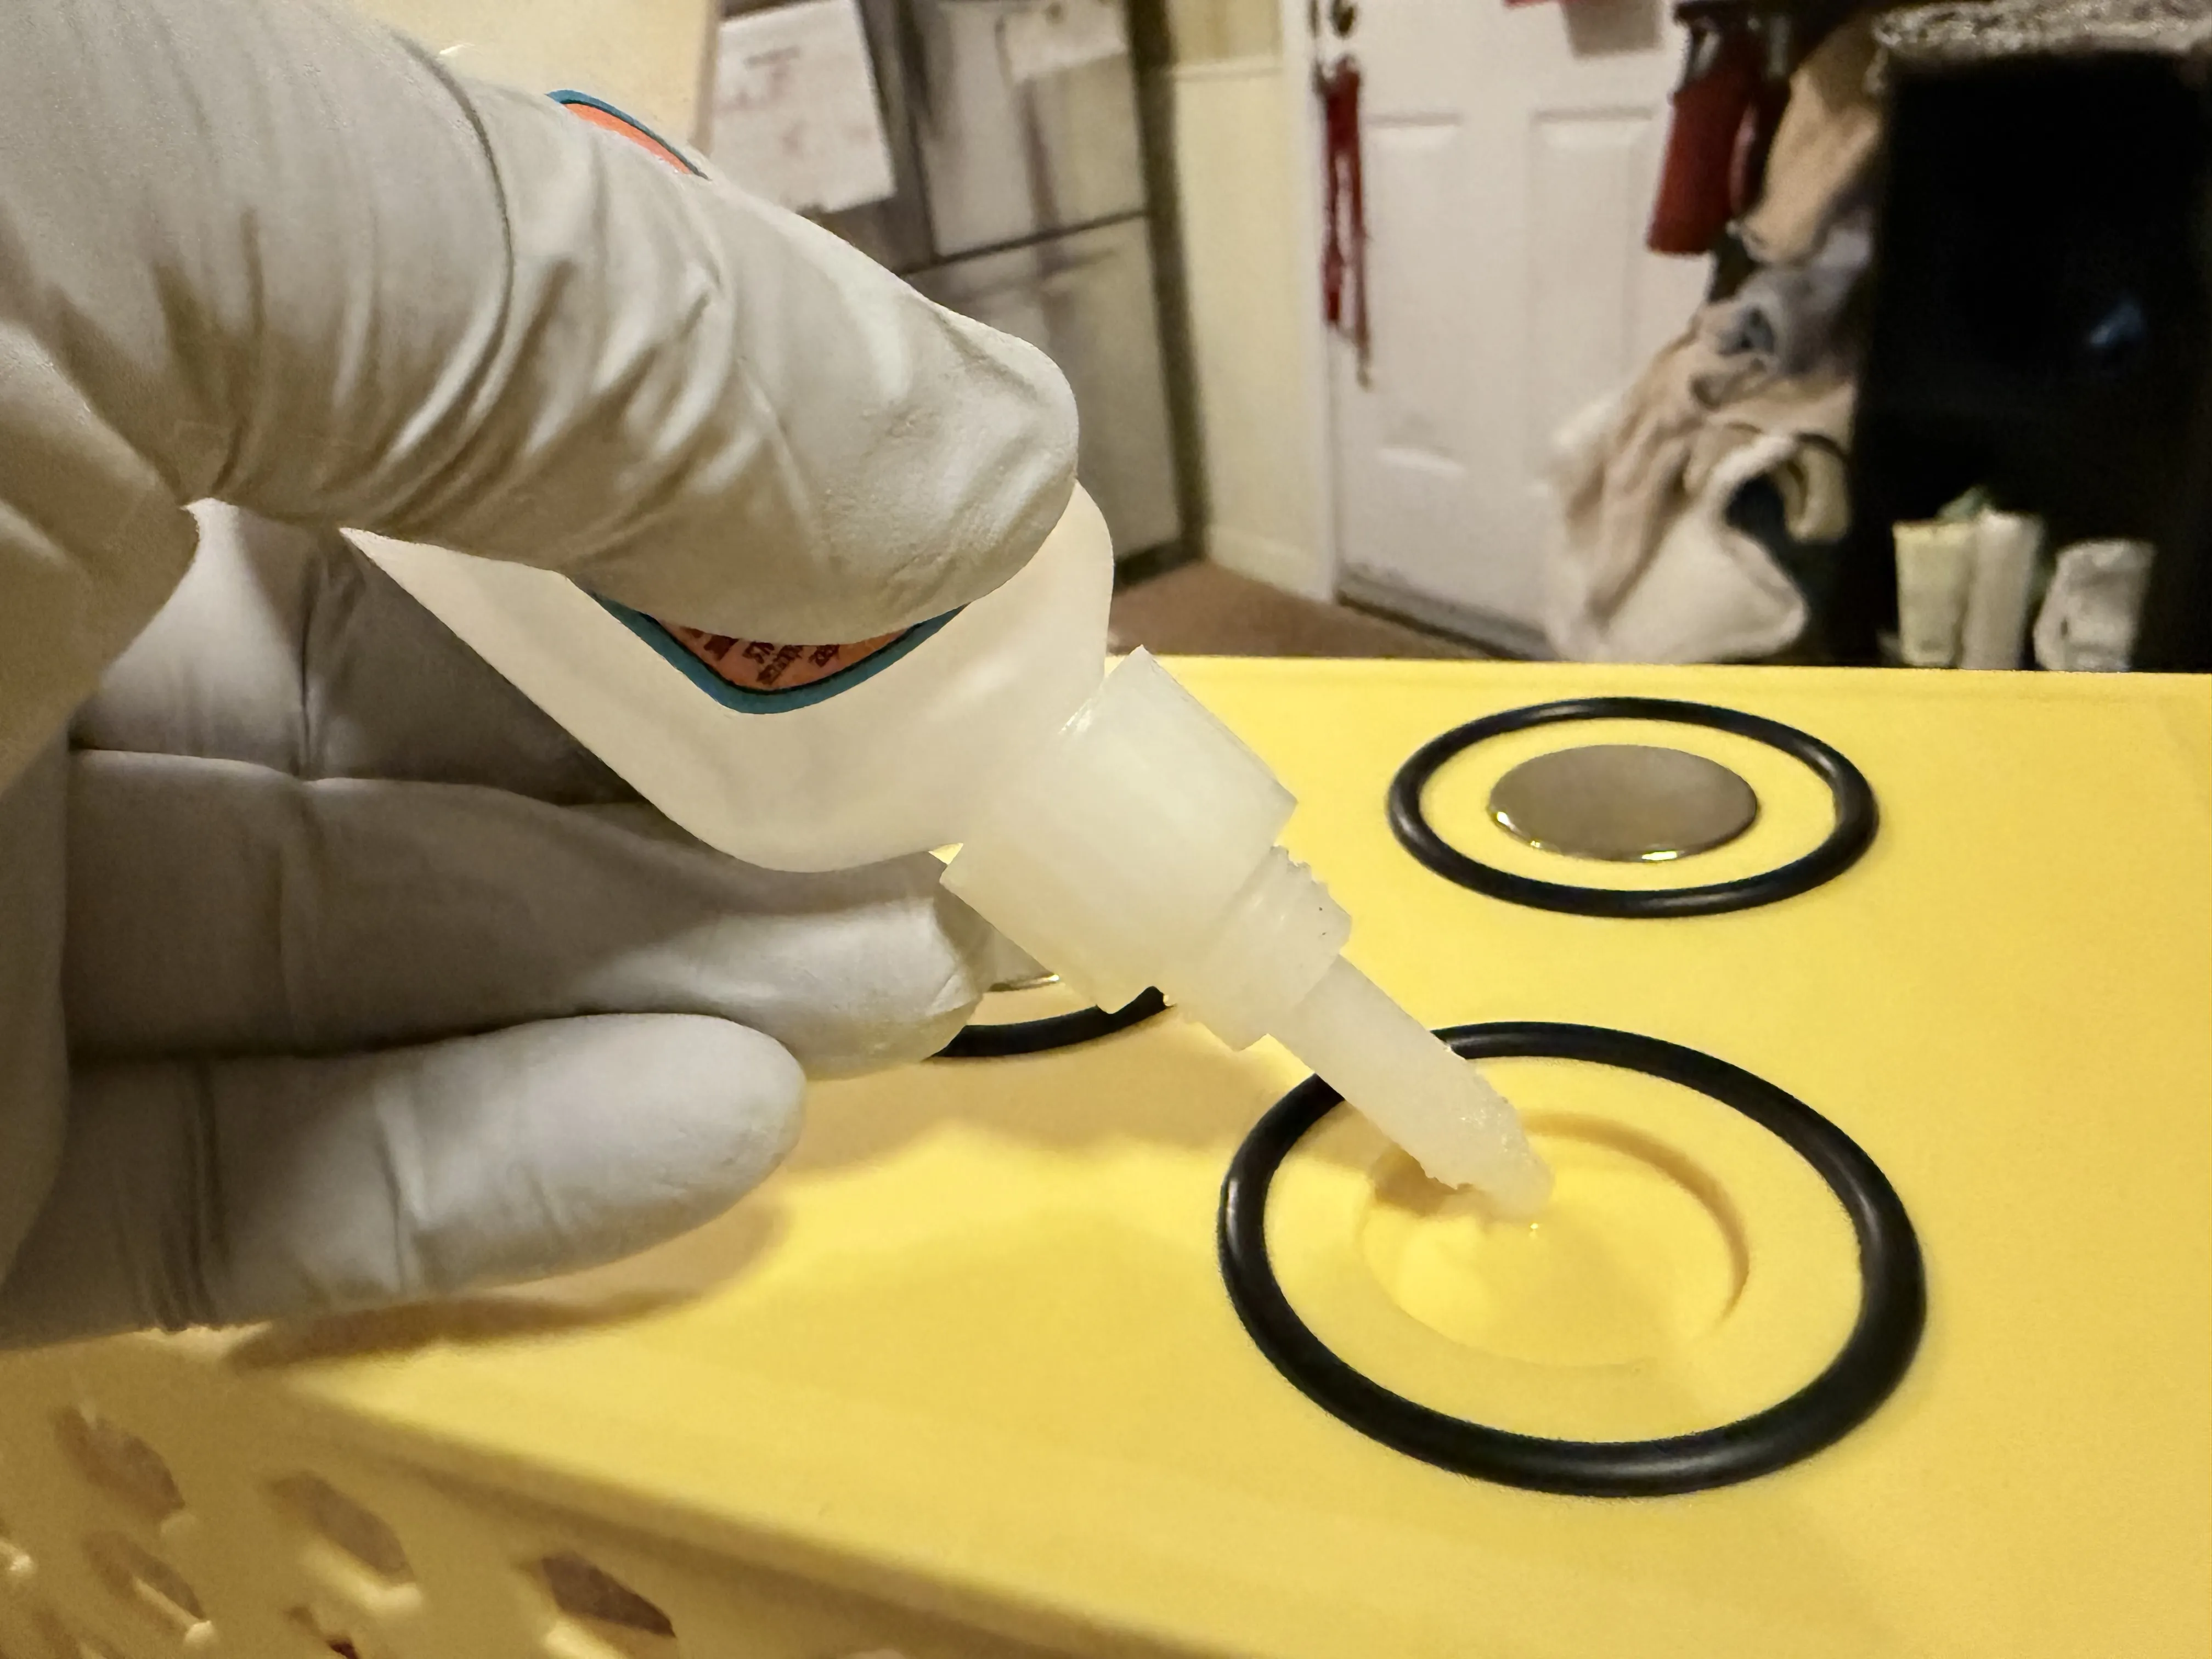
Magnet Installation: Glue the 25mm magnets into the center recesses. The tolerances here are pretty tight, so be careful not to apply too much adhesive or it will push up past the edge of the magnet. You do have to use an adhesive though. The o-rings create a small gap between the magnet and the mounting surface, and a friction fit was not enough to prevent them hopping the gap to the door.
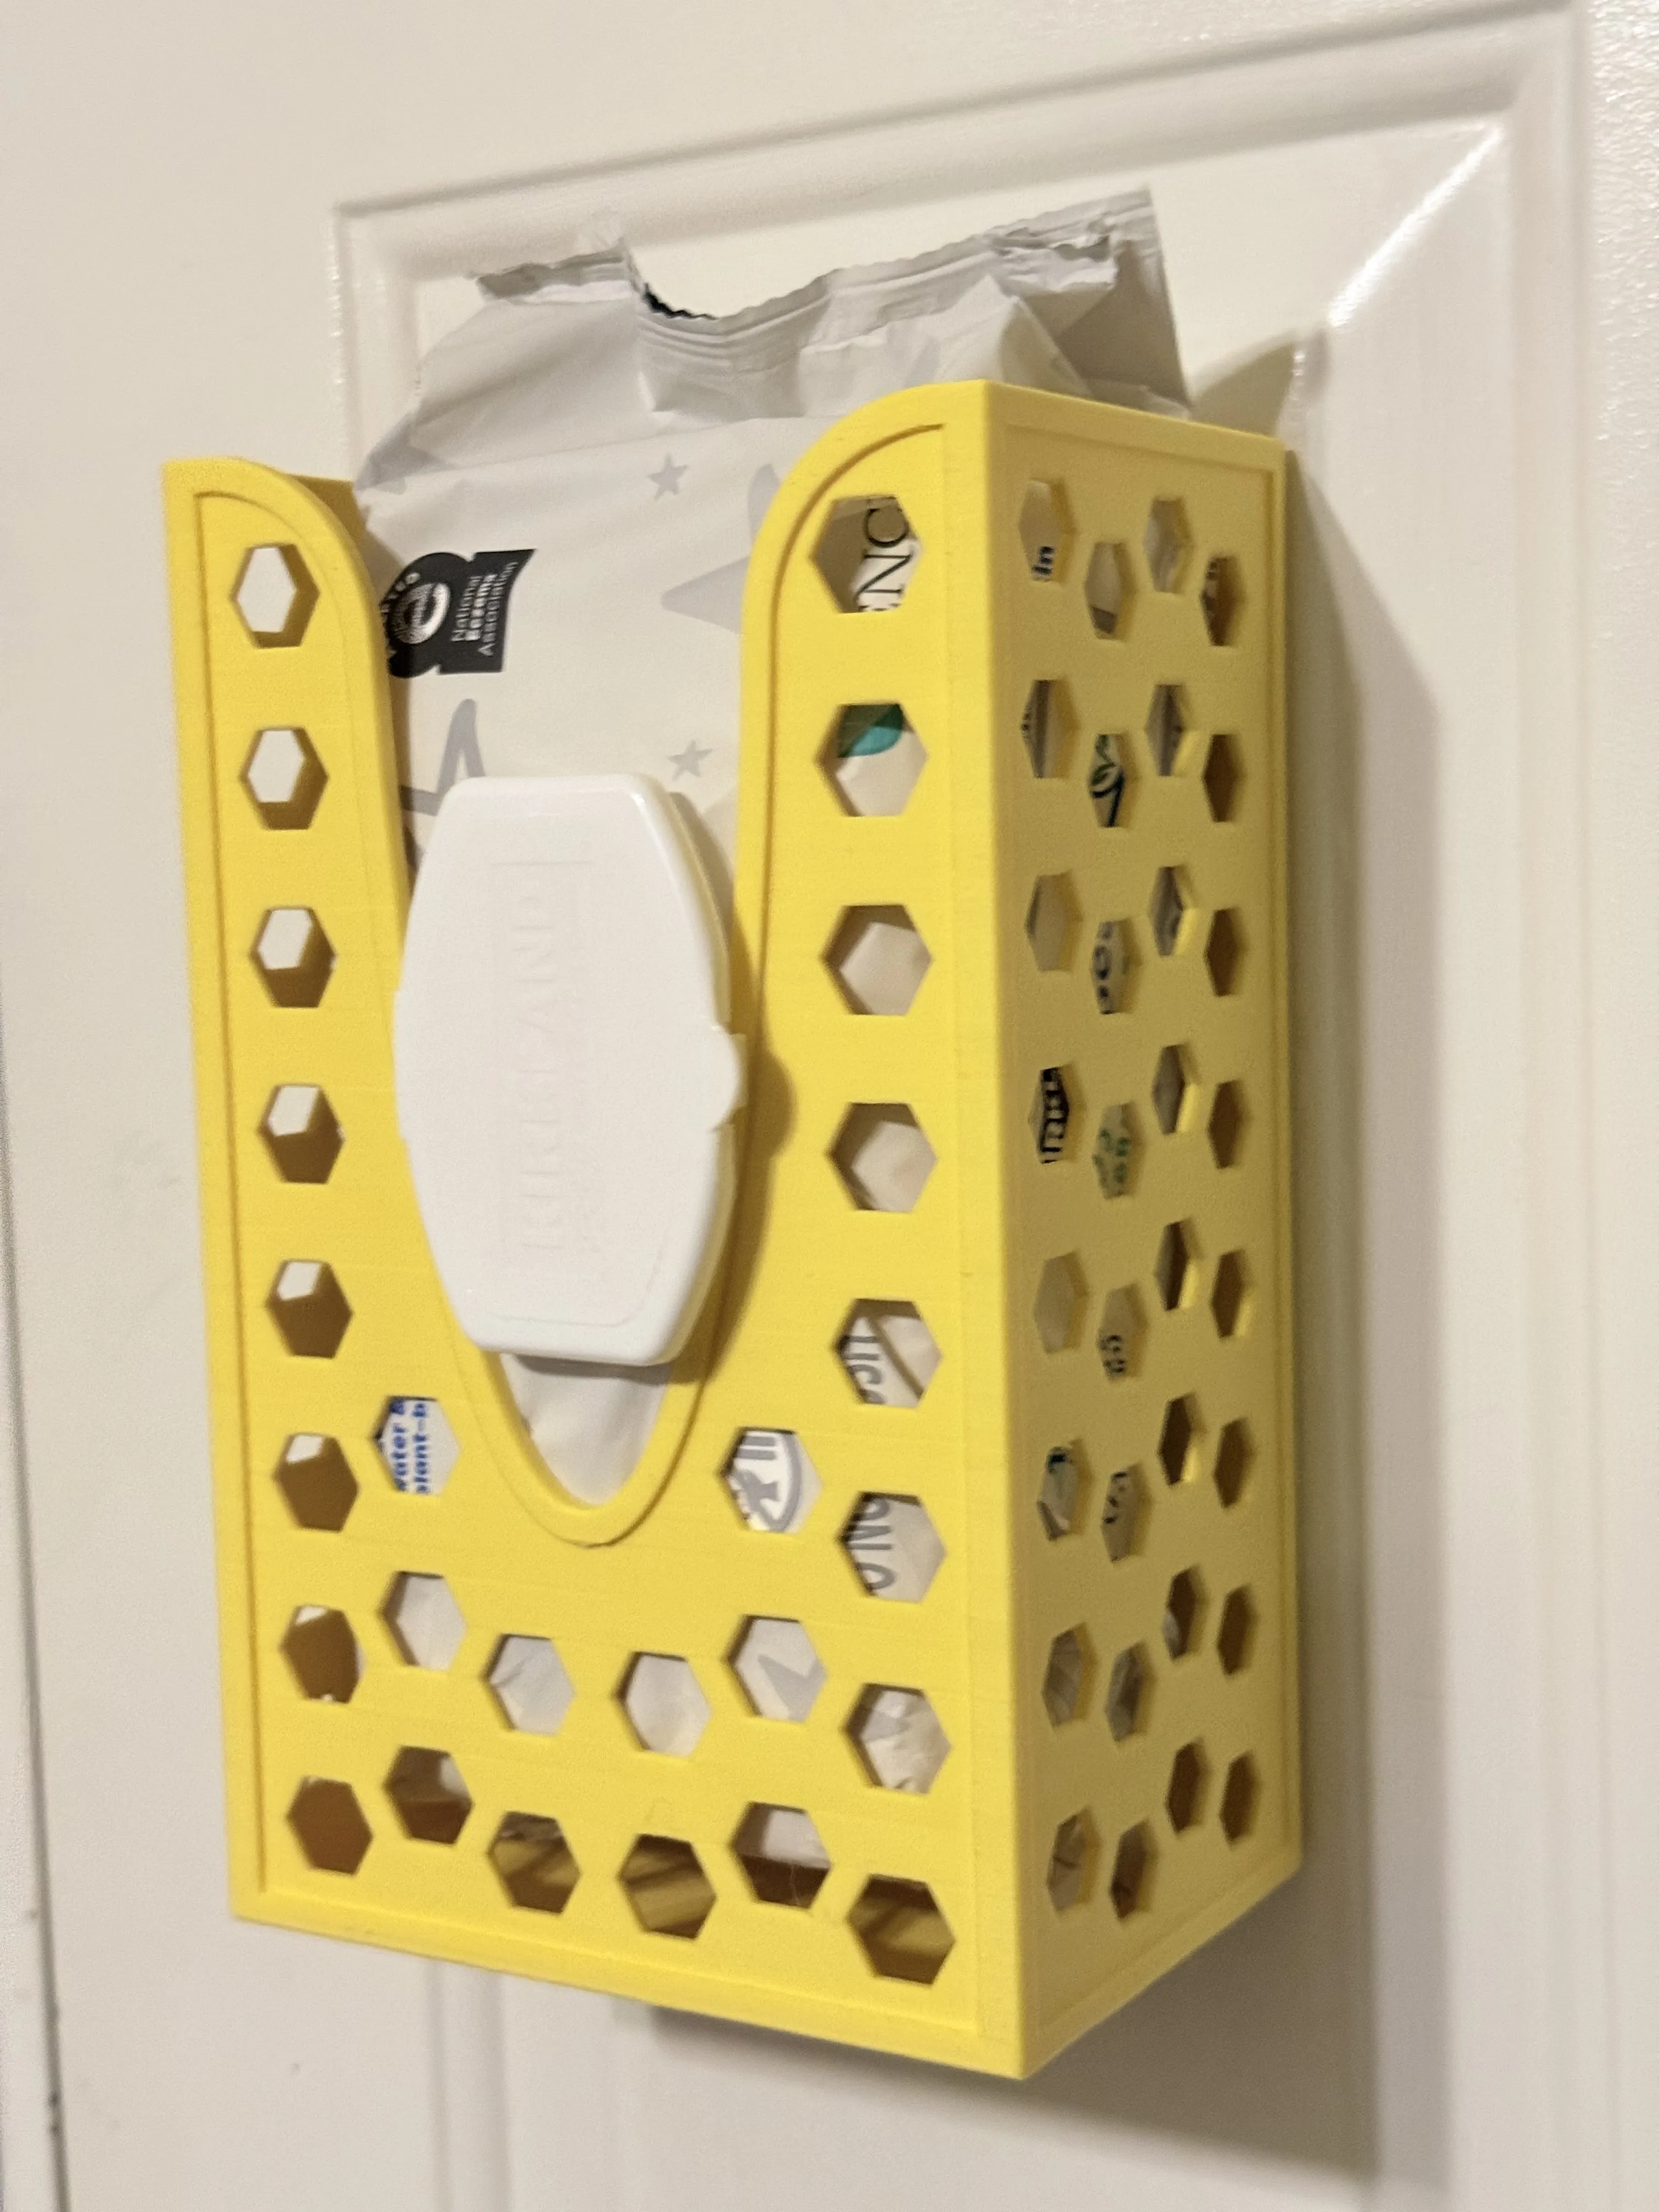
Mounting: Snap it onto your toolbox, fridge, door, or any ferrous metal surface and slide your box or pouch in from the top.
 |  |
Support My Work
If you like this model, please drop a Boost and a Rating. Every bit of support helps me develop the next design! I would love to see your photos and hear about your experience, so please feel free to upload your makes, suggest improvements, let me know if you run into any issues.
Documentation (1)
License

You shall not share, sub-license, sell, rent, host, transfer, or distribute in any way the digital or 3D printed versions of this object, nor any other derivative work of this object in its digital or physical format (including - but not limited to - remixes of this object, and hosting on other digital platforms). The objects may not be used without permission in any way whatsoever in which you charge money, or collect fees.


Comment & Rating (7)