Articulated Iron Golem


Print Profile(2)
Description

Boost Me (for free)
If you like this model, please consider boosting it. It really helps support my work.
Boost Me (for free)
If you like this model, please consider boosting it. It really helps support my work.
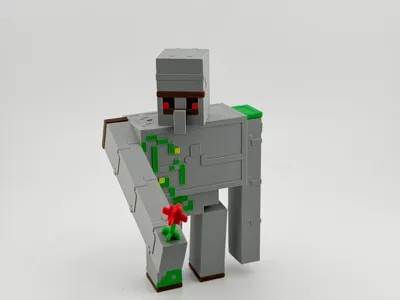
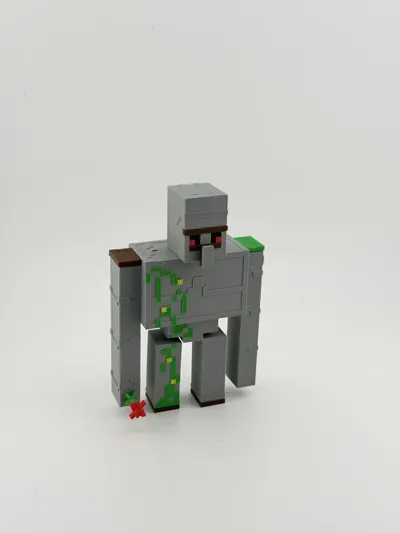
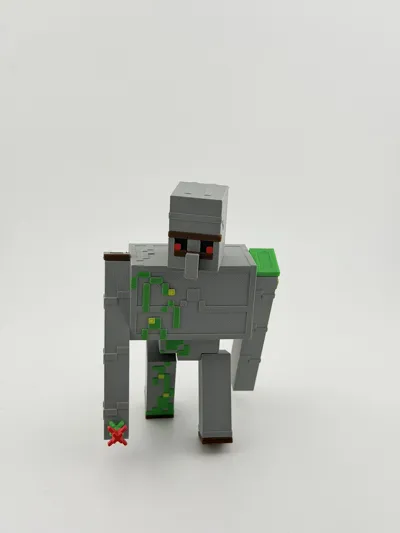
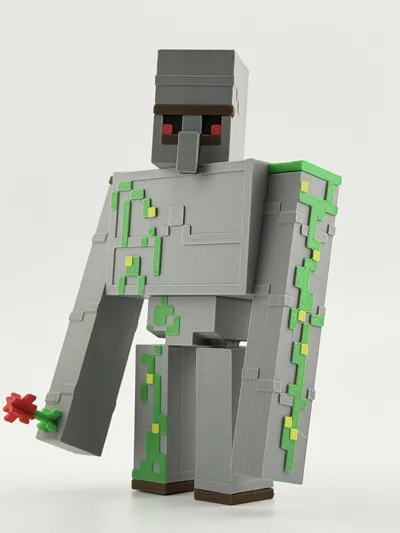
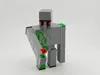
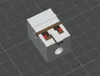
Articulated voxel-style guardian figure.
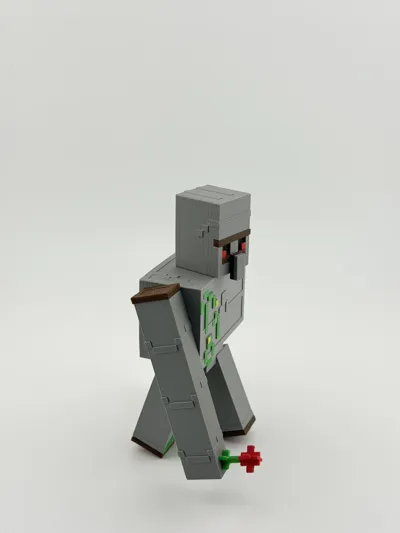
Designed in a clean block aesthetic with fully movable joints: head, arms, legs and torso.
The model is optimized for multicolor printing and easy assembly.
Perfect as a display piece or as a companion for block-style collectibles.
This is an original fan-made design inspired by voxel fantasy themes.
Not affiliated with or endorsed by any official brand.
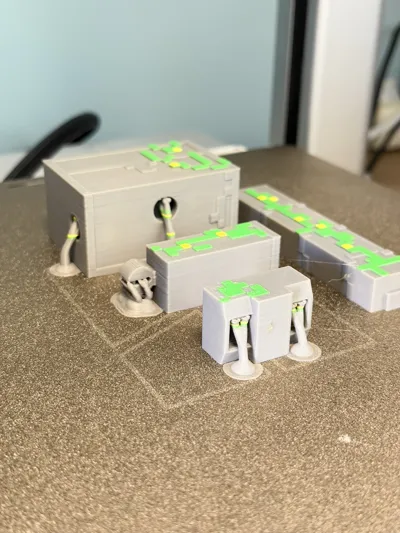
Part of a larger modular display project – stay tuned.
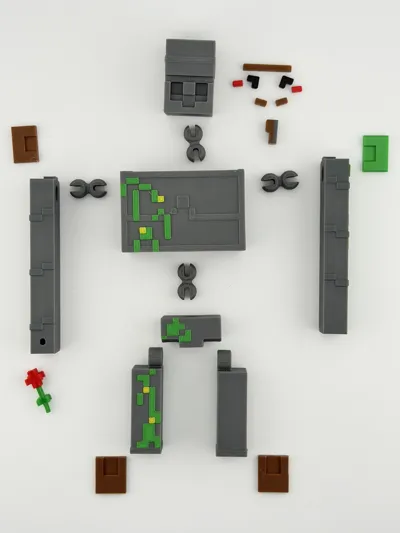
Assembly Instructions
Articulated Voxel Guardian
This model is designed for simple assembly and movable joints.
1. Prepare the parts
Lay out all printed parts as shown in the assembly diagram.
Make sure all connectors and body parts are clean and free of printing debris.
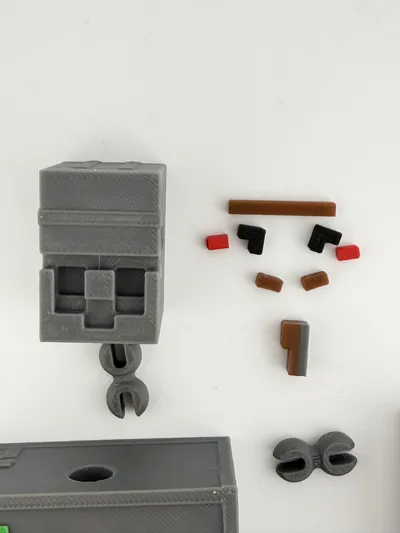
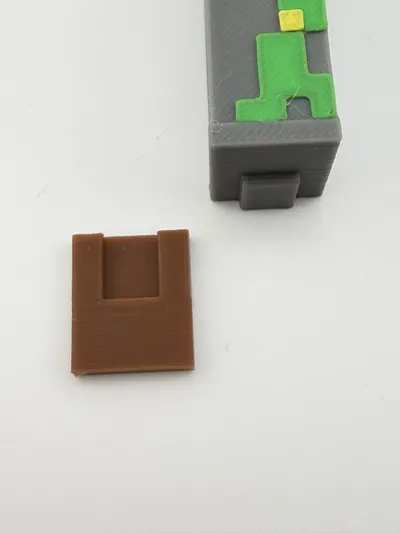
2. Installing the connectors
Insert the joint connectors into the body parts.
⚠ The connectors are designed to fit tightly.
They should be pressed into the parts using firm pressure.
This ensures that the joints stay secure during movement.
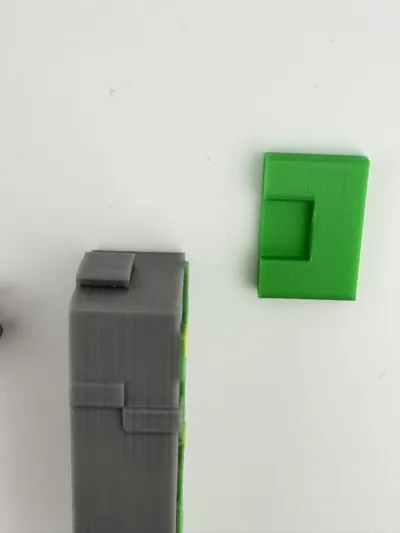
3. Connecting the parts
After inserting the connectors:
- Attach the arms, legs, and head to the torso.
- Press the parts together until the connector is fully seated.
4. Loosening the joints
After assembly, gently rotate the connected parts in circular motions.
This helps the joints settle and allows the parts to move smoothly.
5. Glue (optional)
Glue is NOT required.
All parts are designed to hold together using friction-fit connectors.
If you prefer a permanent assembly, a small drop of glue may be used, but it is not necessary.
6. Final step
Attach the decorative elements (face details, flower, etc.) and adjust the pose of the figure.
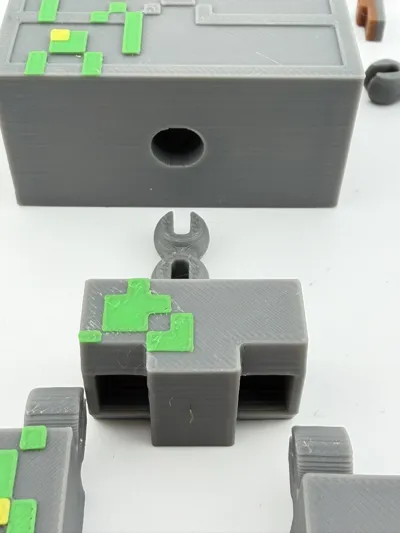
UPDATE – Assembly Tool Added


To make the assembly of the Golem easier, I added a small helper tool to the files.
This tool allows you to safely insert the connectors into the Golem parts without damaging the printed pieces.
How it works:
1. Place the connector inside the assembly tool.
2. Align the connector with the hole in the Golem part.

3. Press the tool to push the connector into the part.

The tool helps apply even pressure and makes the assembly much easier.
This update should make building the Golem faster and more comfortable.
Boost Me (for free)
If you like this model, please consider boosting it. It really helps support my work.
Comment & Rating (34)