BC-250 case V4 - for FLEXatx and HPserver PSU


Print Profile(19)

Bill of Materials


Description
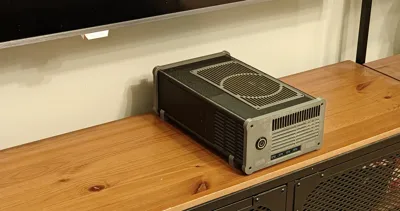
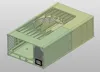
BC-250 computer case

This is V4 version of my BC-250 case.
The current version is v4.2, with minor cosmetic changes. The USB hub place has been slighty reduced (to eliminate play), the heatinserts holes have been slighty reduced (smaller than 4.5 were too loose; now they all sizes fit well), etc. A slight edge bevel has been added to the first layer to reduce the "elephant foot" effect if the printer isn't perfectly calibrated.
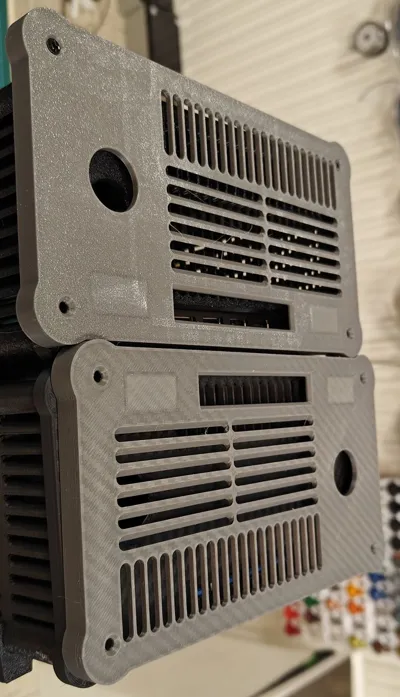
The front and rear panels, and covers remain unchanged.
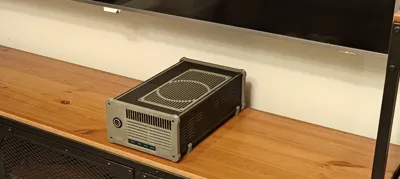
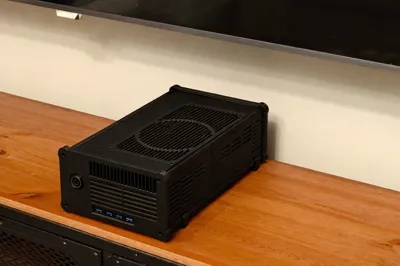
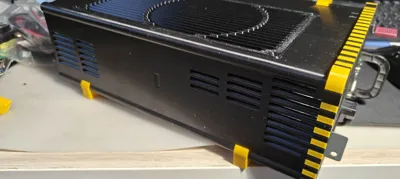
Most importantly: to cool your BC250 - you MUST open the top of the heatsink (fins). And use a good 12cm fan; I prefer the Arctic P12Pro PST.
EDIT! Note – for those who want the extreme cooling – I've made a version for two 12cm fans instead of one!
Only the case body and fan cover are changed; the rest can be downloaded here: https://makerworld.com/pl/models/3010895-bc-250-case-v4-2-for-hpserverpsu-dual-12cm-fans#profileId-3381604
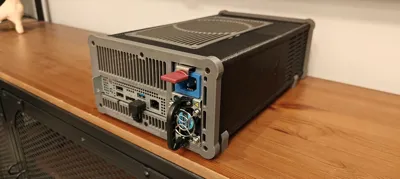
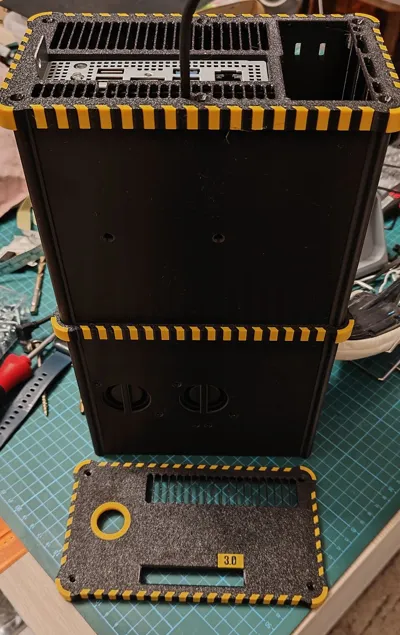
Case is divided to front and rear half (version for FlexATX, and version for HP sever PSU). Depending on the power supply version - you need to select the appropriate rear panel.
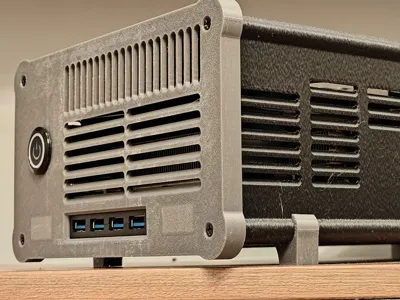
Front panel - you can hose versions for 16, 19, 22 round button (switch), or 20mm rocker switch. With place for 2 meters (that shine through a thin layer of plastic), or without.
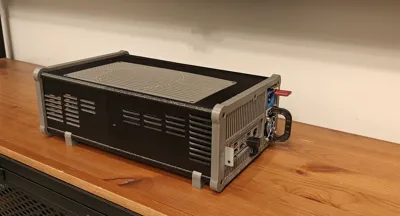
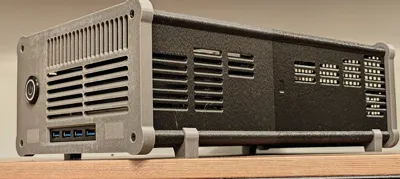
The front and back panels (and the center band if you want to use it) can be solid, or with industrial decorations all around (if you have AMS, or H2D printer)

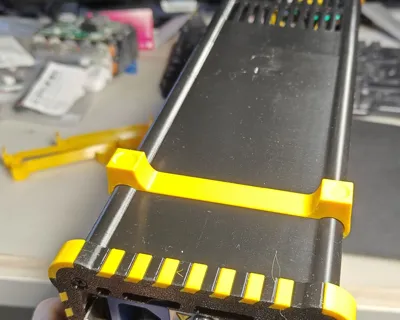
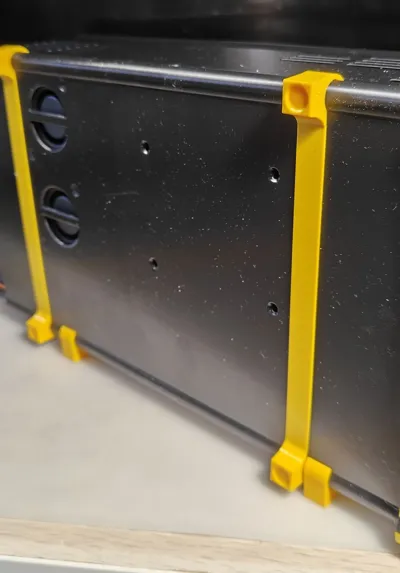
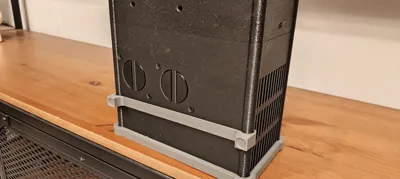
The central band is used when you don't want to use the feet, so that the heavy case doesn't rest solely on the front and rear panels, (potentially) sagging in the middle. Of course, you can leave it on for decorative purposes, even when using the feet.
The feet snap onto the case and can be on the short or long side, allowing the case to stand on its side, or lay flat.
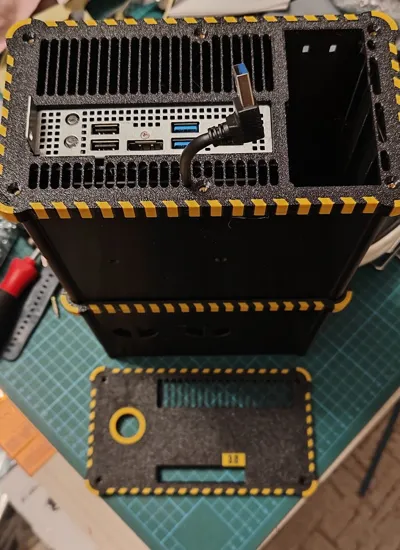
USB Hub

On the front of the case there is space for a USB hub, a cheap Chinese 4-port hub described as USB3.0 (but this is not true - one of its ports is 3.0, the rest are 2.0 - but for our purposes it is completely sufficient to connect the receiver from the pad, a mouse and a keyboard, or one fast pendrive)

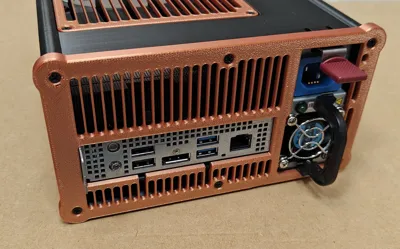
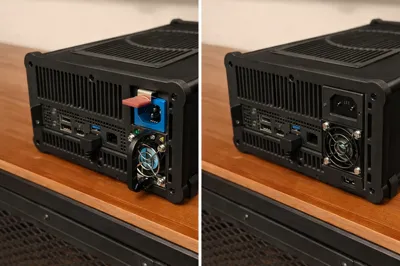
To connect the hub to the USB port on the back of the BC250, you'll also need to buy a short USB extension cable (usb-hub have too short cable). If you want a neater look, you can use an angled (downward-facing) plug. There are cutouts in the rear panel for routing the cable, directly below the USB 3.0 and 2.0 ports, depending on which one you want to connect to. This should look like this:

and cable on rear side:

SSD/HDD:


There is a lot of space in the lower part of the case, under the BC card, and I prepared holes there for the possible installation of a 2.5" SSD/HDD drive - which can be easily connected to the USB3.0 port with a USB-SATA adapter
Inside the case, there are two temperature sensors slots (useful if you're choosing a front panel with a meter slot). The round termosensors snap into place and touch the bottom (RAM temperature) and the side of the main heatsink (GPU temperature). You can add a thin thermal pad or thermal paste to improve thermal contact. Of course, this measurement won't be very accurate, but it will give you some idea of the temperatures in the case.
Front panel meters - cheap china standard 0.28" - voltmeter(s) or temperature meters, what do you like. I suggest white, blue, green or yellow - these are bright, red one is darker. 
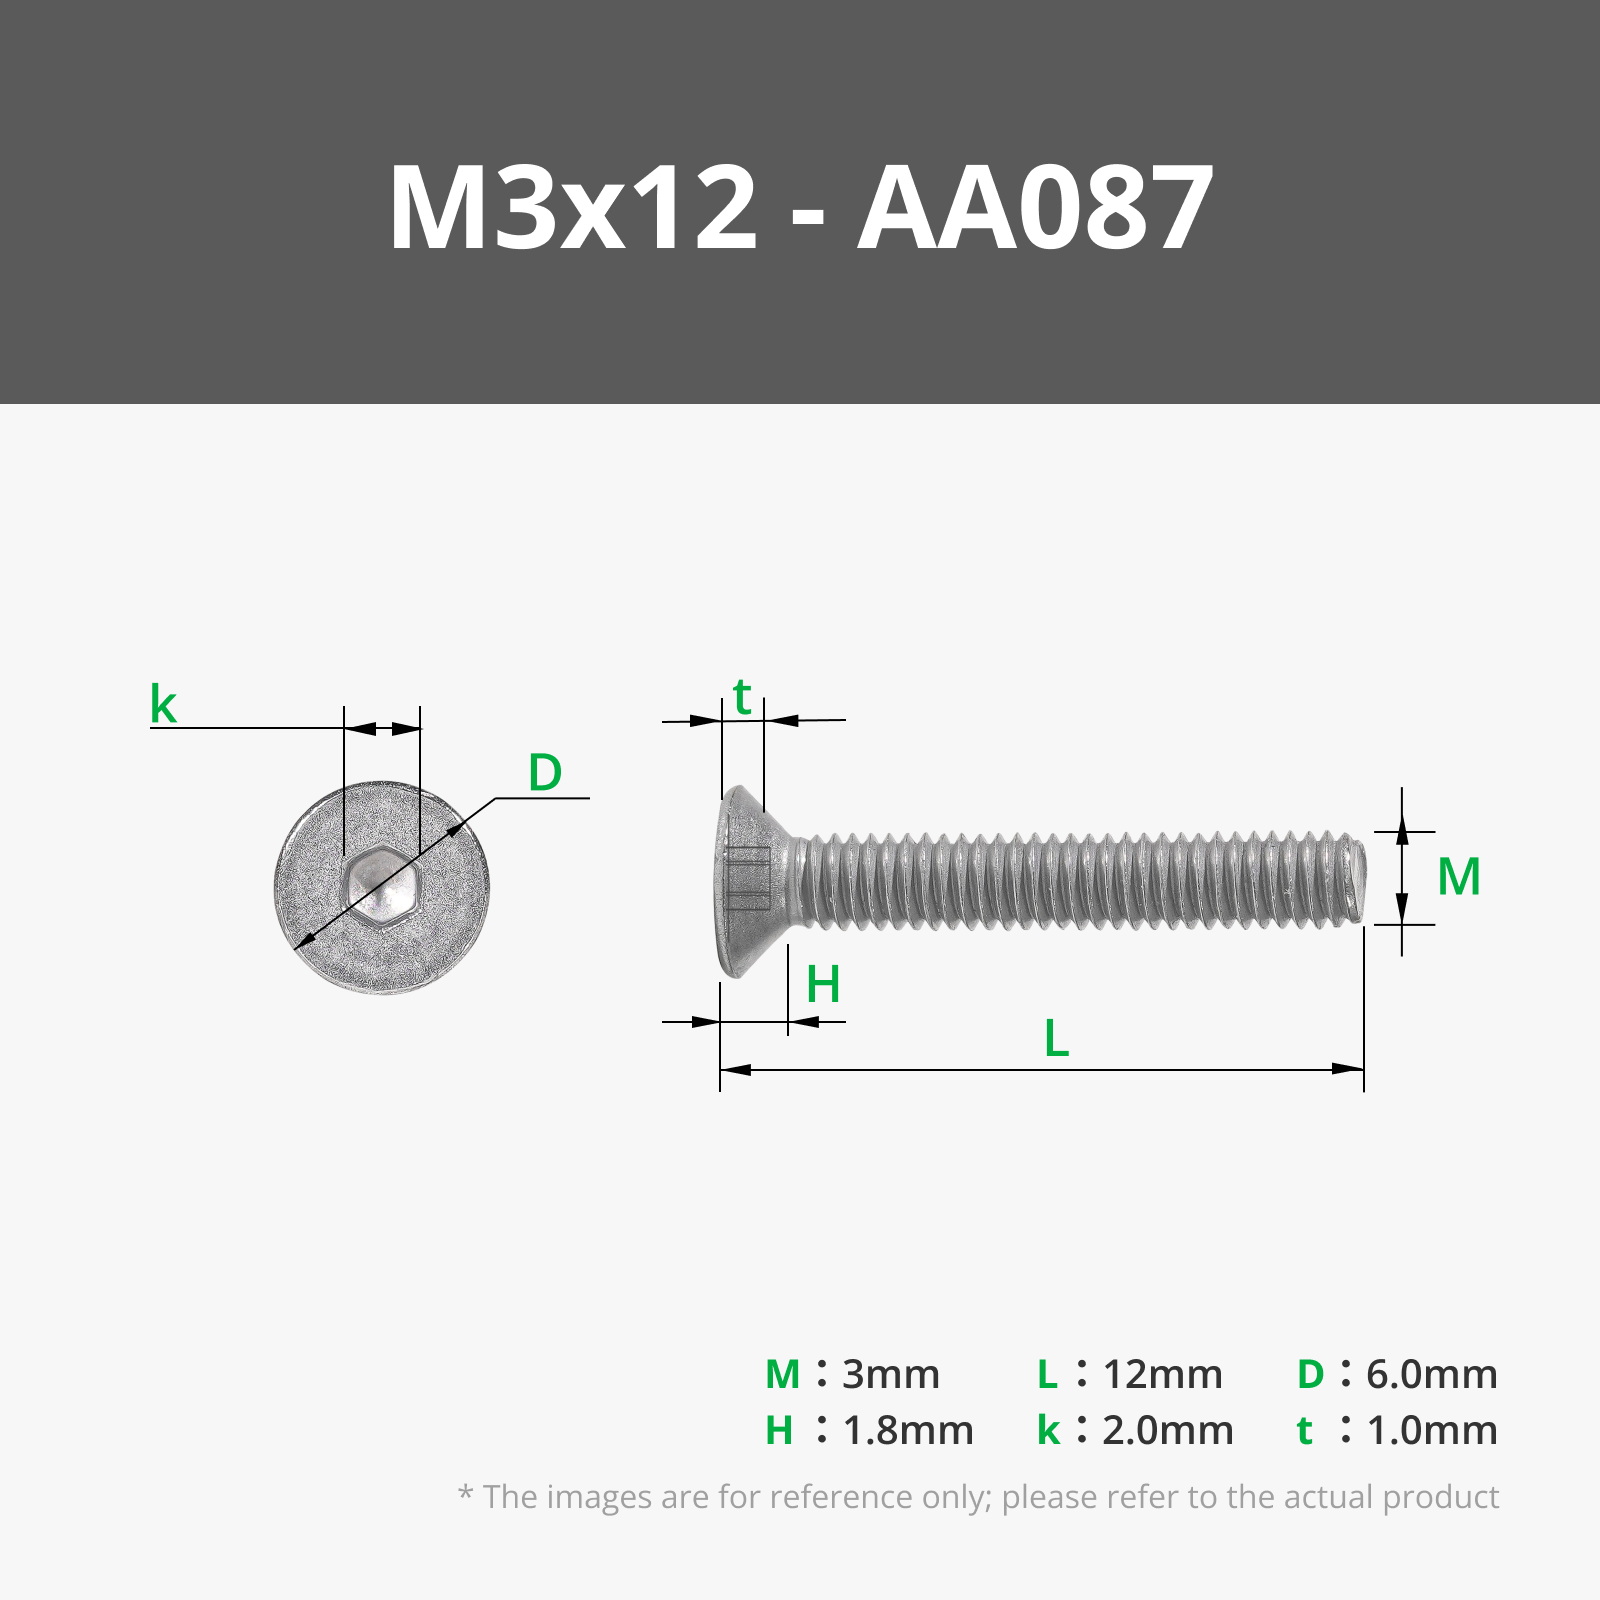
The case should be equipped with heatinserts, M3 x 4 x 5 (but basically any M3 heatinserst will work). The front and rear of the case are connected with 12mm long screws, which are accessible through the front panel – you'll need a long screwdriver or Allen key (depending on the screws you use). The remaining components are attached by M3 (DIN 965 countersunk head screws), 5-8mm long. If you don't have countersunk screws - standard ones will work too, but they won't look as good. UsbHUB stopper can be screwed by longer screws. If you want to mount 2.5" SSD/HDD on bottom - you need additional 4 M3 screws, 8mm long
Flex ATX warning:
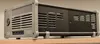
There are two types of Flex ATX power supplies available (generally speaking) – through-cooling and side-cooling.
If you have a power supply like this:


air enters from the front of the power supply (where the cables are) and exits from the back.
The fan is either in the back or the front – it doesn't matter – but the airflow is through the entire power supply. Then you can use any FlexATX version of this case.
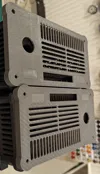
If you have a power supply like this:

Note that the rear fan exhausts air, but the only air intake is on the side of the power supply. If you mount such a power supply in a standard BC case, it would have nowhere to draw air and would quickly overheat. For this option, I designed a "reversed" version:

which has a reversed flex power supply mount and an additional vent where air can enter the power supply.
Comment & Rating (24)