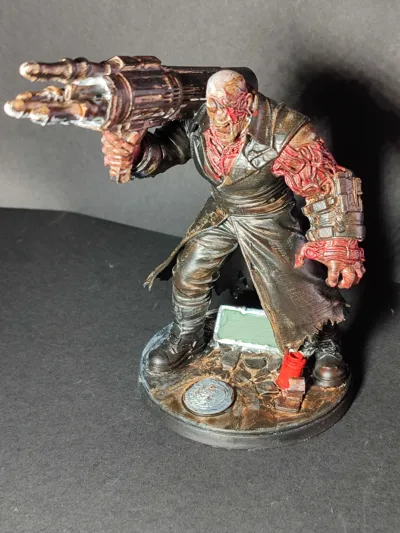
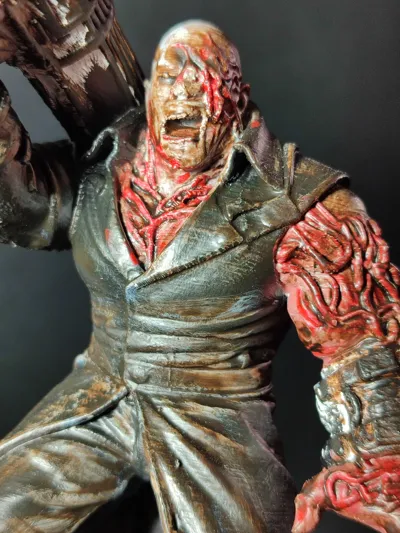
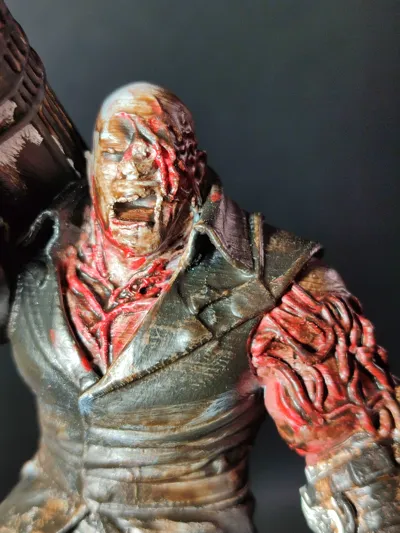
NEMESIS inspired Mutant - Fan Art - RESIDENT EVIL


Print Profile(1)
Description
It all started with an ADHD impulsivity 3D printer purchase…
And I still remember it clear as day.
PS1 on. Lights off. Volume up just enough to hear footsteps.
And that feeling… when he starts chasing you.
I was a questionably responsible teen who literally cycled to the shop with a forged note saying I had “parental permission” to buy survival horror games. Worth it. Every. Single. Time.
This model is my tribute to that era.
To being hunted through tight corridors.
To panic turning corners.
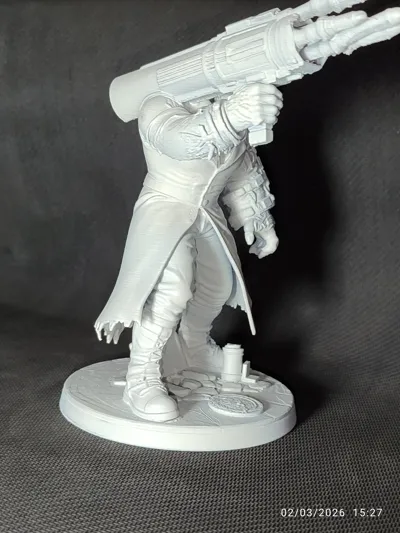
To that rocket launcher moment.
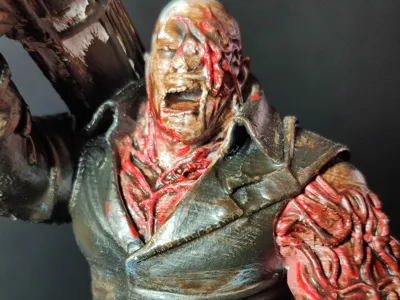
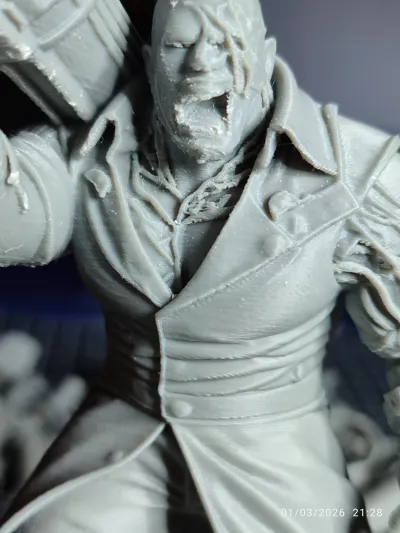
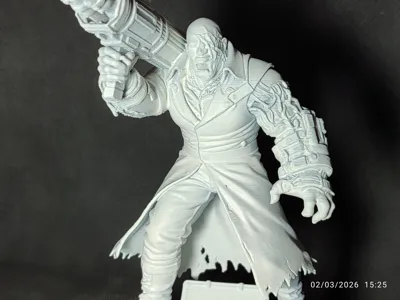
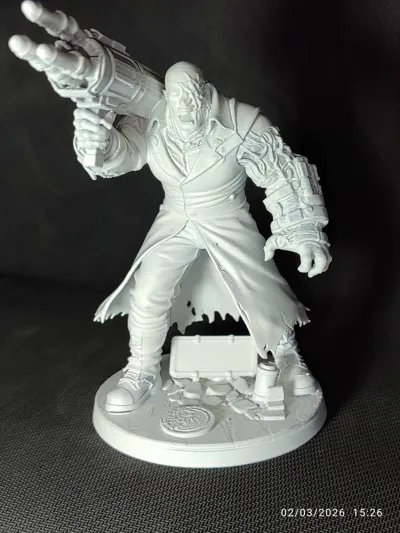
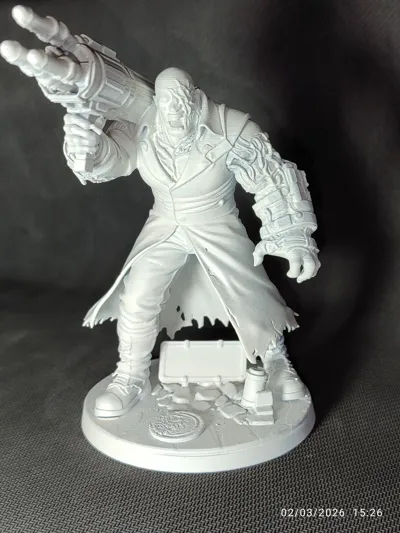
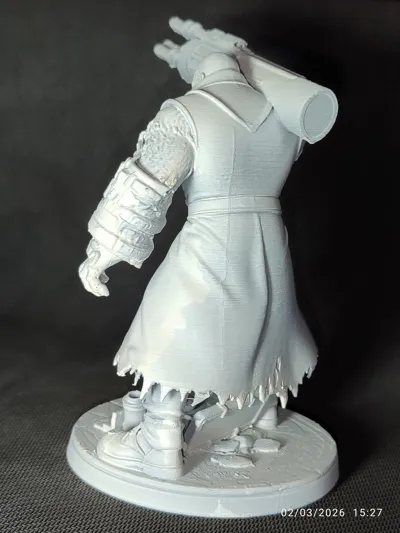
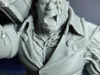
This is not a direct copy, it’s a fan-made concept inspired by classic survival horror monsters from the late 90s. Bigger. Meaner. More monstrous.
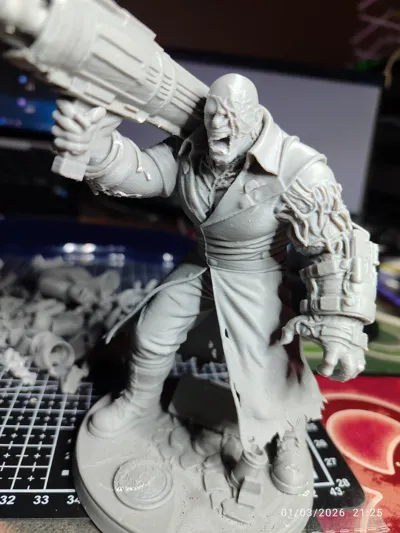
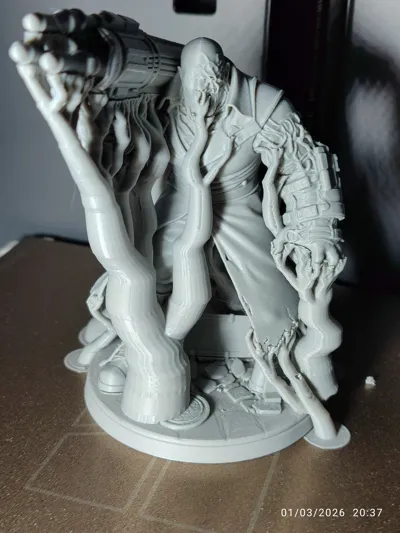
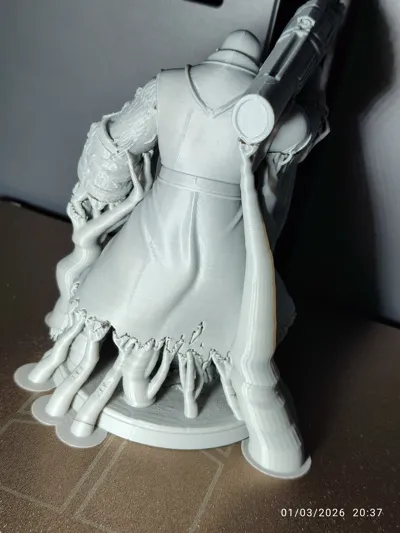
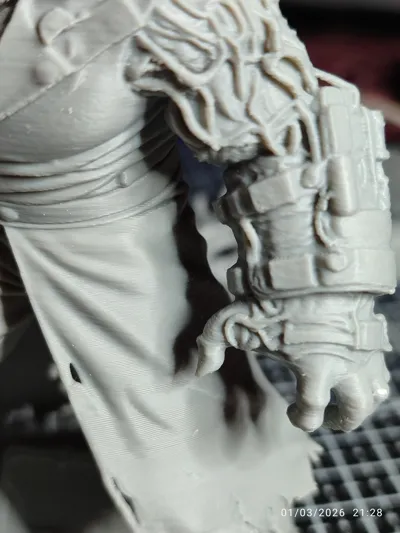
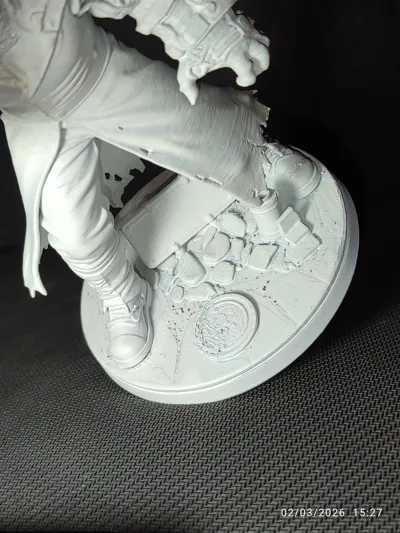
Designed as a 15cm display figurine, optimized specifically for FDM printing on machines like the Bambu P1S with a 0.4 nozzle. > It can be scaled down without losing detail, i originally printed it at 15cm height with the adaptive setting applied , this however is 7 plus hours print time, left it over night no issues. however i understand some of you may not like this so i uploaded it at around 10 cm H and approx 2h print time!! Scale as you dare!!
And yes. He has the rocket launcher.
🖨️ Print Recommendations (P1S / 0.4 Nozzle)
- Layer height: 0.16–0.2mm
- 3–4 walls minimum
- 10–15% gyroid infill
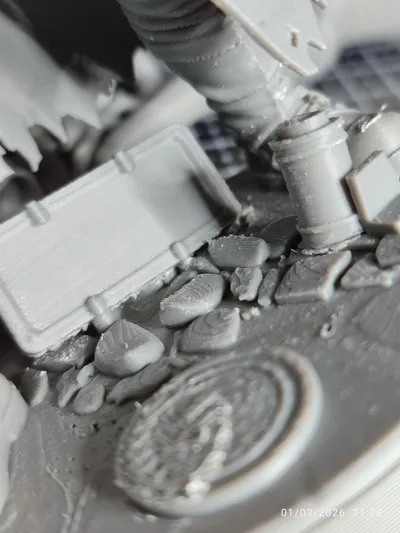
- Tree supports recommended (especially under launcher) on or off model , use flush cutters for removal.
- Slow outer walls for facial detail
- Consider printing with adaptive print settingvseparately if scaling up
If you upscale, reinforce the launcher arm with higher infill.
🎨 Painting Tips
- Prime grey/ white for maximum shadow read
- Dry brush the muscle texture
- Gloss coat on exposed mutated areas
- Matte coat on trench coat
- Weather the base with rust + concrete tones
And if you’re brave… add subtle glowing eye effect.
CLUNK… CLUNK… CLUNK…..
Now I CantStopPrinting !!!
License
You shall not share, sub-license, sell, rent, host, transfer, or distribute in any way the digital or 3D printed versions of this object, nor any other derivative work of this object in its digital or physical format (including - but not limited to - remixes of this object, and hosting on other digital platforms). The objects may not be used without permission in any way whatsoever in which you charge money, or collect fees.
Comment & Rating (0)