
Foldable Chessboard "Chess Pencil"
Print Profile(1)
Description
Foldable Pencil Design Chessboard
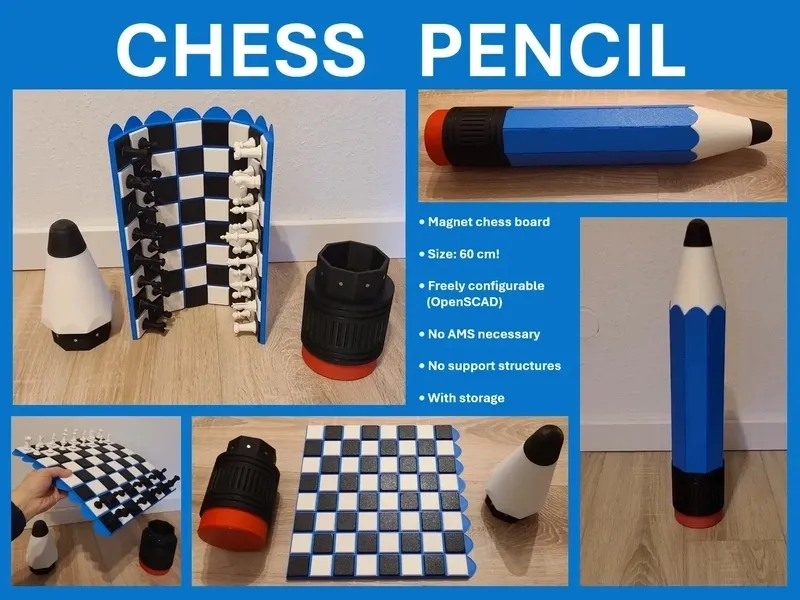

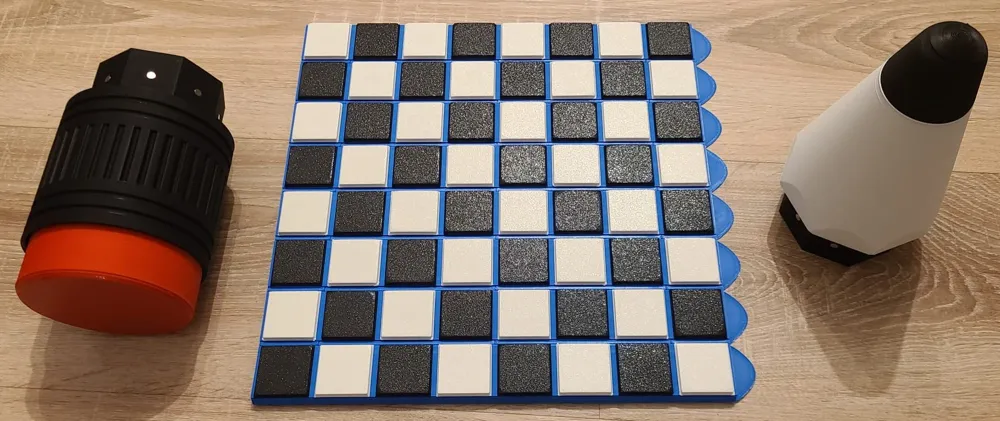
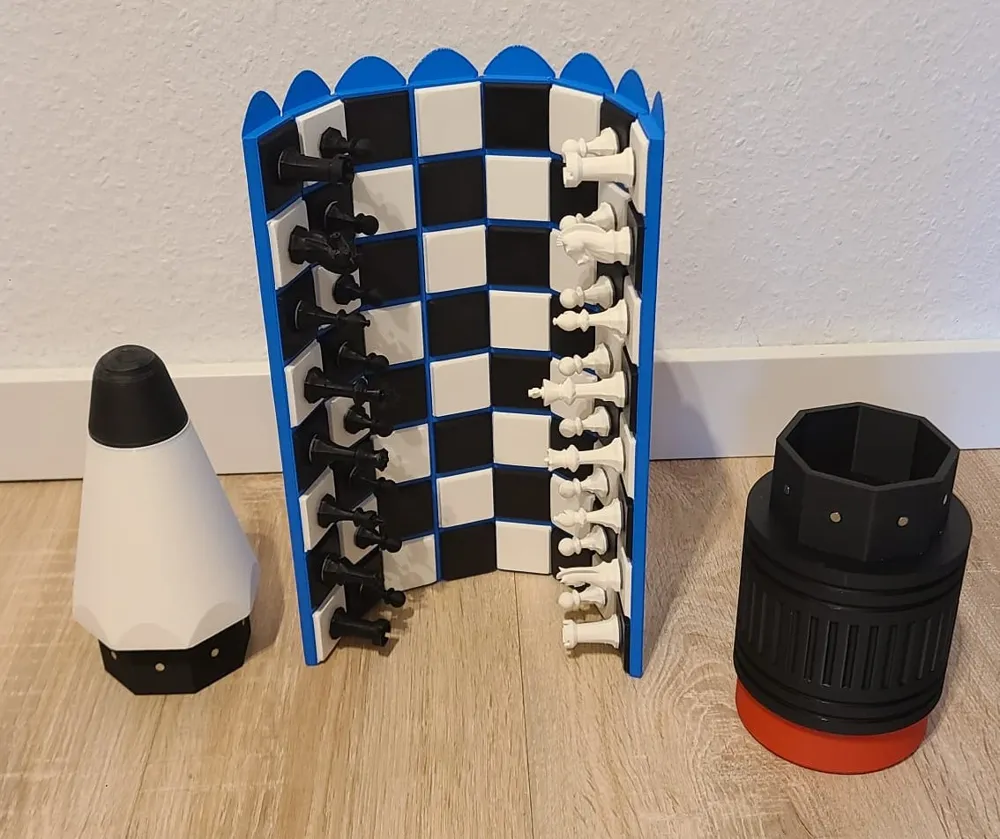
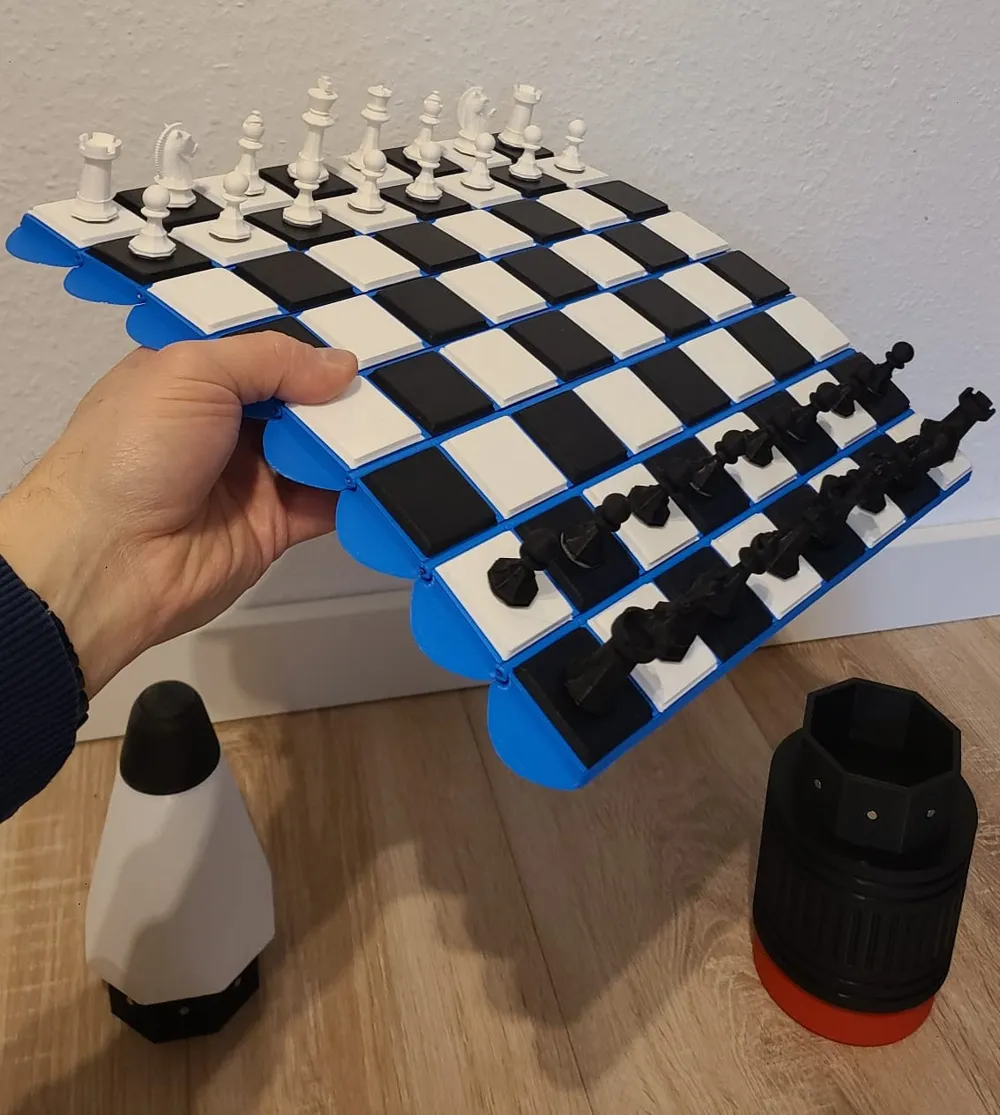
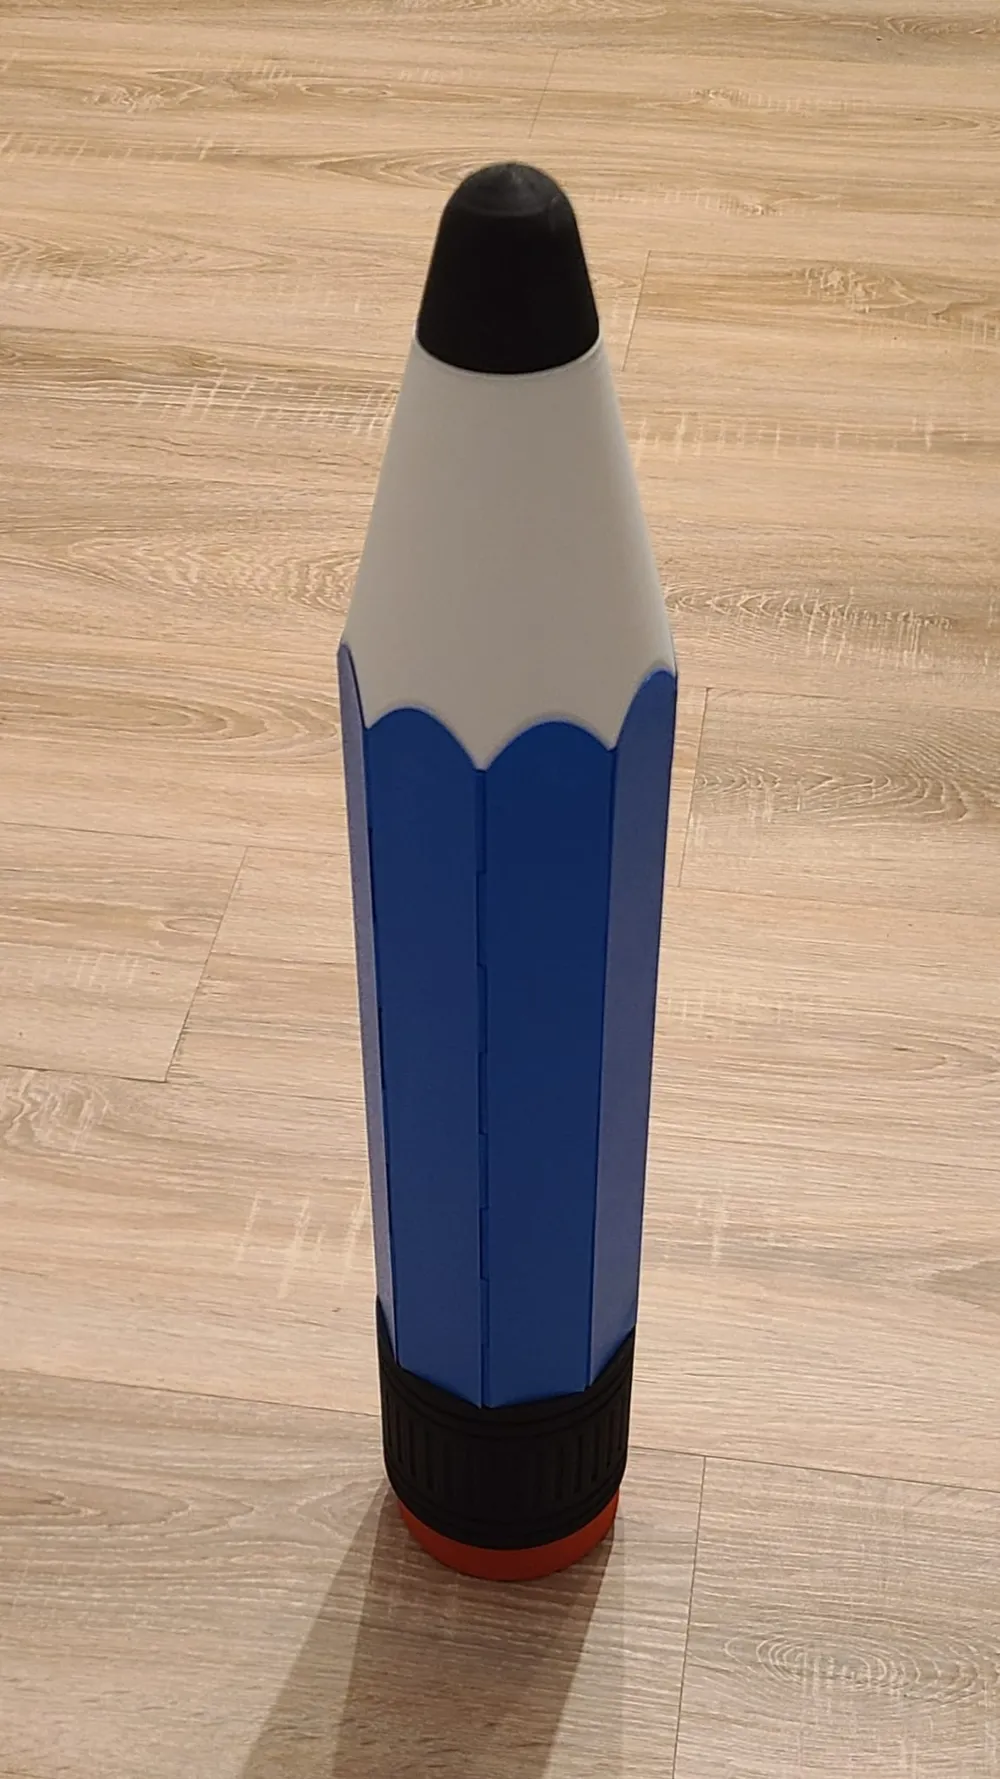
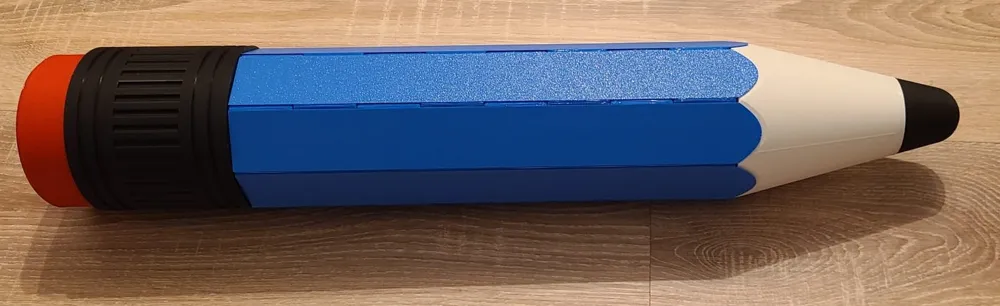
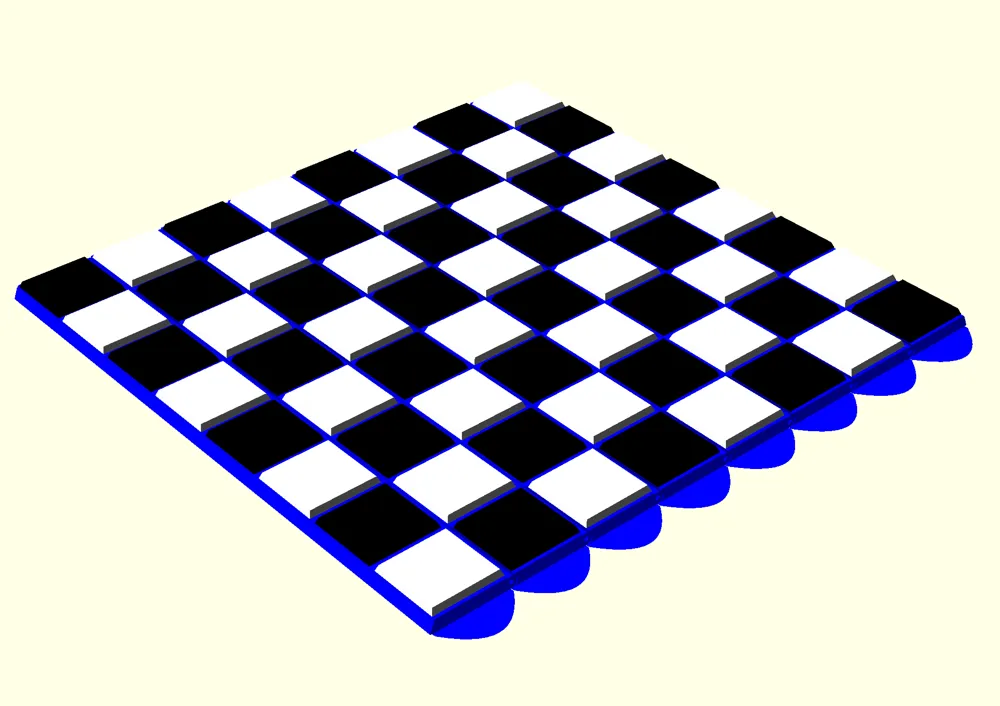
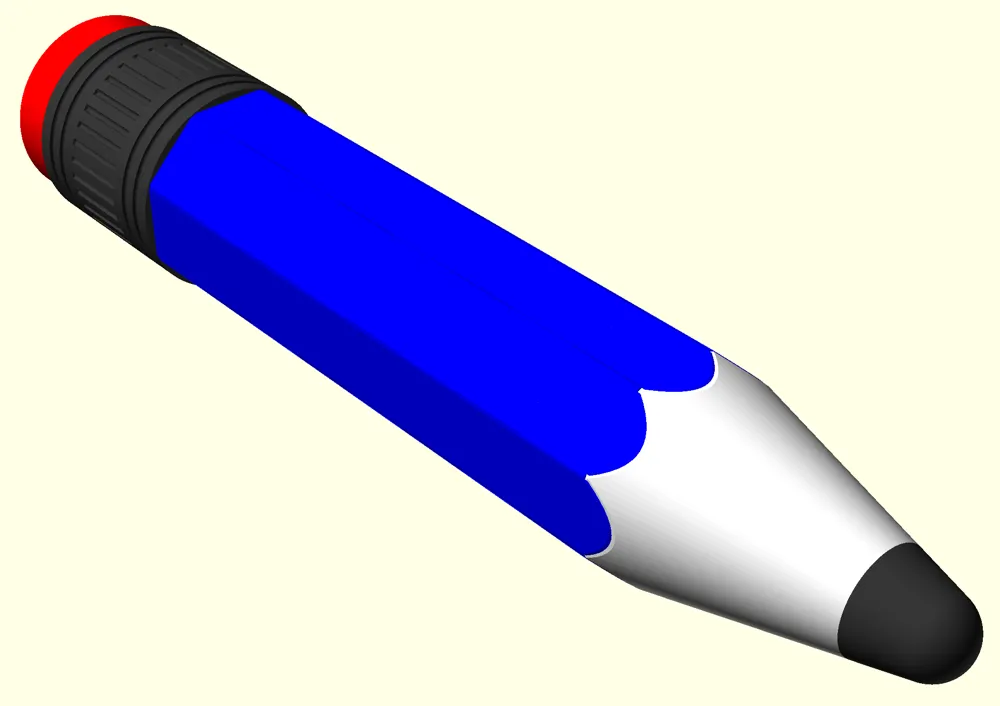
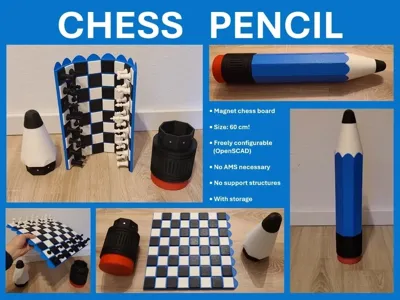

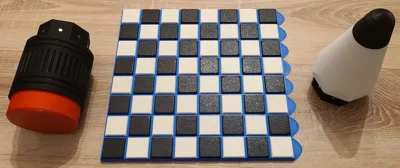
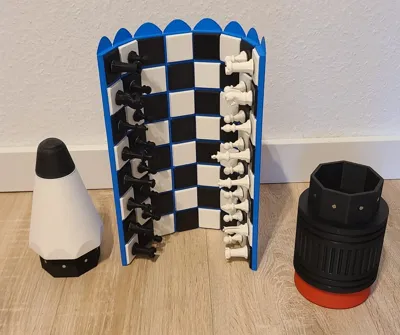
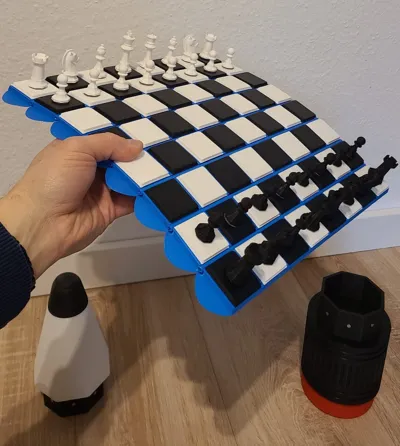
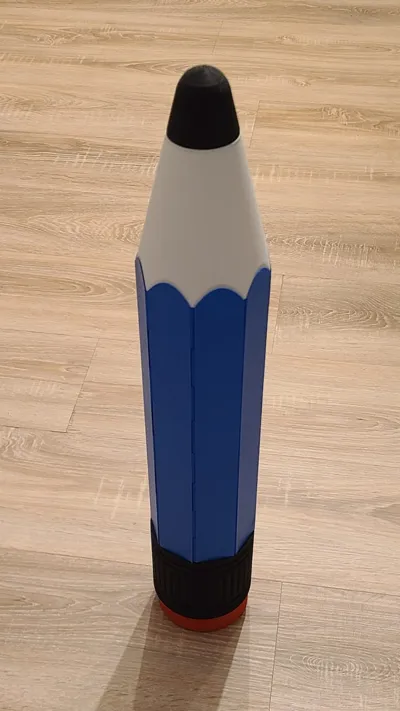
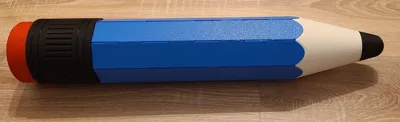
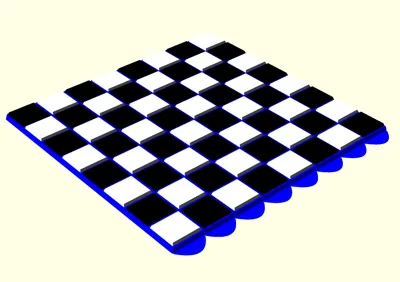
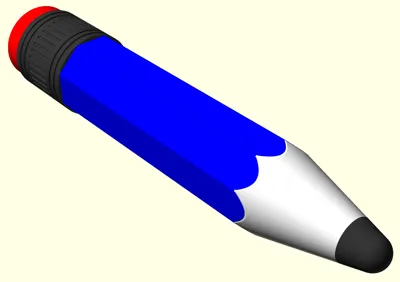
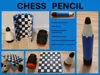
An extraordinary chessboard that combines functionality and design: When folded, it looks like an oversized, 60cm long pencil – when unfolded, it transforms into a full-fledged, stable chessboard of 32x32cm. The 'eraser' provides enough storage space for chess pieces (even large ones)
- Characteristic pencil look with a color-contrasting tip, wood section, lacquer, and eraser
- Perfect as a gift for chess lovers
- Ideal for school, office, or as a decorative object
An eye-catcher on any desk – both closed as a 'pencil' and opened as a chessboard
Features
- Fully configurable with included OpenSCAD files
- Printable without AMS and without support structures
- Suitable for magnetic chess pieces
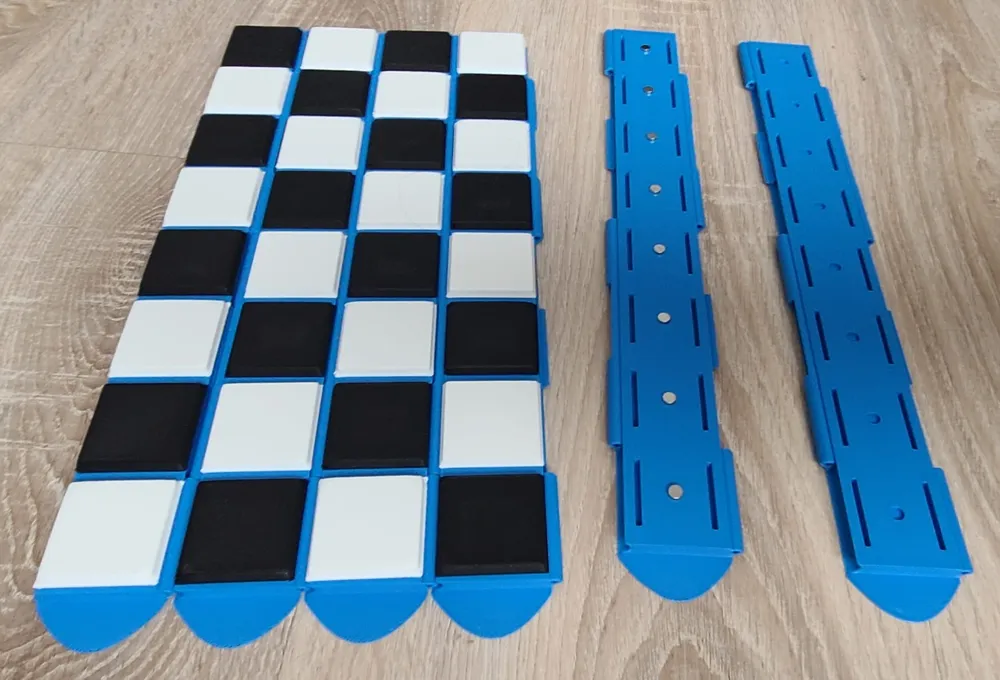
Additional required material: 88 magnets (5mm height, 3mm radius): 64 for the chess fields, 16 for the holders, and 8 for the clasp
Functionality
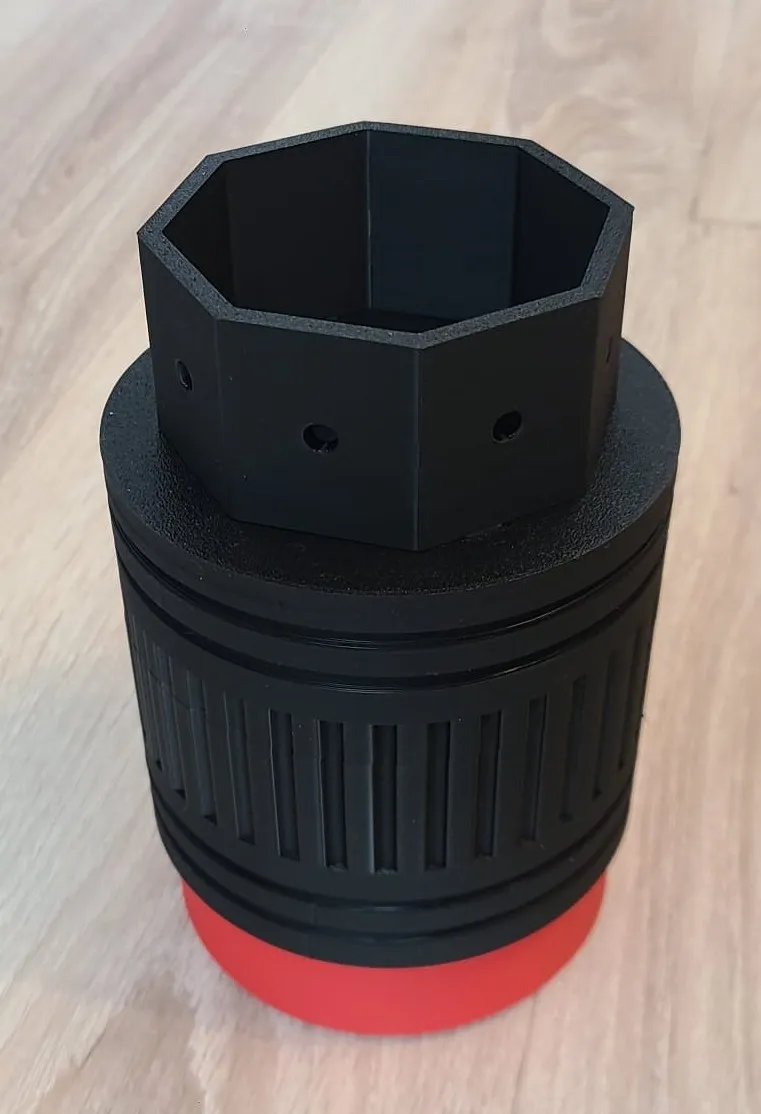
- The chessboard can be rolled up into an octagonal column
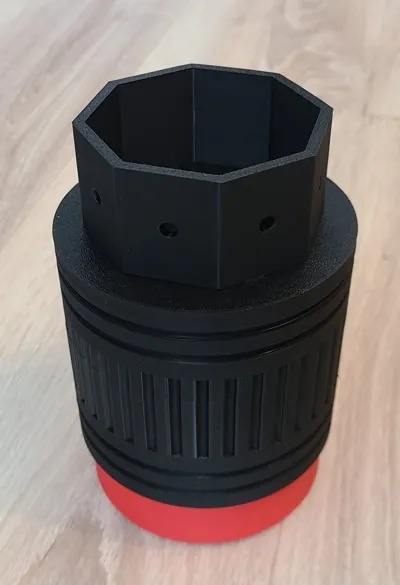
- When closed, it forms the shape of a large pencil with a tip, shaft, and eraser end
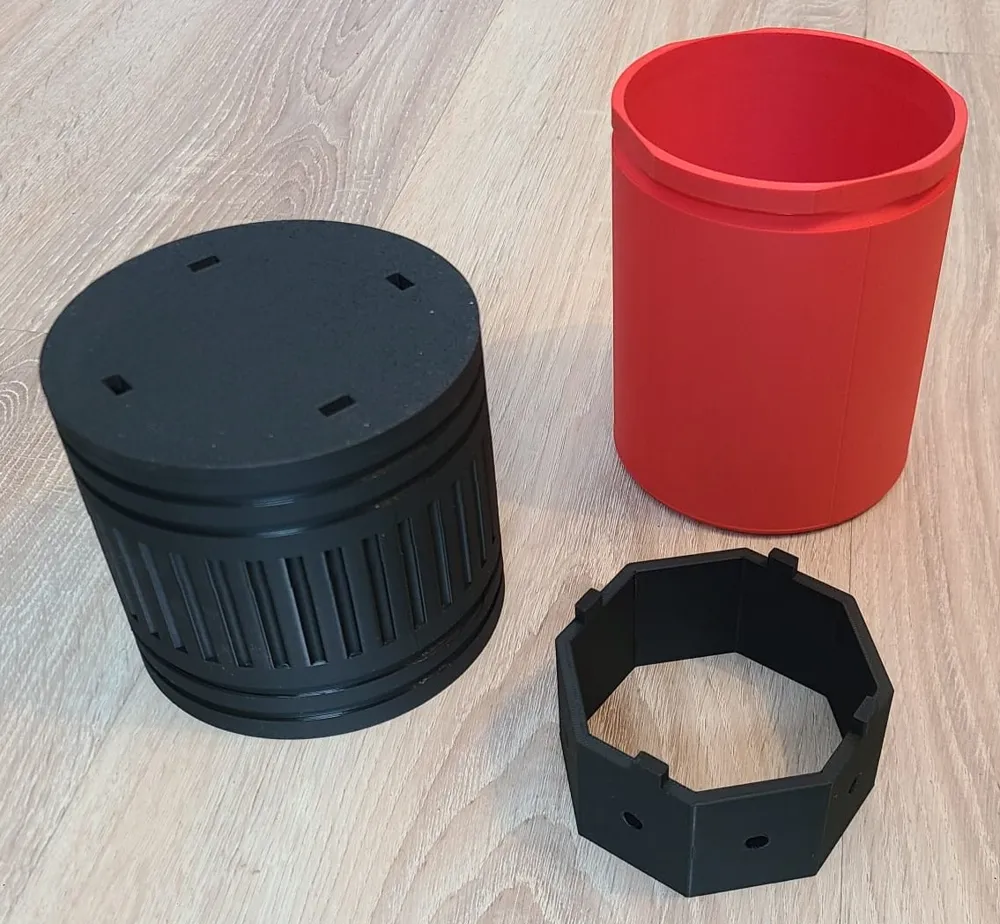
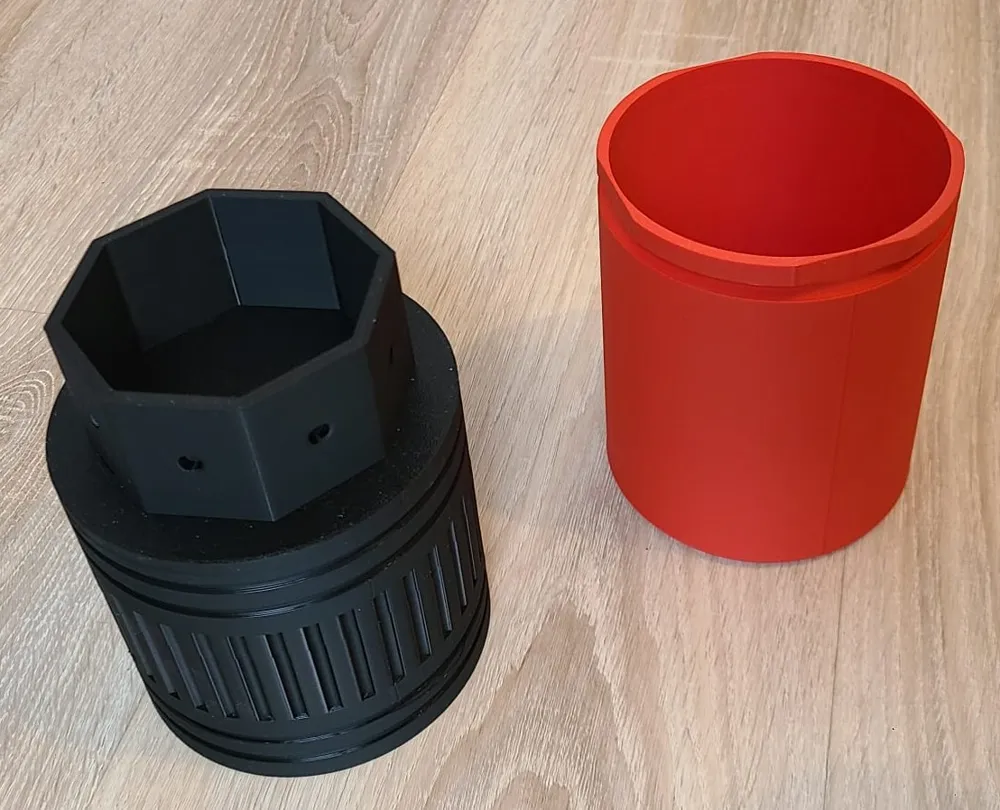
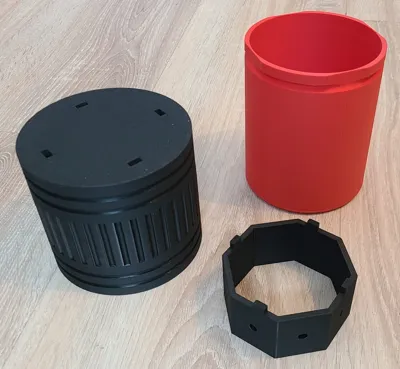
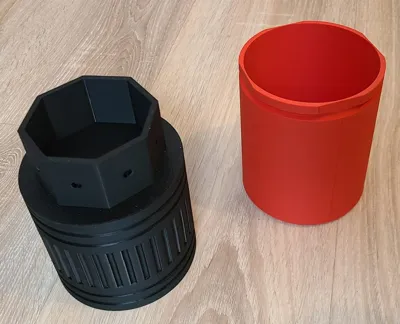
- Inside the eraser, there is ample storage space where all chess pieces can be safely stored
- The tip of the pencil also contains a small storage space - for example, for queen pieces or even for real pencils
When unfolded, it creates a flat, full-fledged chessboard with 4x4 cm fields
Printing Instructions
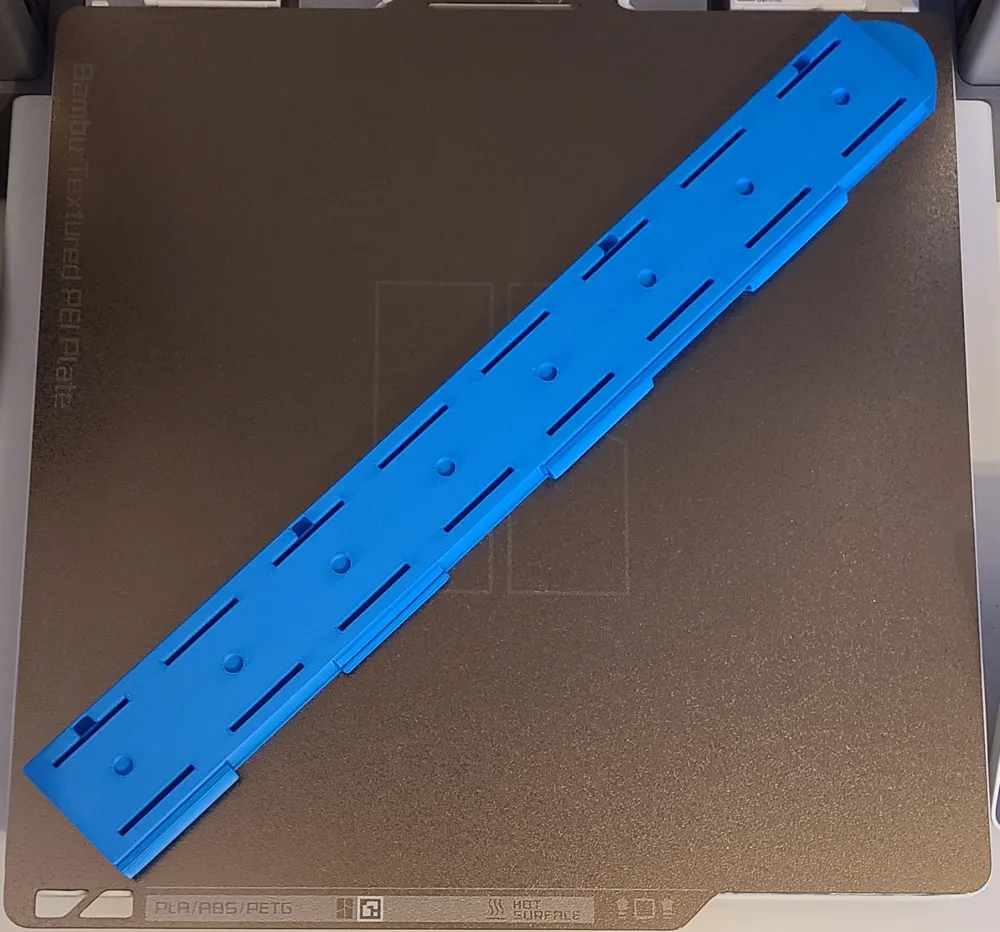
- The model is divided into several parts and configured for Bambu Lab A1. No AMS is needed
- All parts can be printed without support structures. Standard settings work for PLA
- The individual chess fields (print plate 3) must be printed twice - once in white and once in black
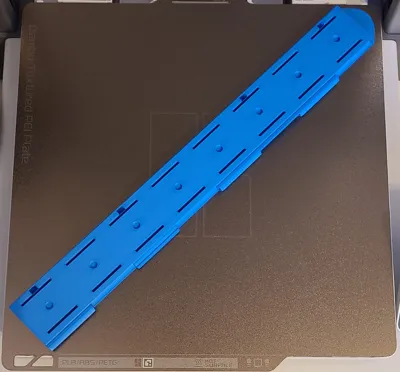
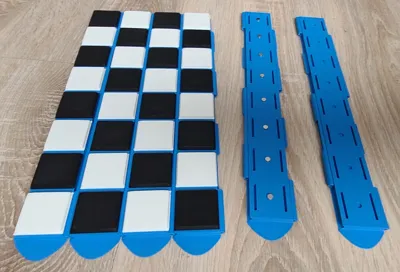
- The chessboard consists of 8 strips with 8 fields each. Each strip requires its own print plate. The two outer strips (print plates 5 and 6) include a magnetic clasp. Print plate 4 is for the middle strips and must be printed 6 times
Assembly Instructions
- 1.75mm filament can be used to assemble the hinges (7x32cm). I used 7 rods of spring steel wire, 32 cm long and 1.6mm thick, instead
- When inserting the magnets, make sure they are inserted in the correct orientation
- When inserting the field tiles into the 8 strips, one should be careful not to break the hooks. Thanks to the hooks and magnets, no glue is needed here. Important: The magnets for the clasp must be inserted into strips 1 and 8 before inserting the tiles
- The two octagonal holders from the first print plate must be glued to the eraser holder from print plate 1 or the tip from print plate 7, respectively. Plastic model glue or superglue is suitable for this. For all other parts (including the magnets), I did not need any glue
If you want to customize the model in OpenSCAD
- Change the parameters in chess_pencil_configuration_variables.scad
- Check the model by viewing the assembled models chess_pencil_assembled_pencil.scad and chess_pencil_assembled_chessboard.scad
- Check each individual part and export it as STL (these are: chess_pencil_mine, chess_pencil_metal, chess_pencil_mount, chess_pencil_row_1 chess_pencil_row_2_to_7, chess_pencil_row_8, chess_pencil_tile, chess_pencil_rubber and chess_pencil_tip)
Boost Me (for free)
Please boost me! It takes a lot of effort to design such a fully configurable model in OpenSCAD and a boost would motivate me to bring my upcoming ideas to life
License



Comment & Rating (4)