Vector Buggy - Cyberbrick RC car platform


Print Profile(1)
Bill of Materials


Description
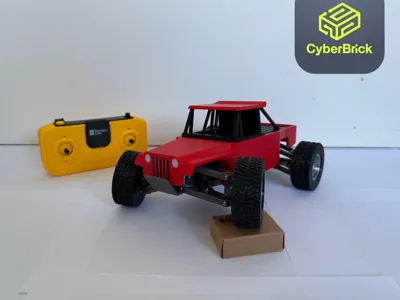
Vector Buggy - Cyberbrick RC car platform
Goal
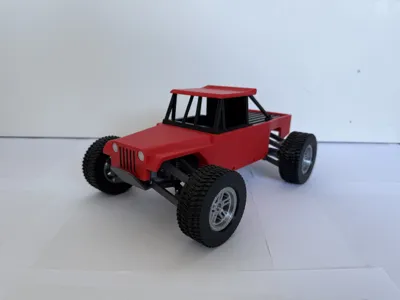
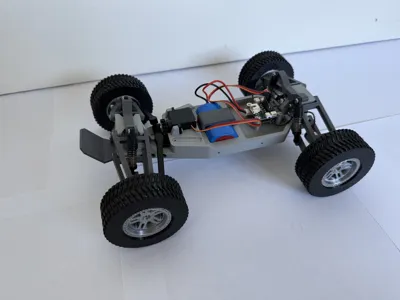
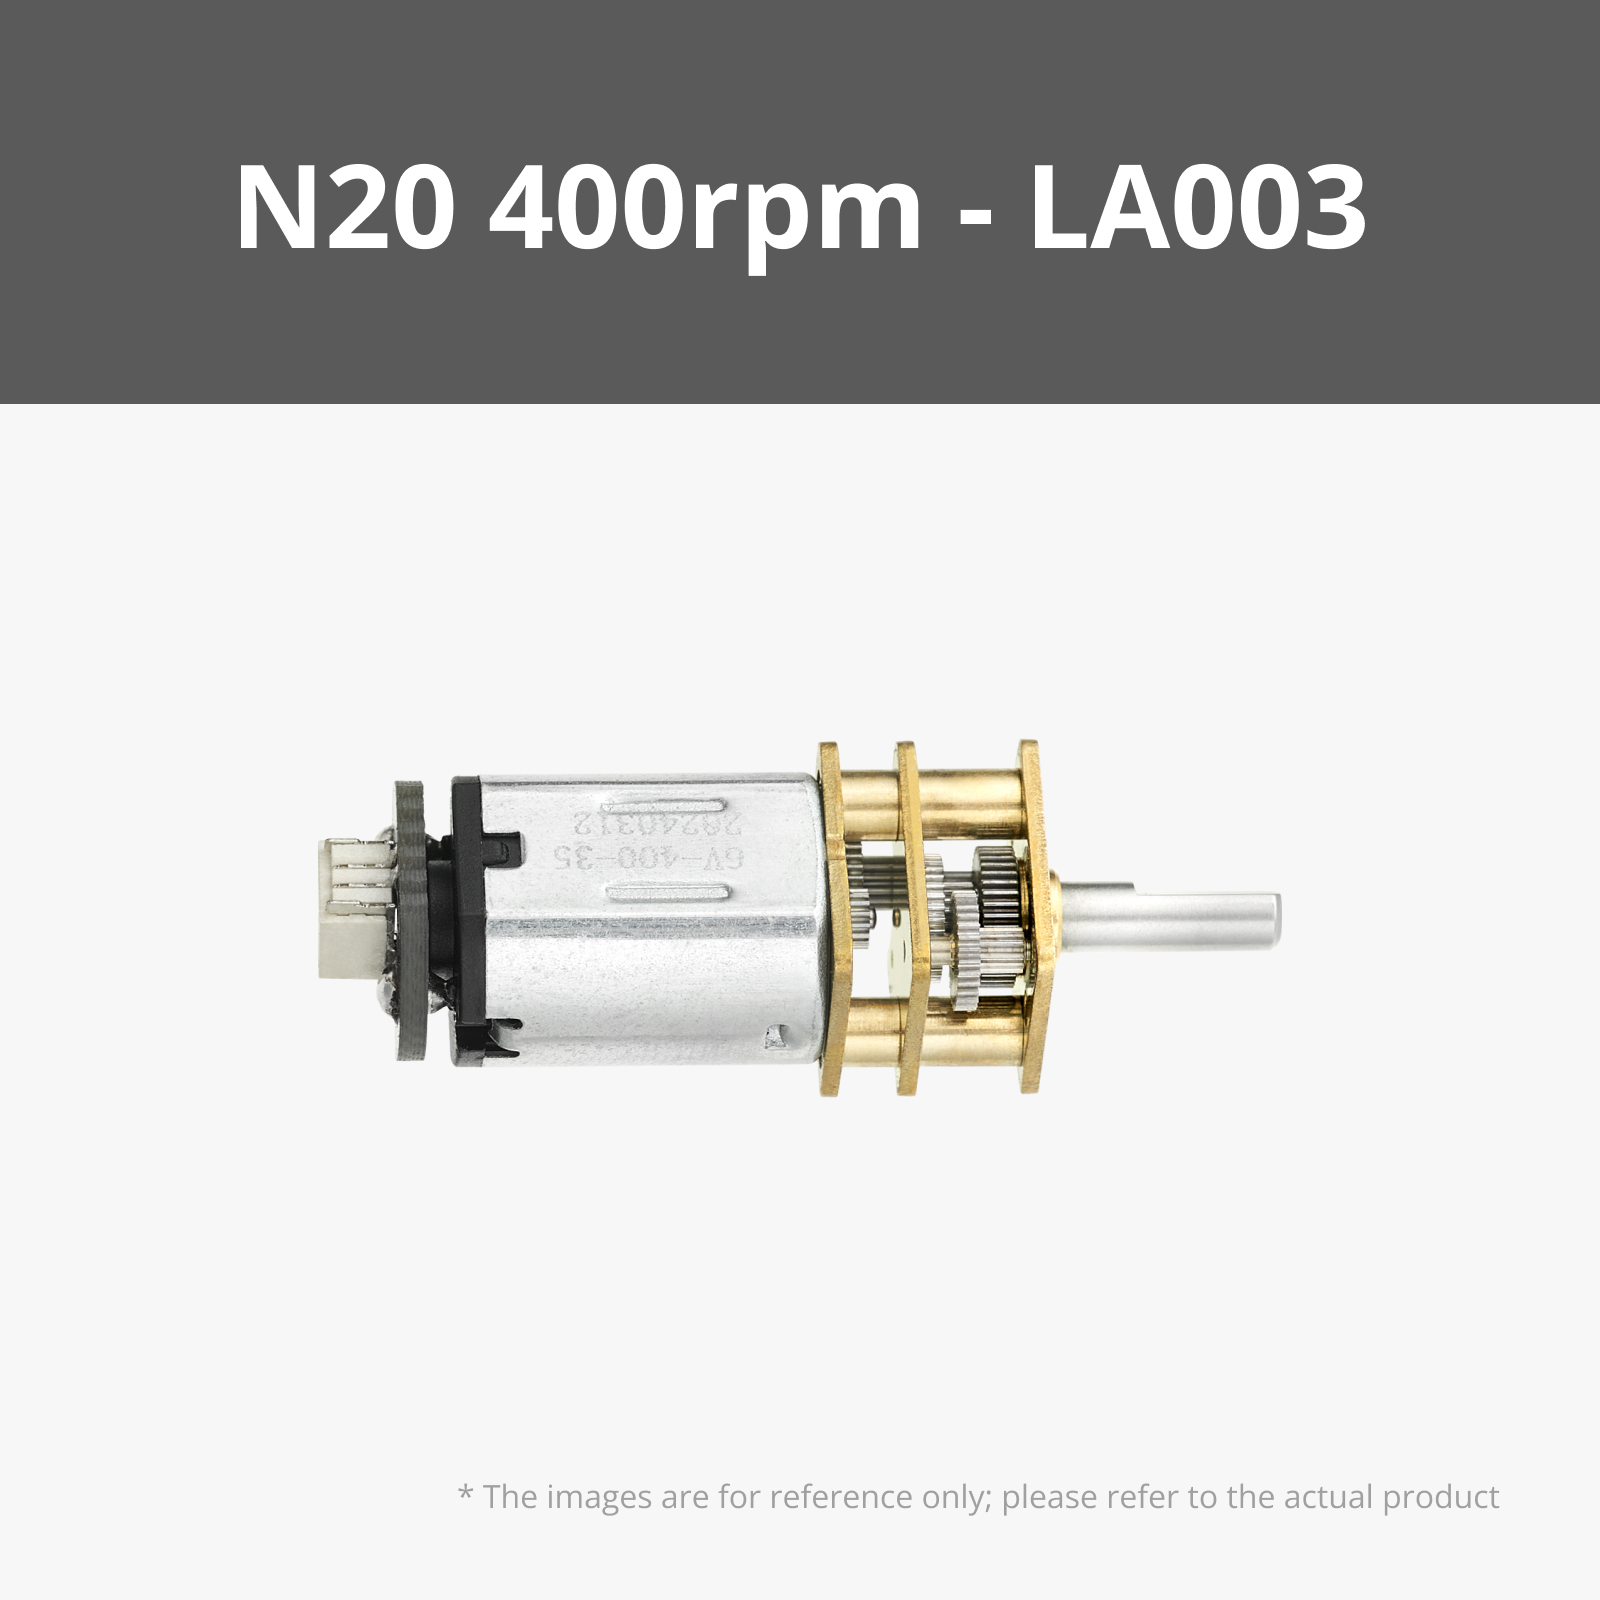
The goal of this project was to design an RC car chassis with real suspension travel, allowing it to handle well both on-road and off-road. I wanted to use the springs included in the Cyberbrick Beginner’s Kit to make the design more accessible and affordable. Creating 3D-printable shocks at this scale was challenging, but I developed a solution that is relatively simple to assemble. To give the RC car extra power, I chose to use two 400 RPM N20 motors.
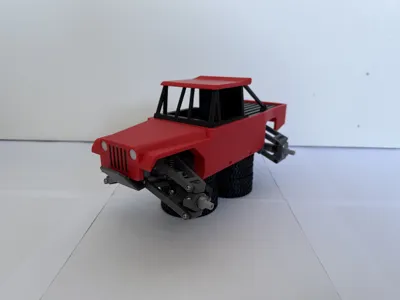
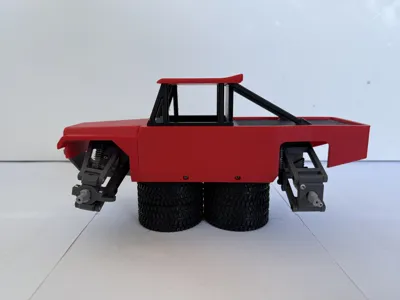
Suspension design
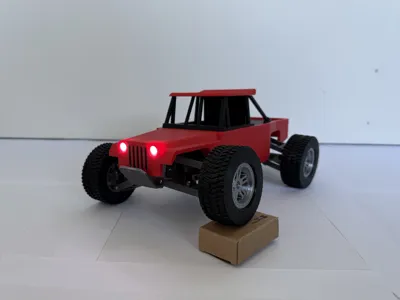
I took inspiration from several other RC cars and decided to use double wishbone suspension at both the front and rear. With two control arms per wheel, this system allows the wheels to move up and down while maintaining consistent tire contact with the ground. This improves stability, grip, and overall handling. I also incorporated caster angle into the front suspension to improve steering stability and ensure better straight line control. You also have to option to add preload clips to each shock, I recommend using one preload clip per shock.


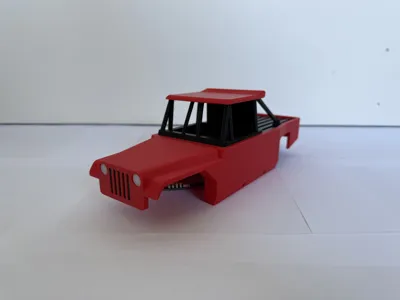
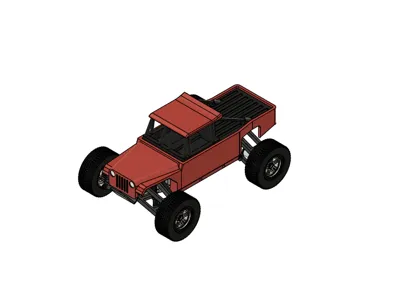
Customizable body design
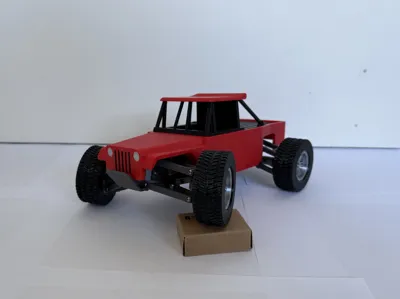
I designed a relatively simple body for the car. However, since there are probably people who are much better at designing bodies than I am, I decided to upload the .STEP files of my design so others can customize it or use it as a reference for their own creations. The chassis has a wheelbase of 178 mm.

Real world testing
Repairable
I crashed this chassis many times during testing and reinforced the parts that failed. However, if a part still breaks, you can easily 3D print a replacement yourself. I also designed the chassis in three separate sections to make it easier to assemble, maintain, and repair.
Assembling
I’ve included an assembly guide that also contains a list of all non-printable components and a hardware connection diagram.
This model does have quite a few parts, so assembly won’t be the quickest, but the process itself is straightforward.
I have split the guide in 2 parts, one part for the cassis and another part for the body.
If you come across any mistakes or unclear points in the guide, please let me know. And if you have any questions, feel free to reach out.

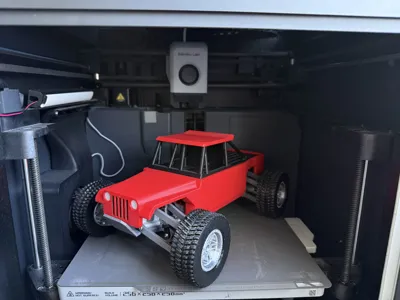
Printing
Some parts require a bit of niche support, but most can be printed without any, and the supports that are needed are easy to remove. Make sure you have sufficient bed adhesion, as some parts are quite tall. If you experience adhesion issues, please refer to the Bambulab Wiki.
The tires must be printed in TPU. I used Bambu Lab TPU90A, which I can definetly reccomend.
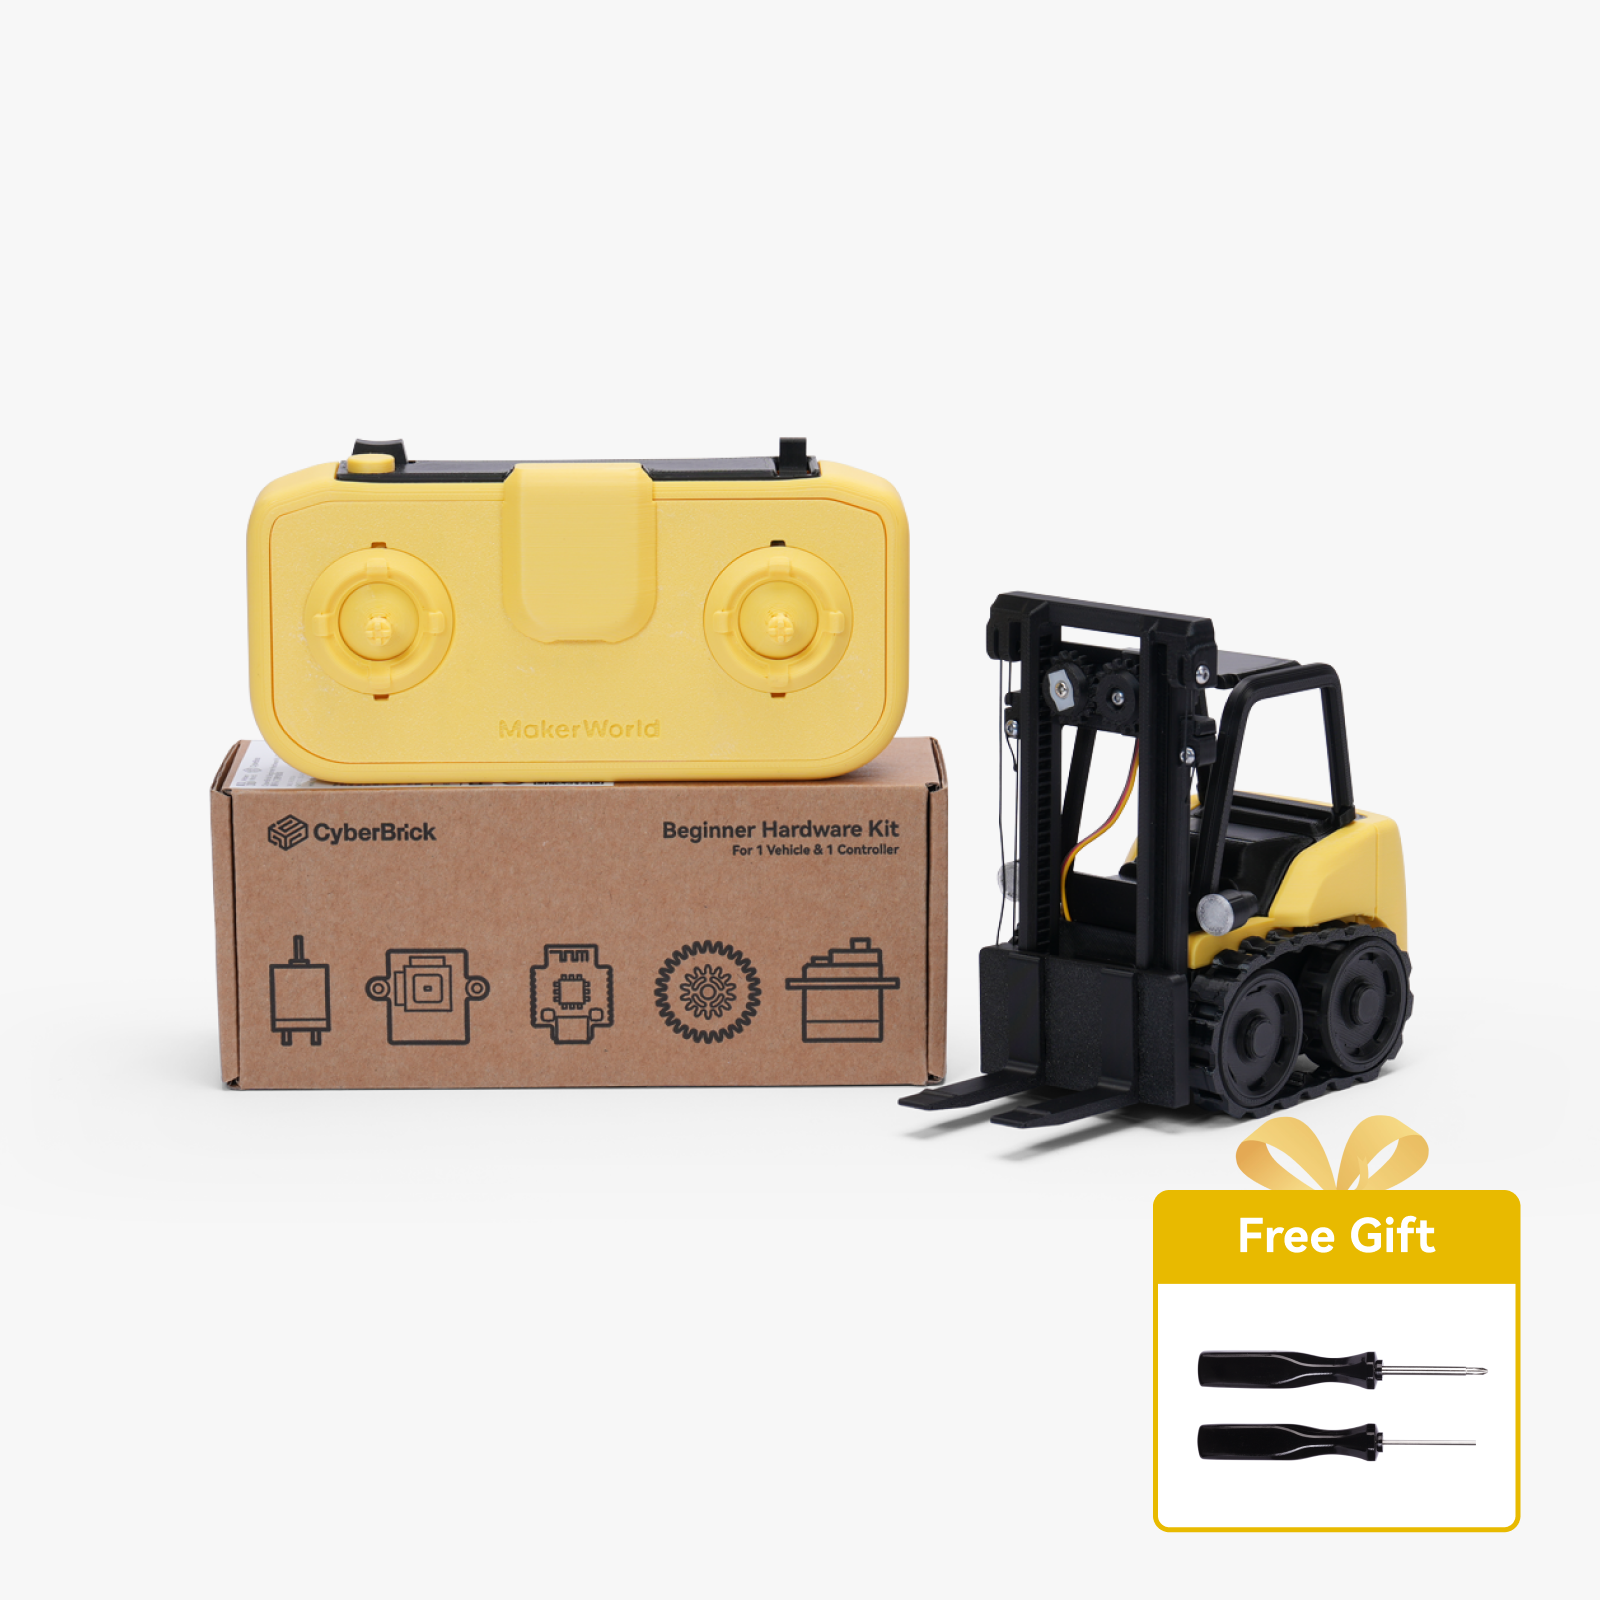
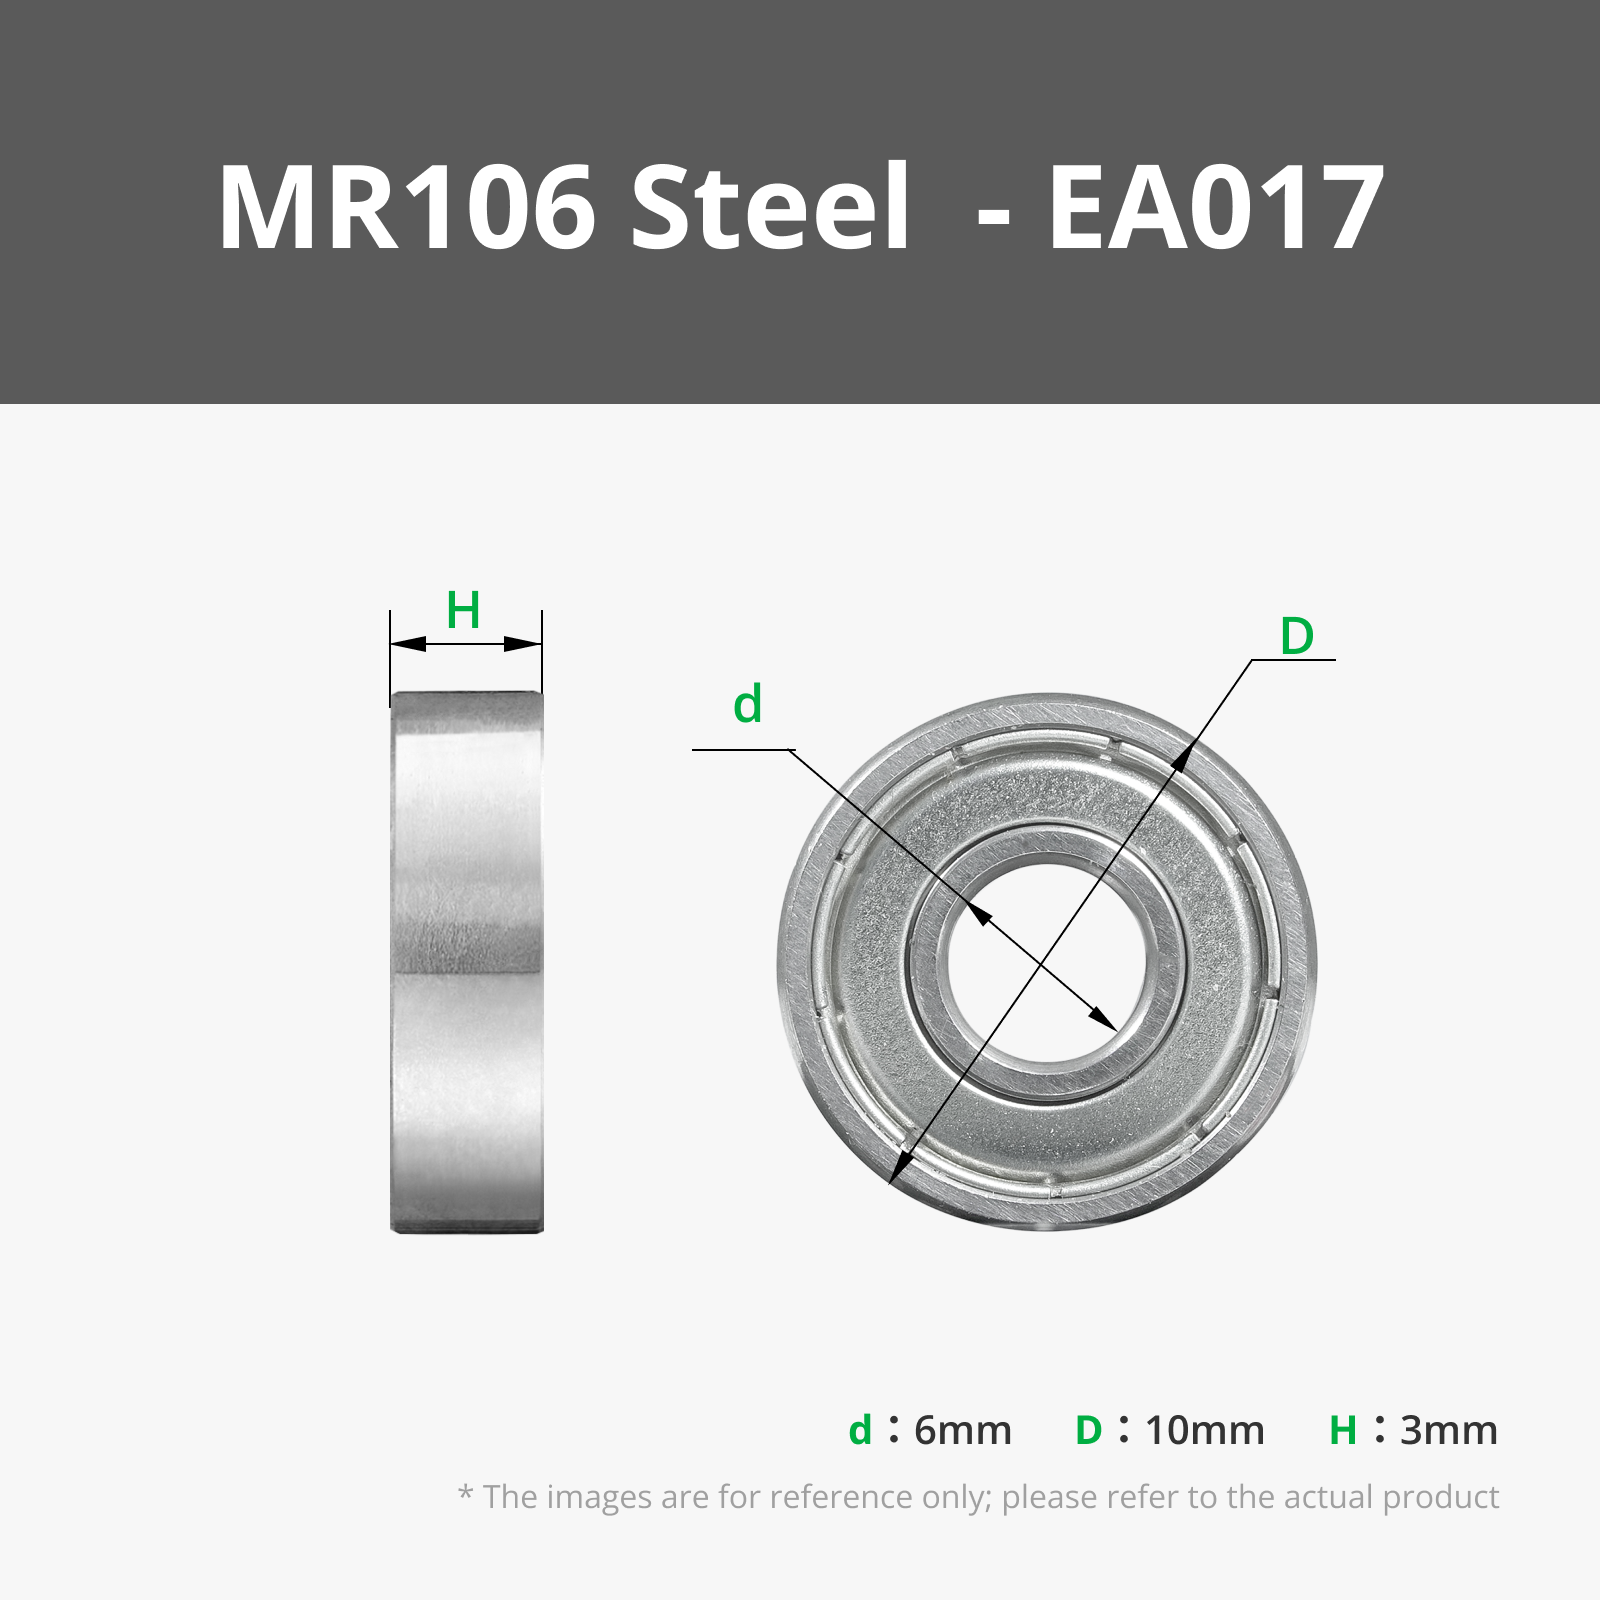
Required components

Please note: if you already have the Cyberbrick Biginners's Kit, you only need to purchase the additional parts listed in the bill of materials below.
Boost Me (for free)
I’ve put a lot of time into this model, if you enjoy my work and would like to support me, a free boost would mean a lot!
Controller
You can use any controller you like, but I personally use the official Bambu Lab controller, which you can find here.

Documentation (1)

License
You shall not share, sub-license, sell, rent, host, transfer, or distribute in any way the digital or 3D printed versions of this object, nor any other derivative work of this object in its digital or physical format (including - but not limited to - remixes of this object, and hosting on other digital platforms). The objects may not be used without permission in any way whatsoever in which you charge money, or collect fees.
Comment & Rating (21)