




Print Profile(2)


Description
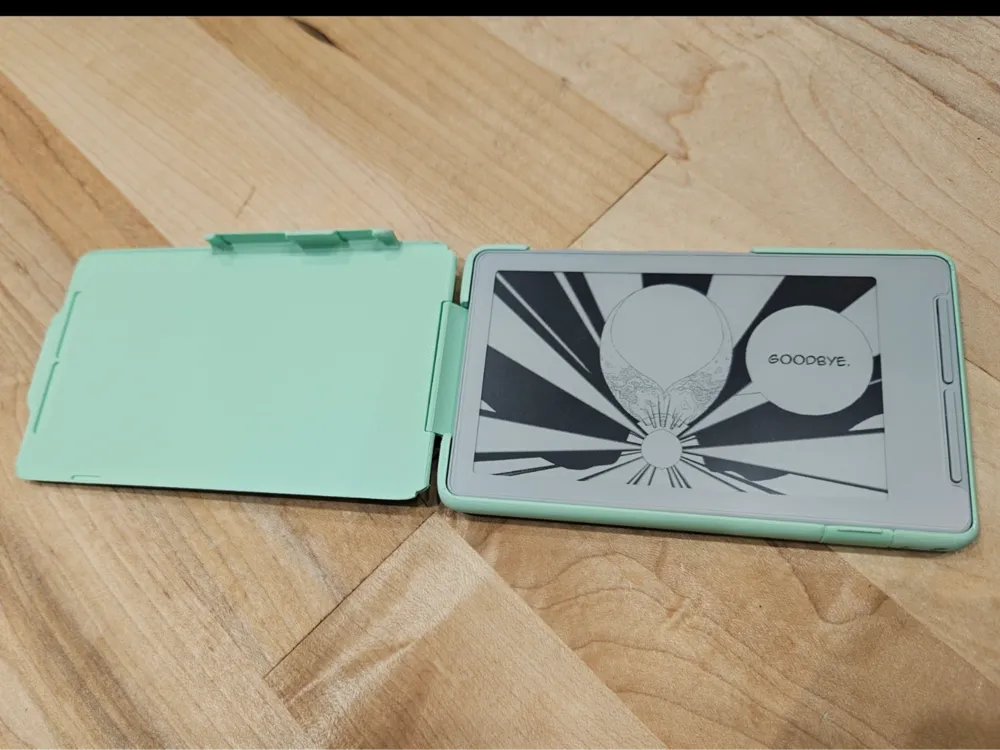
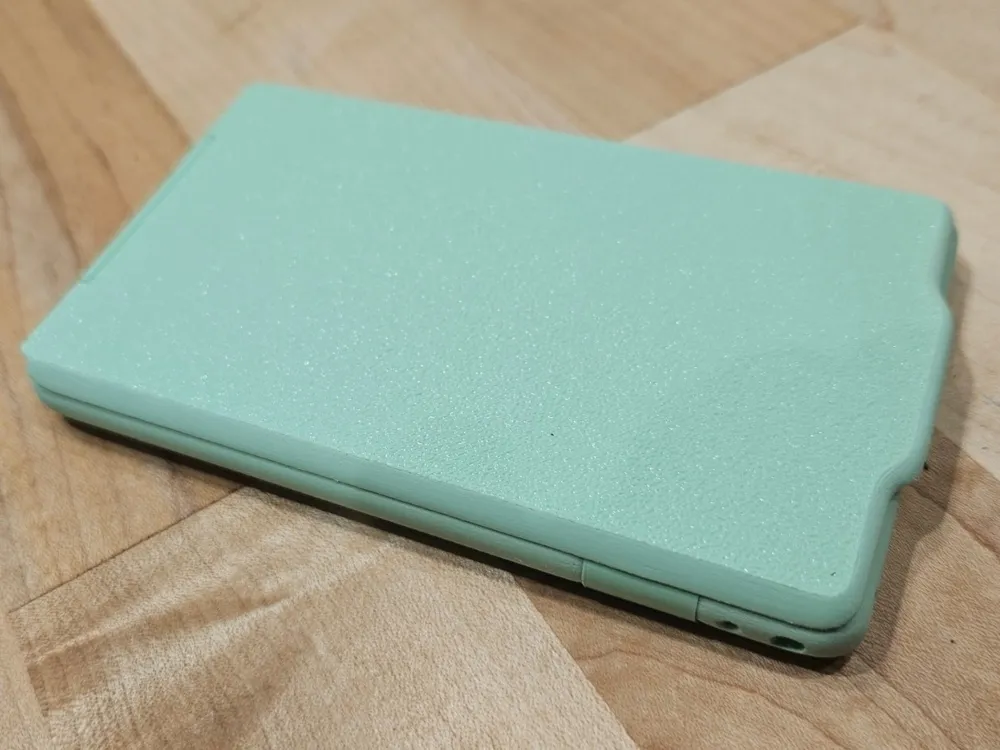
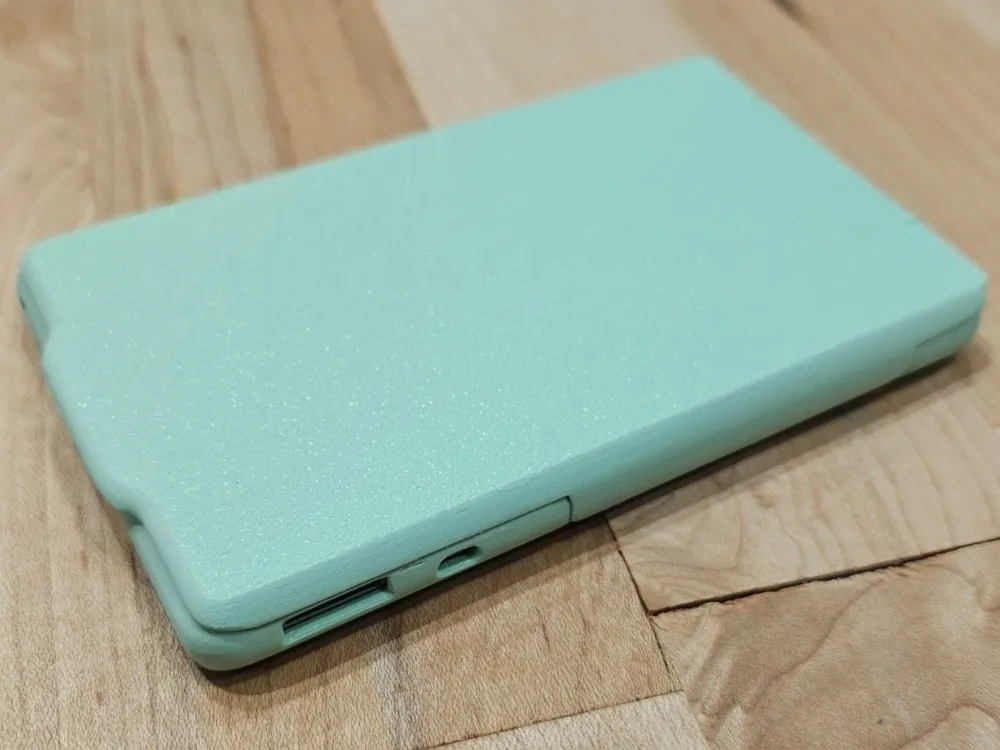
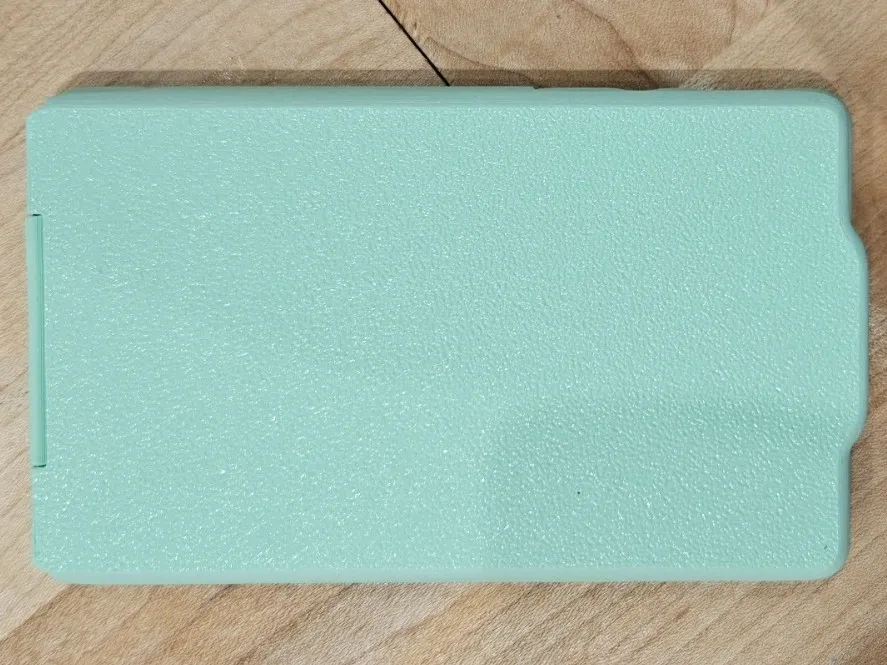
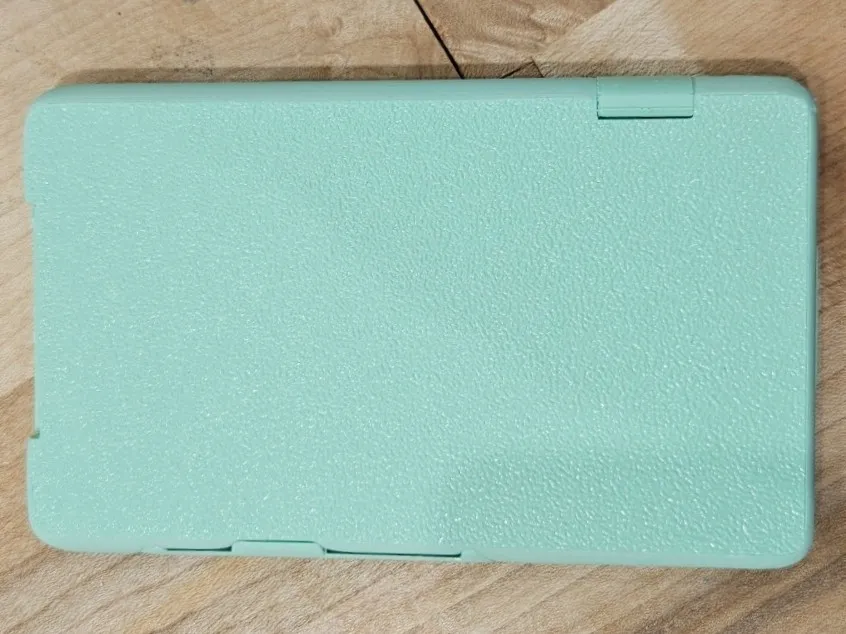
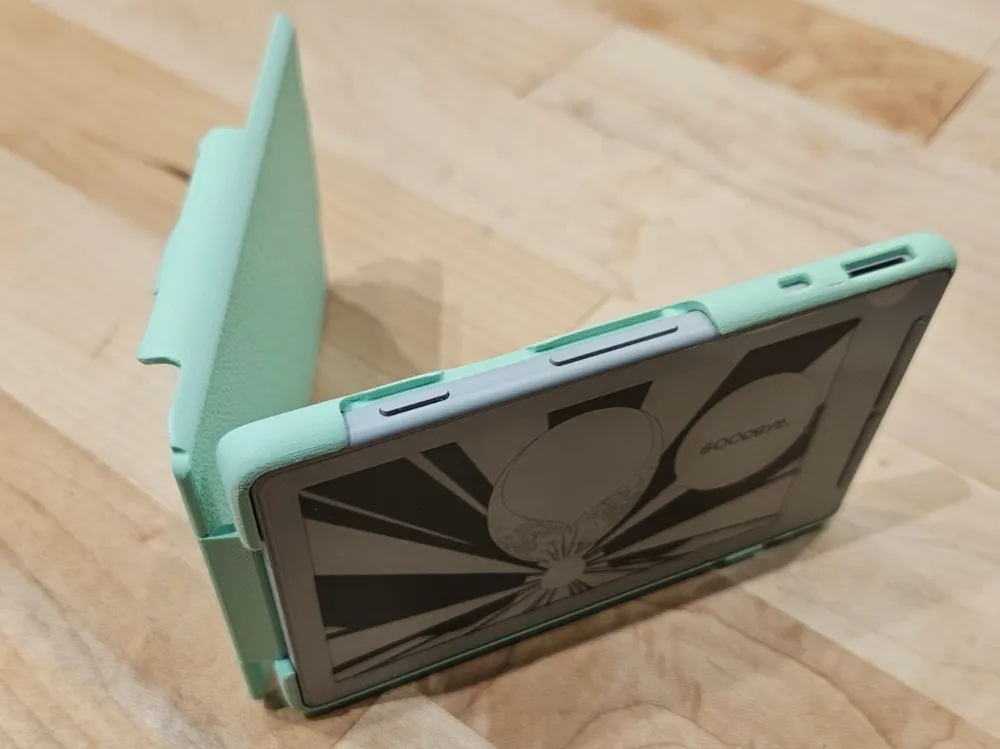
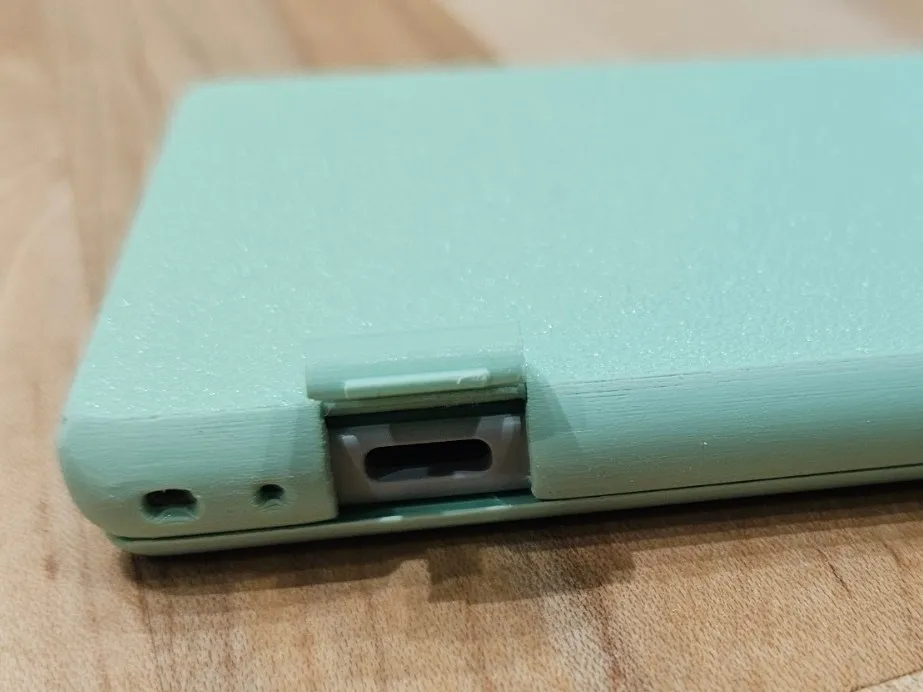
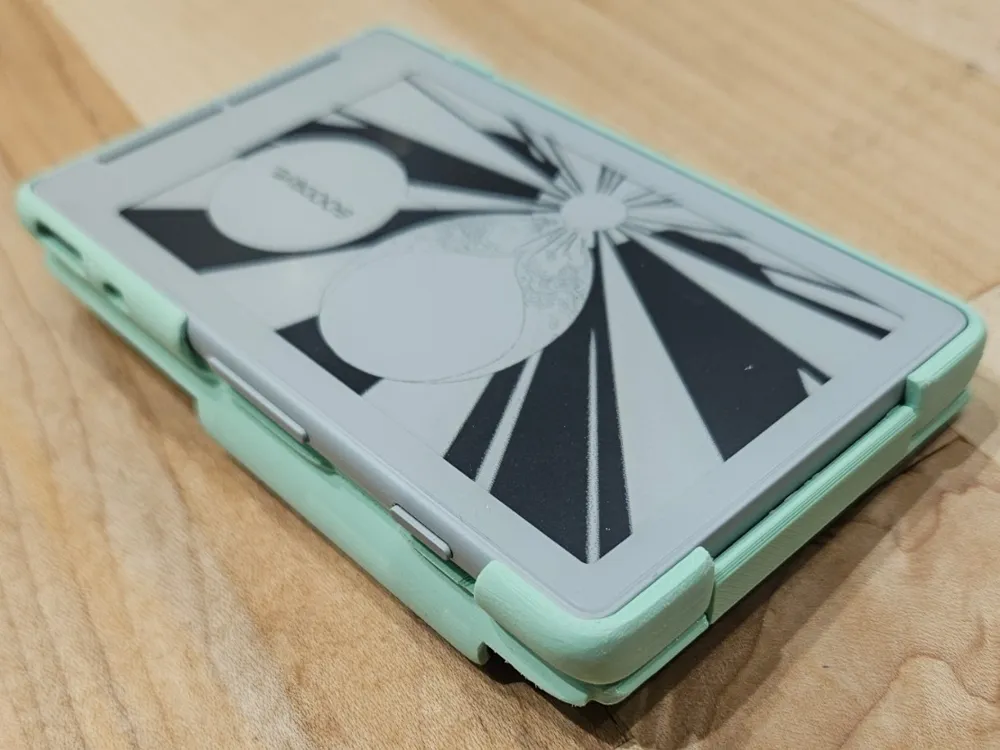
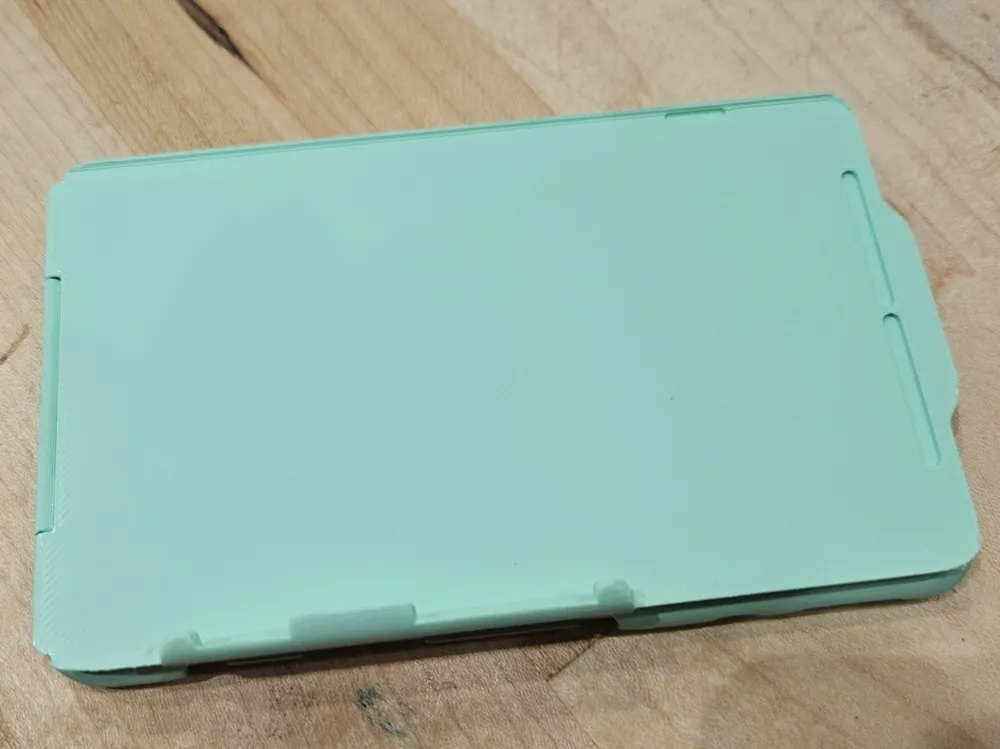
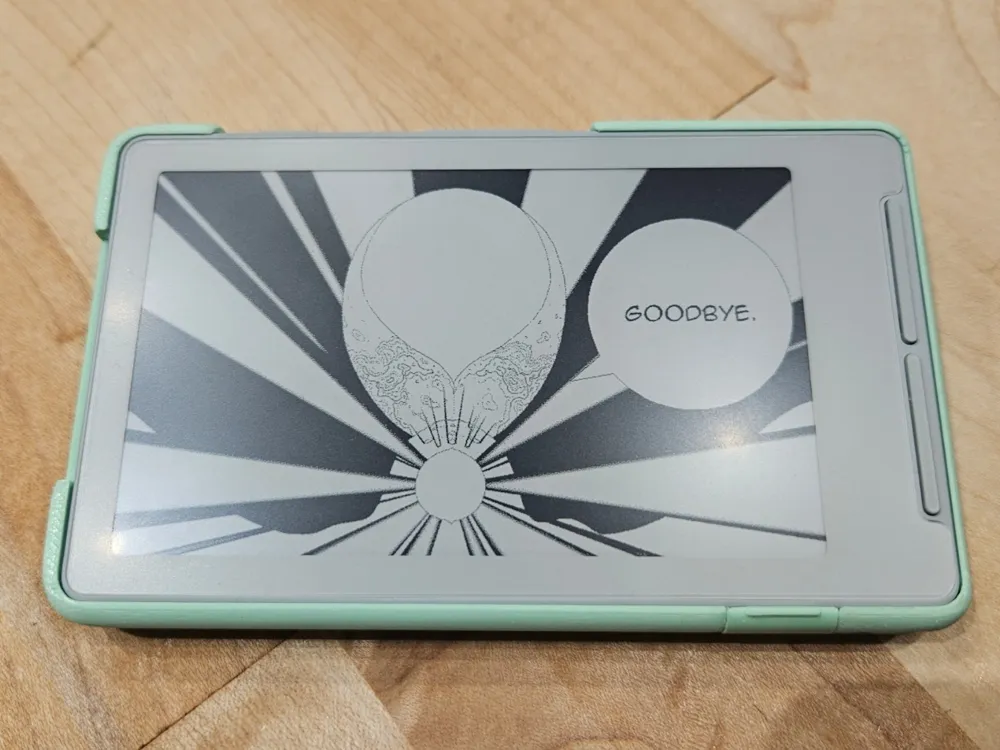
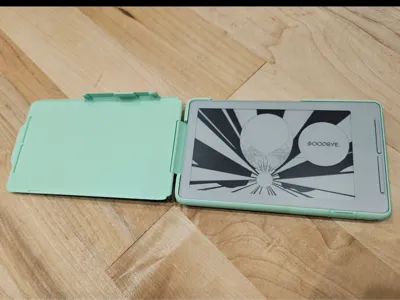
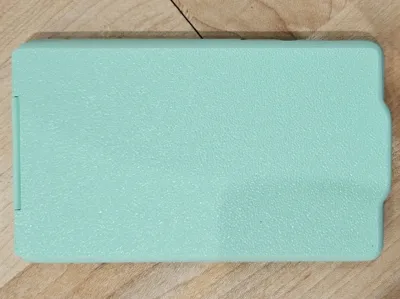
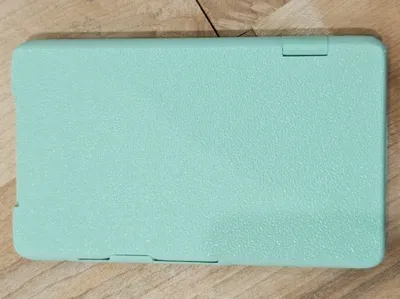
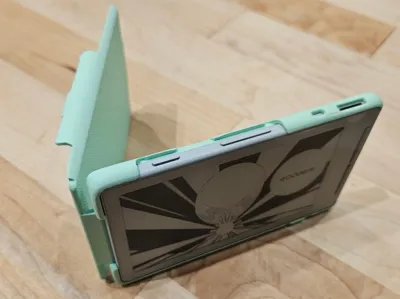
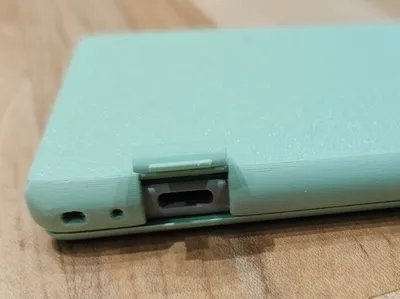
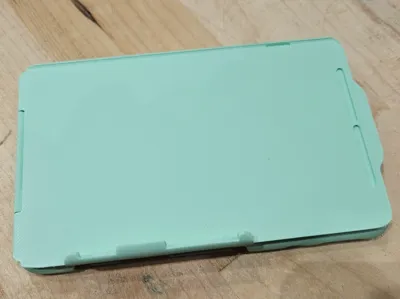
FINALLY! A case for the famous Xteink X4 that has all the bells and whistles you could ever want! When closed, all sides and buttons are covered (minus cutout holes for the SD card slot, reset button, charging light, and lanyard loops). When opened, all buttons are exposed, and the side button cover becomes a finger rest when folded all the way back. I decided some components, such as the reset button and SD card slot, did not need variable access and so left them open with wide bumpers to reduce risk of accidental pressing. The charging port needs access when both open OR closed, and thus the side flap was born (NOTE: this model is slightly “sticky”/hard to open/close when initially printed but eases up with wear). I recommend a light sanding of the interior side button cover, ESPECIALLY at the point that first comes in contact with the device. The fit is very snug, so complete assembly is recommended before inserting your device. To remove from the case, I've found that releasing the top corners one at a time is the easiest method. This is my first 3D project (I learned specifically to make this lol) so feedback is greatly appreciated :)
Hinge mechanism and assembly guide inspired by user Bas van der Ploeg.
Assembly Guide
Additional Hardware:
- 3x Paperclips
1. Prep the Paperclips

Unfold your paperclips until they are as straight as possible. Partially unfolding the final portion perpendicularly to the long end and using wide pliers makes them easier to handle. Preferably don't use plastic coated paperclips.
2. Align the Hinge
Position the Hinge piece between the Front and Back covers.
3. Insert the First Pin
Slide your first straightened paperclip into the hole on the side of the Front Cover, threading it through the Hinge piece. (If it feels stuck, don't force it! Rotate the paperclip like a drill bit as you push; this helps it clear any tiny 3D-printing artifacts inside the channel.)
4. Secure the Back and Side
Repeat the process for the Back and Side Charger Cover. Once all paperclips are fully inserted, the case and charger cover should flip open and closed freely.
5. Trim and Flush
Trim the excess wire so it's flush with the case.
I am not responsible for any damaged incurred from or while using this case. Please use your best judgment and practice common sense. Ensure all hinges are secure and components intact. Print in photos lightly sanded.
Boost Me (for free)
Support this original work from a starving student!
License



Comment & Rating (18)