Bell 212 - Kit for OMPHOBBY M2 V3 Pro & Sport


Print Profile(1)
Description
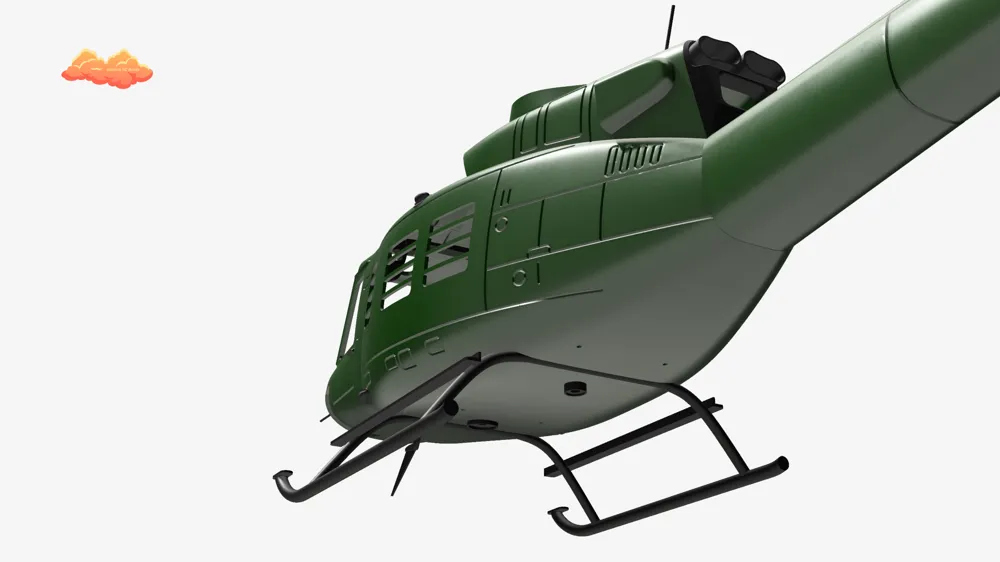
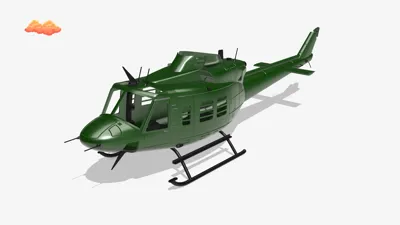
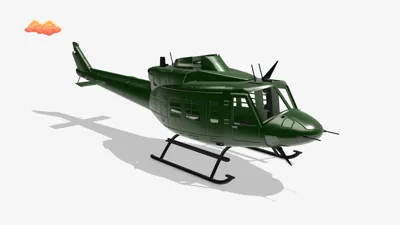
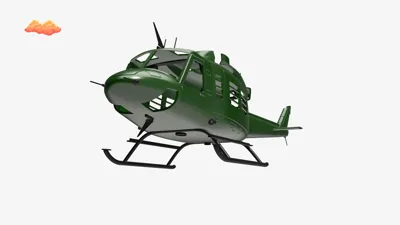
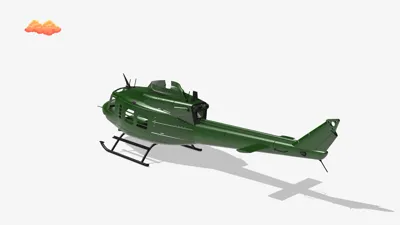
Bell 212 Conversion Kit for OMPHOBBY M2 V3 Pro & Sport
3D Printable Upgrade Set
This is a complete 3D printable Bell 212 conversion set for the
OMPHOBBY M2 V3 Pro
and fully compatible with the
OMPHOBBY M2 V3 Pro Sport.
All STL files included in this set are designed by me — except the fuselage.
The fuselage files are originally made for the
OMPHOBBY M1
and must be downloaded separately : https://www.cgtrader.com/3d-print-models/hobby-diy/hobby-accessories/3d-print-scale-bell-412-fuselage-for-omp-m1
To fit the M2 V3 Pro, the M1 fuselage must be scaled to 150% in your slicer (e.g. Bambu Studio).
After scaling, all included parts will fit correctly.
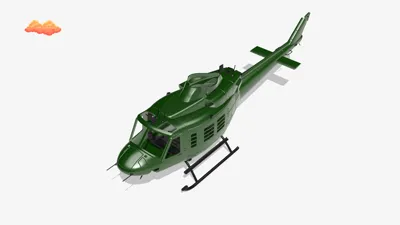
With this set, you can build your own Bell 212 scale helicopter.
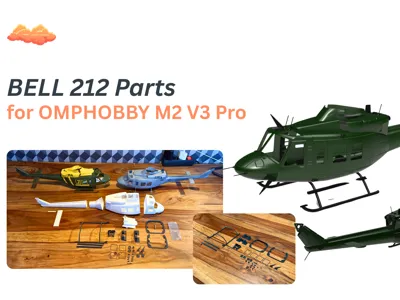
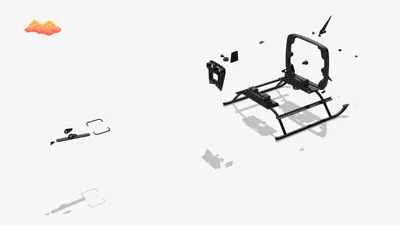
Included Custom Parts (Designed by Me)
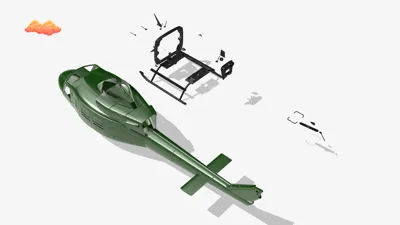
- New landing gear
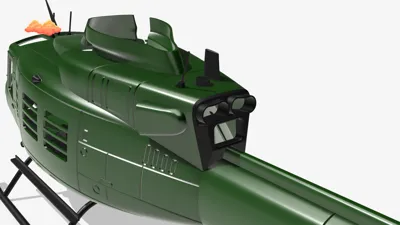
- Cable cutters
- Canopy quick-release clip (redesigned for M2 V3 Pro)
- Antennas
- LED mounts
- Engine output
- Frame mount for M2 V3 Pro & Sport
All files provided here (except fuselage) are my own original designs.
Material Recommendation
Recommended: PLA-CF
- Very clean print results
- High stiffness
- Minimal post-processing
- Parts come out nearly perfect
- Tail boom remains structurally stable
Alternative: PLA LW / PLA Aero
- Approx. 25% lighter
- Good for weight optimization
However:
⚠ The tail boom must be reinforced significantly more when printed in PLA Aero compared to PLA-CF.
Additional stiffening is strongly recommended.
PLA Aero also requires more sanding and finishing work.
On my profile you will find optimized print settings for PLA-CF and PLA Aero.
Print Settings (Fuselage)
You can use the print settings uploaded in my profile.
For best results:
- Simply set infill to 0%
With these settings, you will achieve a very clean and lightweight result.
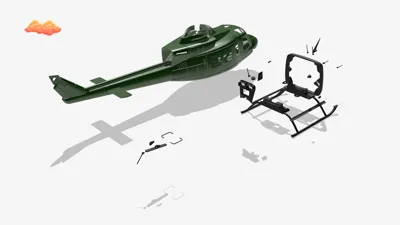
Important Build Notes
For a better understanding of the assembly process, please watch the build video on my YouTube channel.
It shows the positioning and installation steps in detail.
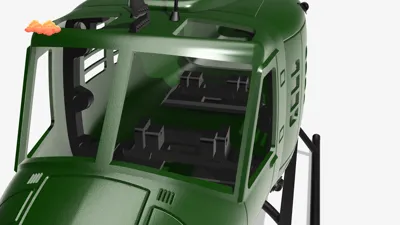
- Install the two canopy clips into the middle and front fuselage sections first.
This stabilizes the fuselage during sanding and processing. - The landing gear and the frame mount should be positioned approximately 5 mm behind the edge of the middle clip.
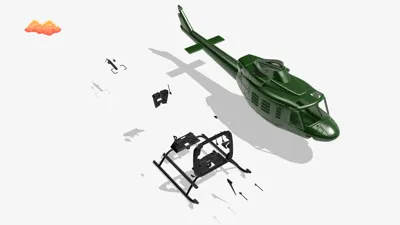
- Insert the helicopter mechanics and lightly fix the mount in position using CA glue or 2K epoxy.
- After curing, remove the mechanics and permanently glue the mount in place.
Make sure no glue reaches the frame mounting holes.
The final setup allows the mechanics to be secured with only two screws, making installation and removal quick and easy.
Tail Motor Mount Note
For PLA-CF:
Applying a thin layer of 2K epoxy on the inner side of the motor mount increases stiffness.
However, this is not a guarantee for tail rotor durability — always test carefully.
For PLA LW / PLA Aero:
It is recommended to glue in an original OMPHOBBY M2 V3 Pro tail motor mount for additional strength.
This can also be done with PLA-CF for maximum durability.
Video & Community
https://youtu.be/AXhd6RUqJ4g?si=vxEF1Q8IL0qV1BeD
On my YouTube channel you will find a video of the first version.
An updated build video will follow soon.
I originally planned to sell these files, but I decided to make them available for free so more people can enjoy building this helicopter.
If you like this project, I would really appreciate:
- a Boost
- a Like
- or a Follow
If you have any questions, feel free to contact me via:
- YouTube
- TikTok
- or directly here
I’m always happy to help and I’m looking forward to seeing your Bell 212 builds 🚁
License
You shall not share, sub-license, sell, rent, host, transfer, or distribute in any way the digital or 3D printed versions of this object, nor any other derivative work of this object in its digital or physical format (including - but not limited to - remixes of this object, and hosting on other digital platforms). The objects may not be used without permission in any way whatsoever in which you charge money, or collect fees.
Comment & Rating (3)