Modular 150mm Ventilation System (Nipple Joint)


Print Profile(3)

Description
Boost Me (for free)
🚀 Support the Project
If you like this design and find it useful, please consider giving it a Boost! Your support helps me create more free projects for the 3D printing community. Don't forget to share your makes!
🛠️ Modular 150mm Ventilation System (Nipple Joint)
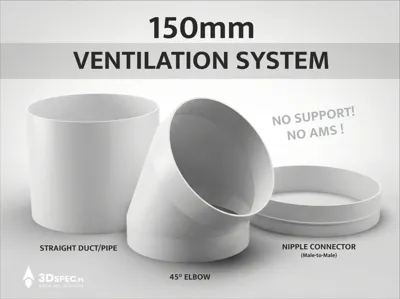
This is a complete, 3D-printable 150mm ventilation ducting kit. It’s a perfect solution for workshop dust extraction, portable AC venting, or DIY air circulation systems. The project is optimized for fast printing, material efficiency, and easy assembly.
The kit includes:
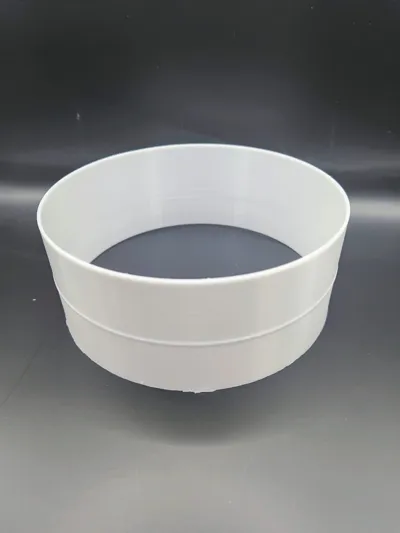
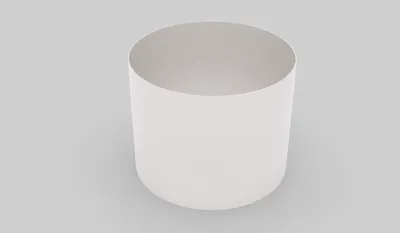
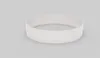
- Straight Duct (150mm): A standard pipe section with smooth internal walls for maximum airflow.
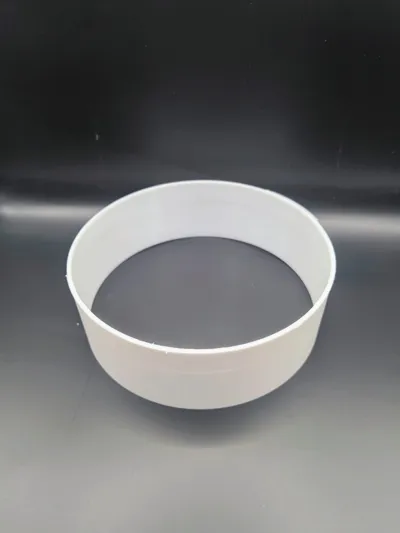
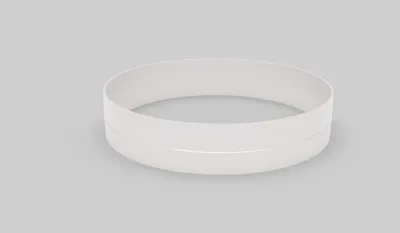
- Nipple Connector (Male-to-Male): Designed to slide inside the pipes for a clean, streamlined connection.
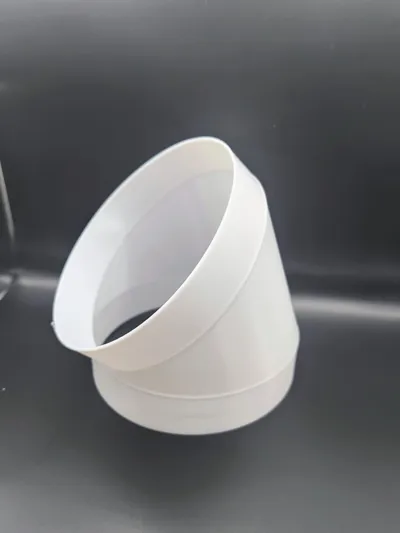
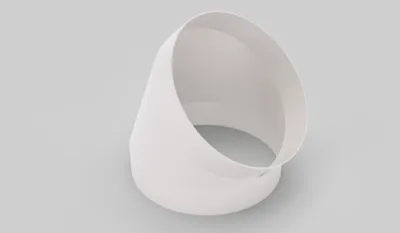
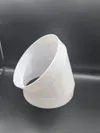
- 45° Elbow: A smooth-bend radius to reduce air resistance while remaining 100% support-free.
🔧 Assembly & Printing Instructions
This system was engineered with a "print-and-play" mindset, focusing on ease of use.
🖨️ Printing Tips
- Use the Scale tool, unlock the uniform scaling (the lock icon), and adjust only the Z-axis. Keep the X and Y axes at 100% to ensure the 150mm diameter and nipple-fit remain perfect.
- Support-Free: The 45° elbow is designed to be printed without any supports. Simply place it on one of its flat ends.
- Material: PETG is highly recommended for its durability and slight flexibility (crucial for a snug fit). Use ASA for UV resistance or PLA for basic, low-temp airflow.
- Wall Count: Use at least 3 walls (perimeters) to ensure the pipes are airtight.
- Infill: 10-15% (Gyroid recommended for structural integrity).
🛠️ Installation1
- Nipple Joint Connection: Insert the connector into the end of the 150mm pipe. The outer diameter of the system remains consistent, making it easier to fit into wall mounts or tight spaces.
- Friction Fit: The tolerances are tuned for a tight friction fit. If you need a permanent, airtight seal for high-pressure extraction, apply a single wrap of aluminum or PVC duct tape around the joint.
- No Cleanup: Since no supports are needed, the internal surface remains perfectly smooth right off the build plate, preventing dust buildup.
License
You shall not share, sub-license, sell, rent, host, transfer, or distribute in any way the digital or 3D printed versions of this object, nor any other derivative work of this object in its digital or physical format (including - but not limited to - remixes of this object, and hosting on other digital platforms). The objects may not be used without permission in any way whatsoever in which you charge money, or collect fees.
Comment & Rating (15)