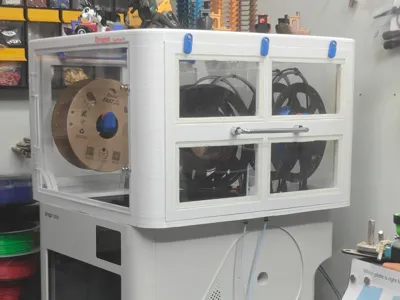
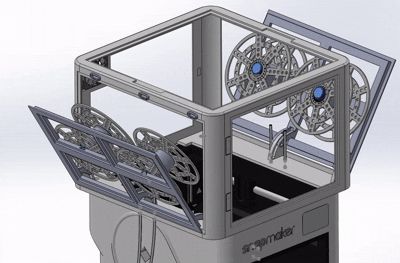
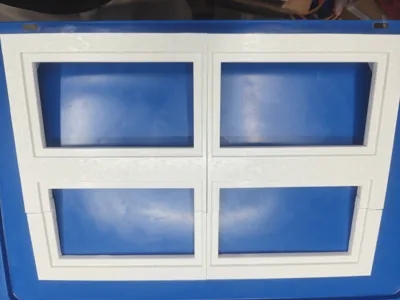
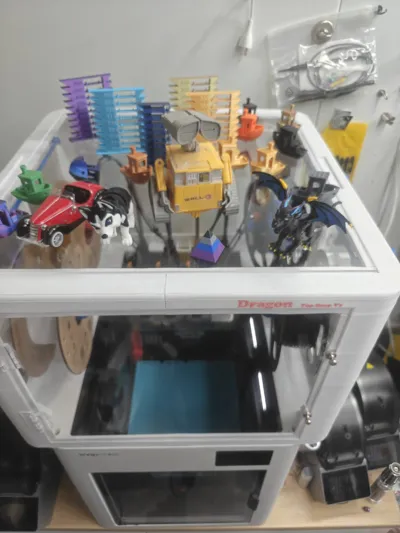
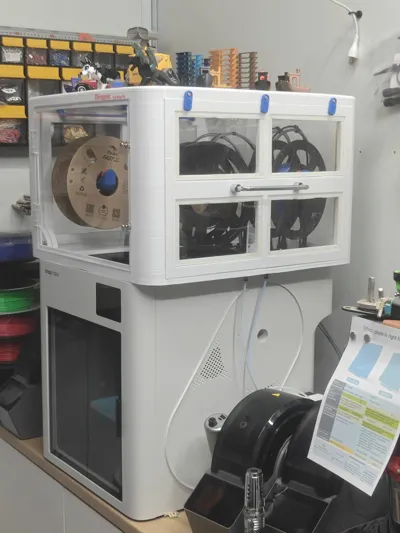
U1 Top Cover 4 Spools Cassette V3.1 + Fan&Filter


Print Profile(1)
Description
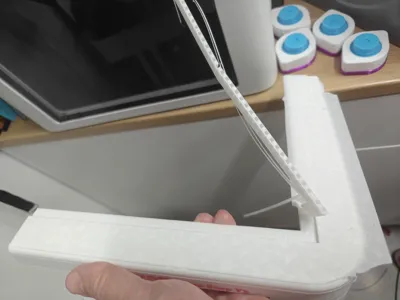
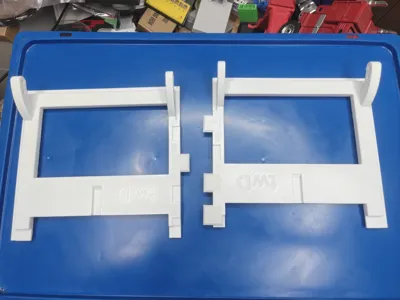
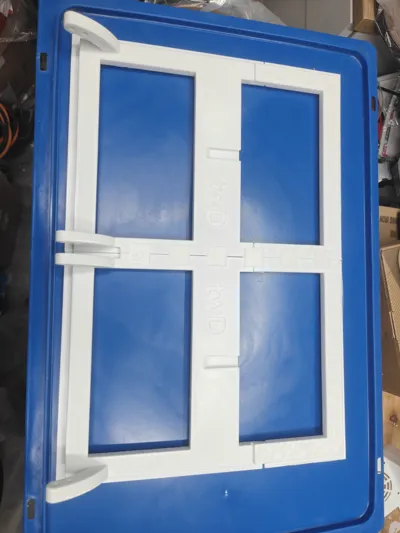
This is My New Original Design For the closure of the Snapmaker U1 Printer V3.1 (In 3.1, The Cassette Doors Lock improved from V3.0, And Added Holes in the Spools Doors For A Handle)
You can see my previous revisions V1 & V2 in this Link
https://makerworld.com/en/models/2204202-u1-top-cover-2-versions-with-fillter-option#profileId-2395214
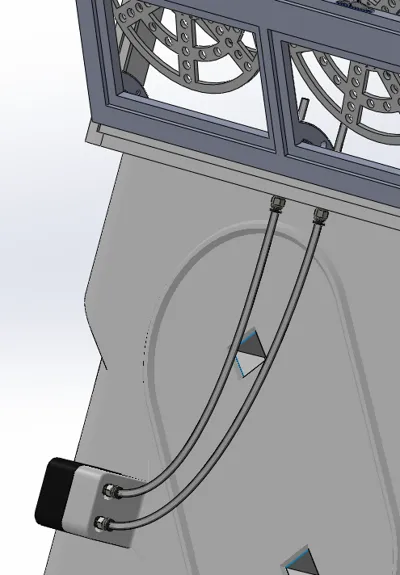
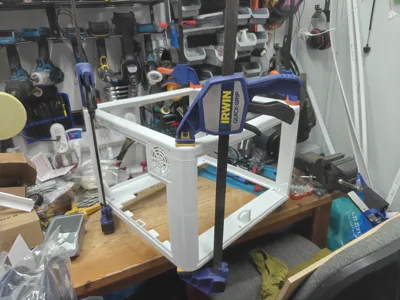
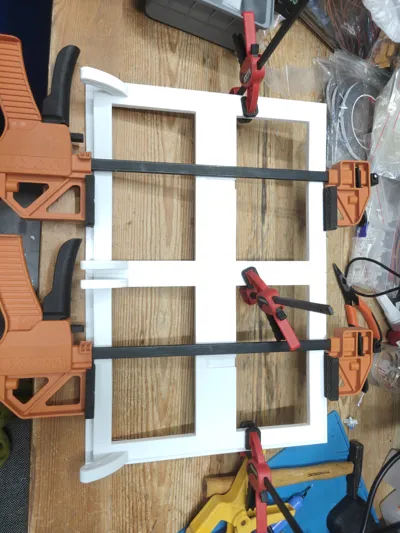
25-Apr-2026: New AddOn for the stability of the tubes and cables inside the cover.
I made an Extender for the guide rails of the tool-heads (see link)
https://makerworld.com/en/models/2713218-u1-heads-tube-holder-extender-with-cable-clips#profileId-3004508
Important!!!!! -→> the 3MF files in the “plate” top are for printing with the Bambu H2 printer, and with the “STL/CAD” files, you can find 3MF files made for printing with the Snapmaker U1 Printer
In the 3MF, the printed parts are PETG, (you can print it with PC, PA, ABS, ASA, but not in PLA)
* Added 3MF file for Only The improved parts for V3.1 Doors lock if you have already printed the V3.0 Parts)
* Added STEP file with a template for the doors, Handle Holes for drilling location
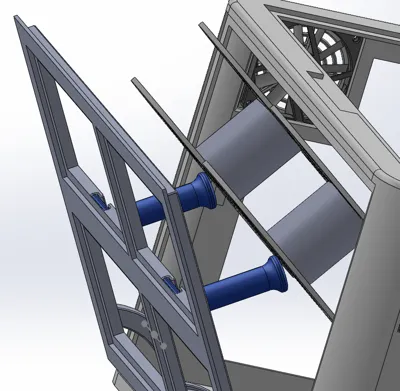
*** You can replace the Simpule Soopls Shaft from my design with the “spool holder SnapMaker U1” made by “cavecchia.andrea77" See Link to his design: (You will need 4 units without the spool holder part)
https://makerworld.com/en/models/2153188-spool-holder-snapmaker-u1#profileId-2333754
In addition to the printed parts, you will need the transparent panels 3mm thick (See Attached PDF)
The files for the Filter parts you can get from my V1, V2 options (it's fit for this Version, see the link above)
Remark: If anyone wants to avoid using a big Clear Acrylic Sheet or wants to get a stiffer construction, I made a Panel Frame for that purpose:
For the Front Door: → https://makerworld.com/en/models/2497707-front-door-frame-of-top-cover-cassette-spool-u1#profileId-2745375
For the Back Panel: → https://makerworld.com/en/models/2497714-back-panel-frame-of-top-cover-cassette-spool-u1#profileId-2745384
For the Top Panel: → https://makerworld.com/en/models/2497665-top-panel-frame-of-top-cover-cassette-spool-u1#profileId-2745330
You also need these parts:
- 4 Units of M4 screw 40mm length (304 stainless steel) → https://a.aliexpress.com/_c4URyYdN → Select the “M4 40mm”
- 4 Units of M4 screw 30mm length (304 stainless steel) → https://a.aliexpress.com/_c4URyYdN → Select the “M4 30mm”
- 8 Units of M4 screw 35mm length (304 stainless steel) → https://a.aliexpress.com/_c4URyYdN → Select the “M4 35mm”
- 6 Units of M4 screw 25mm length (304 stainless steel) → https://a.aliexpress.com/_c4URyYdN → Select the “M4 25mm”
- 22 Units of M4 Nylock Nut (304 stainless steel) → https://a.aliexpress.com/_c4sCs0In → Select the “304 stainless steel M4”
- 22 Units of M4x9x1 flat Washer (304 stainless steel) → https://a.aliexpress.com/_c4m6wmVd → Select the “M4x9x1”
- 6 Units of M1X16mm R Pin (304 stainless steel) → https://a.aliexpress.com/_c3owMnUB → Select the “M1x16mm”
- 2 Units of 45mm Plastic Transparent Hings → With Glow https://a.aliexpress.com/_c3oaV5w7 , With screws https://a.aliexpress.com/_c4rLOA07 → Select the 45mm units
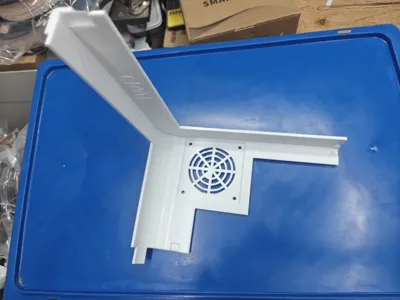
- 1 Unit of 24V Fan 80x80x10mm 2 wires Dual Ball Bearing → https://a.aliexpress.com/_c3nHgKYL → Select type “24V Ball 2P-XH2.54”
- 1 Unit of HEPA Layer Activated Carbon Filter → https://a.aliexpress.com/_c4E4aJMf → Select Any Qty
- 1 Roll of White Single-Sided Foam Tape 10mm wide, Thickness 1mm → https://a.aliexpress.com/_c407Visb → Select “5m, 1mm, 10mm”
- 1 Roll of White Double-Sided Foam Tape Sealed 10mm wide, Thickness 1mm → https://a.aliexpress.com/_c4eGXffz → Select “White 5mX1mm, 10mm”
- 4 Units of PC4-M10 Pneumatic Fitting (M10 PTFE 4mm Tube ADP) → https://a.aliexpress.com/_c4lJSu3D → Select “PC4-M10”
- 2 Units Of 90 Deg Handels 150mm Opening (M10 connection) → https://a.aliexpress.com/_c3EPvluB → Select “Carbon steel 150mm”
- 4 Units Of Stainless Steel M10 Washer → https://a.aliexpress.com/_c3aTY8jZ → Select “M10x20, 0.5mm thickness”
Note: I will add the Full Assembly Instruction Document soon
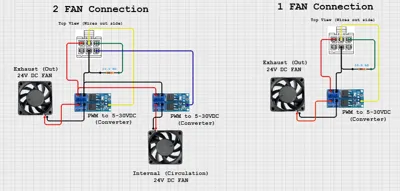
For the option for connecting the Fan to the designated Connector on the top of the printer (between Heads 3 and 4)
You will also need those Parts: (See for more data https://github.com/WilliamTheMaker/BuildMyOwnBlackBox_for_Snapmaker_U1)
- 1 unit of MOSFET PWM Regulator 24V → https://a.aliexpress.com/_c3yLcjaF
- 1 Unit of 6 pins Micro-Fit MX3.0 Double Row Male Plug Housing+Female Terminal → https://a.aliexpress.com/_c3CTwCHd → Select “2X3P”
24AWG Electrical Wires → https://a.aliexpress.com/_c3FM40IB
* For the electric connection of the Fan with the PWM to the Top Cover U1 Original Connector, see the attached Document taken from Discord and this drawing on the connection needed

Documentation (2)
License
You may create derivative works based on this object, provided that all such derivative works are published exclusively on the MakerWorld platform and include proper attribution to the original creator. You may not share, upload, host, distribute, or publish this object—or any derivative work of this object—on any other digital platform, marketplace, or distribution channel. Commercial use of this object and any derivative works is strictly prohibited. This includes, but is not limited to, selling, renting, sublicensing, or using the object in any context in which you receive monetary compensation or other financial benefits.
Comment & Rating (33)