Starlink Mini Flat Mount REV 3


Print Profile(4)

Description
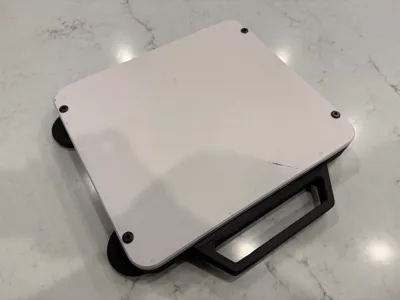
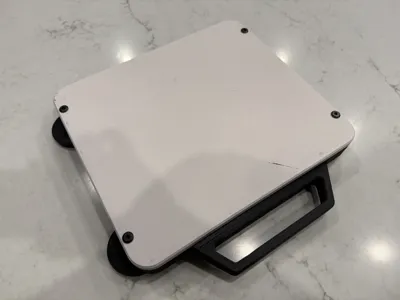
Starlink Mini Dishy Flat Mount – REV 3
What’s New in REV 3
REV 3 is a complete redesign focused on better protection, greater versatility, and simpler assembly.
- Improved geometry for increased durability
- Full‑coverage upper shell for protection
- Optional handle for easier removal from vehicle roofs
- Optional hard‑mount wing for expanded mounting configurations
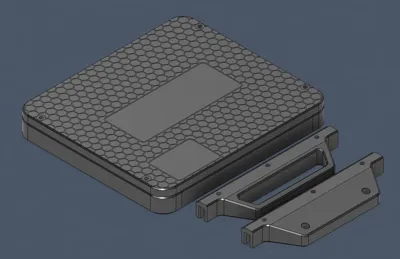
- Simplified 5‑piece design for faster printing and easier assembly
Recommended Print Settings
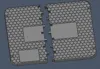
The one piece upper cover requires an H2S or similar large‑bed printer.
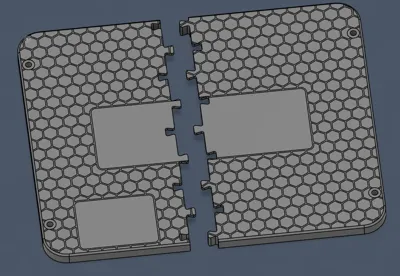
The two piece upper cover can be printed on any H2 series or similar large-bed printer.
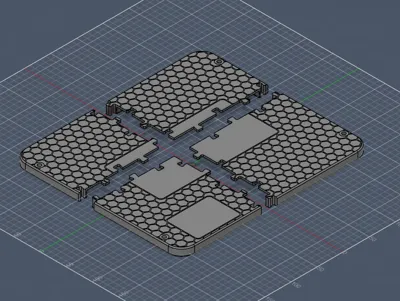
The four piece upper cover can be printed on any printer with a bed size larger than 190mm x 180mm
The 4 piece upper cover is untested so please provide feedback if you do print one.
Thank you to Schlagel Bagel for the idea and testing the print of the two piece cover.
Print Parameters
- Layer height: 0.2 mm
- Infill: 35% Gyroid
- Walls: 6 perimeters (4 may be acceptable depending on material)
- Material: PETG, ASA, or ABS recommended. ABS‑GF is preferred for maximum rigidity.
- Supports:
- Required only from build plate
- Needed for screw recesses and joint features
- Support interface recommended for clean removal
Included Print Profiles
Profiles are tuned for ABS‑GF using BambuLab Support for ABS as the support interface. They include a specific Z‑offset for easier support removal.
Do not use 0 mm Z‑offset.
Mid‑Print Hardware Insertion
The upper cover requires M6 locknuts inserted mid‑print. A pause is included at layer 51 in the provided profiles.
Make sure nylon portion of locknut if facing the build plate.
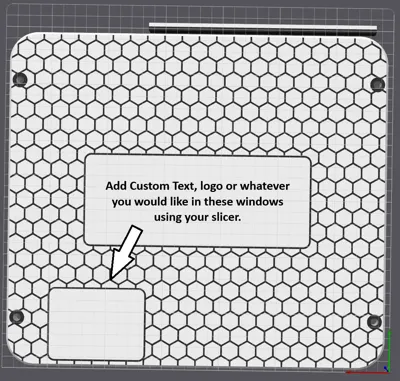
Optional Customization
The upper cover features a hexagon pattern that can be printed in a contrasting color. Two windowed areas allow for optional text or graphics—ideal for:
- Dish identification
- Wi‑Fi details
- Contact information
- Custom logos (I print my logo in the center window)
Hardware Required
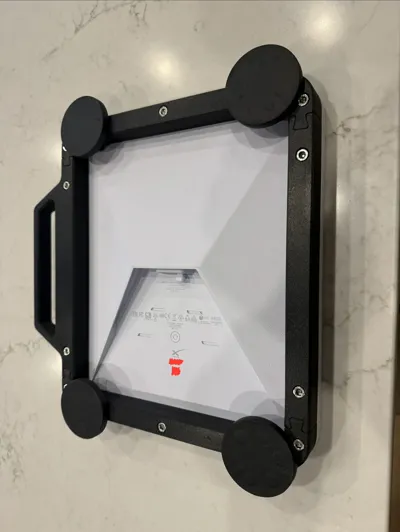
- 4× round puck magnets
- 10× M6×35 mm screws
- 4× M6×50 mm screws for magents
- 10× M6 nylon lock nuts
Assembly Instructions
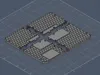
1. Assemble the Lower Frame
- Slide the lower frame pieces together.
- Joints are intentionally tight for rigidity and may require firm pressure.
2. Position the Dish
- Place the Starlink Mini face‑down into the upper cover.
3. Attach the Lower Frame
- Set the assembled lower frame onto the upper cover.
- Ensure the PORT SIDE text aligns with the dish’s ports.
4. Install the Screws
- Insert M6×35 mm screws through the lower frame into the upper cover.
- Tighten in a criss‑cross pattern for even compression.
- Applying anti‑seize is recommended to prevent galling in the locknuts.
5. Install Magnets (Optional)
- Insert M6×50 mm screws through the magnet holes in the upper cover.
- Attach magnets to the lower frame.
- Tighten in a criss‑cross pattern.
6. Enjoy Your Mounted Dish
Your REV 3 mount is now ready for use.
Other Designs
- Original Mini Flat Mount (REV 1) – MakerWorld
- Original Mini Flat Mount (REV 2) - MakerWorld
- Starlink Gen 3 Flat Mount – MakerWorld
License
You may create derivative works based on this object, provided that all such derivative works are published exclusively on the MakerWorld platform and include proper attribution to the original creator. You may not share, upload, host, distribute, or publish this object—or any derivative work of this object—on any other digital platform, marketplace, or distribution channel. Commercial use of this object and any derivative works is strictly prohibited. This includes, but is not limited to, selling, renting, sublicensing, or using the object in any context in which you receive monetary compensation or other financial benefits.
Comment & Rating (49)