
WaveGrid - Ultimate Drawer Organization System
Print Profile(8)
Bill of Materials





Description
Membership
Do you appreciate my work and want to support me? Do you want to use my models commercially? Then please join my membership. Thank you very much 😀
Boost Me (for free)
Enjoying WAVEGRID?
Then please consider to give it a 🚀Boost🚀 and/or ⭐⭐⭐⭐⭐.
I greatly appreciate any kind of support. Thank you very much.

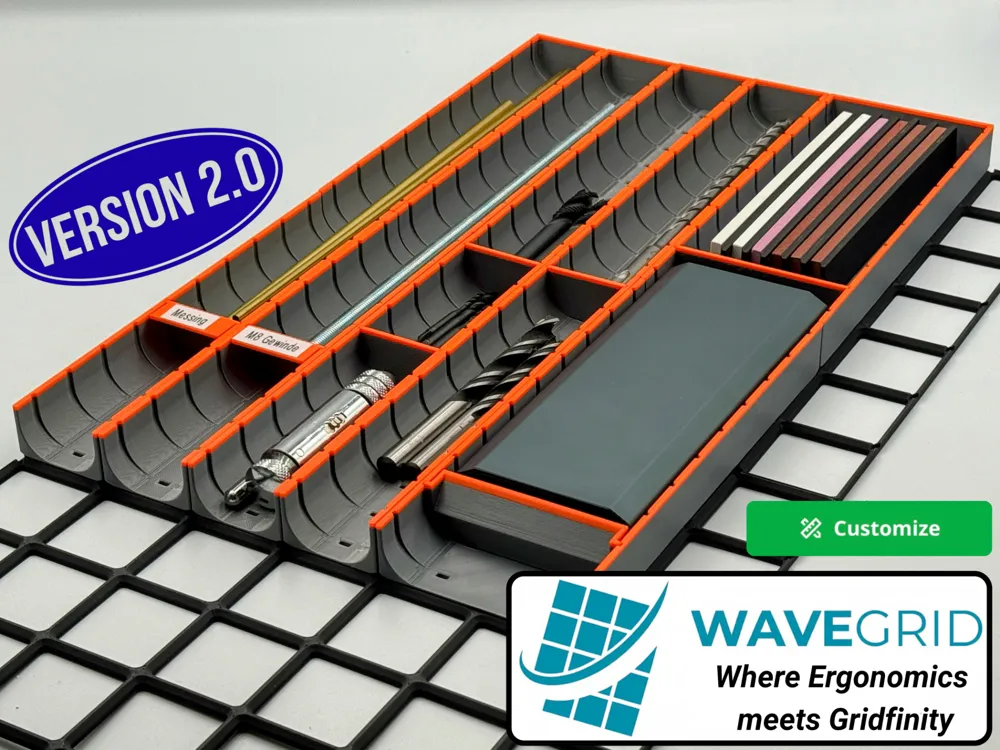
🚀 30.03.2026 - Major Update: WAVEGRID 2.0
Thank you for the amazing feedback on the first version of WAVEGRID! I’ve listened to your requests and am excited to release Version 2.0, packed with new features:
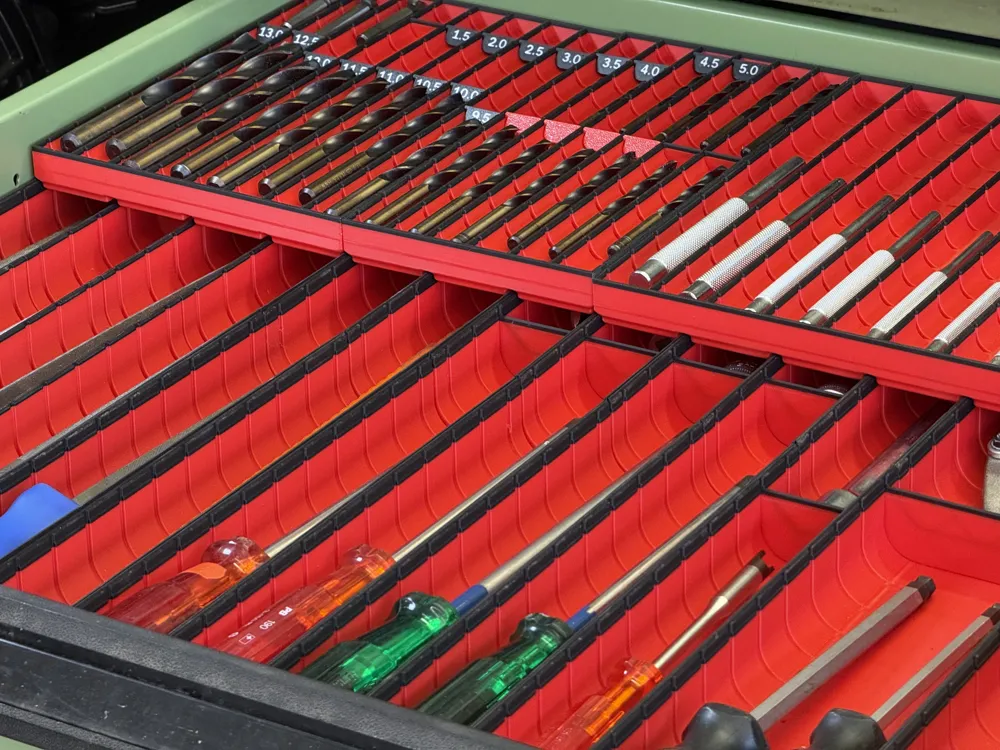
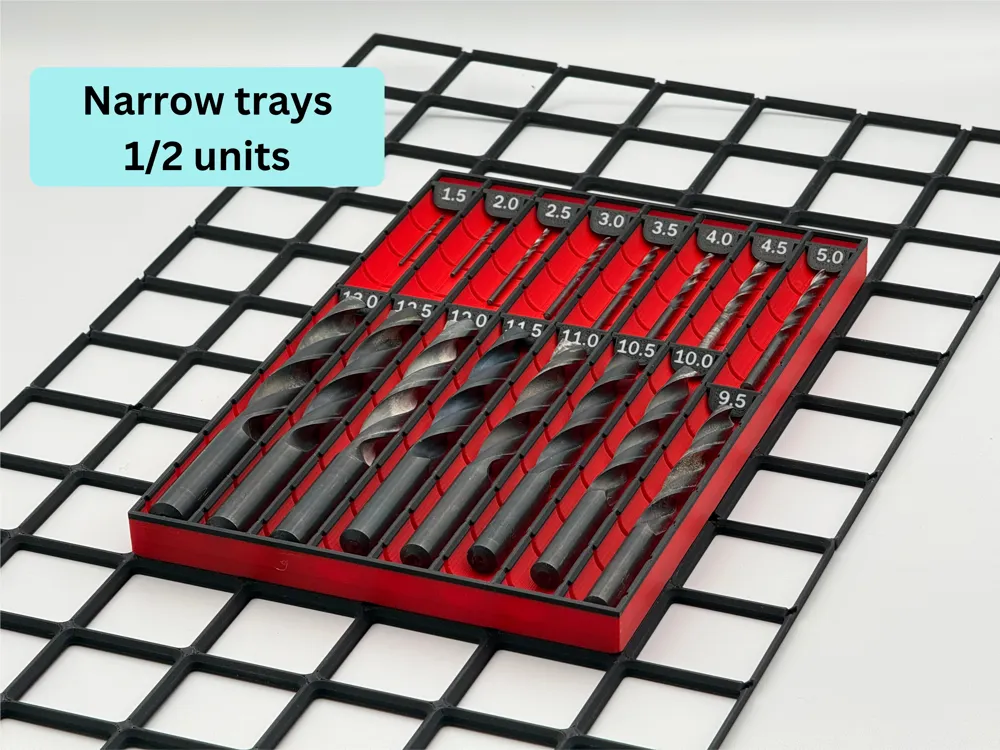
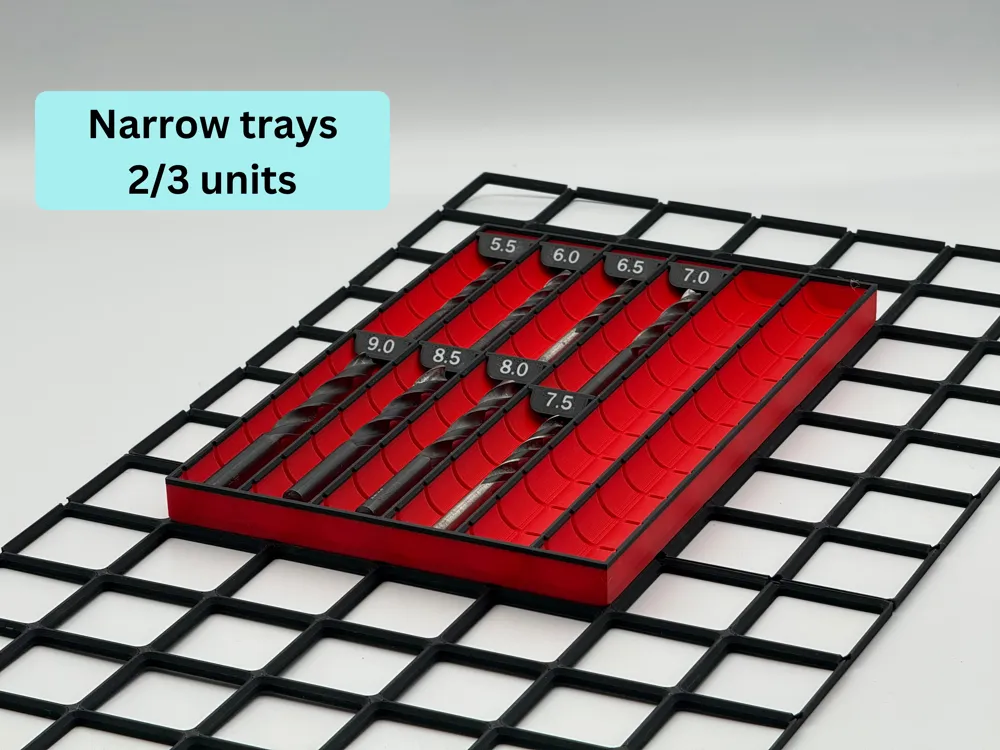
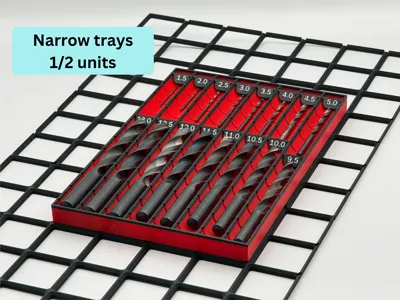
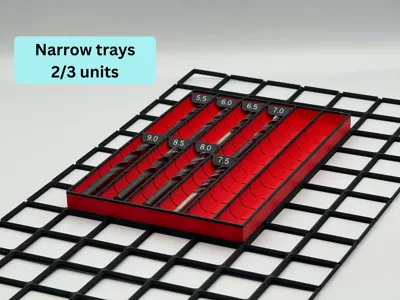
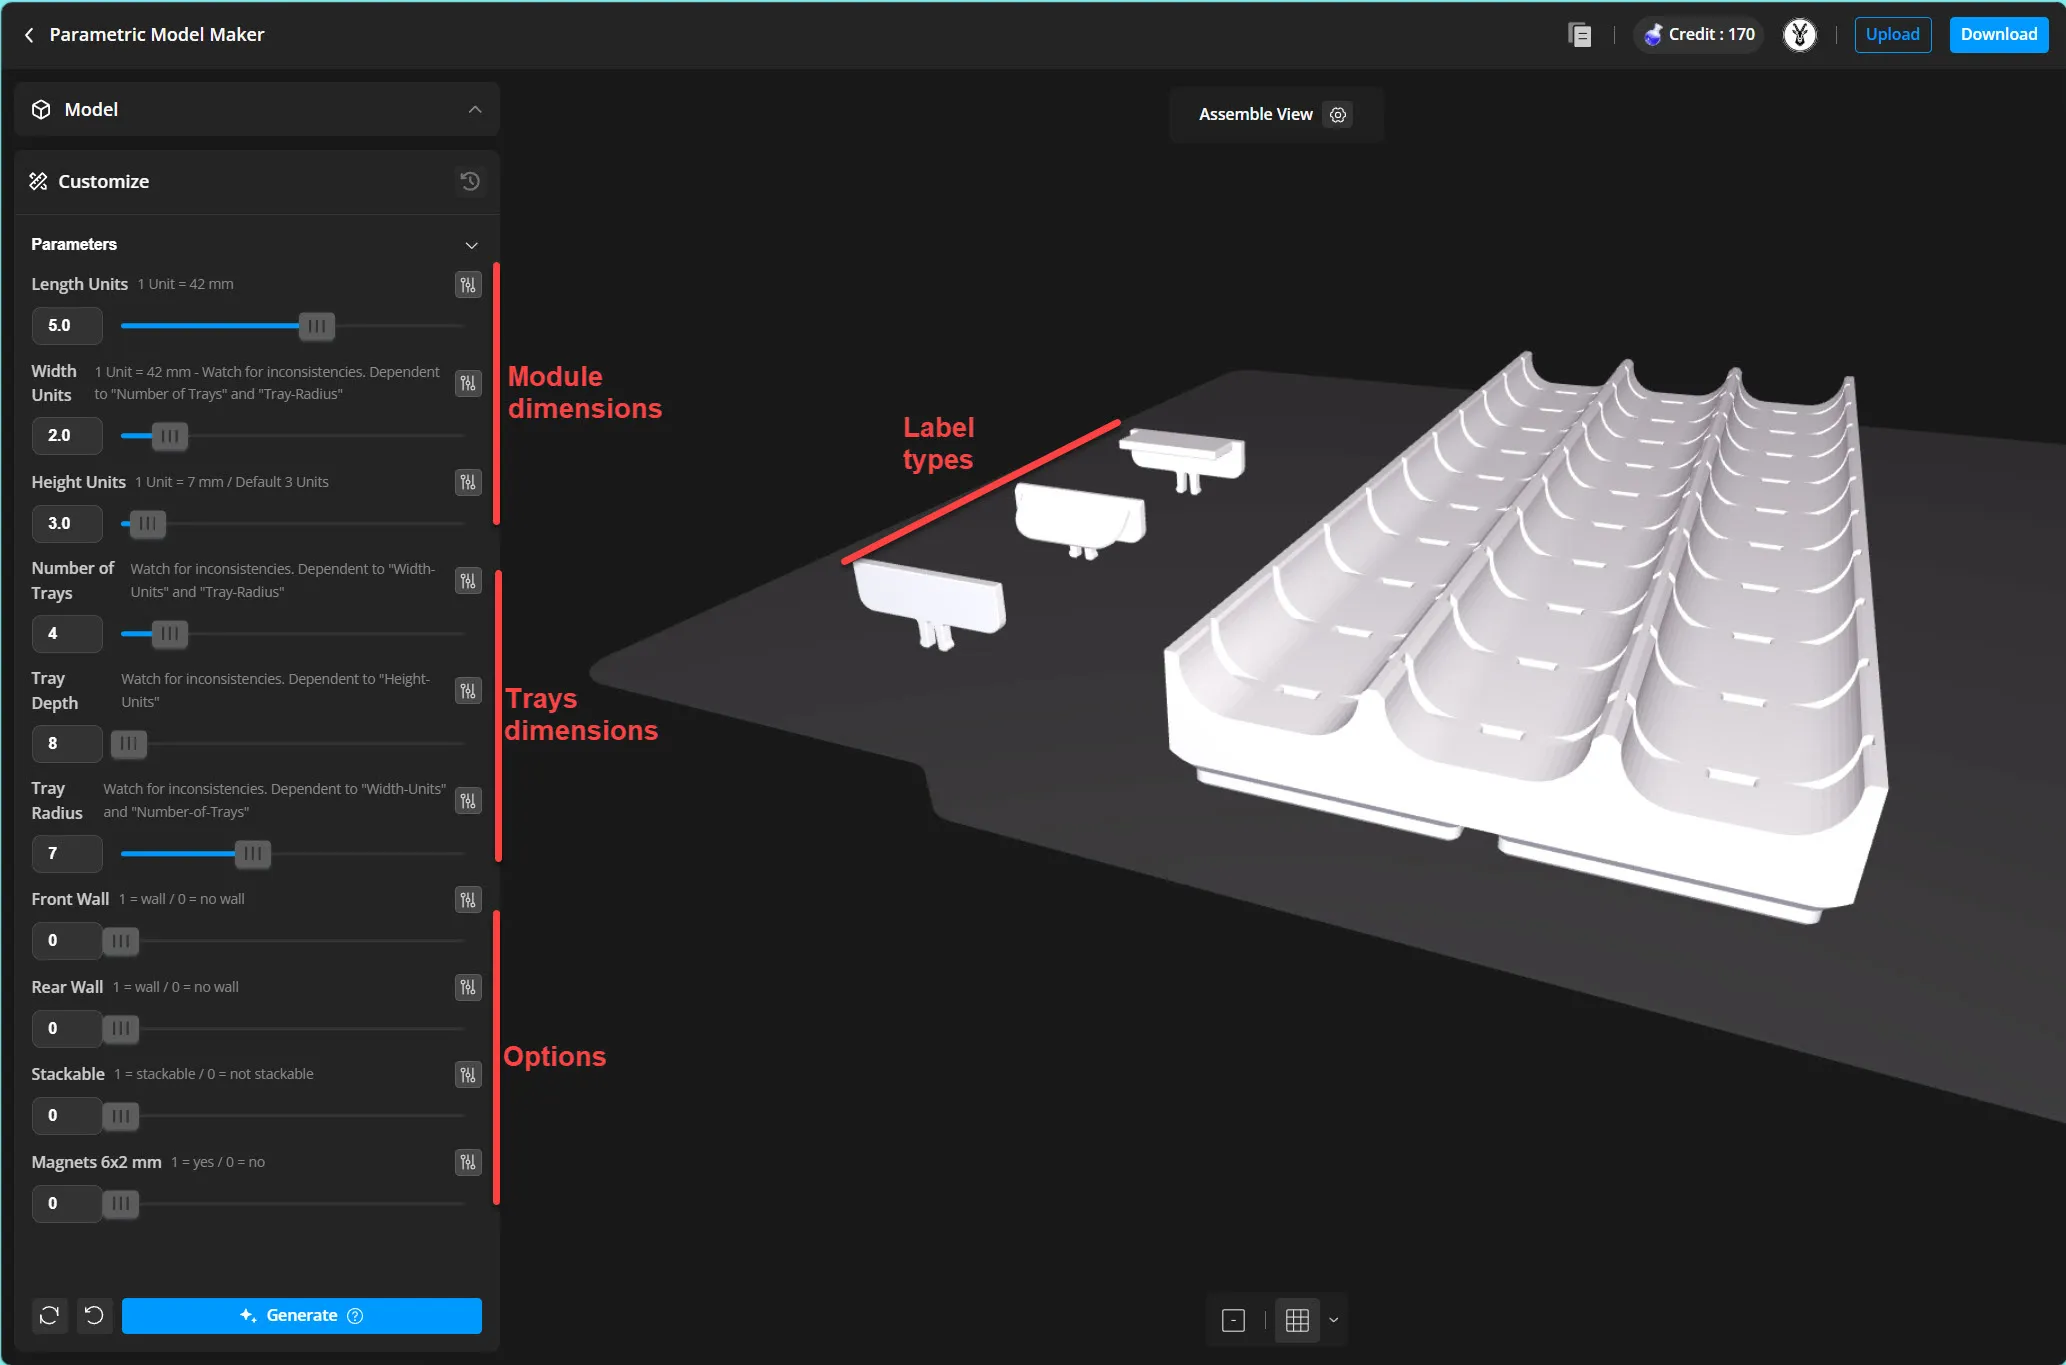
- Narrow trays: You can now freely define the number of trays and their depth per Gridfinity module. Perfect for creating 1/2 or 2/3 width trays (e.g., a 2-unit wide module containing 3 trays, each 12 mm deep).
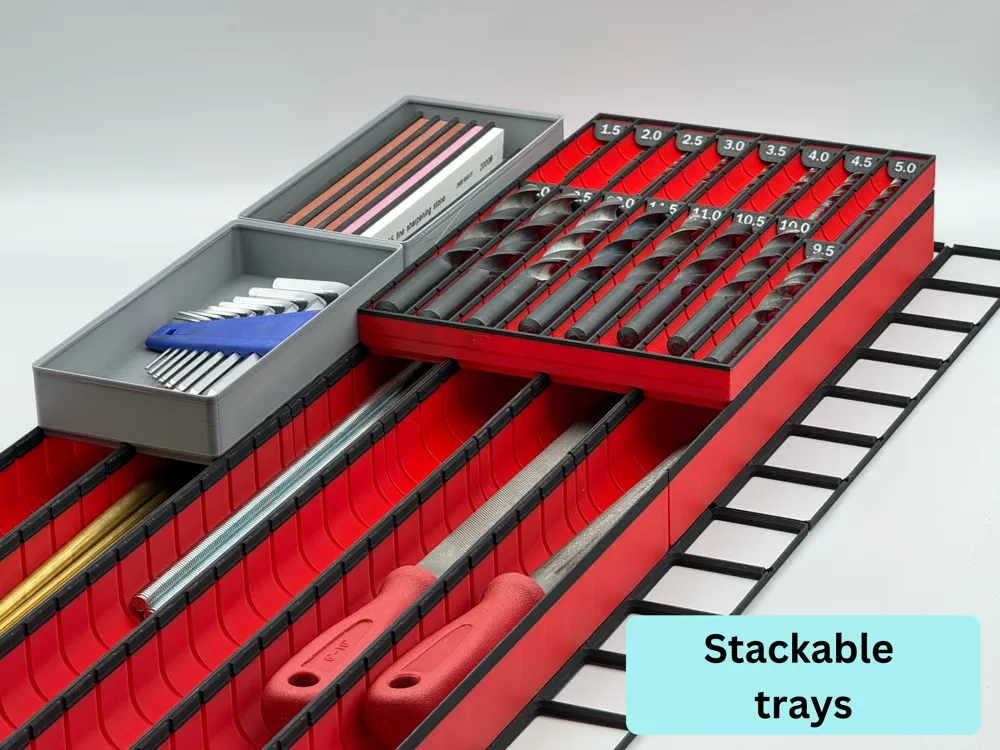
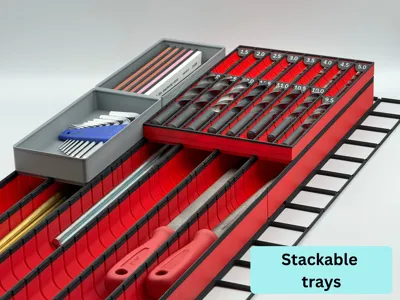
- Stackable trays: You can now optionally add an additional lip to the outer edges to make the trays stackable.
- 45° Printable Labels: A brand new angled label variant that allows you to add and print text directly onto the label within your slicer.
- More Print Profiles: Added numerous pre-configured profiles for narrow trays, classic trays, and labels.
❓ What is WAVEGRID?
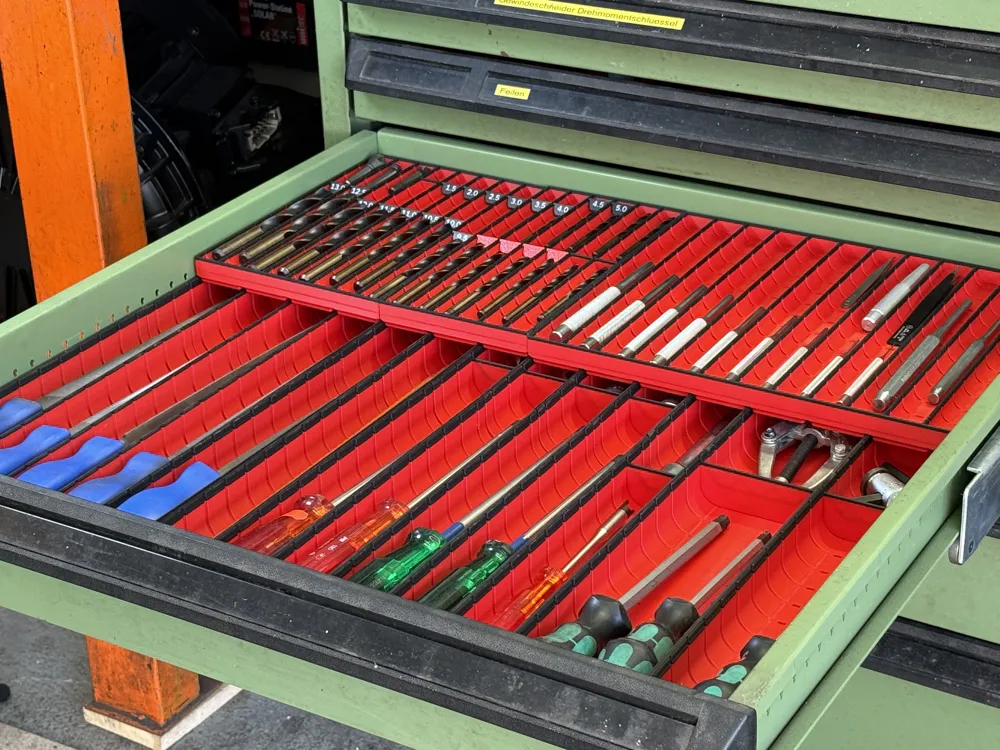
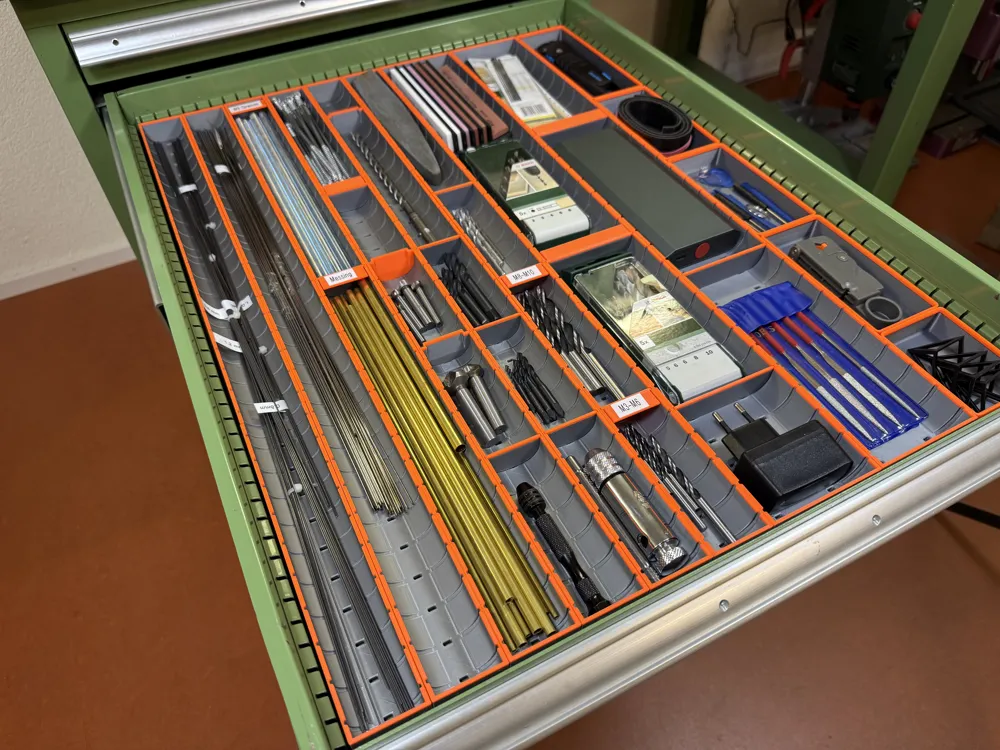
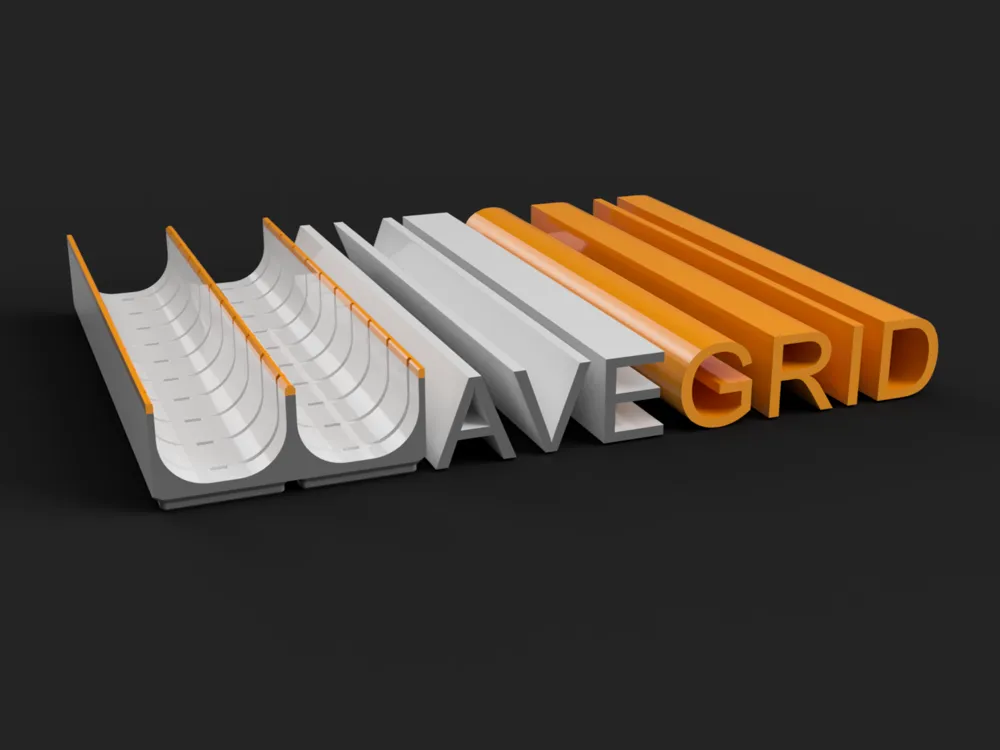
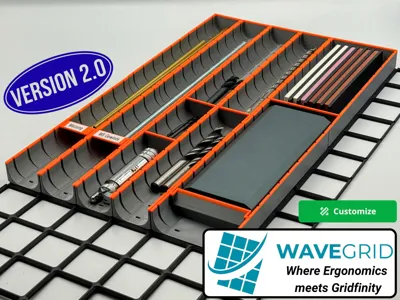
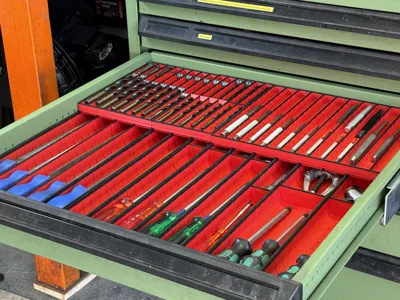
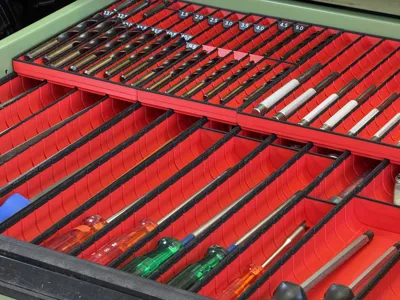
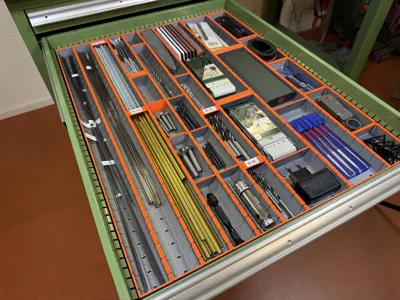
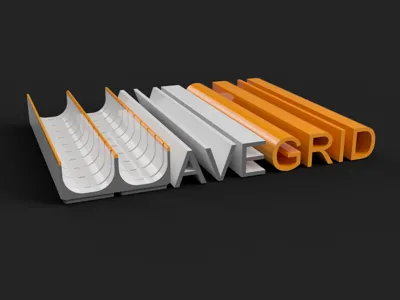
WAVEGRID is a hybrid tray and bin system for ultimate drawer organization. Built upon the Gridfinity standard, it utilizes the MakerWorld Customizer to unlock customized storage solutions previously unseen on MakerWorld.
It combines the best of both worlds:
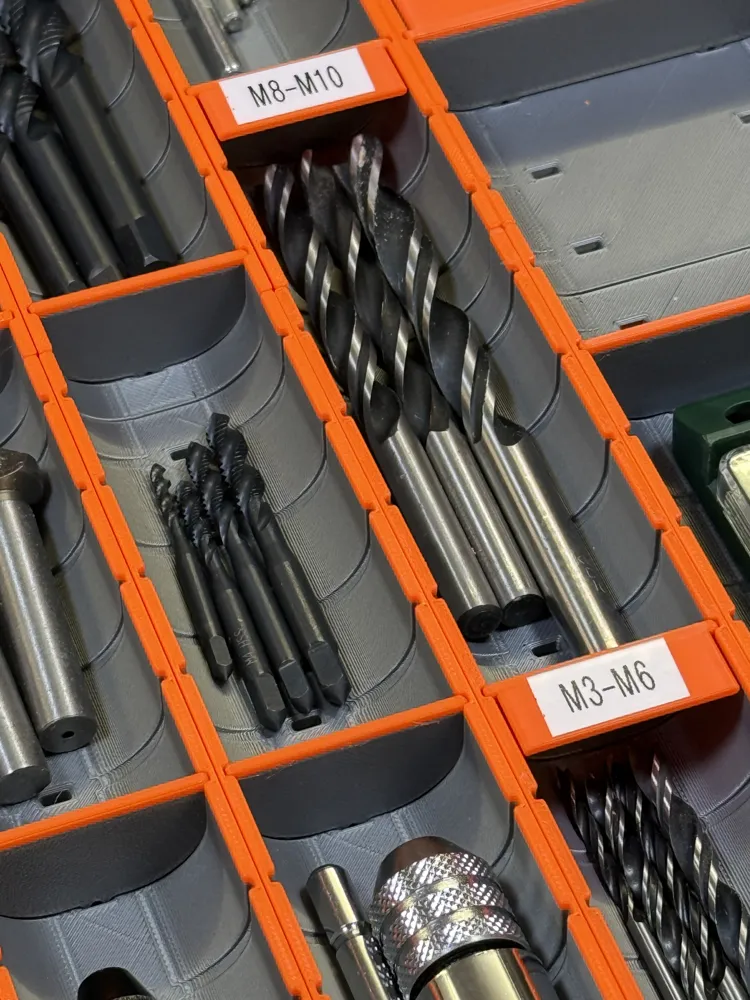
- Trays (Scoops): Ideal for elongated items. The wave-like profile allows for highly ergonomic retrieval. They feature open ends and can be extended infinitely.
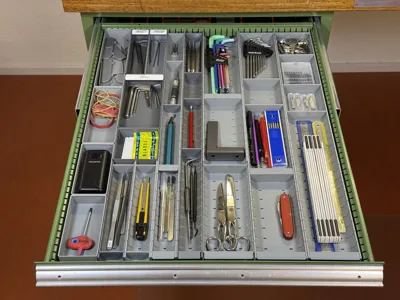
- Bins: Perfect for items of all shapes and sizes. Fully enclosed on all four sides for secure storage.
✨ Why choose WAVEGRID?
- Easy Grip (Scoop Effect): The ergonomic wave-profile allows items to slide smoothly into your hand. No more digging into deep boxes!
- Continuous Storage: Perfect hold for anything long. The only limit is your drawer length.
- Hybrid Logic: Add front and rear walls via the customizer to seamlessly turn open trays into closed bins.
- Ultimate Flexibility: Customize dimensions on the fly. Add half-units to perfectly fill the gaps in your drawers.
📦 System Components
1. Classic Trays & Bins
- Follows the Gridfinity standard (1 Unit = 42x42x7 mm).
- Configure up to 8x8 units in length&width, and up to 20 units in height.
- Half units are available!
- Adjustable scoop radius (2–15 mm)
- Options: Stackable tray, add end walls (front/back), d6x2mm magnet holes, recesses for connector labels.
2. Narrow Trays (New!)
- In addition to the classic trays: specify the number of trays per module as well as the tray depth and scoop radius in mm
- Options: Stackable tray, add end walls (front/back), d6x2mm magnet holes
- Lots of variations possible. Examples:
- 1.5 GF units width, 4 trays = 3/8 unit per tray
- 2 GF units width, 4 trays = 1/2 unit per tray
4 GF units width, 6 trays = 2/3 unit per tray
3. Dividers & Labels
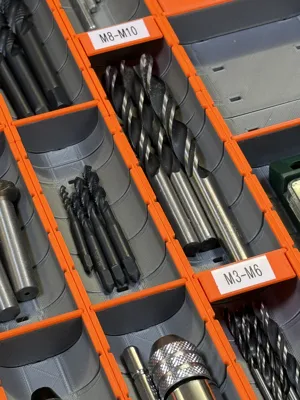
- Choose between four label variants:
- 2mm thick standard dividers
- 45° angled labels → text printable in the slicer
- 90° flat labels
- For classic trays, there are separate label customizers.
- For narrow trays, the labels are configured directly within the customizer.
- For trays taller than 6 units, you can use Connector Labels (with locking tabs) for superior structural stability.
Please note: The previous 40° label and 3mm reinforced divider have been retired in this update to streamline the system.
🛠️ Customizer for Trays & Bins

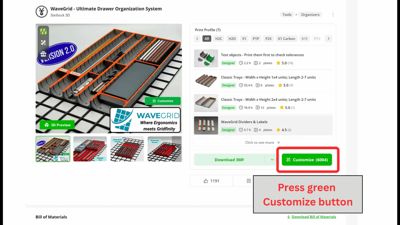
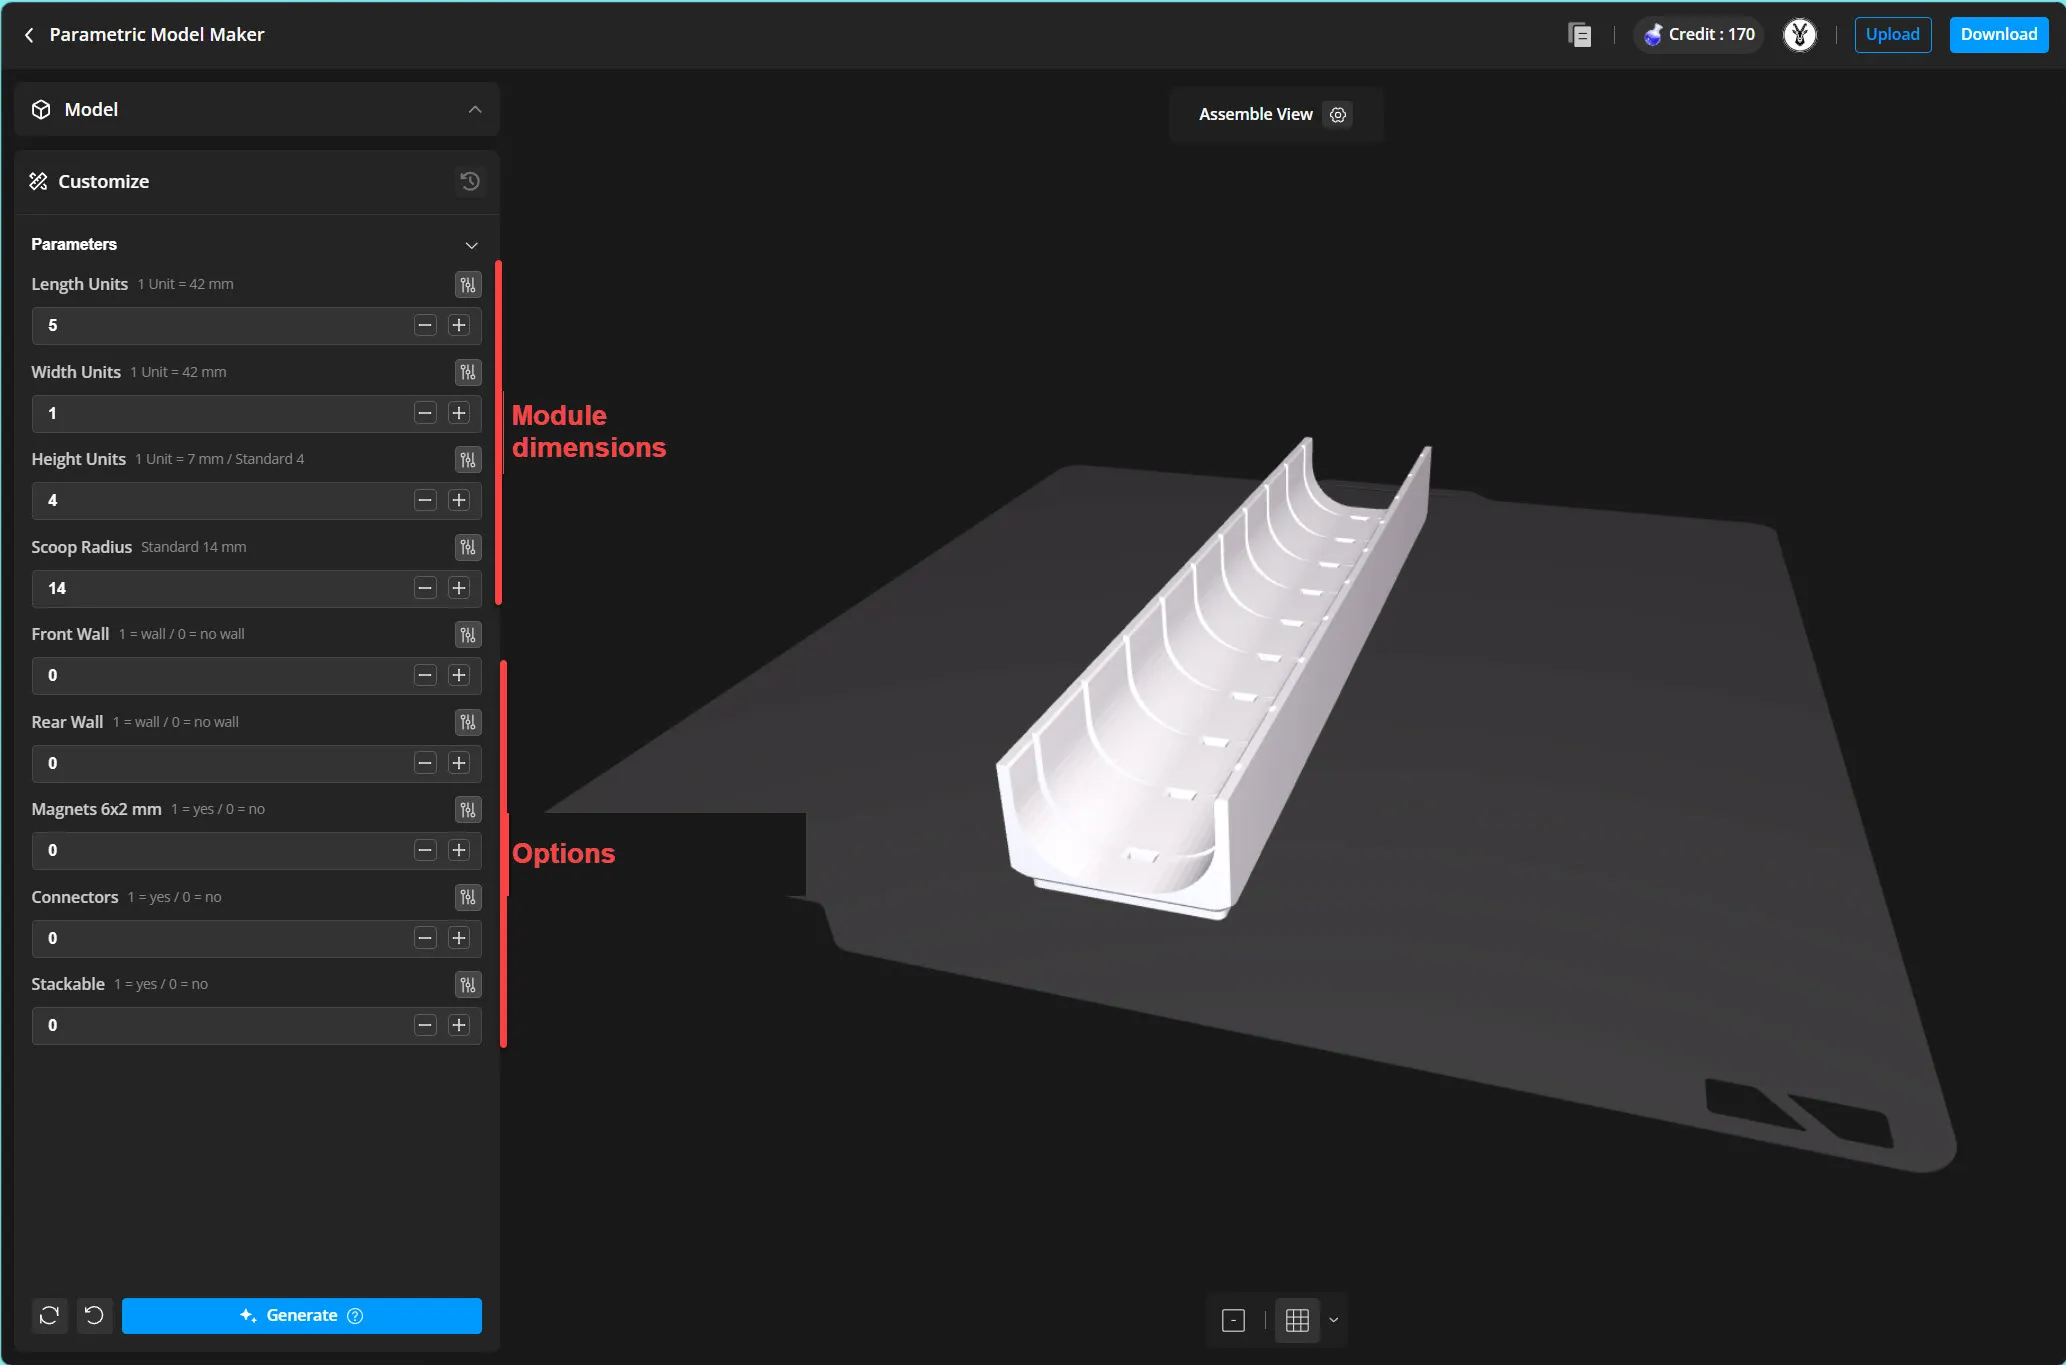
Click the green Customize Button to create your personalized designs. You can choose whether you prefer long, open trays with a large scoop-radius for comfortable easy-access, or if you want to add front and rear walls, reduce the radius, and generate a classic bin that you can subdivide with dividers. The applications are endless.
There are four separate customizers available:
- Narrow Trays & Bins, incl. Labels
- Classic Trays & Bins
- Labels for Classic Trays & Bins
- Connectors Labels for Classic Trays & Bins
For more detailed information please read the Customizer guidelines at the end of the description.
🖨️ Print profiles - ready to print
For some common dimensions I have provided the following optimzed print profiles:
- Narrow Trays:
- 1/2 unit trays - Height 3 units; tray depth 8mm; scoop radius 6 mm; various sizes
2/3 unit trays - Height 3 units; tray depth 10 mm; scoop radius 8 mm; various sizes
- Classic Trays:
- WxH 1x4 units - all lengths from 2 to 7 units; stackable&non-stackable
- WxH 1.5x4 units - all lengths from 2 to 7 units; stackable&non-stackable
WxH 2x4 units - all lengths from 2 to 7 units; stackable&non-stackable
- Labels & Dividers for classic trays:
- WxH 1x4 units - all three variants
- WxH 1.5x4 units - all three variants
- WxH 2x4 units - all three variants
🖨️ Print Settings
Material:
- PLA works well, PETG works best (both tested).
- ABS/ASA should also be fine (not tested).
- Matte or Silk PLA is not recommended!
Settings:
- 0.24 mm Layer Height
- 0.4 mm Nozzle
- 5% Infill
- No supports required!
- Dual color looks nice and creates a shadowboard effect. Of course, this is optional.
💡Pro-Tips for Getting Started
- Keep it consistent: Pick only 1 or 2 scoop radius right from the start and stick to them. This ensures maximum interchangeability of all your parts.
- Reduce variants: In the customiser for the narrow trays, there are a many options and customised labels are always required. Reduce the number of variants to maintain an overview.
- Test Print: Print the "Test-Objects" profile first to check your filament tolerances before printing large batches.
🛠️ Troubleshooting
Connections between trays and labels have relatively tight tolerances. The goal is a firm snap-fit that can still be released easily.
Ensure your filament is dry and well calibrated (especially Flow Rate and Pressure Advance).
If the labels are still too stiff:
- They usually loosen up, after inserting them 2-3 times.
- Print labels in PETG. They slide better and break less easily.
- Lightly sand the connector tabs.
- Apply a tiny drop of oil (olive or sunflower oil works perfectly 😊) to the tabs.
- Slightly increase X-Y hole compensation about 0.03 - 0.05 mm
⭐ Support My Work
A lot of time, prototyping, and coffee went into the development of this system. If WAVEGRID helps you get your drawers organized, I would be incredibly grateful for a Like 👍, a Boost 🚀, and a 5-star rating ⭐!
It really helps to keep the development going.
📸 Show Me Your Setups! (Post your Makes)
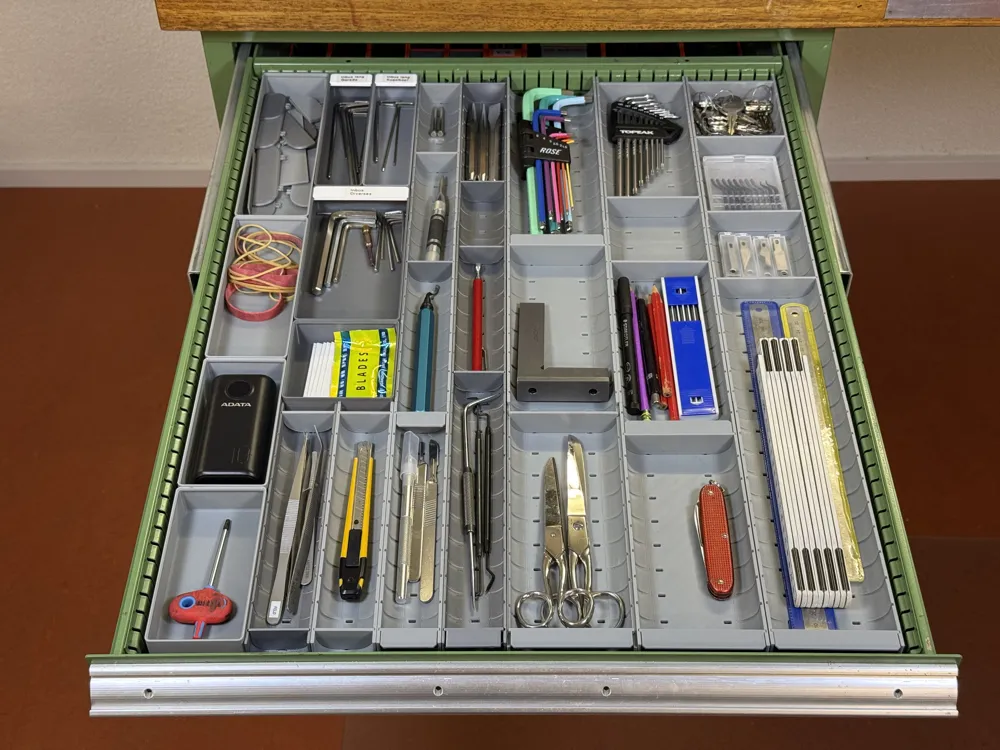
I absolutely love seeing how you use WAVEGRID to organize your workspace, kitchen, or office. Please post photos of your finished setups and "Makes" in the comments section. Let's build a gallery of perfectly organized drawers together!
🛠️ Guideline for the CustomizerTrays & Bins
General information:
- Length, width and height are defined in Gridfinity units (42mm / 7mm)
- Half units are possible
- Scoop-radius and tray depth (only narrow trays) are defined in mm
- With all versions, you can add front and rear walls to create enclosed trays or bins.
- Stackable trays - If you select this option, an additional 4.35 mm flange will be added to the outer edges.
1 . Customzier for Narrow TraysBasic Workflow:
💡 Customizer Pro-Tip for Narrow Trays: Some parameters depend on each other. If you request a large radius with too many trays in a small space, it might cause geometry errors. Always start by reducing the radius and the number of trays, define your module size, and then increase the trays/radius back to your desired amount.
|
2. Customzier for Classic TraysBasic Workflow:
|
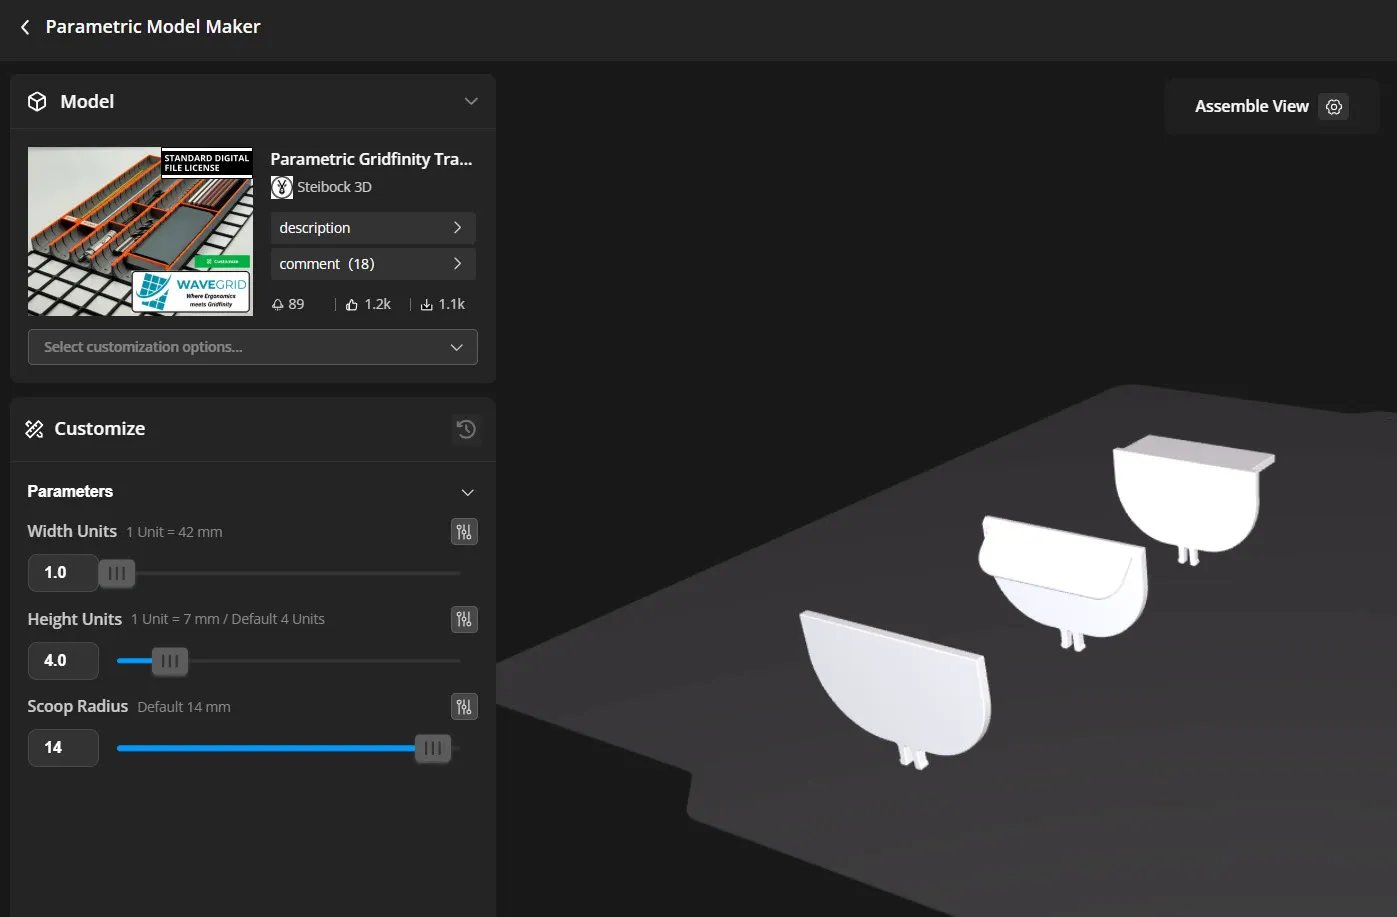
3. Labels for classic trays:Variants:
Basic Workflow:
 |
4. Labels with Connectors- These dividers and labels feature
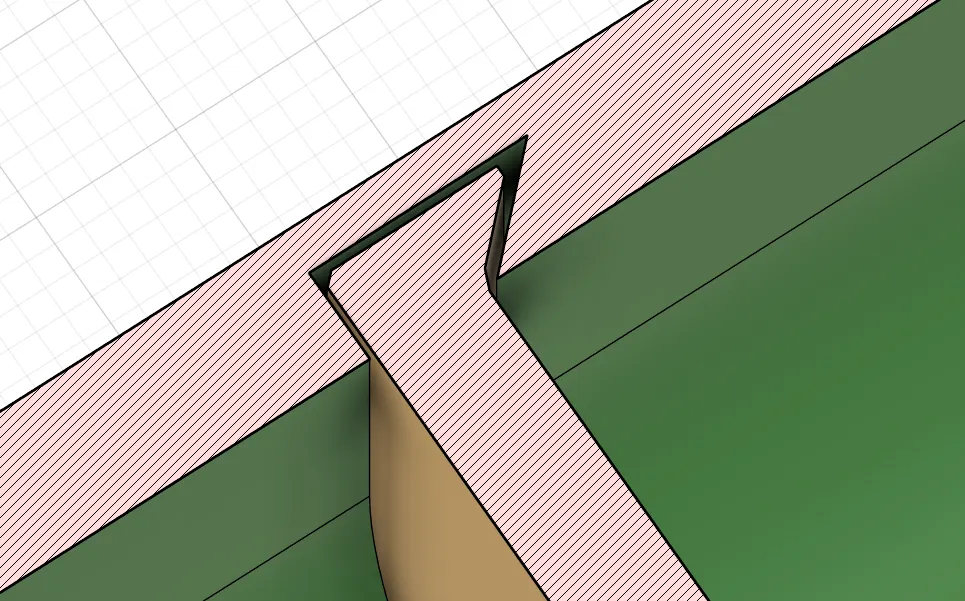
tabs on the top edge that fit into the recesses of the Trays/Bins. - If you want to use connectors, make sure you have previously selected this option for your Trays & Bins! - Connectors make sense for trays taller than 6 units; they are not necessary for lower trays. - It is sufficient to stabilize taller trays with just a few single connectors. Normal dividers can be used for the remaining subdivisions.
|
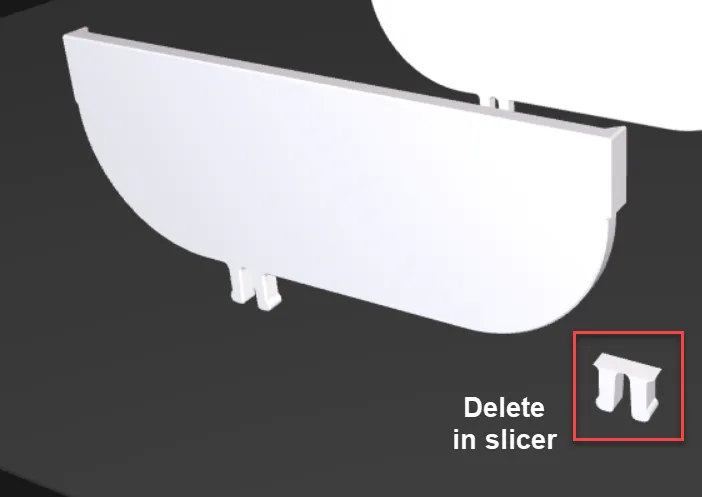
Printing Half UnitsPrinting half units (e.g., 1.5 or 2.5) works perfectly! However, please note that along the width, the recesses for the connector tabs are only generated at the full unit marks. For the labels, the configurator might generate the final tabs floating in the air. You can easily delete these later in your slicer after using the "Split to Objects" function.
|
🔗 Check out my other projects:
- CR/LR/AG batteries holders - AA/AAA batteries holders | 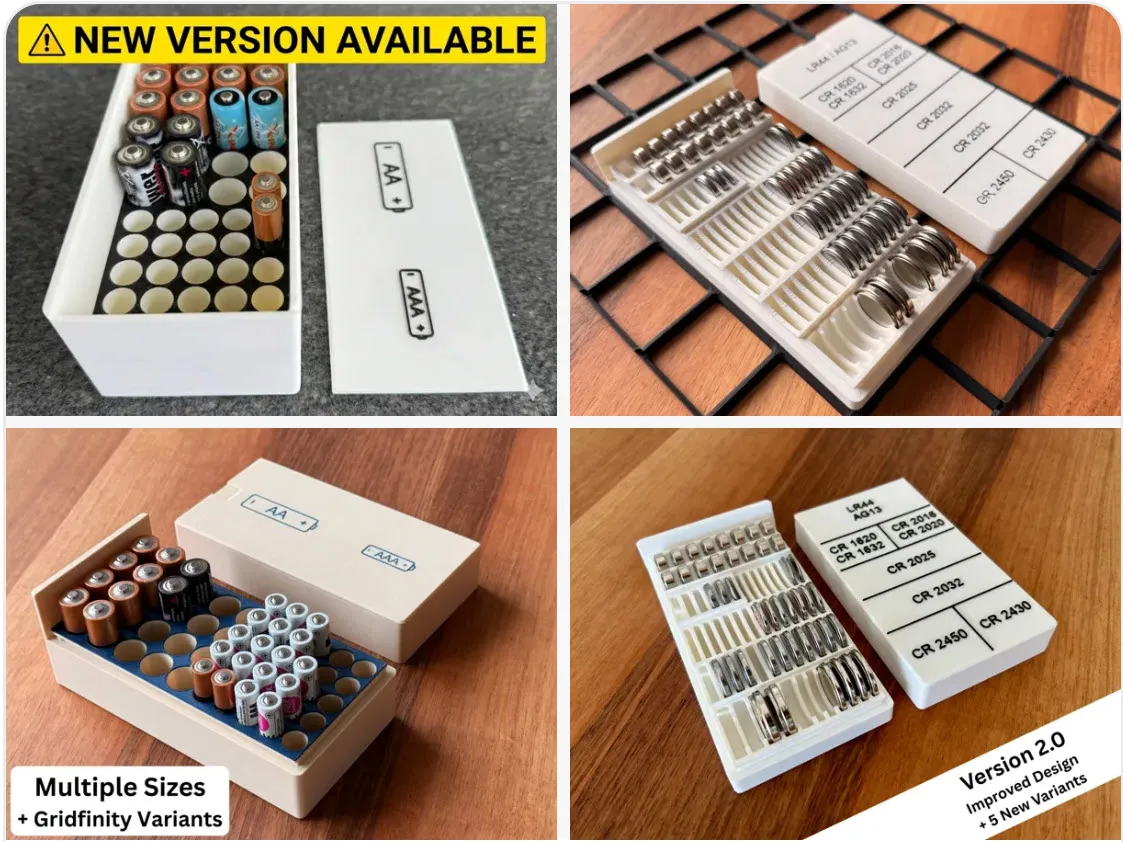 |
High quality Flag Benchys from more than 30 countries | 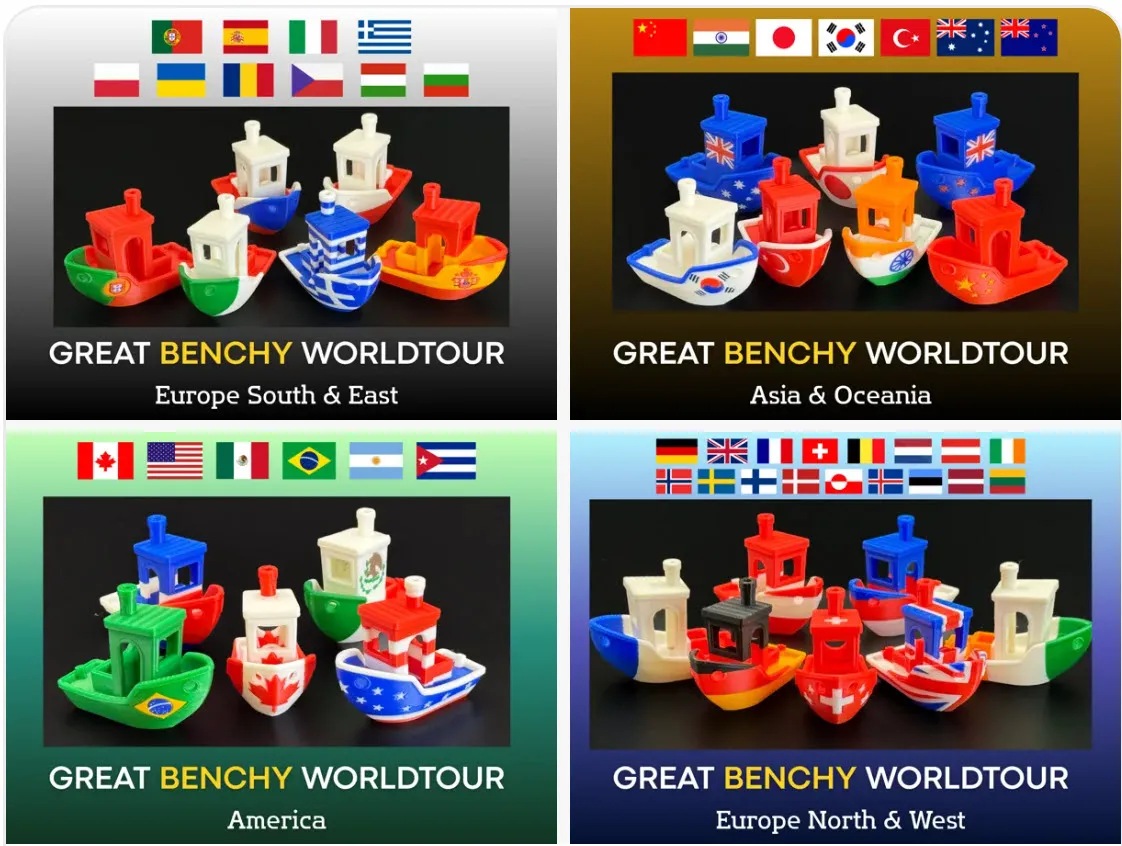 |
License

You shall not share, sub-license, sell, rent, host, transfer, or distribute in any way the digital or 3D printed versions of this object, nor any other derivative work of this object in its digital or physical format (including - but not limited to - remixes of this object, and hosting on other digital platforms). The objects may not be used without permission in any way whatsoever in which you charge money, or collect fees.


Comment & Rating (247)