Flitsmeister DOT car sun visor clip holder.


Print Profile(1)
Description
Flitsmeister DOT car sun visor clip holder.
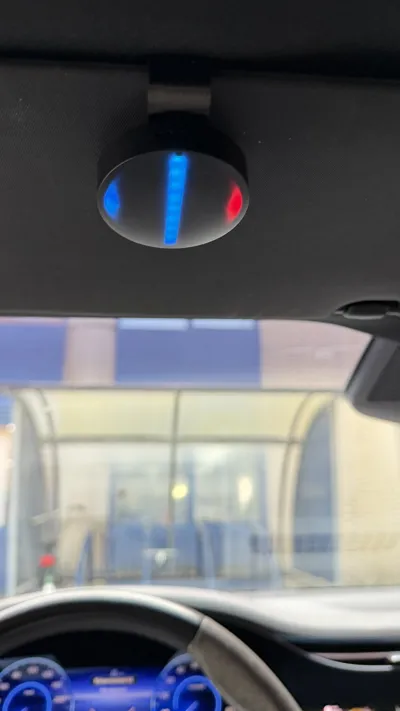
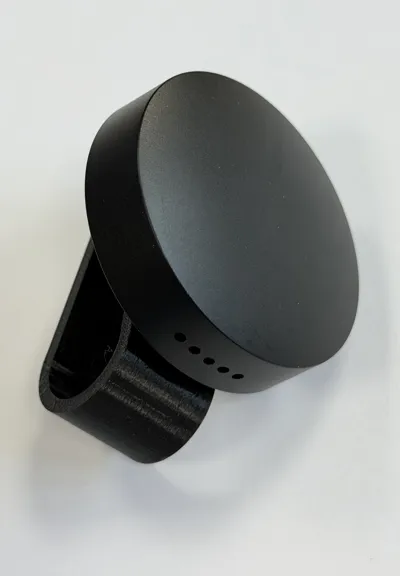
The new Flitsmeister DOT unit comes with an adhesive sticker so you can mount it more or less permanently on your dashboard.
However, the speaker isn’t very loud, and when you’re playing music it can be difficult to hear it clearly.
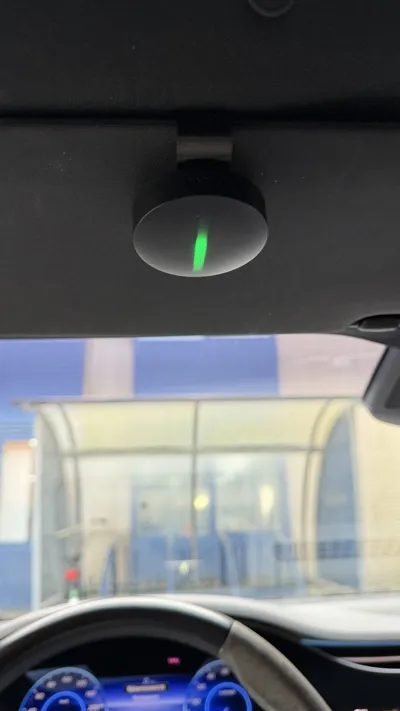
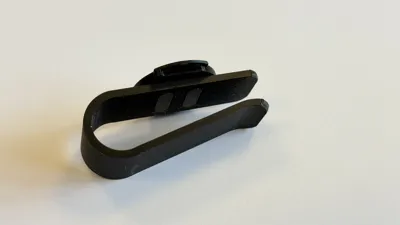
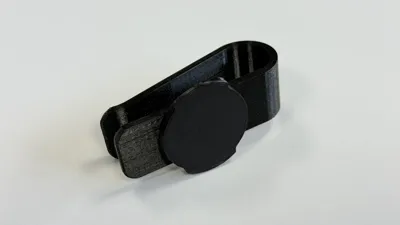
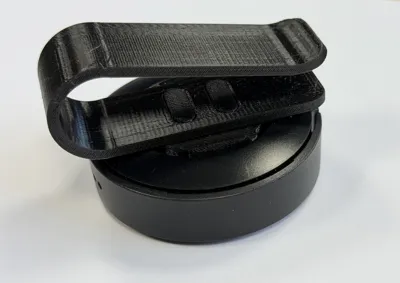
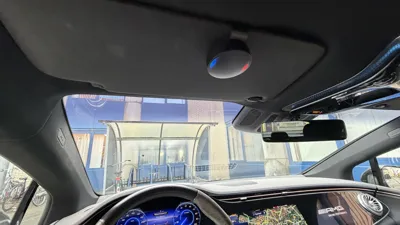
With this clip, you can easily attach it to your car’s sun visor. This places it closer to your ear, so you’ll hear it much better. It also makes it easier to remove for charging or to use in another vehicle.
In some countries, Flitsmeister is prohibited. When mounted on the sun visor, it is also less easily visible to the police during a potential traffic check.
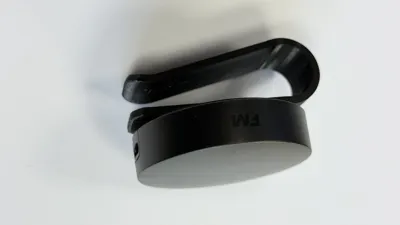
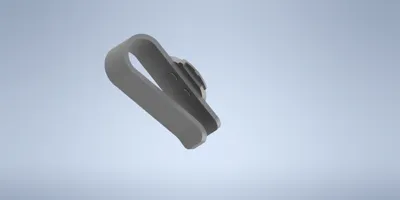
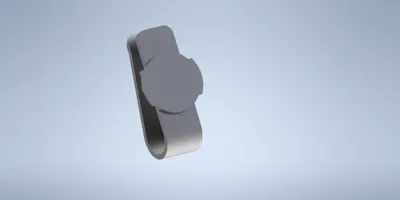
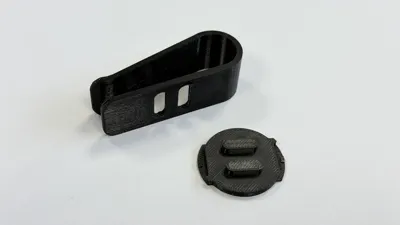
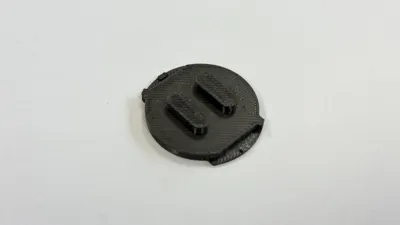
To avoid using supports and keep the prints as clean as possible, the whole piece is made out of two parts.
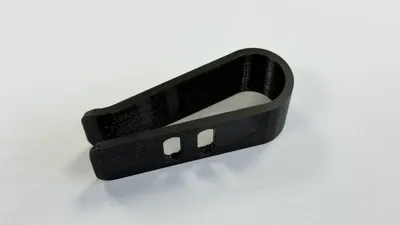
Melt the two small tabs on the inside of the clip to fix the two parts together.
Due to the precise (clicking) fit, I recommend printing this at 0.08 mm.
Use PET-G for a stronger, more durable clip, and also less sensitive to heat in the car on a hot summer day.
License
You shall not share, sub-license, sell, rent, host, transfer, or distribute in any way the digital or 3D printed versions of this object, nor any other derivative work of this object in its digital or physical format (including - but not limited to - remixes of this object, and hosting on other digital platforms). The objects may not be used without permission in any way whatsoever in which you charge money, or collect fees.
Comment & Rating (9)