Guide for Threaded Insert Soldering Iron (16–19mm)


Print Profile(4)


Description
Perfectly straight heat-set inserts every time – simple, fast and effective tool.
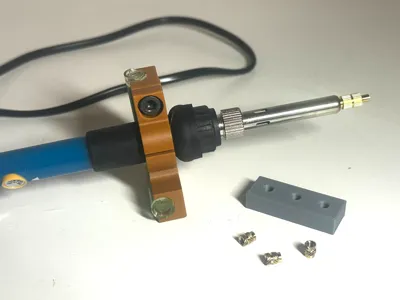
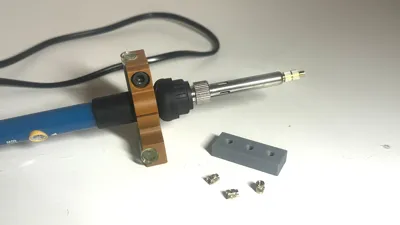
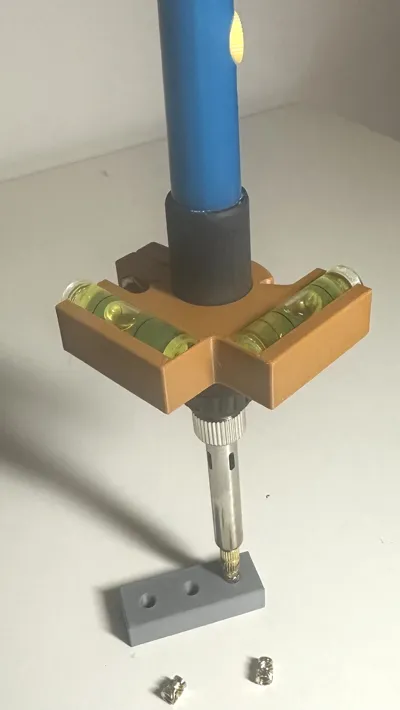
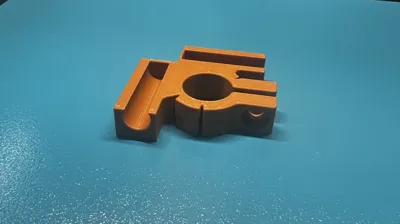
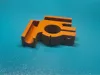
This self-leveling guide helps you melt threaded inserts cleanly, straight, and precisely with a soldering iron. Thanks to the integrated spirit levels, you can ensure that the insert sits exactly vertically without tilting or jamming.
The tool is simply placed on the soldering iron and simultaneously serves as a stable guide and visual control during melting. This makes the work significantly easier, more reproducible, and more professional.
Ideal for use with 3D printed parts (e.g., PETG, PLA, ABS, ASA, etc.).
Advantages:
- Precise, straight melting of threaded inserts
- Integrated spirit levels for perfect alignment
- Easy assembly – simply slide onto the soldering iron
- Improves stability and control during work
- Very fast printing and low material consumption
- Light, compact, and effective
Available variants (inner diameter):
- 16 mm
- 17 mm
- 18 mm
- 19 mm
Choose the variant matching your soldering iron.
🖨️ Print Information
- Printer: Bambu Lab P1S
- Filament: PETG recommended
- Nozzle: 0.4 mm
- Print time: 21 min 33 s
- Material consumption: approx 10 g
- Support: not required
- Brim: not required
PETG is recommended due to better temperature resistance.
🔧 Additional Parts Needed
- 2× Mini spirit level (bubble level 9.5x34mm)
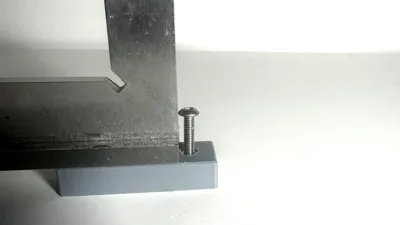
- Screw M4 x 15mm + nut
- Soldering iron with suitable diameter (choose 16–19 mm variant)
- Heat-Set Insert Tip (optional, recommended)
Optional:
- Adhesive (e.g., super glue), if the bubble levels are not press-fit
🧩 Application
- Insert spirit levels into the designated slots
- Place tool on the soldering iron
- Heat up the soldering iron
- Carefully melt in the threaded insert
- Check vertical alignment with the spirit levels
- Obtain perfectly straight inserted threaded inserts
If you like this model, I would appreciate a Like 👍 or a Boost 🚀.
Thank you and happy printing!
License
You shall not share, sub-license, sell, rent, host, transfer, or distribute in any way the digital or 3D printed versions of this object, nor any other derivative work of this object in its digital or physical format (including - but not limited to - remixes of this object, and hosting on other digital platforms). The objects may not be used without permission in any way whatsoever in which you charge money, or collect fees.
Comment & Rating (0)