
The Machine Core – Mechanical Puzzle Box
Print Profile(2)
Bill of Materials



Description
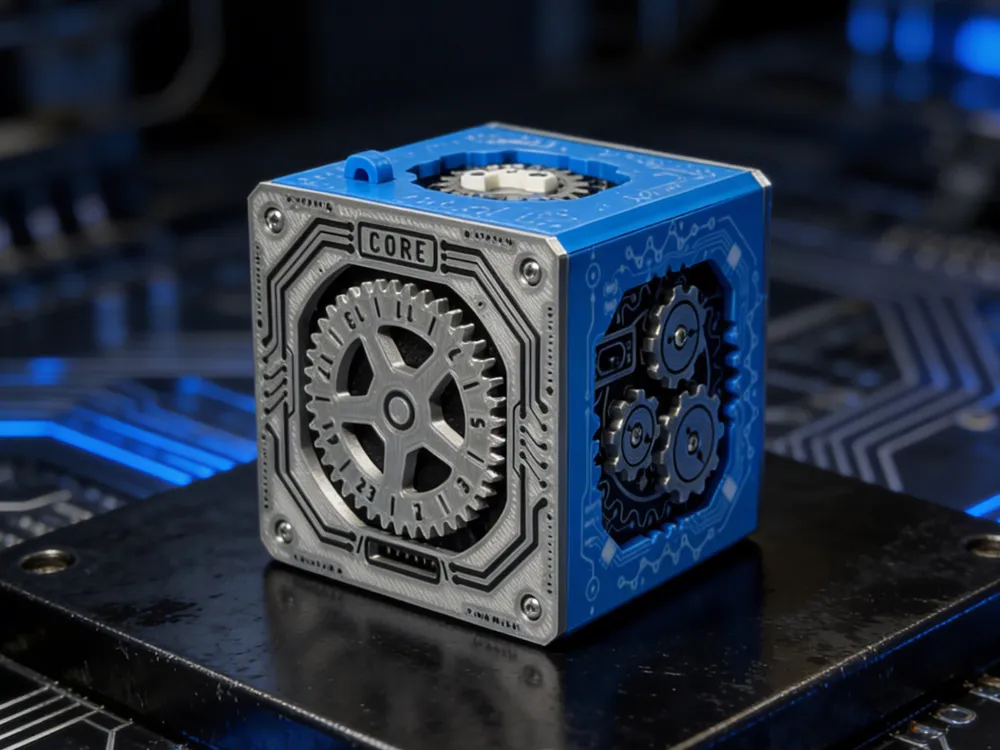
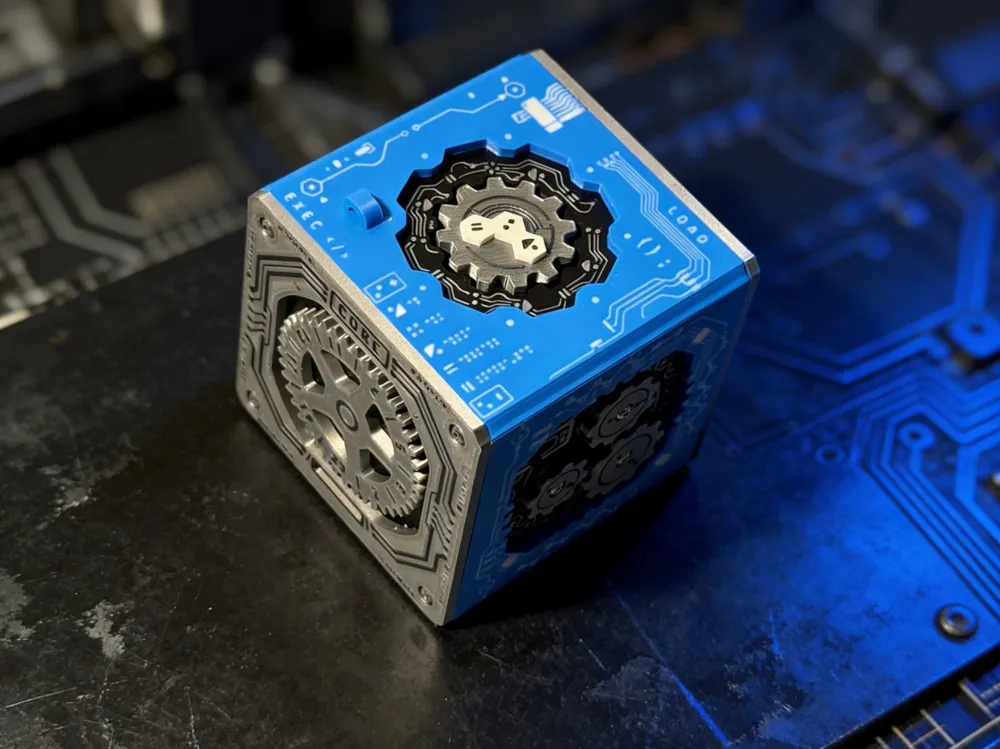

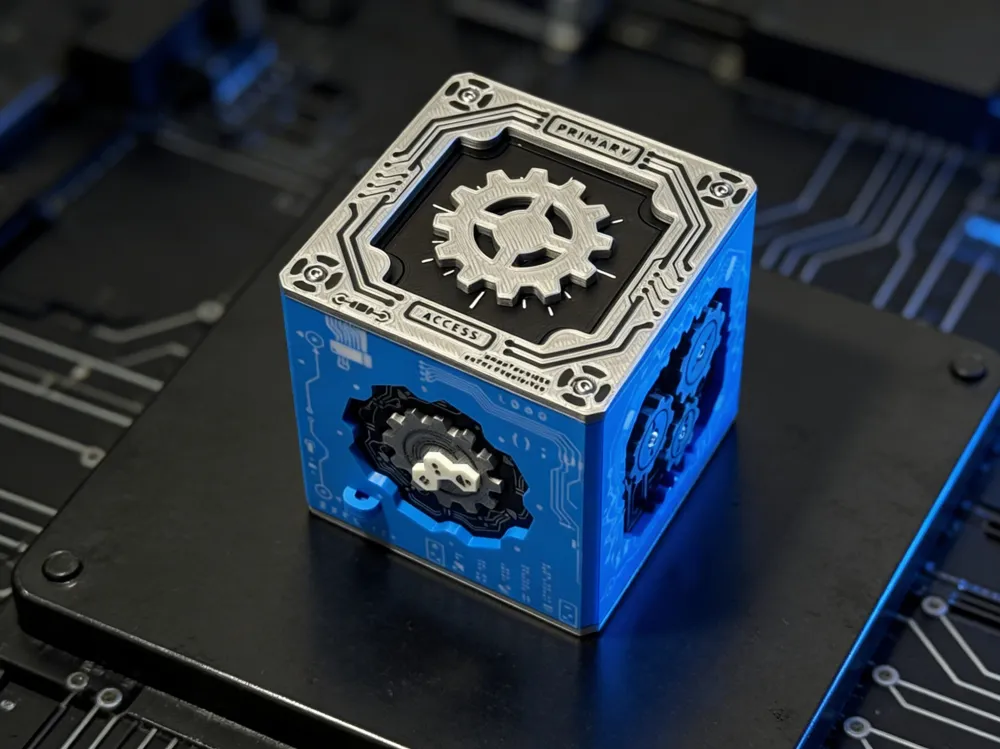

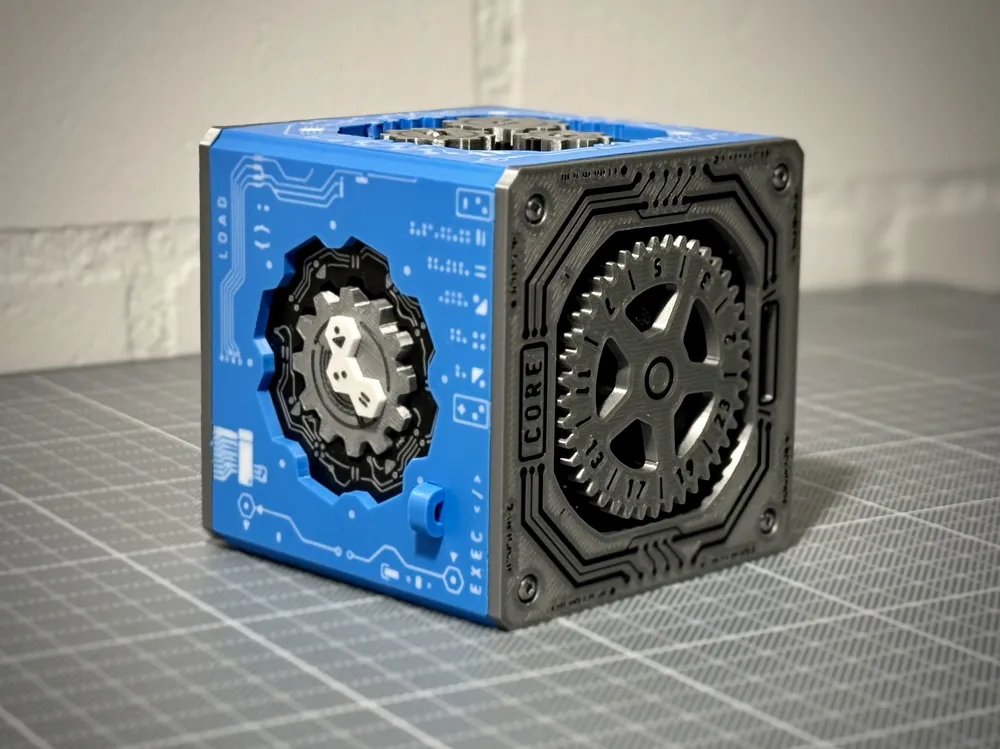
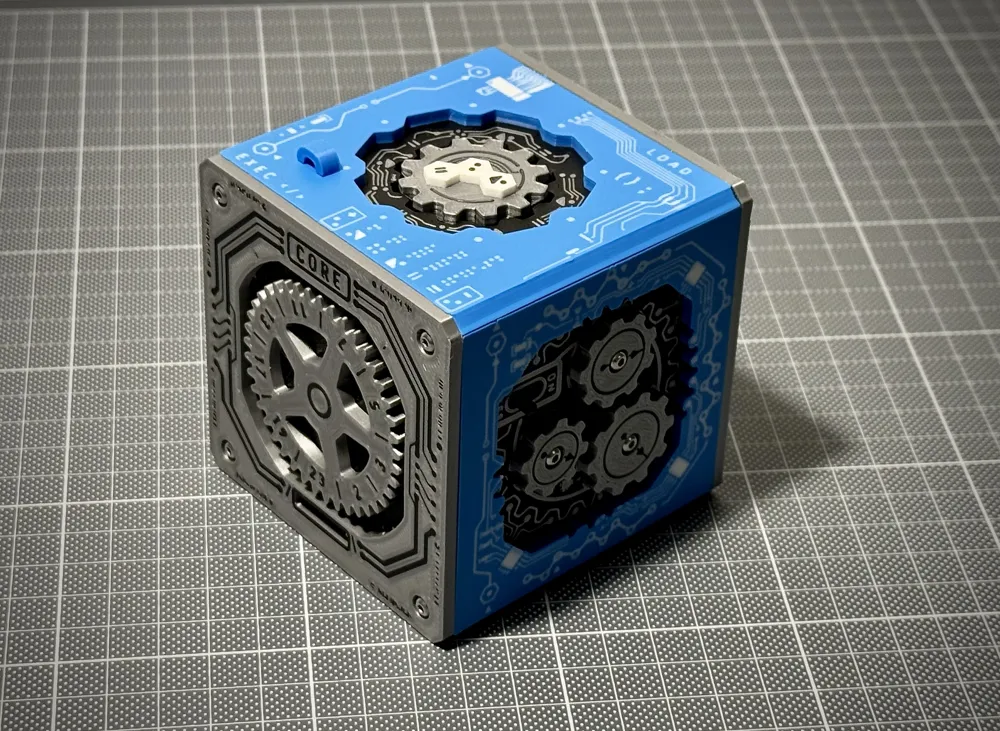
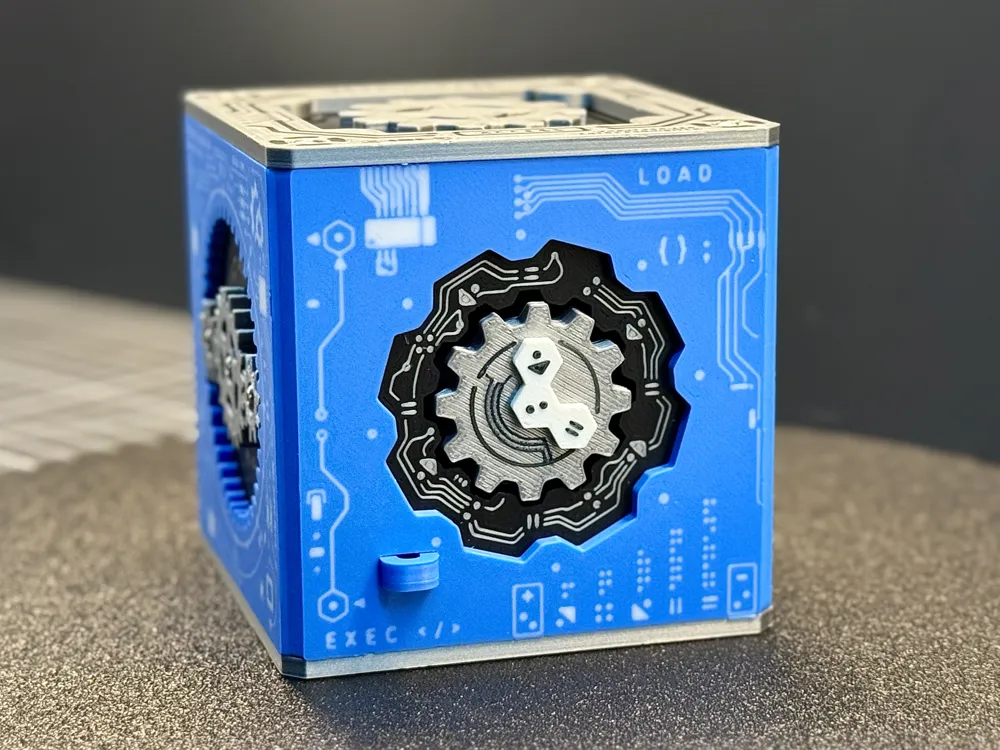
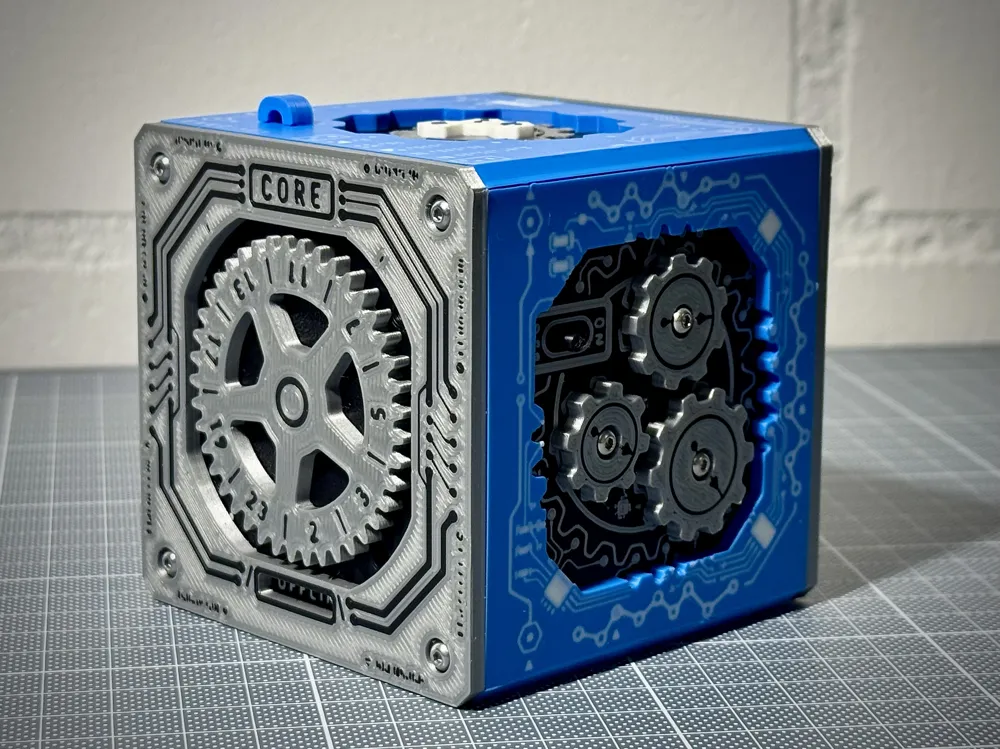
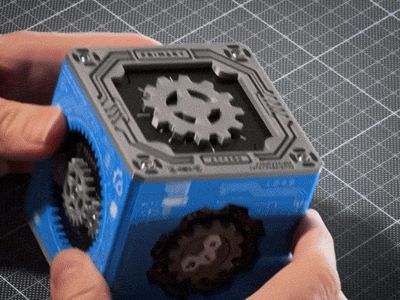
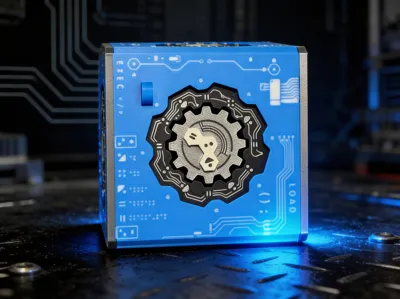
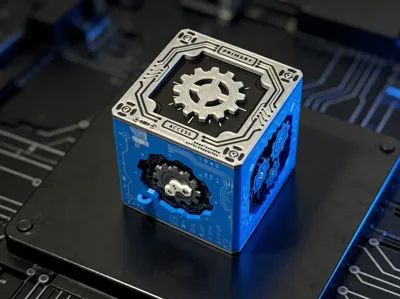
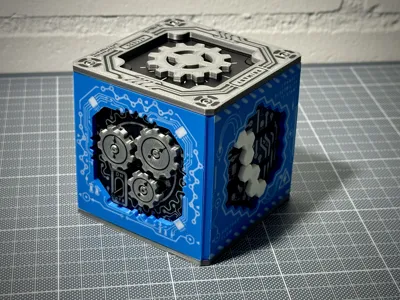
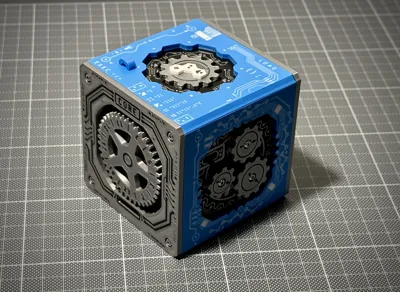
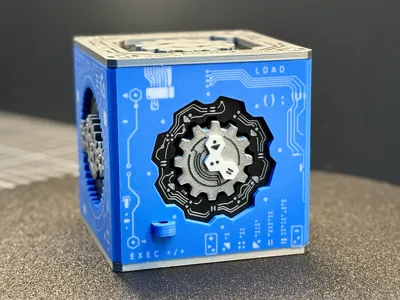
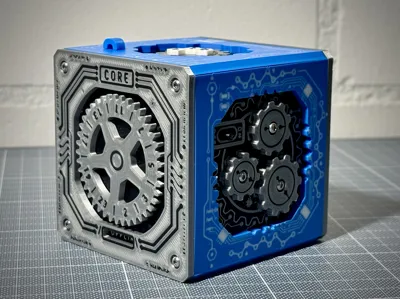
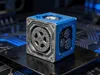
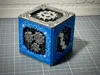
A fully mechanical puzzle box inspired by industrial control systems, heavy machinery, and mechanical logic.
Every side presents a different challenge:
Power Routing → Gear Synchronization → Programming Logic → Calibration Alignment → Primary Access Panel & Math → Core Access
Only when all systems are solved correctly can the core be accessed. Inside, a small hidden compartment can be filled with anything you like.
The puzzle can be reset easily for repeated use. Reset Guide is a the end of the page.
Each side builds on the industrial machine narrative. There are no random tricks — every movement has a mechanical reason. When everything is aligned, the core reveals itself.

Check it in action:
Boost Me (for free)
If you like what you see, help me with your free boost!
🔧 What you'll need
- 7× Neodymium magnets – 4x2 mm
- 14x M2.5x6 Screws
- 1× Rubber band (thin to medium tension)
- Superglue (for magnets)
- Light grease for some 3d printed parts (Bambu grease works well)
🖨 Print Information

- Graphics work well with a standard 0.4 mm nozzle
- Arachne Walls are required for the graphics
- Many parts are two-color printed for the graphics
→ Ensure graphics colors are printed first - A smooth build plate enhances the graphic details - but works on textured PEI as well
- Depending on printer tolerances, minor adjustments may be necessary
🛠 Assembly Guide
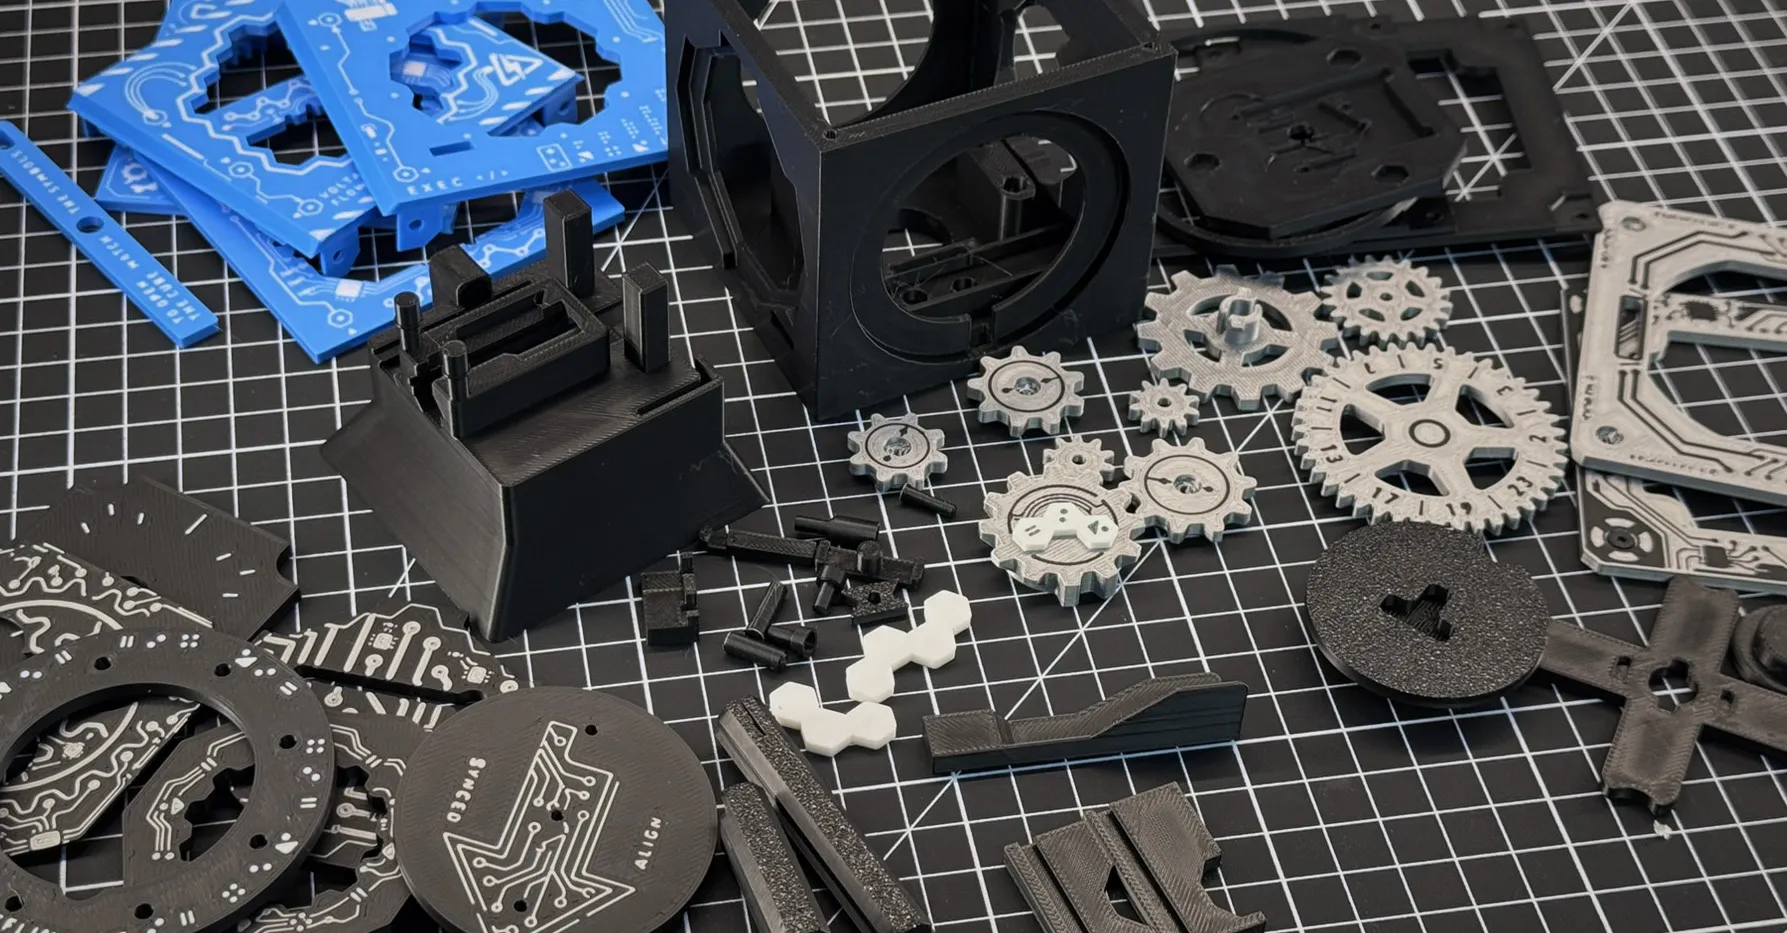
Here is an assembly animation for general orientation. For detailed instructions, please refer to the assembly guide below.
Video Assembly Guide:
If needed, the entire cube can be opened using a screwdriver. The main structural parts do not require glue.
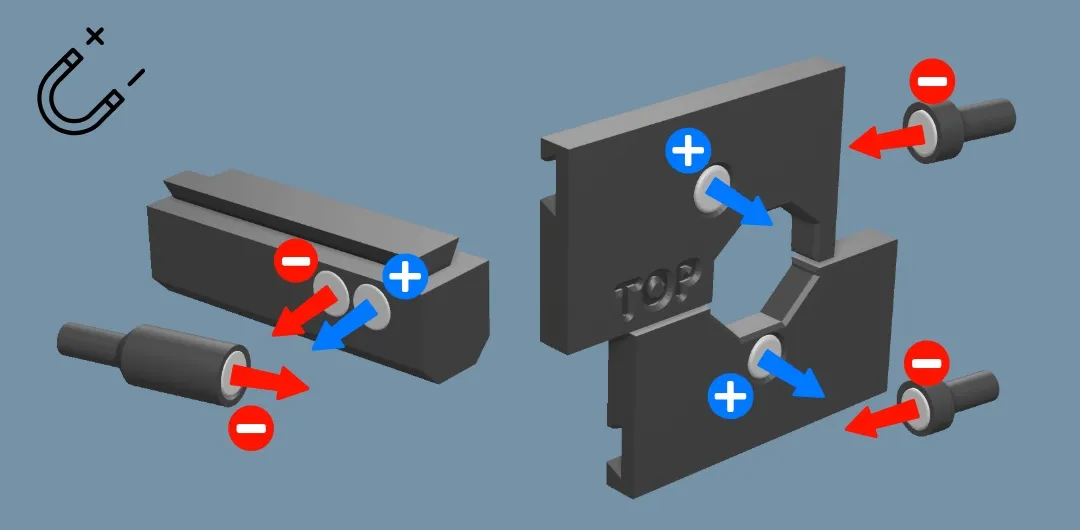
⚠️ Make sure the magnet orientation is correct during assembly.
Difficulty & Design Philosophy
Difficulty: Advanced
Designed for puzzle enthusiasts who enjoy mechanical reasoning rather than random guessing.
This puzzle box is inspired by real industrial control panels.
The goal was to create something that feels like a functional machine — not just a puzzle.
Heavy. Mechanical. Intentional.
Solution & Logic Guide (if you get stuck solving it)
Start & Electricity
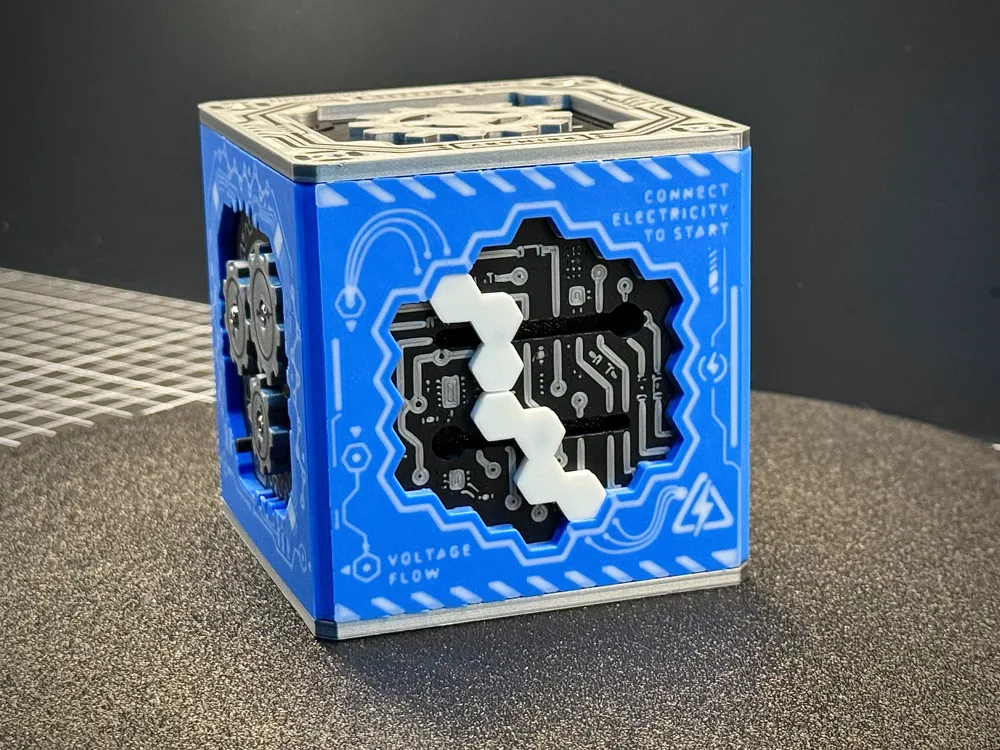
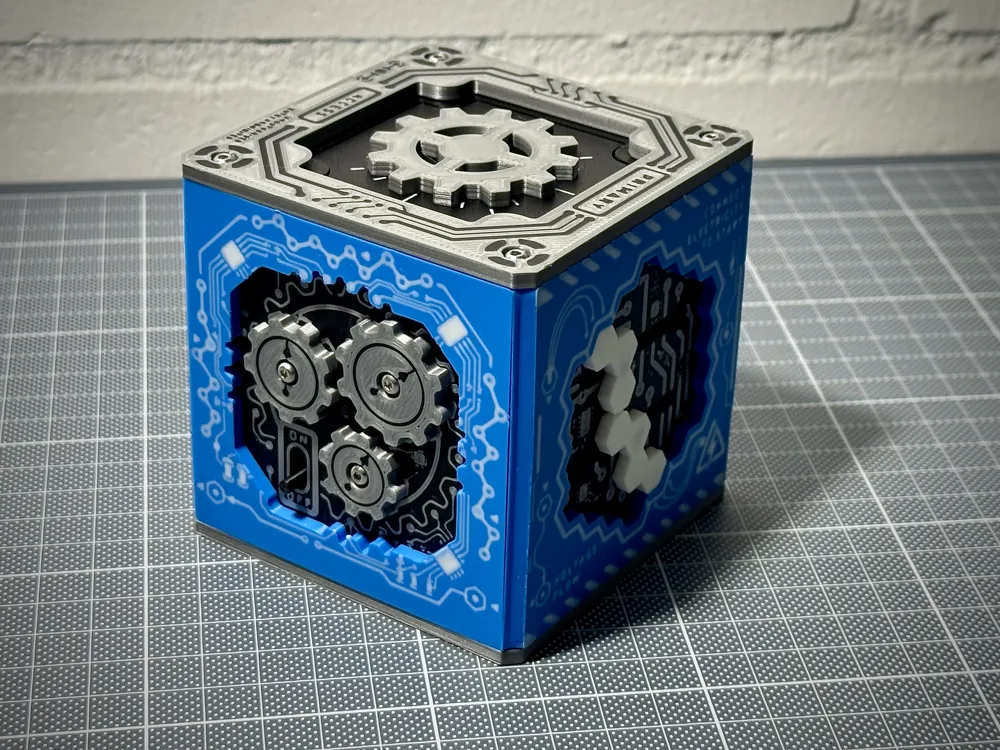
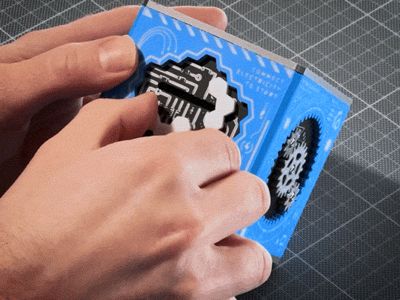
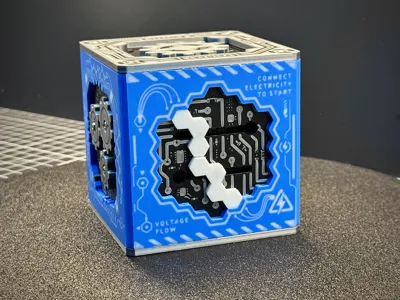
- Start by finding the beginning of the puzzle. You will be guided to the side that says: “Connect Electricity to Start”
- Follow the cable paths. You will see that the electricity has to be connected using the two hexagon-pattern pieces.
- If the puzzle is set to hard mode, you first need to remove the two hexagon patterns through the large holes and reinsert them the other way around. Only then can the electricity be connected correctly.
- Once the connection is made, follow the voltage flow. It is indicated by the small hexagons, the line, and the small arrows.
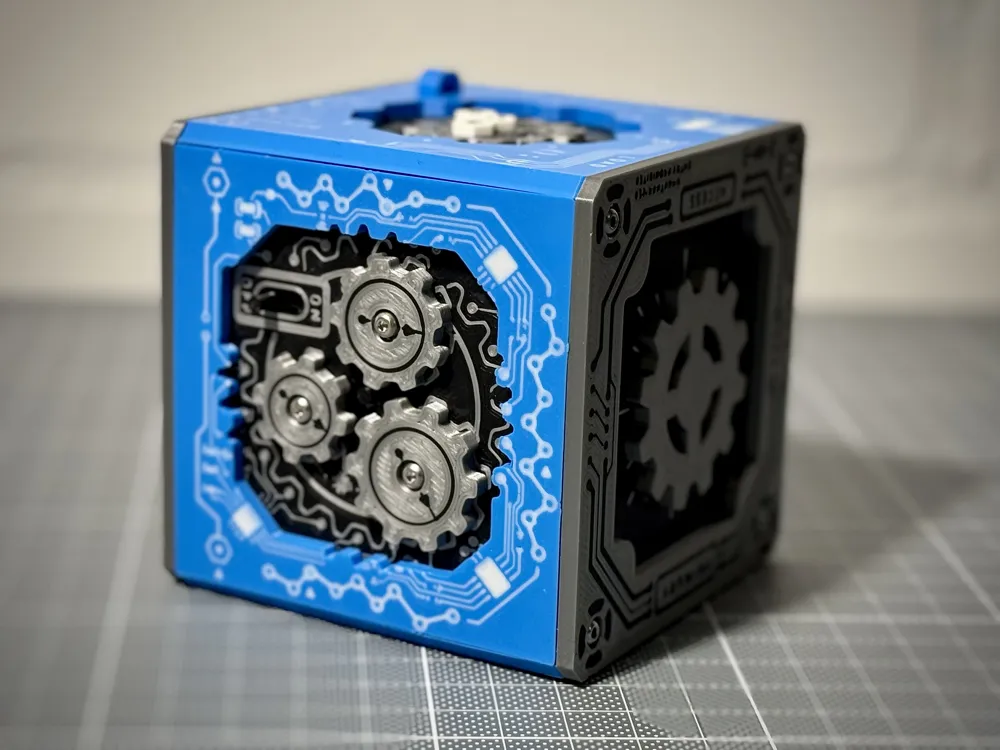
- This will lead you to the second side of the cube, where you find the three different-sized gears and the on/off button.
Dial in the Gears to Open the Support Hatch
- At first, you only have the arrows on the gears and not much else. What should catch your attention is that the three gears have different sizes.
- Around the gears, you will also find three dotted patterns. Each pattern has one filled dot and a small arrow pointing toward it.
- The question is: Which gear should point to which filled dot?
- To solve this, count the number of teeth on each gear and compare them with the number of dots in each pattern. This tells you which dotted pattern belongs to which gear.
- Turn each gear so that its arrow points to the correct filled dot. Once all three gears are aligned correctly, you can open the support hatch by setting it in the “ON” state. But you still can't gram the small pin in the middle, so move on the next side. Follow the electricity flow once again.
Programming
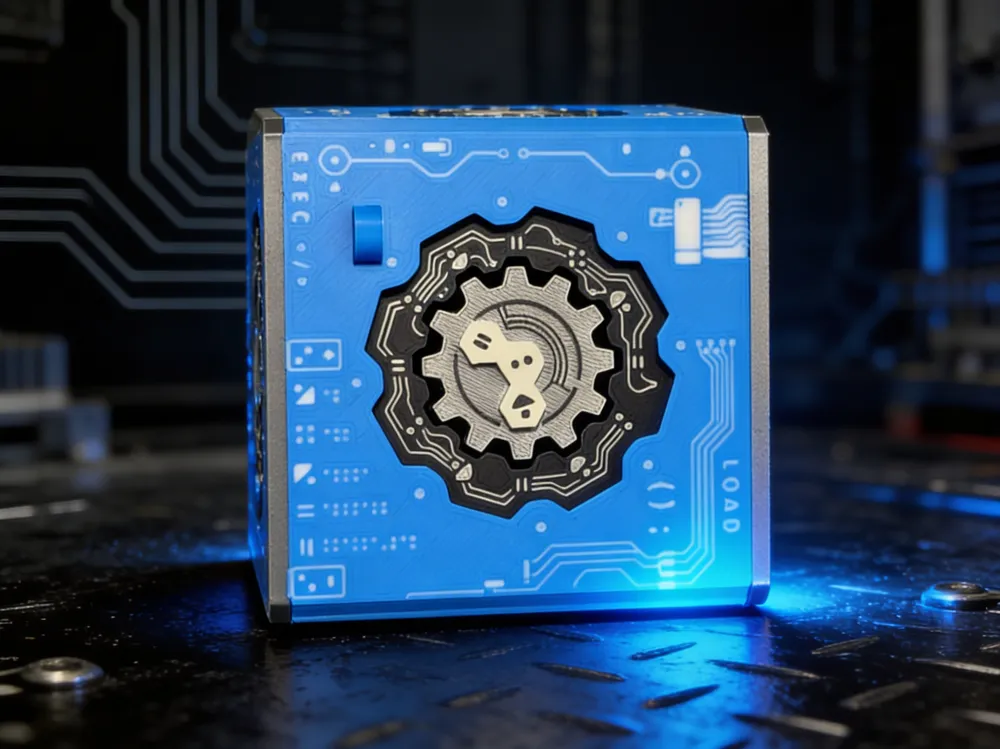
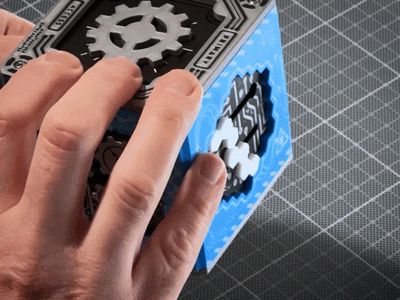
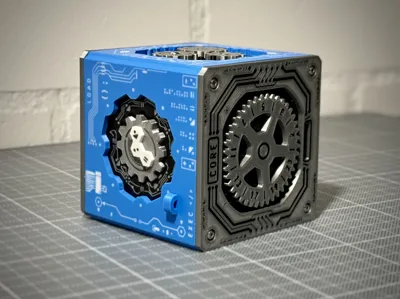
- On the third side of the cube, you find a large gear and some symbols.
- Now, If the hex-cable from the first side is still in the correct position, you can press the gear inward. It will pop out and can then be turned.
- Match the symbols exactly: The symbols on the black inlay must align with the symbols on the white hex pattern. Orientation is key.
- The large gear can be pressed in once more and you should hear a clear click.
- The small pin from the second side will now pop out of the support hatch, and you can pull it out.
- If side 2 is still set to OFF, the tool may also come out, but it will remain locked and cannot be removed.
- This tool fits into the holes on the bottom of the cube, but the disc still cannot be moved yet.
- Move to the last side indicated by the electricity flow.
System Calibration
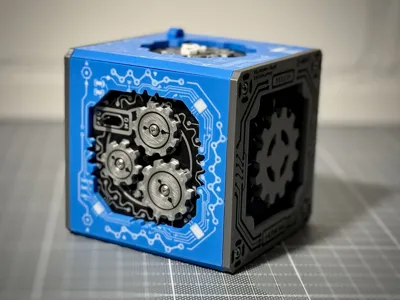
- On this side, you will see three interlocking gears and something behind them that looks like an arrow. You will also find numbers from 0 to 315. At the bottom right, there is a small cube-like symbol with an arrow. This indicates that something needs to be turned by 180°.
- When you turn the gears, you will notice that their movement is limited, but not at a clear or useful position yet.
- So what does the cube symbol mean with the 180° arrow? → It tells you to turn the entire cube upside down.
- Now move the gears again, using the arrow shape behind them as your guide. This time, you will feel that the gears stop at a different position.
- At one point, the mechanism locks and you can no longer turn it back. This locked position is at 0.
- The system is now calibrated.
Offline Core
- On the top of the cube, you will now find the Core Offline side.
- With the small tool, you can now turn the black disc underneath the gear. While turning it, symbols will appear in the small window.
- These symbols match the symbols you already saw on side 3. You will also notice the gear with numbers around it. The small lines on this gear line up with the lines beside the small window, so these elements must be connected somehow.
- Now take another look at side 3 and search for clues about what these symbols could mean. → There, you will find a list of the same symbols. Above each symbol, there is either a certain number of dots, a plus symbol, or a minus symbol.
- Make sure you are looking at this clue in the correct orientation, not upside down. The correct orientation is of course, if you can read the text on this side correctly.
The three symbols shown in the small window on the Core Offline side form a simple addition or subtraction:
symbol + symbol or symbol - symbol
- As you need to get some numbers to match the gear: Count the dots above each matching symbol on side 3, then calculate the result.
- If you check all possible combinations, you will find two results that also appear on the numbered gear:
one equation results in 13, and another results in 7. - Now the last thing to do is to gain primary access on the final side.
- Turn the cube so that the Primary Access side is facing upward. It is still locked, but there is also a small latch on side 3. Try to pull it out.
- If the Core Offline side is set to 13 with the gear and the symbols aligned, the latch remains locked. This seems to be the wrong value.
- Set it to 7 instead. Now, with the cube positioned so that the Primary Access side is facing upward, you can pull out the latch.
Primary Access
- To gain access, you now receive a new hint: “Match the Patterns”
- Look closely at the edges of this side. You will notice a pattern that looks similar to the pattern inside the gear.
- Turn the gear until both patterns visually match. The correct position is only 45° in one direction or the other, so you do not need to rotate it far.
- Once the patterns are aligned correctly, you can pull the gear
- You can now open the puzzle.
The Machine Core Puzzle Cube is solved.
Reset Guide:
License

You shall not share, sub-license, sell, rent, host, transfer, or distribute in any way the digital or 3D printed versions of this object, nor any other derivative work of this object in its digital or physical format (including - but not limited to - remixes of this object, and hosting on other digital platforms). The objects may not be used without permission in any way whatsoever in which you charge money, or collect fees.


Comment & Rating (202)