
Limau Link – Chained Citrus Fidget, Drop-Tested
Print Profile(5)

Bill of Materials






Description
🍊 Limau Link – Chained Citrus Fidget, Drop-Tested
Membership
Every commercial membership helps me continue designing weird mechanical nonsense like this. If you'd like to sell physical prints of my models, you can join the membership and become part of the journey 🍌
🔥 Just want the motion?
You can print only the citrus segments.
No shell.
No glue.
No assembly.
Print → Snap together → Play.
If you enjoy the motion,
you can always upgrade to the full shell version later.
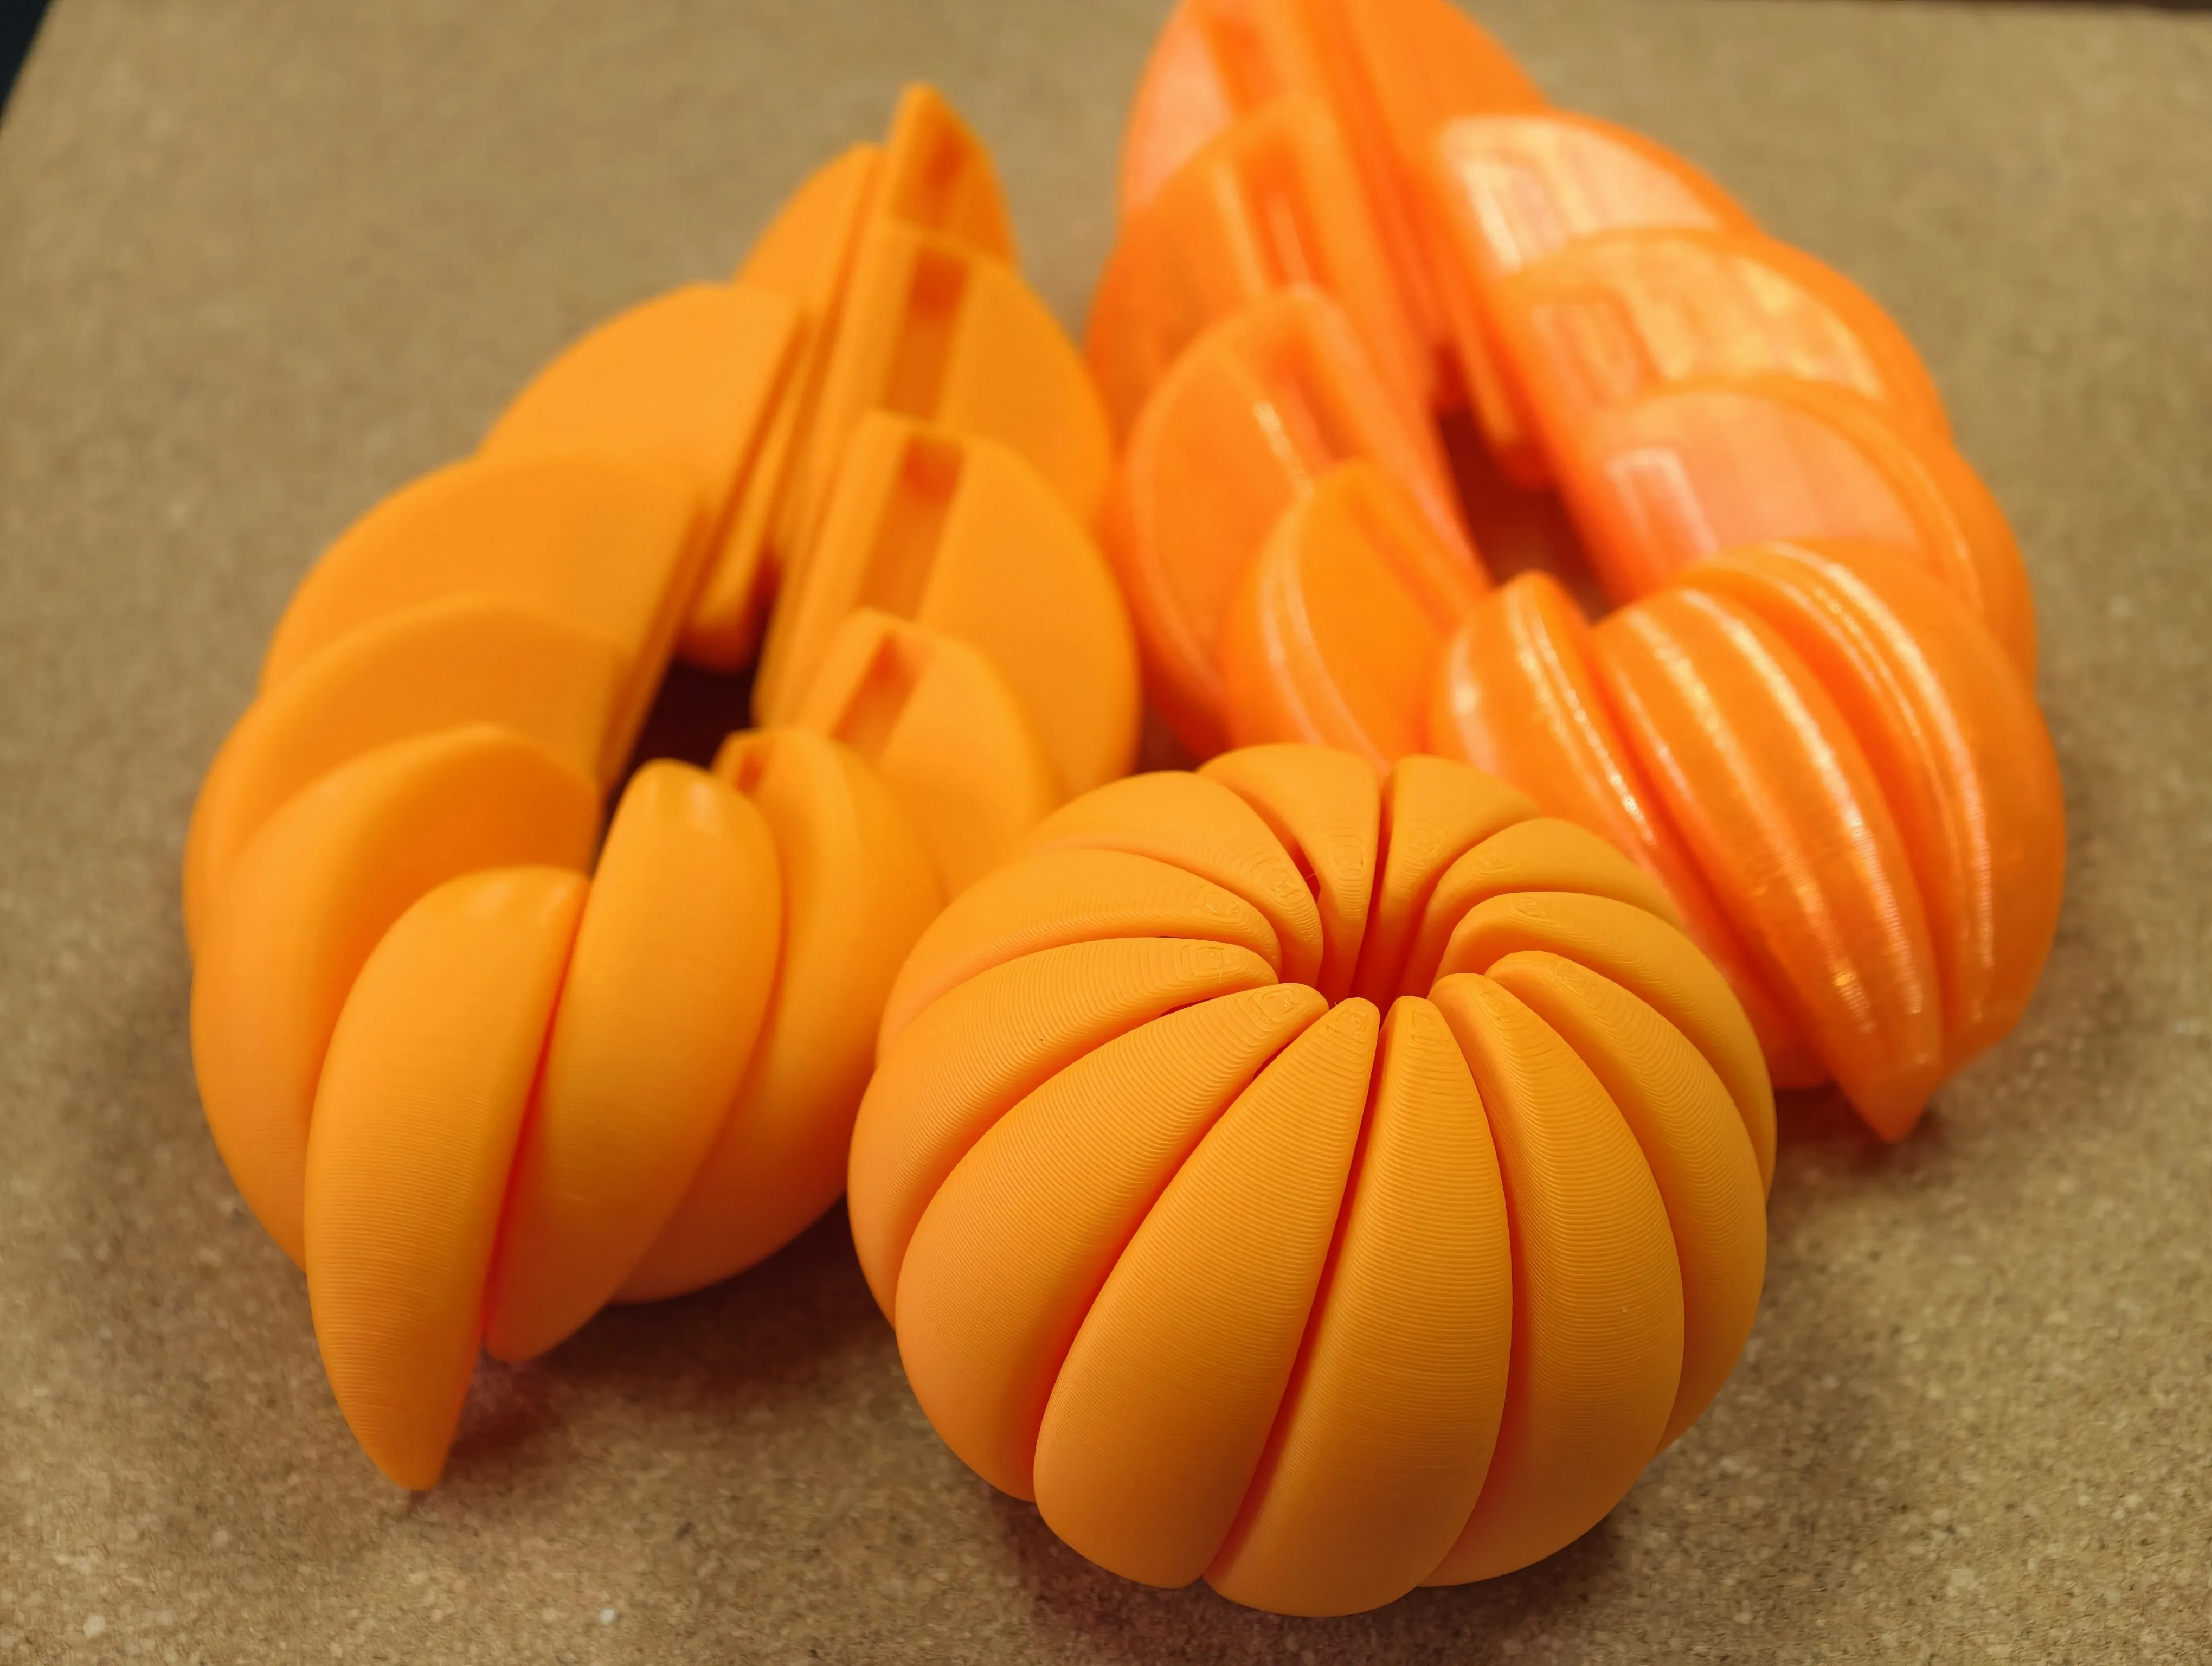
Now the full version:
Yes.
That’s a citrus sitting on a capybara’s head.
And yes — it’s mechanical.
I engineered a fruit.
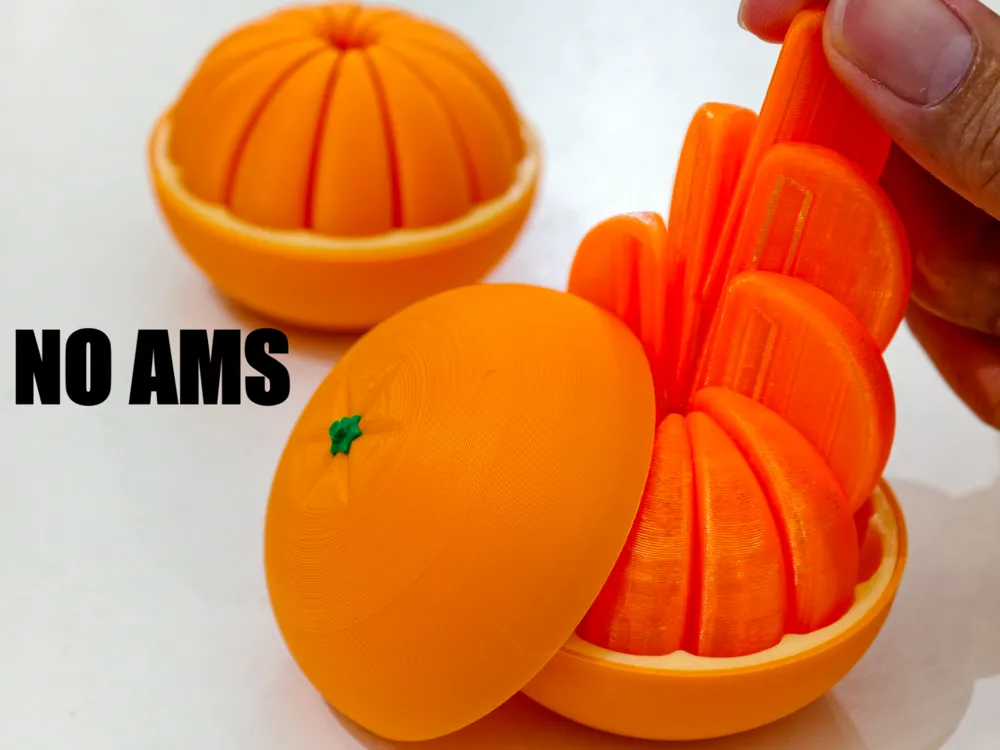
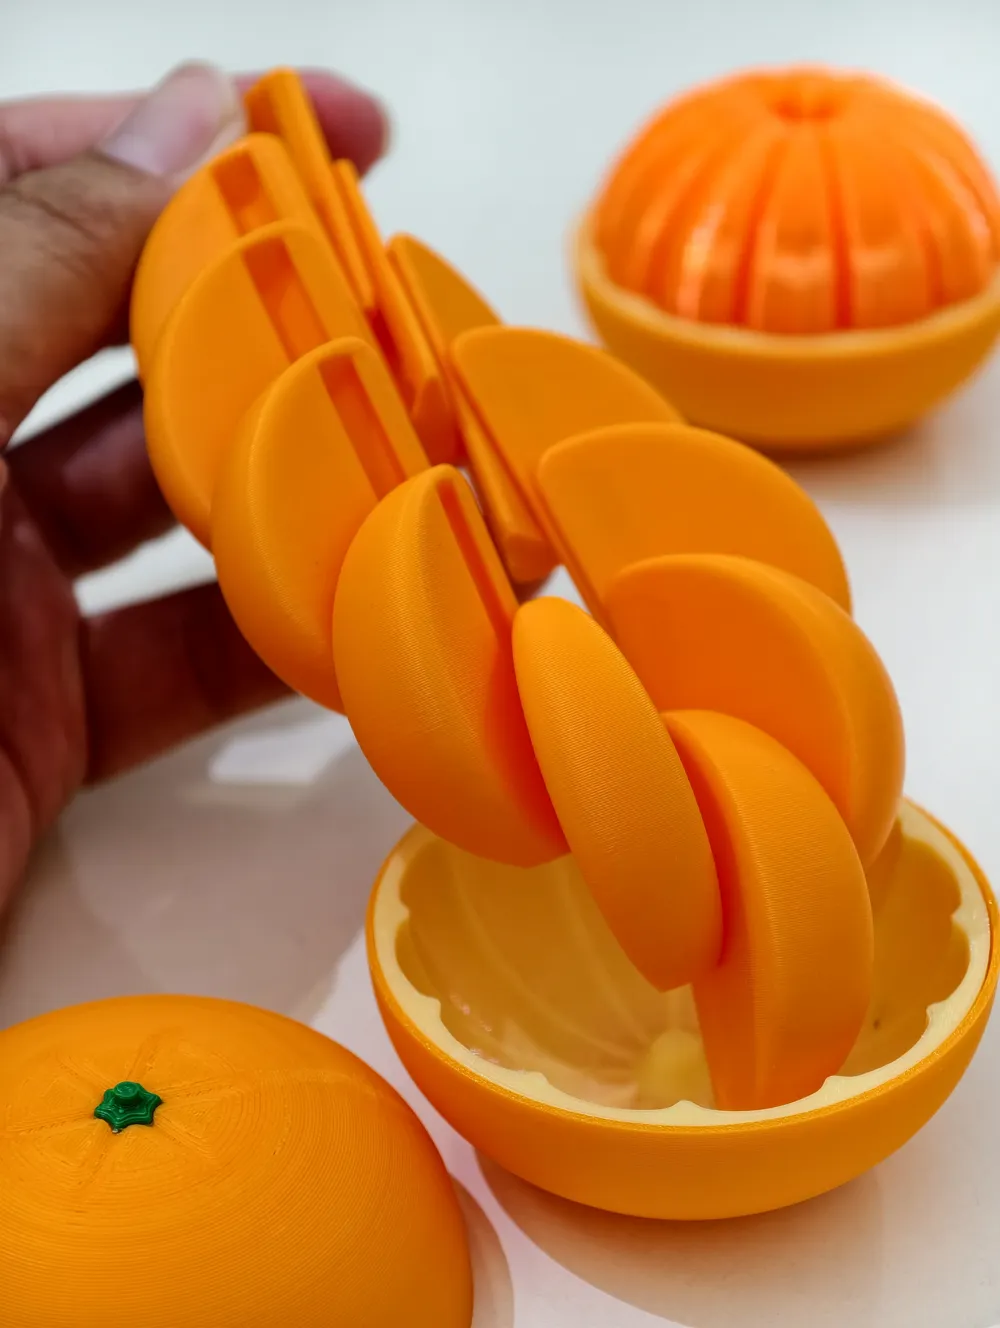
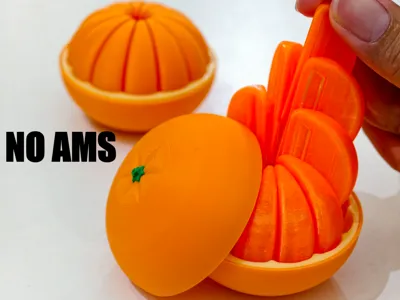
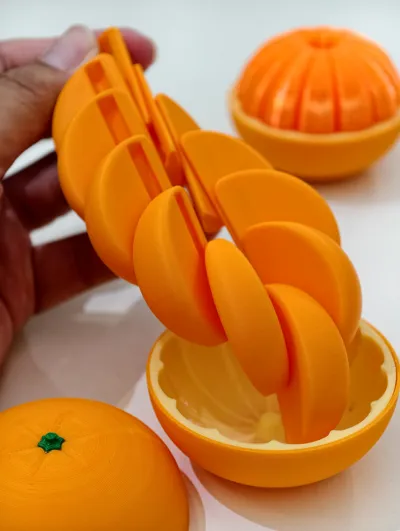
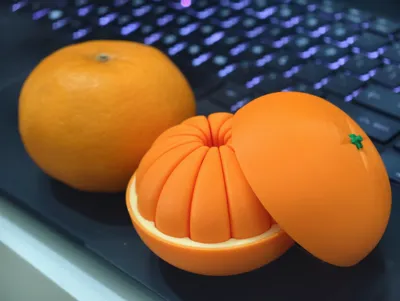
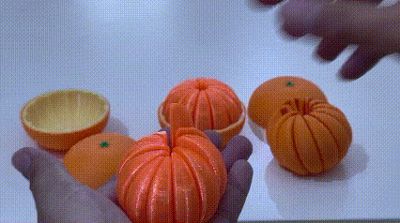
Lift one segment.
Watch the rest follow — one by one.
Not magic.
Mechanical linkage.
Seasonal in spirit.
Engineered to last all year.
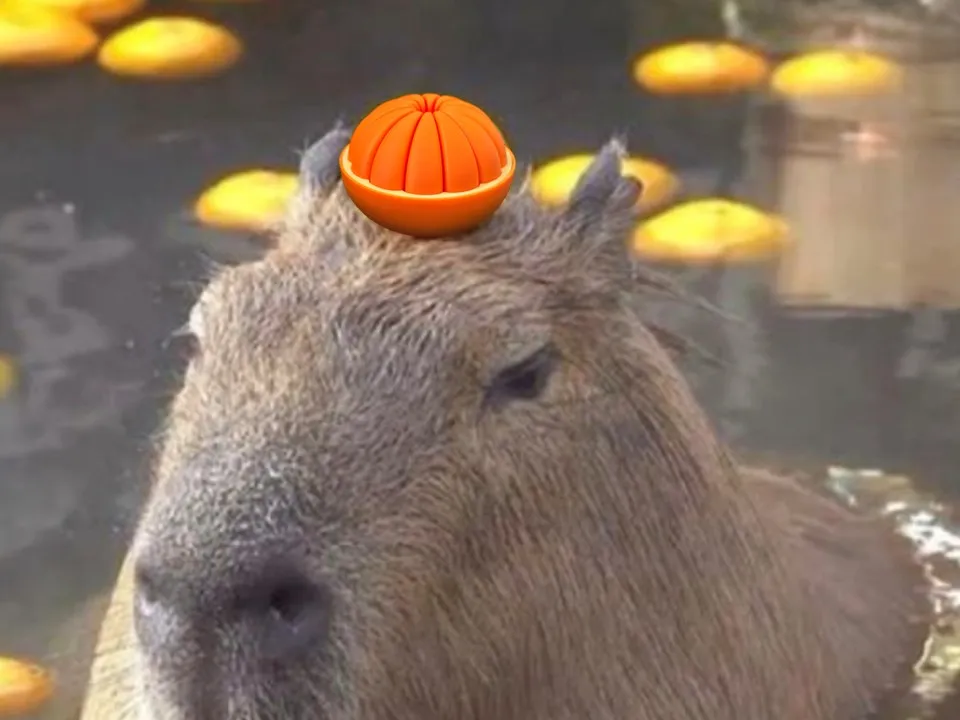
🐾 Why Is It On A Capybara?
Because it can be.
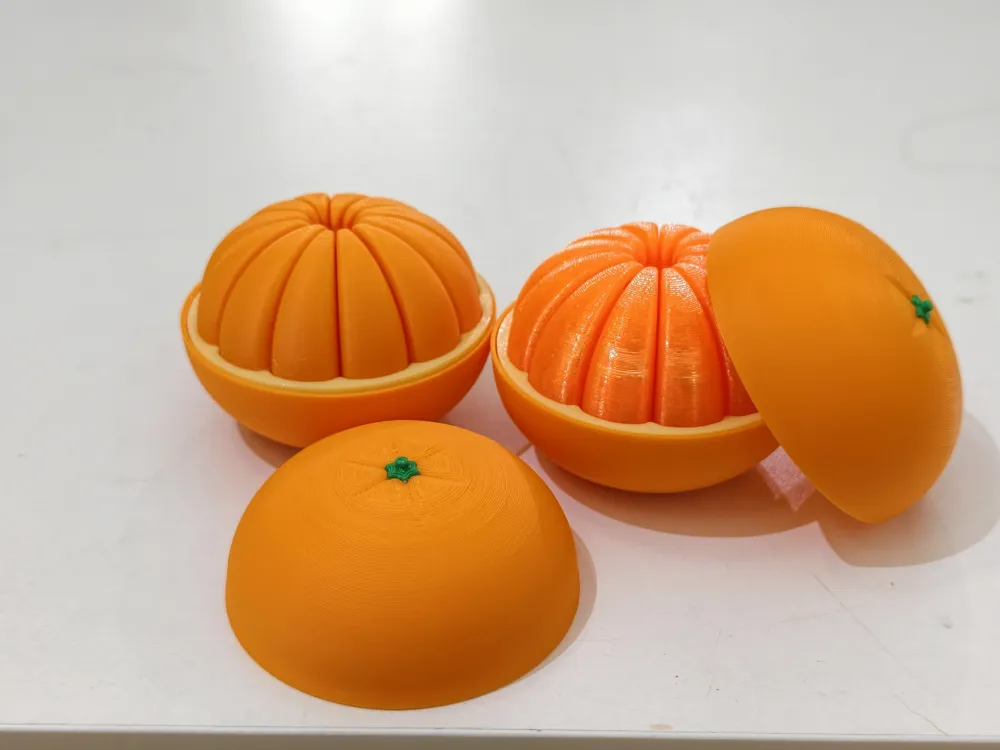
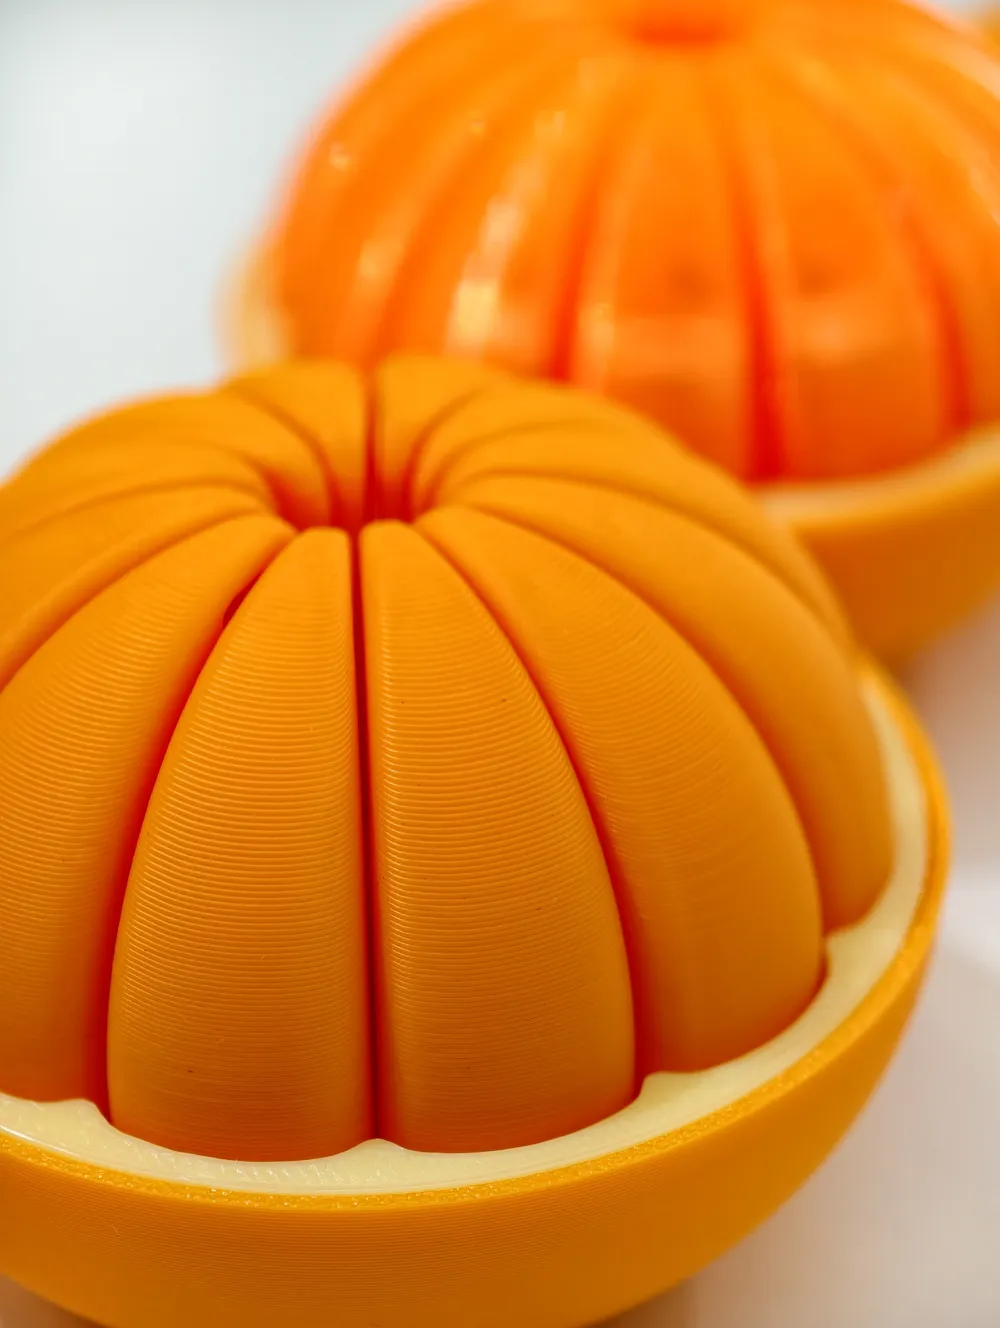
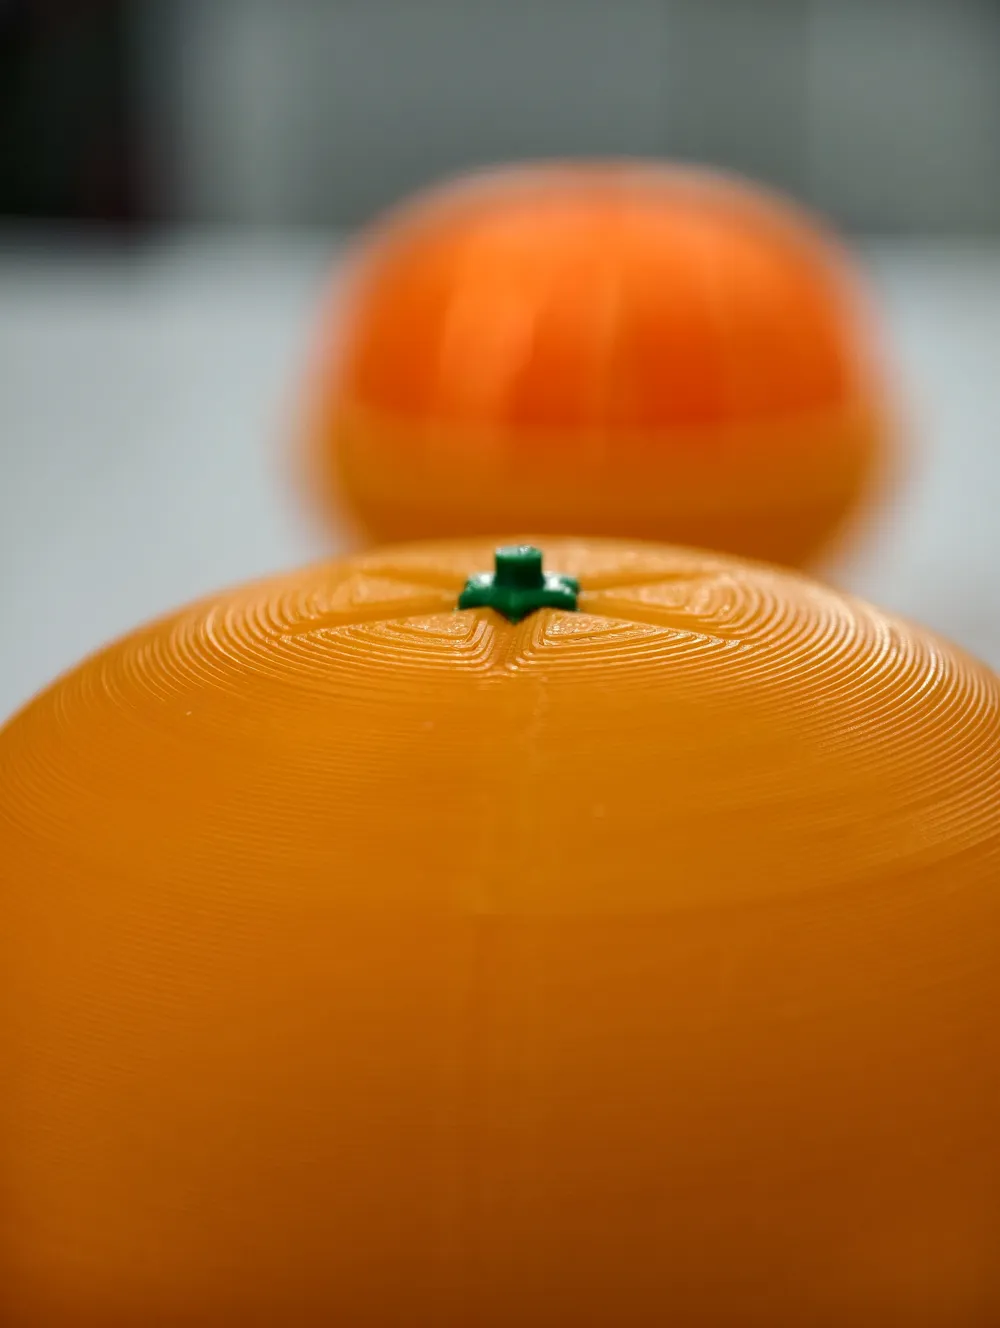
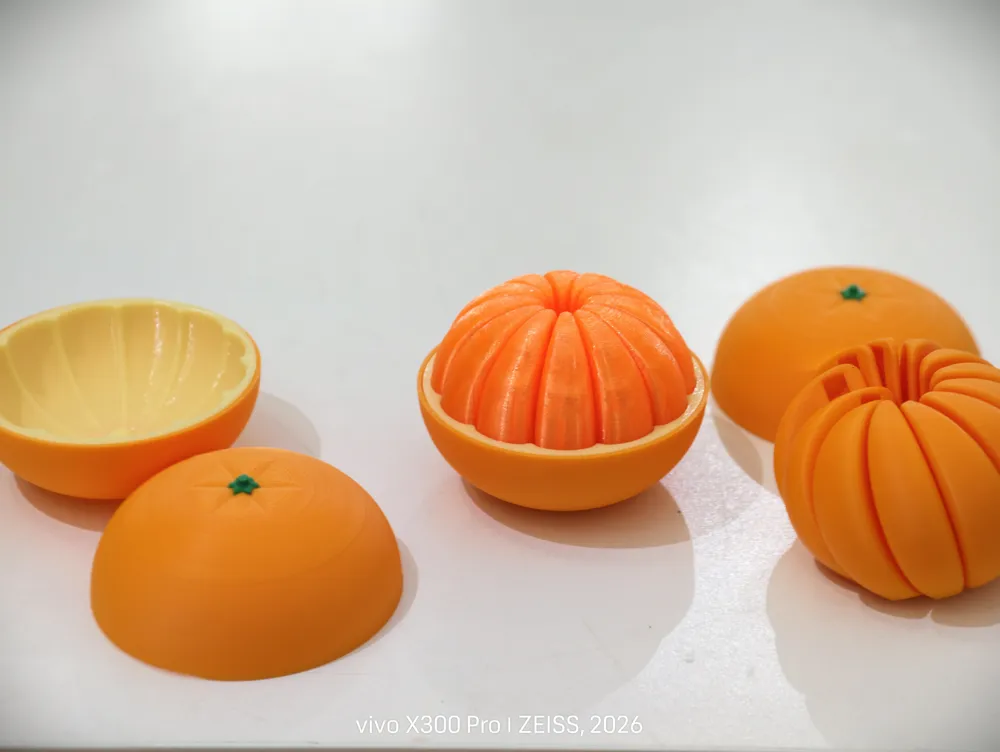
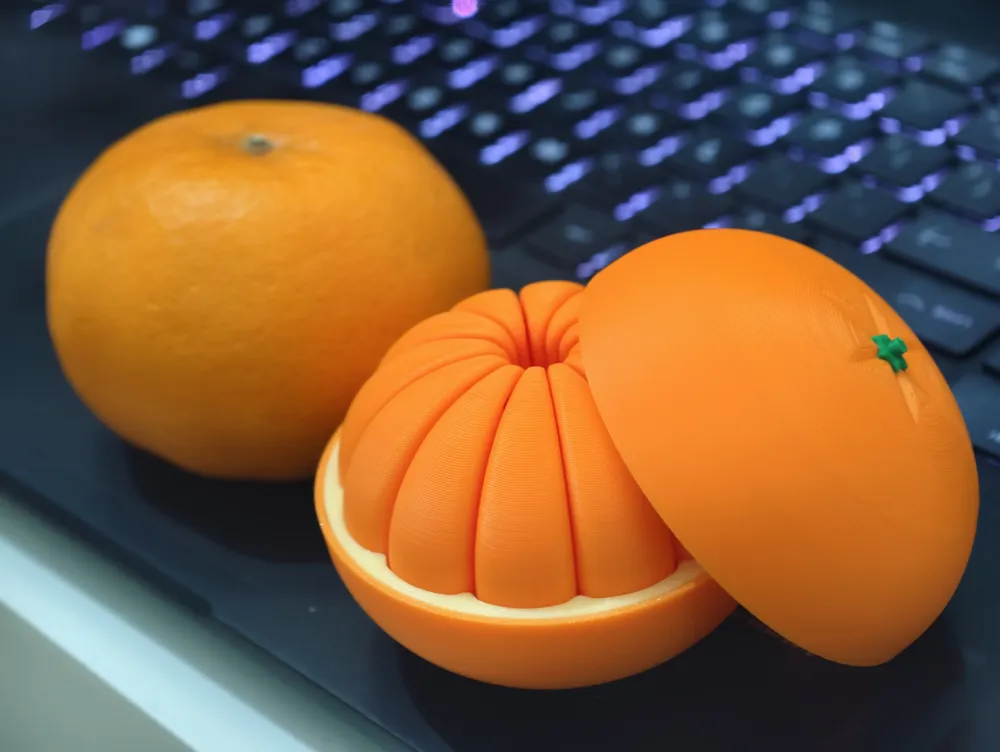
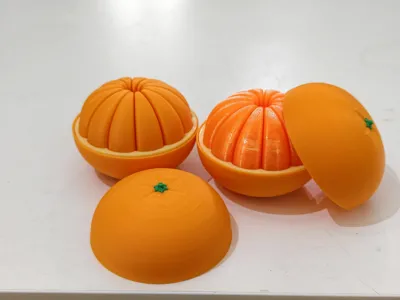
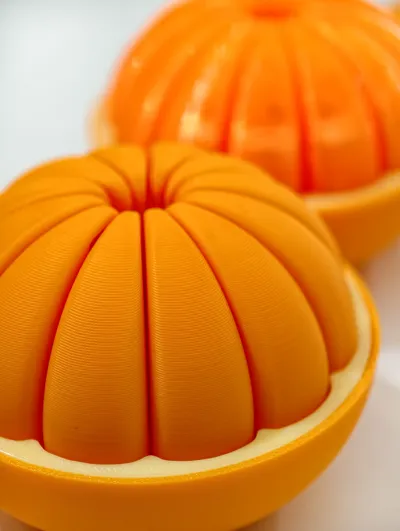
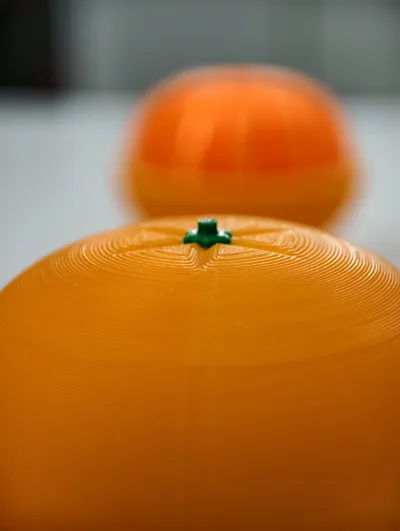
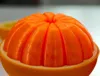
Closed, it looks like a festive citrus.
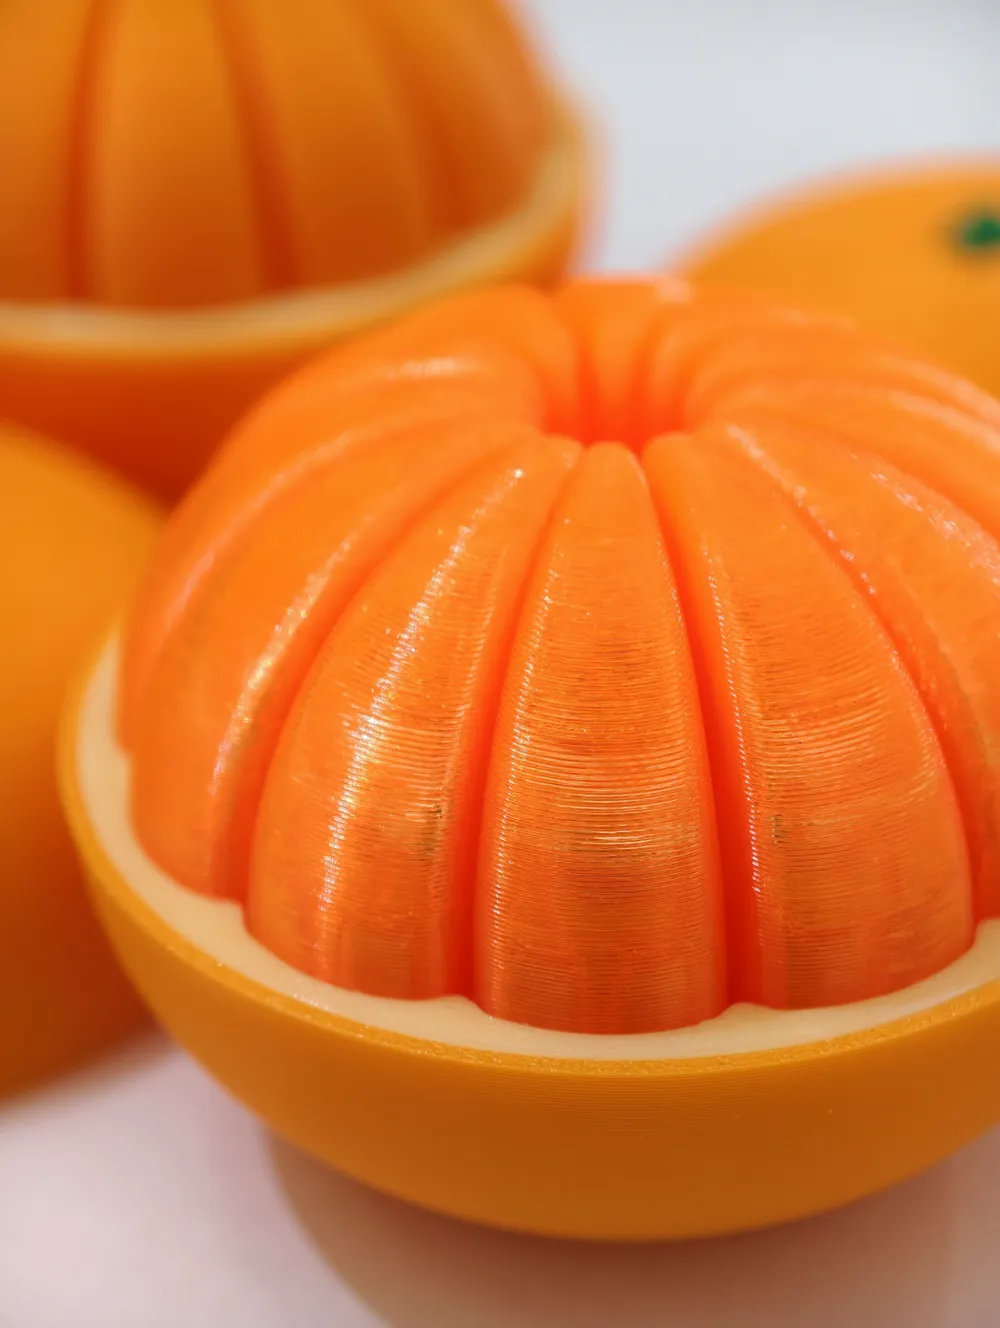
Opened, it becomes a chained motion sculpture.
Stable enough to sit on a capybara.
Calm enough to match its vibe.

🔄 Snap-Fit Segments (Drop Test Approved)
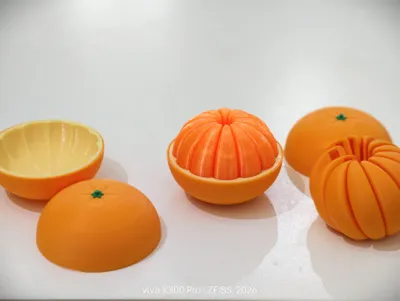
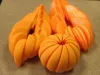
Each citrus segment uses a snap-fit structure.
They are meant to separate.
If dropped,
it may scatter —
but nothing breaks.
Just snap the pieces back together.
Durability through separation — not rigidity.
Drop test approved.
(See exploded view photo.)
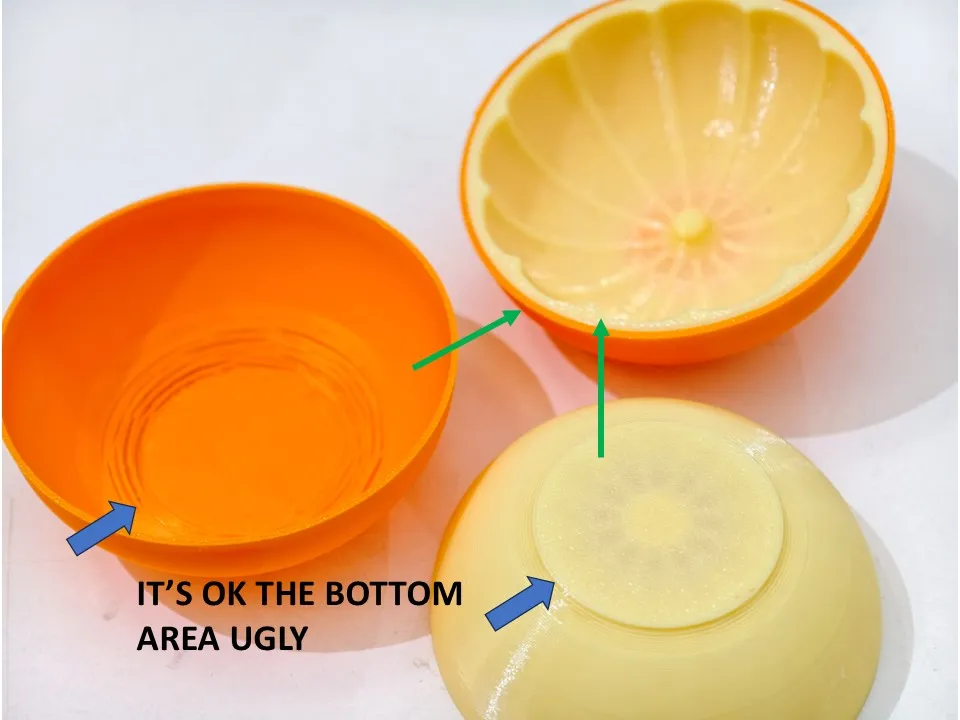
🎨 Multi-Color – No AMS Required
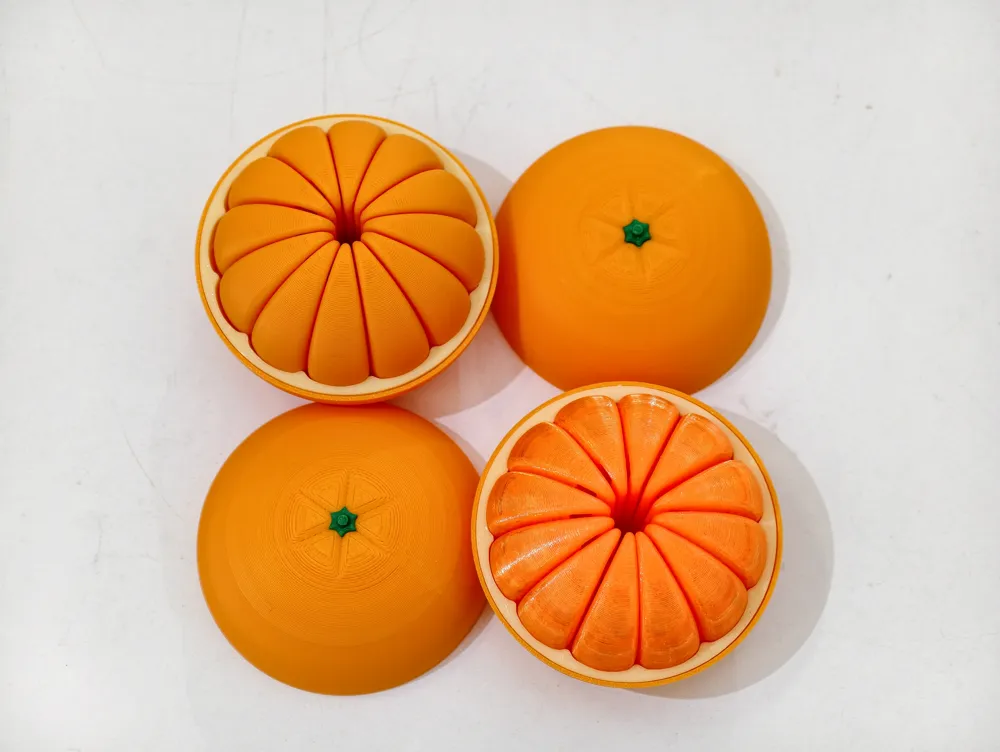
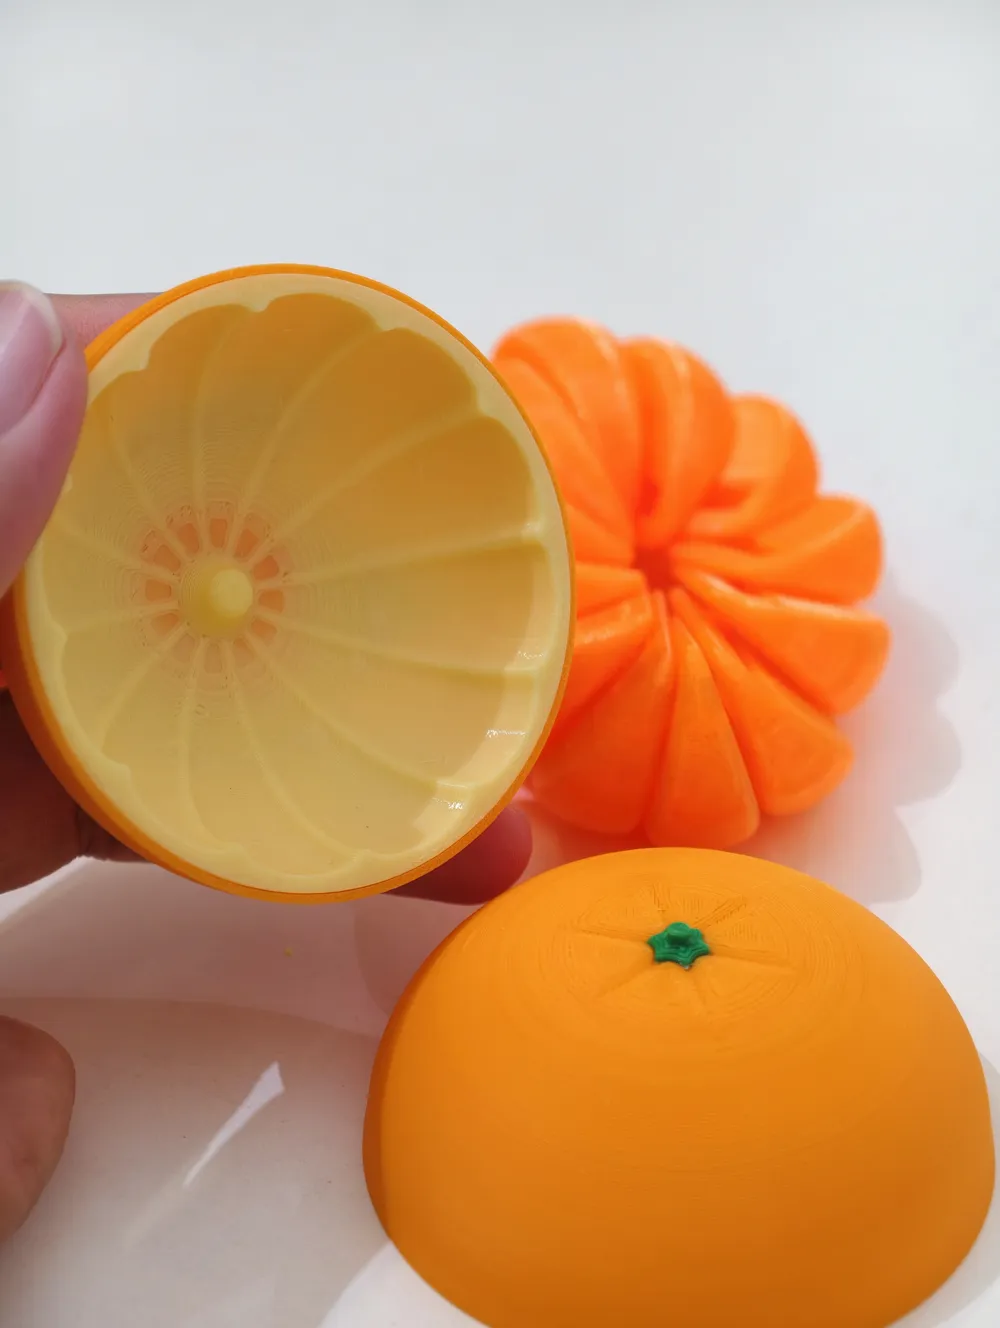
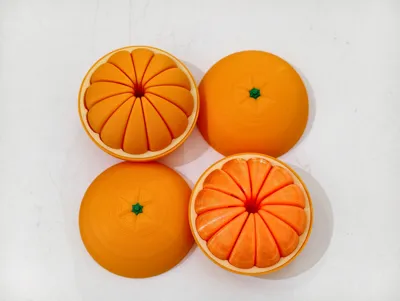
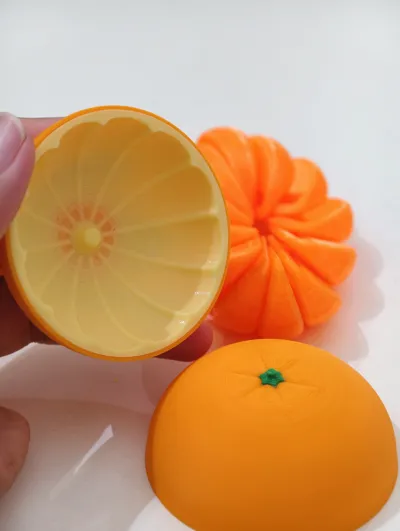
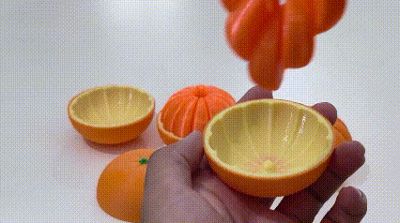
The peel is split into 3 separate parts:
• Stem – Green
• Outer Peel – Orange
• Inner Peel – Light Yellow
Print them individually.
No AMS? No problem.
No purge tower waste.
No color swap headaches.
🔧 Overhang Strategy (Hidden Where It Matters)
The curved peel geometry creates serious radius overhang.
Instead of fighting gravity on visible surfaces,
I relocated critical overhang zones inside the assembly.
Once glued together —
they are invisible.
You’ll see in the photos:
• Raw overhang test
• Scarf seam comparison
• Before / after tuning
🛠 Print Settings Used
• Outer wall width: 0.6 mm
• Overhang speed: 25 / 20 mm/s
• Bridge flow: 1.5
• Bridge speed: 20 mm/s
• Inner wall speed: 120 mm/s
• Outer wall speed: 100 mm/s
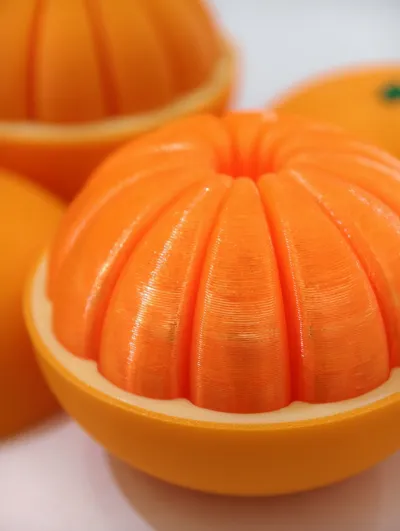
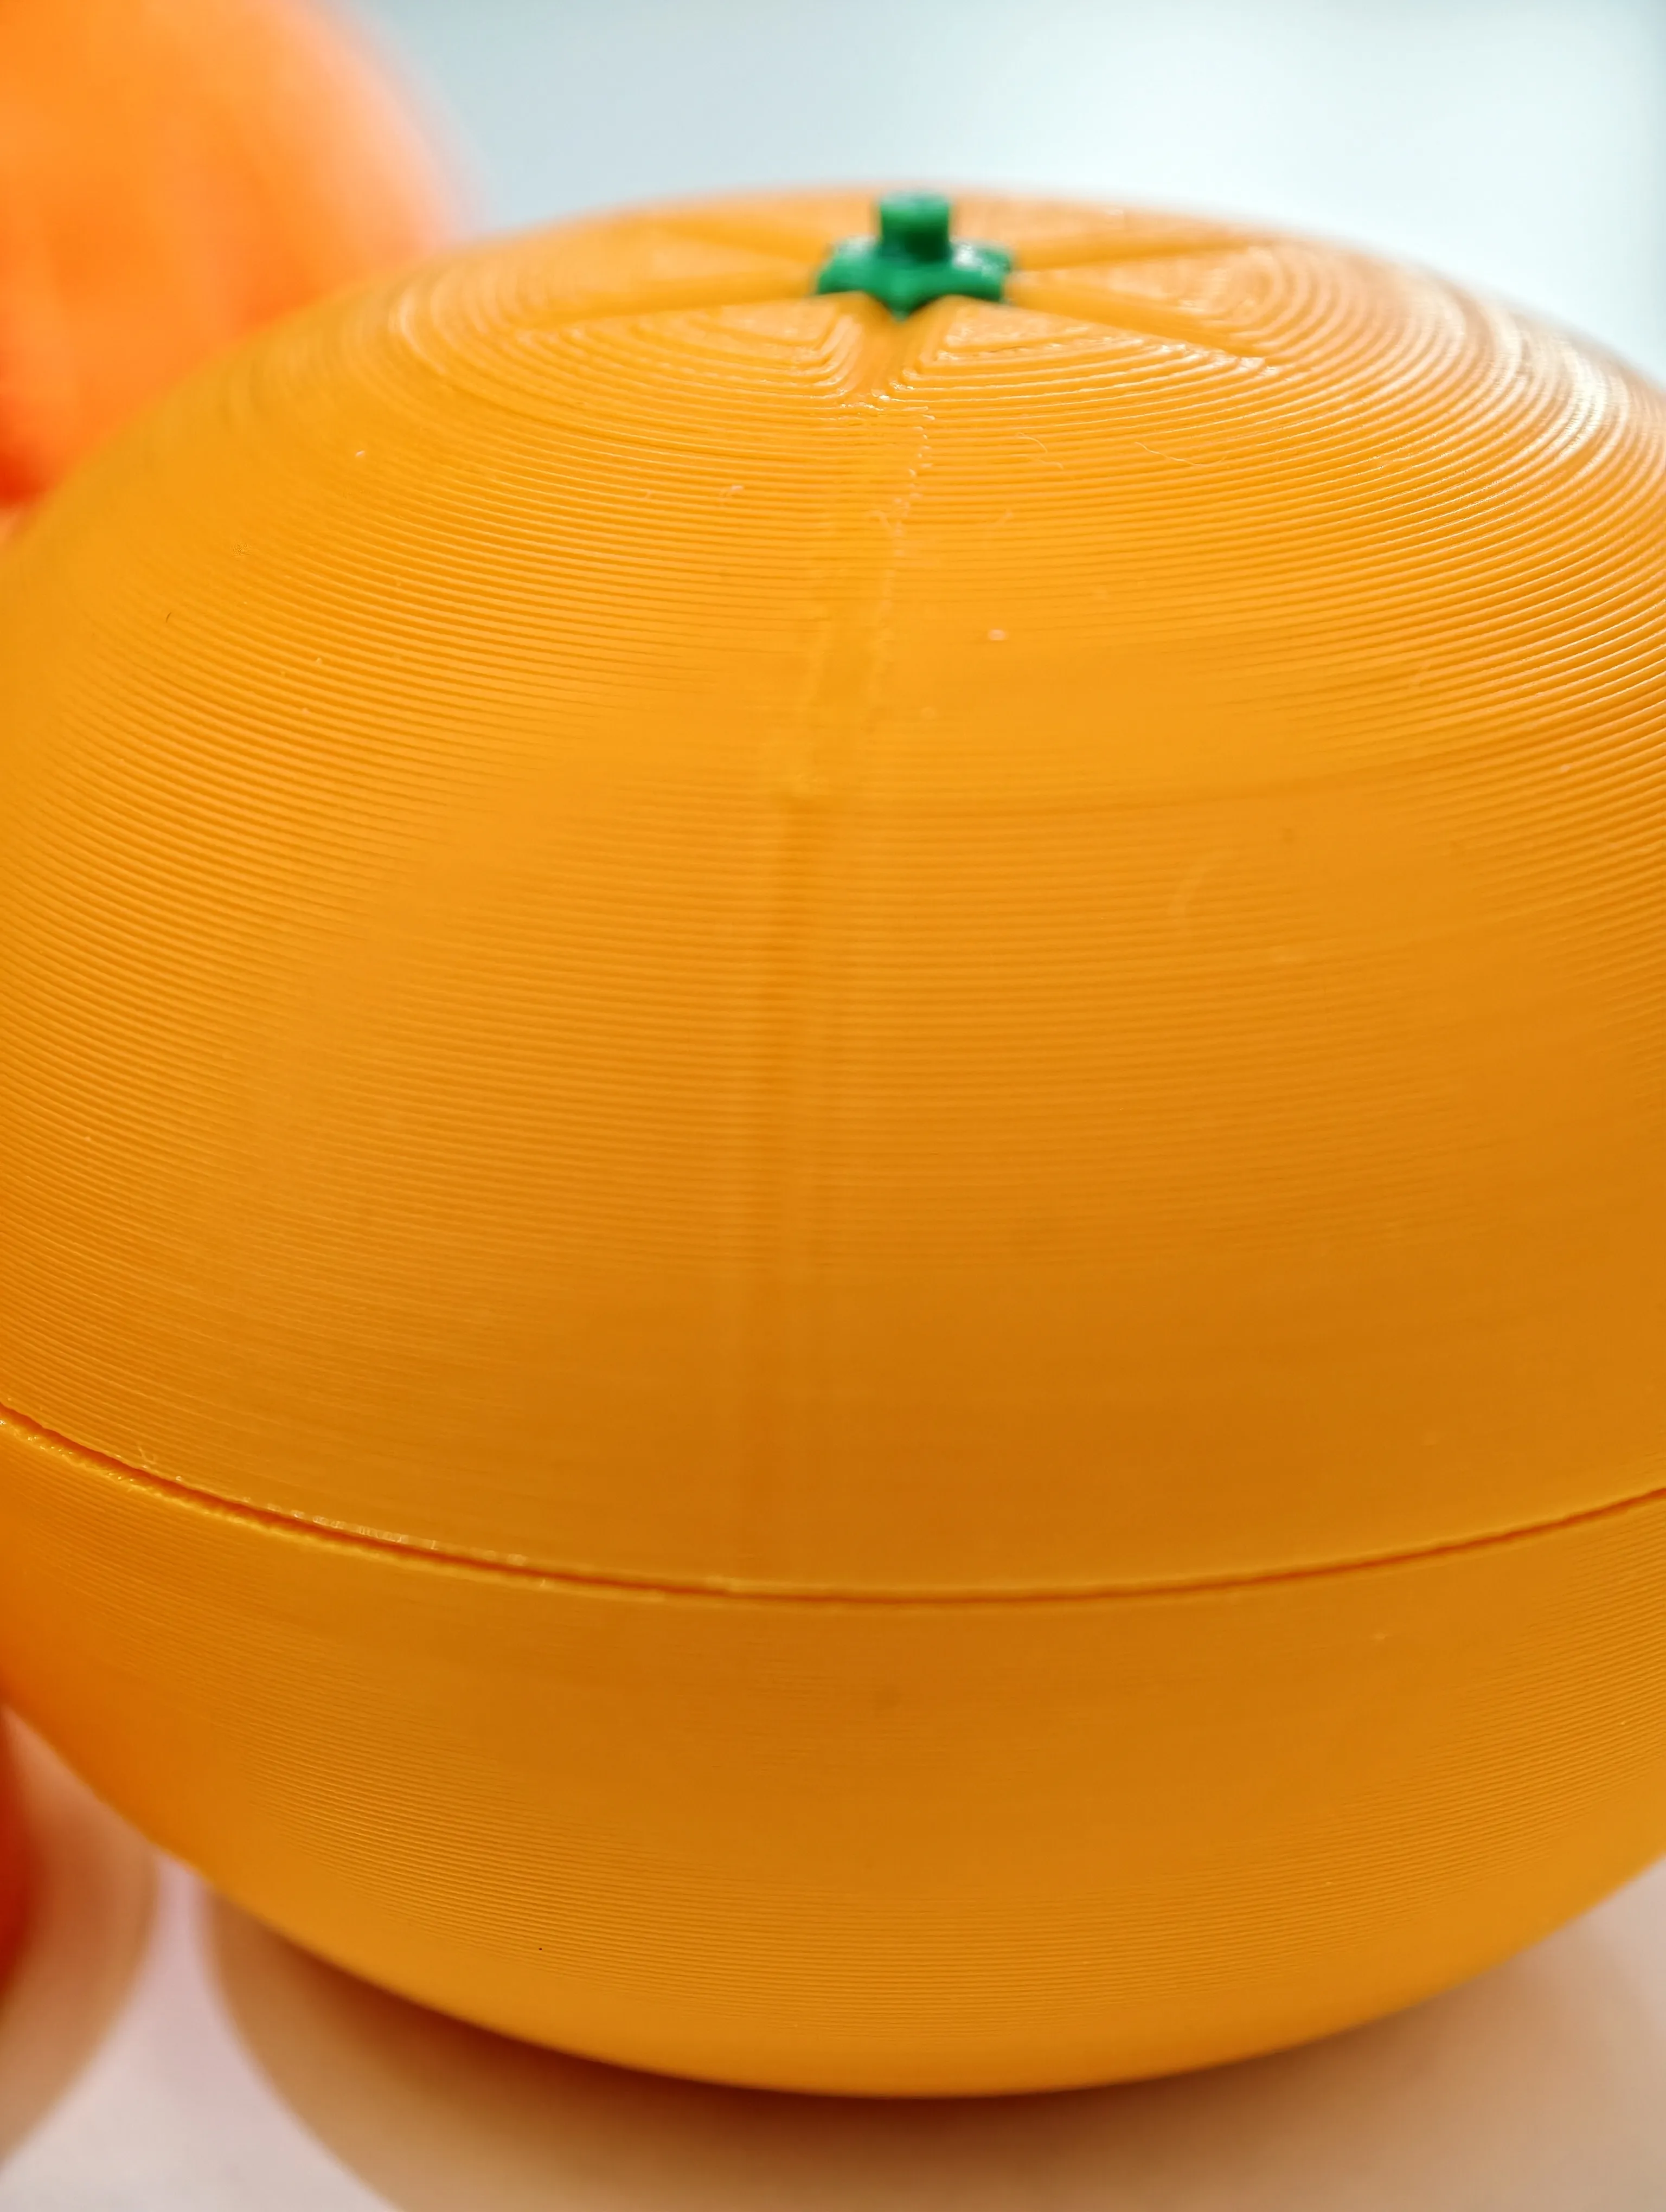
• Scarf seams enabled (for smoother outer finish)
• Variable layer height applied
Image showing the scarf seams finishing
🍊 Segment Base Redesign – No Support Needed
Originally, the segment bottom was fully curved.
That required support.
And supported surfaces are rarely beautiful.
So I removed 1.5 mm from the base to create a small flat plane.
Result:
• Better bed adhesion
• No support needed
• Cleaner finish
• Faster printing
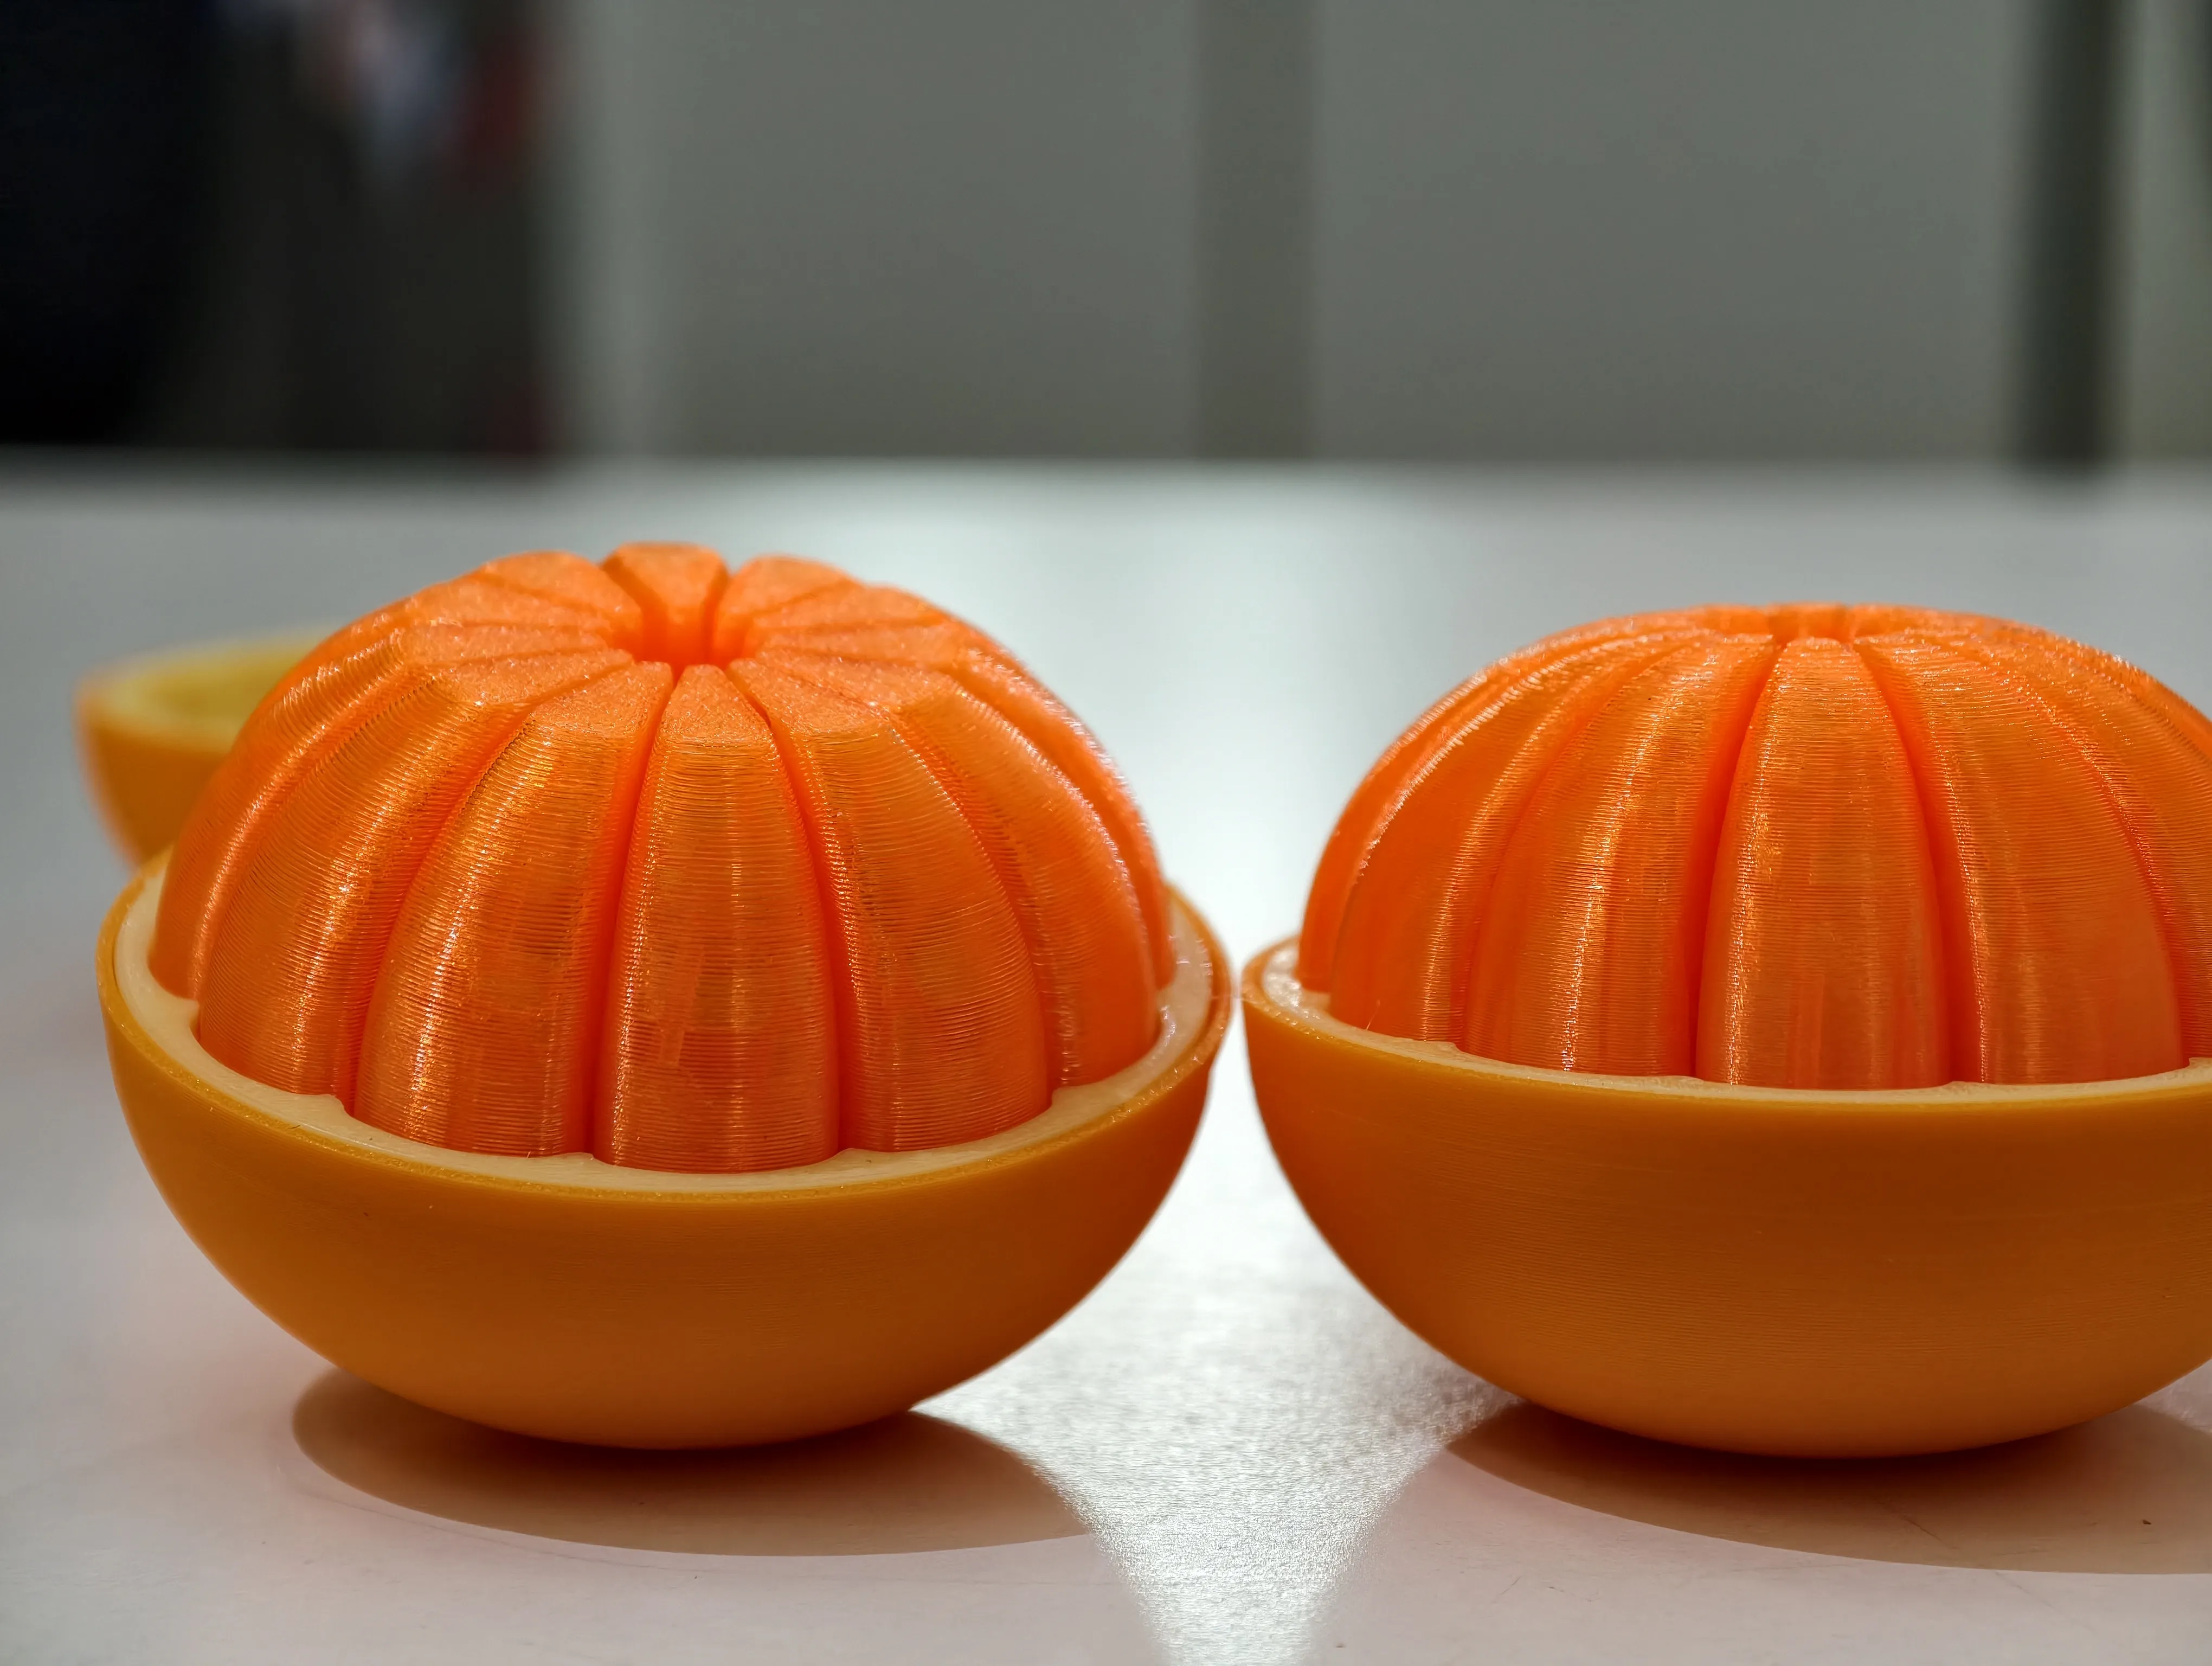
You’ll see comparison photos:
• Perfect supported underside (right side)
• Cut-flat underside (default profile left side)
Sometimes engineering is subtraction.
🍊 Peel Support Option (Engineering Trade-Off)
Yes, you can print the peel with support interface material
to achieve a cleaner underside.
But after assembly —
that area is hidden.
More time. More material. No visible gain.
Efficiency by default.
Perfection optional.
⚠️ Important – Clean Your Build Plate
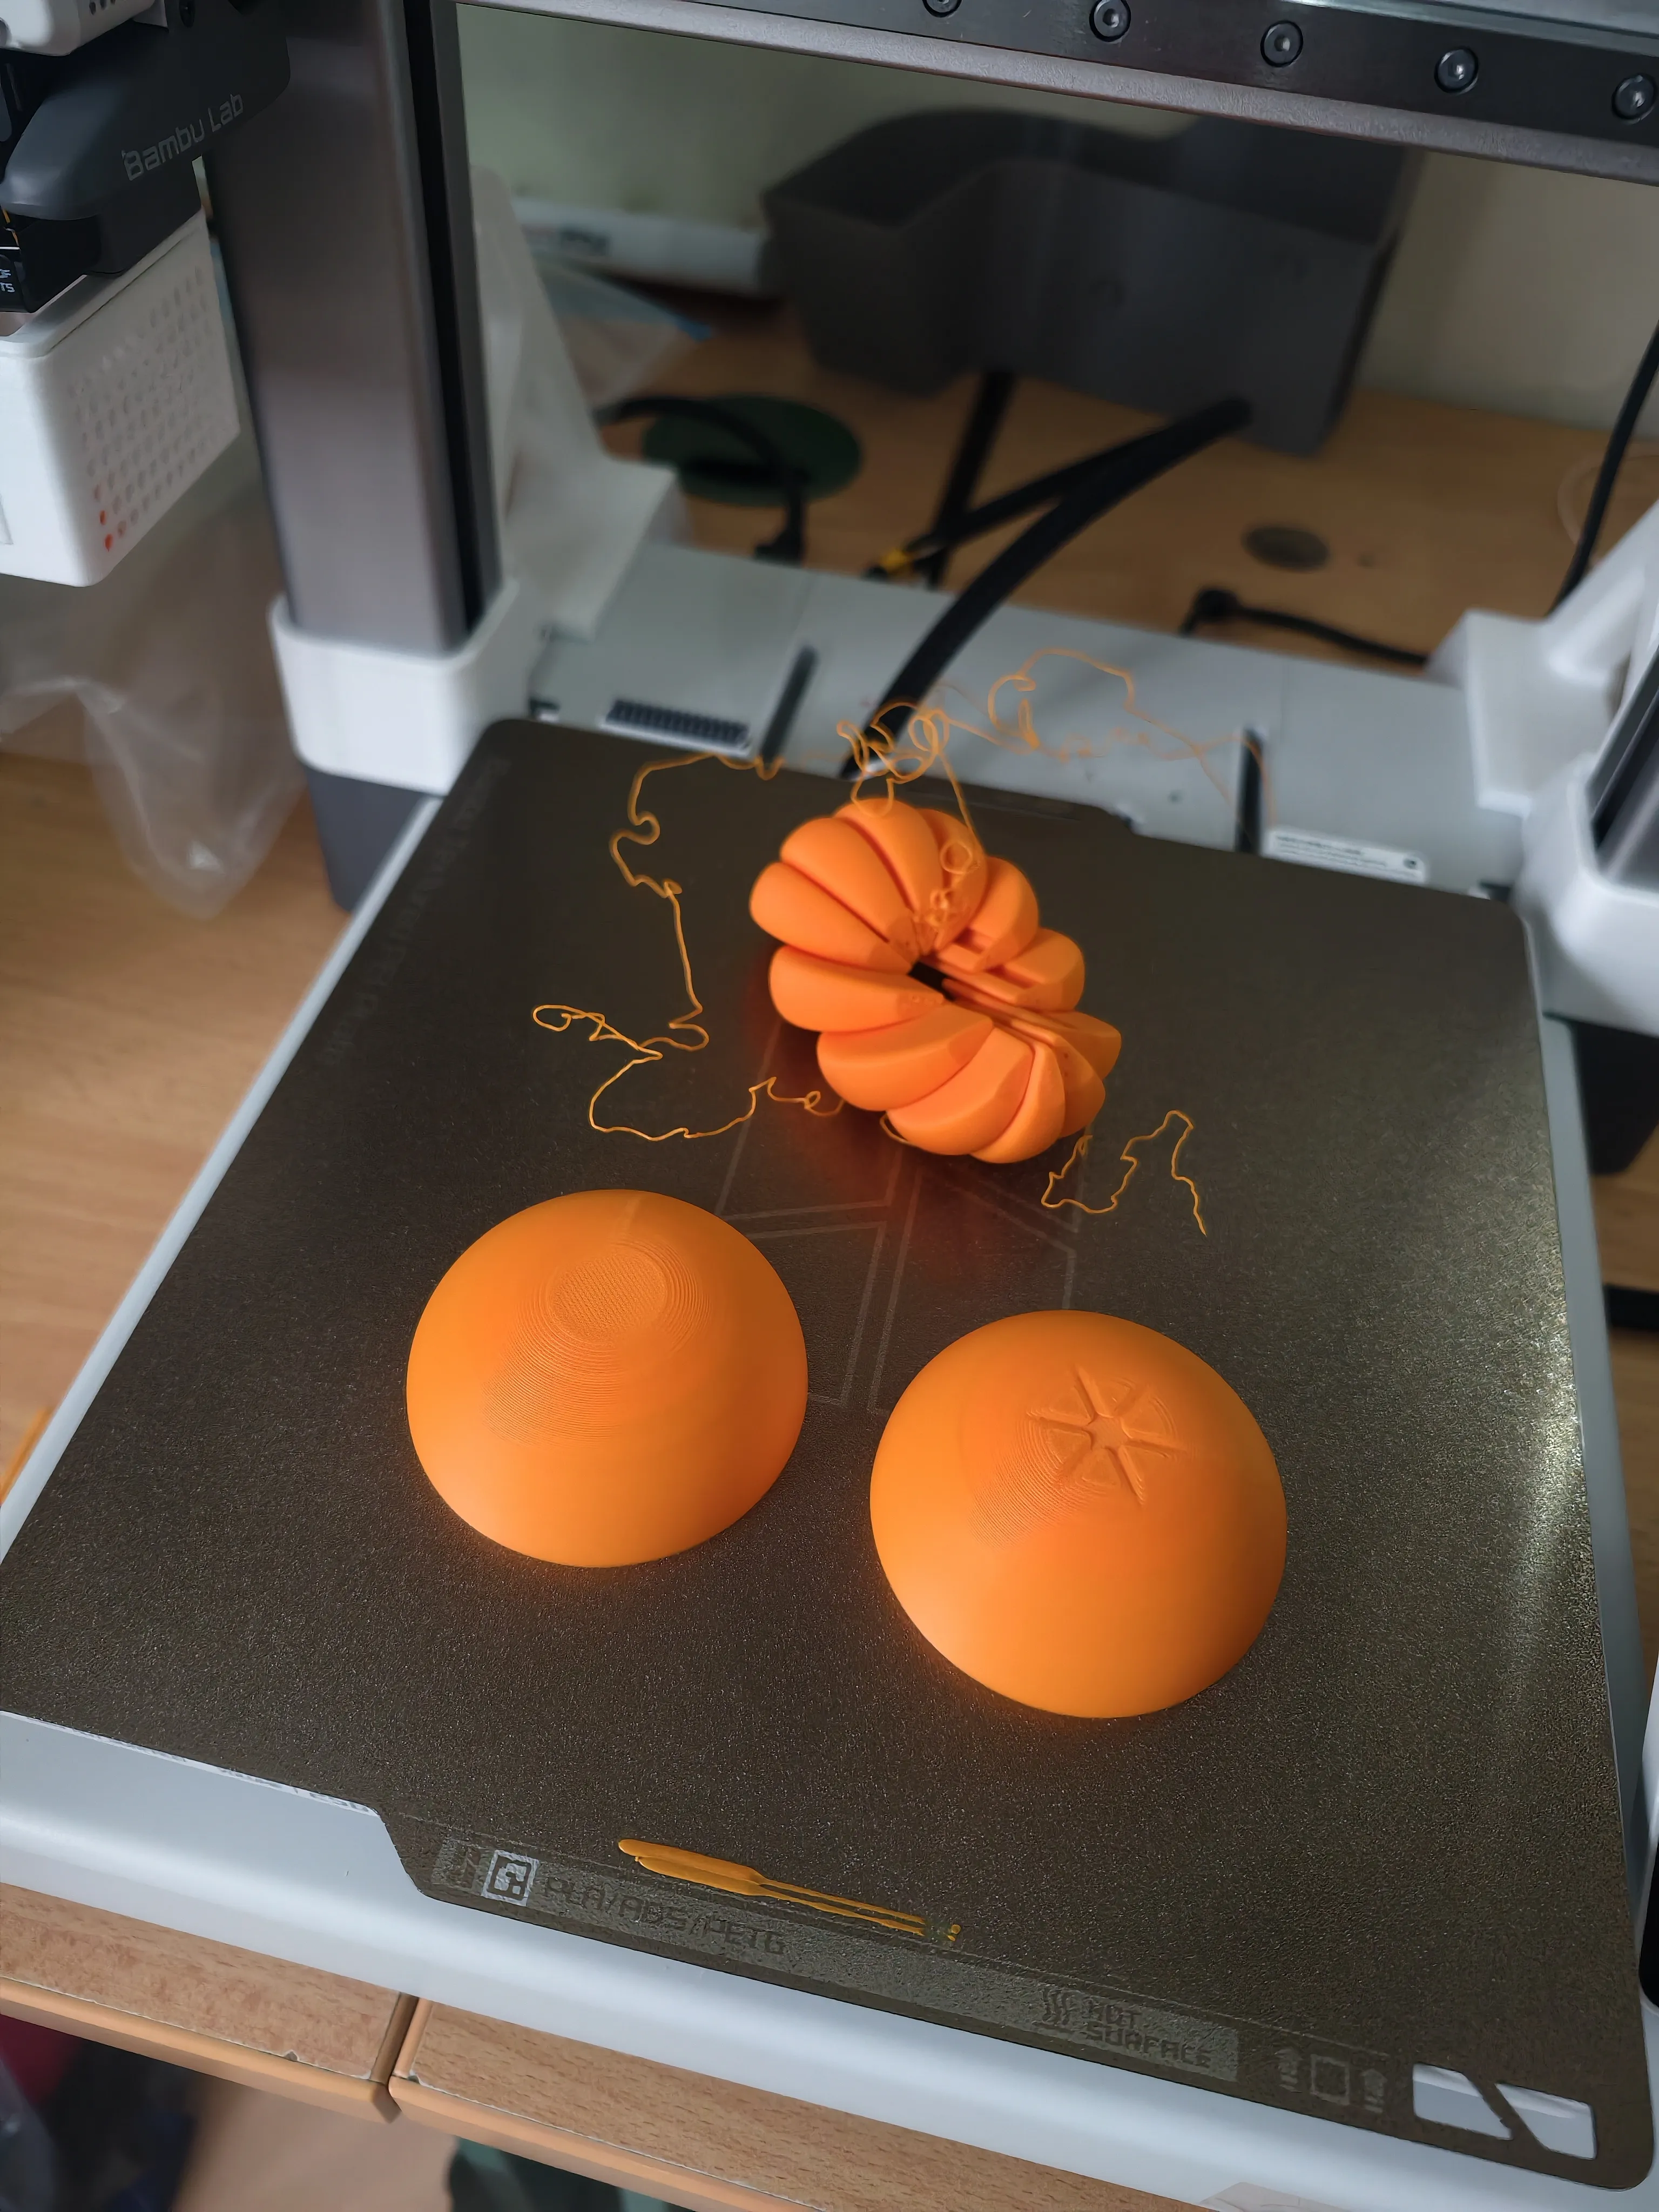
Some of the test failures (see the “fried noodle” photo)
were caused by poor bed adhesion.
Please clean your build plate before printing.
Wash with soap and water.
Dry completely.
Good adhesion = stable segments.
🧲 Update – Magnetic Shell Edition Released
The magnetic shell upgrade is now available.
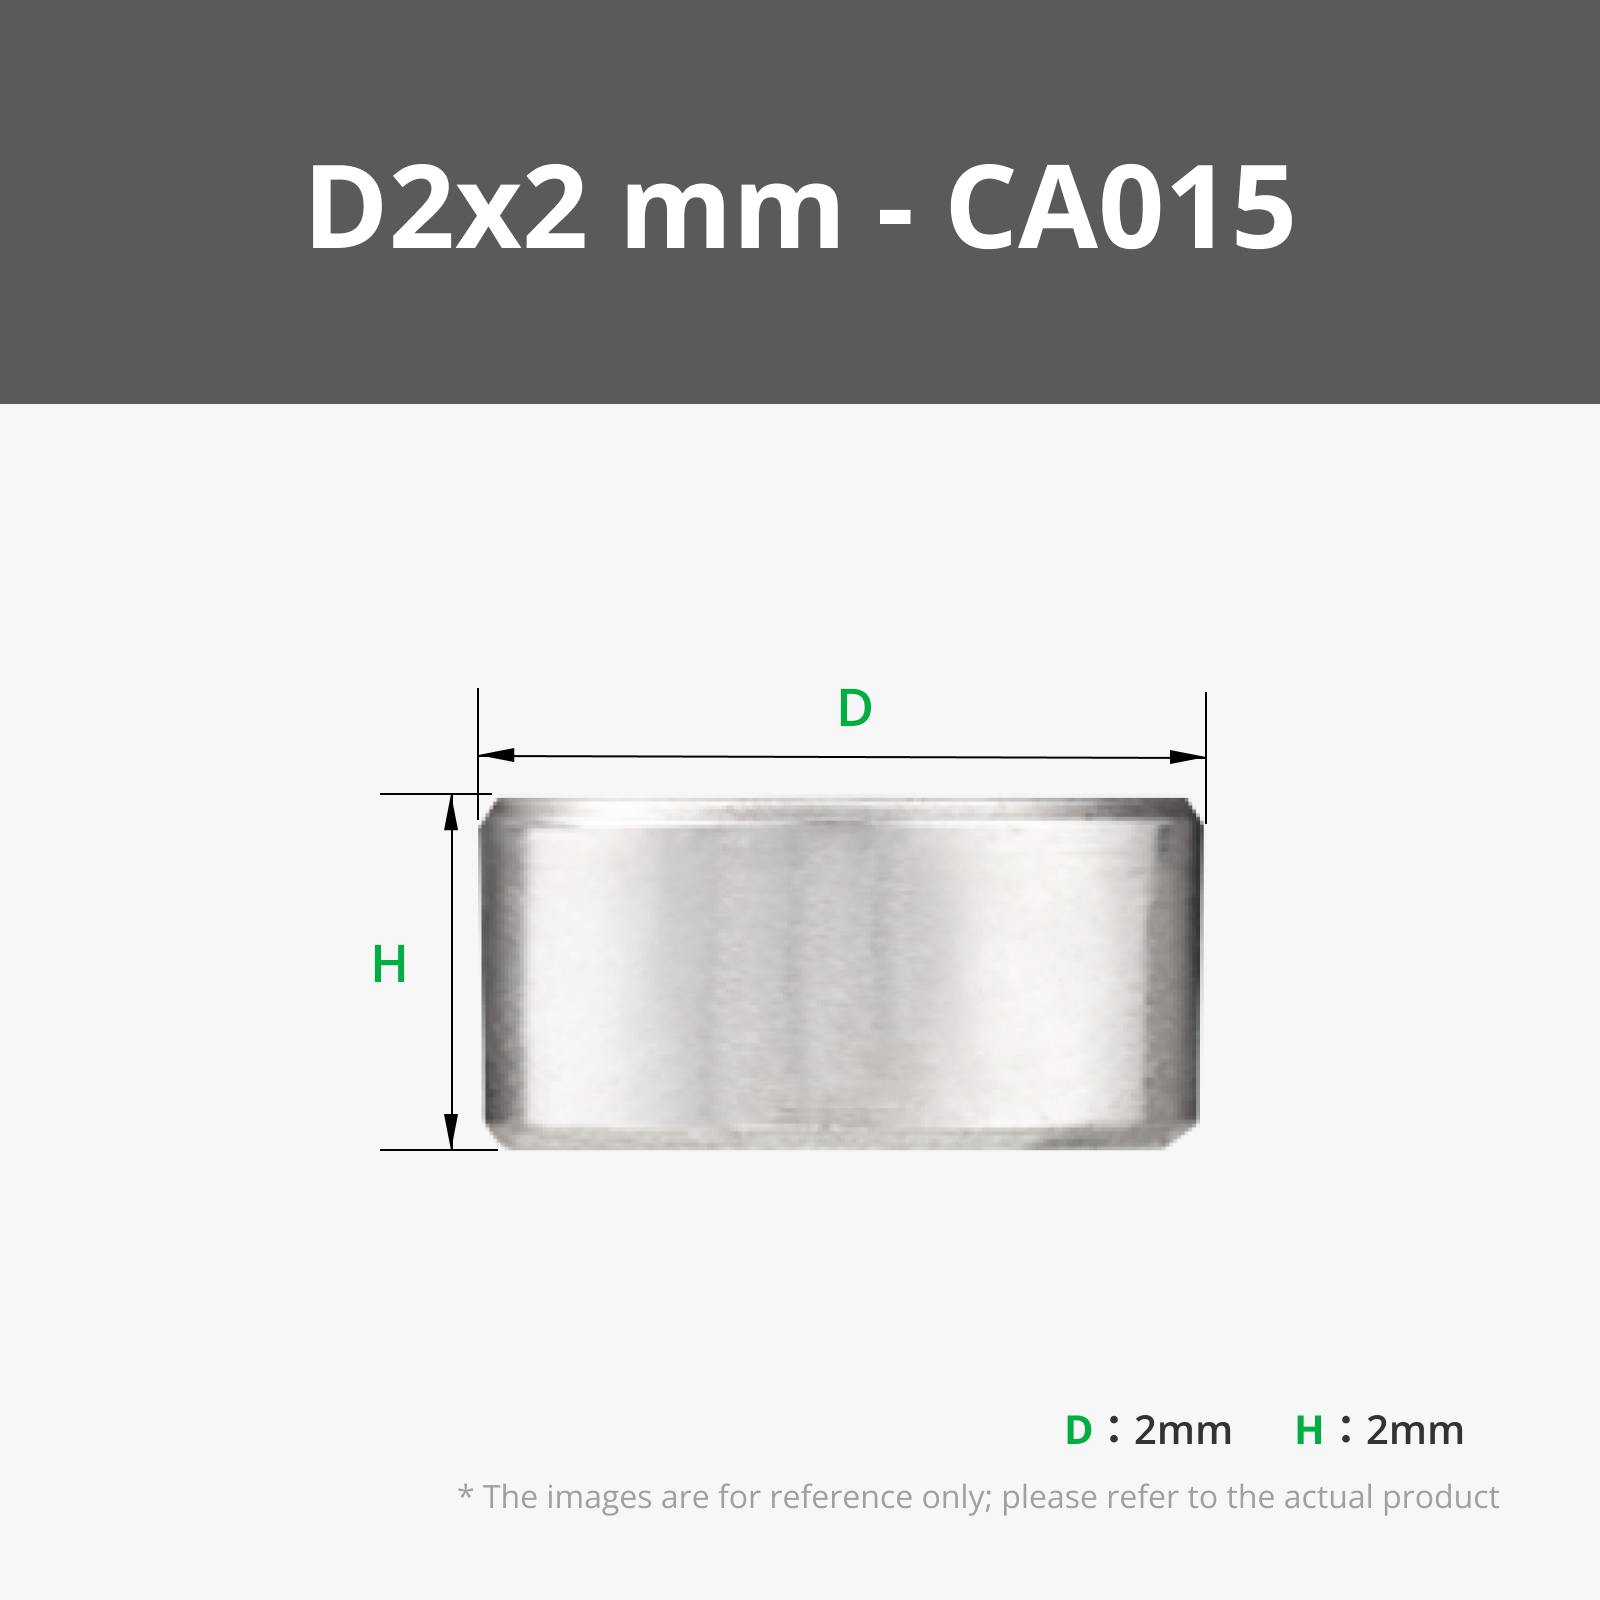
Each side of the outer peel box contains 12 pieces of 2x2mm magnets.
This significantly improves lid retention and prevents the shell from coming loose too easily during handling.
🖨 New Print Profile – Magnetic Inner Peel Box
A new print profile is included for the magnetic version.
Only one pair of inner peel boxes is required.
The model includes an automatic pause at the magnet cavity layer, allowing you to insert the magnets before printing resumes.
⚠️ Important – Magnet Orientation
Before inserting magnets:
✔ Double-check polarity
✔ Make sure opposing sides attract
If magnet polarity is incorrect,
the shell will not close properly.
Test alignment before final insertion.
🔧 Securing the Magnets
After inserting the magnets:
• Add a small drop of glue into each cavity
• Ensure magnets sit fully inside the pocket
This step is important.
Because the printer nozzle is steel,
it may pull magnets upward during the next layer if they are not secured.
A small drop of glue prevents displacement.
This magnetic upgrade enhances tactile feedback
while keeping the original mechanical structure intact.
Magnets remain optional.
The base version still works fully mechanical.
🧩 Simple Assembly
No full manual required.
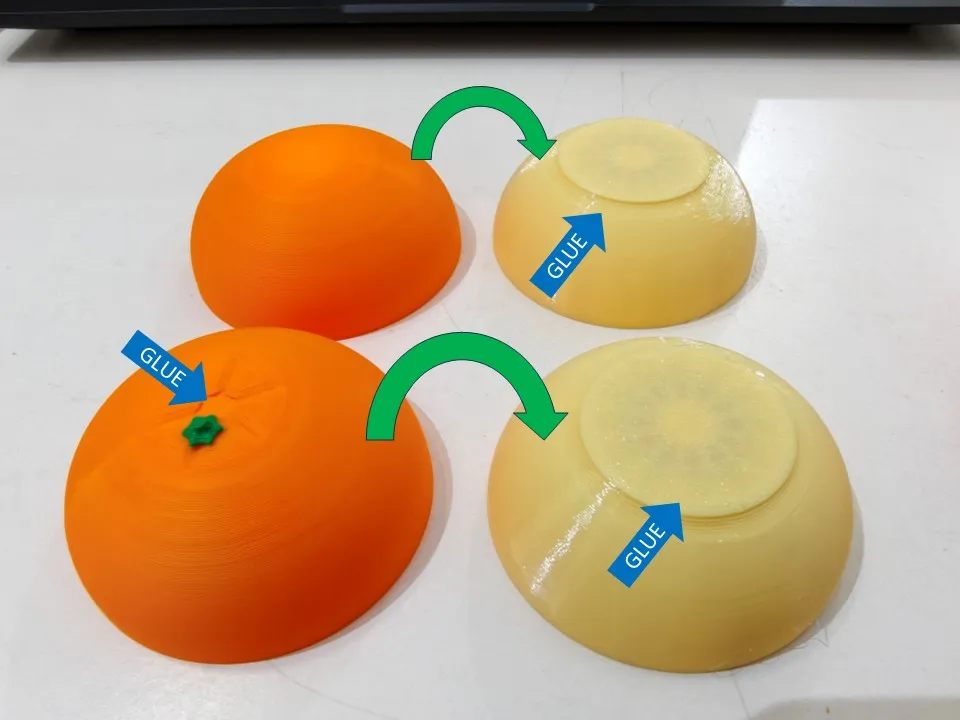
- Glue the stem onto the peel top.
- Glue the outer peel shell onto the inner peel shell.
See attached image for reference.
That’s it.
🛠 Design Philosophy
Not just a festive citrus.
A mechanically simplified evolution
of the chained twist fidget concept.
Built for:
• Repeatable printing
• Clean assembly
• Modular repairability
• Real-world durability
Fresh in spirit.
Engineered in structure.
🍊 Limau Link.
Boost Me (for free)
🚀 If You Like Over-Engineered Fruit
Boost it.
Follow for the magnetic edition.
Show me your color combinations.
Let’s make fruit unnecessarily mechanical.

New model for the Orange series!!! its the Orange Candy Dispenser!!!
🍌 From the Banana Side
If you enjoy citrus mechanisms,
you might want to see what happened to the banana.
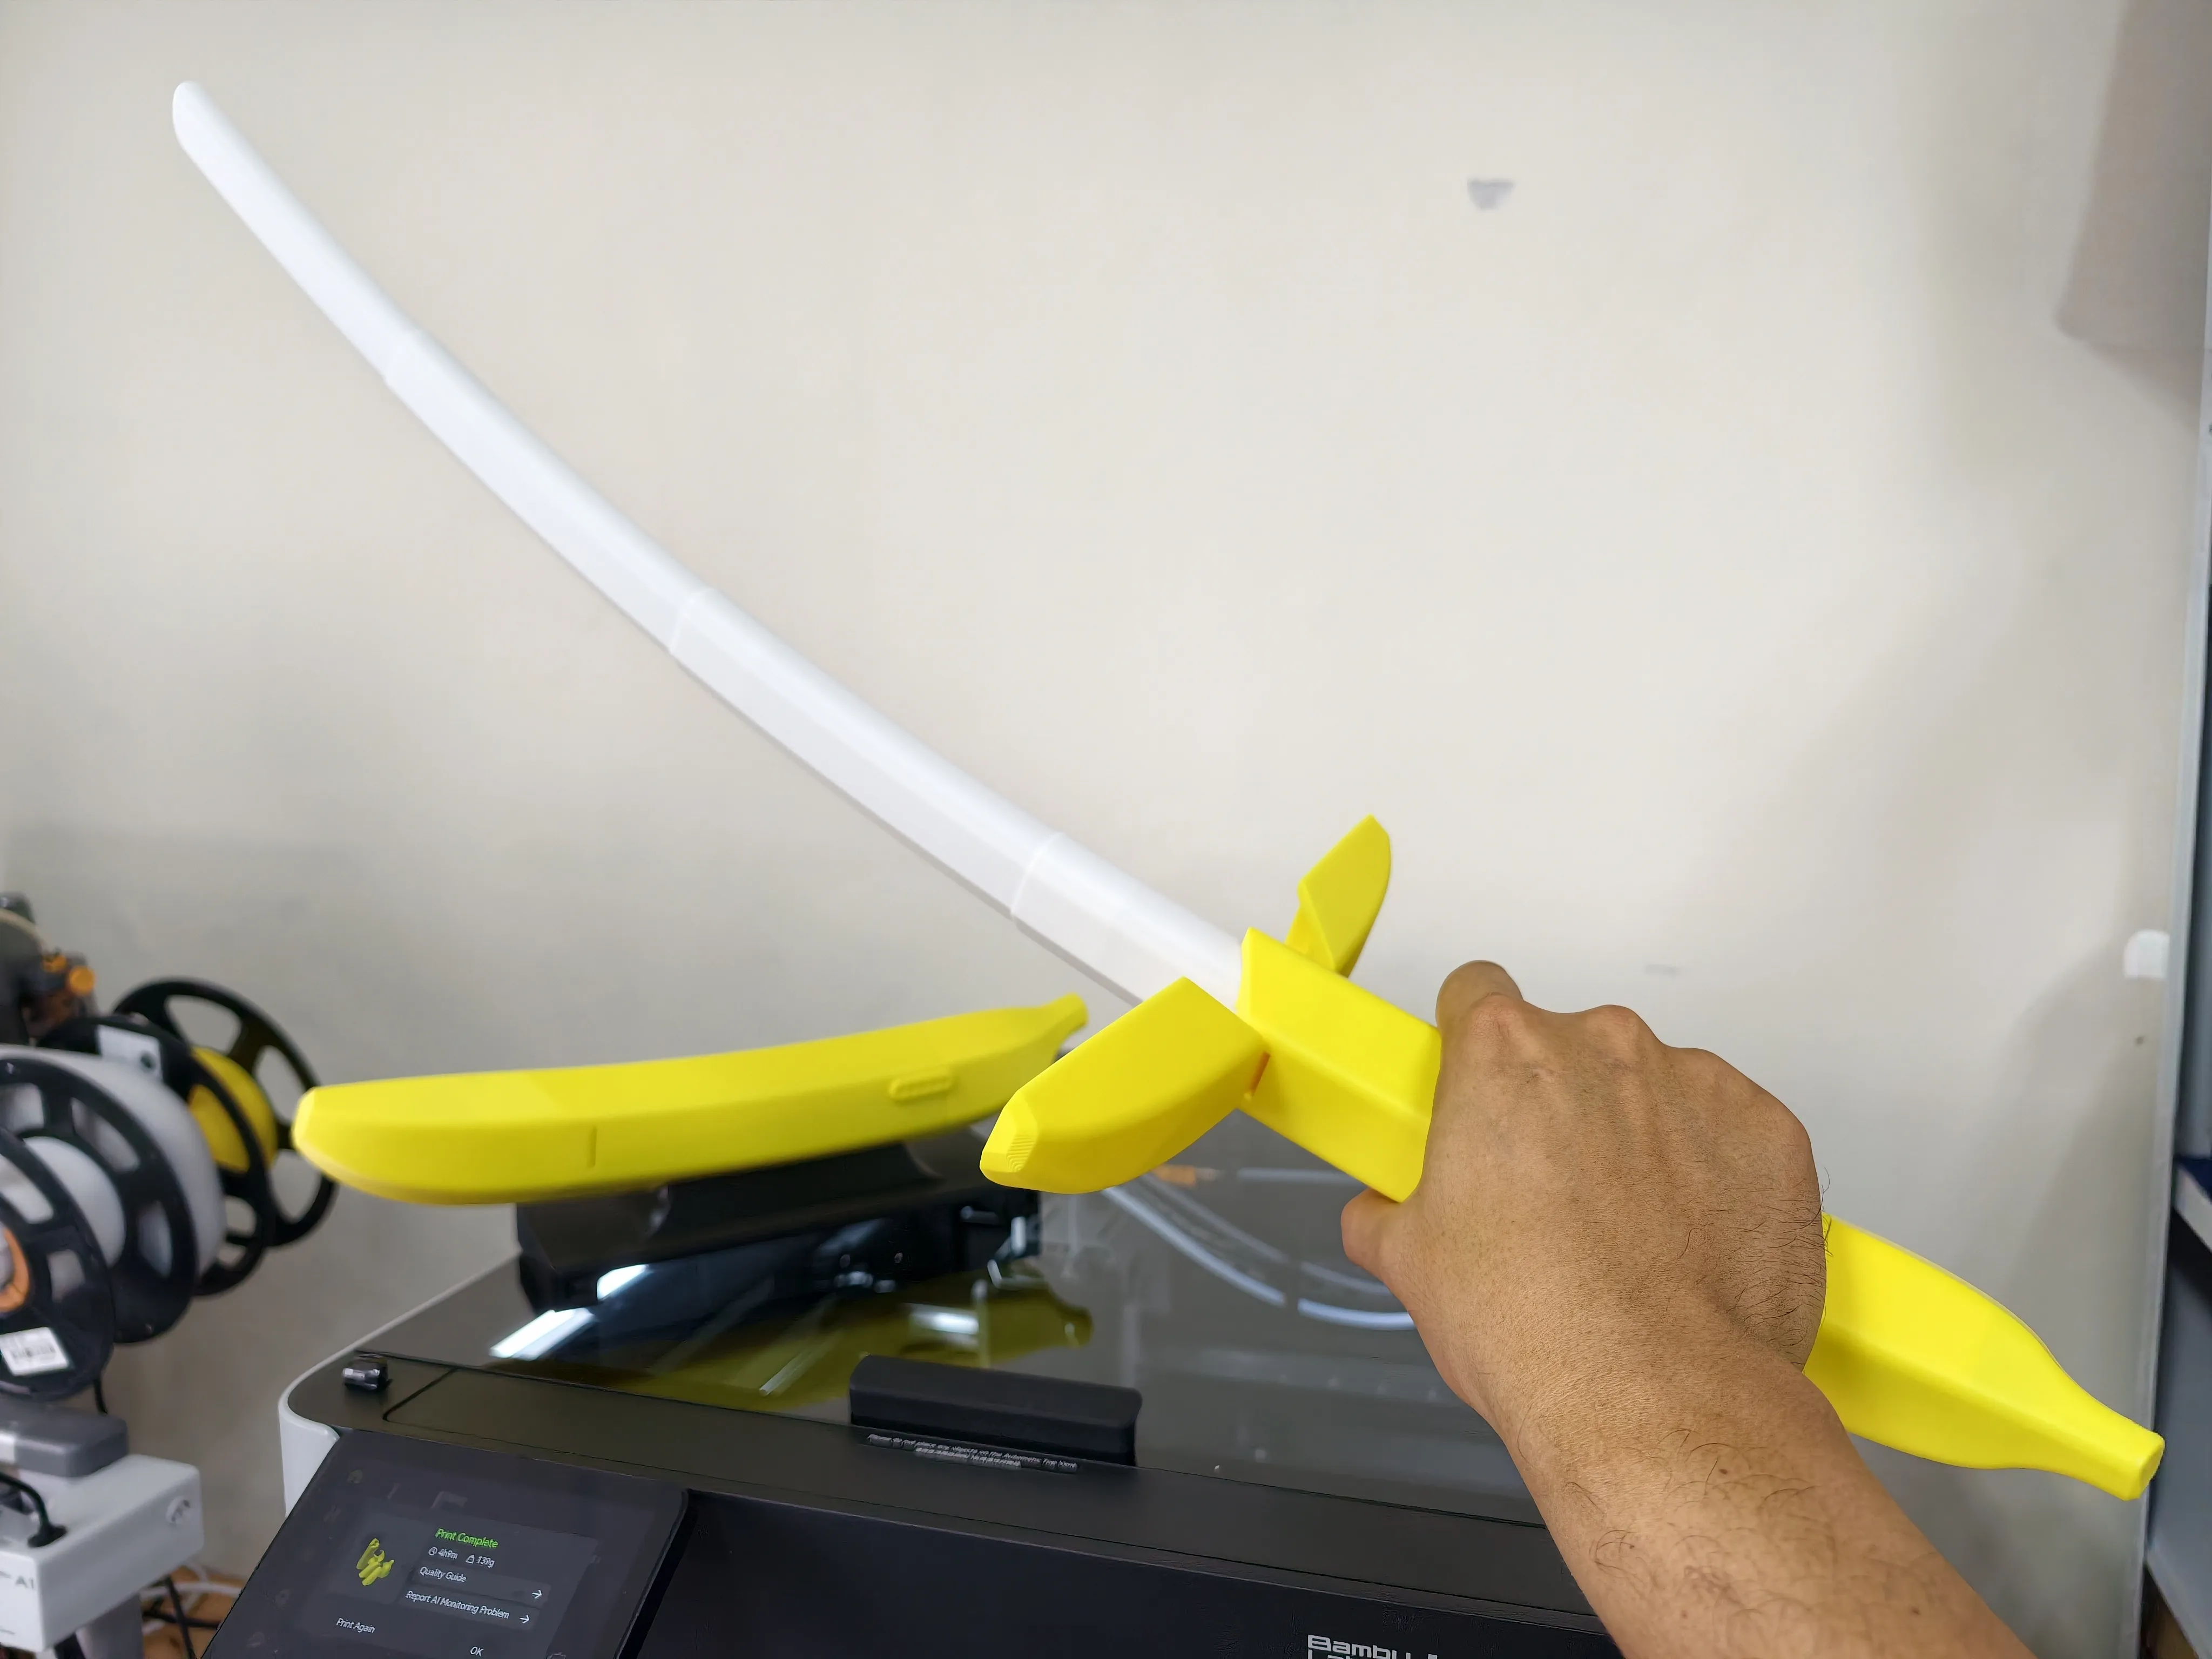
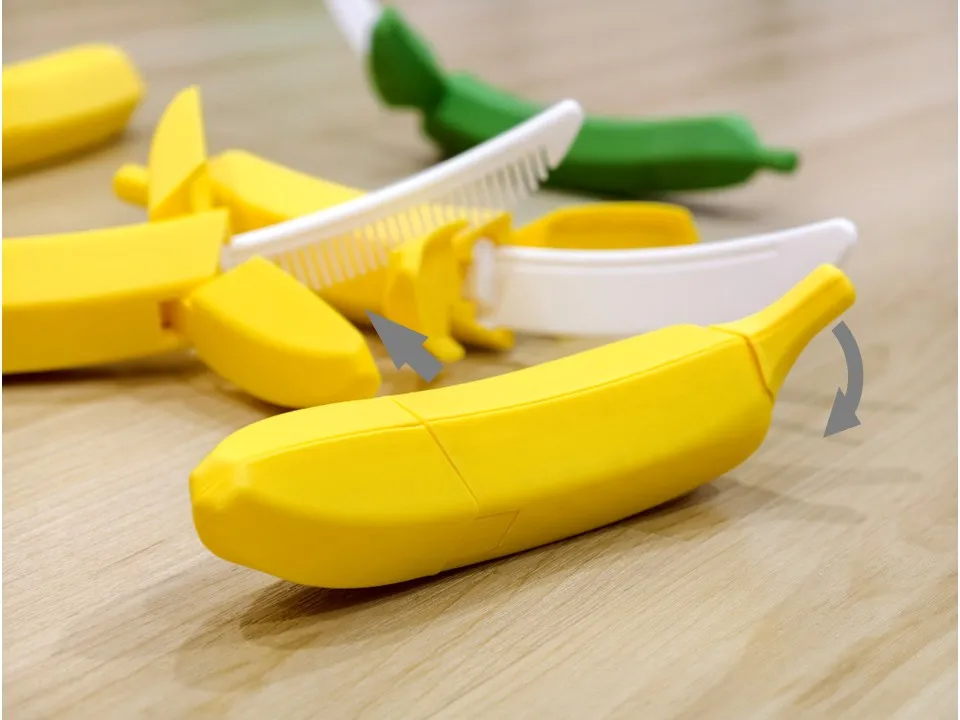
Banananife V2 – OTF Blade + Comb Upgrade
Before you deploy it… you peel it.
License

You shall not share, sub-license, sell, rent, host, transfer, or distribute in any way the digital or 3D printed versions of this object, nor any other derivative work of this object in its digital or physical format (including - but not limited to - remixes of this object, and hosting on other digital platforms). The objects may not be used without permission in any way whatsoever in which you charge money, or collect fees.


Comment & Rating (569)