Bambu Lab Modular Storage Box v4


Print Profile(6)


Description
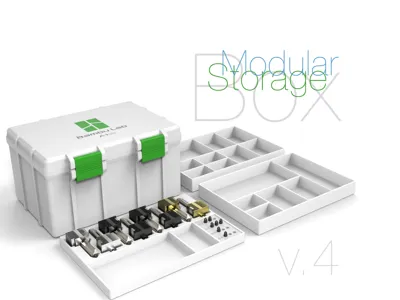
Bambu Lab Modular Storage Box v4
In this version of the box, almost nothing has changed compared to the previous one. The overall dimensions remain the same, and the trays are standardized and fit most boxes designed for different printers. Essentially, the only real change concerns the trays for the A1 series printers — I made them slightly lower in height, which allows three of these trays to fit inside the box.


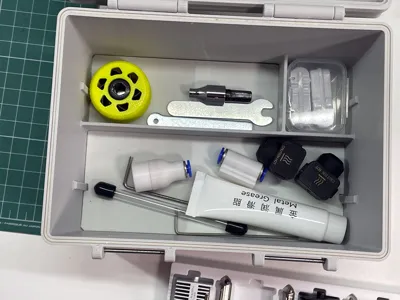
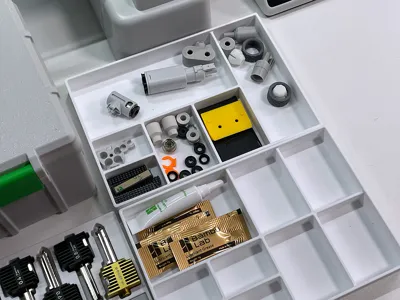
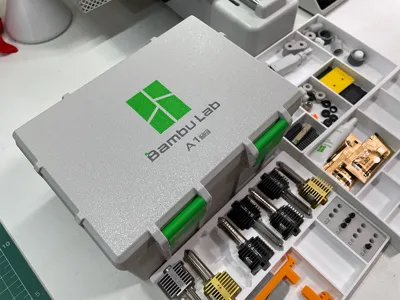
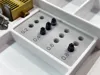
In addition to the main section inside the box itself, the total number of compartments is now effectively four. The reason is simple: over time, I ended up with more hotends, and I decided to organize them properly. To do this, I placed each hotend into its own individual holder, so every hotend has a dedicated spot and is always within easy reach.
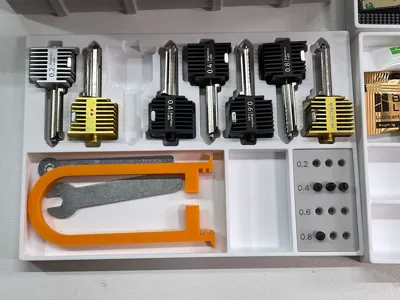
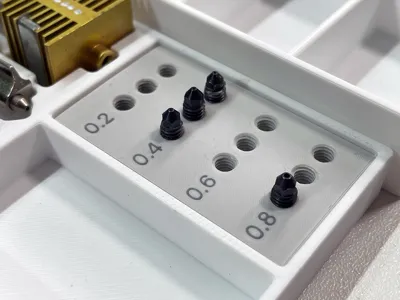
I also made threaded holders specifically for removable nozzles. These are not original hotends, but they are fully functional and have genuinely helped me out in a number of situations. The quality is excellent, and they are sold with hardened nozzles, including sizes down to 0.2 mm. I definitely have uses for them.
The main issue with nozzles is that they are easy to lose or mix up, and their markings are either missing altogether or so small that they are impossible to read. That’s why I designed threaded holders: the nozzles simply screw in, each into its own dedicated slot. This way, they don’t get lost, don’t get mixed up, and are always ready for a quick swap. Most likely, this set will last me for the entire practical lifespan of the printer. Some of these nozzles may never be used, but the fact is that they are available and stored neatly.
As you can see in the photos, there is currently quite a lot of empty space inside. That’s perfectly fine — it will almost certainly be filled over time. The important part is that the system is already prepared for this and won’t require any redesign.
The lids are labeled for different printer series. I don’t own any HD series printers, so I didn’t add labels for those. All other current series are covered: A, P, and X1.
I hope you like this solution as well.
Boost Me (for free)
If you like this model, a repost, boost, or like is the best way to say “make more.” It directly supports development and the creation of new projects.
How to Break Down STL—watch the video for a detailed demonstration:

In my publications, I've repeatedly shown how box assembly works. However, considering that there are newcomers to this project, I've created a separate short video specifically for this project. The video contains no new information but serves as a reminder that the simplest way to get pins for hinges and locks is to cut bicycle spokes. Their diameter is 2 mm, and the length will depend on your box dimensions. Alternatively, you can use suitable pins; links for purchase are provided below.
Watch the video for assembly details:

Parts links below:
Links to used tools:
Comment & Rating (33)