
Any Size Honeycomb Marker Pen Holder (Ohuhu/Copic)
Print Profile(4)

Description
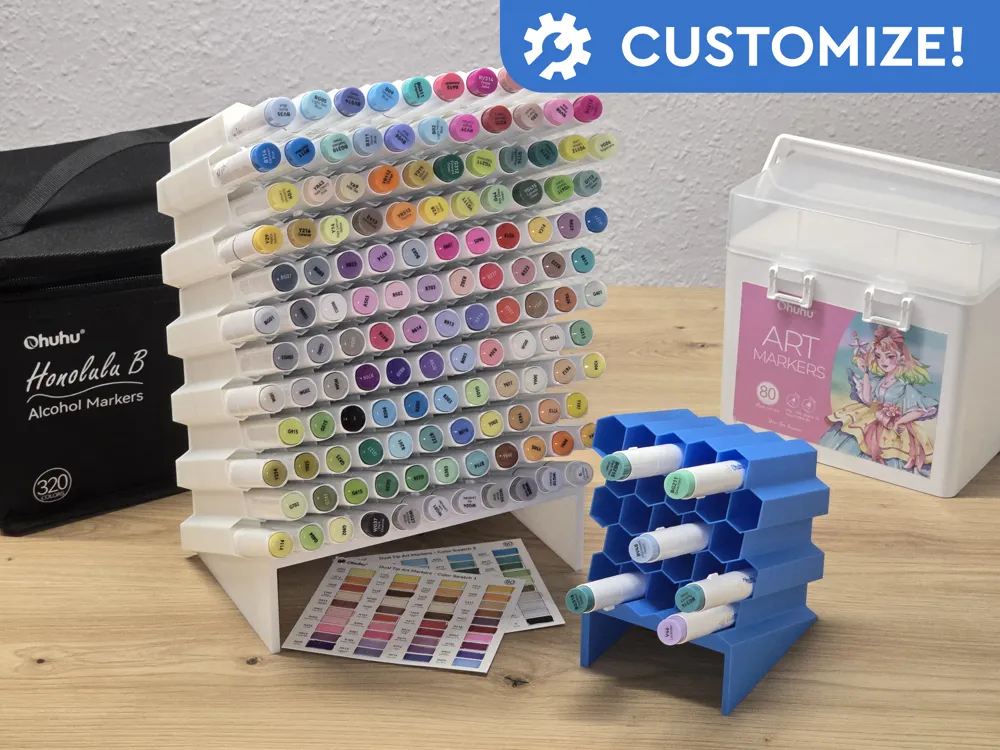
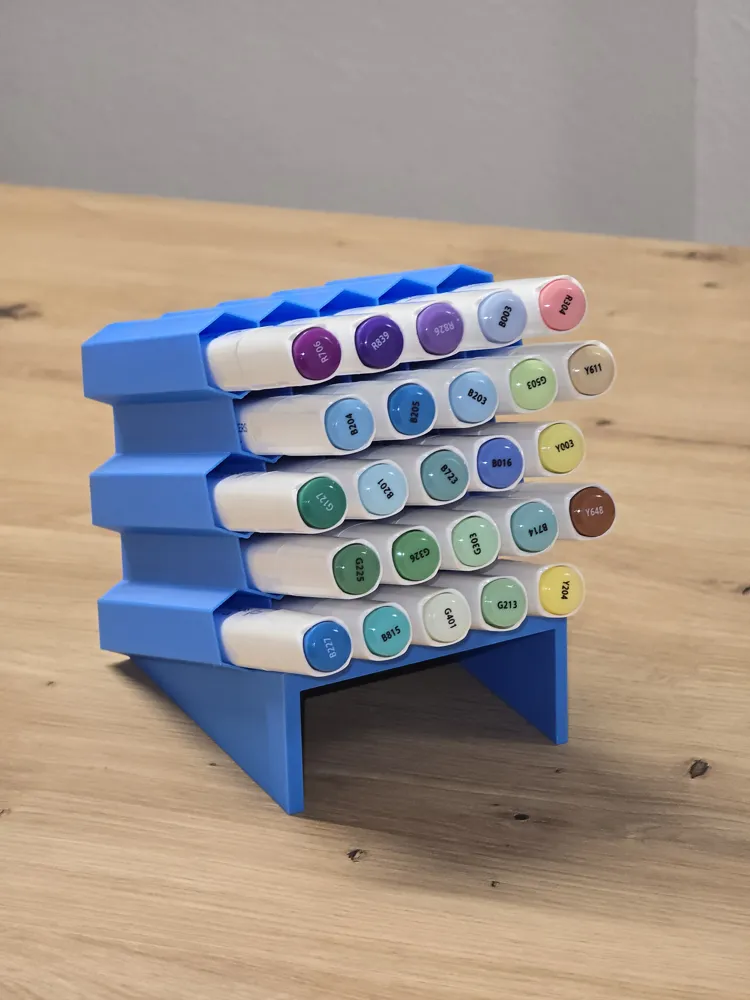
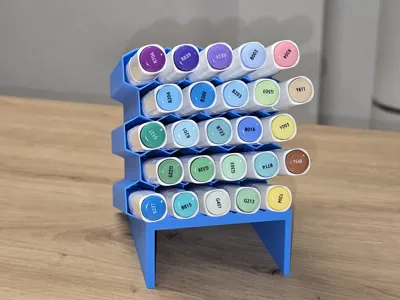
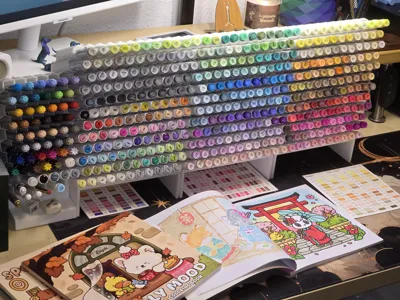
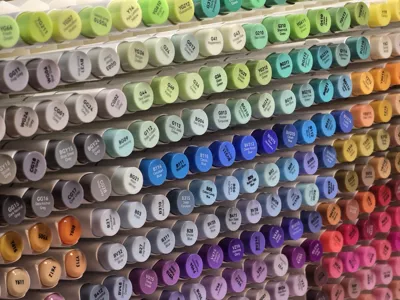
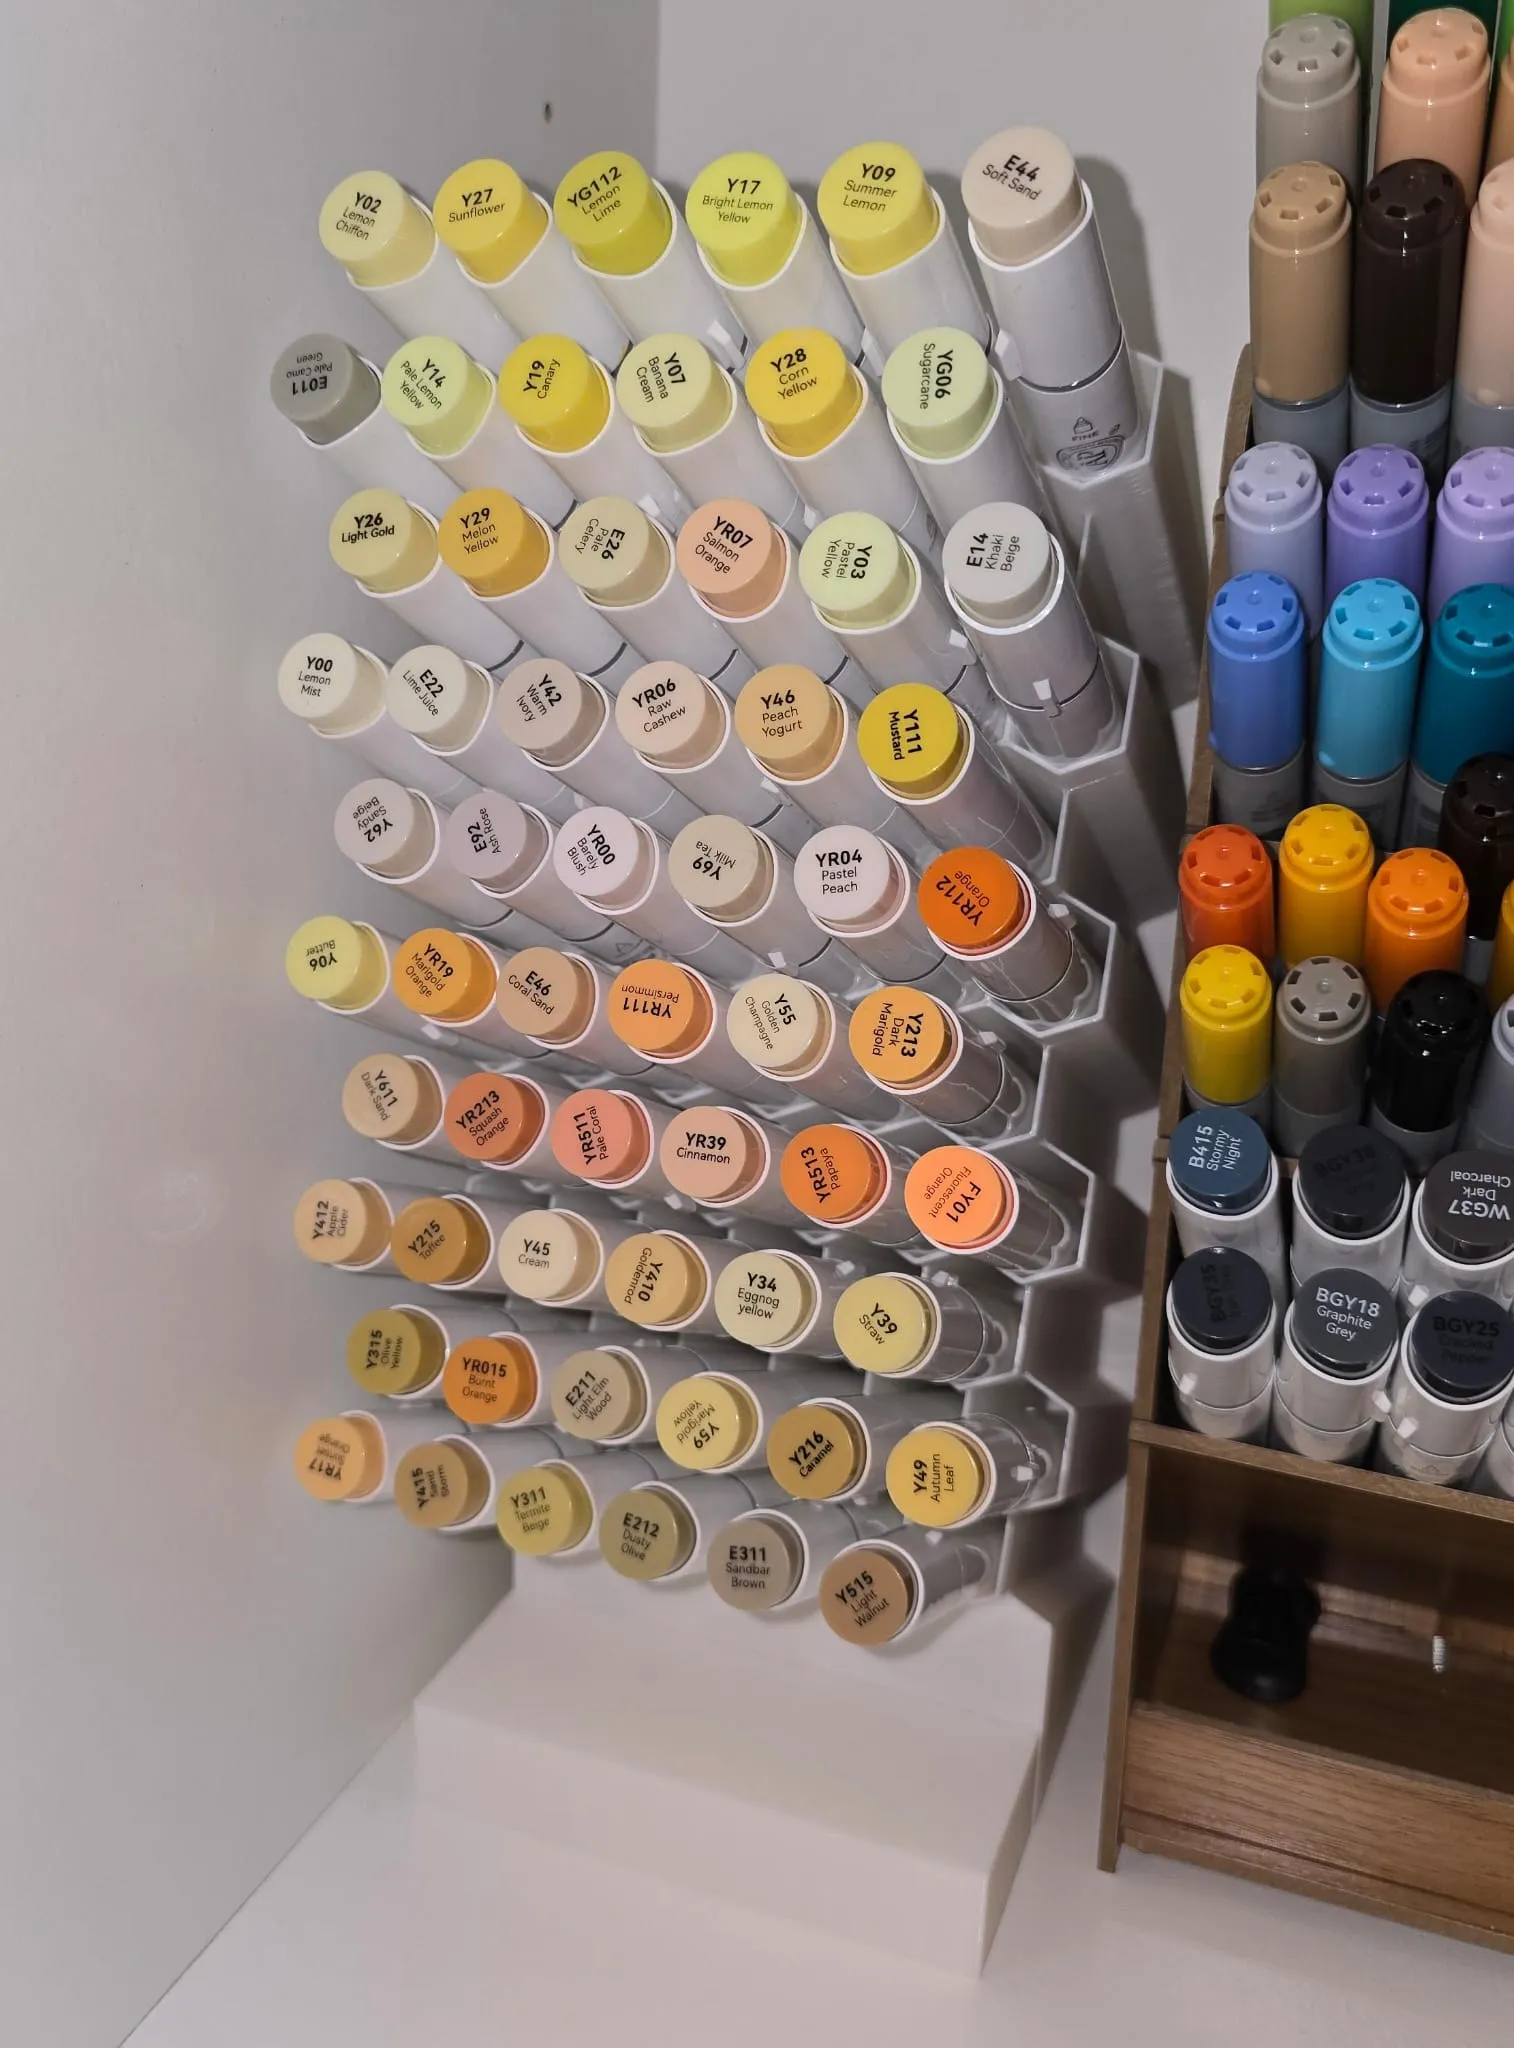
A modular, space-efficient organizer for alcohol markers — fully customizable!
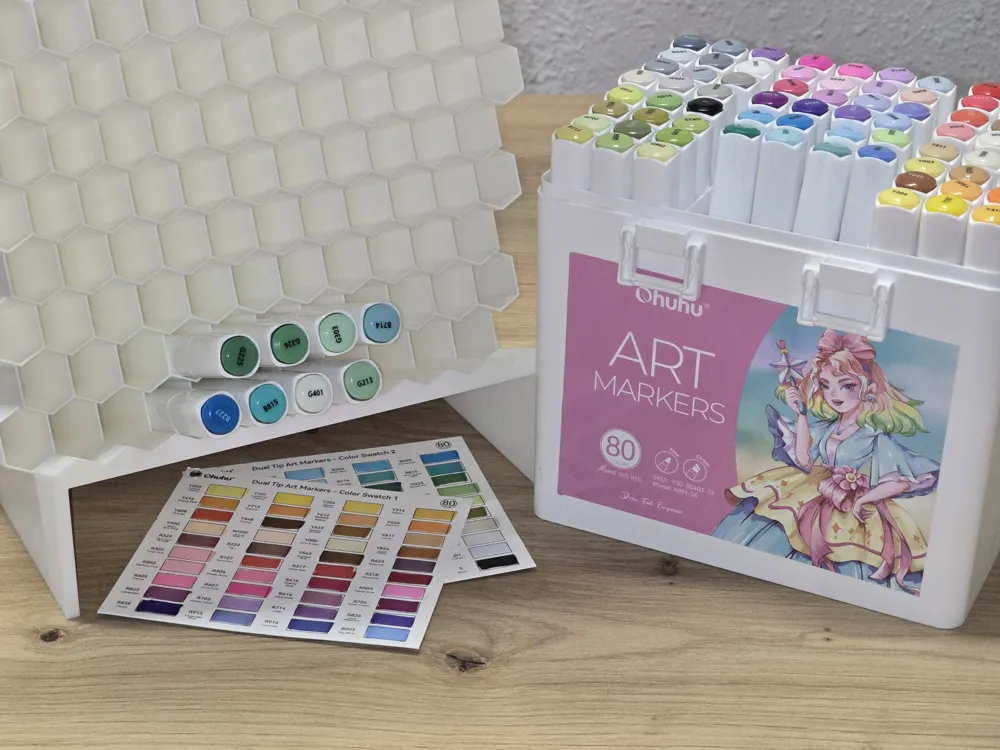
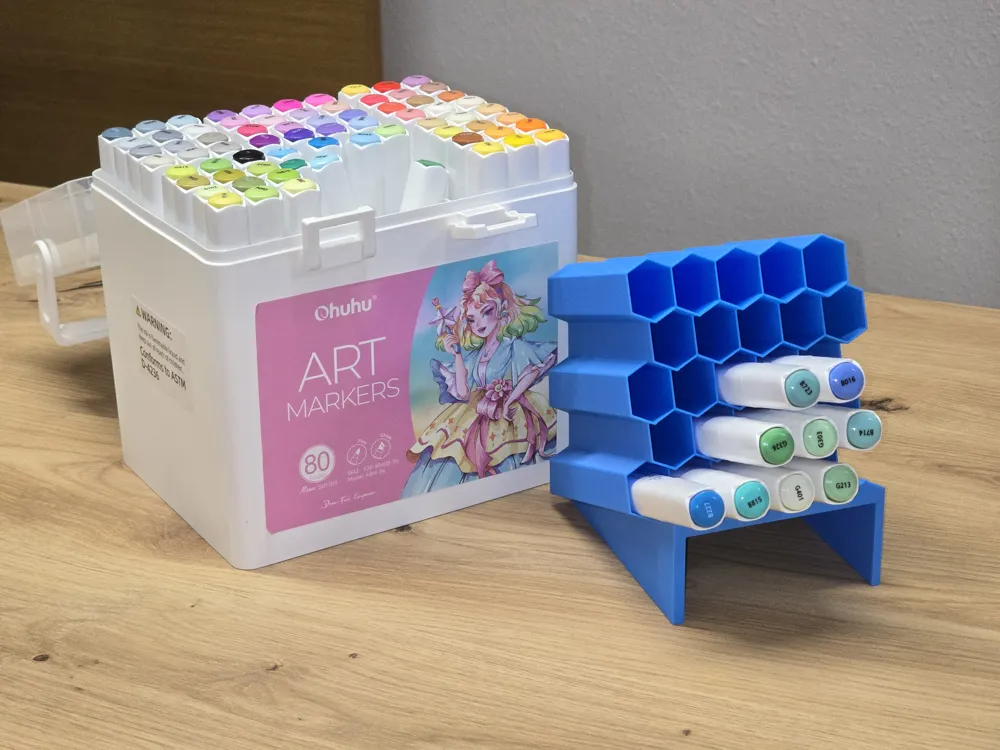
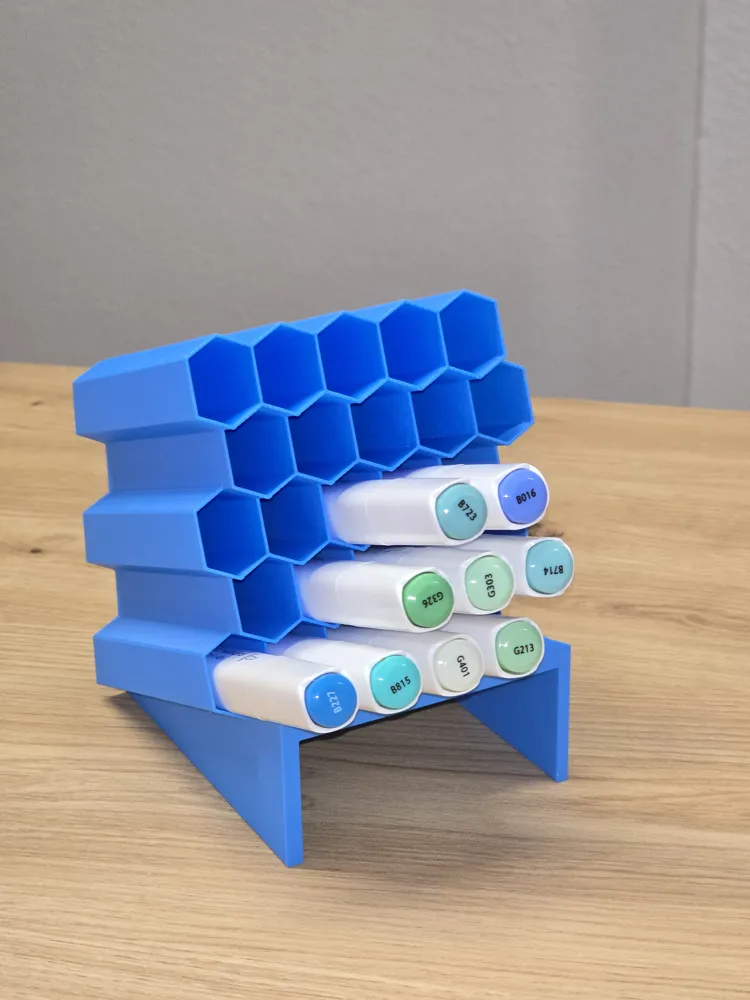
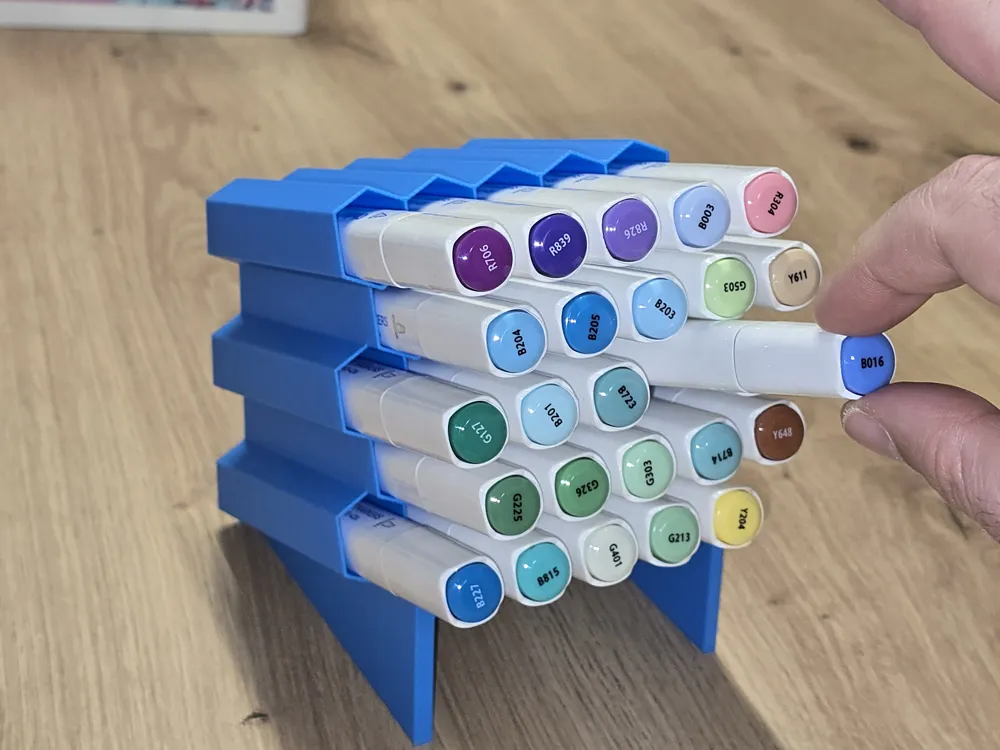
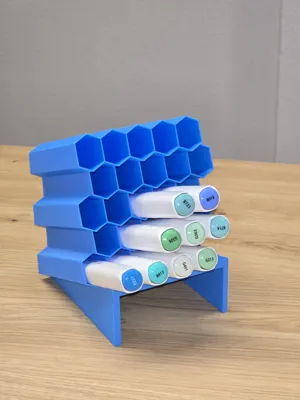
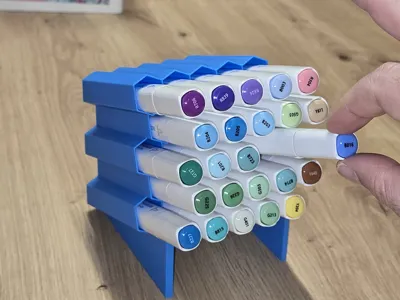
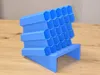

A hexagonal (honeycomb) pen holder optimized for alcohol markers like Ohuhu, Copic, and similar dual-tip markers. The angled, elongated hexagonal cells make insertion and removal effortless while maximizing space efficiency. Fully customizable in OpenSCAD — adjust grid size, cell dimensions, angle, wall thickness, base type, and more.
Boost Me (for free)
Please share comments and photos of your prints! And, if you like the model and can spare a boost, that'd be much appreciated!
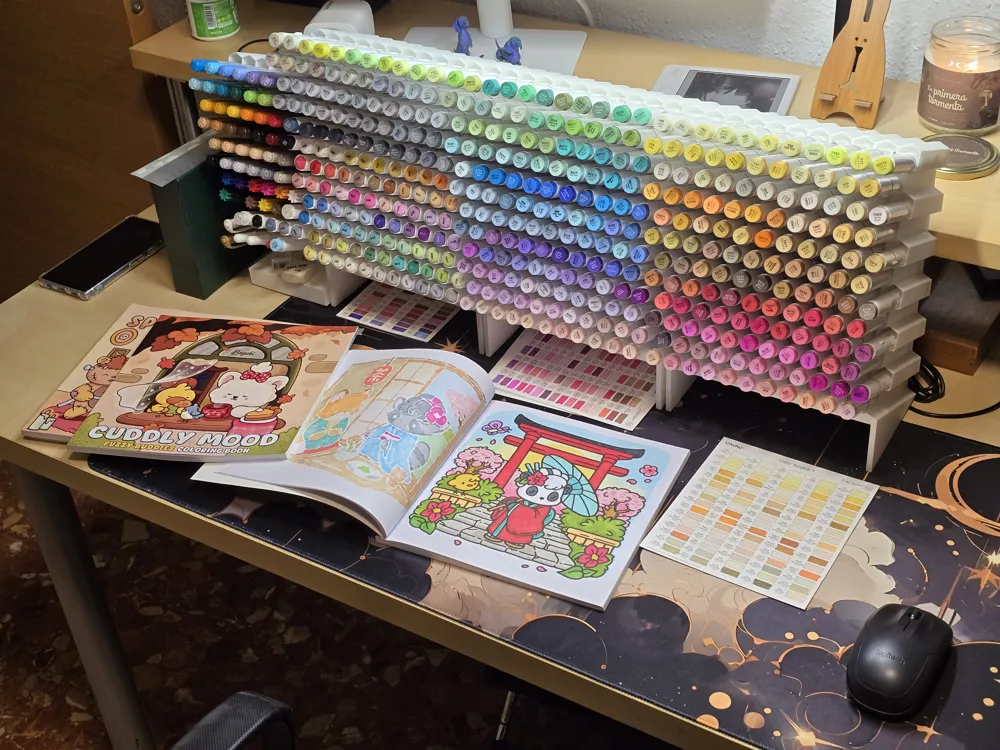
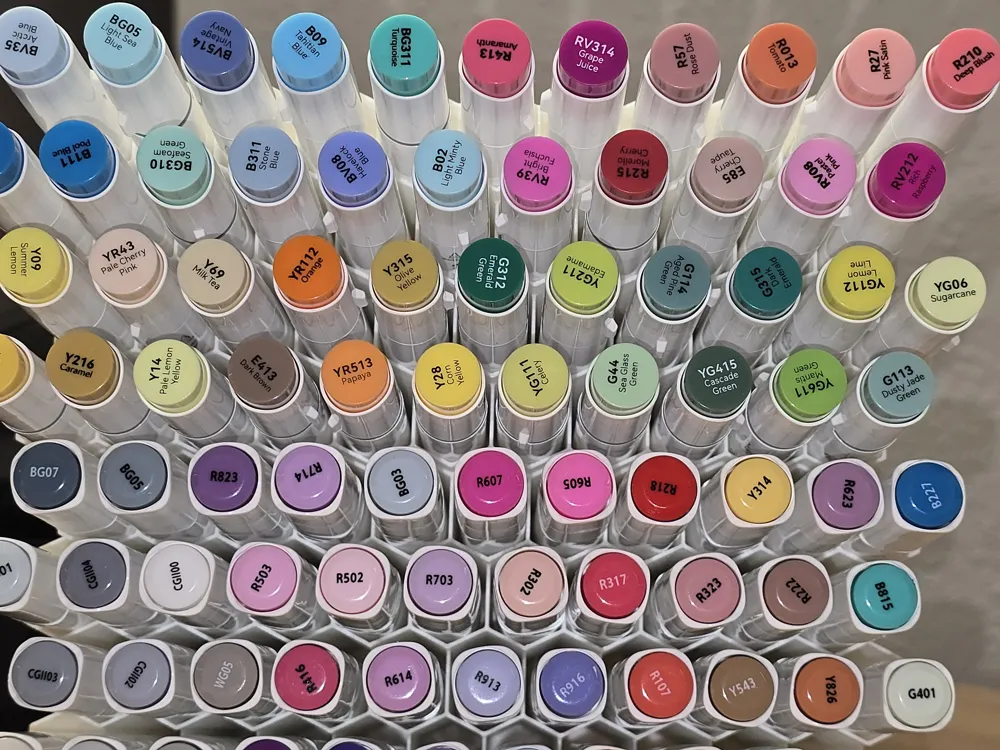
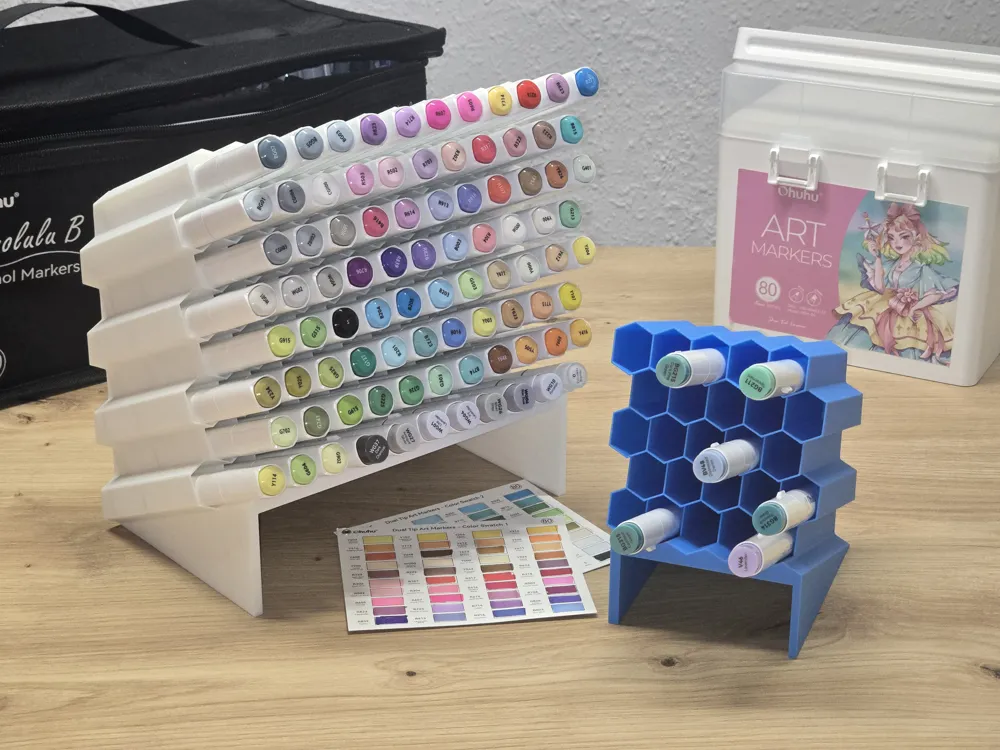
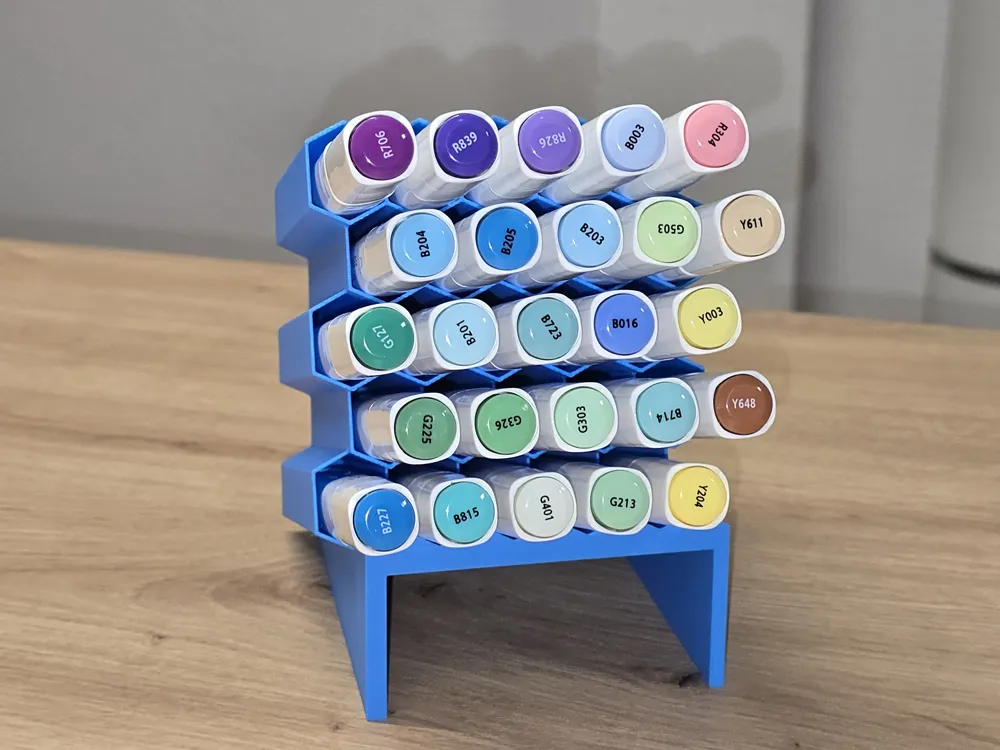
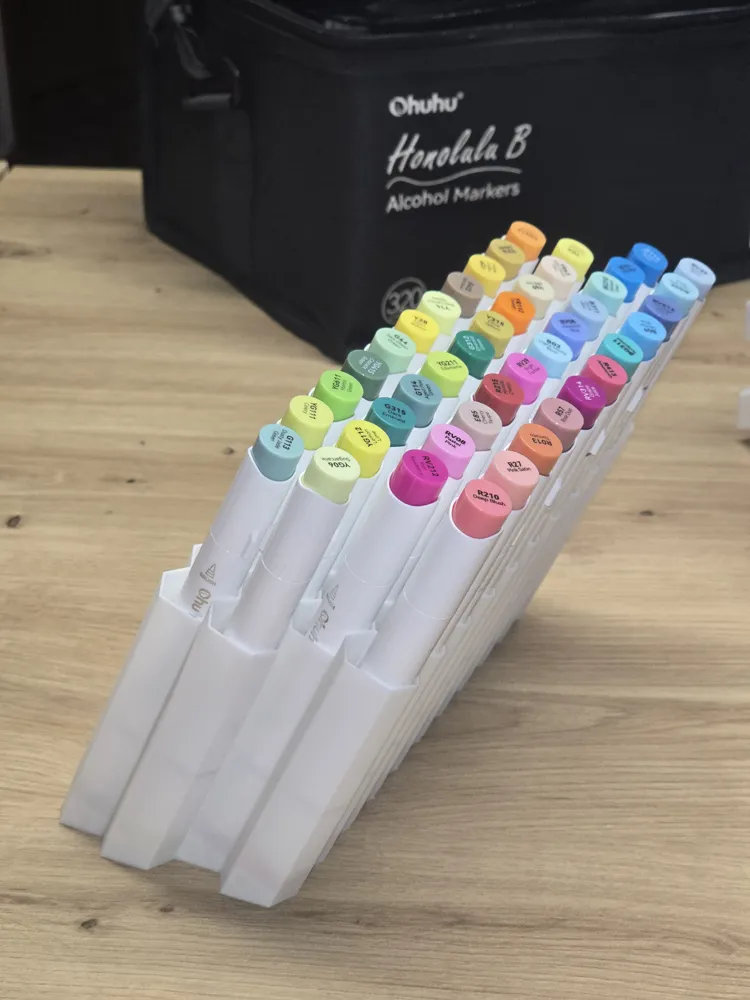
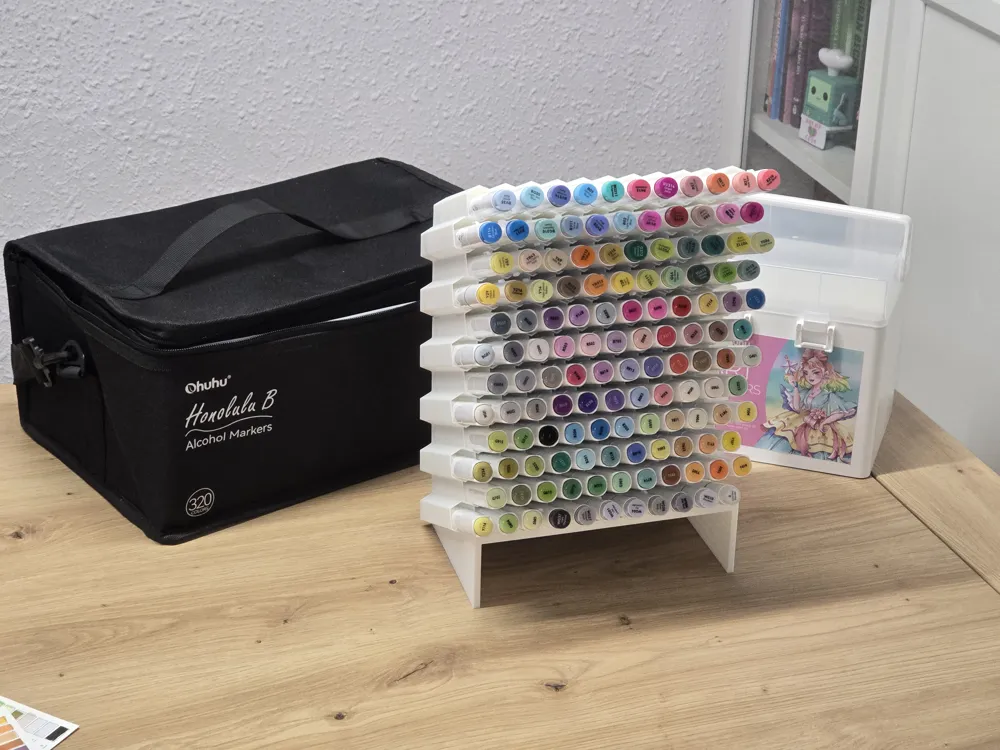
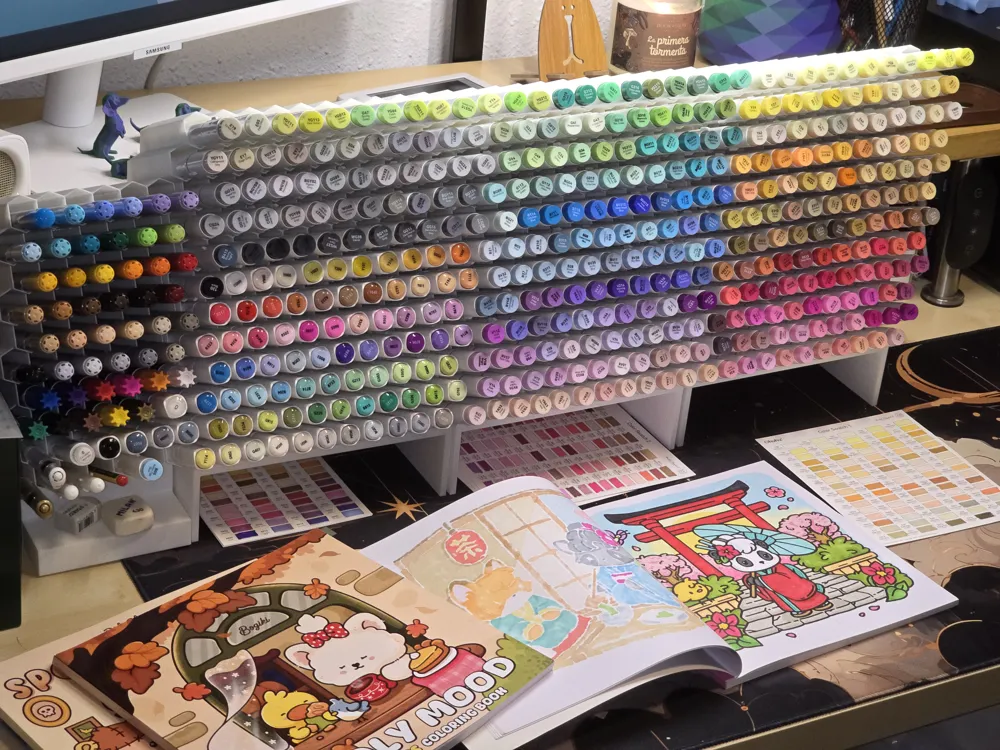
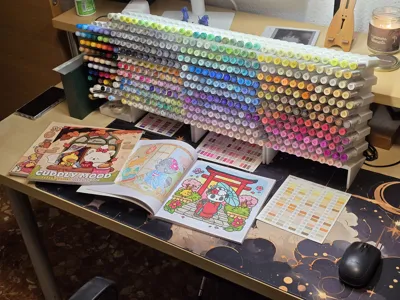
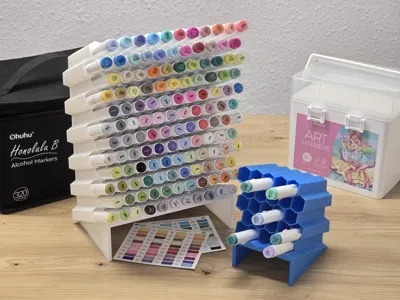
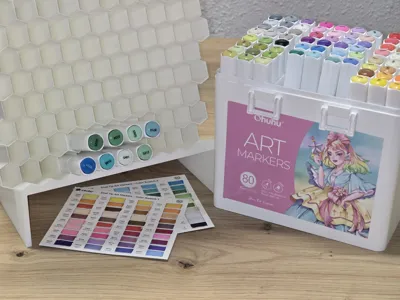
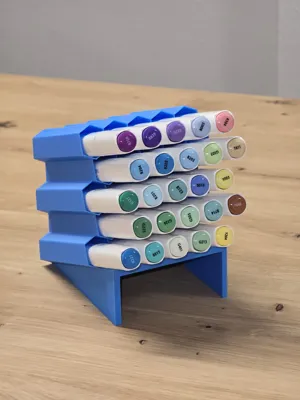
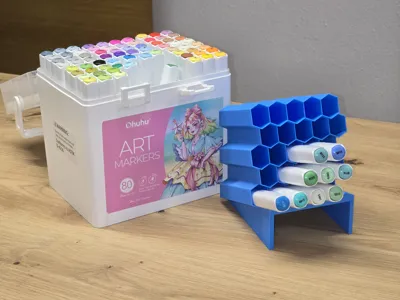
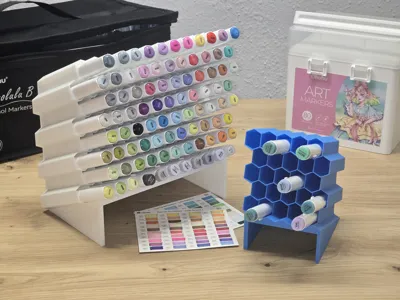
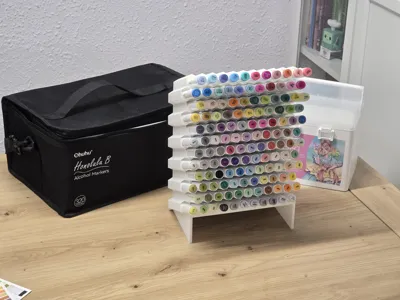
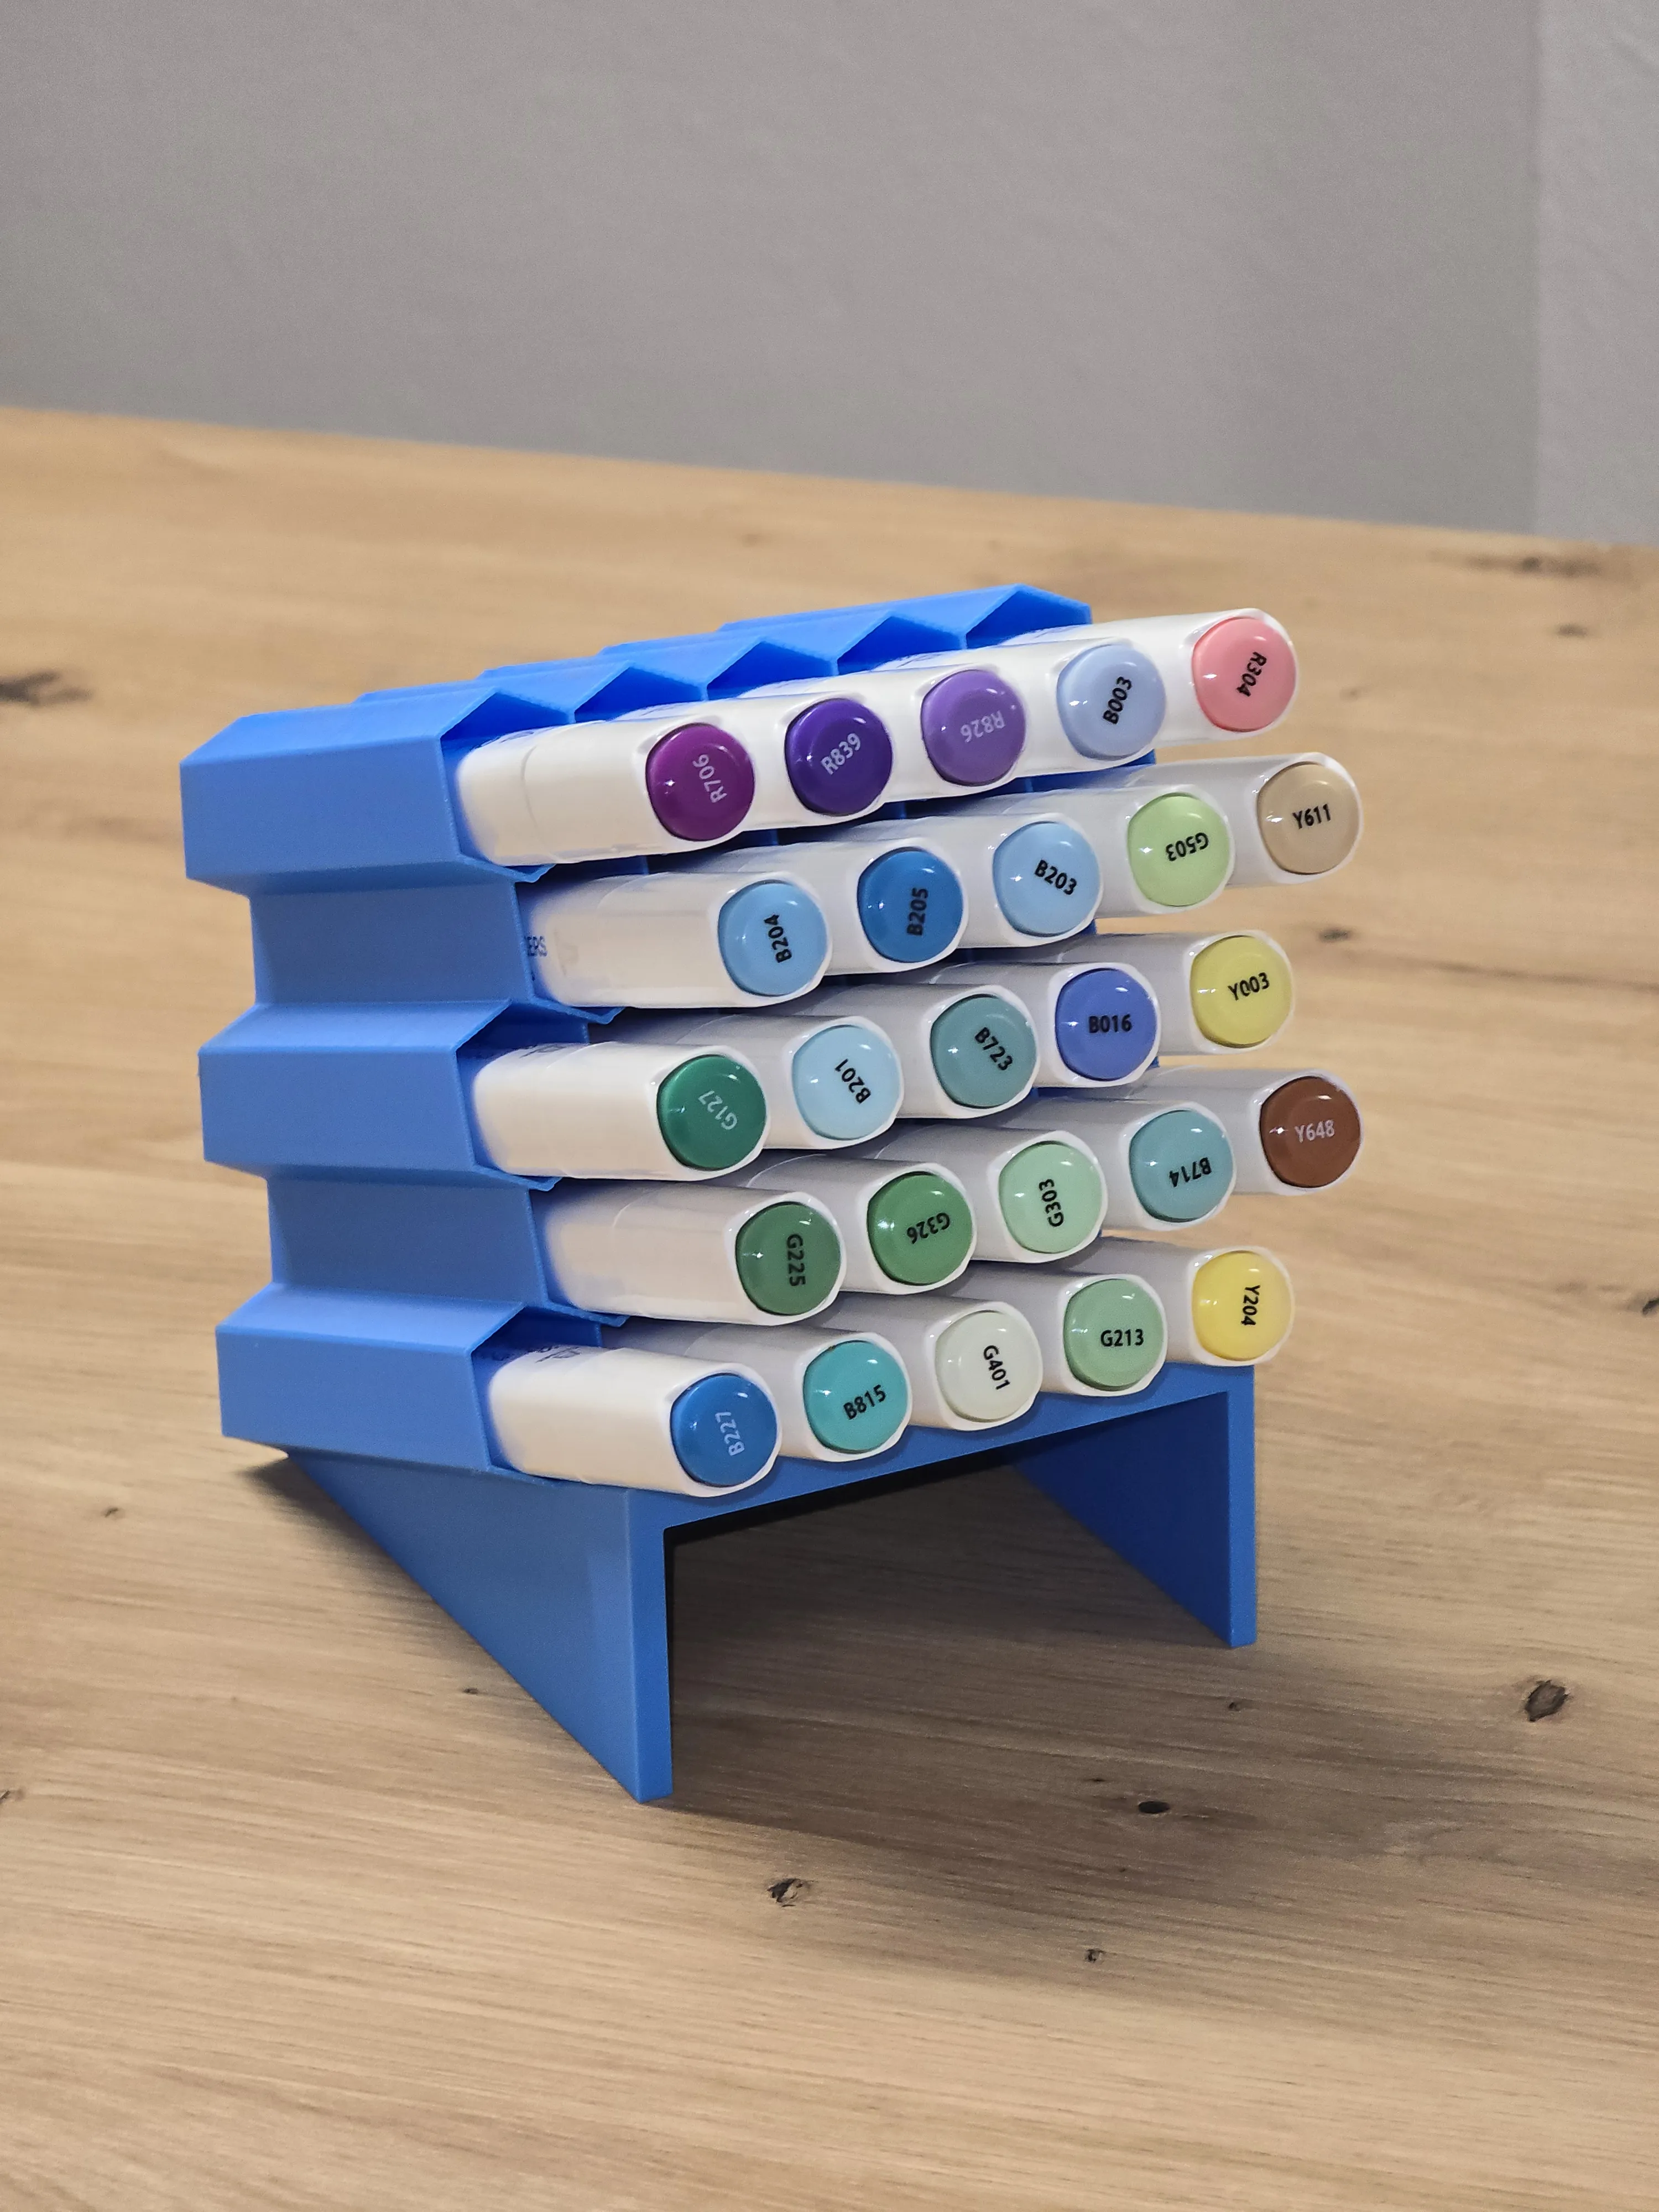
Included are: a 5x5 version with four variations, a 8x11 version and a 4x11 version that can be glued to the 8x11 to make a large, 132-holder version. And you're not limited to that - you can create your own thanks to the Customizer!
 | 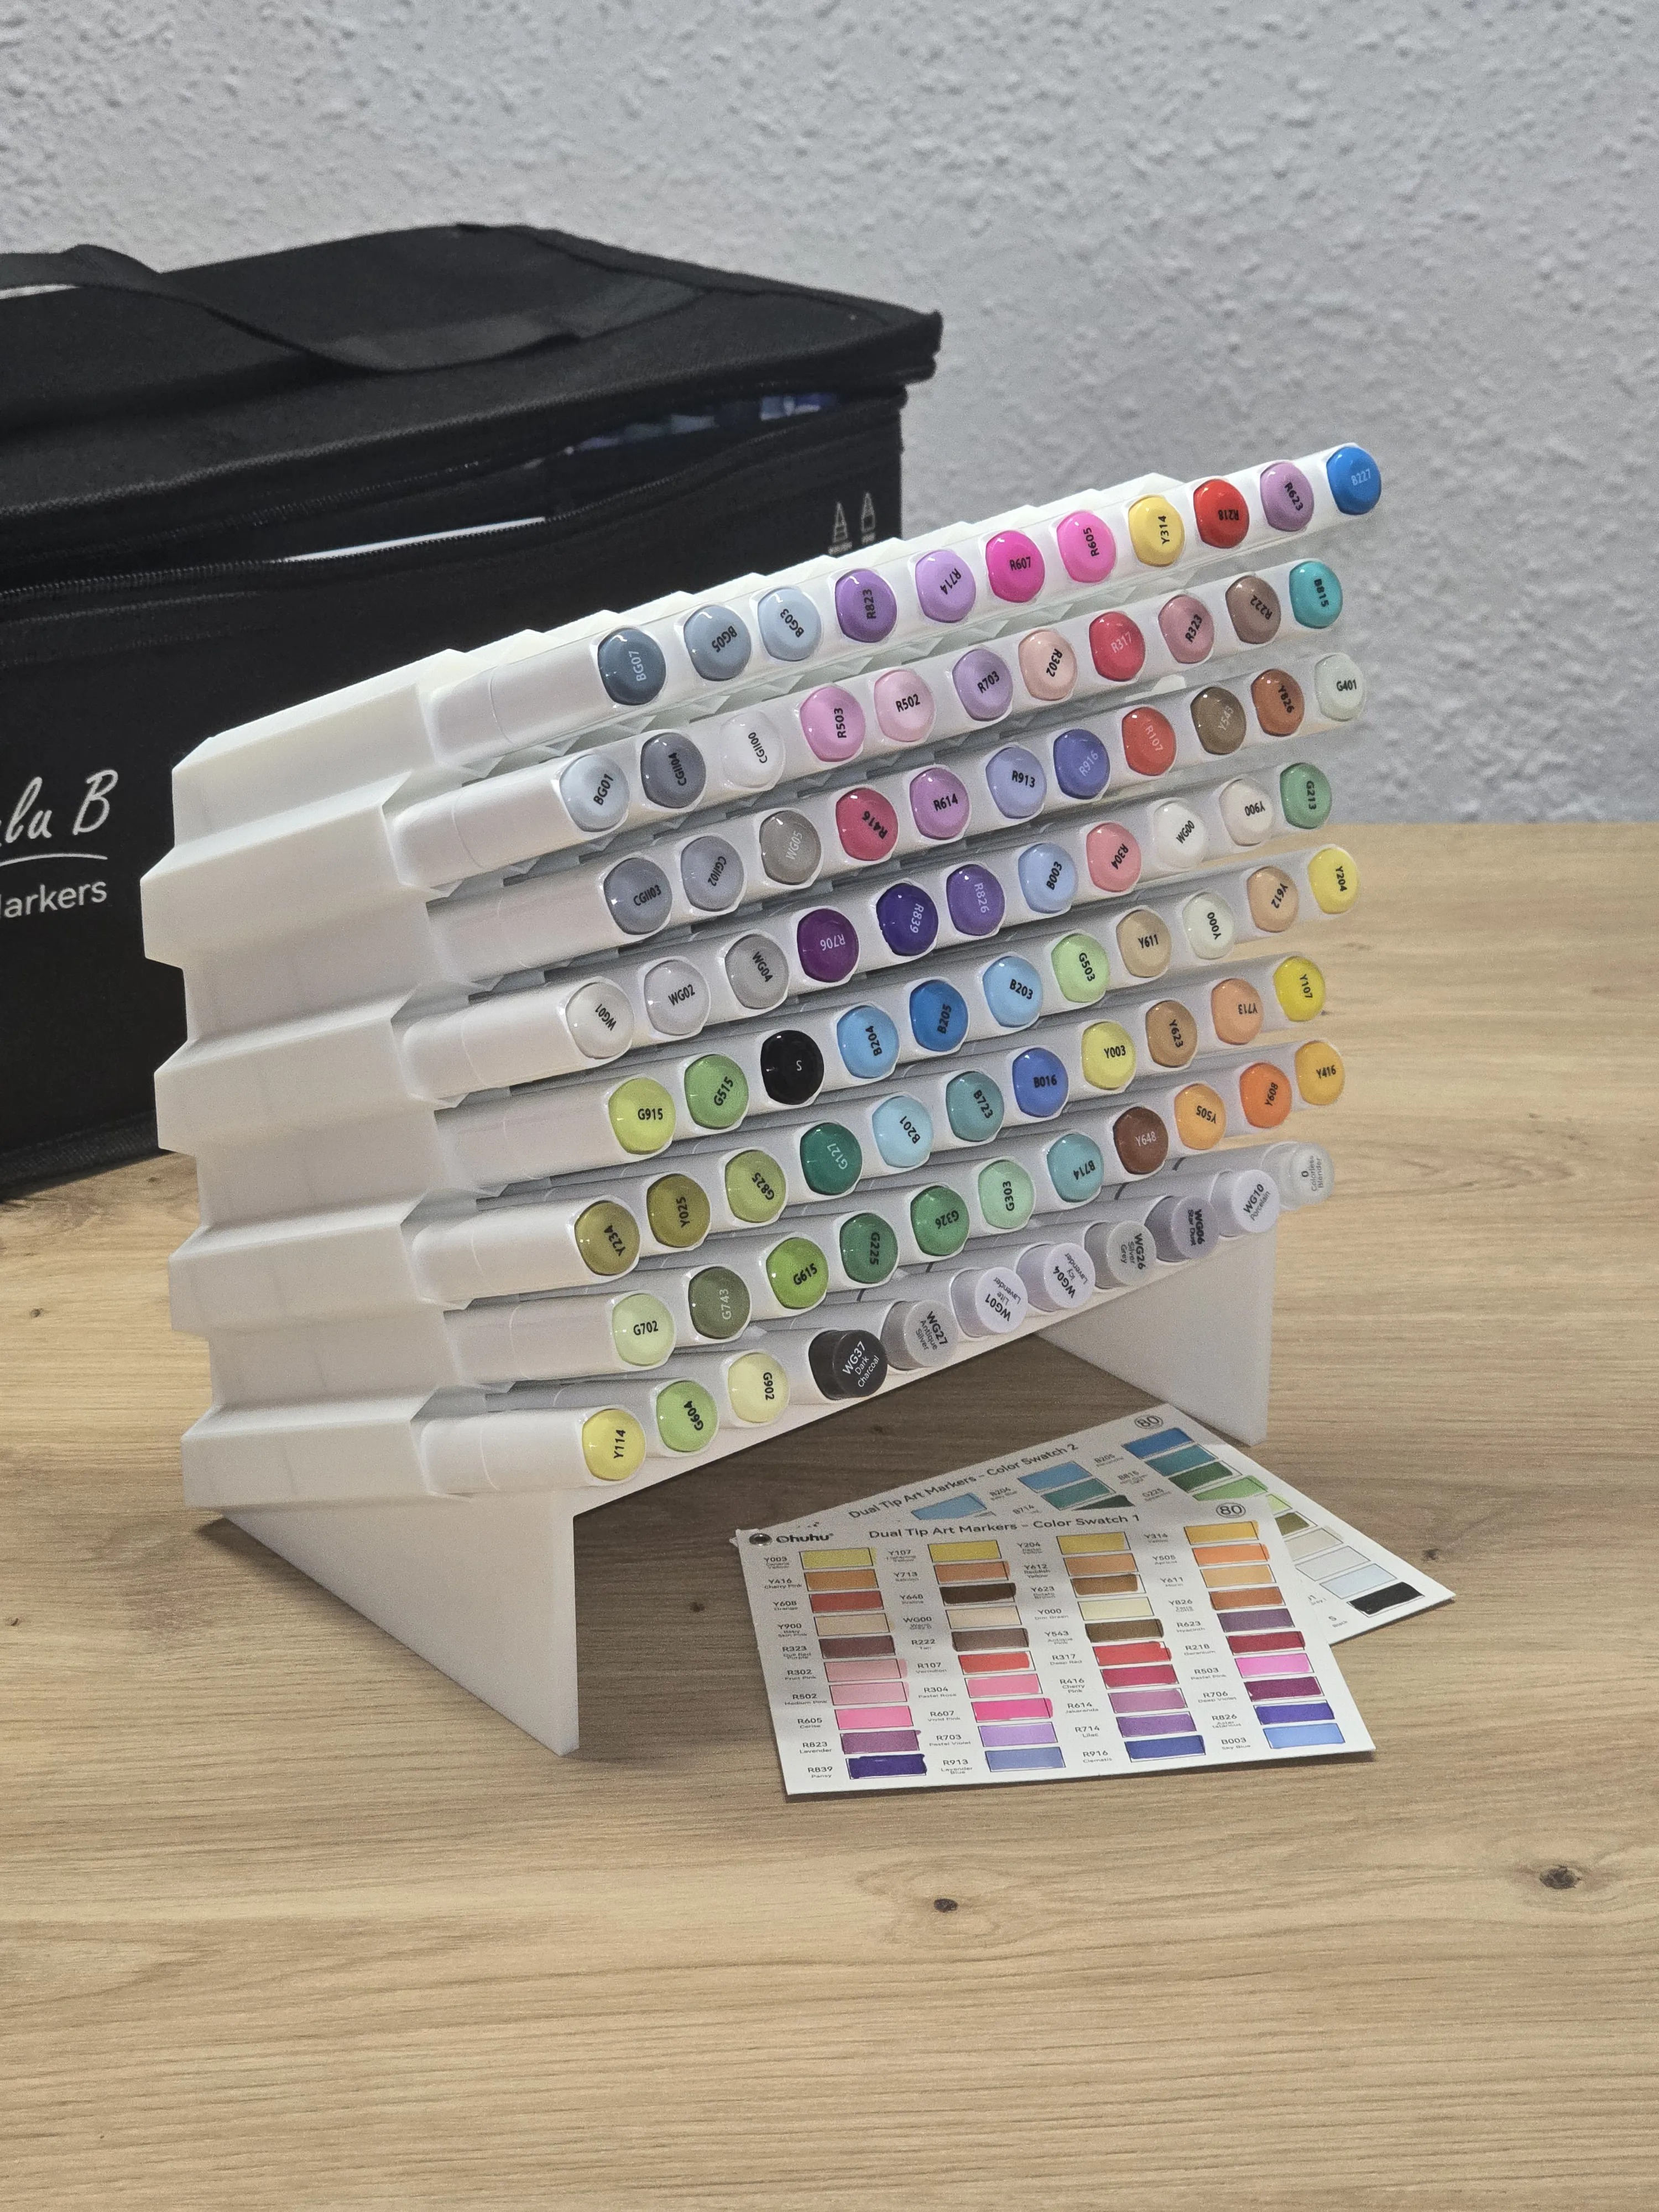 | 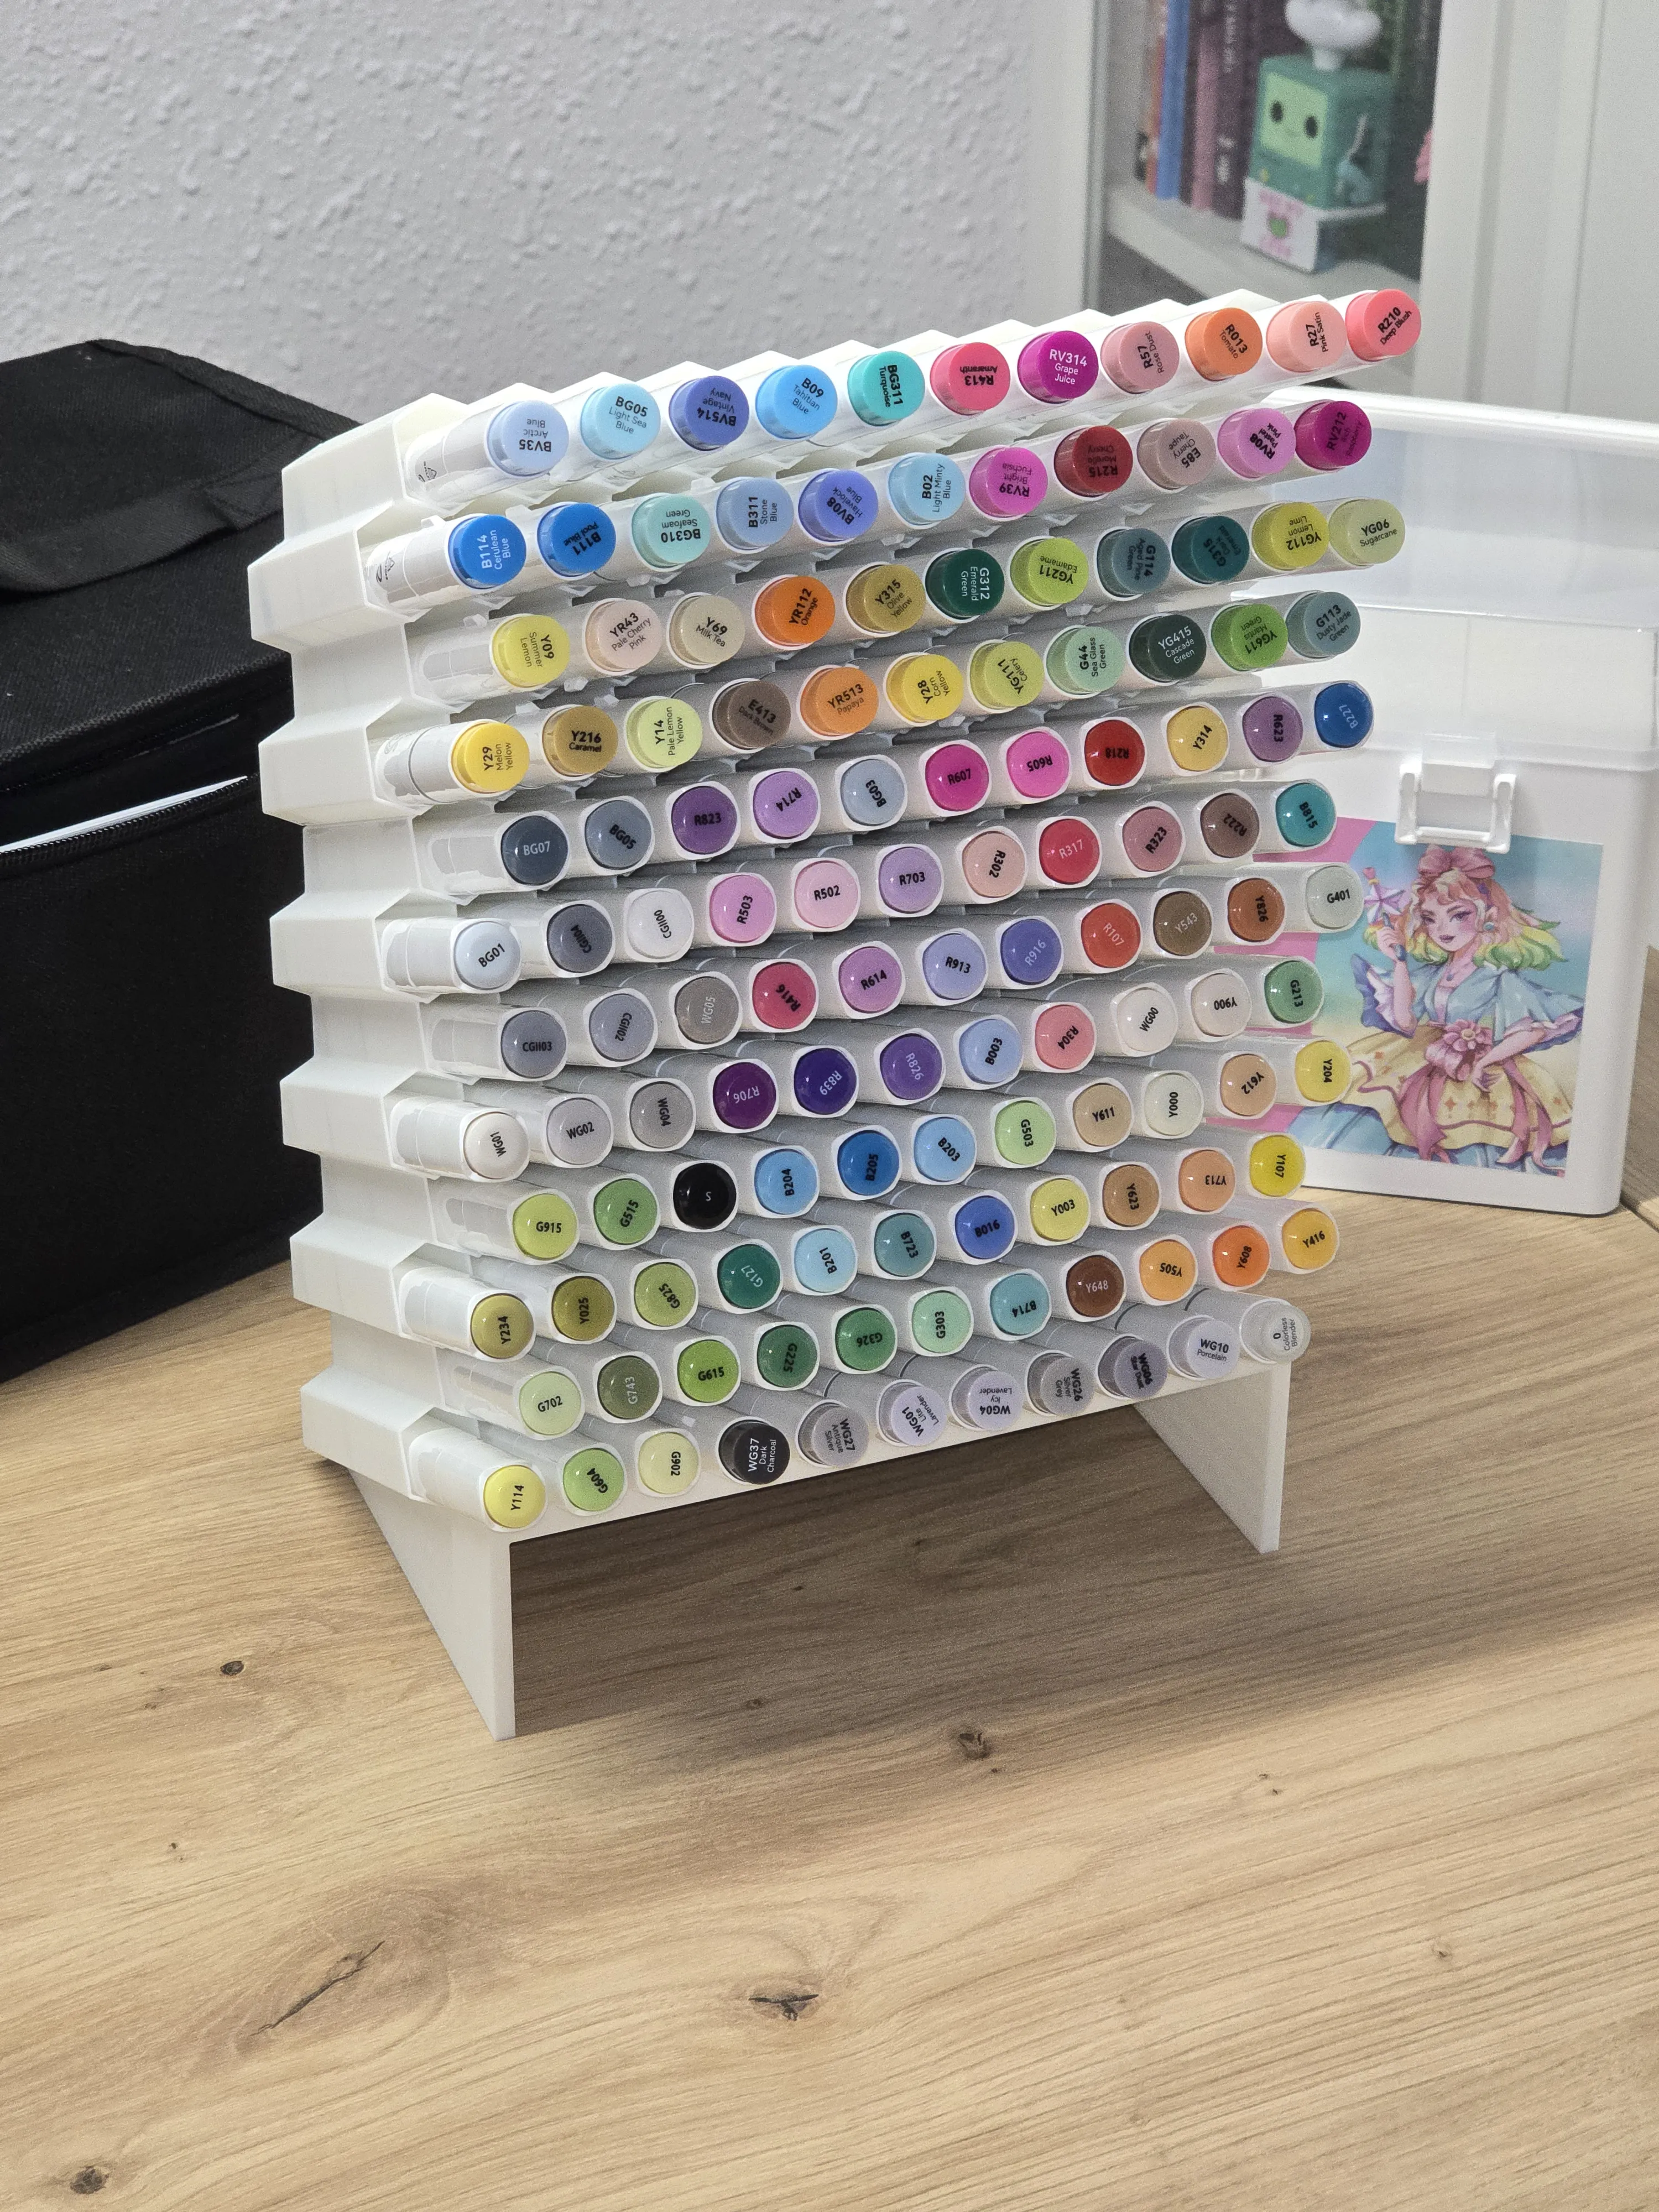 |
KEY FEATURES
- Angled design for easy access — the 20°/25º default tilt (adjustable) combined with extra cell height makes inserting and removing markers smooth and intuitive. The taller cells provide a larger "target area" so you can easily grab the marker you want, and neighboring markers can shift aside naturally when you reach in.
- Can be used vertically or horizontally, with four base variants provided for different needs:
- Vertical base (default) — with extended length to keep the holder stable even when full
- No base — for use in the horizontal direction lightweight pens, or for stacking vertically on top of another holder
- Horizontal base — adds a support beam for use with high angles or heavy/long items when in the horizontal direction
- Flipped: so that two vertical holders can be glued side-by-side efficiently (see below)
- Space-efficient hexagonal grid — the honeycomb pattern uses space as efficiently as a square grid while being much more ergonomic thanks to staggered rows. The design is also structurally strong and lightweight. Models with the same parameters fit together well horizontally.
- Extended base prevents tipping — the base length can be customized (xBase parameter) so the center of gravity stays within the footprint even when the holder is full of markers. This is especially important for tall configurations like 6×10 grids.
- Fully parametric — change grid dimensions (rows × columns), cell size, wall thickness, angle, base settings, and more in the included .scad file or directly in the Customizer.
WHAT'S INCLUDED
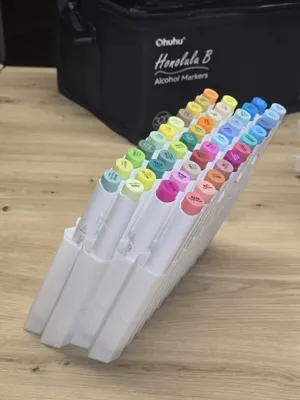
- 8x11 model with vertical base + 4x11 freestanding model in two plates — print just the first plate for a large 8x11 standalone, or print and glue both together for a huge, 12x11, 132 marker holder
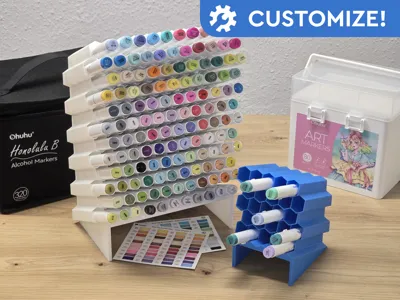
- 5×5 model with vertical base — ready to print
- 5×5 model in all variants (vertical, horizontal, no base and flipped).
- OpenSCAD source file (.scad) — customize any parameter to create grids from 1×1 to 10×10+ (or asymmetric sizes), adjust for different pen diameters, change the angle, flip orientation, select base type, etc.
Note: MakerWorld requires uploaded models to have photos of physical prints - that's why only the above are provided. If you print a different configuration and would like to share a photo, please post it in the comments or message me — I'd be happy to add more pre-configured profiles with your permission!
DIMENSIONS FOR THE PROVIDED MODELS
5x5 (vertical base) | 8x11 | 12x11 (two pieces) | |
|---|---|---|---|
| Markers held | 25 | 88 | 132 |
| Approximate footprint (WxDxH, cm) | 10 × 12.5 × 14 | 20.5 × 12.2 × 22 | 20.5 × 12.2 × 26 |
| Cell internal width (a) | 17 mm | ||
| Wall thickness (g) | 0.8 mm | ||
| Extra cell height (e) | 3 mm | ||
| Cell length (l) | 90 mm | ||
| Tilt angle (alpha) | 20º | 25º | |
| Base extension (xBase) | 30 mm | 40 mm | |
The larger versions have a slightly higher angle (25º) to optimize the footprint and stability.
CUSTOMIZATION GUIDE
Note regarding .scad file availability: Unfortunately, due to plagiarism from other users, I have hidden the SCAD source code for the time being. You can use the Customizer, or just contact me - I'll be happy to provide it for any legitimate use you might have (including just wanting to look at it). |
Open the attached .scad file in OpenSCAD or in the MakerWorld customizer and adjust the parameters as follows.
Note: If you're unsure of the dimensions, you can set wx = 1, wy = 1 and base = none to print an individual cell. This is pretty fast and economic (~50min / 8g for the default cell) and will give you a good idea of whether it works or not. (You might need base = horizontal if you experience adhesion trouble or alpha is very steep).
GRID DIMENSIONS — what you most likely want to change
- wx — number of cells horizontally (default 5 for small / 11 for large)
- wy — number of cells vertically (default 5 for small / 11 for large / 4 for freestanding)
- alpha — inclination angle in degrees (default 20° for small /25º for large and freestanding; decrease for easier access, increase for more compact footprint).
The model for the Customizer starts with wx = 13, wy = 8 and alpha = 25º, which is the largest that will fit a 256³ mm³ printer (such as the A1) with an even number of rows (which simplifies expansion) and with the recommended values for large holders (alpha = 25º, xBase = 40 mm)
CELL DIMENSIONS — if you want to fit something other than these kind of markers, or want stronger walls
- a — inner width of each cell (measure your pens and add ~0.5mm clearance; default 17mm works for most alcohol markers)
- g — wall thickness (0.8mm is thin but strong for PLA; you may want to increase to 1.0-1.2mm for PETG,if you prefer thicker walls or if you use large alpha)
- e — extra height per cell in the vertical dimension (default 3mm; can be negative if you want cells wider instead of taller)
- l — length of the cell, i.e., how much of the pen fits inside (default 90mm)
- b — minimum width of the cell "plug" at the bottom (default 5mm)
BASE SETTINGS — determines how the model will stand and allows you to print “extensions” to make the model higher
- base — type of base: "vertical" (default), "horizontal" (adds support shelf), or "none" (baseless, for stacking)
- hollowBase — true (default) makes the base hollow to save material; false makes it solid for maximum stability
- hollowBaseWidth — wall thickness of hollow base (default 5mm; only applies when hollowBase is true)
- xBase — extra base length (default 30mm for small / 40mm for large). For vertical bases, this extends the base cells; for horizontal bases, it widens the base horizontally. This is crucial for tall holders — the sum of xBase + l should be close to your pen length to keep the center of gravity stable.
OTHER
- flip — set to true to mirror the model horizontally (useful for pairing two holders side-by-side, or when you want to glue more rows to a model with an odd number of rows)
- printOnBase — if true (default), the model is oriented to print on its base (no supports needed); if false, cells print vertically for higher quality but require extensive supports. You might need to set this to false for large angles.
OTHER COOL THINGS YOU CAN DO (with Bambu Studio screenshots!)
Experiment with other grid sizes
You can create grids of any size - from tiny 2×2 organizers to massive 10×10+ arrays - to maximize space efficiency. For very large or wide grids, consider increasing xBase (to 40-50mm) and/or setting hollowBase to false for maximum stability. Also, shallower alpha values will enable you to fit more rows in the same plate, although the footprint of the holder will increase slightly.
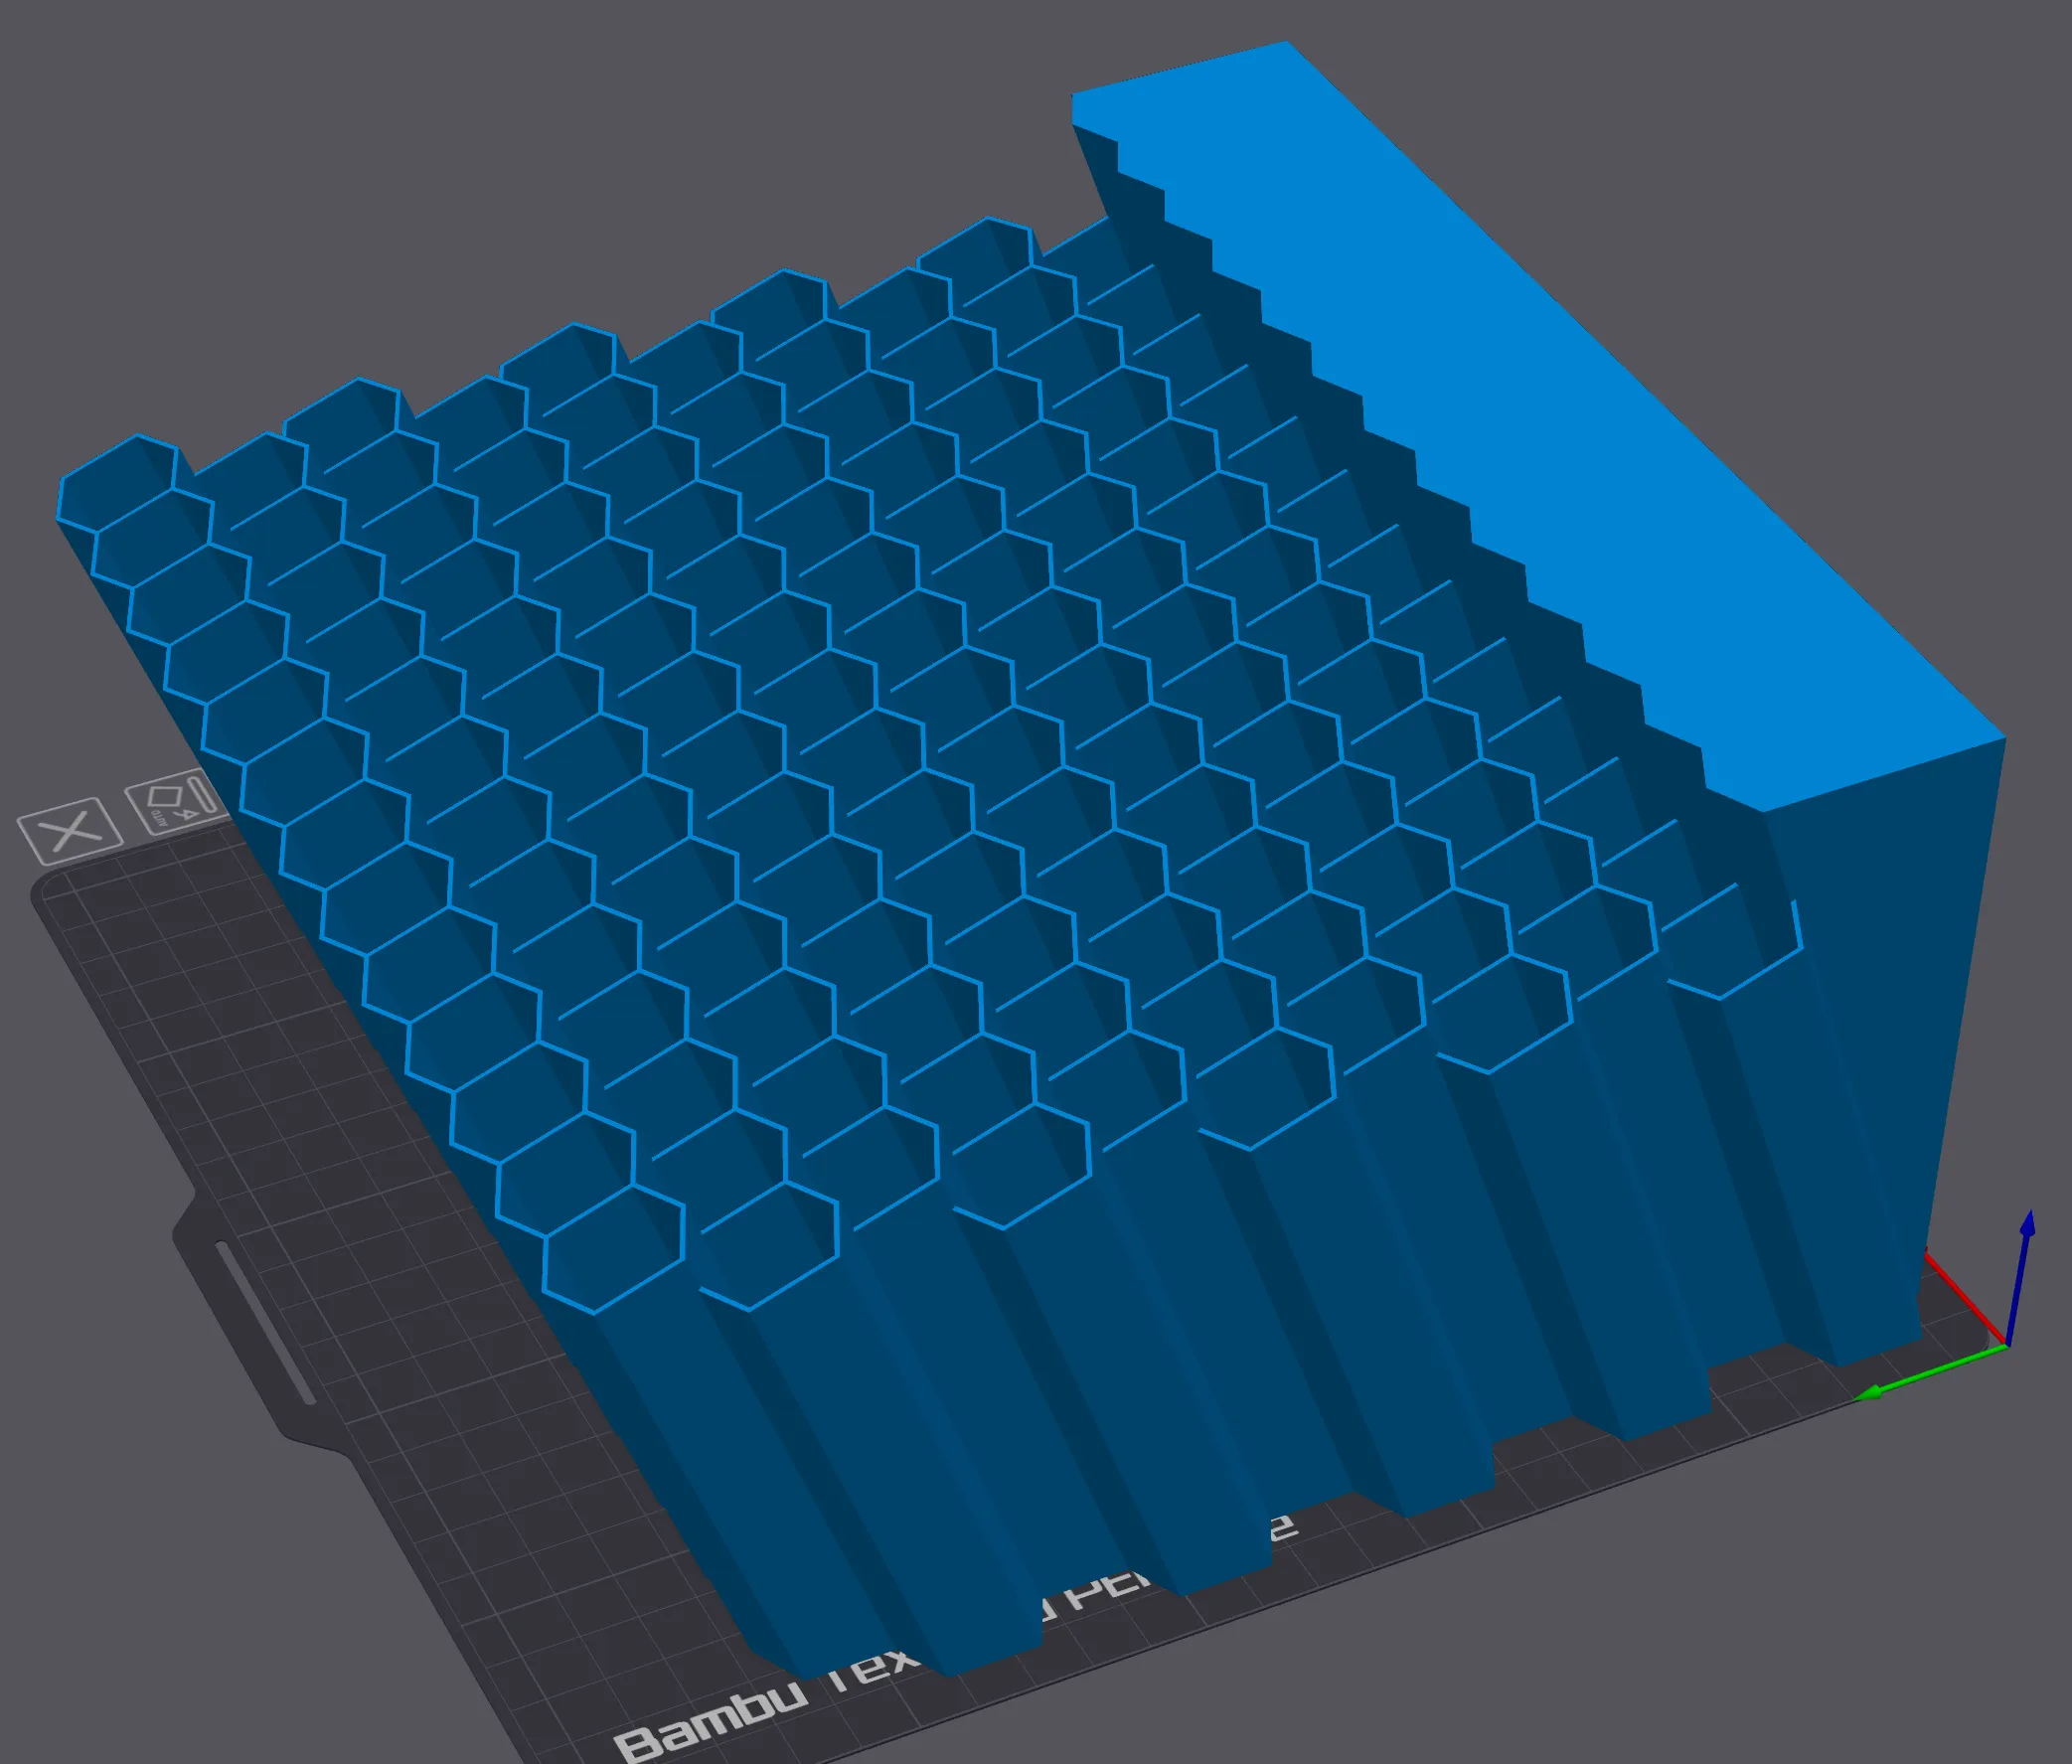
Small grids (2×2, 3×3) can fit into tight desk spaces or drawers — adjust the dimensions to match your available space perfectly.
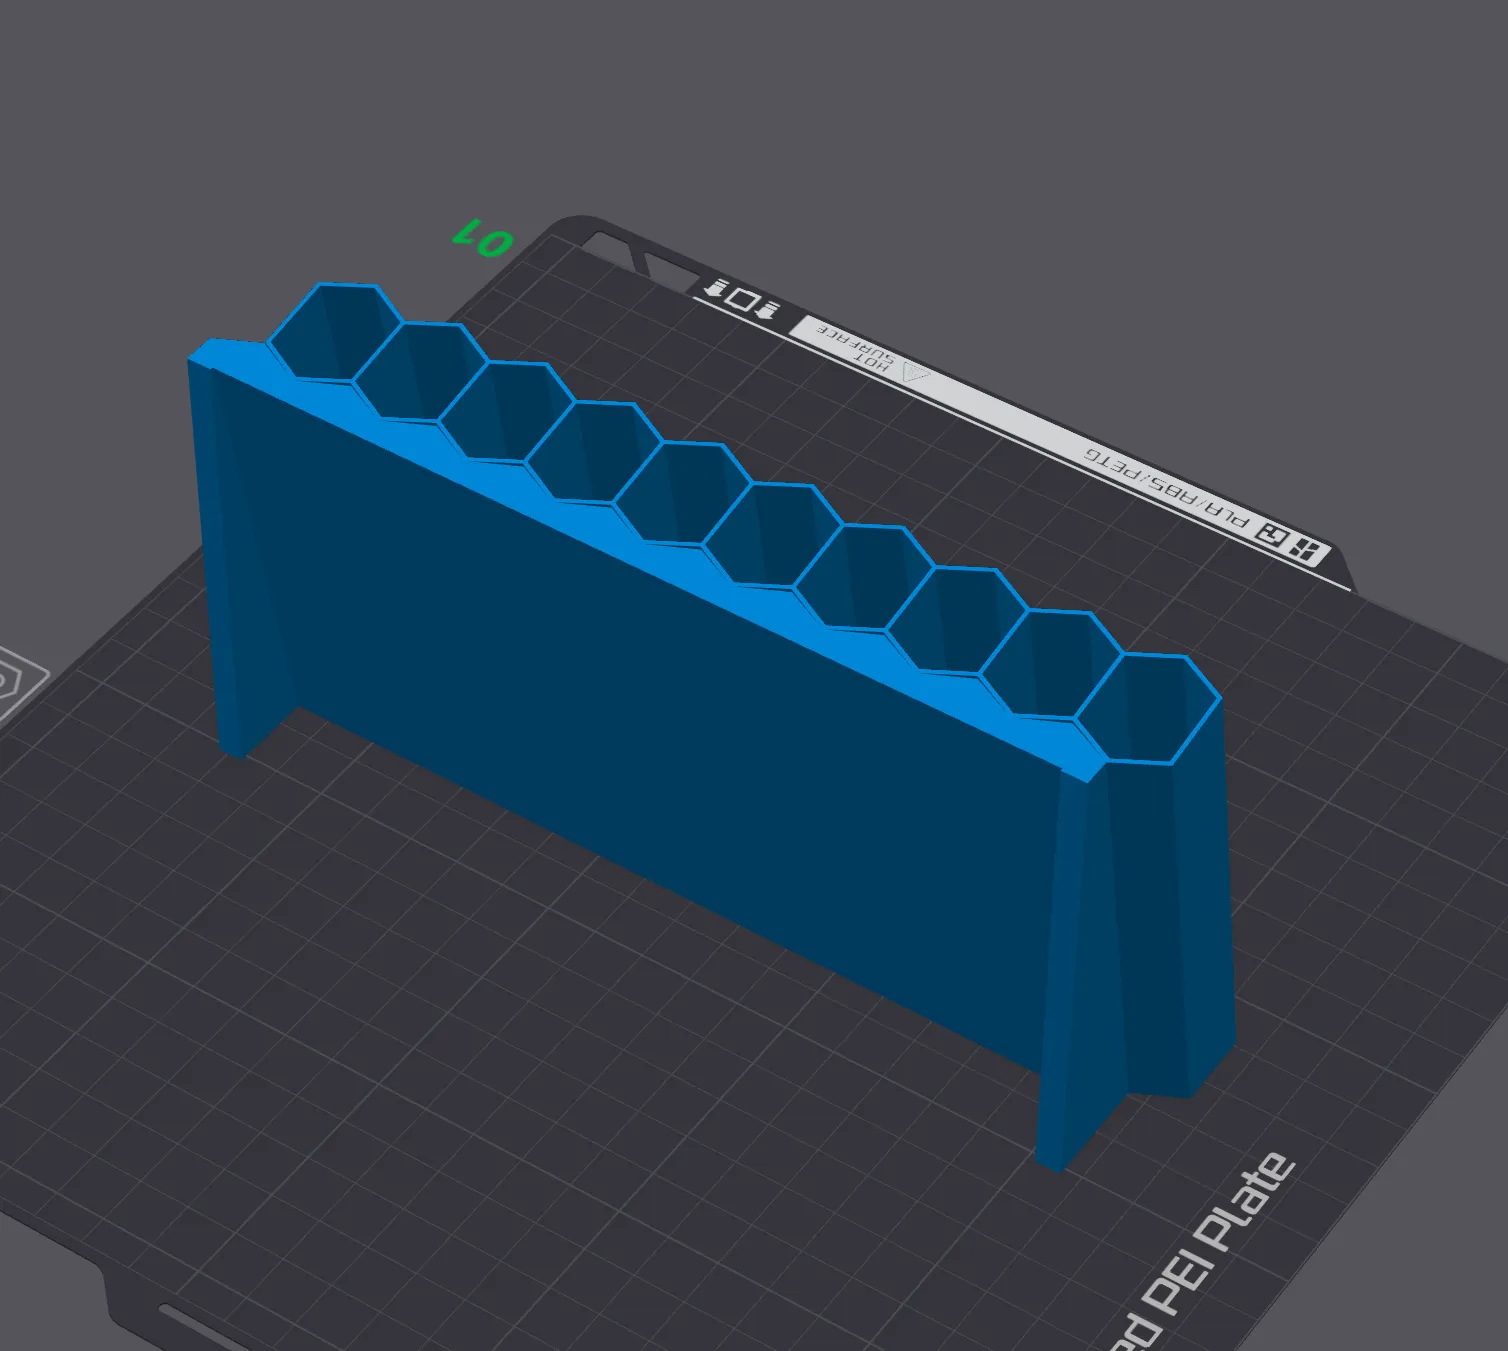
The model is particularly well suited to narrow spaces, for which holders are hard to come by.
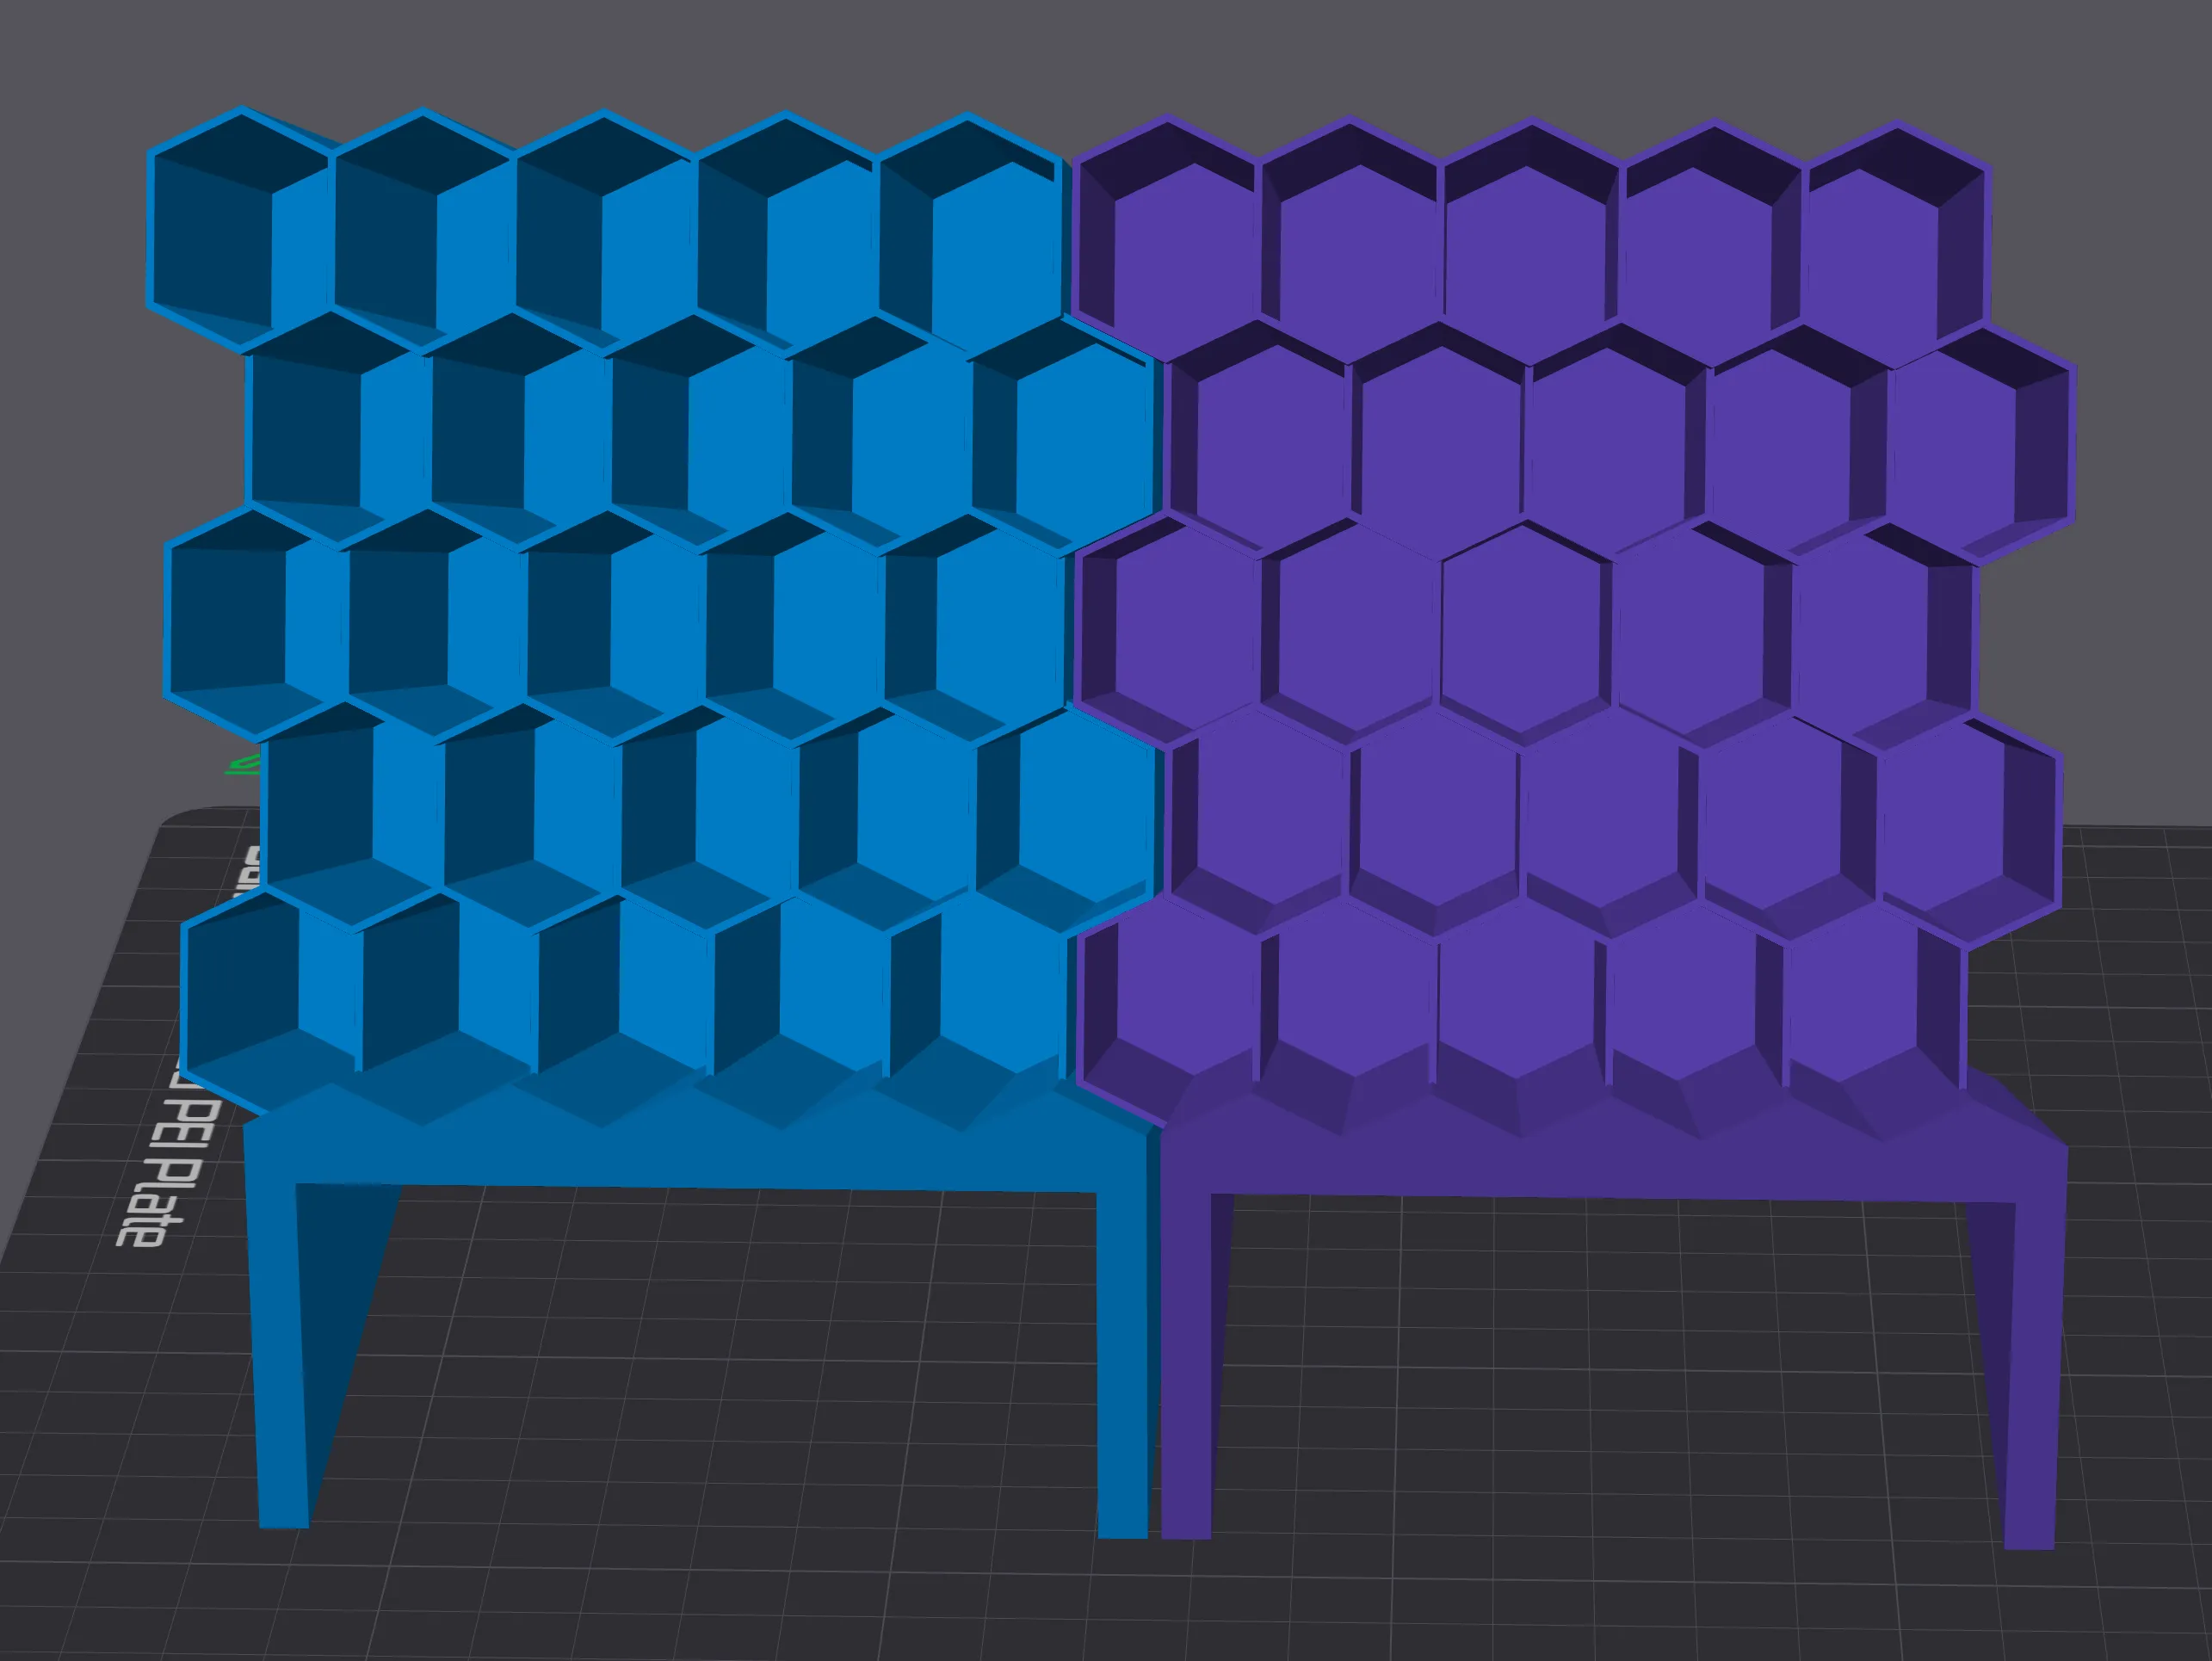
Side-by-side pairing
Models fit pretty well together horizontally - they will not be flush because of the honeycomb geometry, but the separation between the vertical walls is small. You can glue the slanted walls of the honeycomb together:
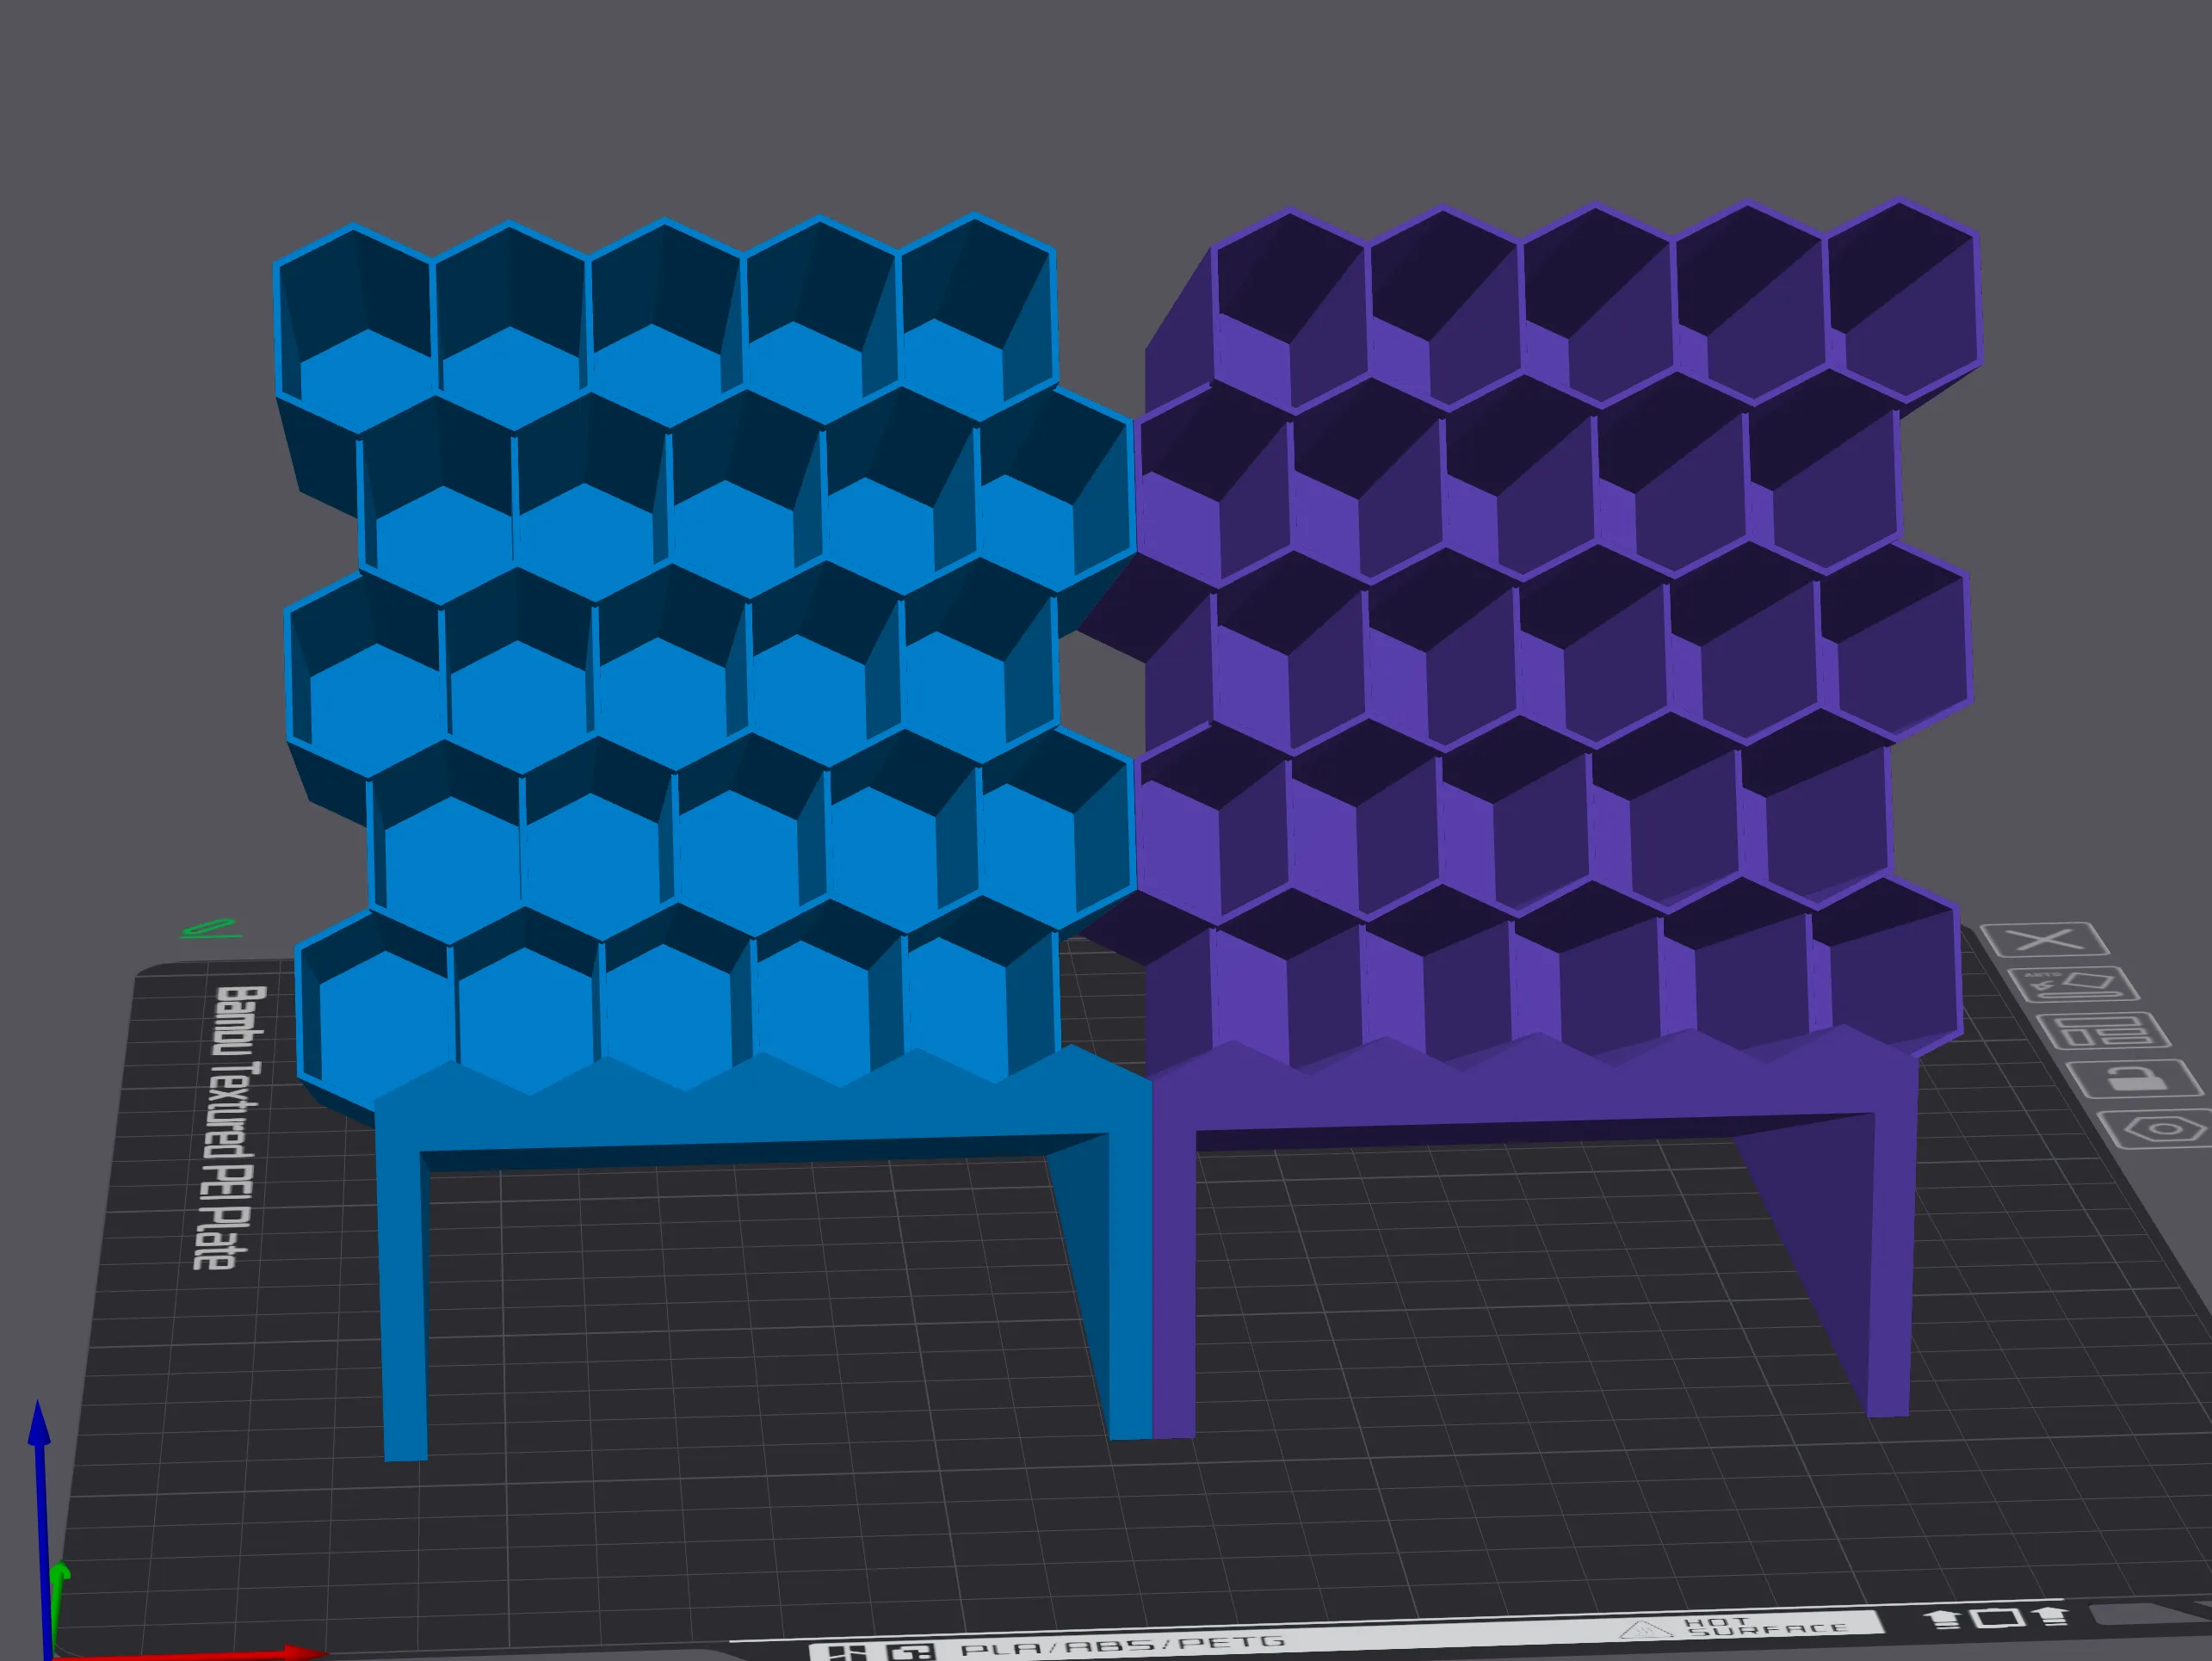
If you prefer a more secure connection, you can pair regular and flipped models (flip = true, or flip it in the slicer). The vertical walls will be flush, including the base - but please note that you will need to provide your own “plug” to the intermediate cells:
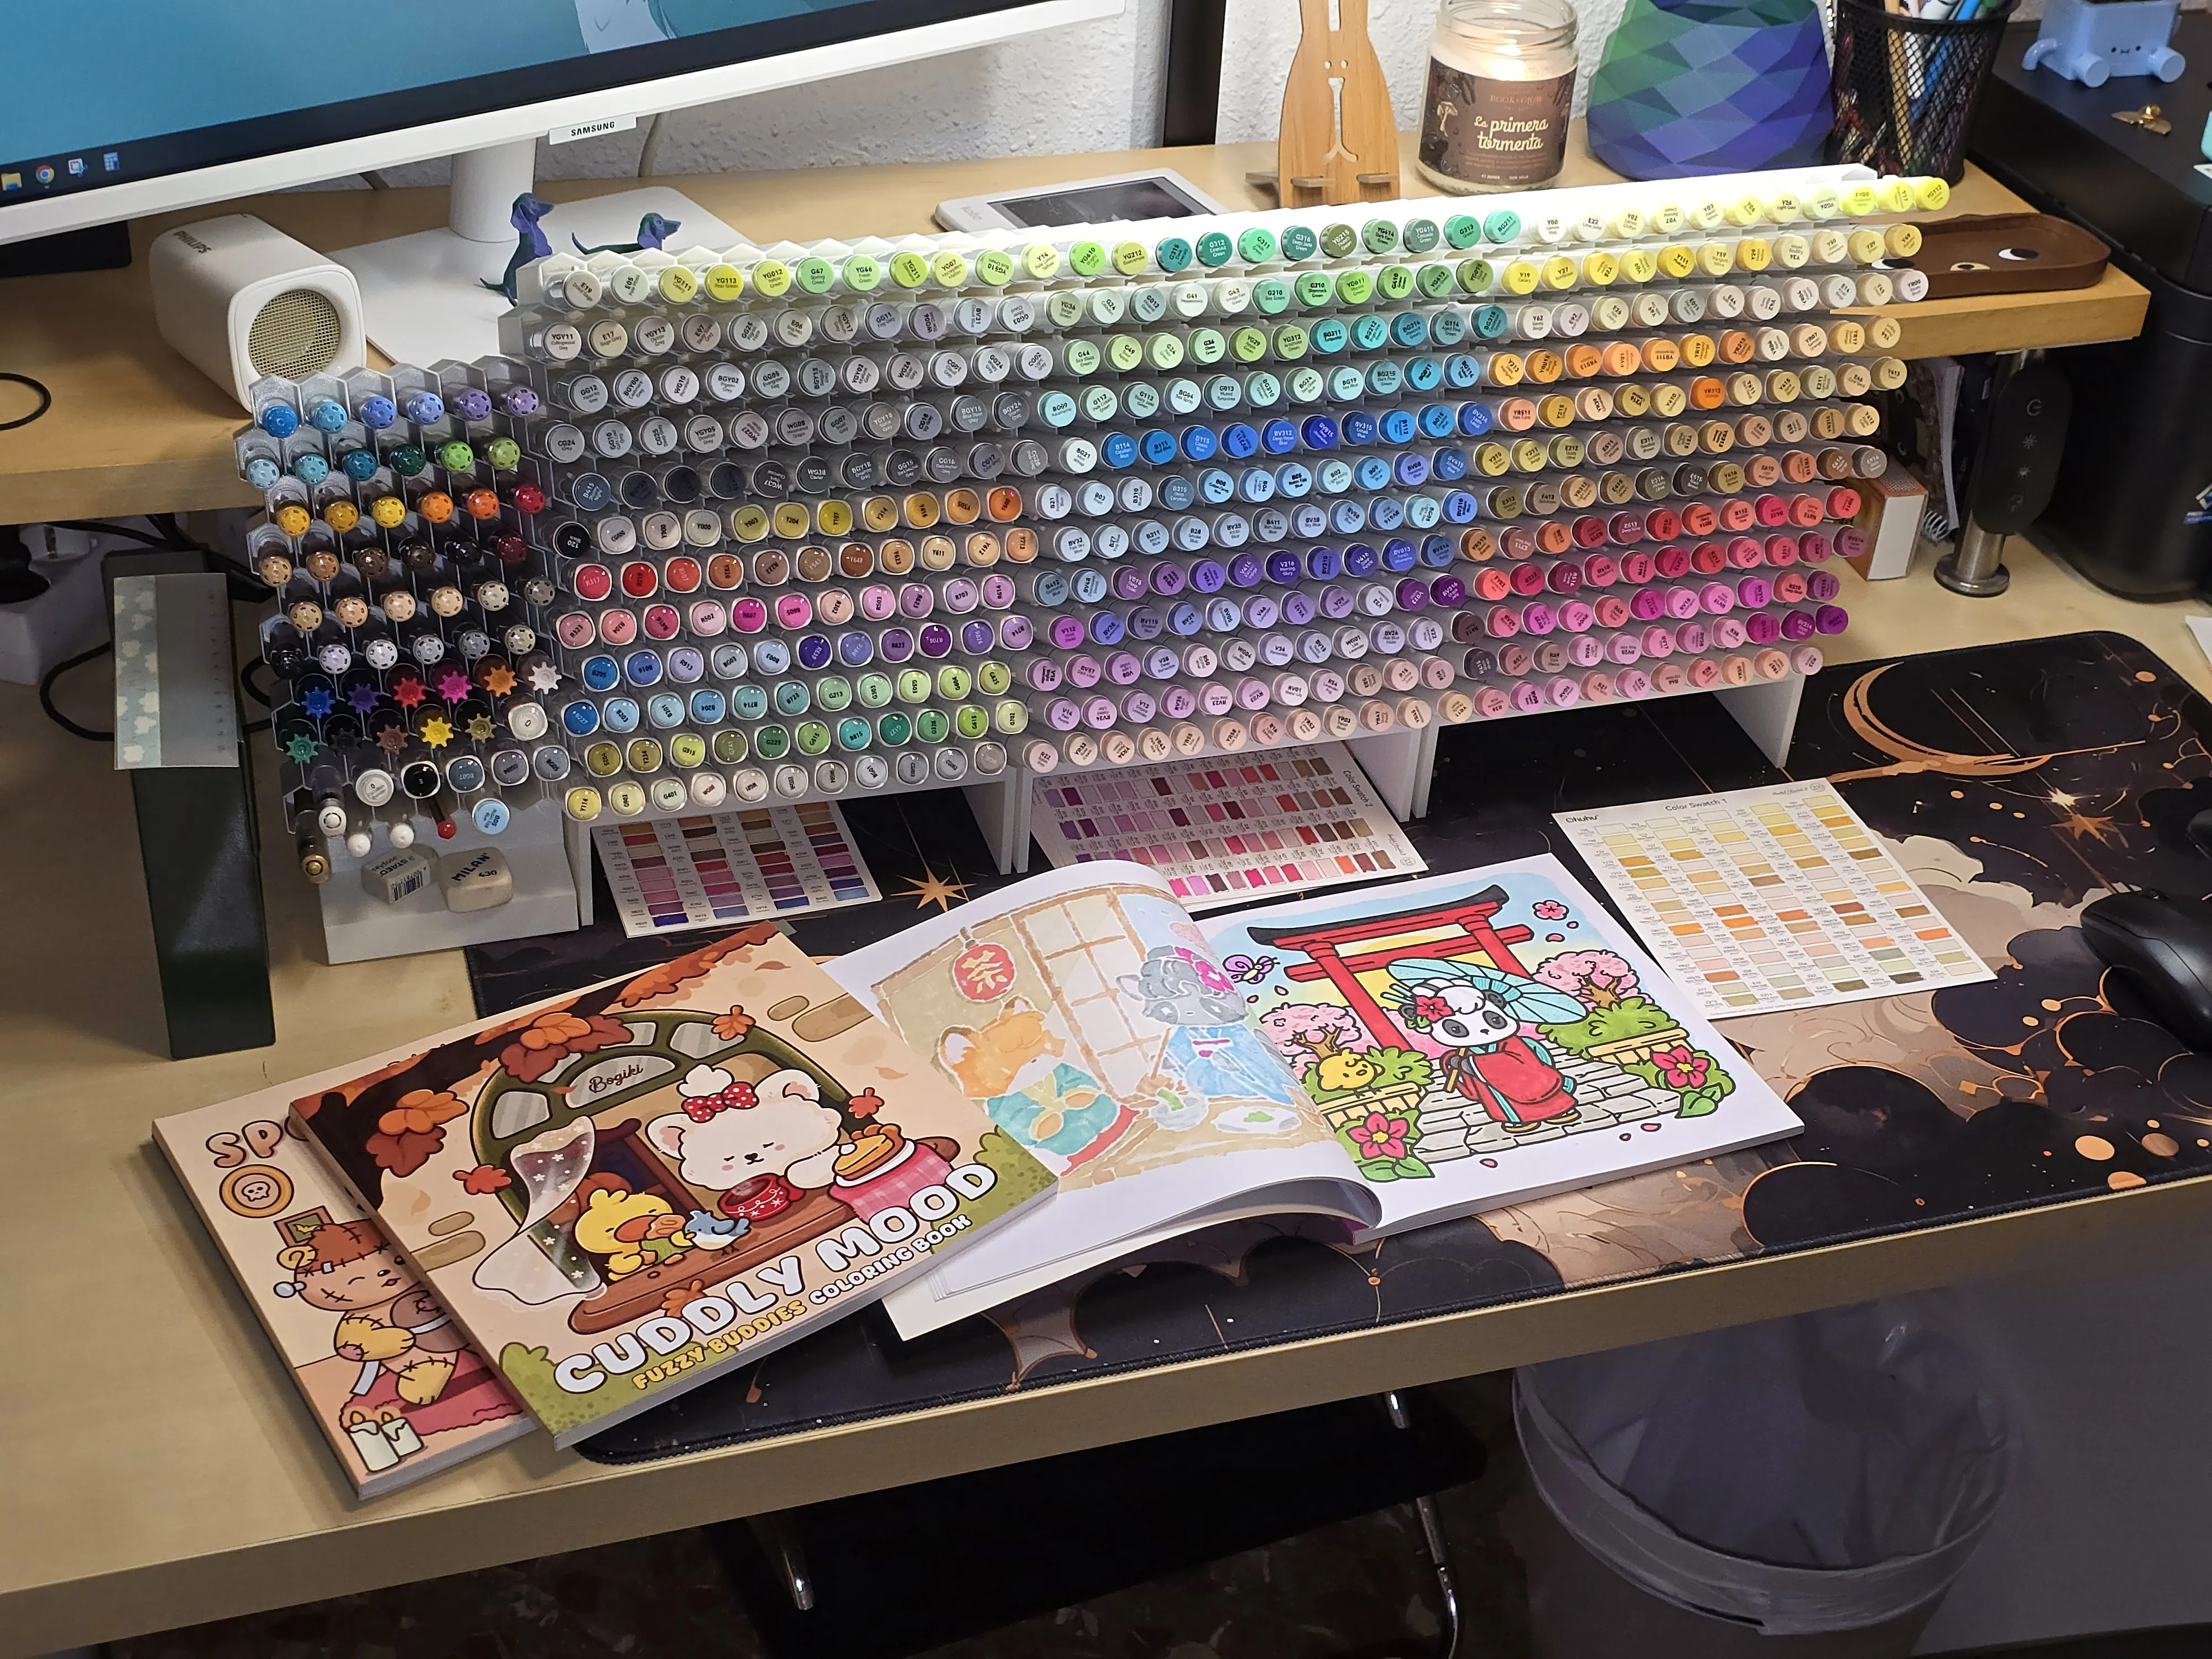
You can do cool things by gluing together narrow holders:
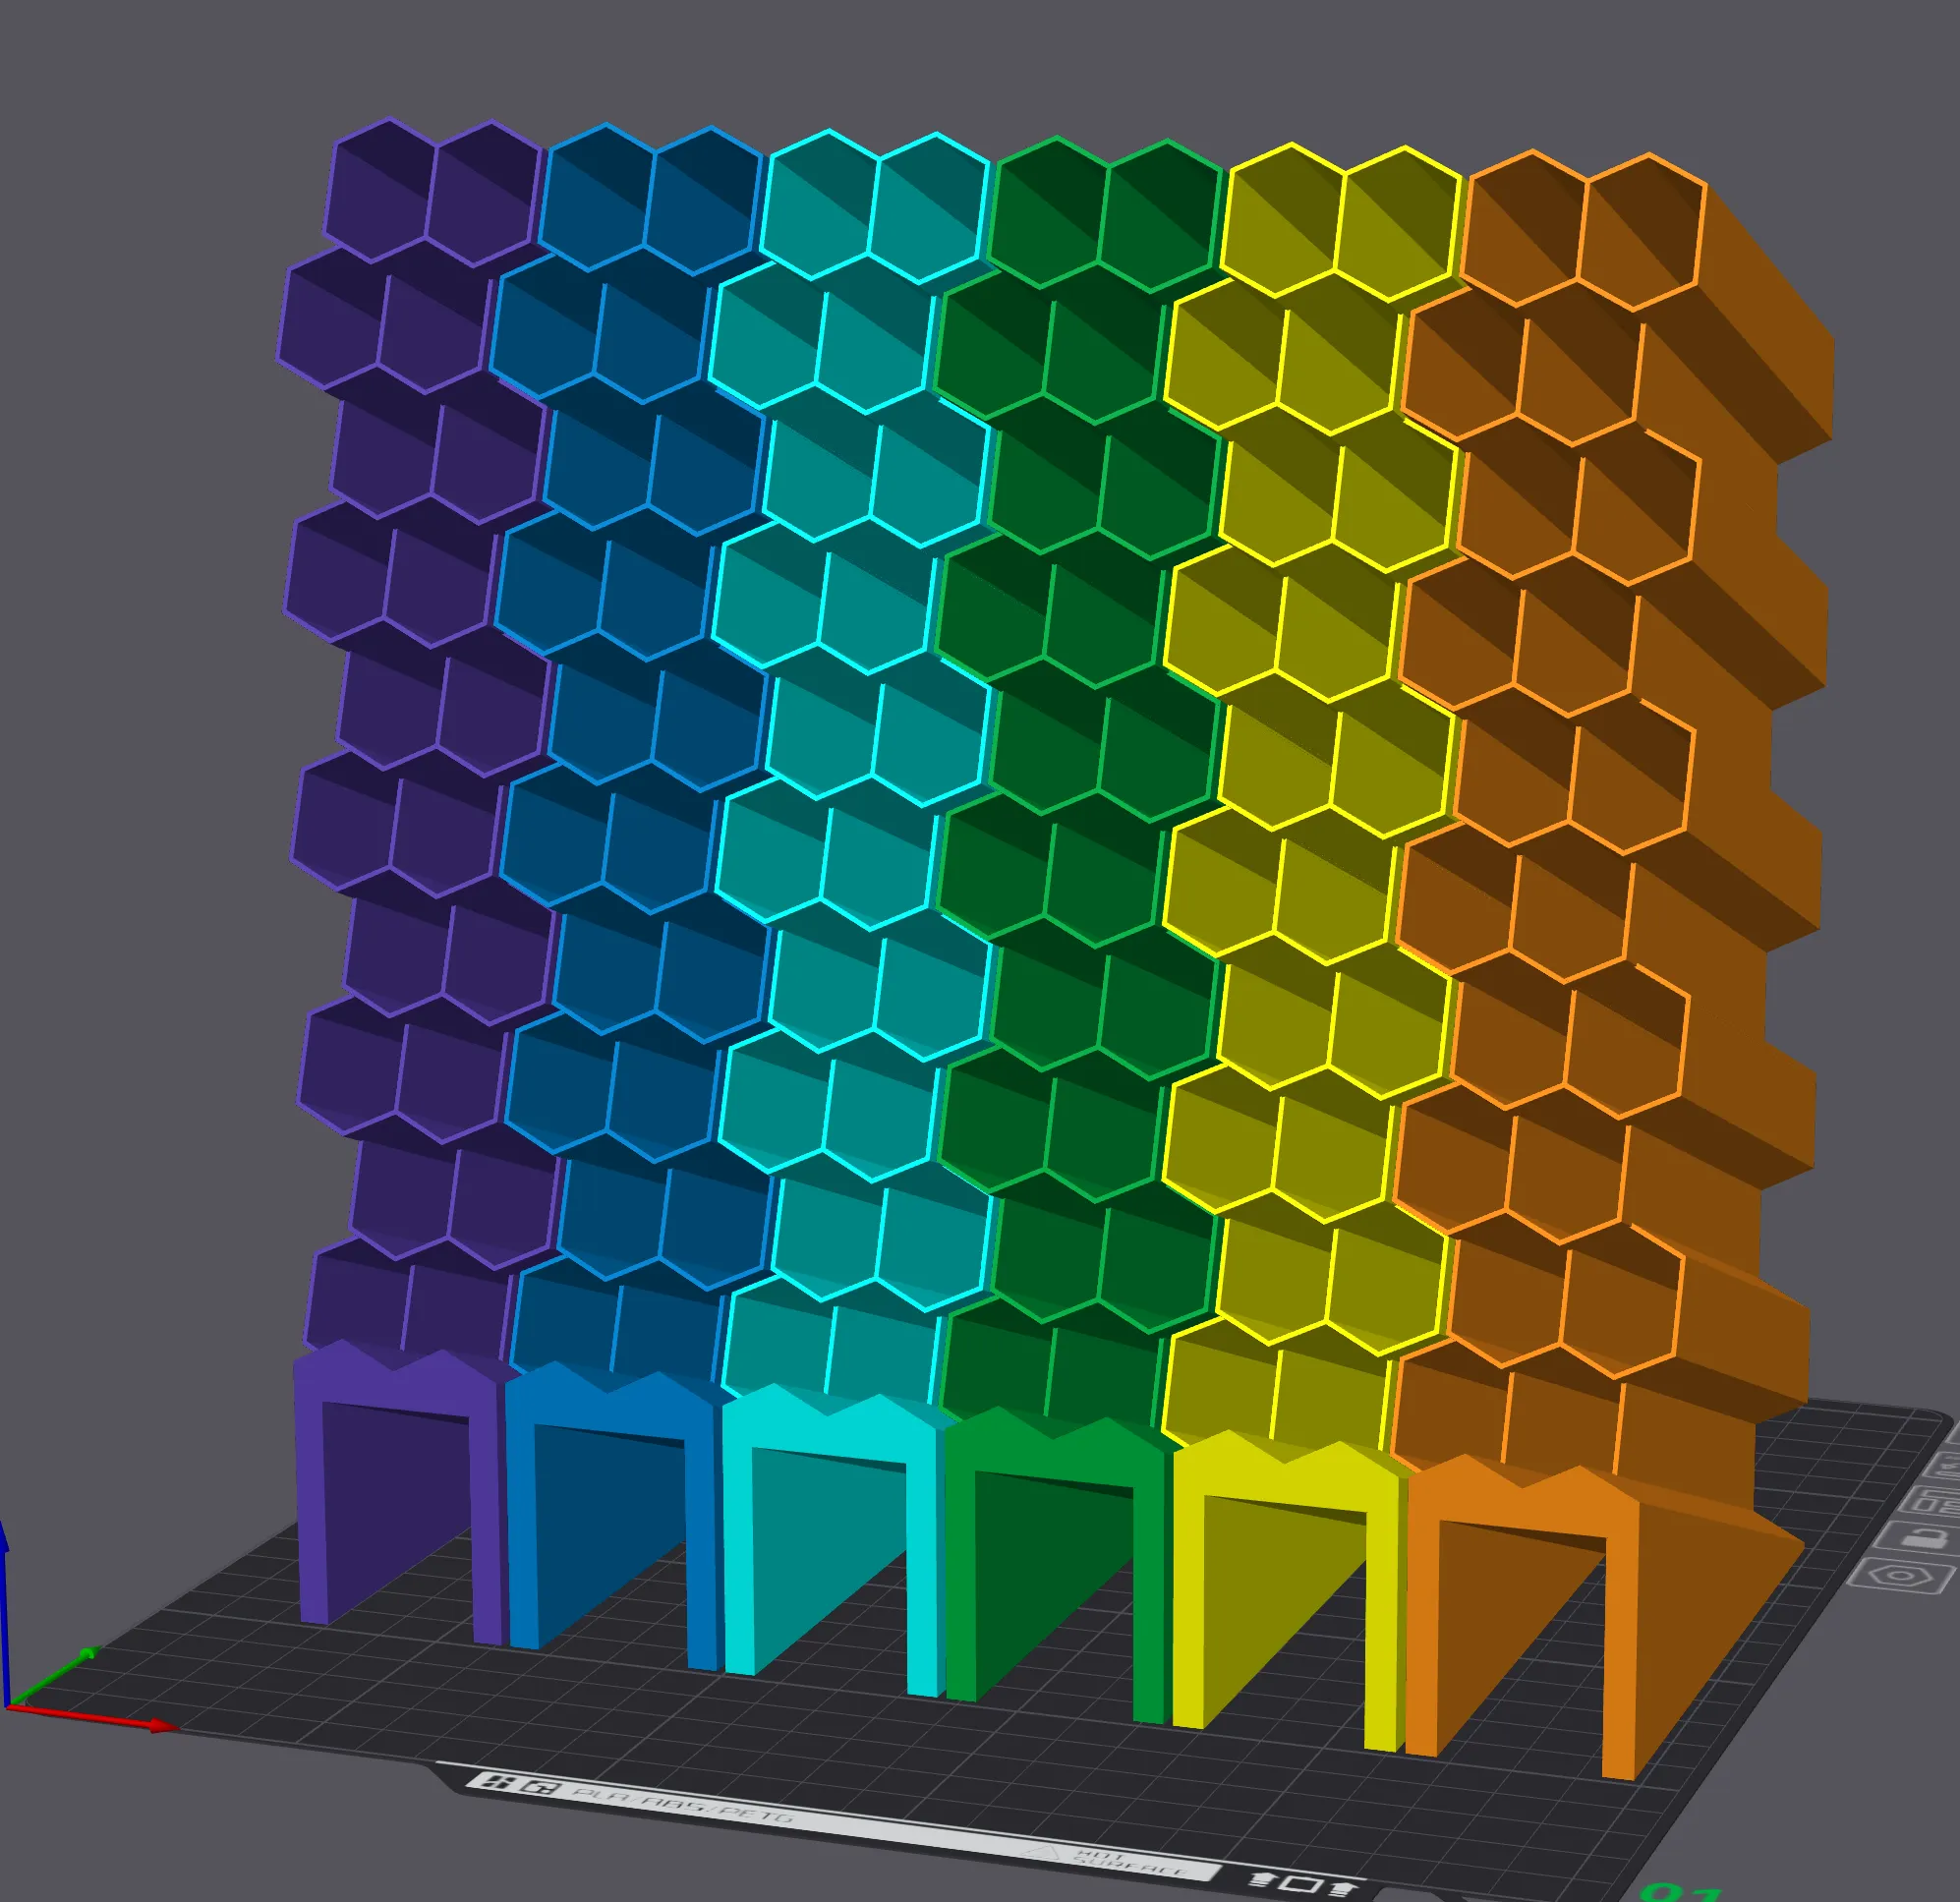
Vertical stacking
Print a model with base = "none" and glue or snap it on top of a standard one with a vertical base to extend your storage vertically without reprinting the base. Great for expanding a collection incrementally. NOTE: If the number of rows is odd, you might need to mirror the piece horizontally and/or use the flipped base to fit your design. Consider creating modules with an even number of rows to simplify future expansion!
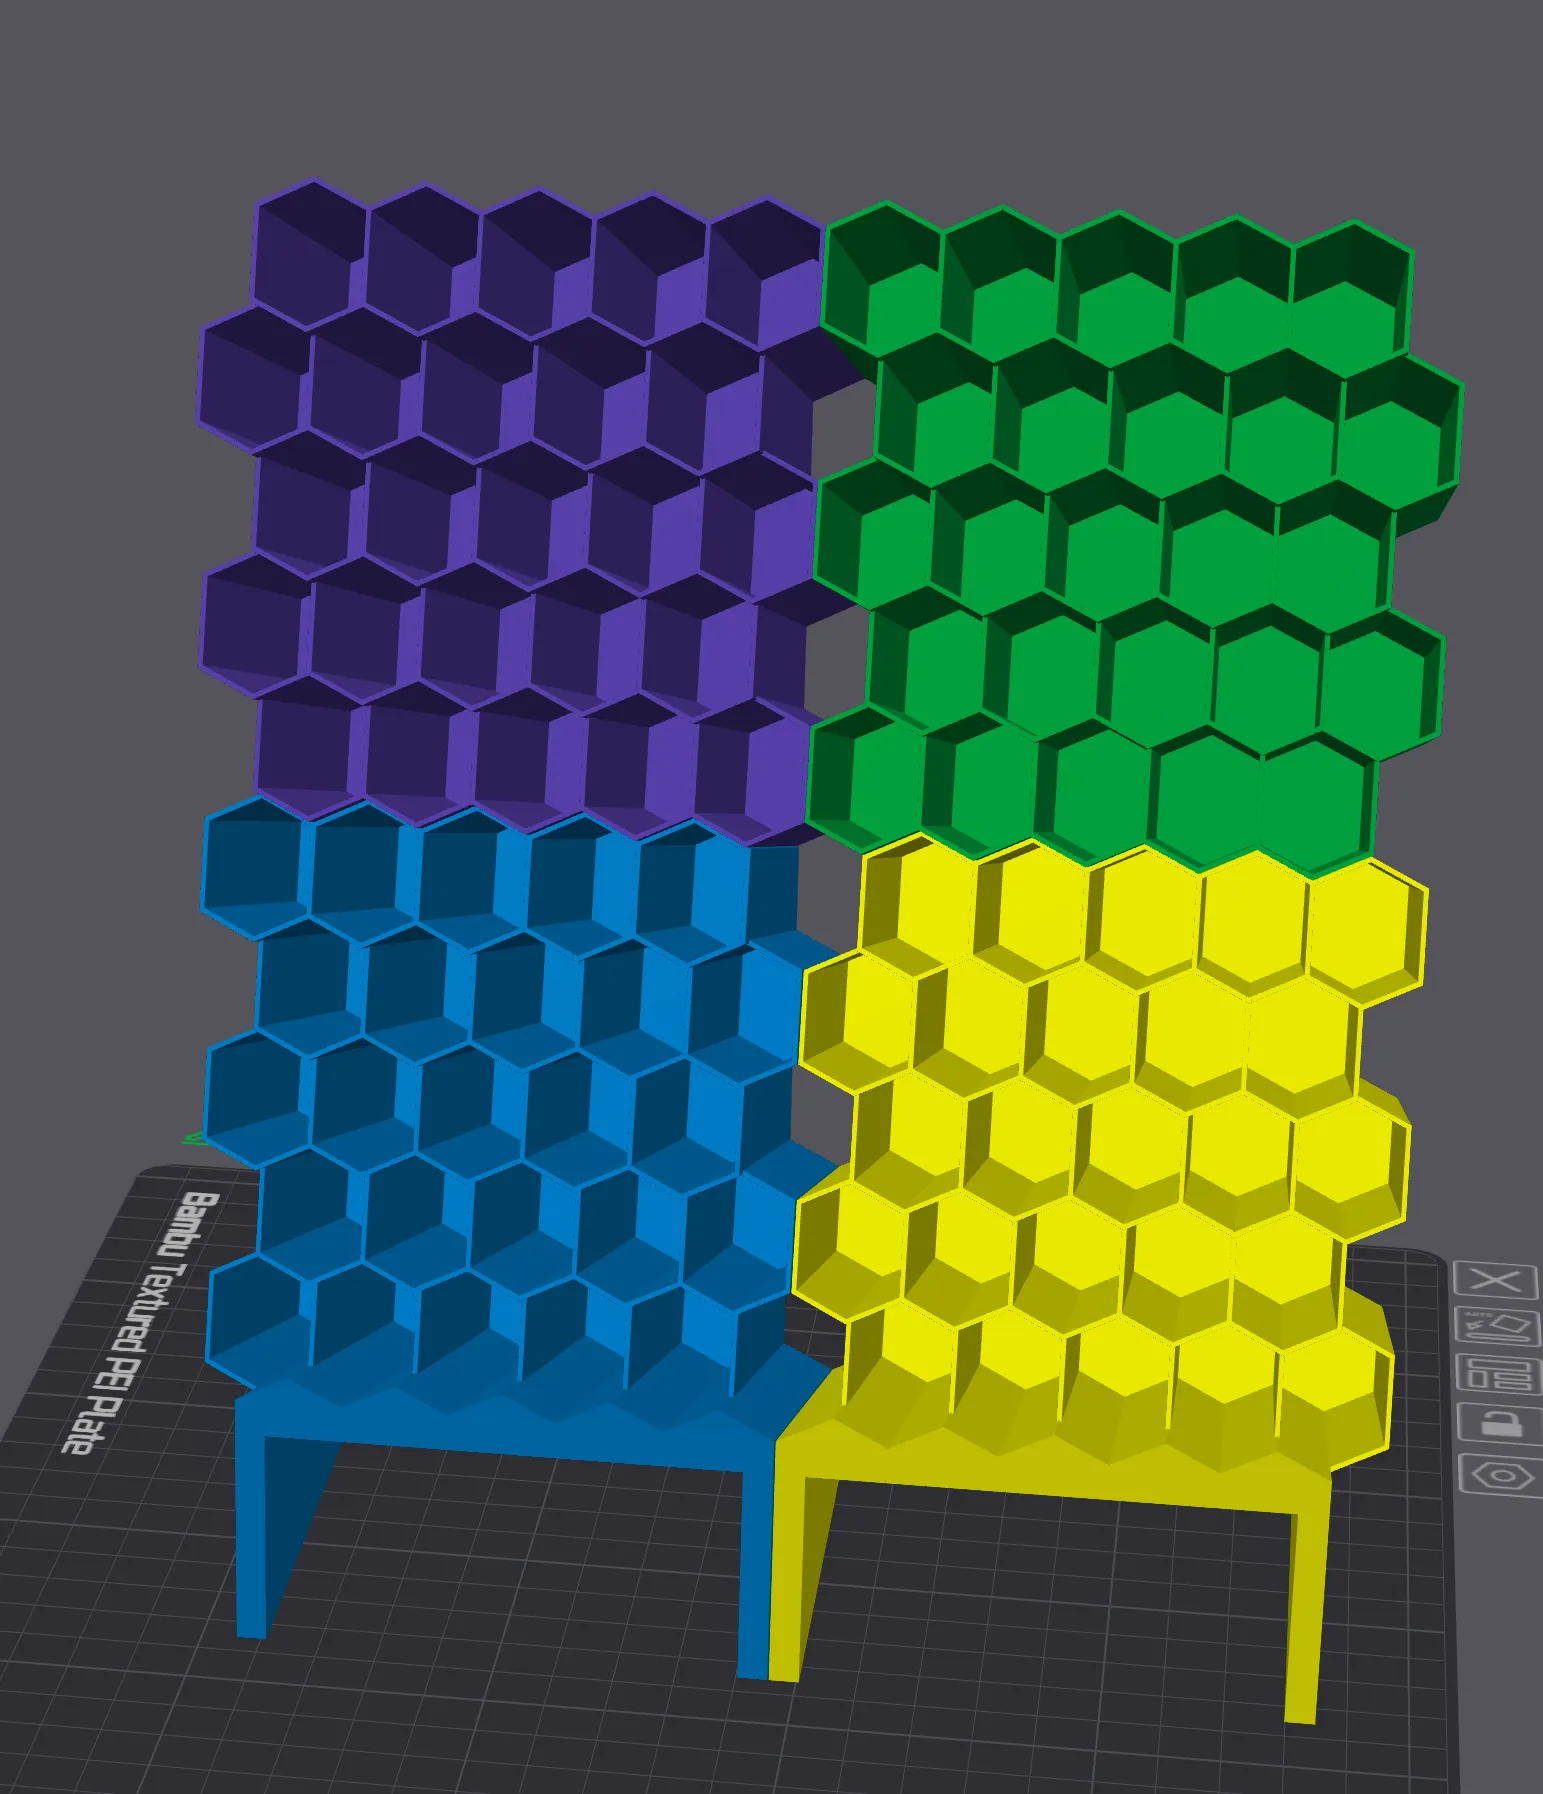
Alternative uses
Adjust the parameters to organize other items — spice jars, highlighters (use negative e for horizontal elongation), regular pens, makeup brushes, craft supplies, small bottles, etc. The hexagonal pattern works for anything cylindrical!
PRINTING RECOMMENDATIONS
- Material: PLA or PETG
- Supports: None needed (unless you set printOnBase = false).
- Infill: the standard 15% grid works fine.
- Layer height: 0.2mm recommended (0.12mm for very thin walls)
- Walls: 2 walls work fine for most cases
- Notes:
- The default 0.8mm wall thickness is thin but strong — it saves material and looks clean. If your printer struggles with thin walls, increase g to 1.0-1.2mm. Note that this will also make the overall piece wider.
- If you want the absolute highest quality cells, set printOnBase = false and print as is, enabling supports. This makes the cell walls perfectly vertical, and will help with thin walls and/or large angles. This is overkill for most use cases, however, and will use a lot of material in the supports, as the piece will only touch the plate along a single line.
WHY HEXAGONS?
Square grids waste space in the gaps between round pens. Hexagonal packing is mathematically optimal — you get similar spacing between pen centers but with better accessibility because of the staggered rows. The honeycomb structure is also incredibly strong for its weight. Plus, it looks cool.
TESTED COMPATIBILITY
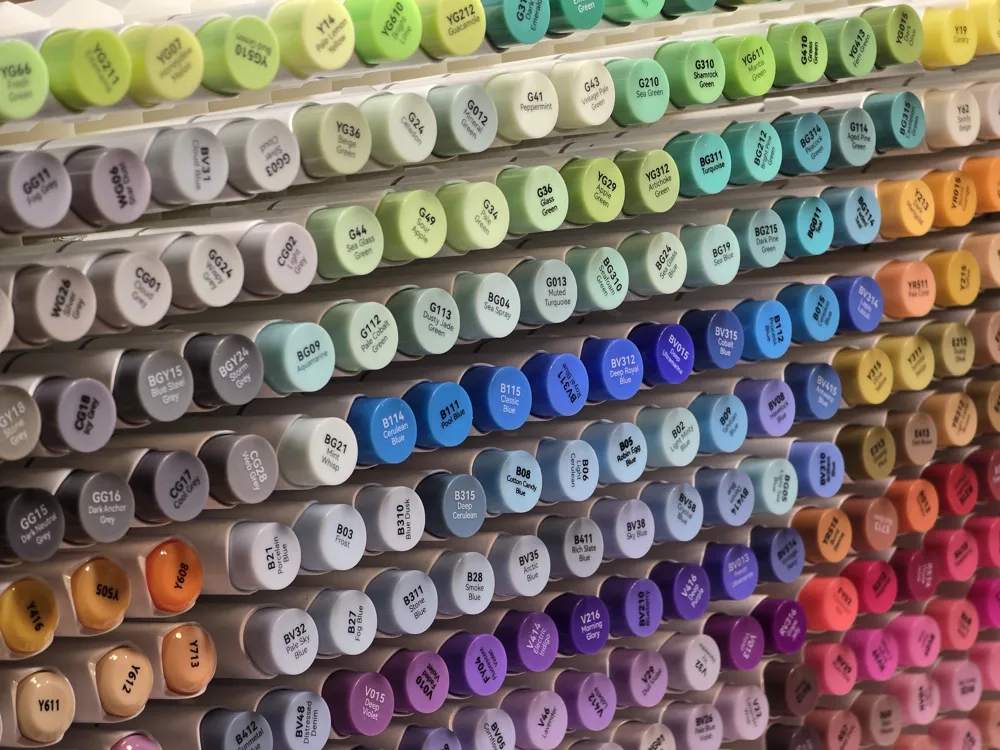
This holder is designed for dual-tip alcohol markers with bodies around 16-16.5mm in diameter, including:
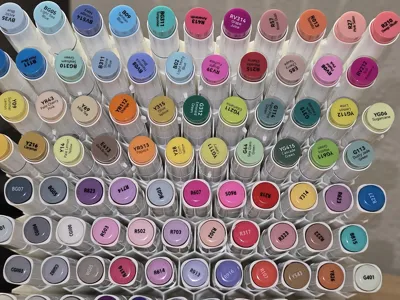
- Ohuhu markers
- Copic Sketch/Ciao
- Touchnew
- Shuttle Art
- Spectrum Noir
- Most other alcohol-based dual-tip markers
For other pen types (or objects), measure the diameter and adjust the a parameter accordingly.
Please note that some markers (the ones from Ohuhu in particular) have a small protrusion in the caps to prevent the pen from rolling away. If you set e to 0 (to get a perfect honeycomb), you will need to take the added diameter into account. When in doubt, print a single cell (wx = 1, wy = 1, base = none) and check that it works.
License

You shall not share, sub-license, sell, rent, host, transfer, or distribute in any way the digital or 3D printed versions of this object, nor any other derivative work of this object in its digital or physical format (including - but not limited to - remixes of this object, and hosting on other digital platforms). The objects may not be used without permission in any way whatsoever in which you charge money, or collect fees.


Comment & Rating (31)