
P2S Smoothy Y-Splitter Mount
Print Profile(1)
Description
Boost Me (for free)
If you liked this model please consider boosting me!
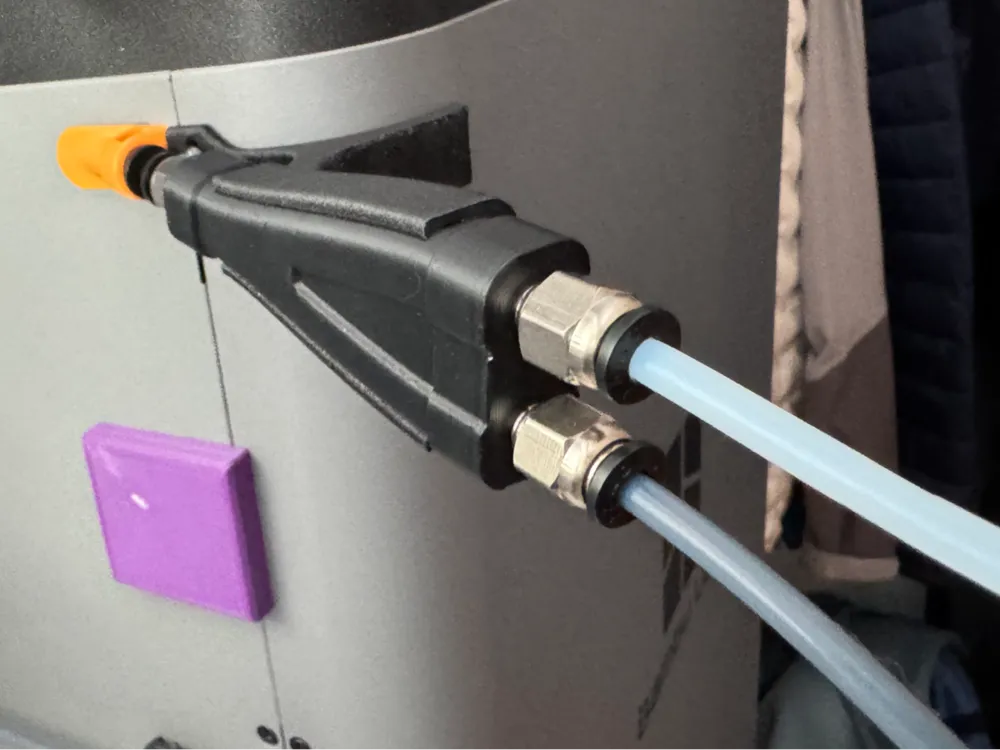
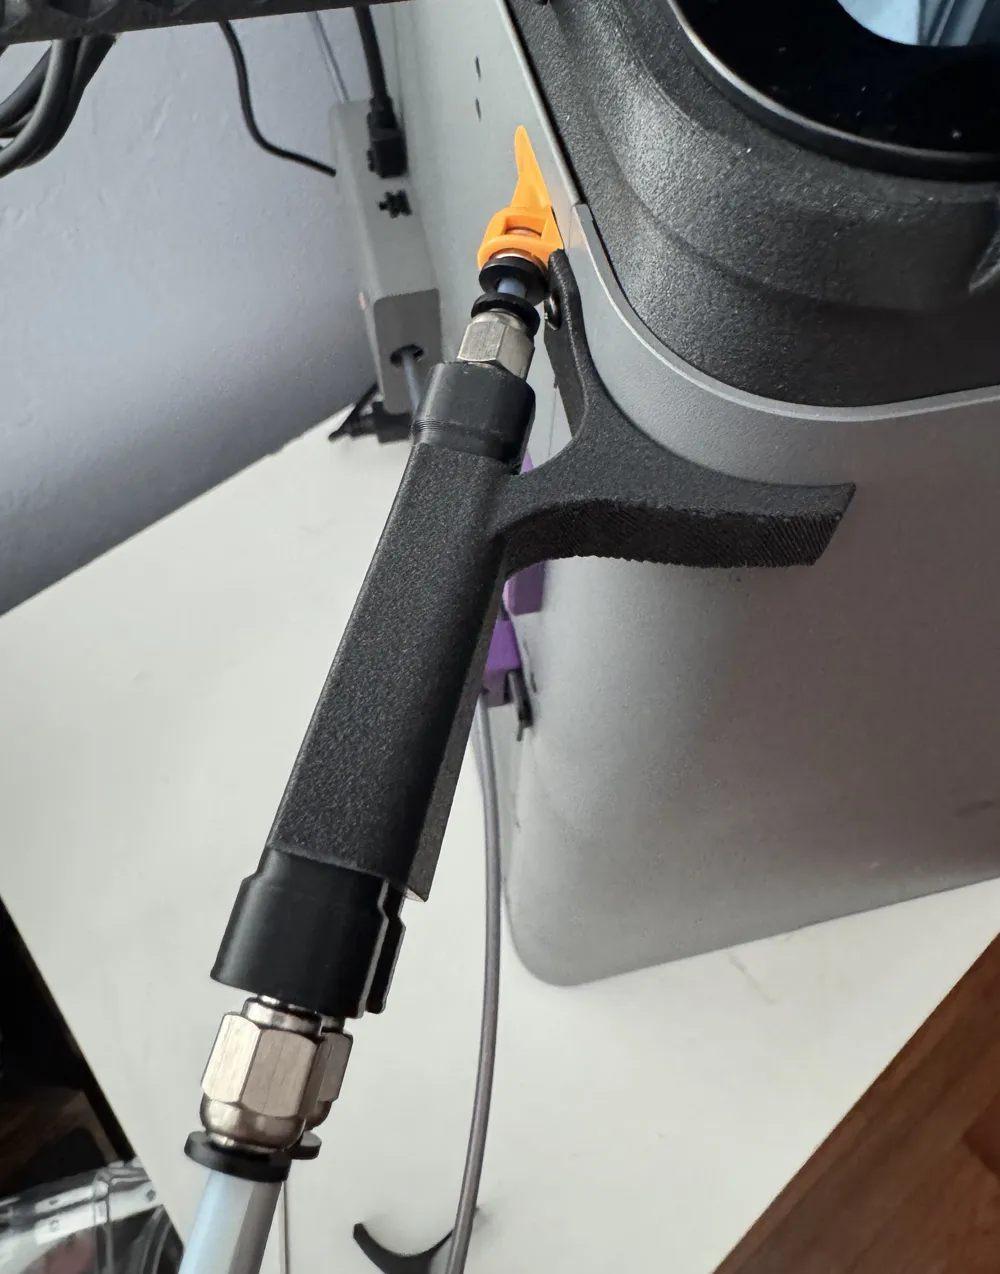
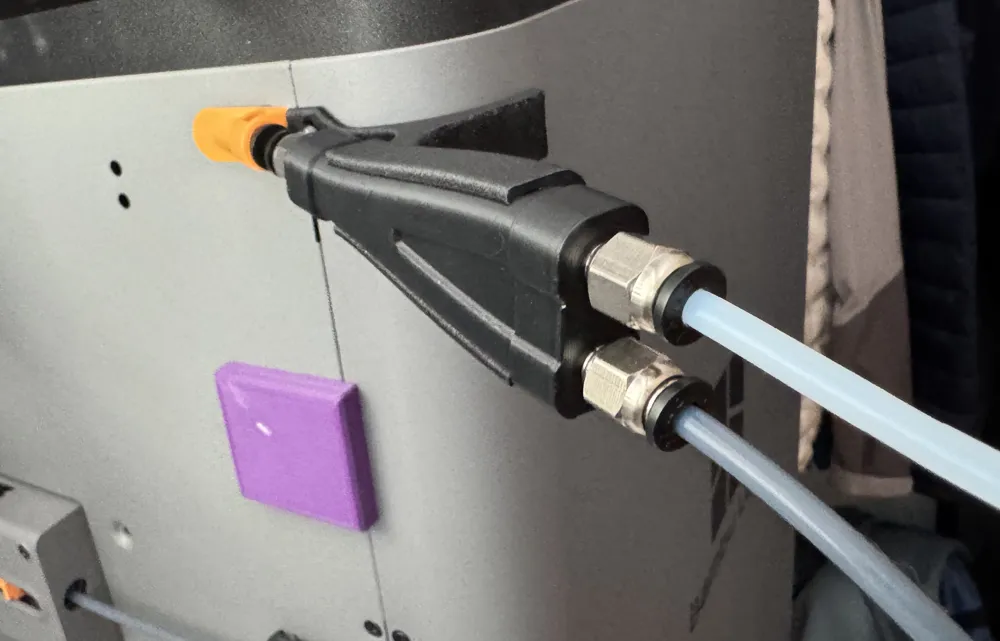
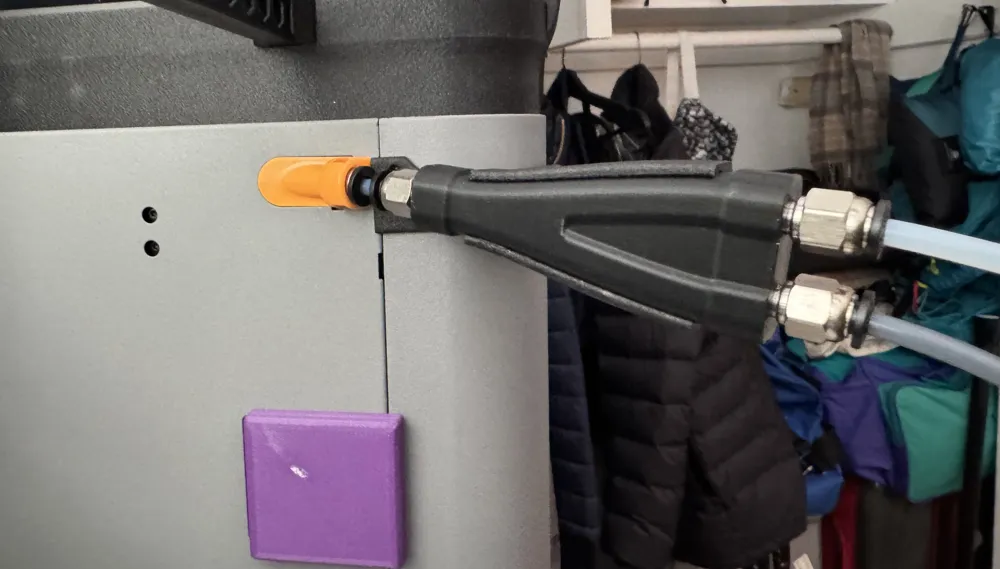
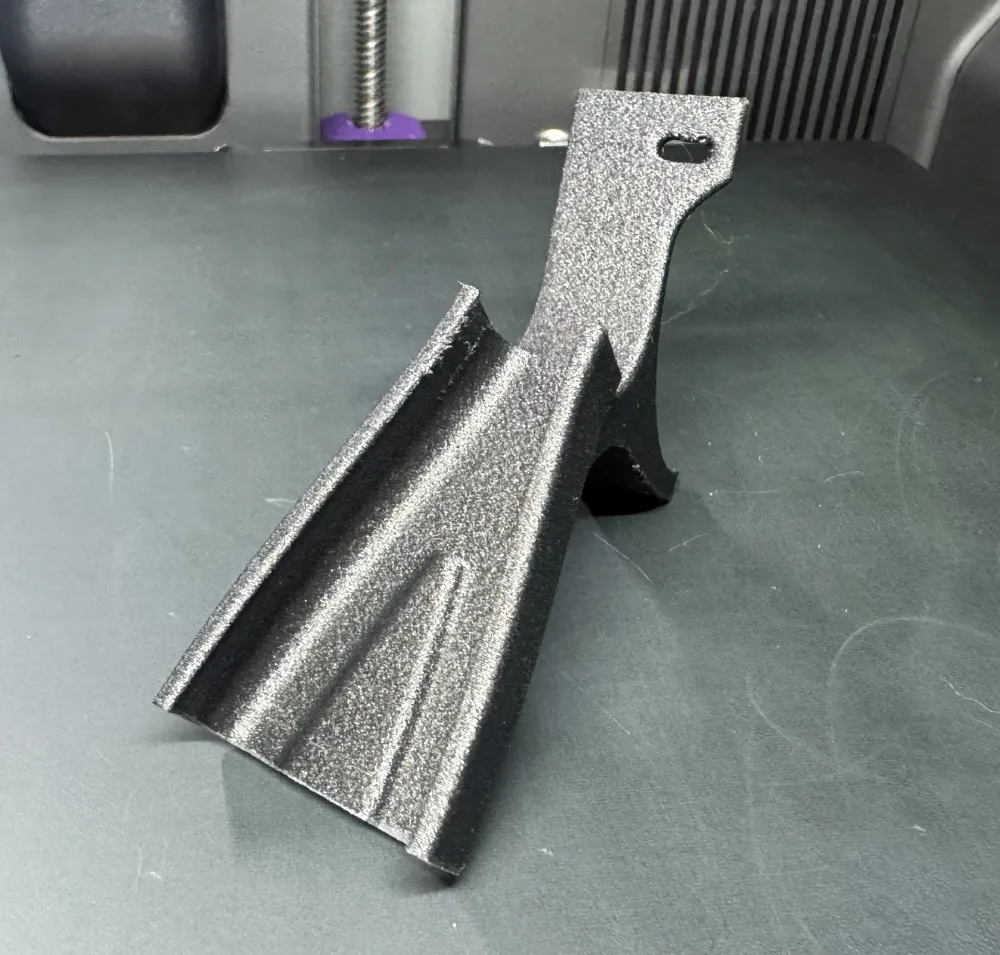
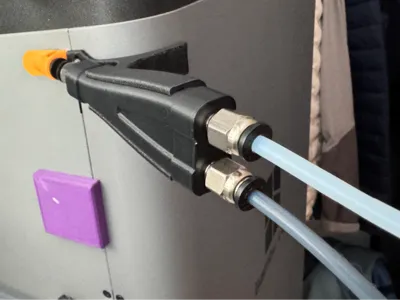
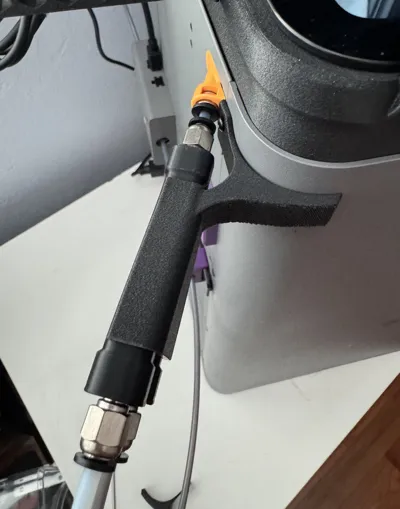
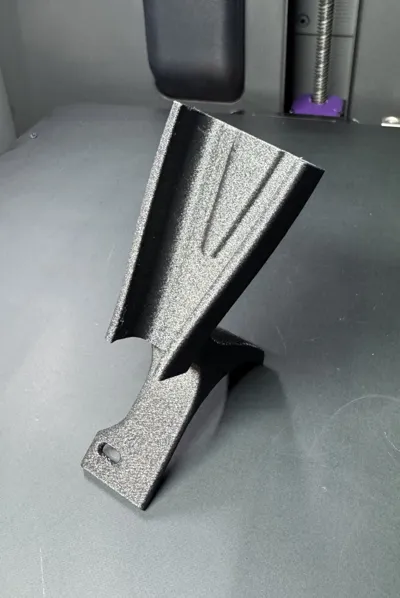
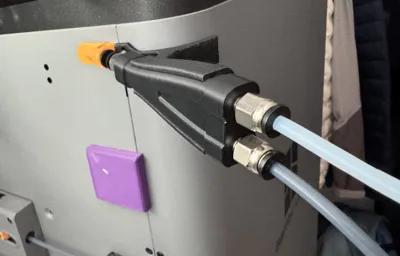
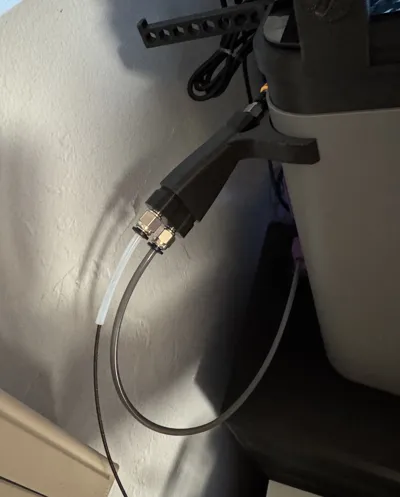
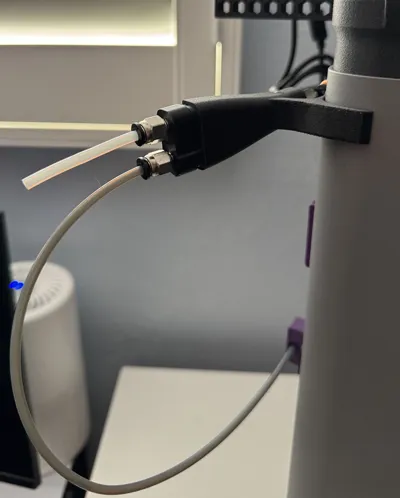
On the P2S the PTFE coupler on the rear panel has been moved to the edge of the frame, meaning the existing magnet mounting solutions for the smoothy (or any) Y-splitter no longer work.
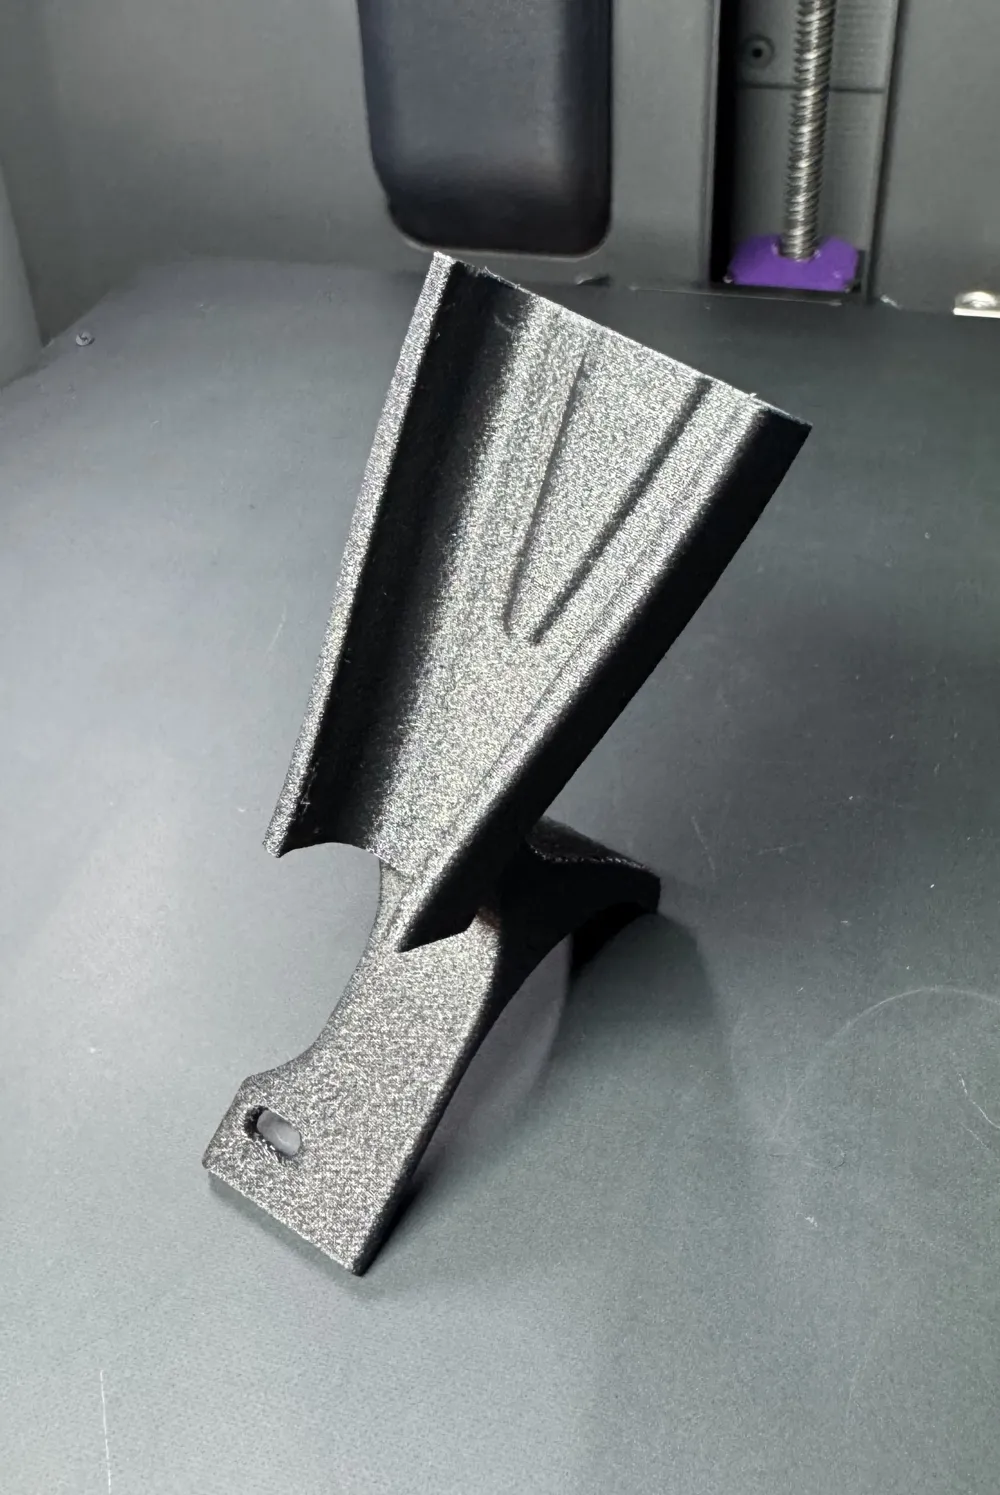
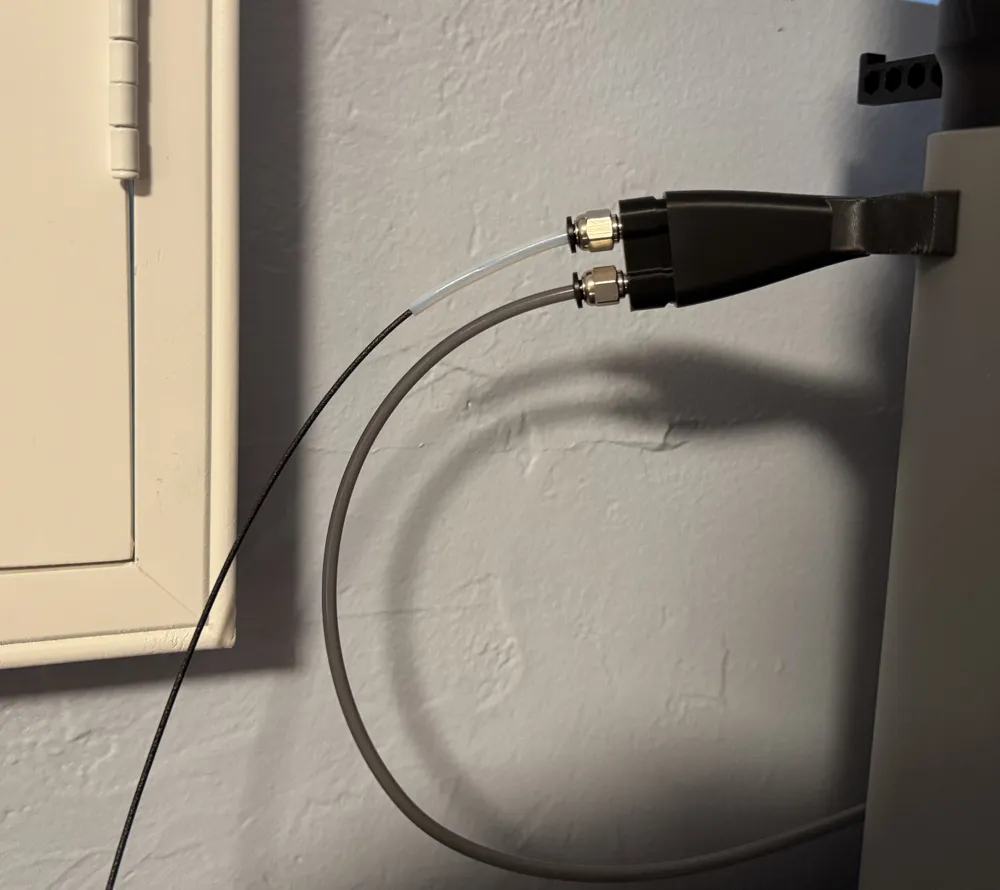
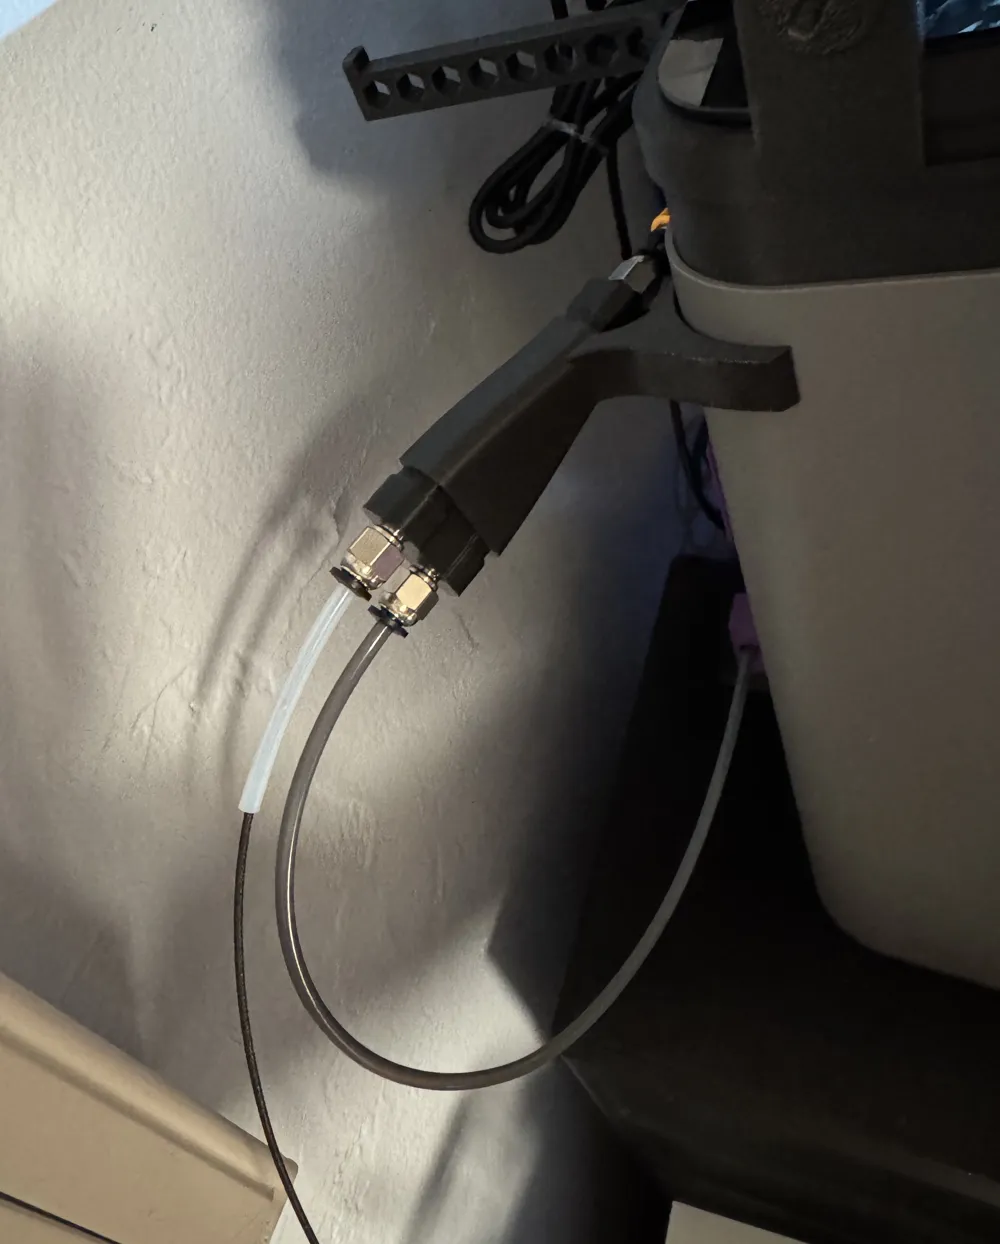
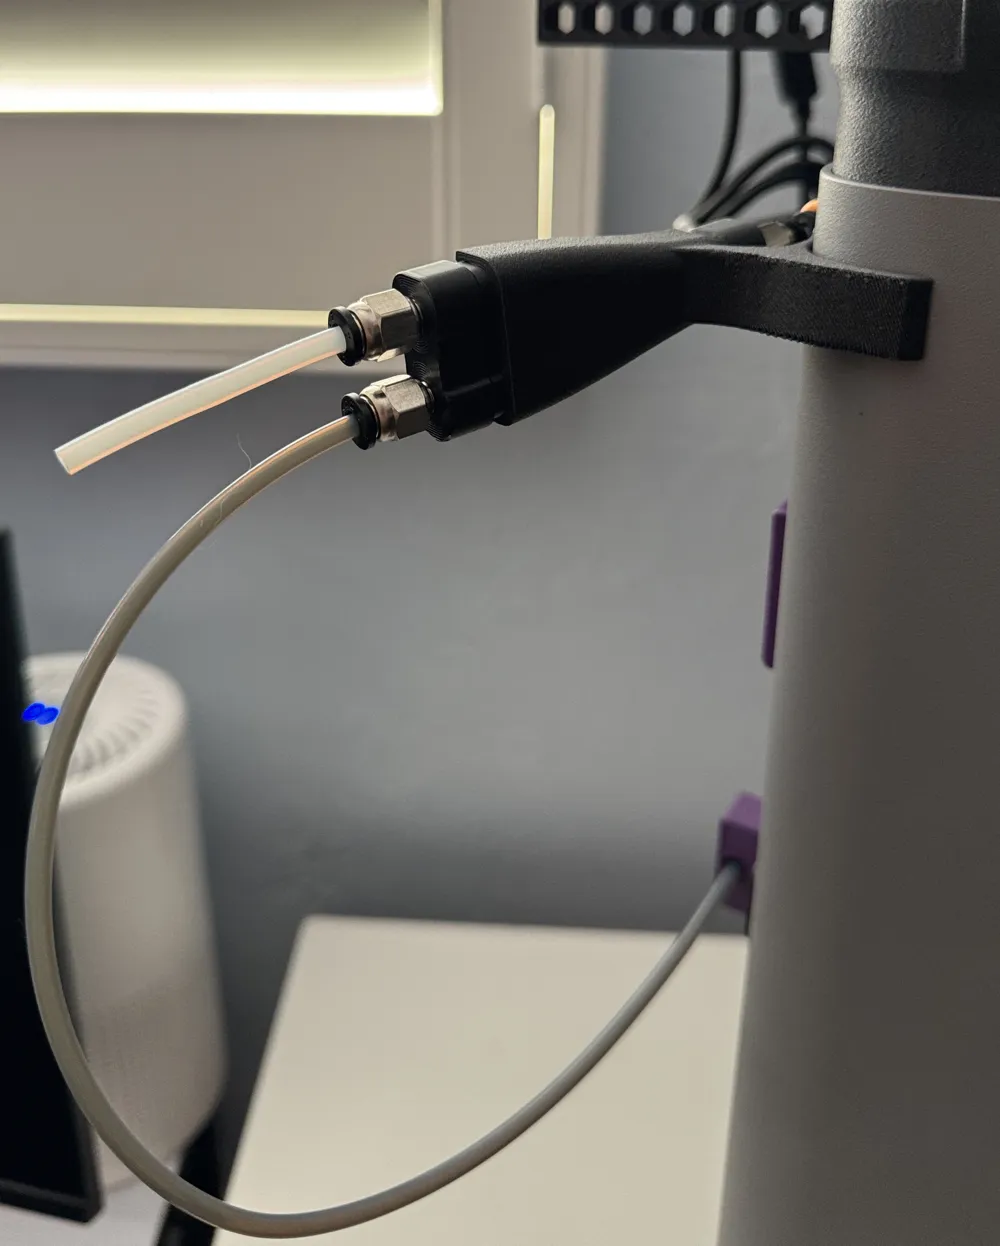
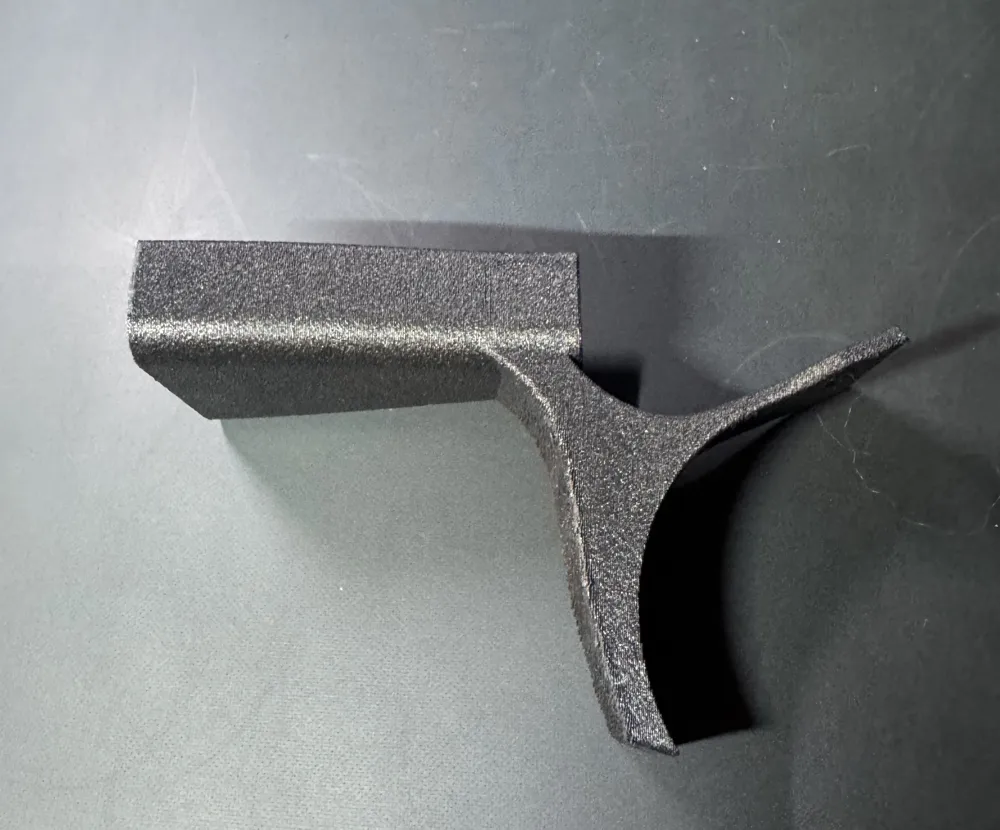
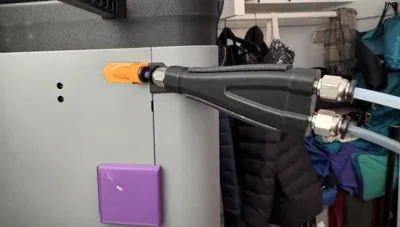
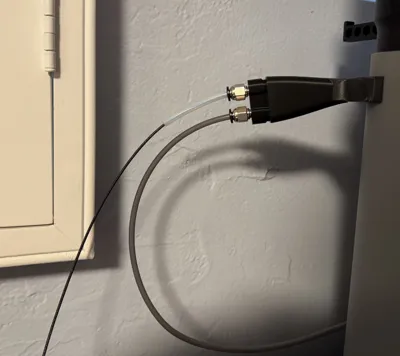
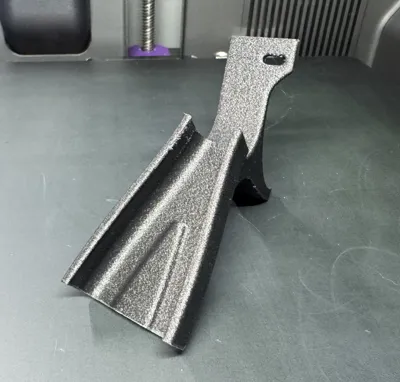
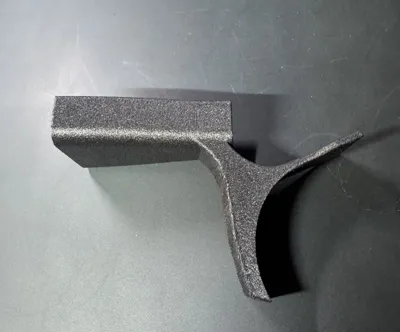
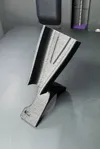
I found this put the PTFE tubing and filament path under some tension, particularly when pulling filament from a dry box through the 2nd channel, so I designed this little 10g bracket and mounting clip to try and support it.
I'd consider this a solid first version but as I use this long term i'm sure there i'll find things to tweak so i'd be open to any feedback.
- I tried to make it as slim as possible but i think to make it significantly more secure it may need to be thicker to brace against the printer better, or perhaps incorporate groove for double-sided tape.
- I did play with angling the mount differently, to make it come out flatter, or to angle it more and shorten the feed path, but this didn't alleviate the strain on the tubing as much as I wanted and it would pull the mount away from the printer so I just tried to align them as well as I could.
I'd say this stops 95% of the flexing/bouncing when printing with my AMS while it alleviates maybe 80% of the flexing and stress when printing from my dry box. I also think it looks better, like it's intentionally there rather than awkwardly sticking out to the side as it did before.
I printed this in ASA-CF for the rigidity and to match my riser/flipper, but you could use PETG or something else. I don't think i'd recommend PLA due to creeping under stress.
Assembly
- One M3x8 screw to replace the factory one + tiny dab of threadlocker
- PTFE Tubing
- Splitter → Printer: 36mm was what worked for me but this might vary slightly given that the smoothy and the mount are both printed.
- Buffer → Splitter: I was able to shorten the stock tubing by a decent amount while maintaining a smooth radius but I would empirically test this yourself to find where you're most comfortable compromise of loading speed to friction is.
- Make sure the tubing goes all the way into both couplers, the smoothy clicks into the mount and seats completely, and that filament feeds smoothly
Customizable Version
In addition to the STEP files I have included a slicer customizable version of this mount in case you would like to adjust the angle or even replace the smoothy mounting clip with something else ( I will eventually upload a few variations on this bracket that I made during this process that could be used for various things).
On plate 2 the mount and bracket pieces have not yet been combined, to edit:
- Adjust the positioning of the mount
- Note you must keep at least one point of the model touching the build plate or studio will automatically snap it down when it is split from the assembly later.
- Use the mesh boolean feature to cut the bracket with the mount, check the box to ‘keep original models’
- In the Objects Panel, select and split the assembly.
- Select and split the bracket boolean object again
- Delete the extra cut off piece.
- Merge the bracket and mount to fix their relative positions.
- Reposition to the correct printing orientation.
Credit to JDJDJD for the original Smoothy Y-splitter:
Download The Smoothy PTFE Bowden Y Connecter here: https://makerworld.com/en/models/18174
License

You may create derivative works based on this object, provided that all such derivative works are published exclusively on the MakerWorld platform and include proper attribution to the original creator. You may not share, upload, host, distribute, or publish this object—or any derivative work of this object—on any other digital platform, marketplace, or distribution channel. Commercial use of this object and any derivative works is strictly prohibited. This includes, but is not limited to, selling, renting, sublicensing, or using the object in any context in which you receive monetary compensation or other financial benefits.


Comment & Rating (27)