
Tactical Shield - multi version
Print Profile(3)
Bill of Materials





Description
🛡️ Tactical Shield - No AMS Required
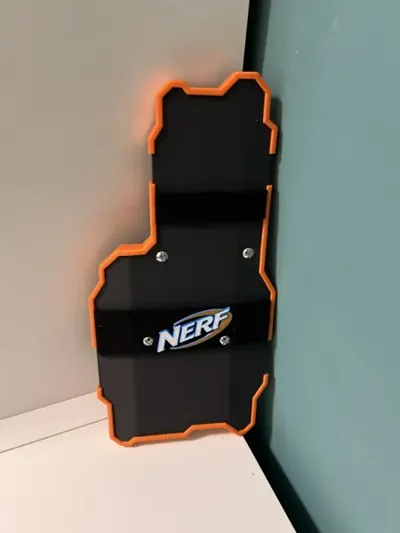
This Tactical Shield is designed for tactical simulation enthusiasts, cosplayers, or home training sessions. The design is inspired by modern ballistic shields and optimized for easy printing—even without an AMS system.
The model is divided into separate parts, allowing you to achieve a two-tone effect (Black/Orange or your preferred colors) simply by swapping filament between print jobs.
📋 Key Features
- Modular Design: Easy to assemble using standard screws and adhesive.
- No AMS Needed: Optimized for single-color prints that fit together perfectly.
- Ergonomic: Features slots for elastic straps (Velcro type) for a secure and steady grip.
- Full Scale: Dimensioned for excellent coverage without sacrificing maneuverability.
🖨️ Print Settings
To achieve maximum durability and an excellent aesthetic finish, use the following parameters:
- Recommended Material: PLA+ or PETG (for better impact resistance).
- Layer Height: 0.20mm or 0.24mm (Draft settings work well for larger parts).
- Infill: 15-20% Gyroid (for uniform structural strength).
- Wall Loops: Minimum of 4 walls.
- Supports: Required only for handles or protruding joints.
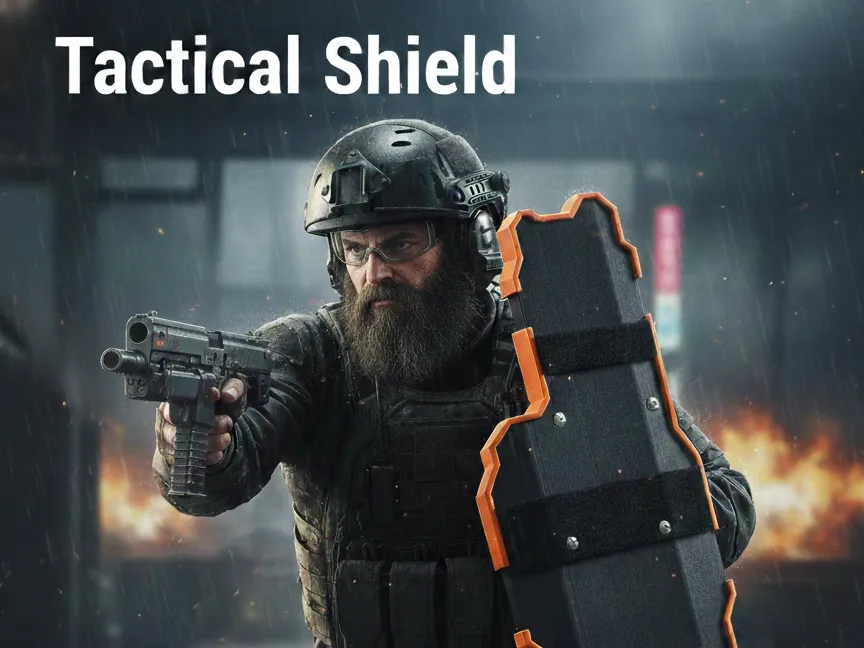
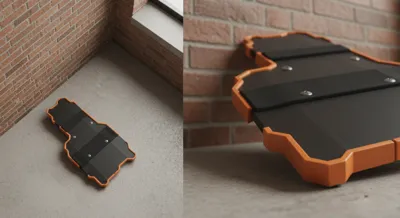
Color Note: Print the main body in Black and the profiles/edges in Orange to replicate the professional tactical look shown in the cover image.
🔧 Assembly and Post-Processing
- Carefully remove any support material.
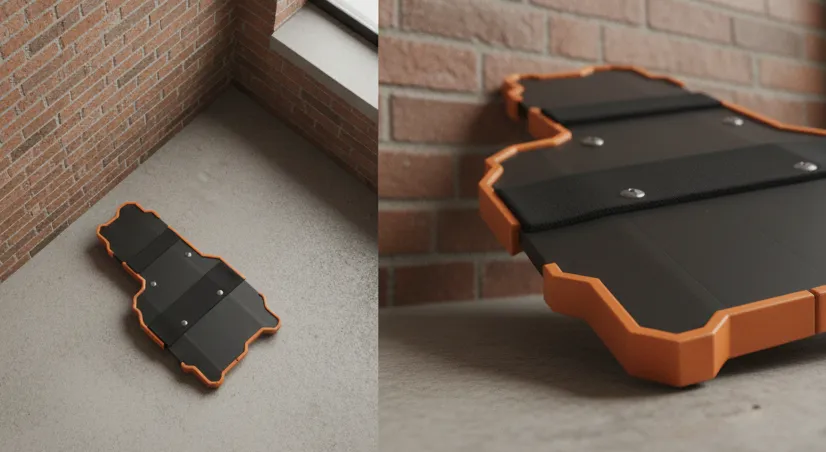
- Insert the colored edges into the grooves of the main body.
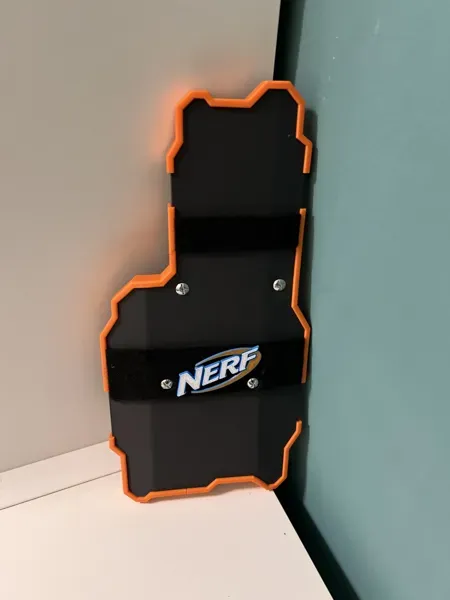
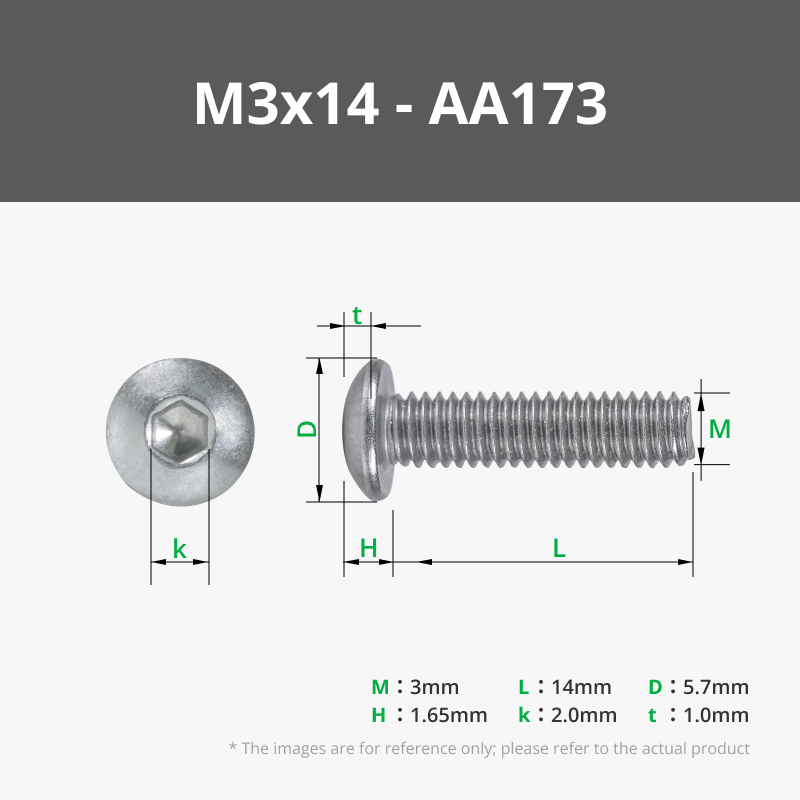
- Use M3 or M4 screws (as shown in the photos) to secure the straps and structural components.
- Pro Tip: Apply Velcro strips to the back to customize the arm positioning for a perfect fit.
🛡️ Tactical Shield - No AMS Required
Questo Tactical Shield è progettato per gli appassionati di simulazione tattica, cosplay o sessioni di allenamento domestico. Il design è ispirato agli scudi balistici moderni, ottimizzato per essere stampato facilmente anche senza il sistema AMS
Il modello è diviso in parti separate per permetterti di ottenere l'effetto bicolore (Nero/Arancione o i colori che preferisci) semplicemente cambiando il filamento tra una stampa e l'altra.
📋 Caratteristiche principali
- Design Modulare: Facile da assemblare con viti standard e colla.
- No AMS Needed: Ottimizzato per stampe a colori singoli che si incastrano perfettamente.
- Ergonomico: Predisposto per l'alloggiamento di cinghie elastiche (tipo velcro) per un'impugnatura salda.
- Scala Reale: Dimensionato per un'ottima copertura senza sacrificare la maneggevolezza.
🖨️ Istruzioni per la Stampa (Print Settings)
Per ottenere la massima resistenza e un risultato estetico eccellente, segui questi parametri:
- Materiale consigliato: PLA+ o PETG (per una maggiore resistenza agli urti).
- Altezza strato (Layer Height): 0.20mm o 0.24mm (Draft va bene per le parti grandi).
- Riempimento (Infill): 15-20% Gyroid (per una resistenza strutturale uniforme).
- Pareti (Wall Loops): Minimo 4 pareti.
- Supporti: Necessari solo per le maniglie o incastri sporgenti.
Nota per il colore: Stampa il corpo principale in Nero e i profili/bordi in Arancione per replicare il look tattico professionale visto in copertina.
🔧 Montaggio e Post-Processing
- Rimuovi con cura eventuali supporti.
- Inserisci i bordi colorati nelle scanalature del corpo principale.
- Usa delle viti M3 o M4 (come da foto) per fissare le cinghie e i componenti strutturali.
- Suggerimento: Applica delle strisce di velcro sul retro per personalizzare la posizione del braccio.
License

You may create derivative works based on this object, provided that all such derivative works are published exclusively on the MakerWorld platform and include proper attribution to the original creator. You may not share, upload, host, distribute, or publish this object—or any derivative work of this object—on any other digital platform, marketplace, or distribution channel. Commercial use of this object and any derivative works is strictly prohibited. This includes, but is not limited to, selling, renting, sublicensing, or using the object in any context in which you receive monetary compensation or other financial benefits.


Comment & Rating (81)