Search models, users, collections, and posts
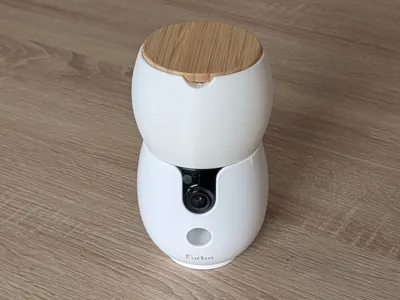
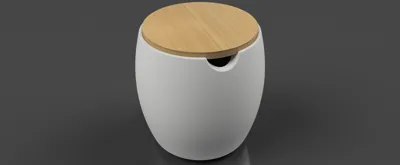
Furbo Mini 360 - Magnetic High-Capacity Hopper


GIF

Print Profile(1)
0.2mm layer, 3 walls, 10% infill
Designer
2.6 h
1 plate
Open in Bambu Studio
Boost
3
5
0
0
22
14
Released
Bill of Materials
Maker's Supply Kits and Parts
Select all

Bambu Filaments
Select all

Description

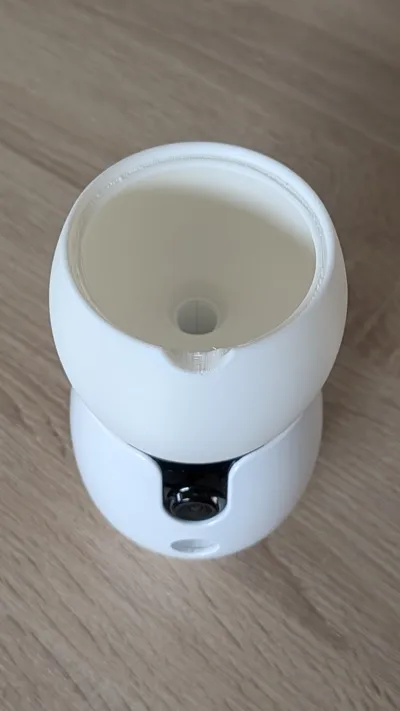
Increase your Furbo Mini 360 capacity by 10x to 20x with this non-destructive extension. Designed to sit perfectly between the camera body and the original bamboo lid, maintaining the premium aesthetic of your device. It features a dedicated slot for a neodymium magnet to ensure stability during treat tossing.
🔩 Technical Specifications & BOM
- Magnet: 1x Round Neodymium Magnet (10mm x 3mm) - (Ref. CA009)
- Glue: Cyanoacrylate (Superglue) for the magnet.
- Dimensions: Matches the original Furbo aperture. Suitable for small/medium dry treats.
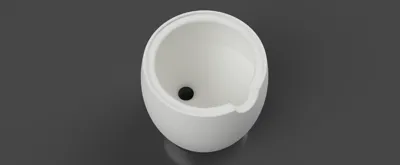
- Tolerances: The magnet slot includes a 0.2mm offset for a perfect fit without sanding.
⚙️ Print Settings
- Material: PLA Basic Jade White - (Ref. 10100).
Note: Avoid "Matte" PLA to ensure the mount blends seamlessly with the Furbo's shiny finish. - Orientation: Print upside down (Wide lid opening facing the build plate).
- Supports (REQUIRED): Enable Tree Supports (auto) - 40°. The internal overhang at the top of the print is too steep to print without support.
- Adhesion: Outer brim only required.
- Wall Loops: 3 (Crucial for structural integrity).
- Top/Bottom Layers: 5 (Ensures a smooth surface).
- Infill: 10% (Grid or Gyroid).
⚠️ Important Notes
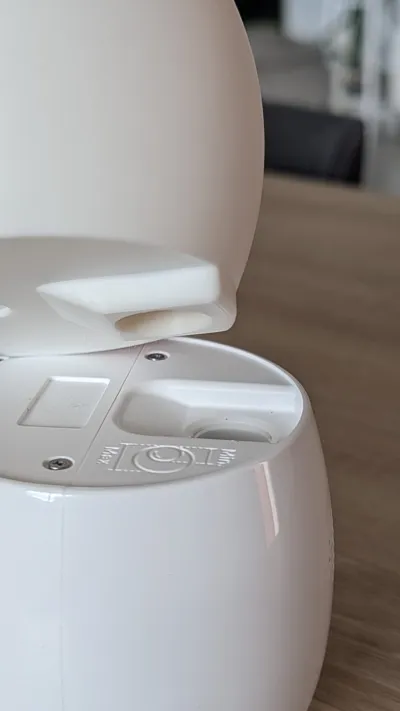
- Magnet Polarity: Test the magnet's orientation against the Furbo's internal metal/magnet BEFORE gluing. Ensure it pulls the hopper down (attraction) before the glue sets.
- Food Safety: 3D printed parts are porous. Use only dry treats. Clean regularly with a dry brush or damp cloth. Do not put in the dishwasher.
🛠️ Assembly Instructions
- Test Fit: Place your magnet on the Furbo top rim to identify which side sticks.
- Glue: Apply a drop of glue into the hopper's bottom slot (located on the top face of the print) and insert the magnet.
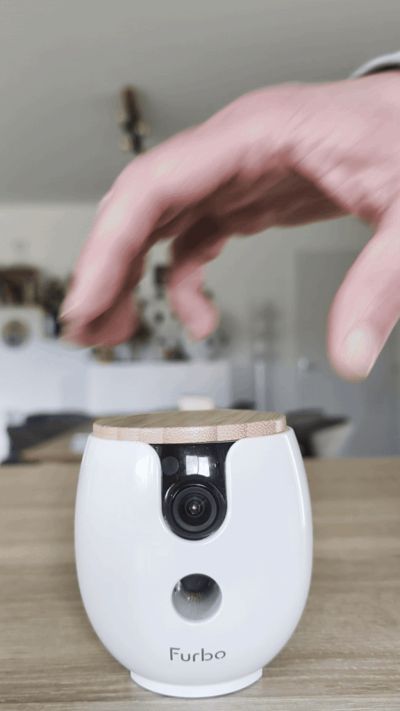
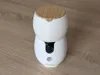
- Setup: Remove the original bamboo lid, snap the hopper onto the Furbo, and place the lid on top of the hopper.
📥 Changelog
- v1.0 (2026-02-06) : Initial release.
If you like this, please leave a ⭐⭐⭐⭐⭐ rating and upload a photo of your print! Your support helps me keep creating.
🐶 Mokipy's Tip:
Ensure your build plate is clean with hot water & soap for a perfect first layer adhesion!
🚀 Support the Creators
Boost Me (for free)
If you like this model, please consider giving it a Boost 🚀 and a Like ❤️ ! Free for you! It means a lot to me!
- Issues? Please leave a comment, I read them all.
- Want more? Check out my profile for other models
License
This user content is licensed under a
Creative Commons Attribution-Noncommercial-Share Alike
Comment & Rating (0)