
Easy-Rearrange Shelves for Filament Containers
Print Profile(2)
Description
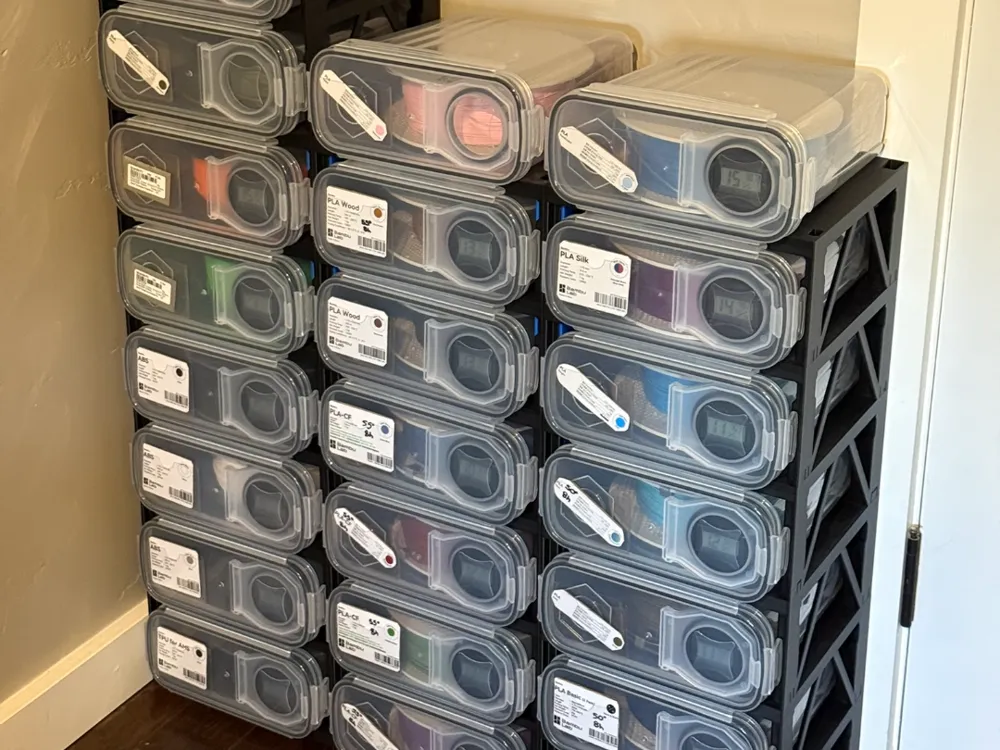
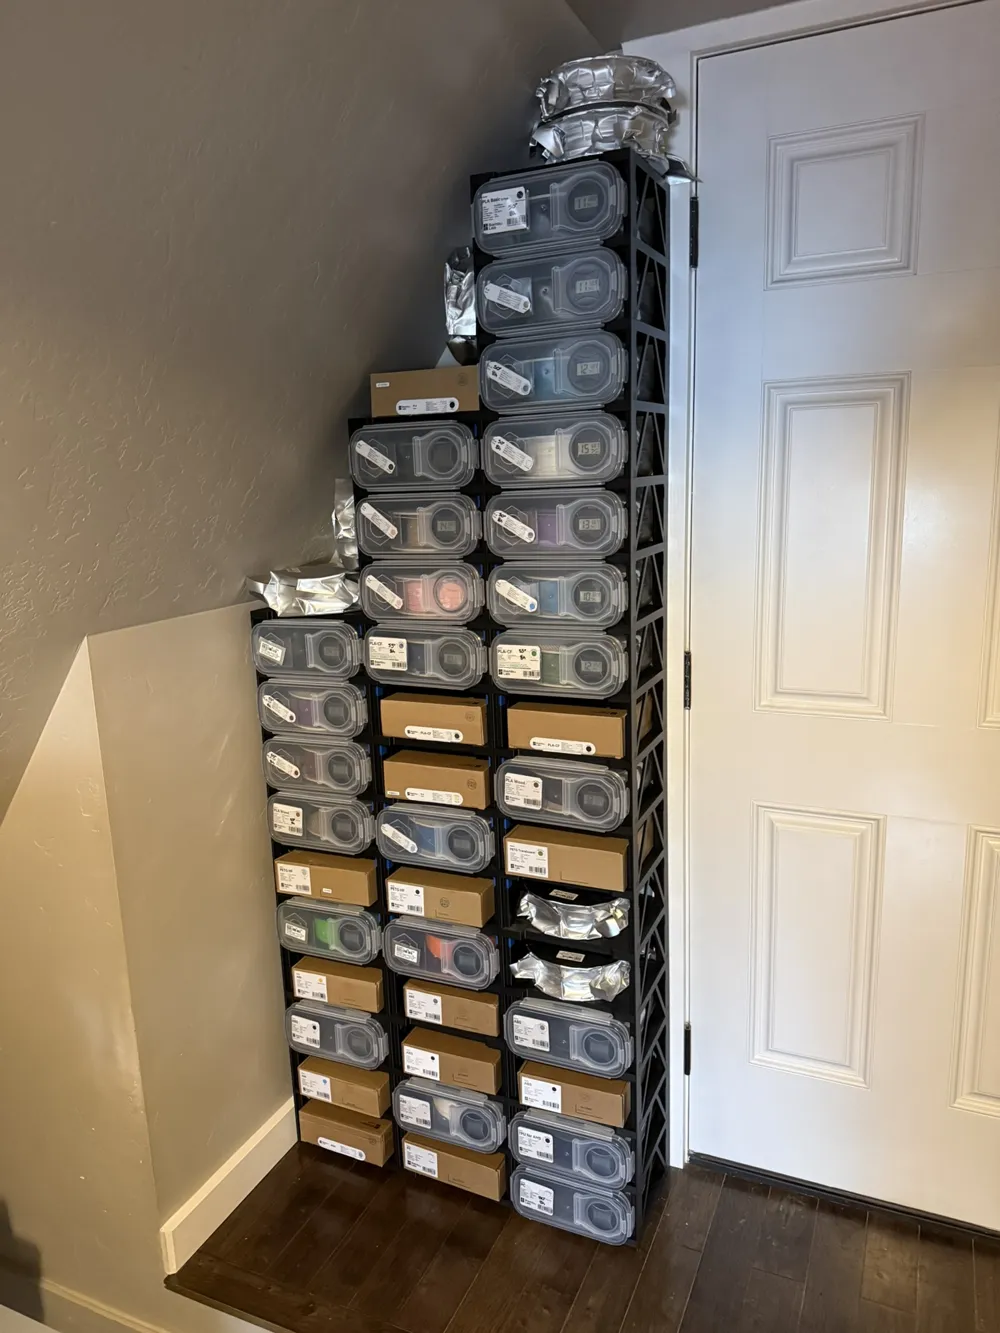
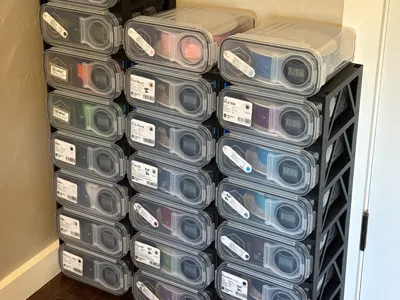
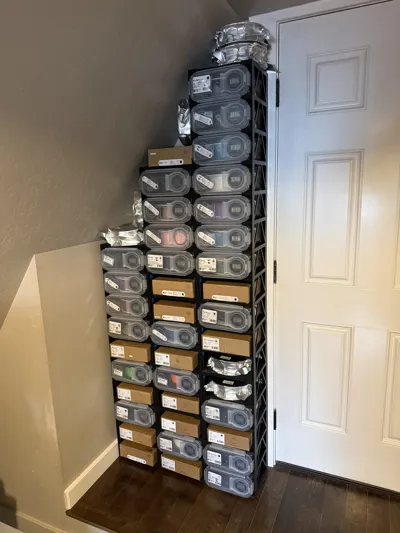
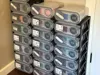
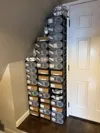
Easy-Rearrange Shelves for Filament Dry Boxes
These shelves are designed specifically for Praki or Skroam cereal boxes, which work perfectly as filament dry boxes. I haven’t tested them with other containers yet, so I can’t guarantee the fit, but they are a perfect match for those two brands.
While there are a lot of great shelf designs out there, I couldn’t find "The One" that checked every box. Most were either filament hogs or permanent fixtures. This system is my solution. It's a lightweight, high-speed print that you can take apart and swap around in seconds, designed specifically with dry box storage in mind.
Why these are great:
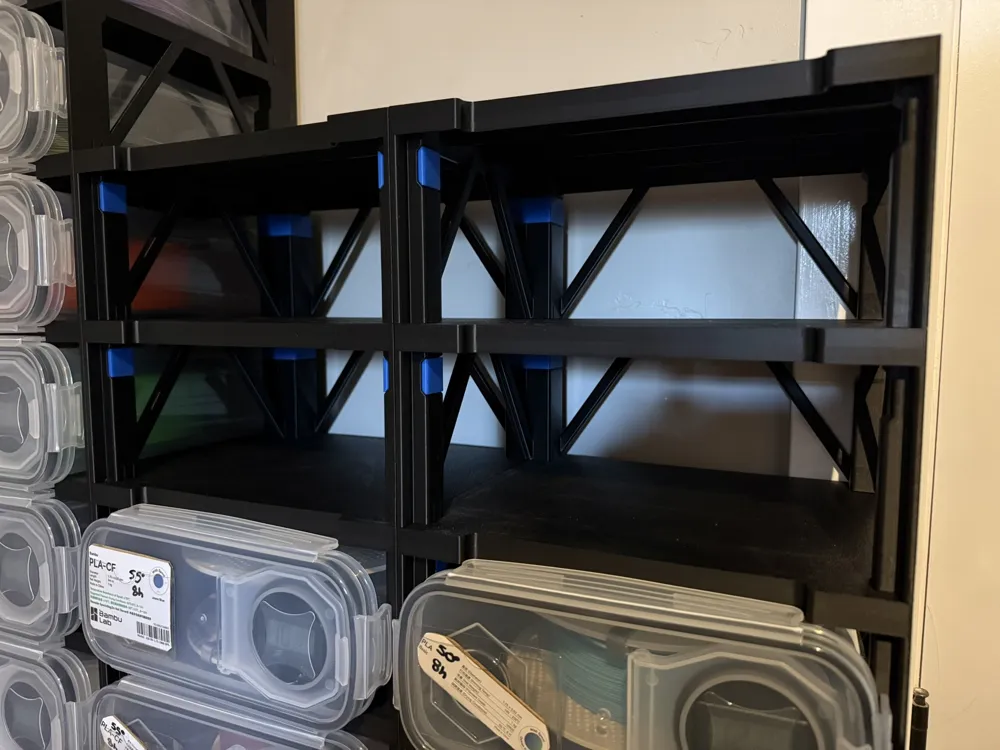
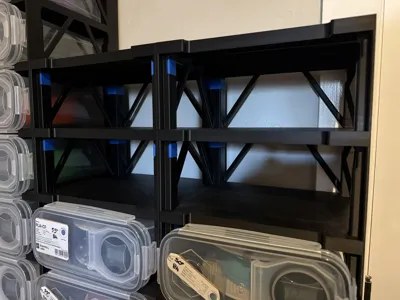
- Modular Design: Super easy to take apart and rearrange however you like.
- Material Efficient: I designed these to fit the dry boxes perfectly without wasting filament or extra shelf space.
- Quick & Light: Using Sunlu High Speed PETG, these print in under 3 hours and use only about 135g of filament.
- Maxed Out Plate: Just a heads-up—it’s a very tight squeeze on a 256mm wide plate, but it will fit!
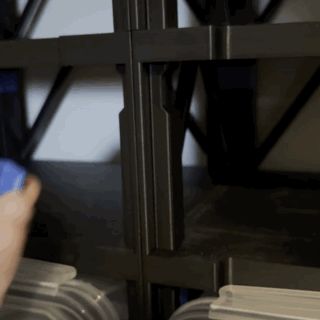
⚠️ Pro-Tip on the "Tabs": When you’re taking the layers apart, you’ll see what look like little tabs on the bottom of the legs. Don't push on these! They are just there to give the plastic some flex so you can pull the layers apart easily. I’ve made them quite strong, but they could still break if you apply too much direct pressure.
Print Settings & Materials
I highly recommend using the .3mf file. I’ve already set up modifiers to ensure you get the right strength and flex where it’s needed while keeping the print fast.
- Filament: I used Sunlu High Speed Matte PETG. (it’s usually pretty affordable on Amazon!)
- Profile Tweaks: I used the "Bambu PETG HF" setting with a few modifications:
- Bumped the temp from 245°C to 250°C.
- Dropped the layer cooling time from 10s to 8s (this shaved about 10 minutes off the print time).
- Other Materials: I haven't tested PLA yet, but it should work fine. If you use ASA or ABS, I’d recommend scaling the model up by about 0.5-1% to account for shrinkage, since the fit is very precise.
Assembly Instructions
- The Base: Print the plate labeled "Bottom" (print as many as you need for your desired shelf width).
- The Feet (Optional): Print enough TPU Feet to match your base pieces.
- Slicer Shortcut: Select all 4 feet, hit Ctrl+K to clone the amount you need, then Shift+A to auto-arrange them.
- The Shelf: Print your shelf pieces.
- The Clips: Print as many clips as you need to lock your rows of shelves together.
- Enjoy: Load up your dry boxes and enjoy your organized filament!
🛑 Important Removal Tip: Both the Base and the Shelf are designed to print upside down and are quite thin. Please be very careful when removing them from the build plate! If you use a textured PEI plate, just let it cool completely—they should pop off safely with a very gentle bend of the plate.
License

You may create derivative works based on this object, provided that all such derivative works are published exclusively on the MakerWorld platform and include proper attribution to the original creator. You may not share, upload, host, distribute, or publish this object—or any derivative work of this object—on any other digital platform, marketplace, or distribution channel. Commercial use of this object and any derivative works is strictly prohibited. This includes, but is not limited to, selling, renting, sublicensing, or using the object in any context in which you receive monetary compensation or other financial benefits.


Comment & Rating (501)