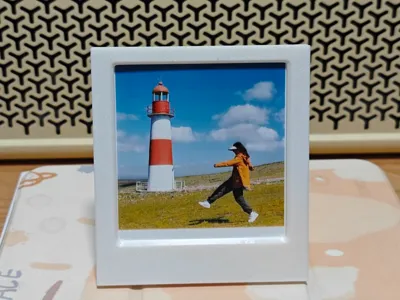
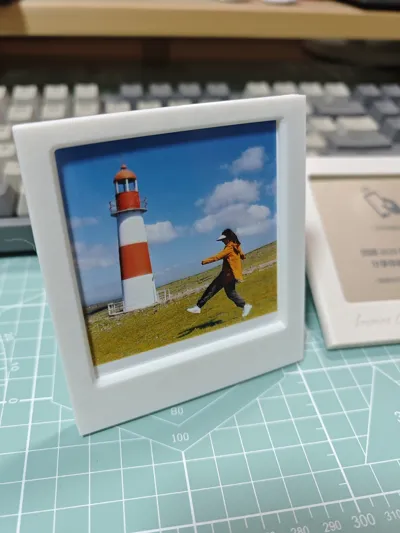
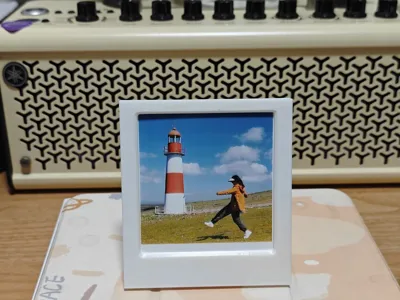
Kodak 3-inch Instant Photo Angled Photo Frame {Hinged Print-in-Place Kickstand|Quick Assembly of Front and Back Frames|No Supports, No Overhangs}


Print Profile(2)

Description
Kodak 3-inch photo paper size is 76*88, and the actual printable size is 70*73.
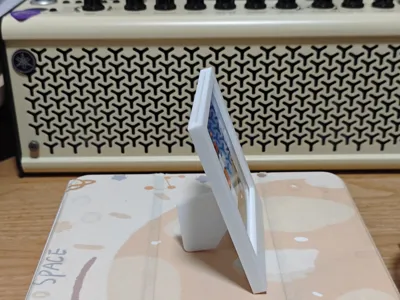
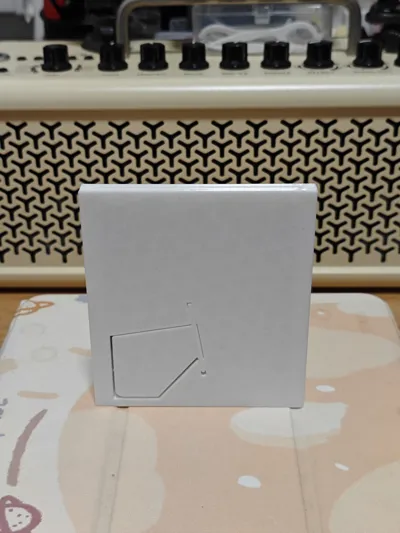
The photo frame kickstand, once printed, should be attached to the main body and will require a slight force to detach.
For aesthetics and a slight friction feel, the gap is very small and may require adjustment. My material is PETG, and I'm unsure how it will perform with other materials.
——————
Because I had photo paper… I made a photo frame… Isn't a photo frame just a frame…?
It looks simple, but once you start, it's full of problems:
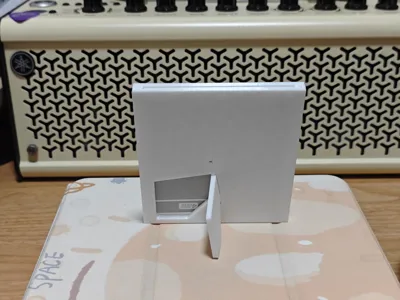
Don't want supports and don't want overhangs ===> decided to split the parts;
How to fit them together after splitting so they don't loosen and don't affect the appearance ===> started researching snap-fit techniques;
If I want it to stand at an angle, how should the kickstand be designed ===> looked for references: special thanks here to the model Print in Place Piggy Bank Photo Frame, Chairman Mao says you can do it!, I spent a long time studying how it was made…
In summary, after learning and revising, and several versions later, it finally basically met my expectations…. Although it's just a common photo frame after all…. I'll leave it at that for now hhhhhh
——————
——————
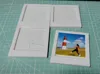
Installation steps:
First, push the rail in and slide it all the way down, then slightly lift the front frame, pry up the bottom snap, slide it down a bit further to align with the lowest snap, and finally press the snap until it clicks.

License
You may create derivative works based on this object, provided that all such derivative works are published exclusively on the MakerWorld platform and include proper attribution to the original creator. You may not share, upload, host, distribute, or publish this object—or any derivative work of this object—on any other digital platform, marketplace, or distribution channel. Commercial use of this object and any derivative works is strictly prohibited. This includes, but is not limited to, selling, renting, sublicensing, or using the object in any context in which you receive monetary compensation or other financial benefits.
Comment & Rating (0)