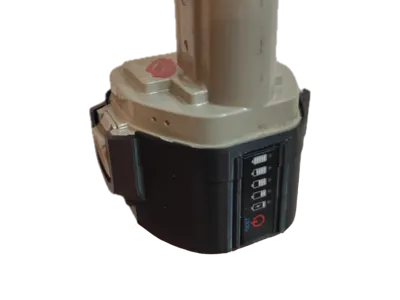
Makita 12V battery Box 1234 with battery monitor


Print Profile(1)
Description
Hi
Recently i got some old Makita 12V cordless screwdrivers.
The largest draw back of these screwdrivers are by sure the battery packs.
For this version only NiMh battery packs, with there known problems in durability, are commercial available.
Therefore i want to build a battery pack that uses better 18650 lithium cells. Battery packs with an additional BMS can be used in the original battery charger from Makita. It's highly recommended to use a BMS for 18650 cells for battery chargers designed for NiMh batteries.
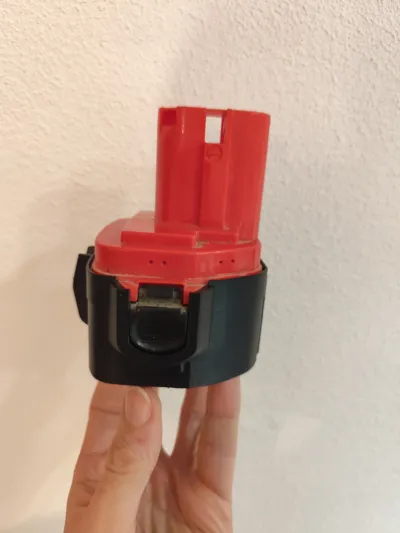
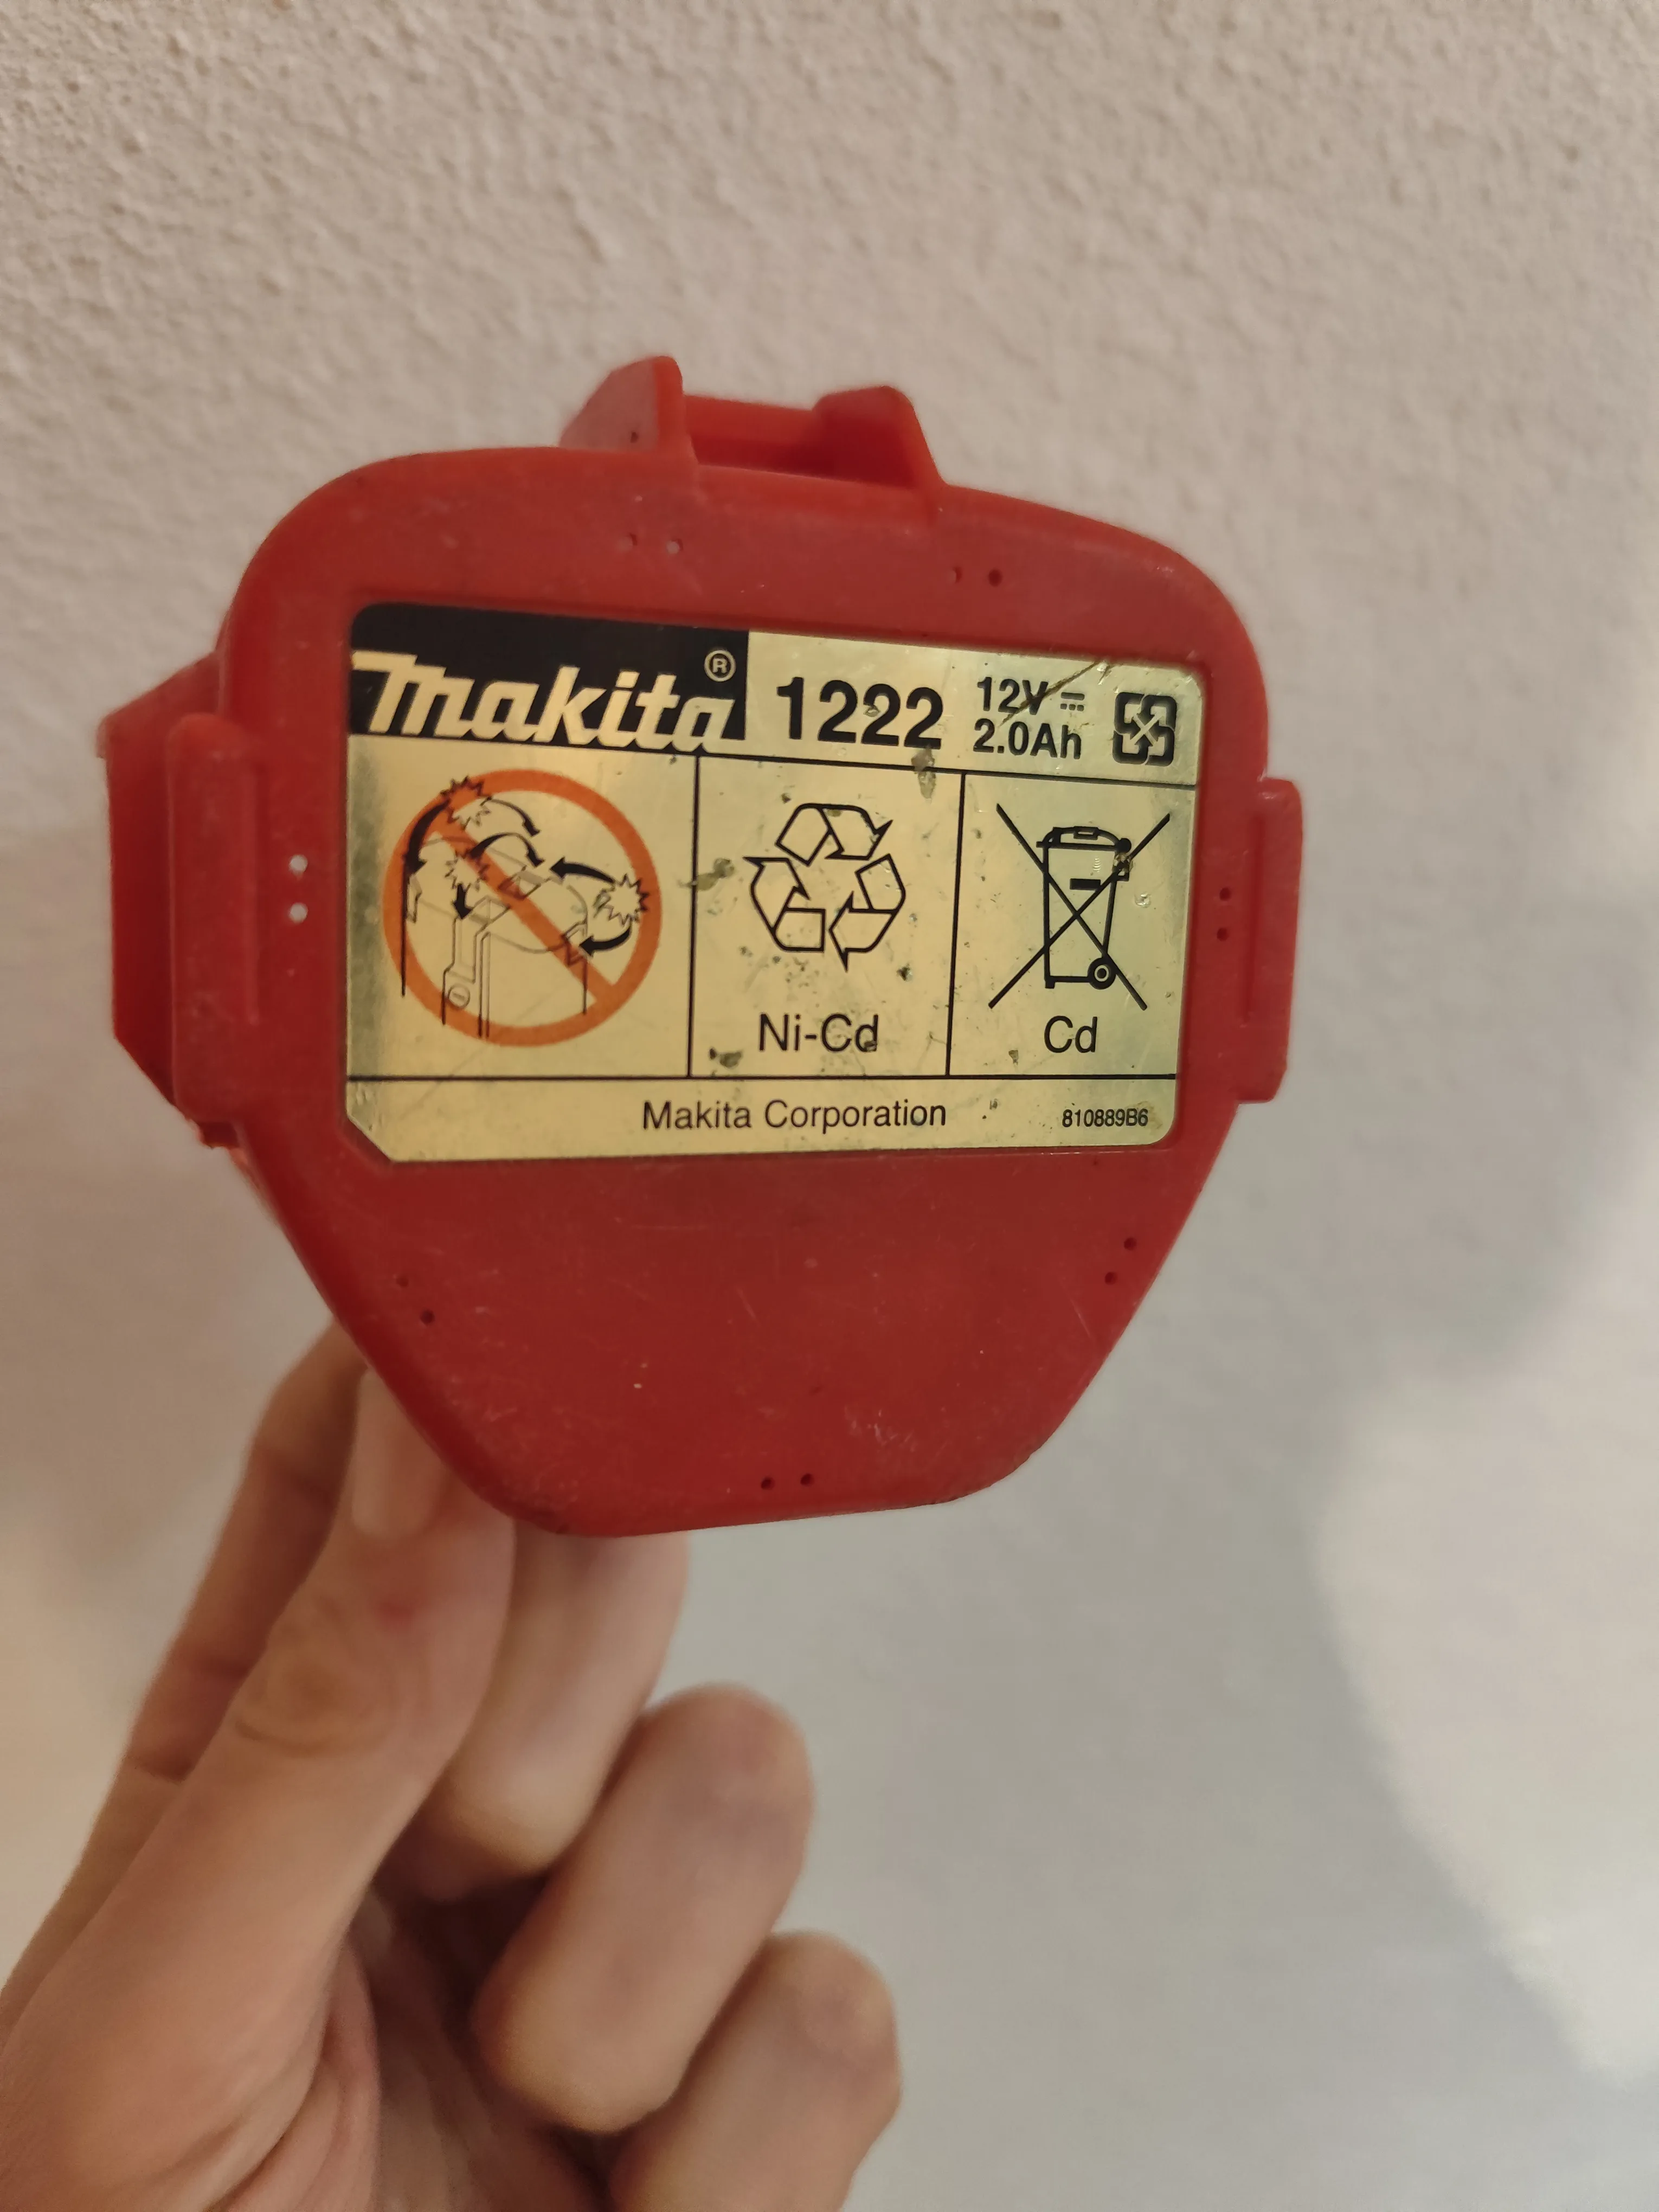
This battery box is designed as an replacement for the original Makita 1234 battery.
Makita 12V PA12 1200 1220 1222 1233 1234 works as well.

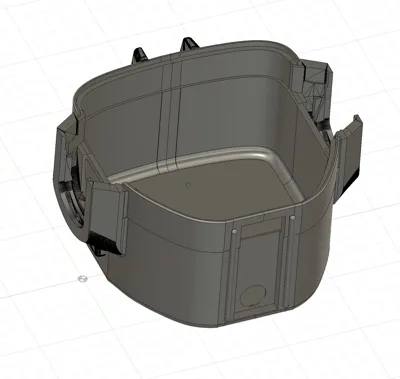
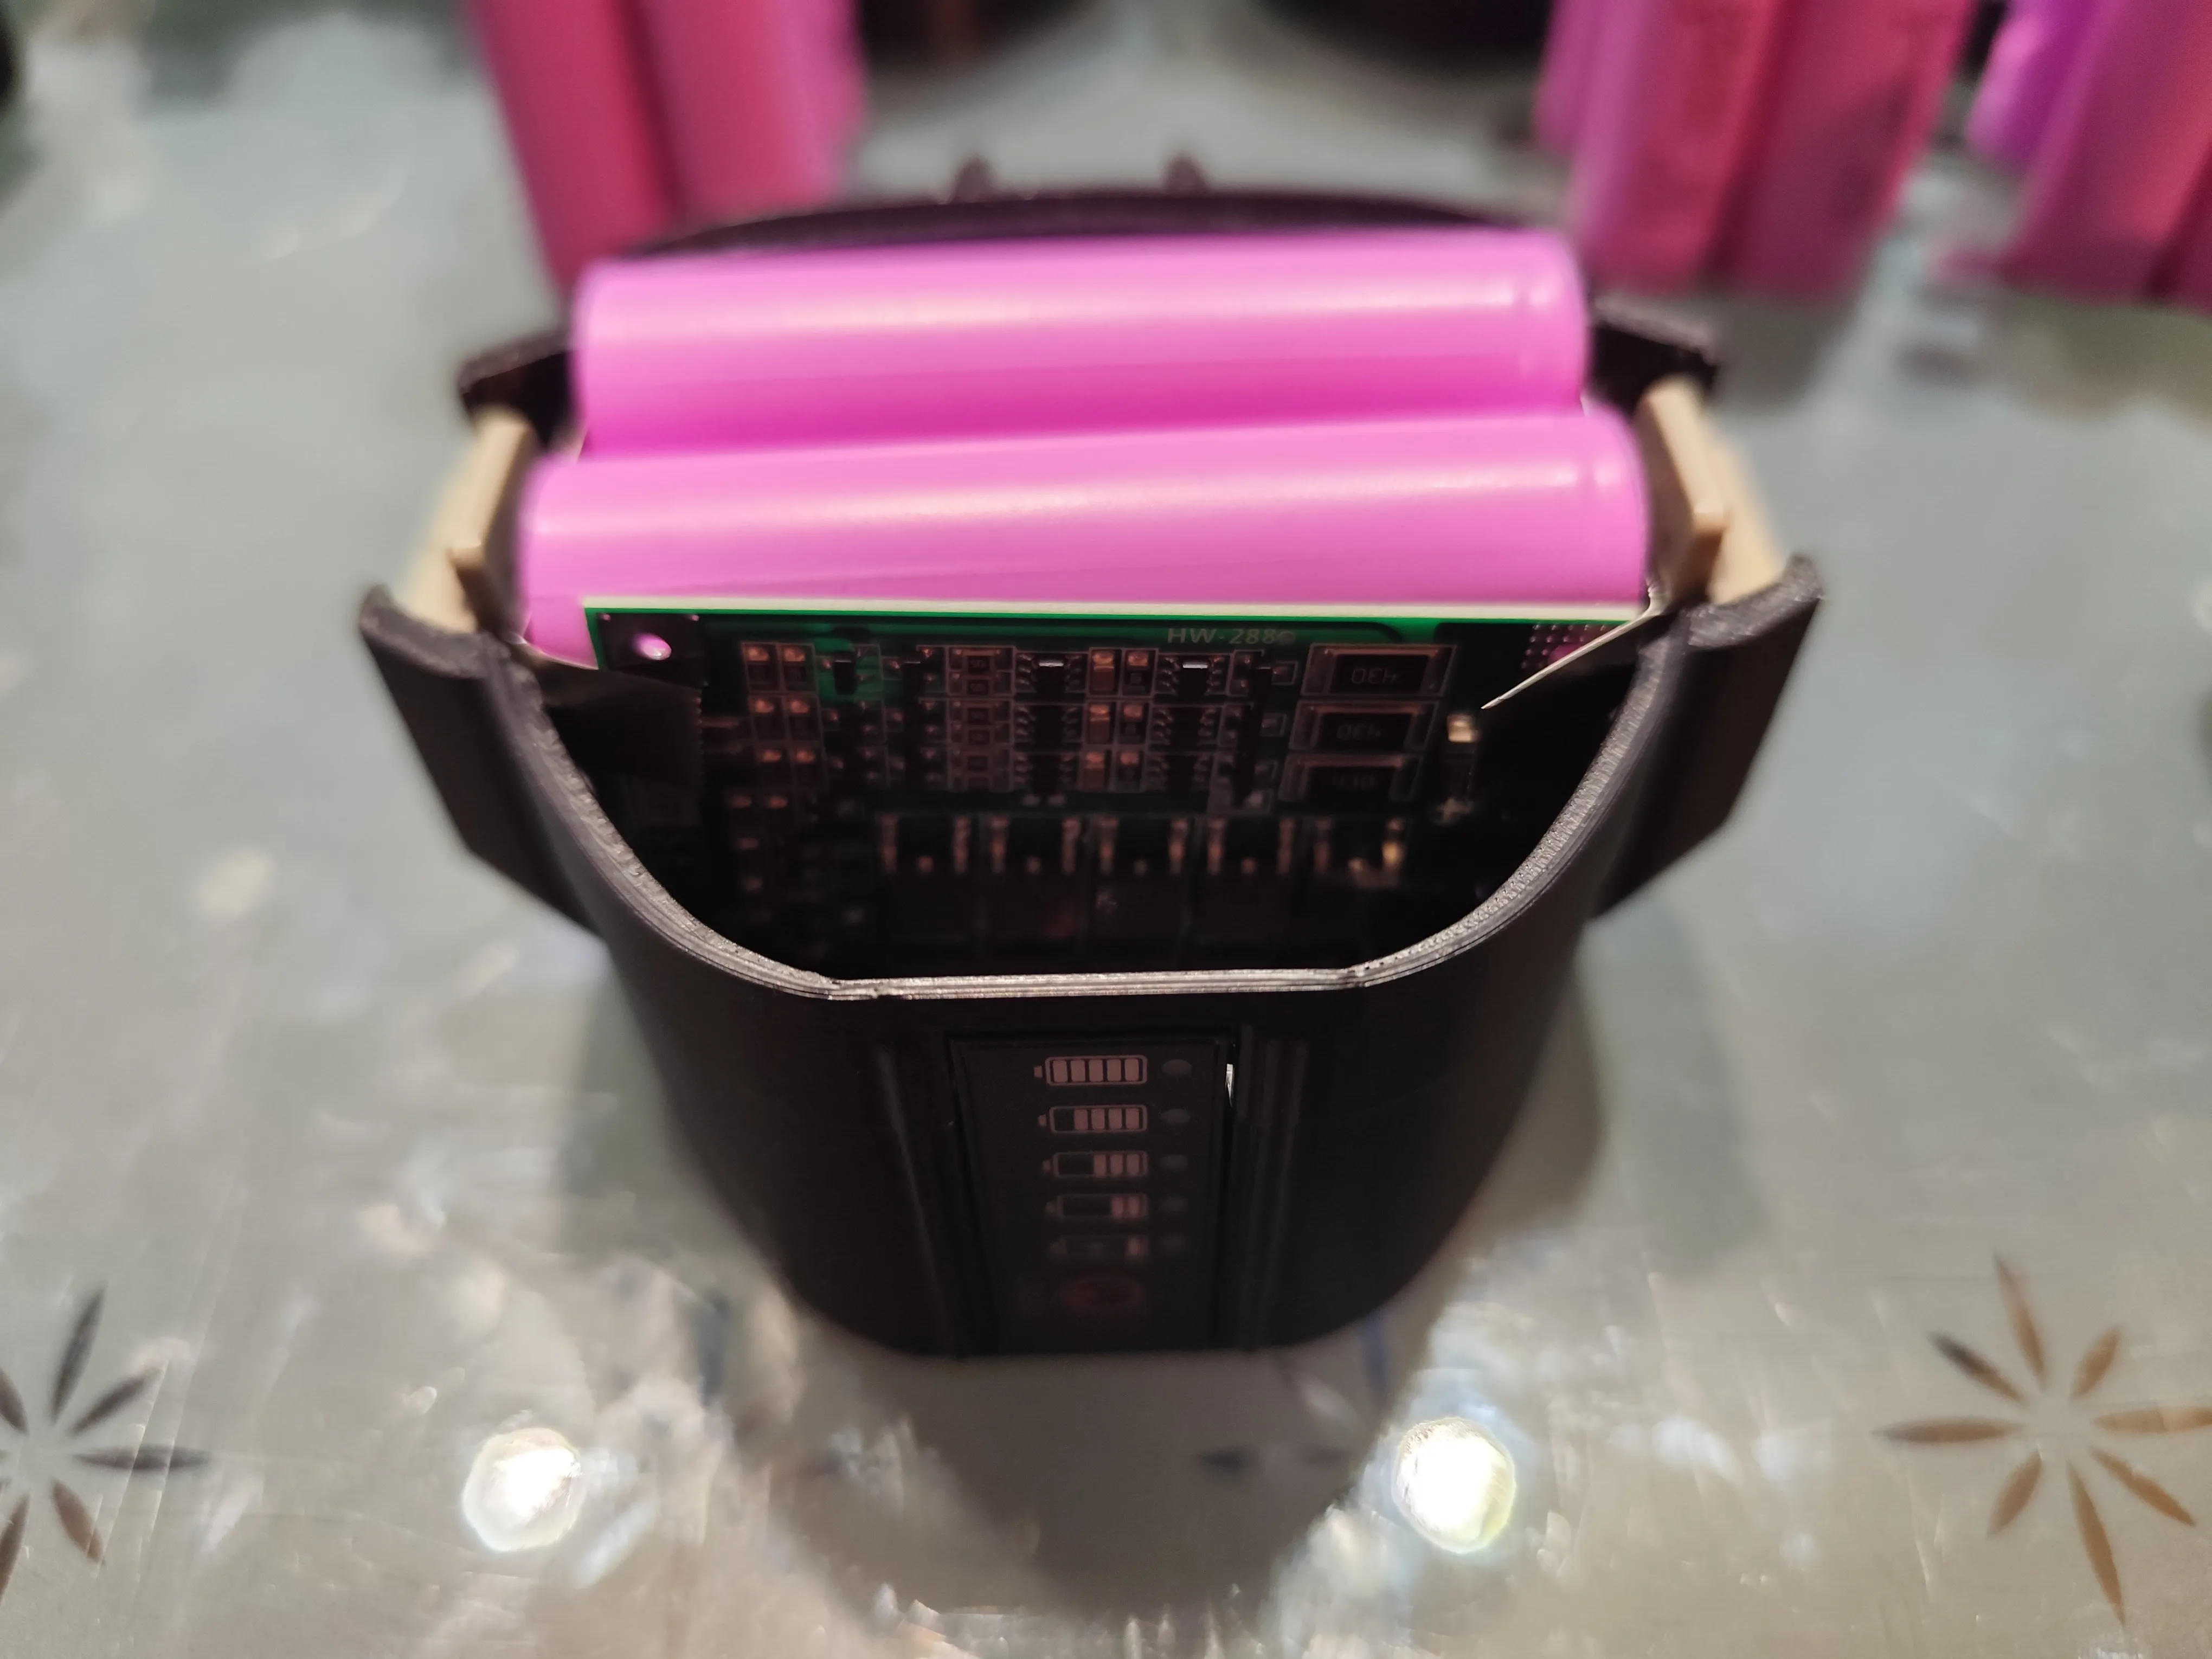
To use the space as efficient as possible, build a battery pack out of 6x18650 cells like displayed. This saves about 5mm in hight.

Use a 3s BMS board! Mine are from Aliexpress.

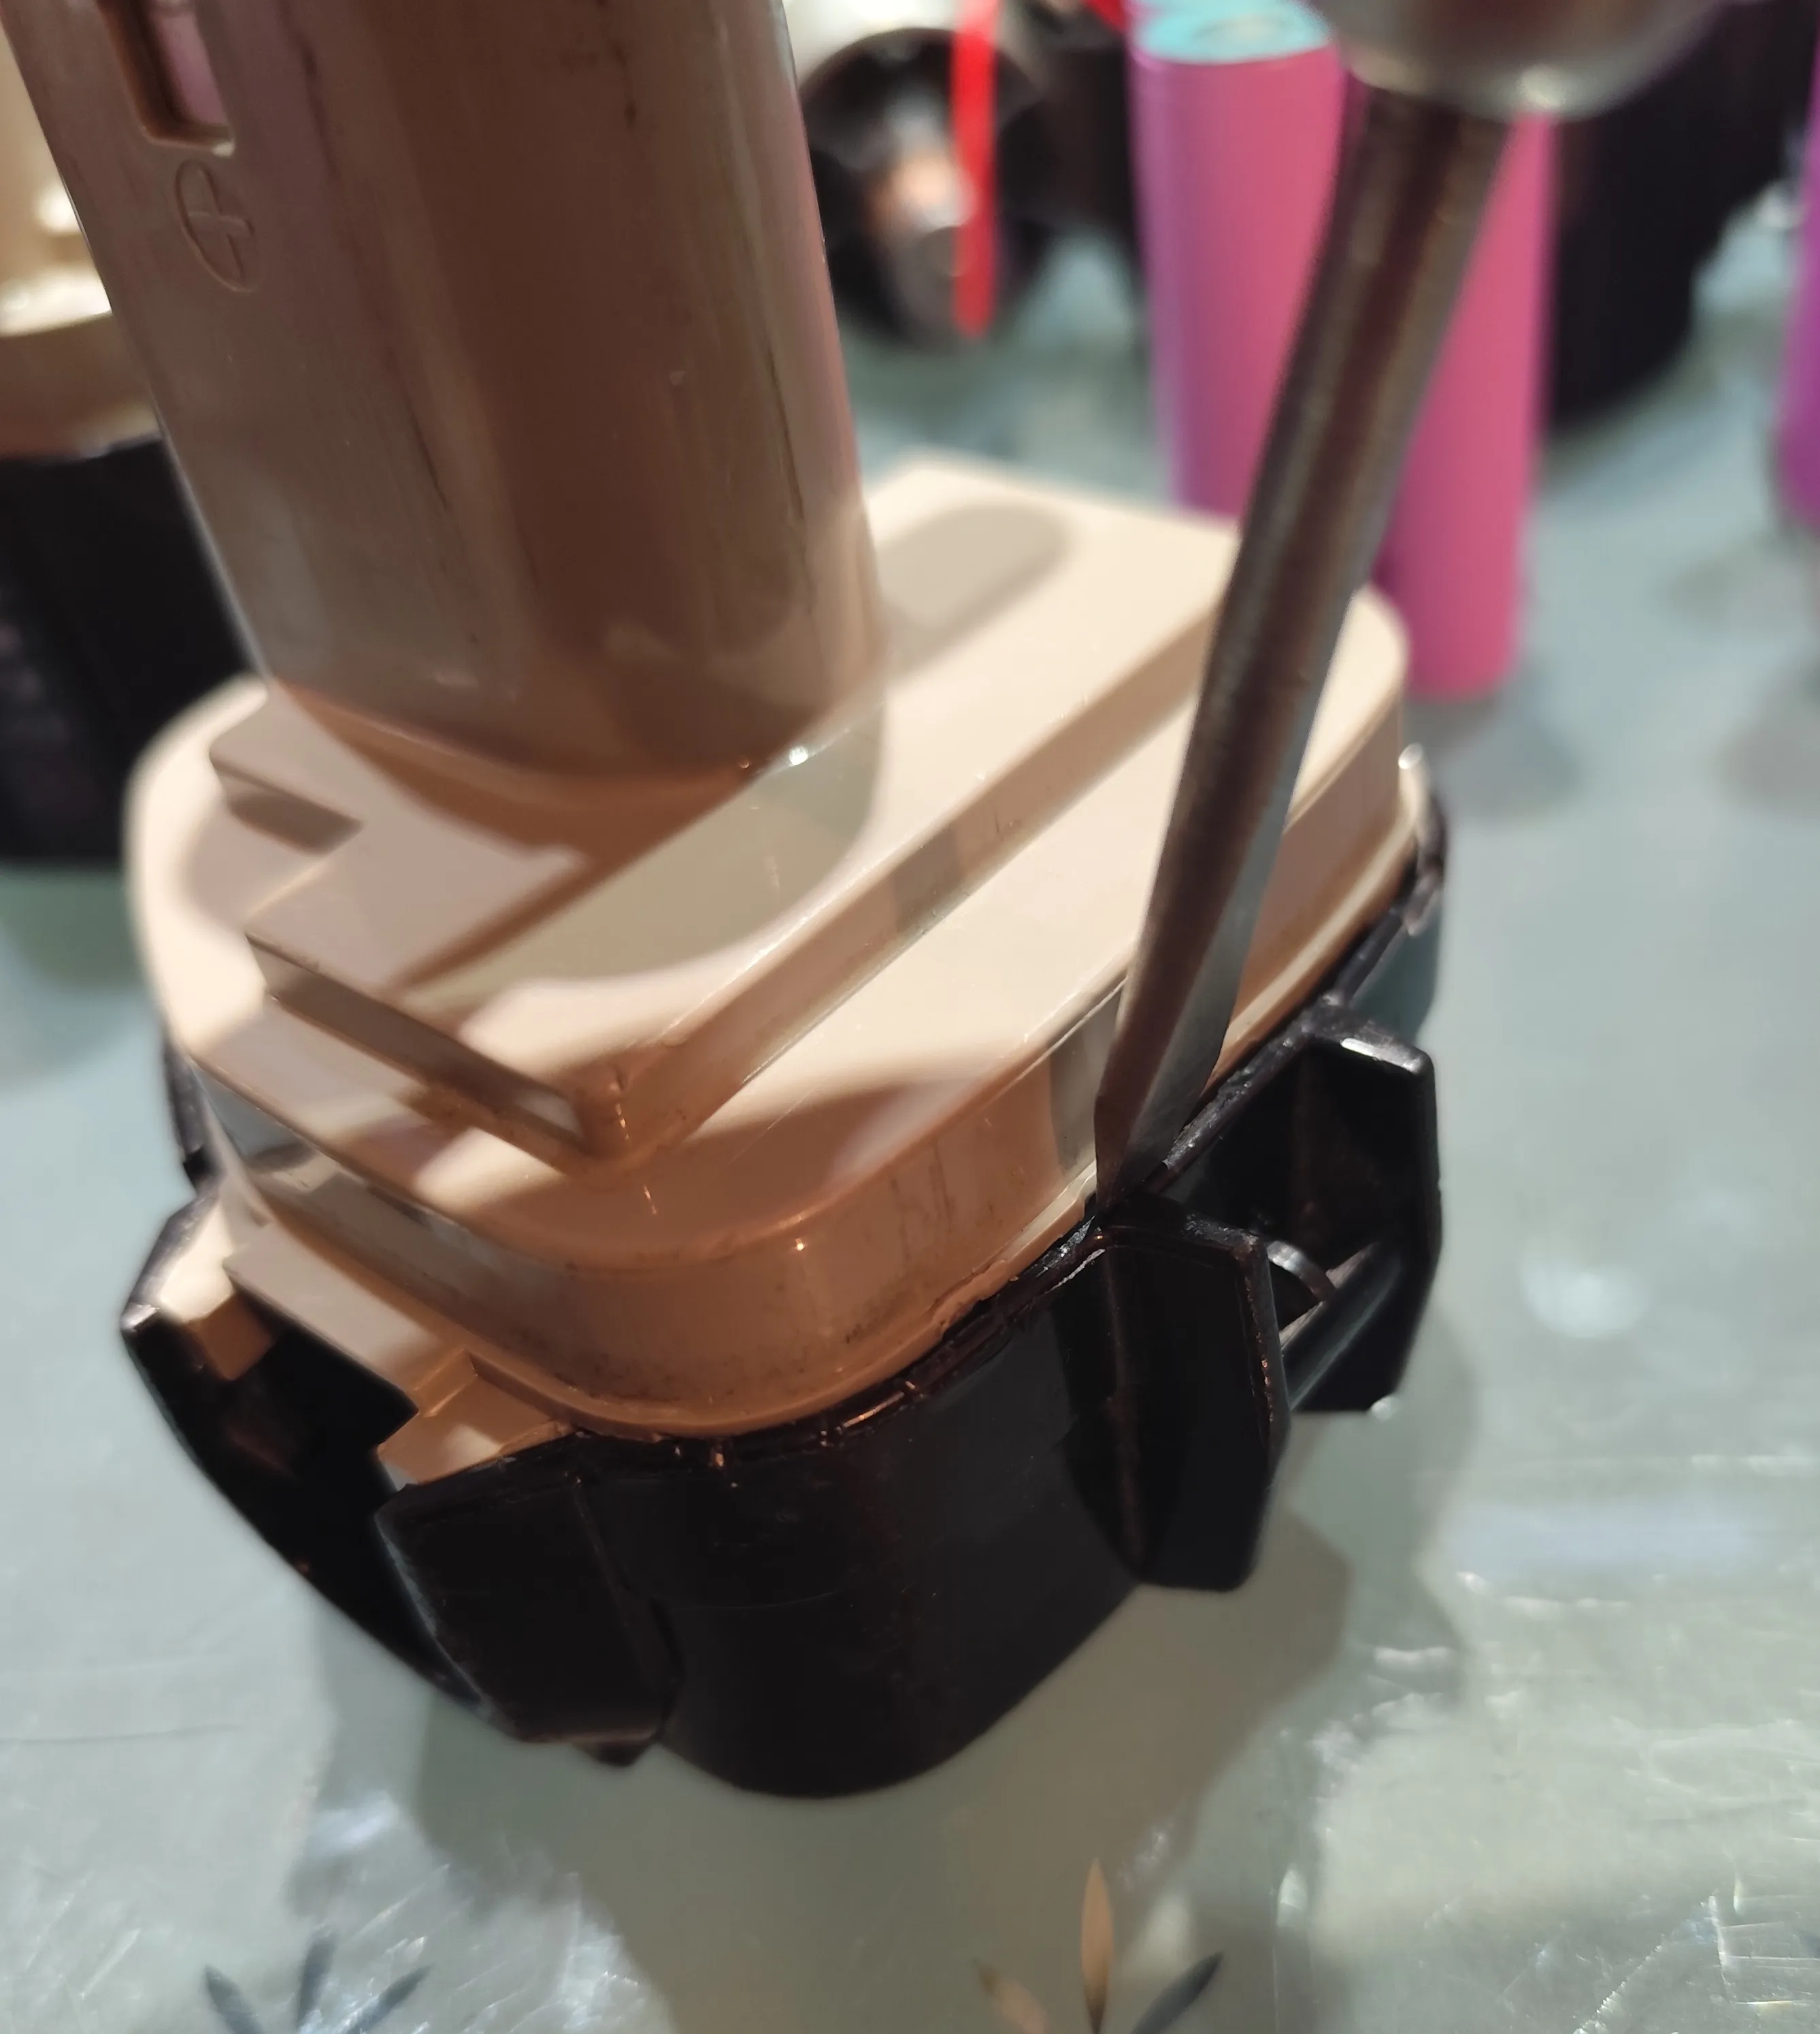
The the original battery pack is a design with 2 parts and the parts are glued between the grey and the black part.
Use a flat screwdriver gently to break the glue. You can destroy the black part.
Print the model and place the spring and the battery lock (small grey parts) from the original black part on both sides.
Check for correct placement !
Hint: If you damage them, there are replacement parts on Aliexpress available.


On the front side i made a slot for a 3s (12V) battery monitor like this.

Mount it into the slot and secure it with some glue.
Remove the battery spacers from the original grey part to gain more space.


Connect the battery pack with the BMS as shown in the next picture.
Check polarity first. Otherwise the BMS can be destroyed.
Solder the wire to the BMS and the battery monitor.
When you connect the BMS with the original battery contacts in the original grey part check for right polarity !
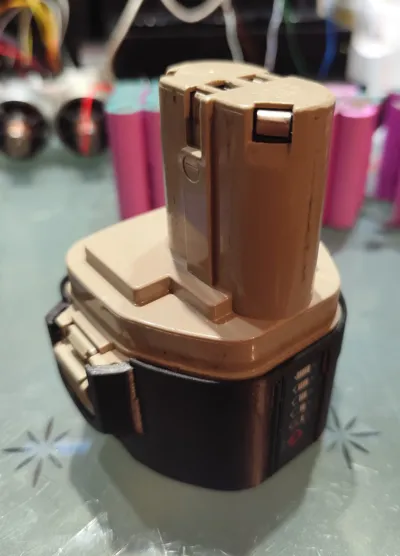
Put everything together and check with a voltage meter.

Make some tests with the screwdriver and the battery charger.
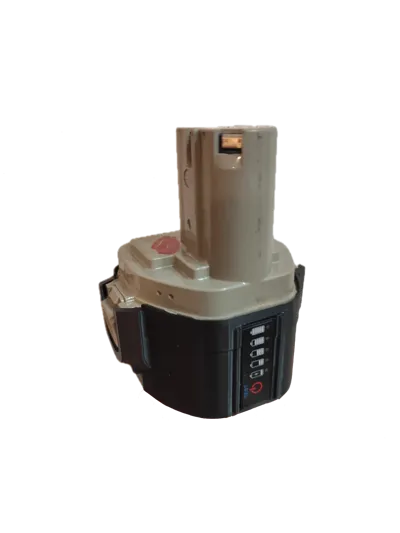
Fix the original grey part to the printed model with some glue.
Let glue dry and you are done.
Happy repowering your old Maktita 12V devices.
Any questions ? Ask in the comments.
Comment & Rating (0)