
RAK MeshCore Solar Node Case (RAK19003)
Print Profile(1)
Bill of Materials

Description
Fueled by caffeine and curiosity. ☕
RAK MeshCore Solar Node Case (RAK19003)
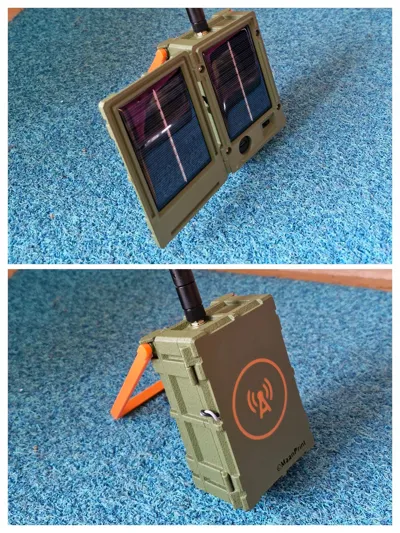
I wanted a RAK node as a MeshCore client, but built for real off-grid use.
Not just a bare PCB in a simple box, but a compact, rugged enclosure with practical features for long autonomous runtime.
This is the result.
Design Goals
This case was designed to:
- Fit a large battery
- Support solar charging for multi-day operation without external power
- Include a safe on/off switch (not easy to toggle by accident)
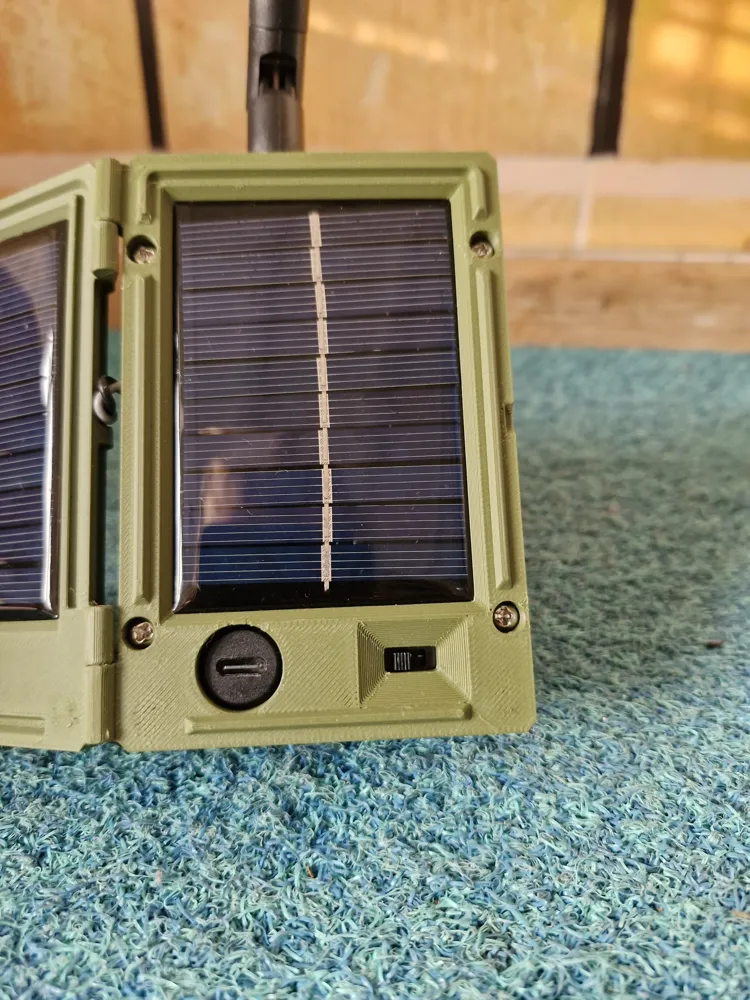
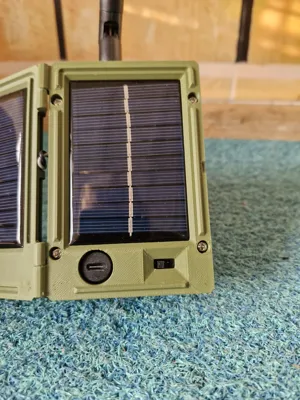
- Add a separate charging USB port to protect the fragile USB connector on the PCB
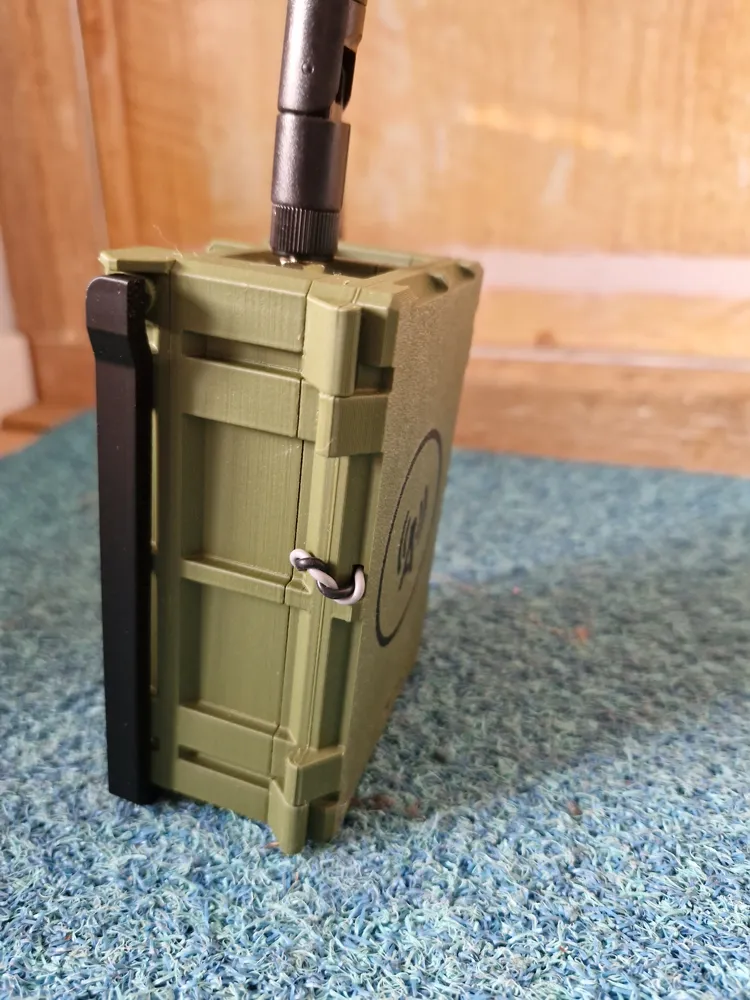
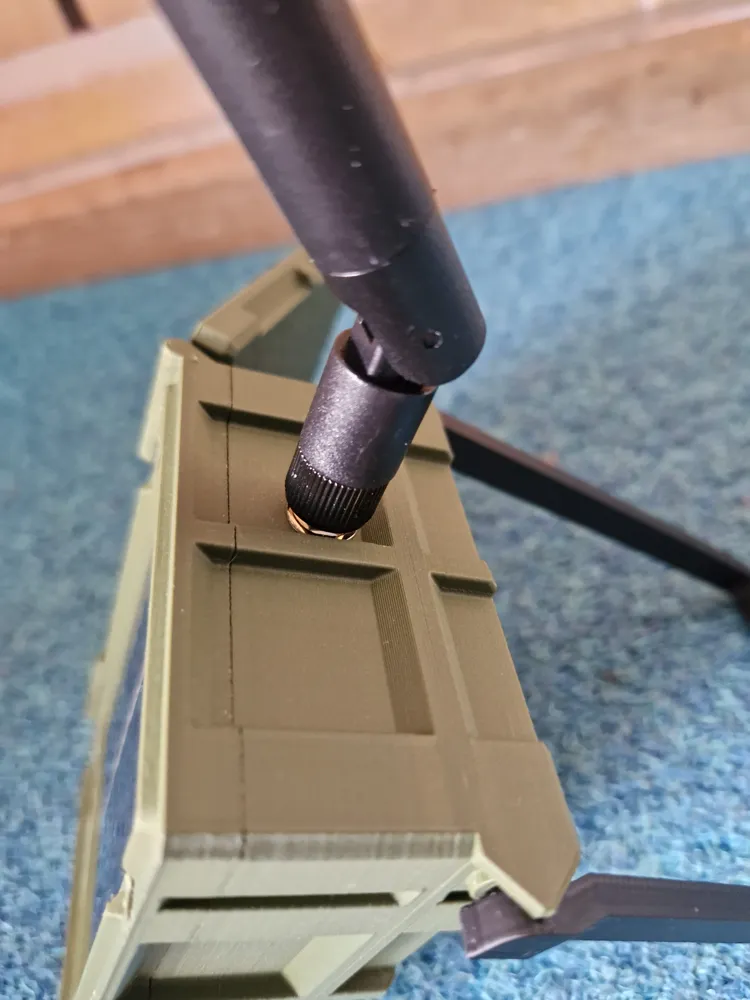
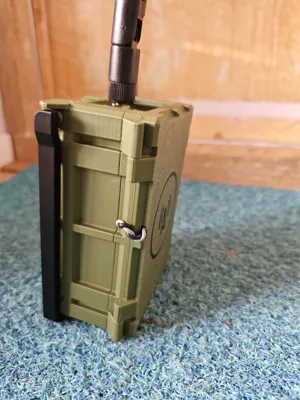
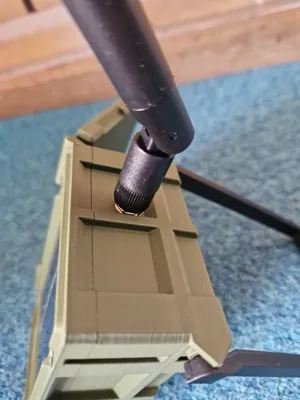
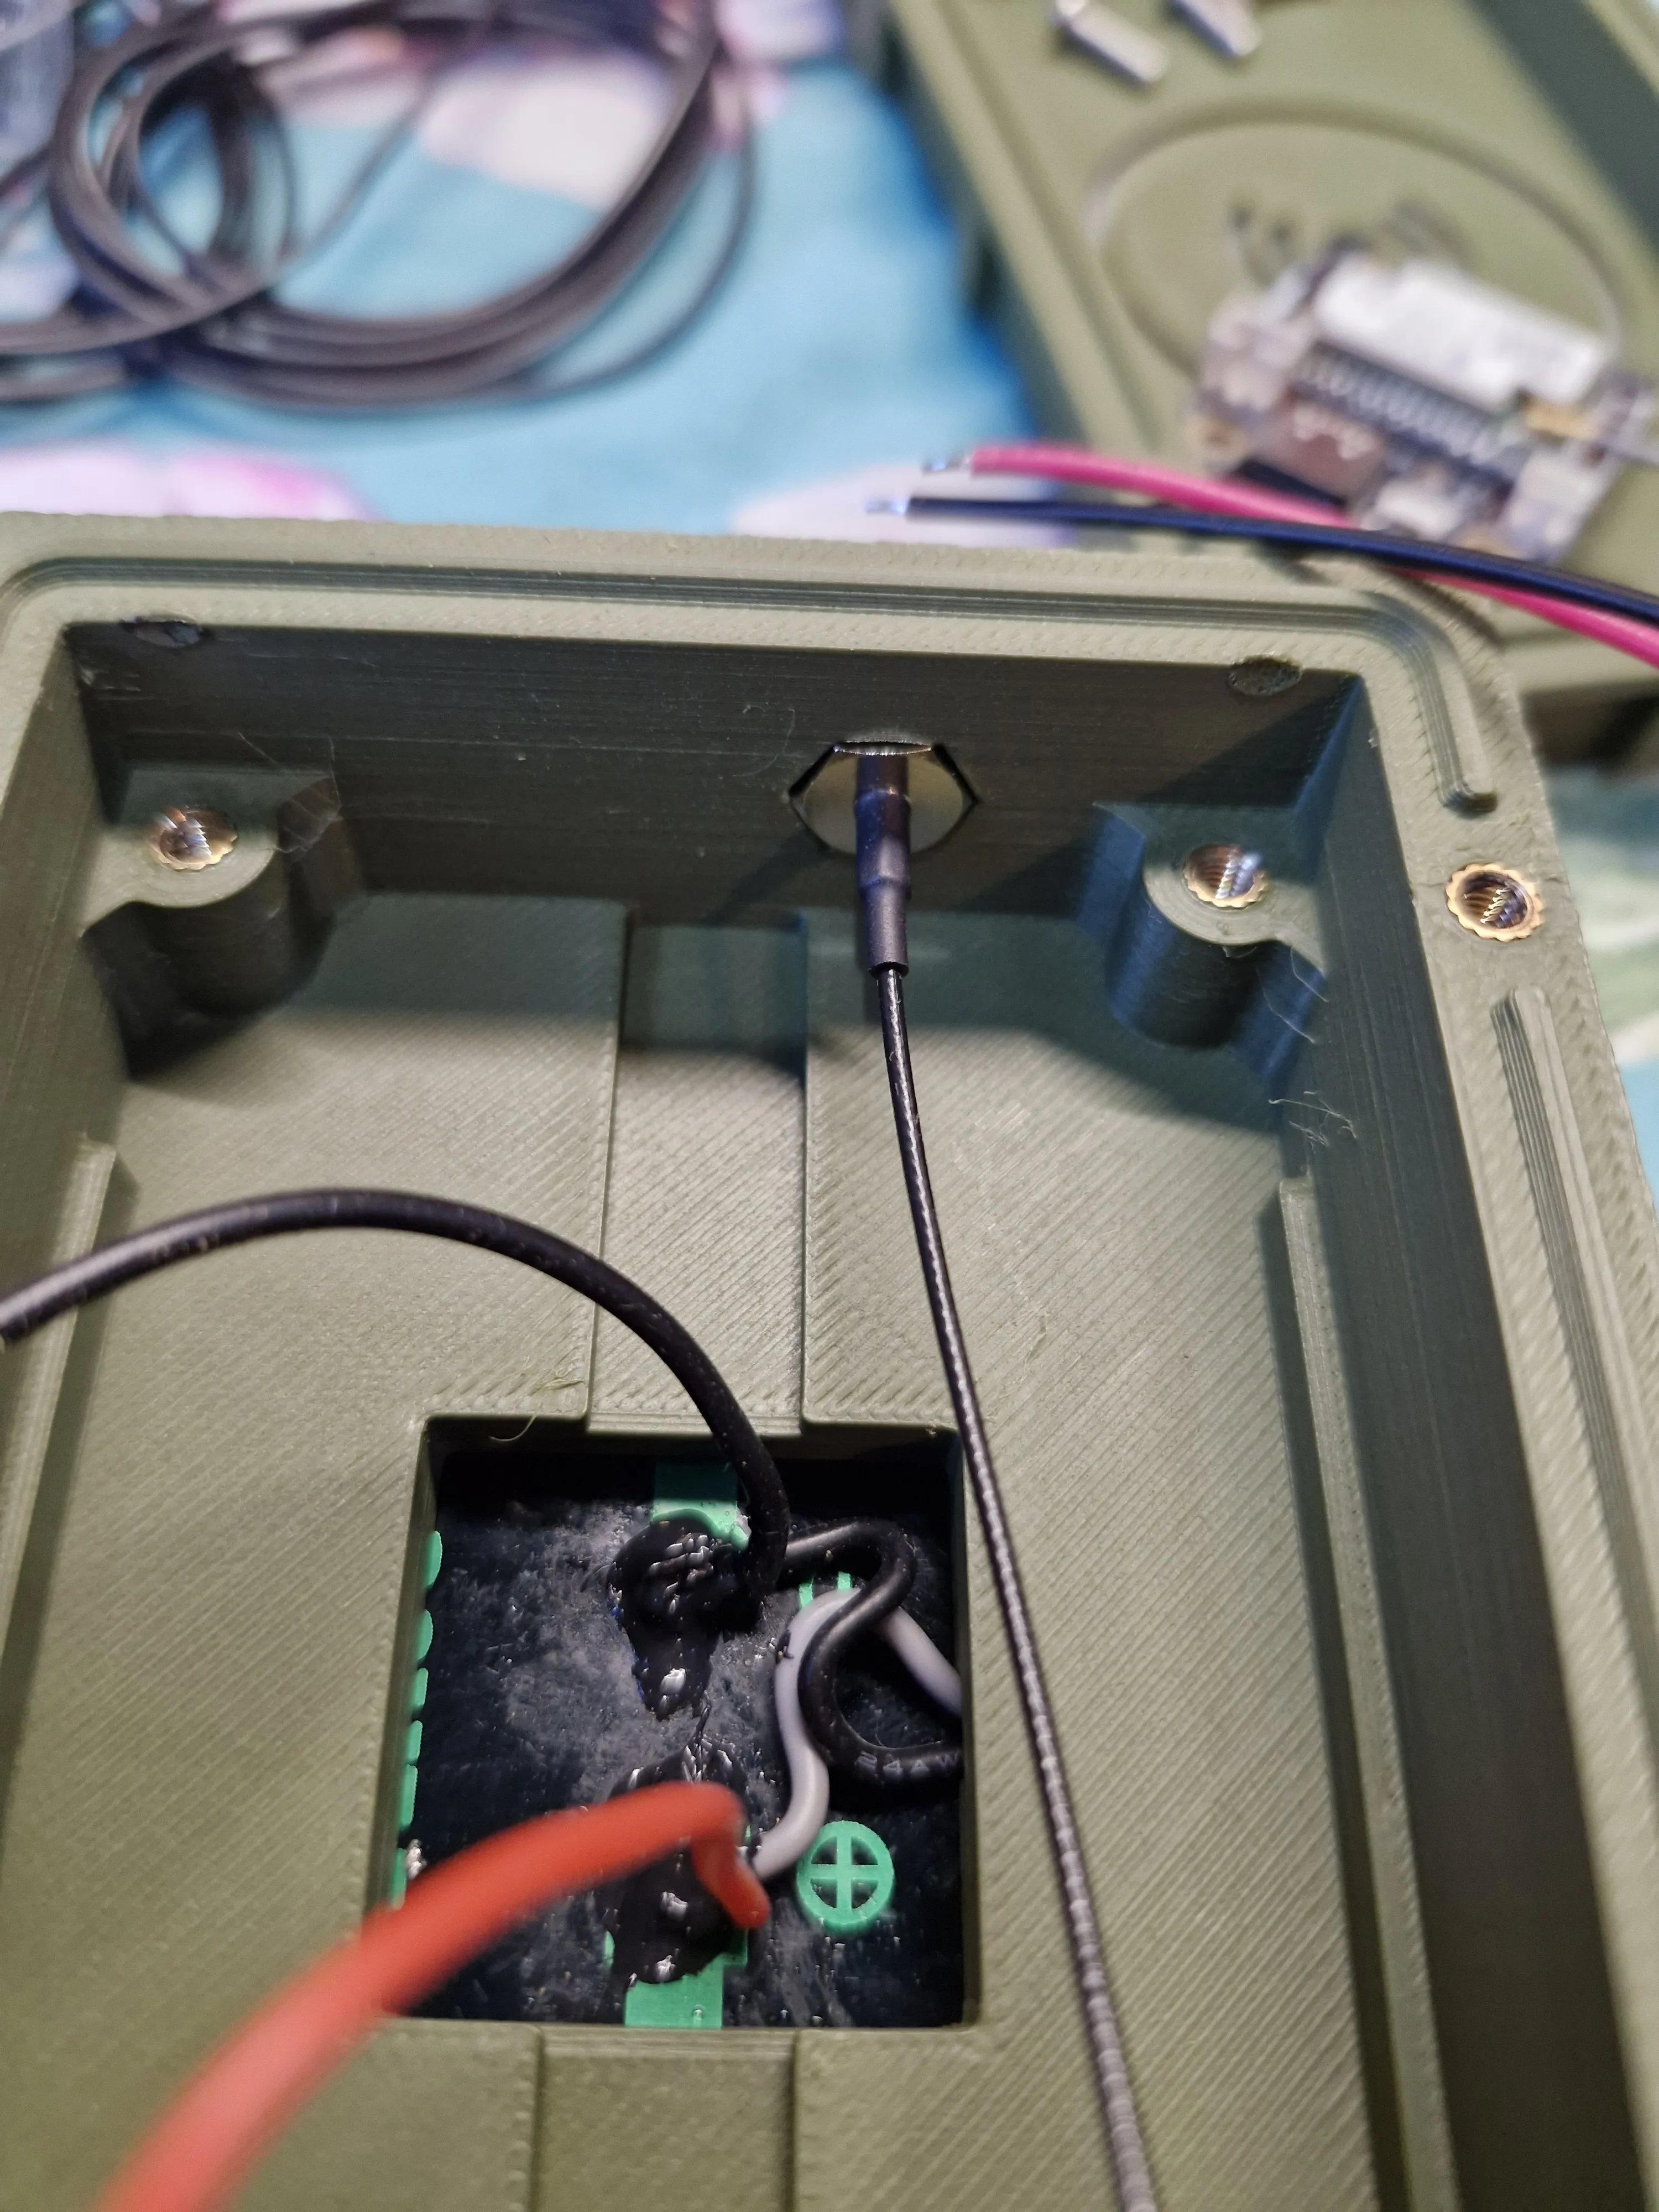
- Provide a hex-shaped SMA mount so the antenna nut cannot spin inside the case
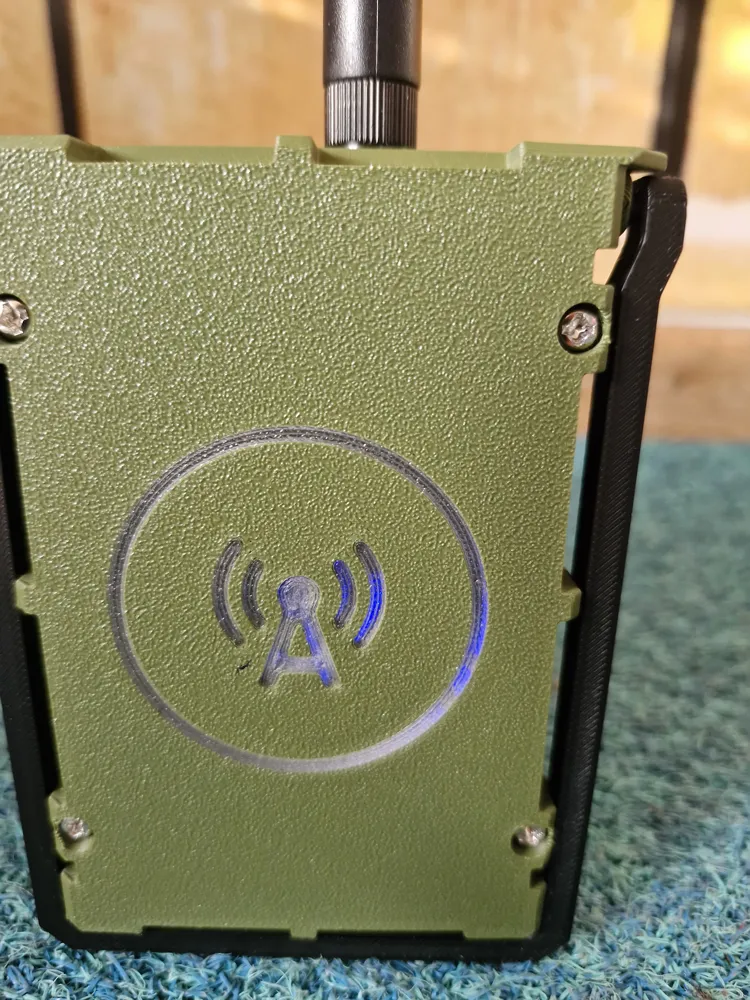
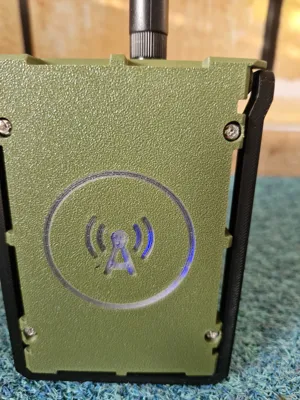
- Include a translucent section so the status LED remains visible
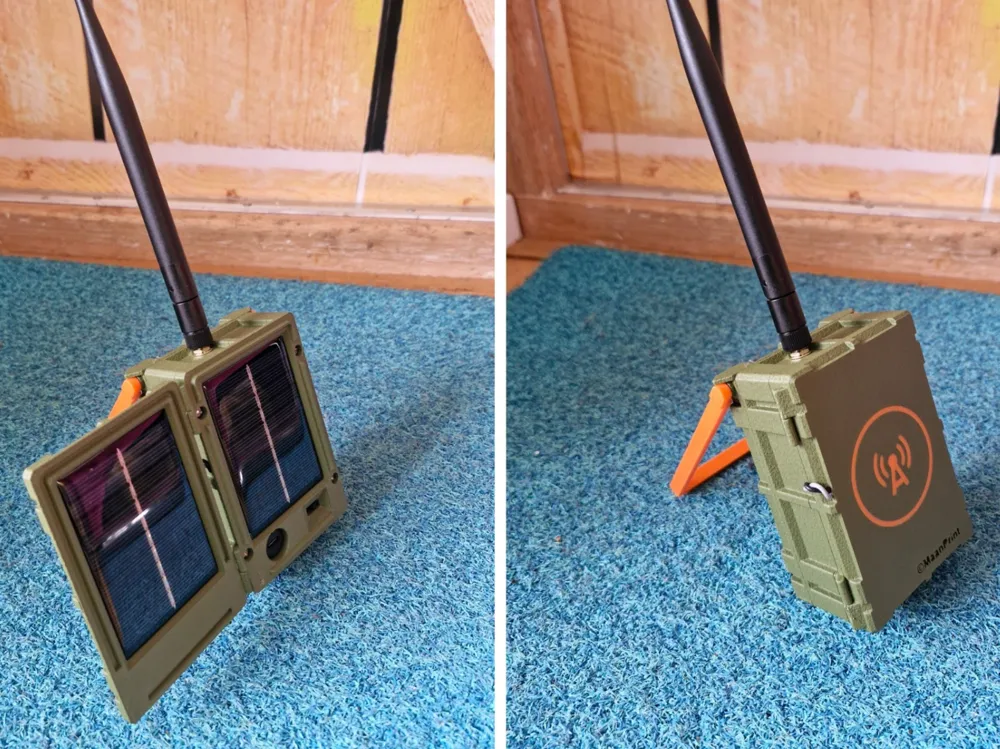
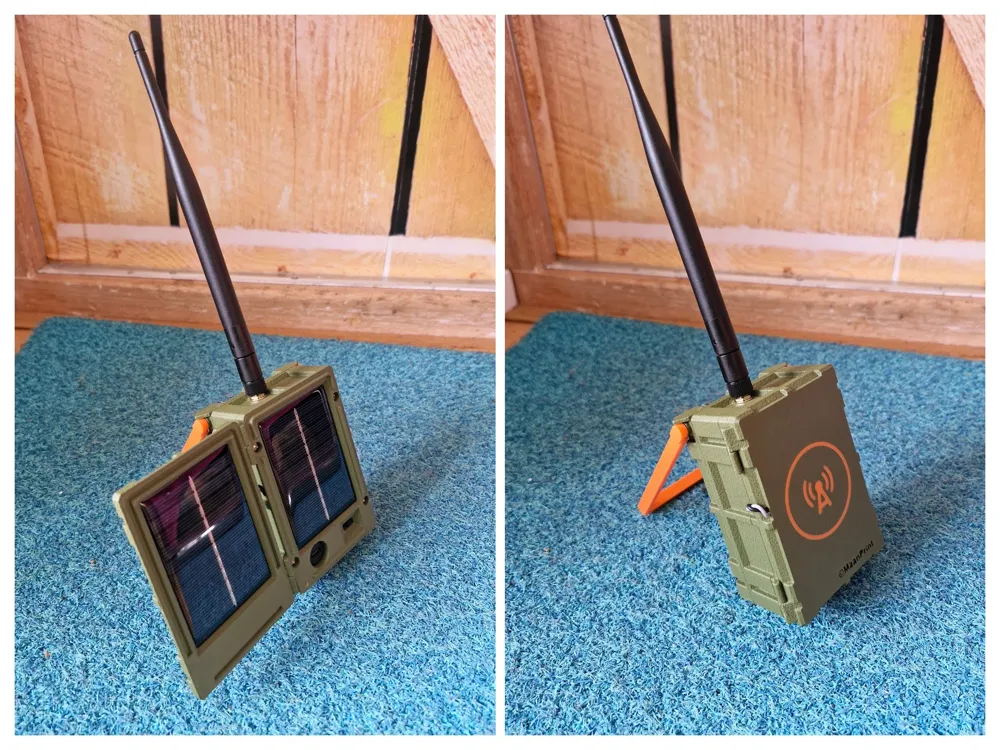
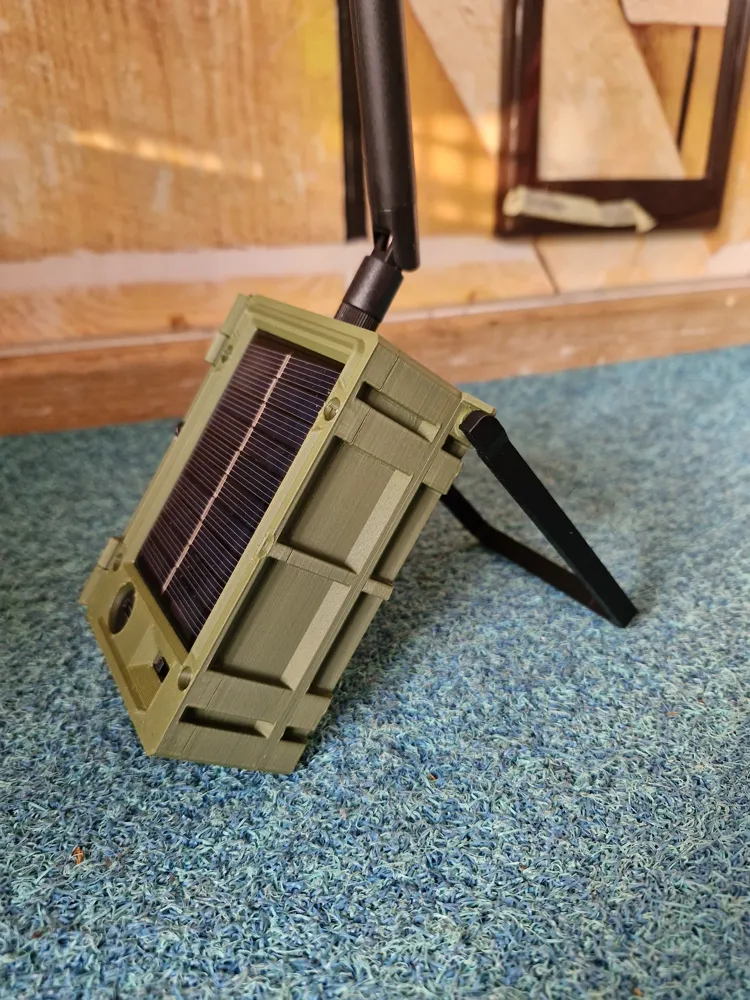
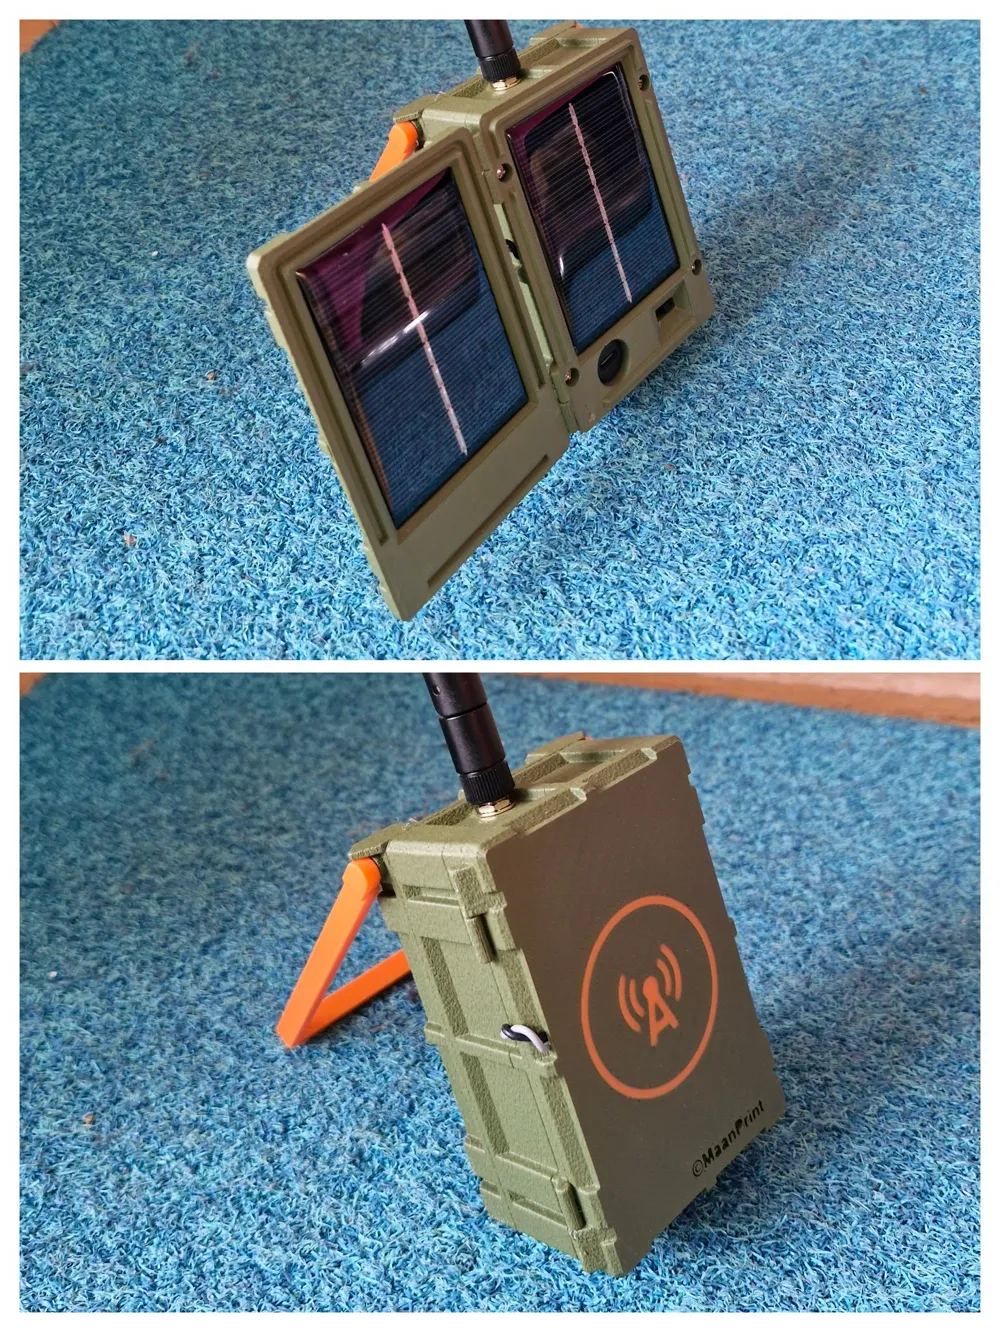
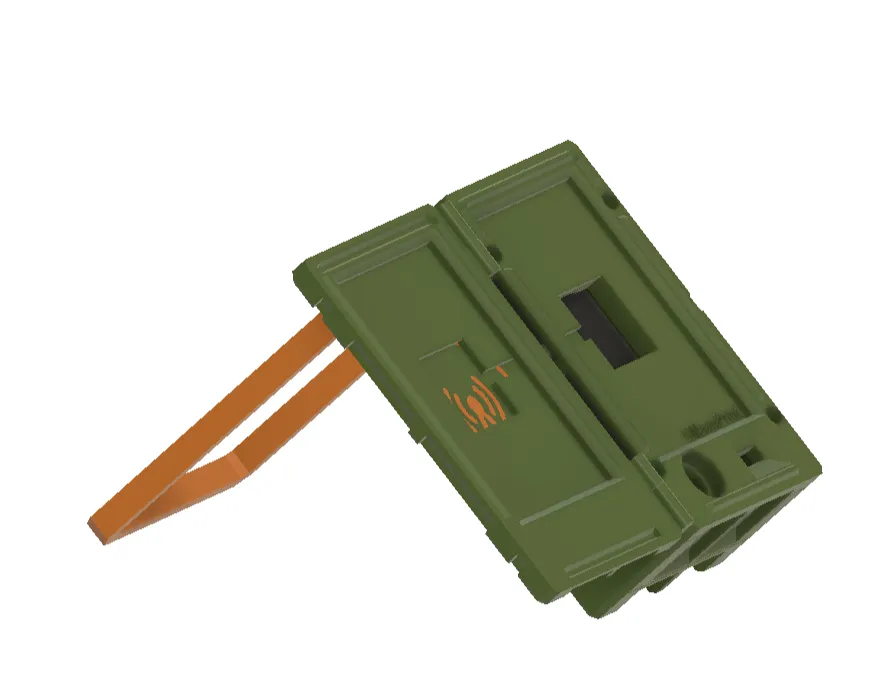
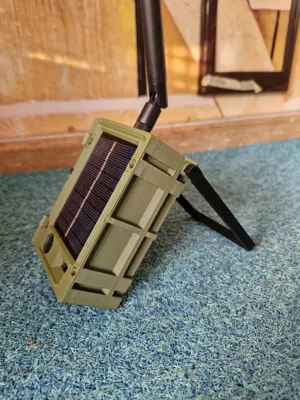
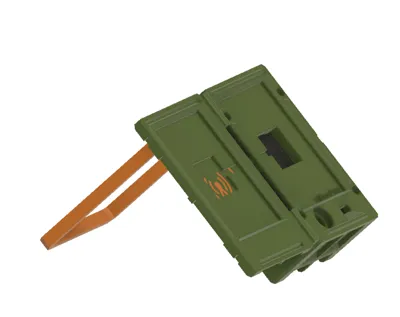
- Have a built-in stand to angle it toward the sun
- Stay as compact as possible while still looking tough
Final Features
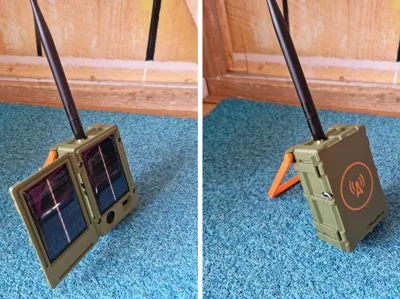
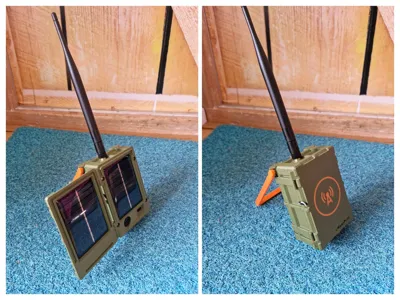
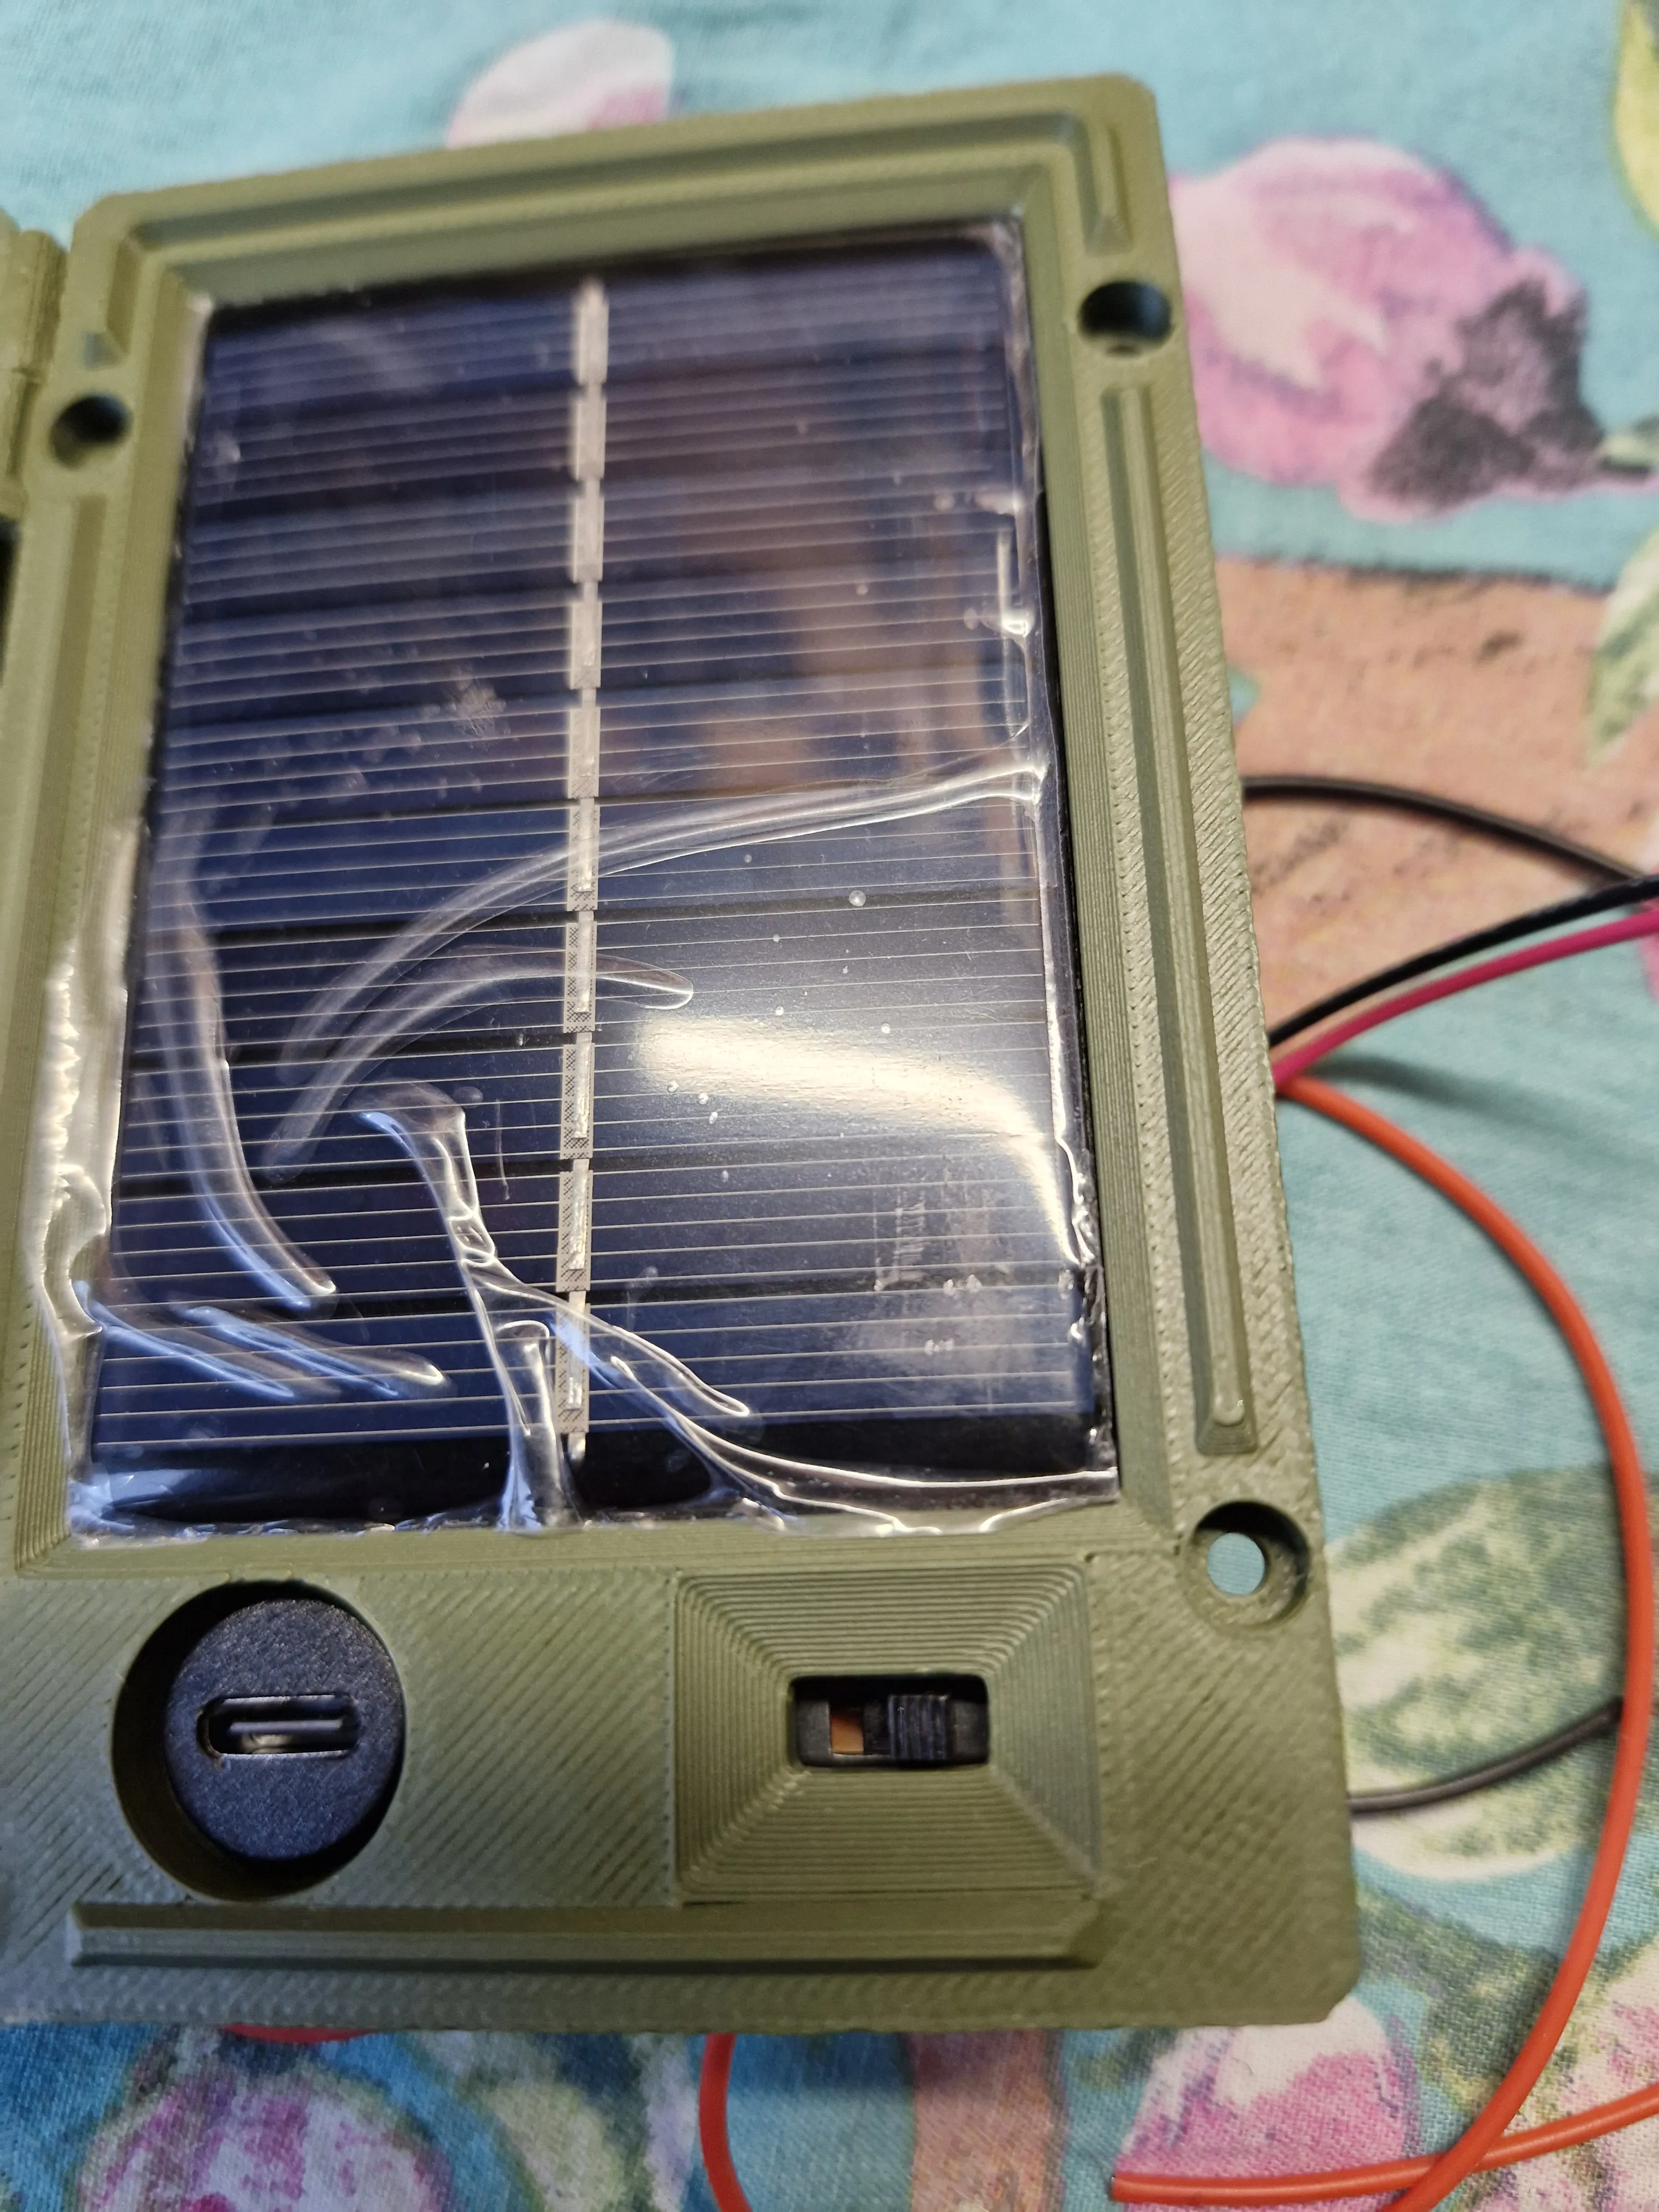
- The solar panel closes magnetically, like a small book, using 4 magnets
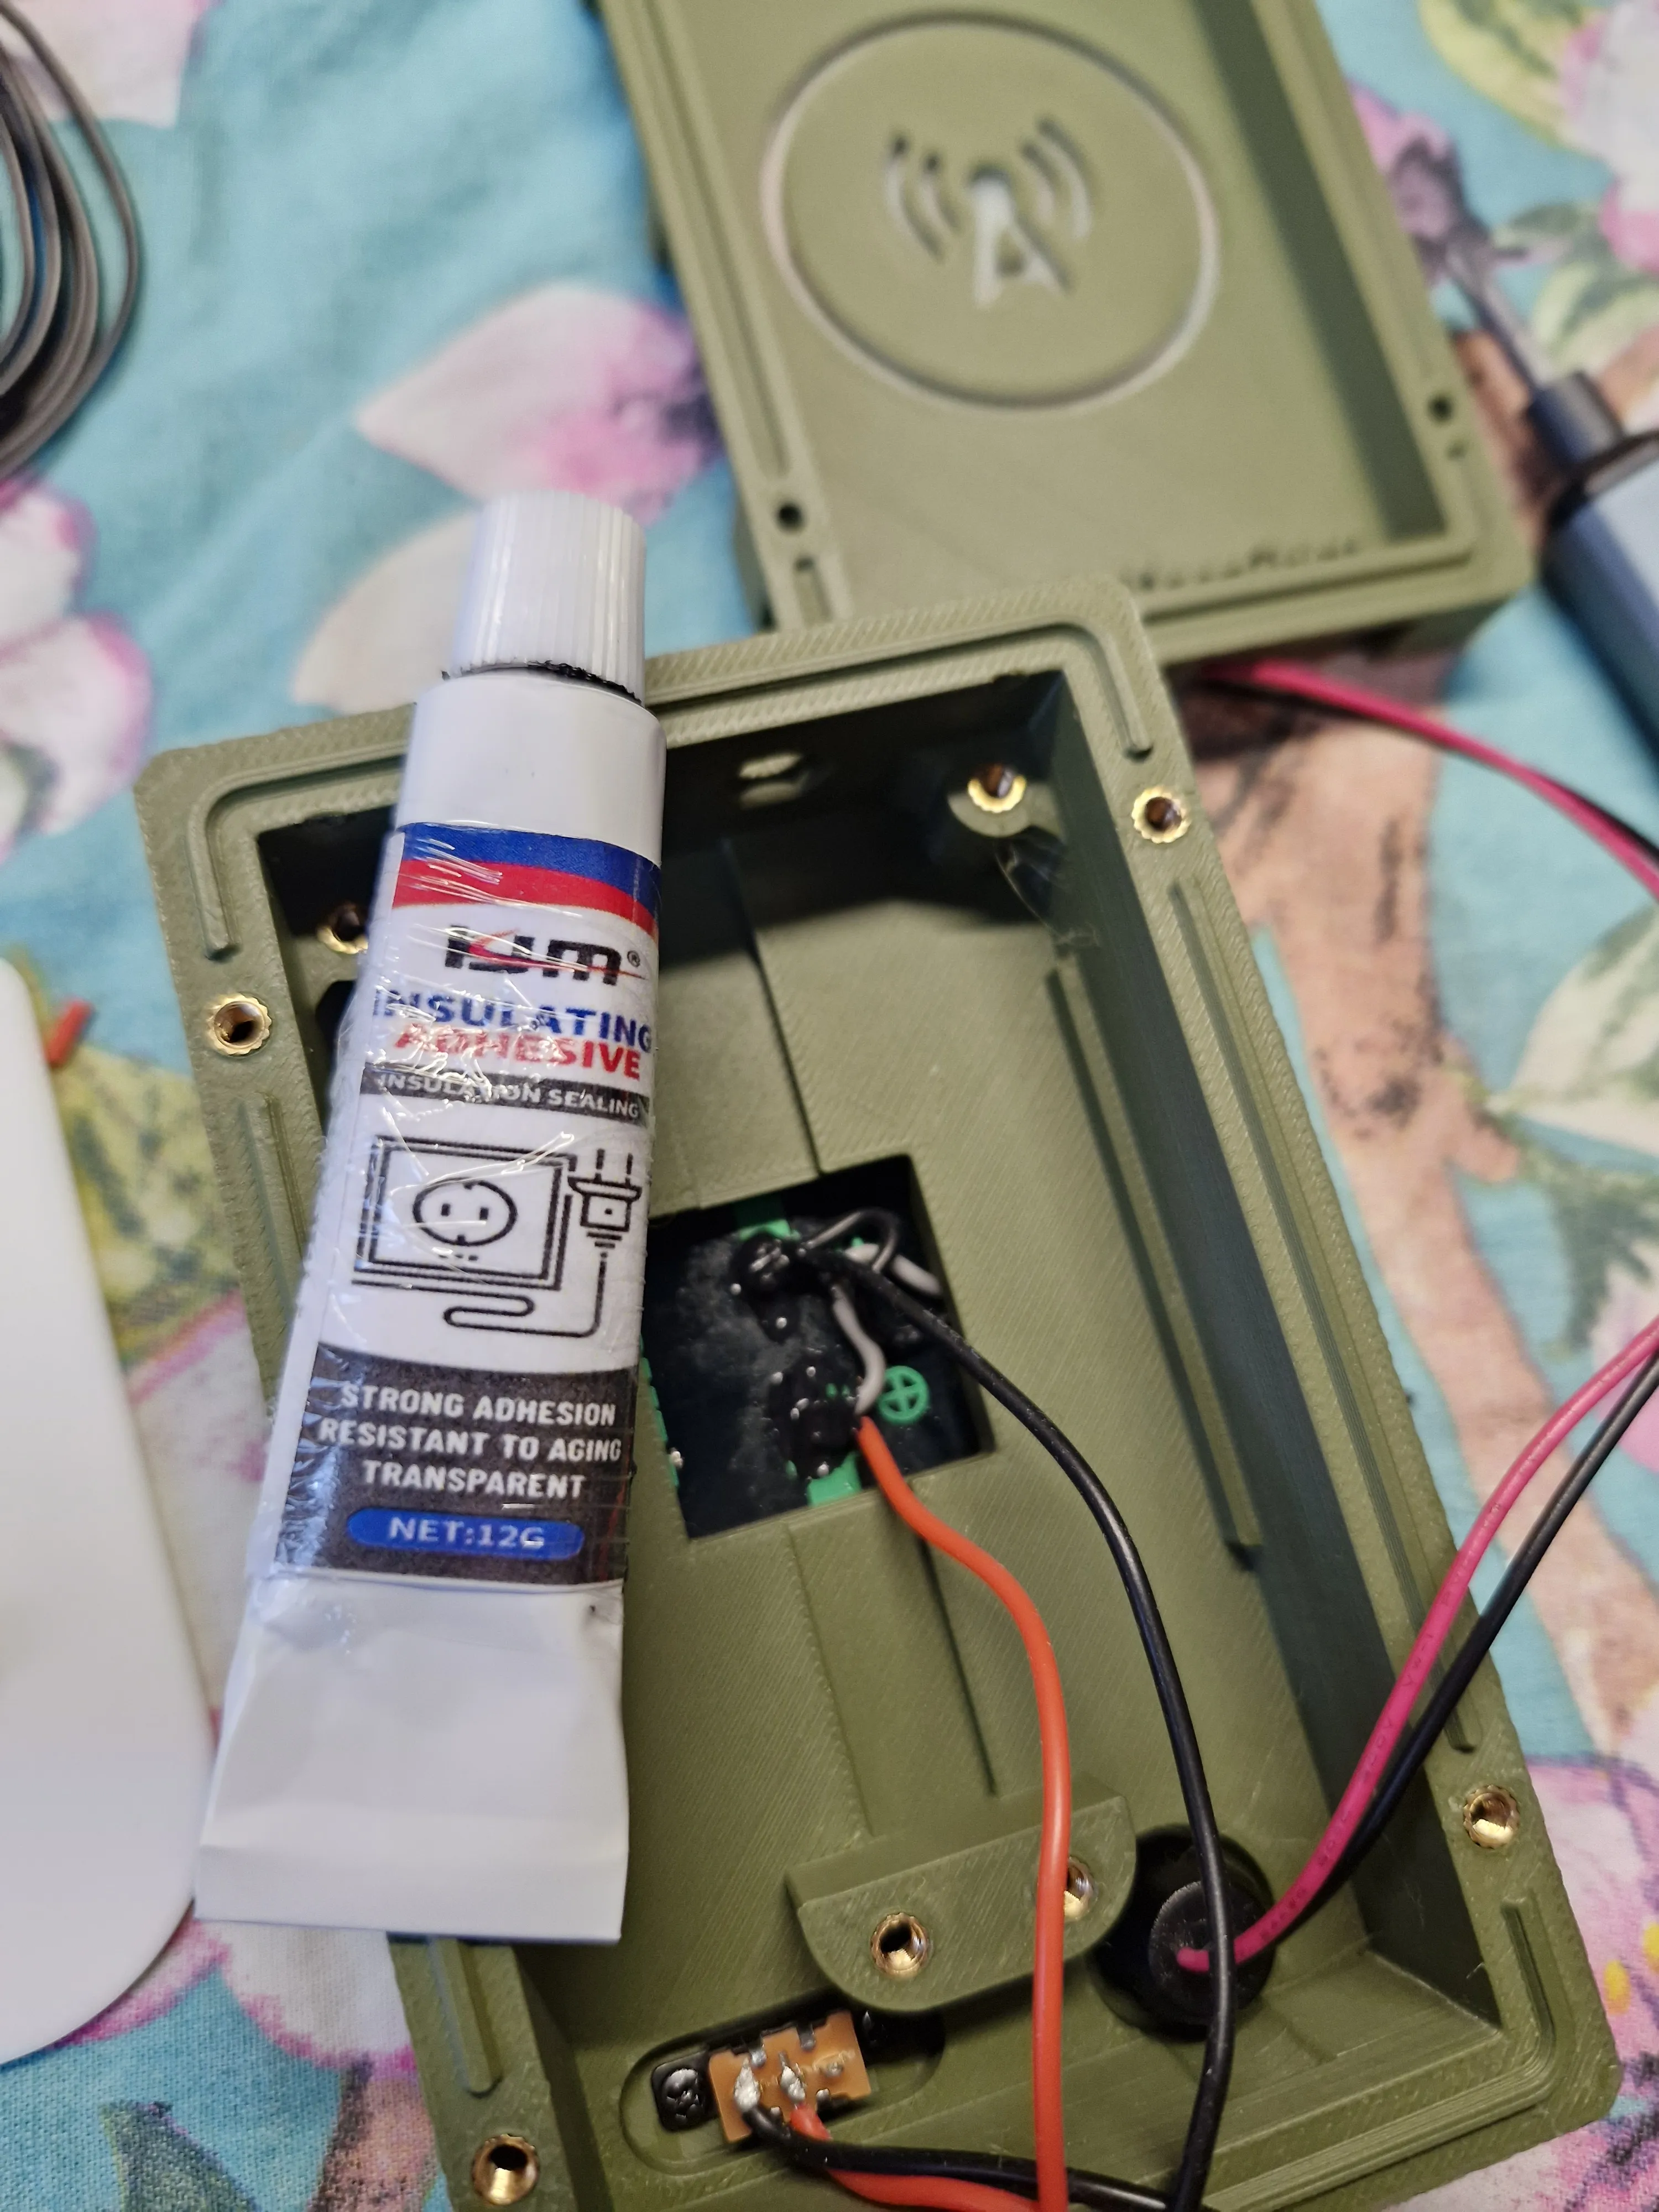
- Rear cover includes a transparent logo window for LED status visibility
- Inside parts are white for better LED reflection and visibility
- Fully assembled with M3 bolts + heat inserts, so it can always be reopened
- USB port is charging only, no data
(For firmware updates, you must open the case and connect directly to the PCB)
Battery performance:
I achieve around 10 days of runtime with minimal sunlight
(winter in the Netherlands, indoors behind a window).
Some soldering experience is required — but it is absolutely doable.
Note: This enclosure is not waterproof, but the USB port and switch are protected by the folding solar panel cover, reducing dust and direct exposure.
Printed in PLA, but it can also be printed in other materials such as PETG or ASA depending on your environment.
Disclaimer: This is a DIY project. I am not responsible for damage caused by incorrect wiring, assembly mistakes, or improper use.
Build and use at your own risk. Always double-check polarity and wiring.
Bill of Materials (BOM)
- 1× RAK19003 WisBlock LoRa module
- 12× M3 heat inserts (4mm length, 4mm OD)
https://nl.aliexpress.com/item/1005006002805856.html - 1× SS12F15 SPDT slide switch (4mm handle recommended)
https://nl.aliexpress.com/item/1005008584425165.html - 1× USB male solder plug
https://nl.aliexpress.com/item/1005007818537118.html - 1× 5000mAh protected LiPo battery
Model: 105568 (10×55×68mm) - 2× 0.6W 5V solar panels (55×80mm)
https://nl.aliexpress.com/item/1005009294683292.html - 1× USB female socket (panel mount, 12mm hole)
https://nl.aliexpress.com/item/1005007469691687.html - 8× M3×10mm bolts
- 4× M3×18mm bolts (length may vary slightly)
- 4× 8×2mm round magnets
https://eu.store.bambulab.com/products/round-magnet?id=48741472698716 - 1× JST ZHR-2 (1.5mm pitch) connector for solar
- 1× JST PHR-2 (2mm pitch) connector for battery
- 24 AWG flexible silicone wire
https://nl.aliexpress.com/item/1005009022655485.html - Soldering tools, heat shrink, etc.
Printing Instructions
- Minimal supports are included for screw holes and cable passages
- The solar panel print includes a pause to insert magnets
- Magnet fit is intentionally tight to prevent nozzle interference during printing
Magnet Placement (Important!)
The solar panel closes magnetically using 4 magnets.
During printing, the model pauses so you can insert them.
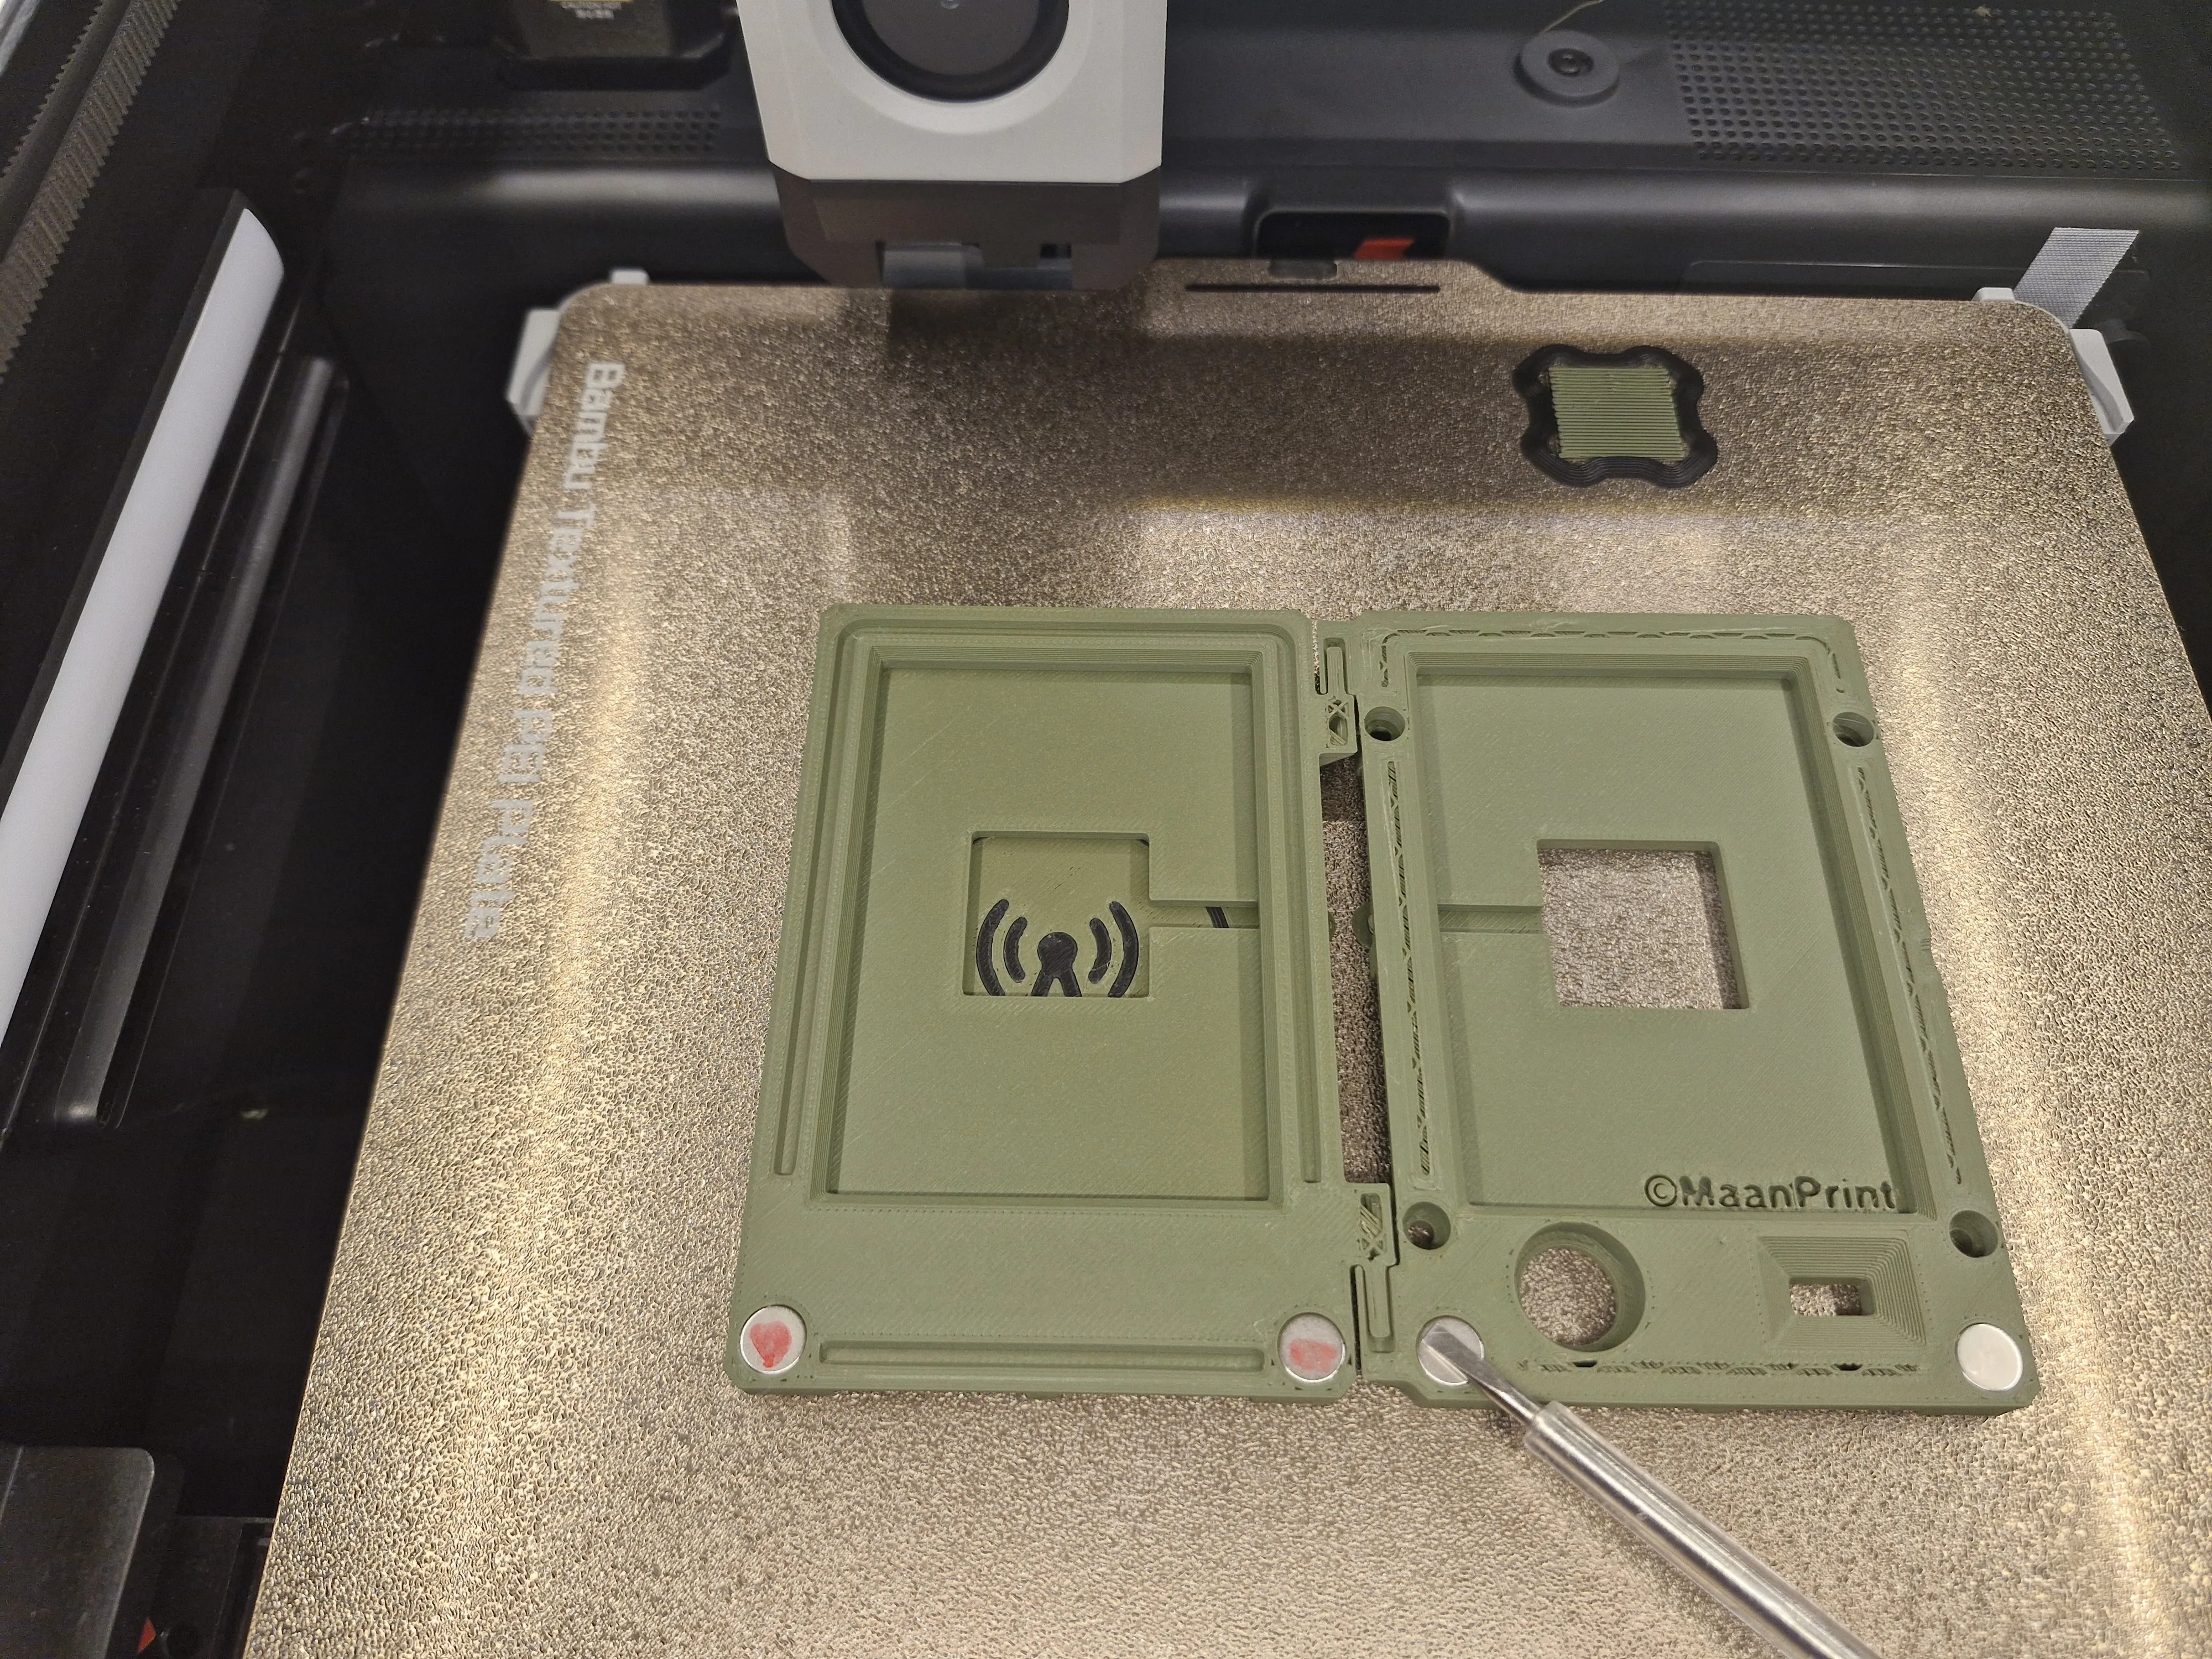
Procedure:
- The fit is tight on purpose
- Mark the polarity of your magnets before placing them
Insert them so that:
- The magnets on the left side face one direction
- The magnets on the right side are flipped the opposite way
(otherwise the panel will repel instead of closing)
- Press them firmly into the holes
- Support your print bed while pushing them in
- Magnets must sit slightly below the surface
They must not stick out!
Then resume the print
Assembly Overview
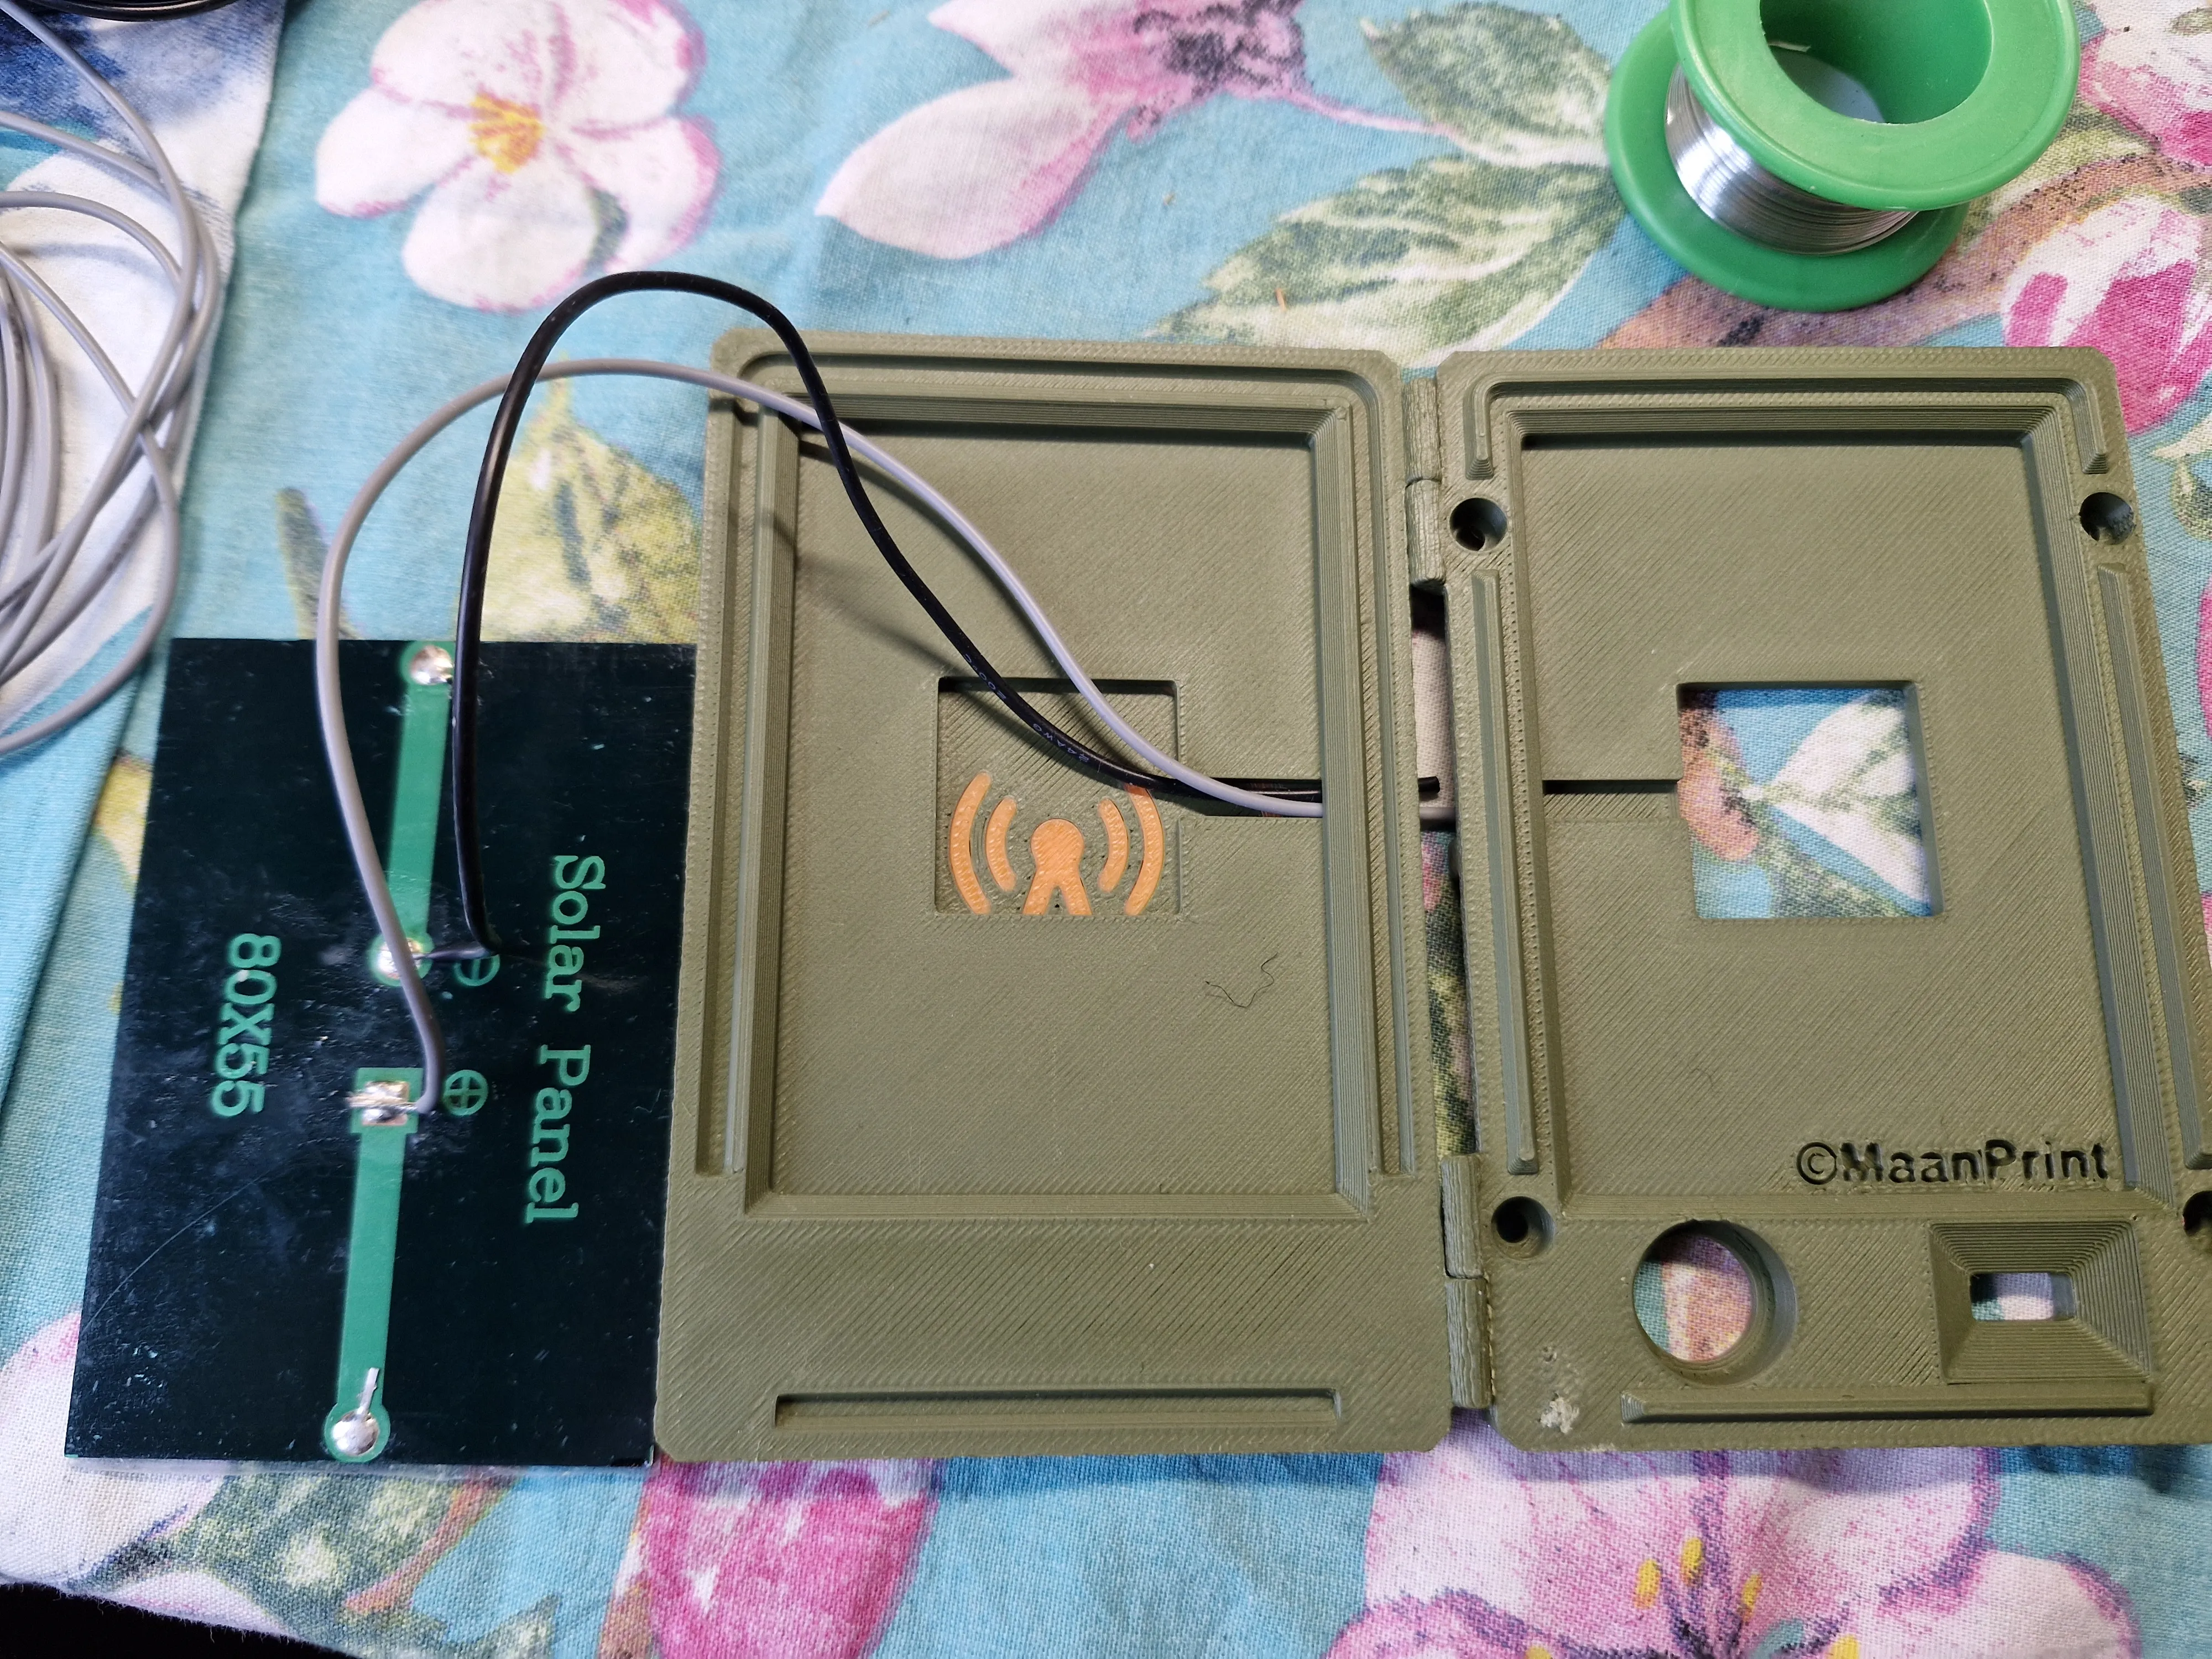
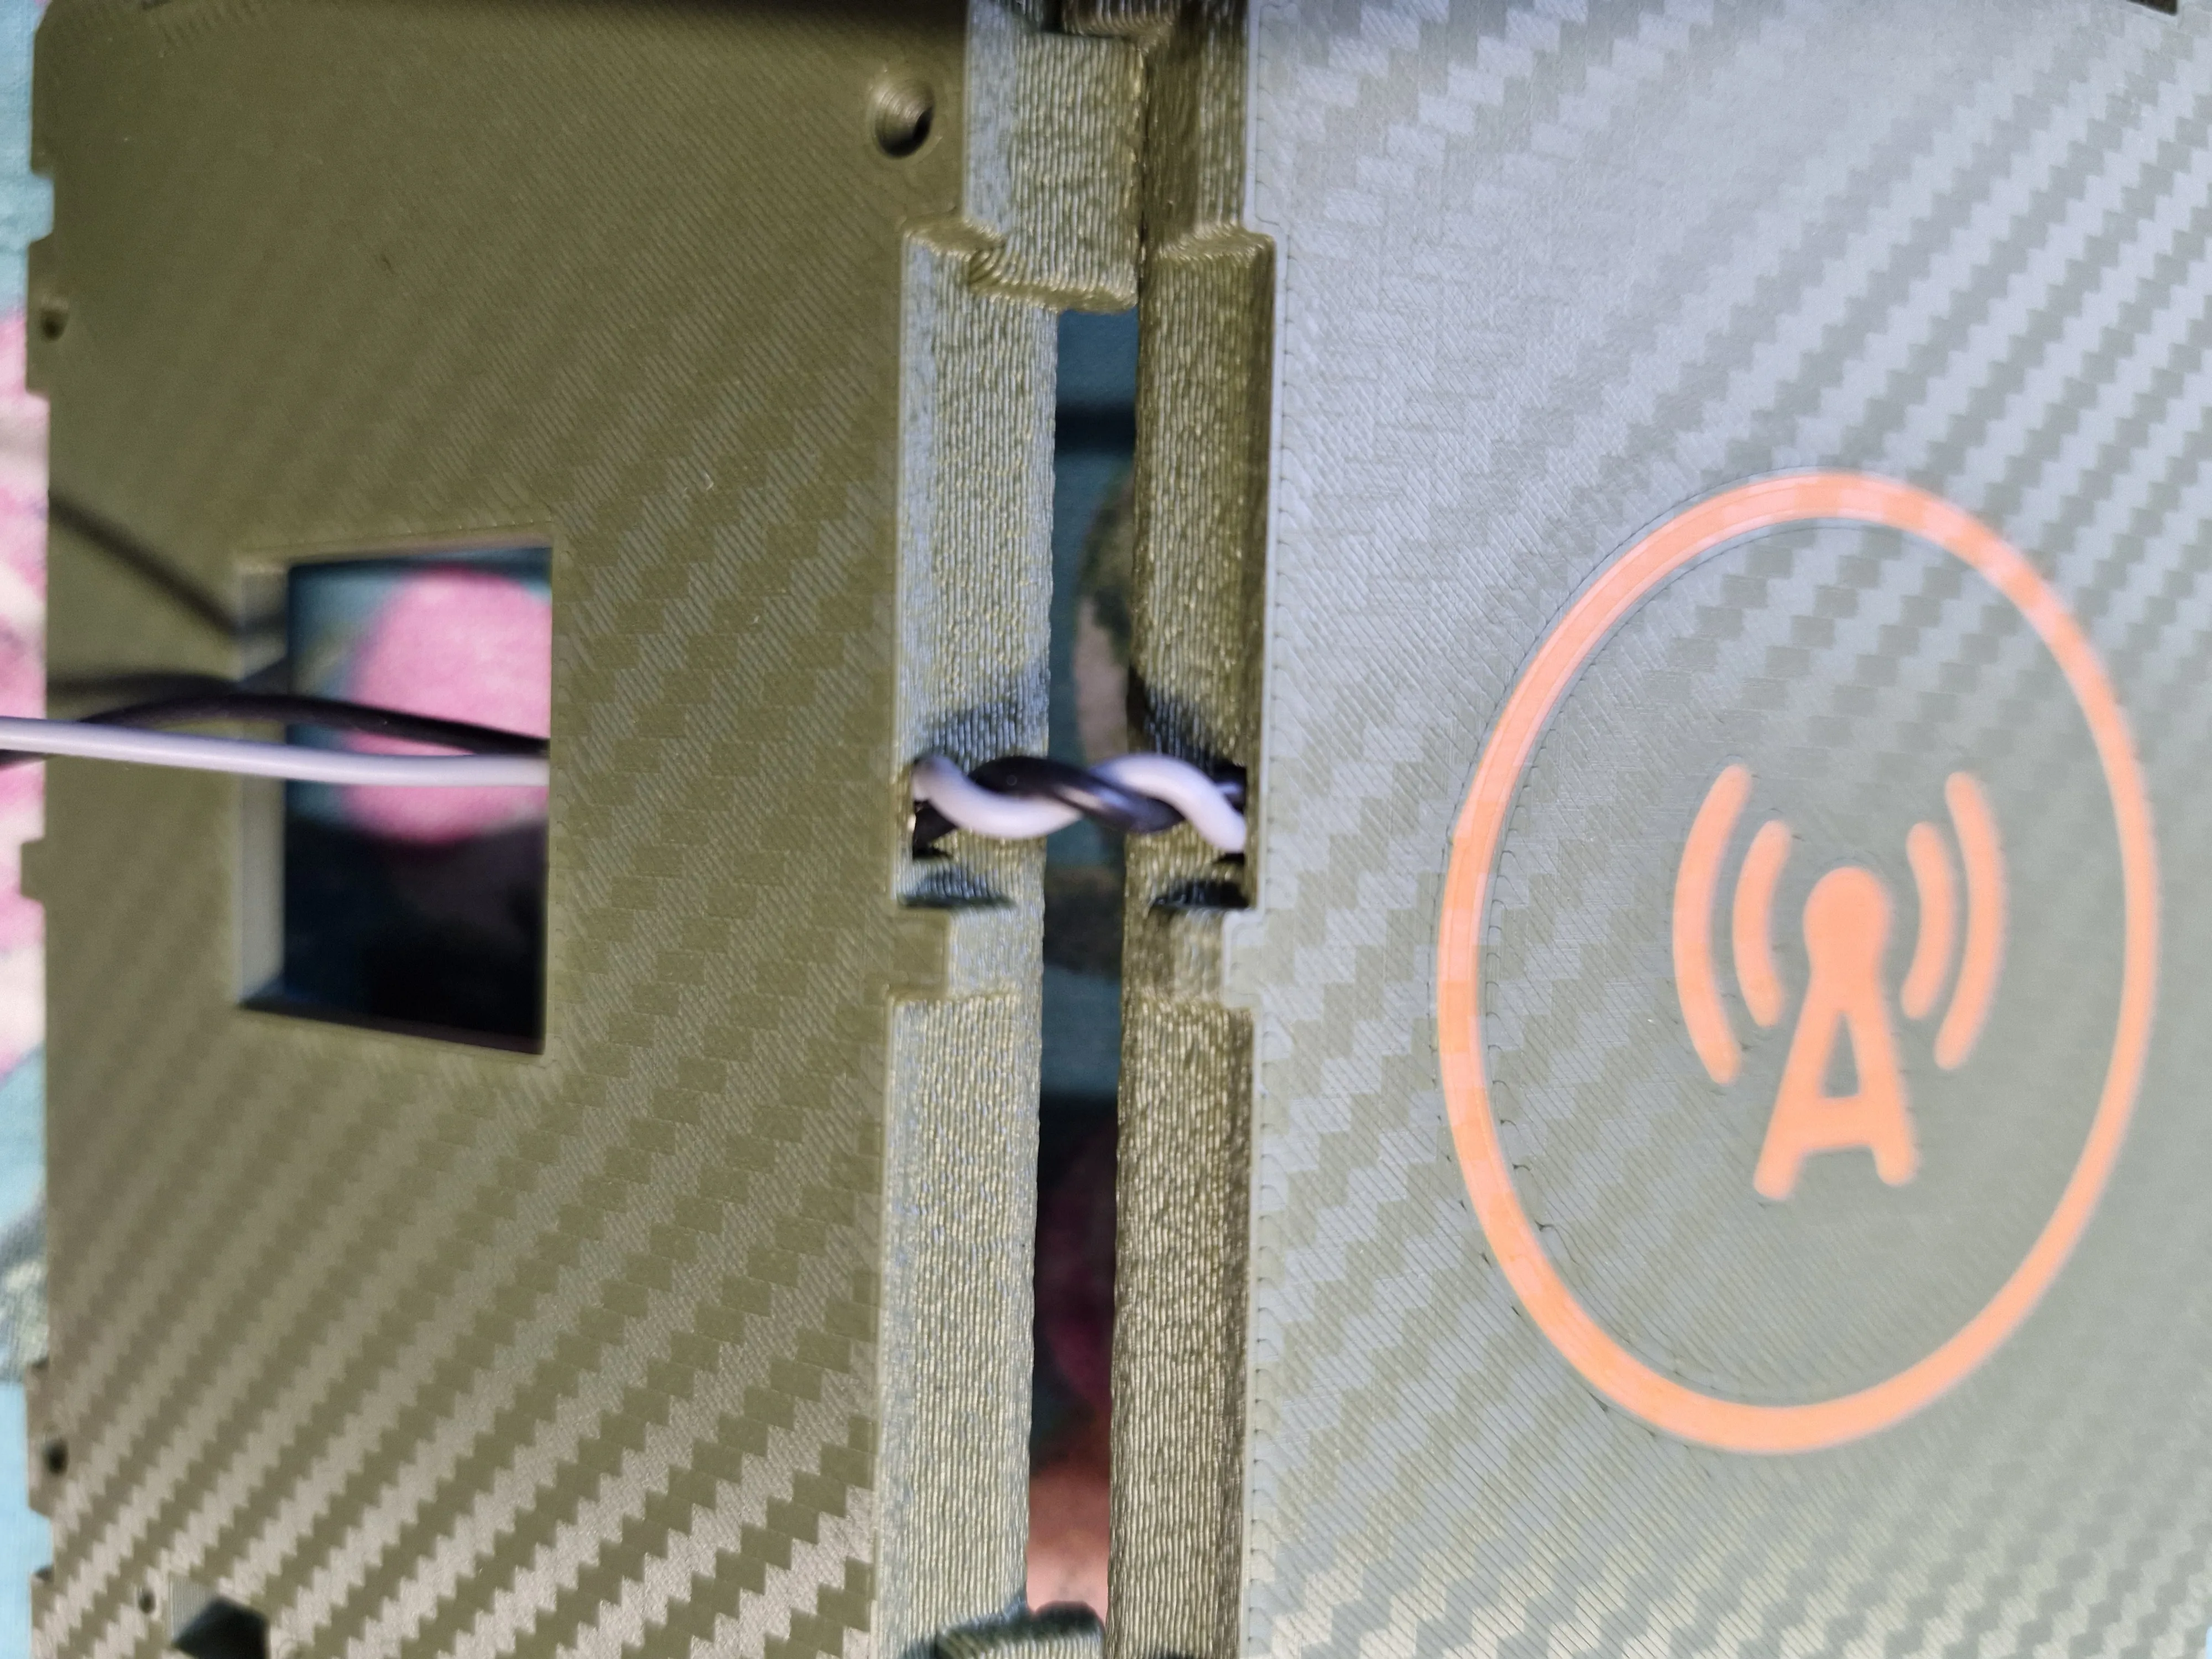
- Start with the left solar panel (snap-fit, no glue needed)
- Twist wires slightly for strain relief
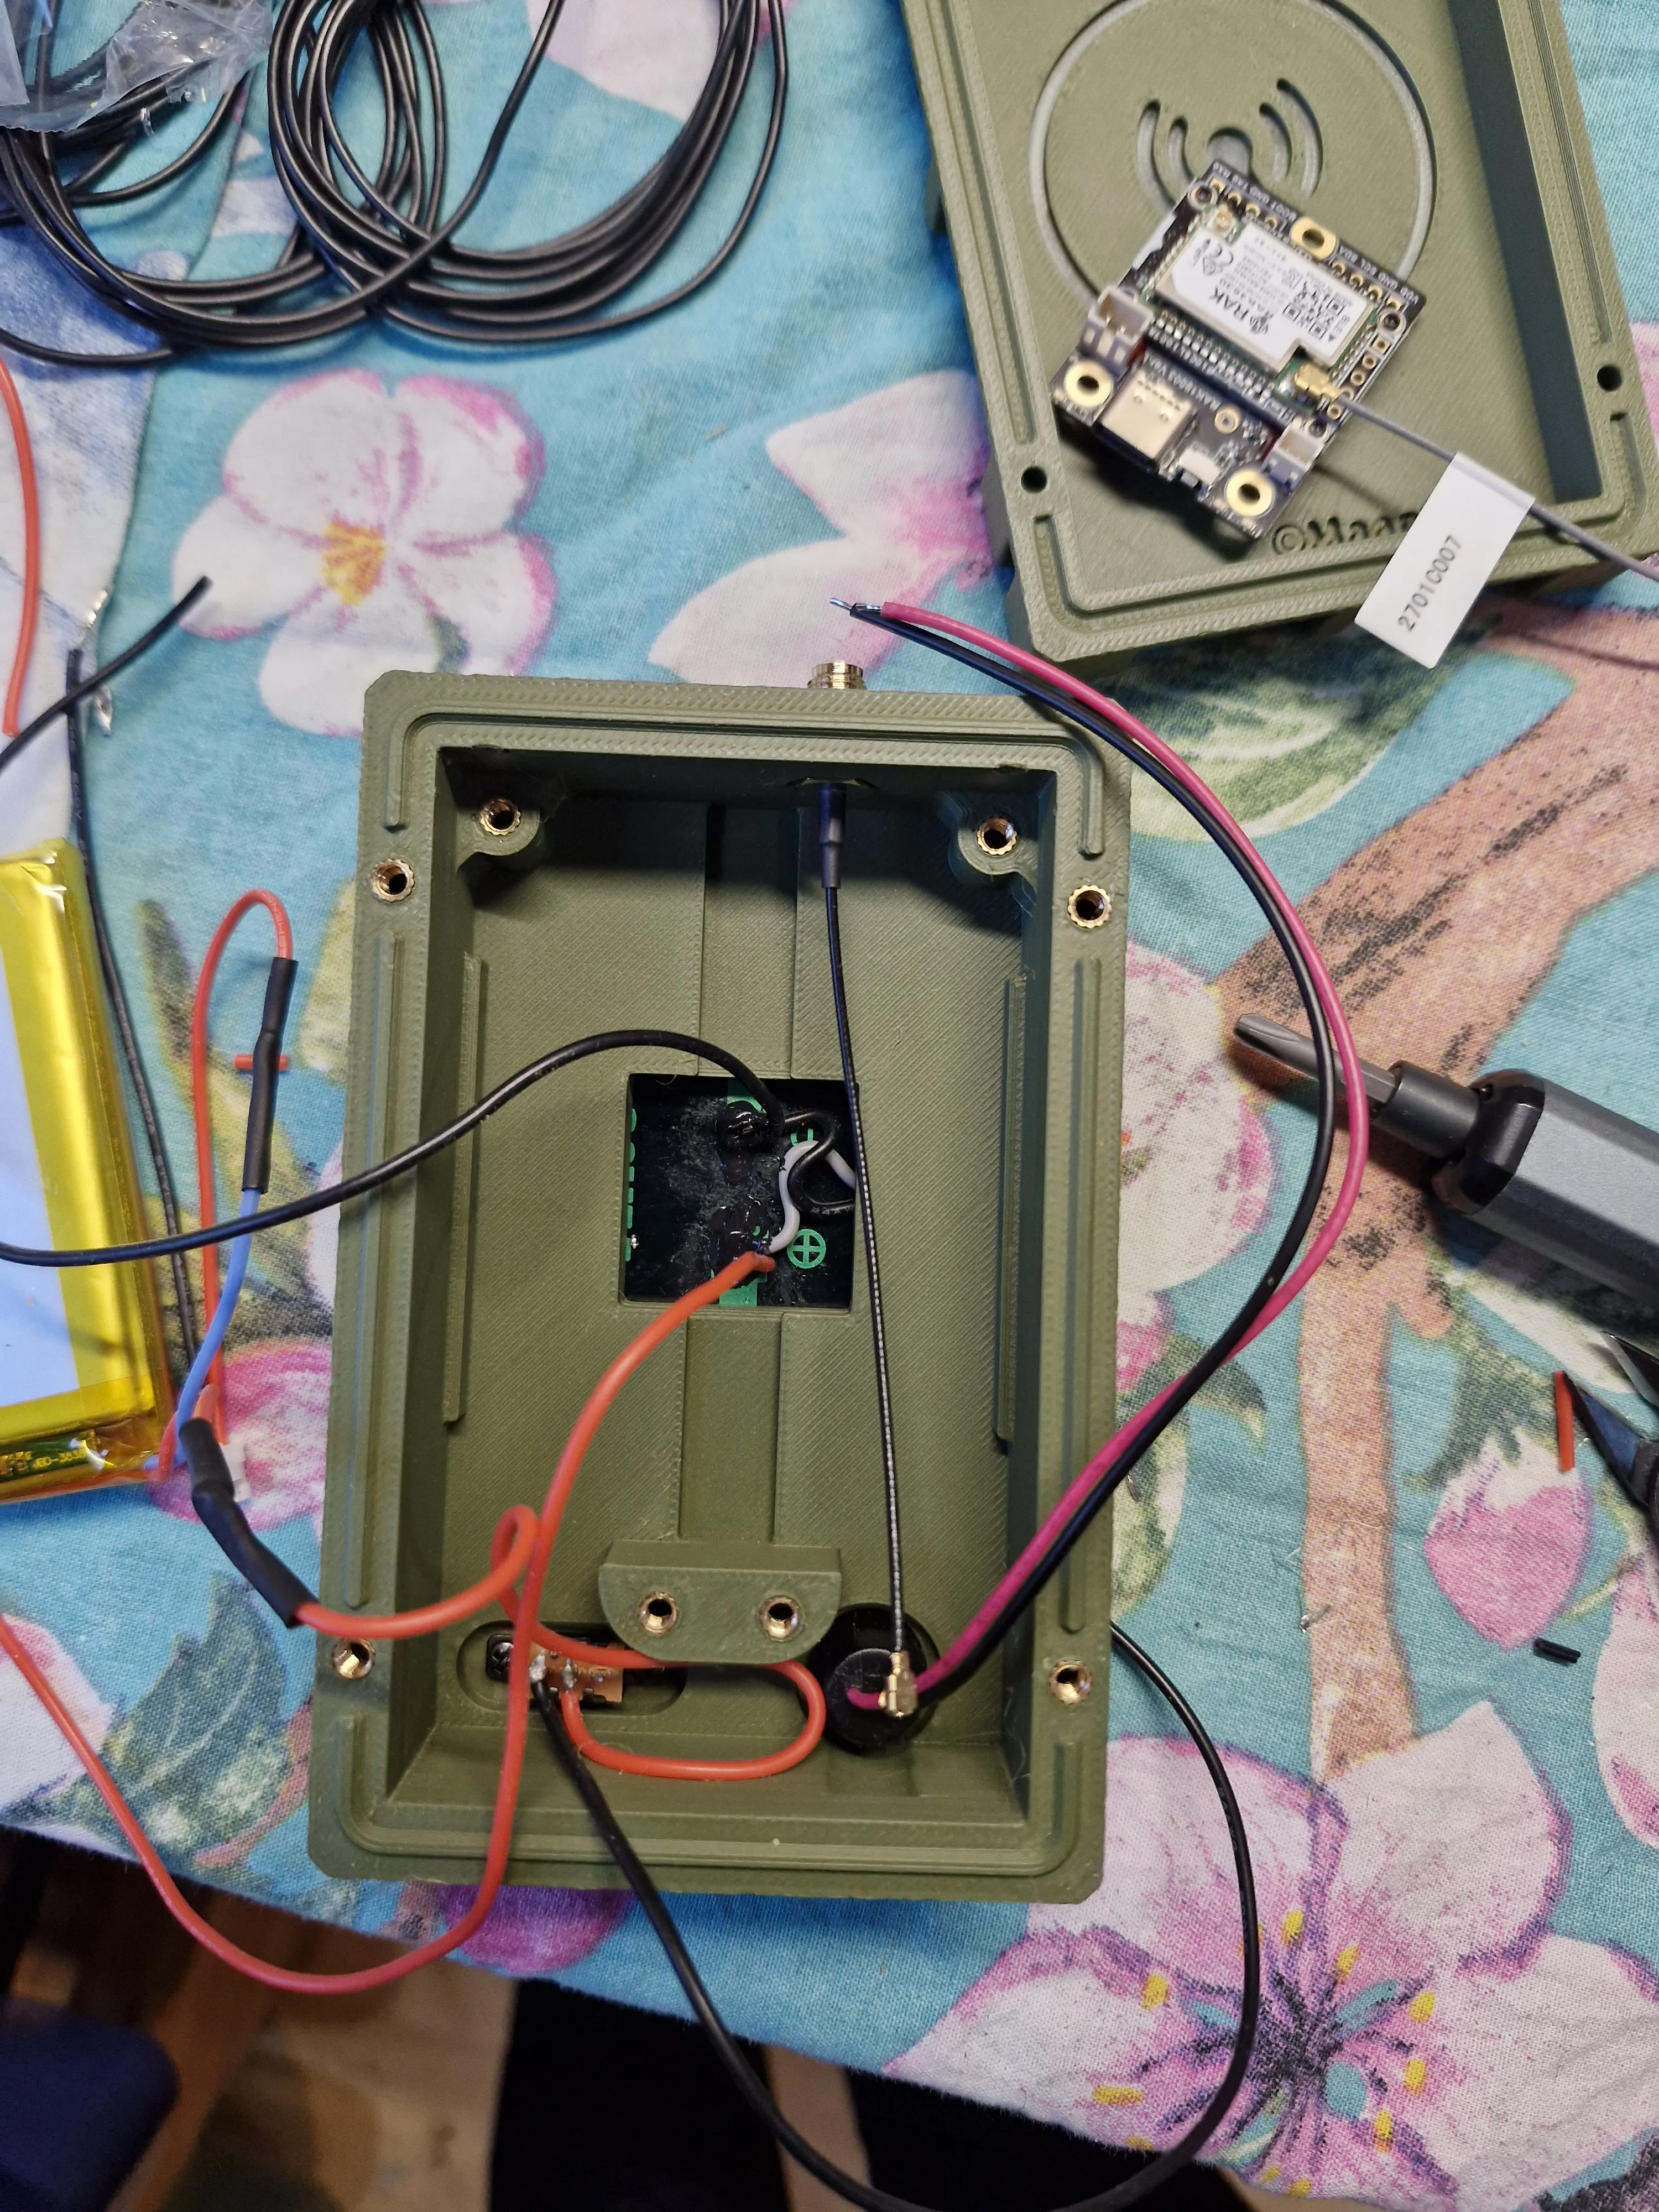
- Route wire to the right panel and solder into the center section
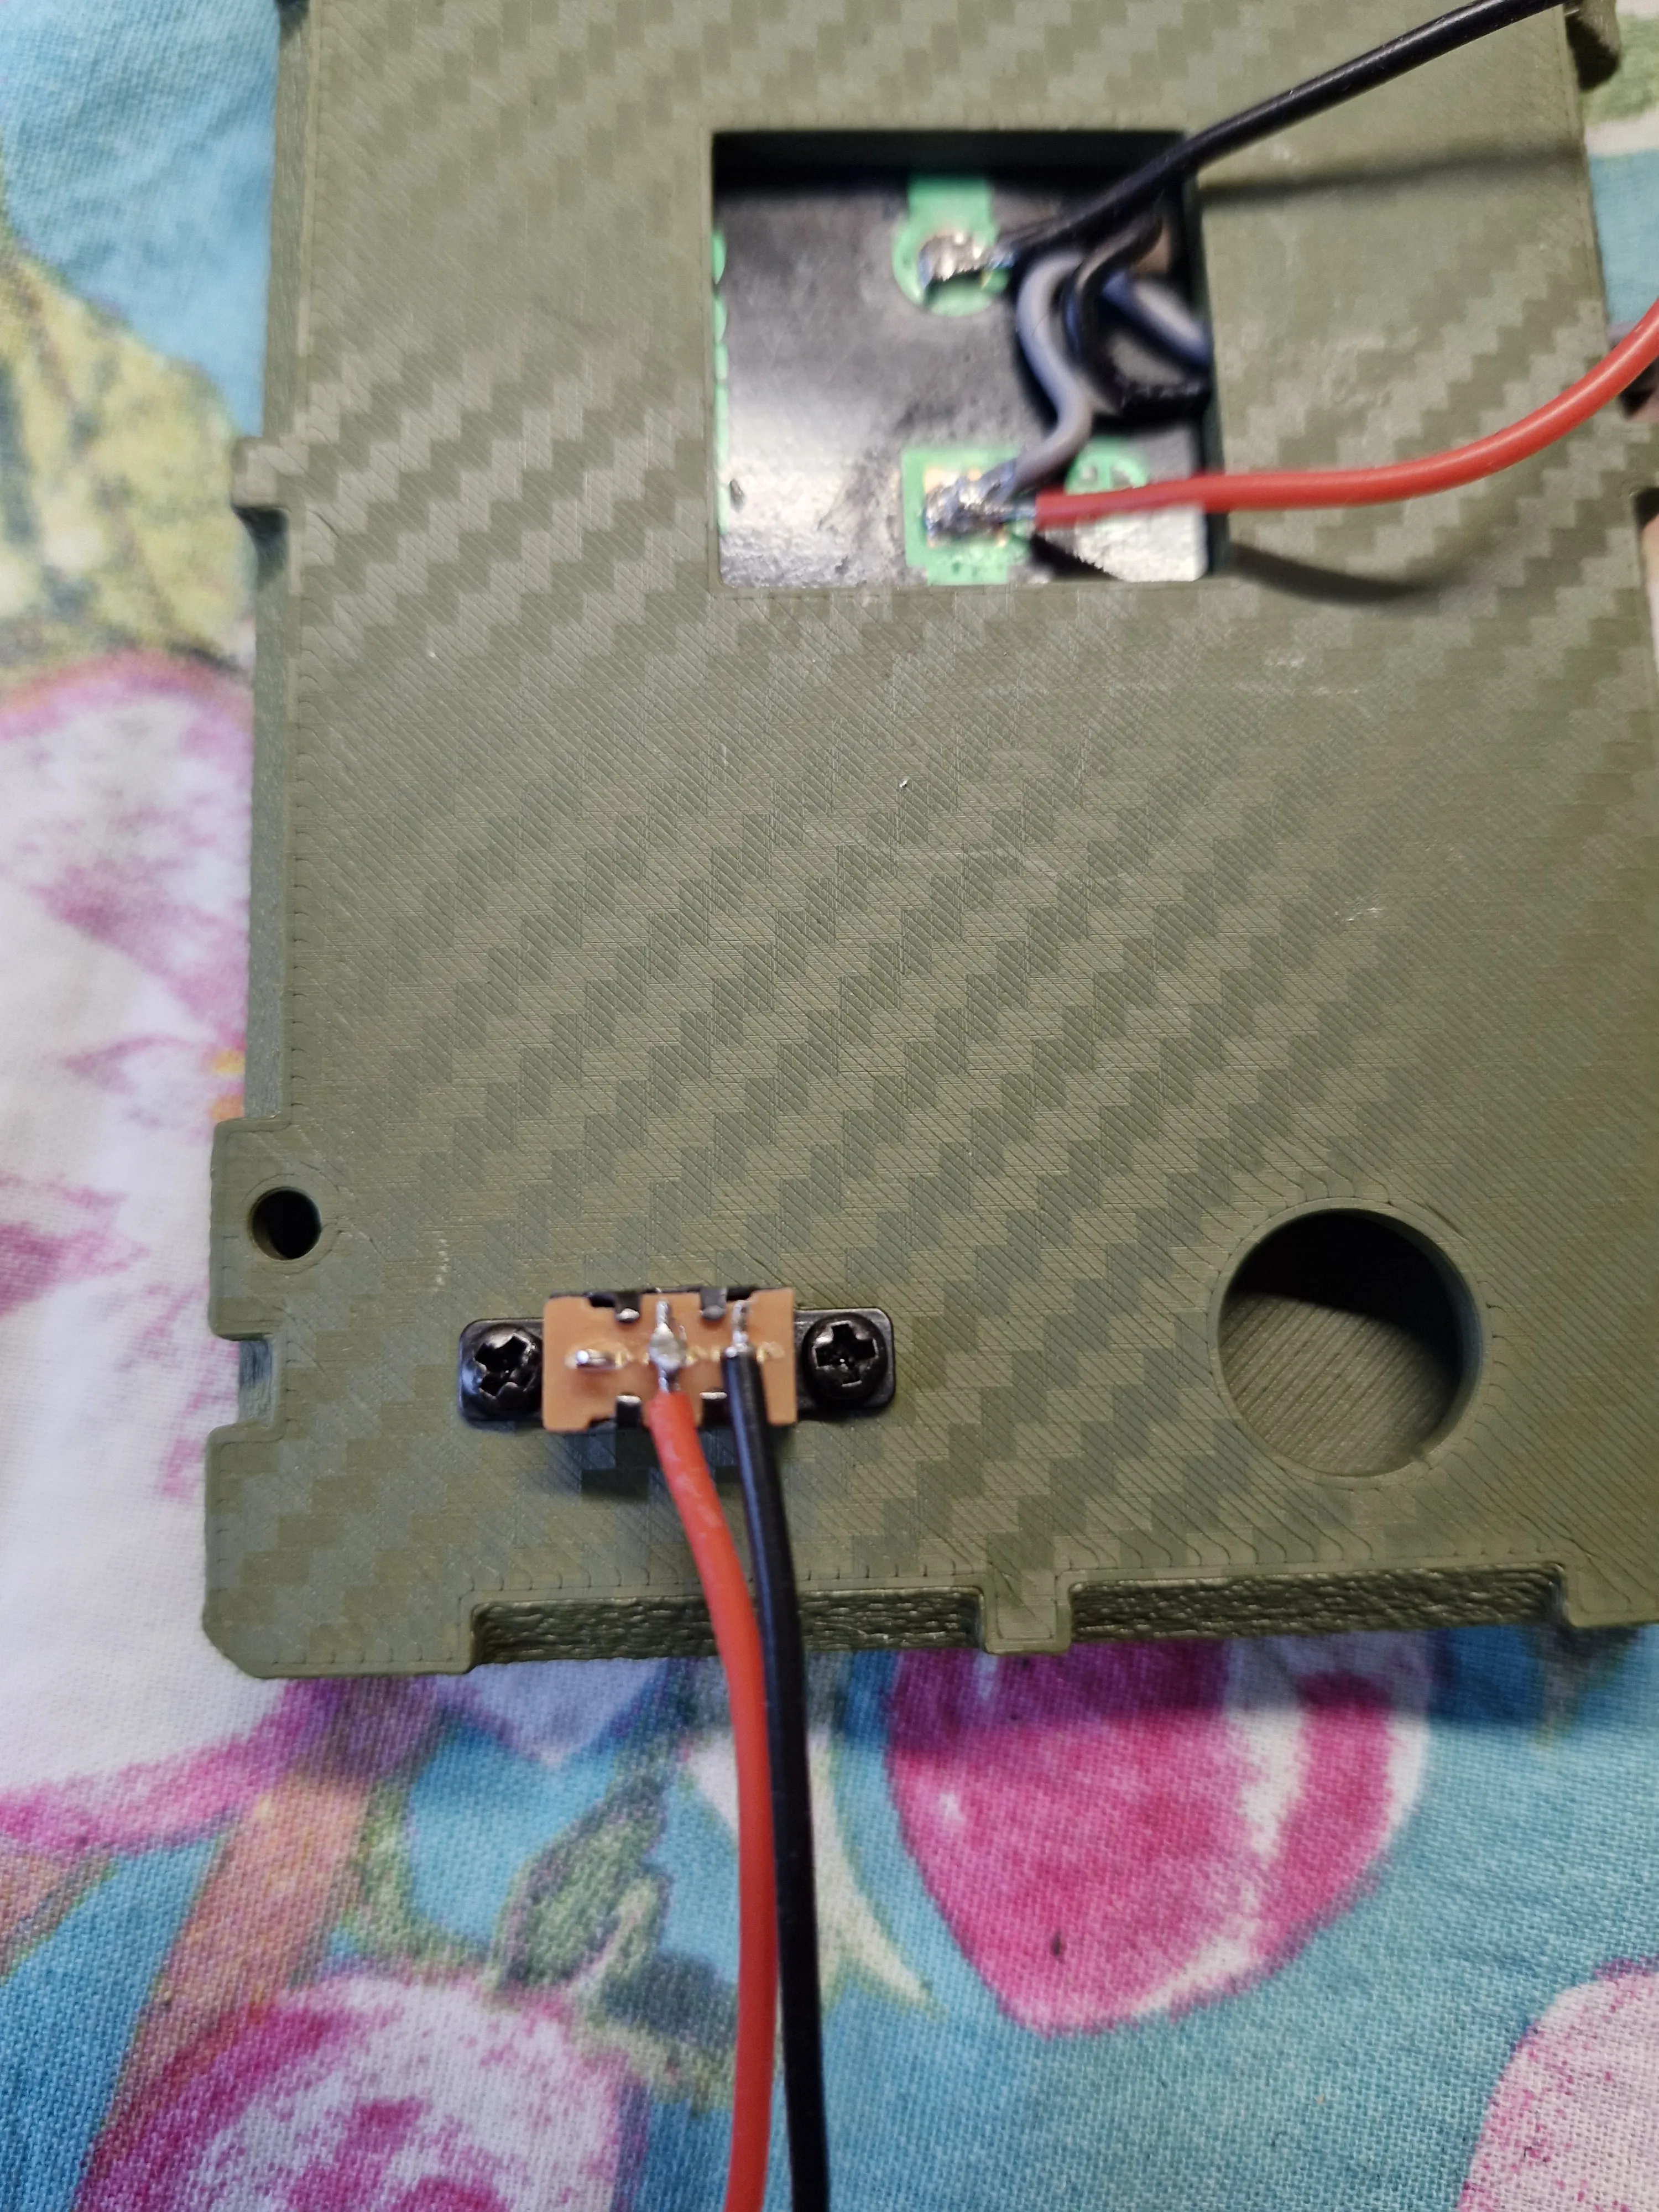
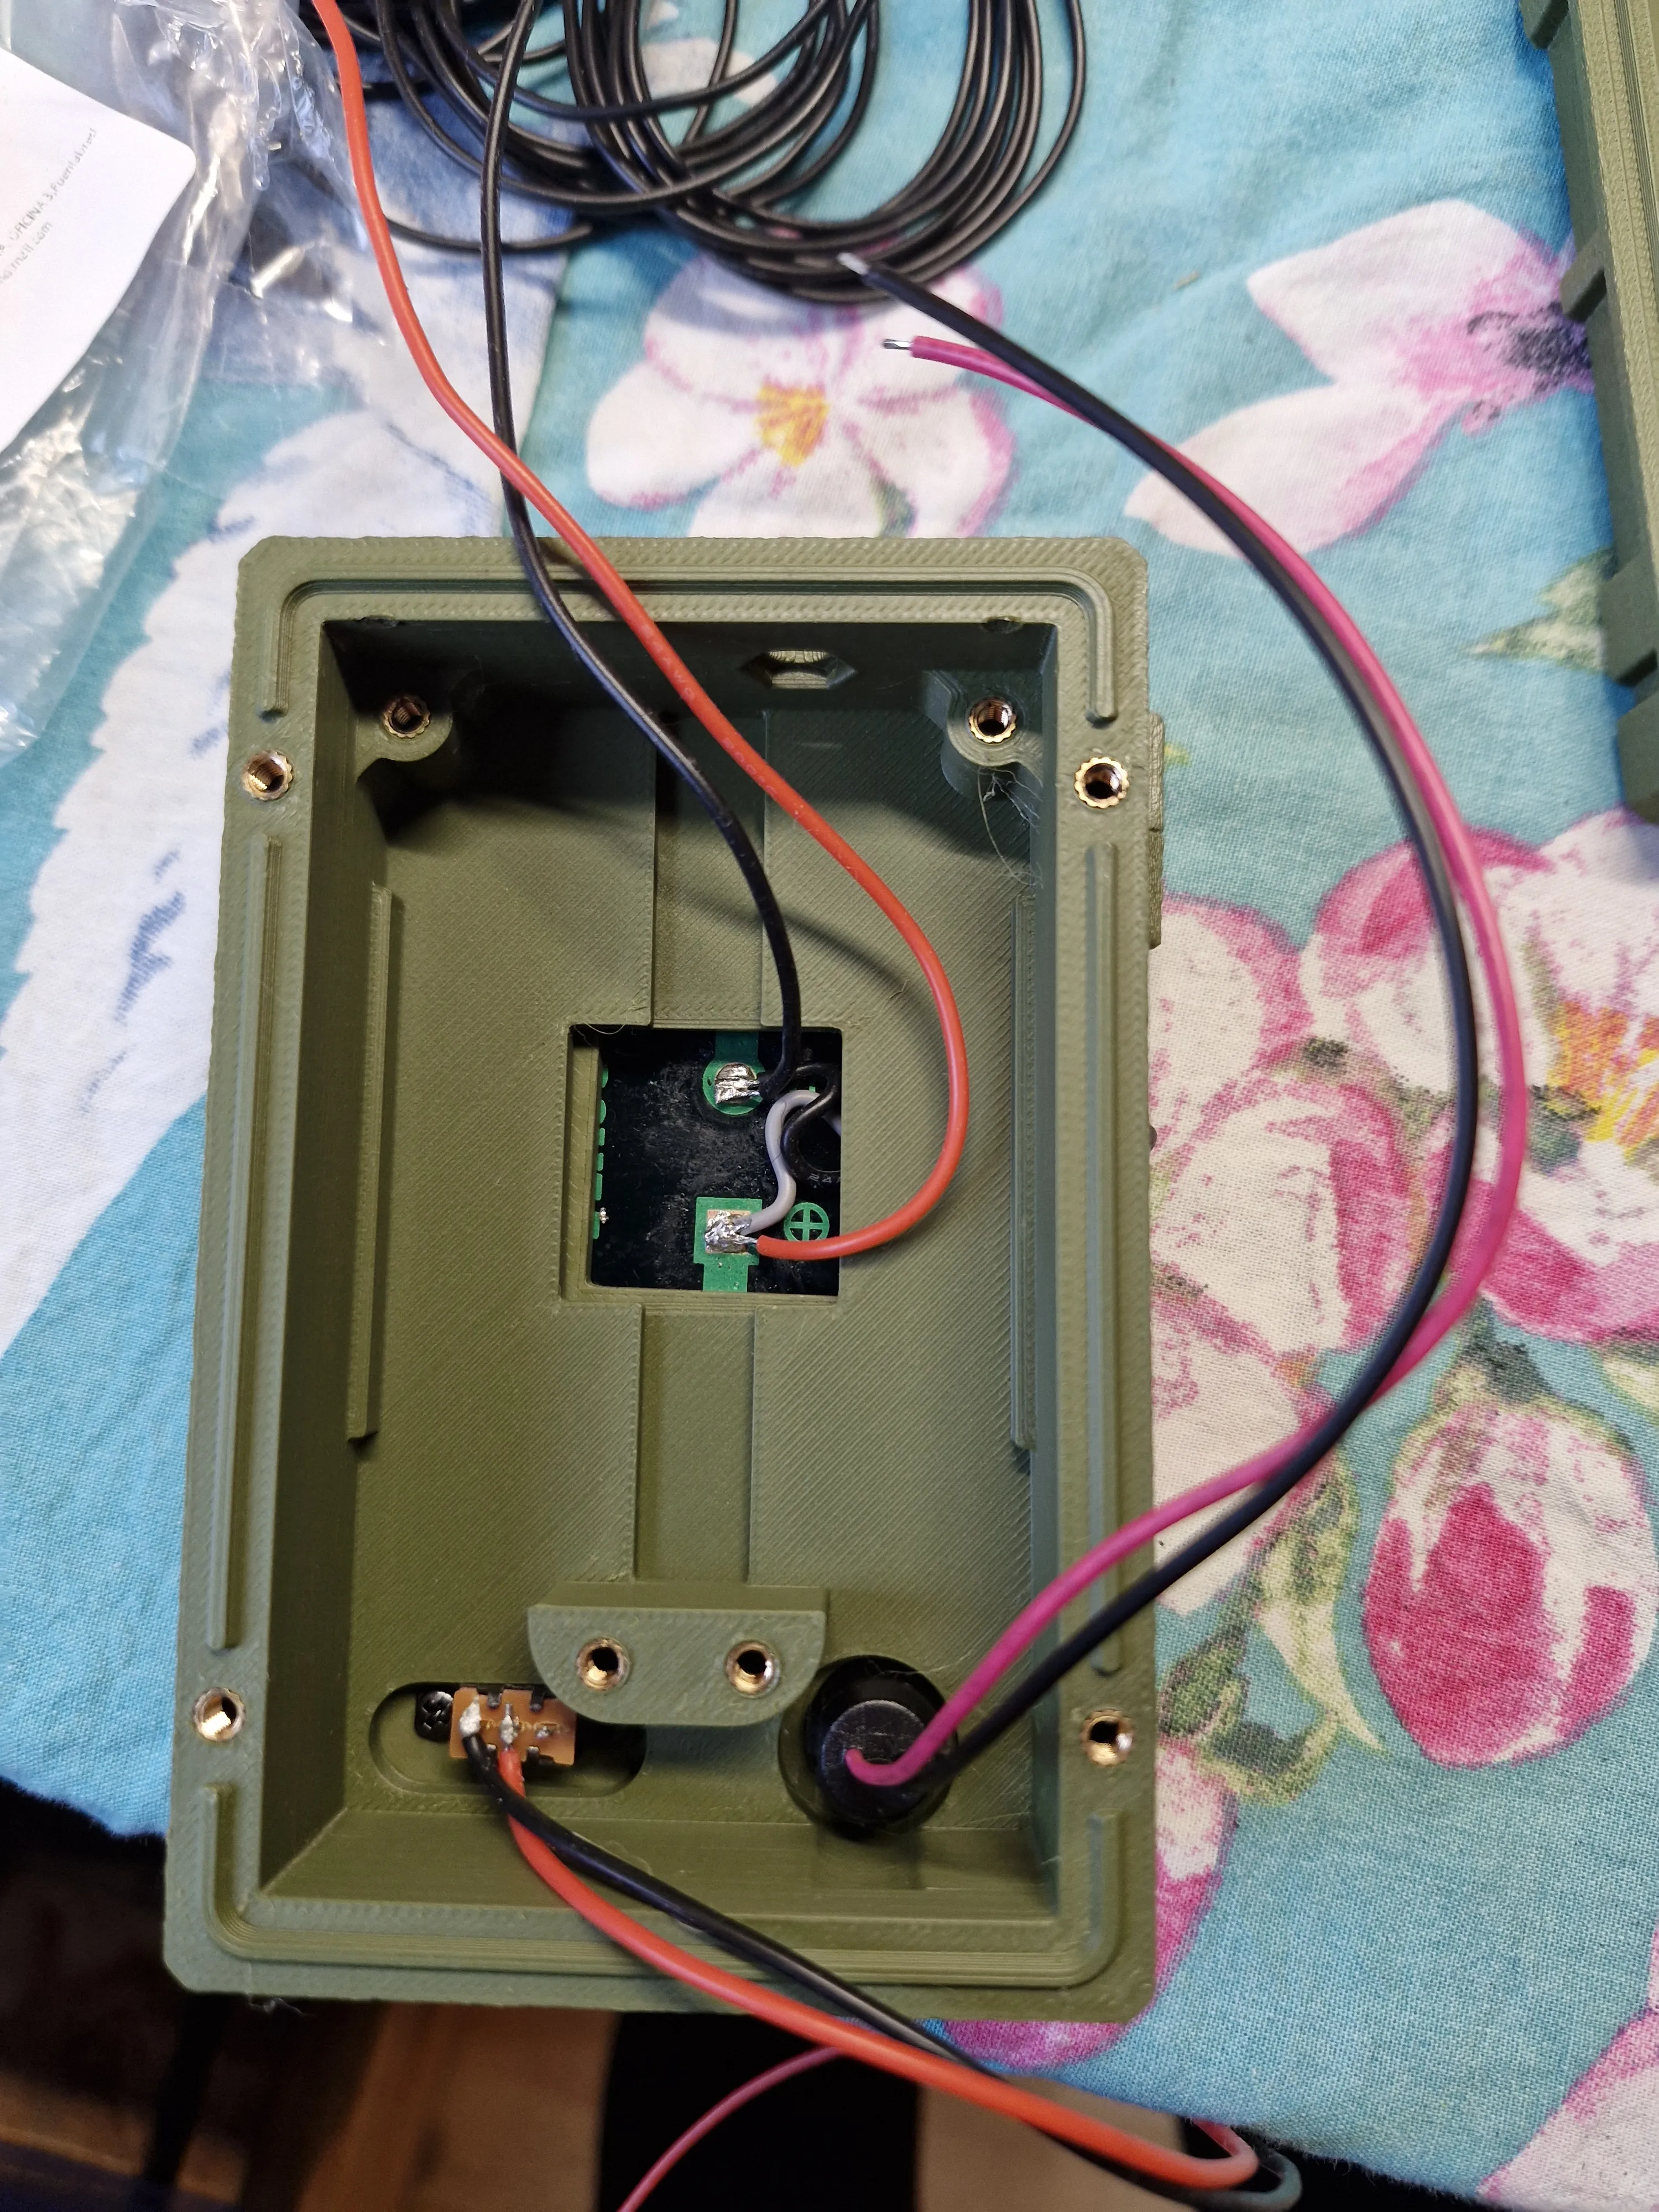
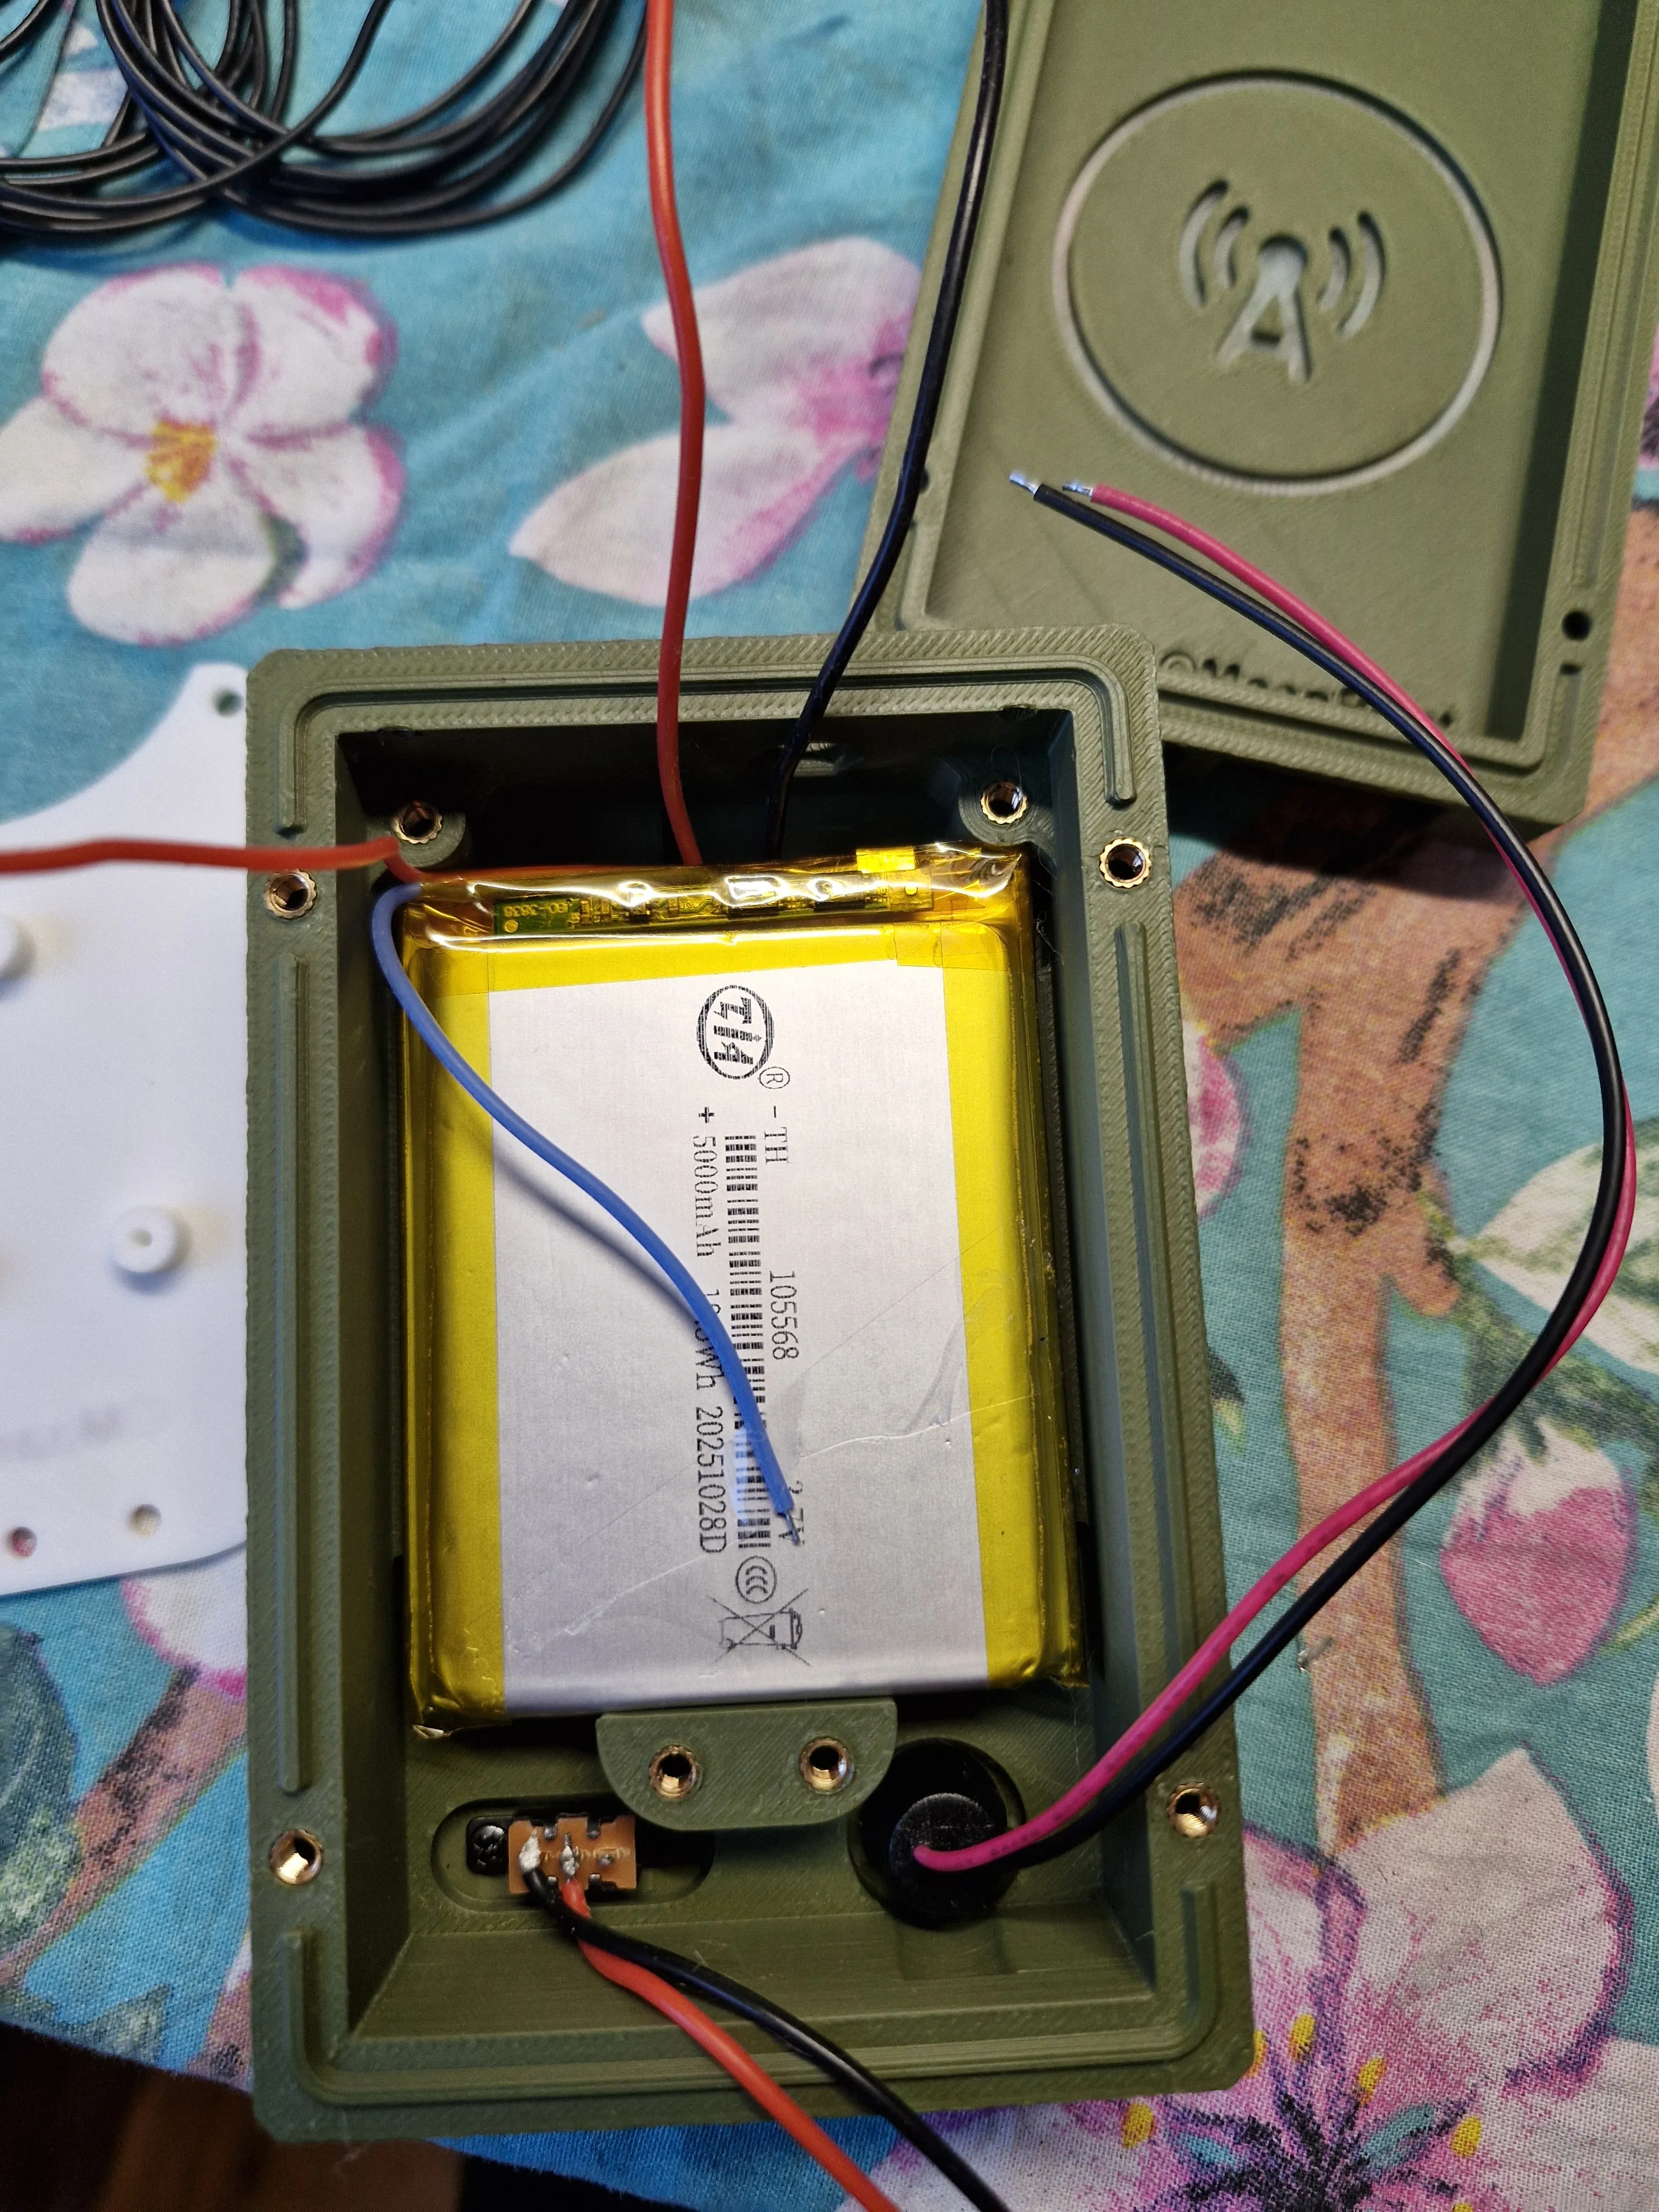
- Install the switch and USB charging port. The power switch can be secured using the two small screws included with the RAK module.
- Melt all inserts into the center body
- Bolt the panel assembly using M3×10
- Install the internal antenna cable and install the external antenna! (do so before powering it on!)
- Place the battery
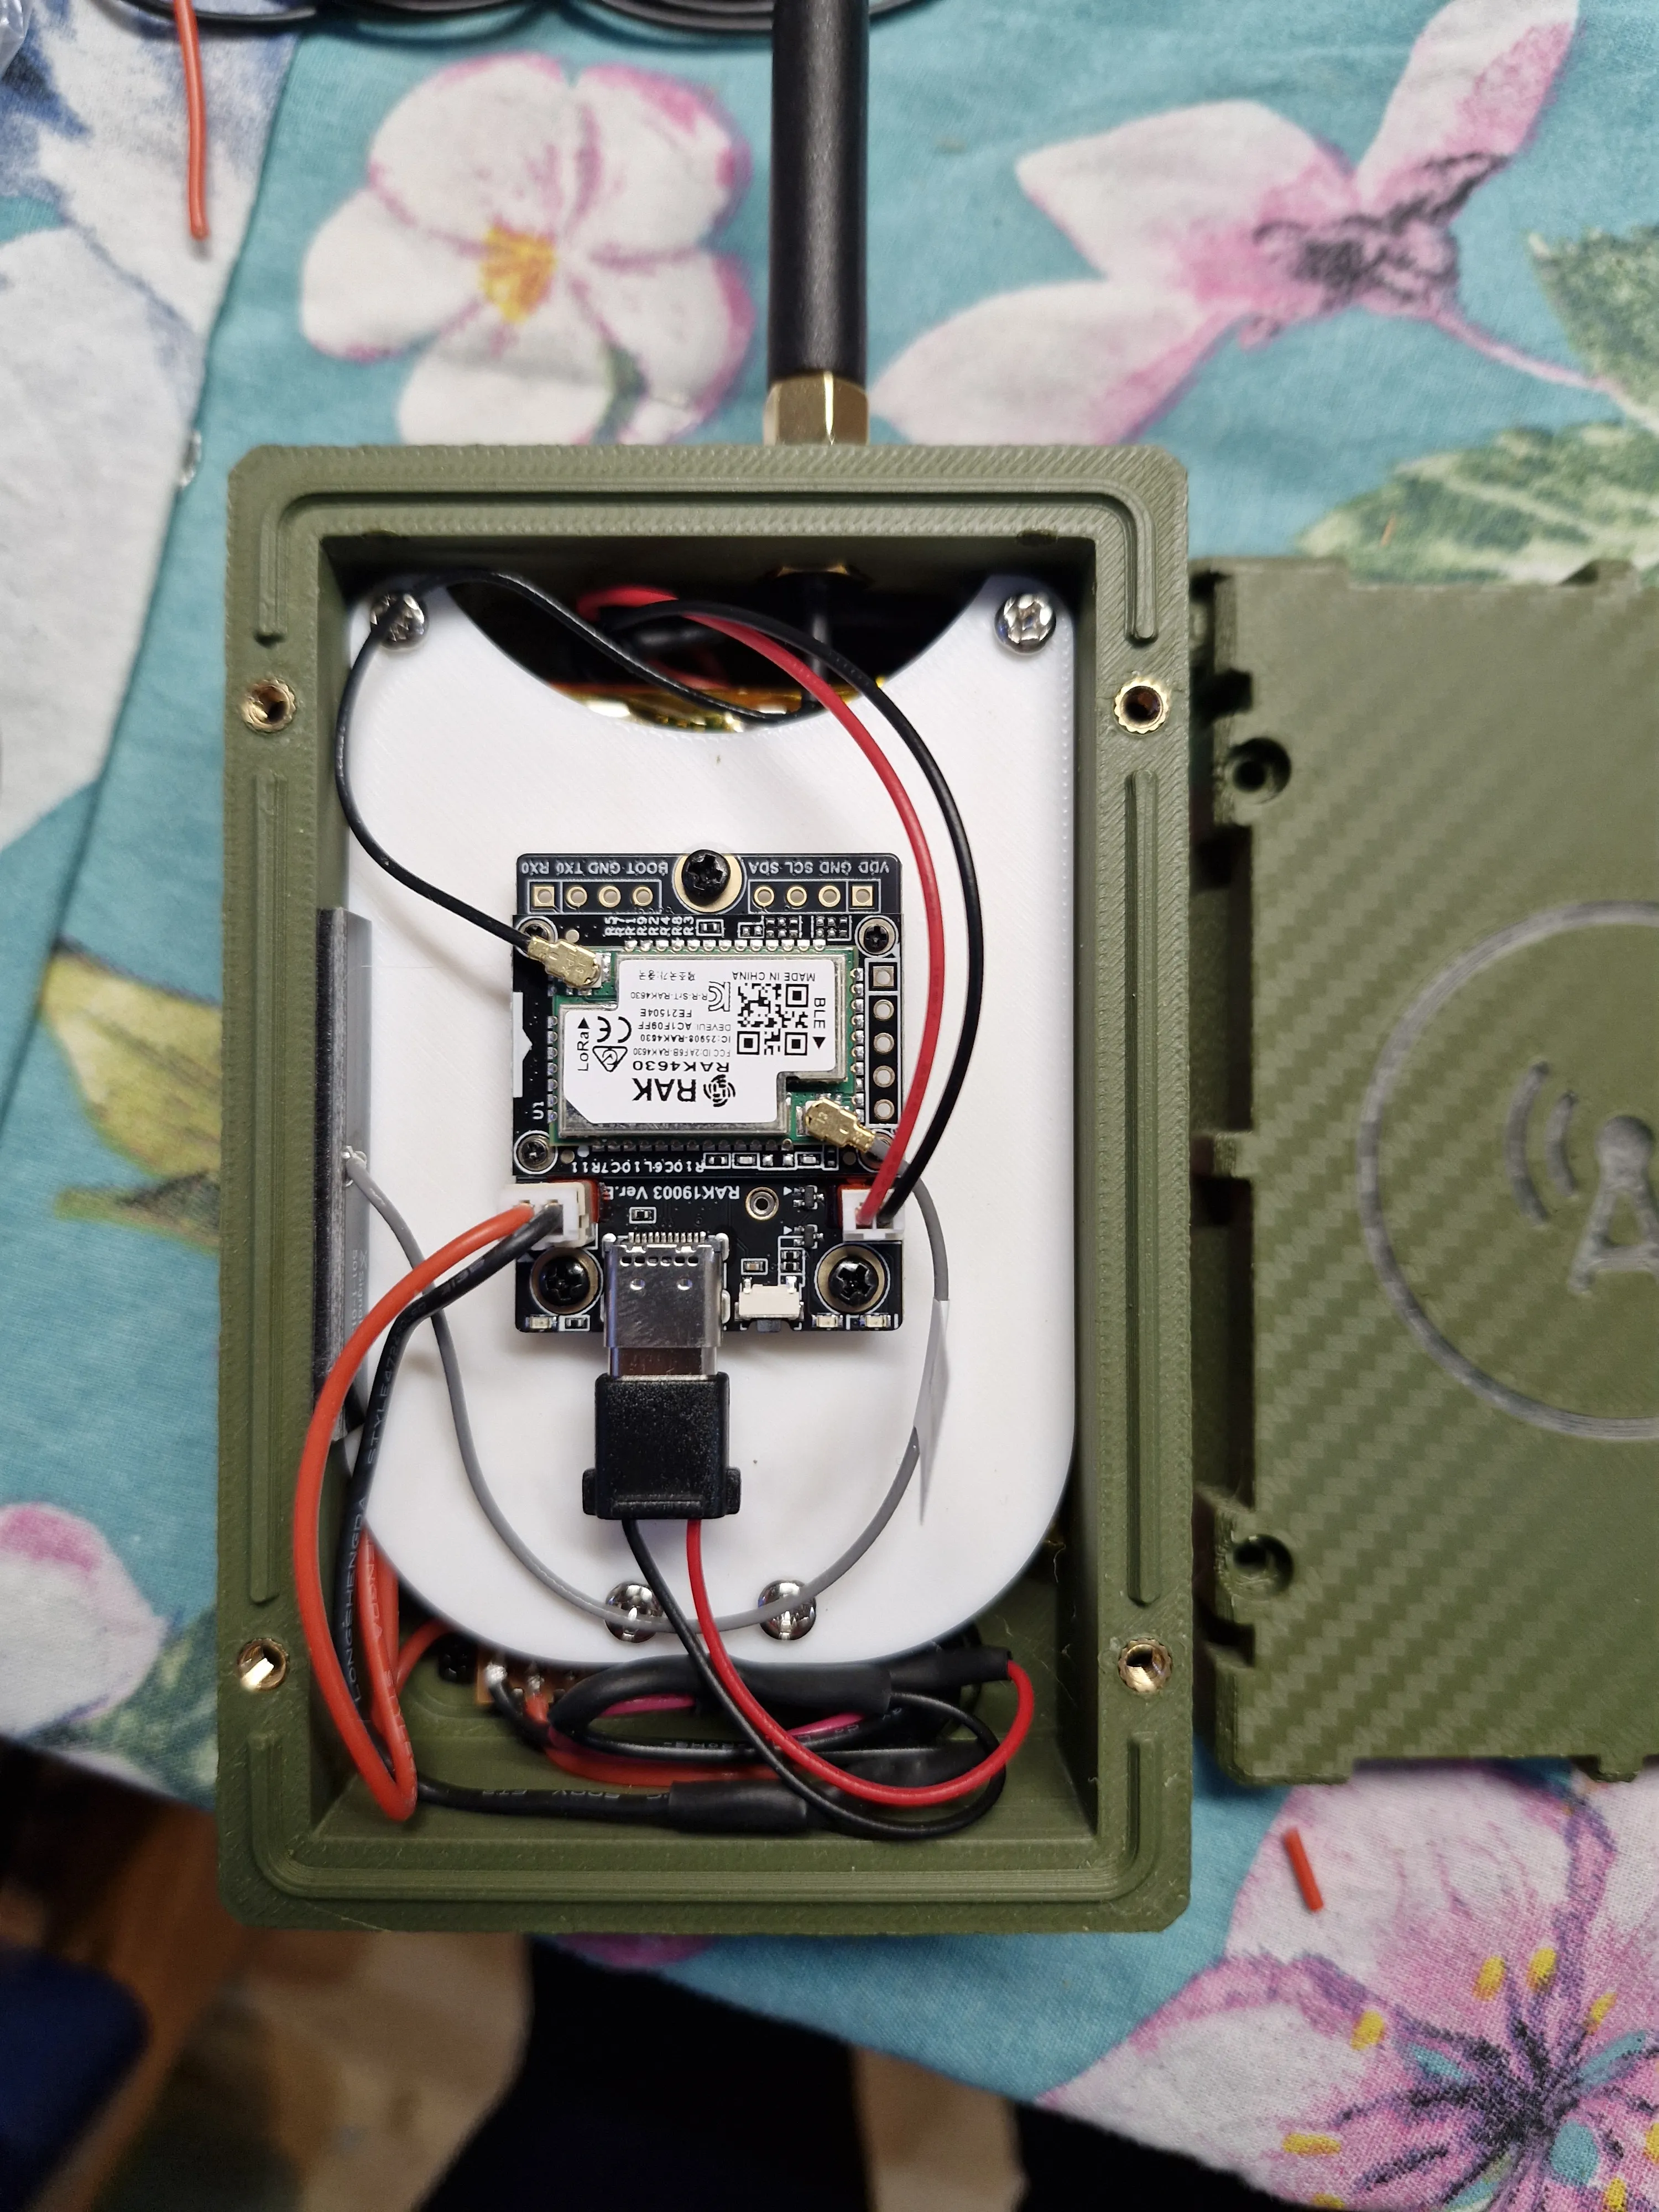
- Add the mounting plate using M3×10 and organize wiring
- Install the RAK module
- Connect solar (check polarity!)
- Connect the battery through the switch (check polarity!)
- Connect the USB charging port to the PCB
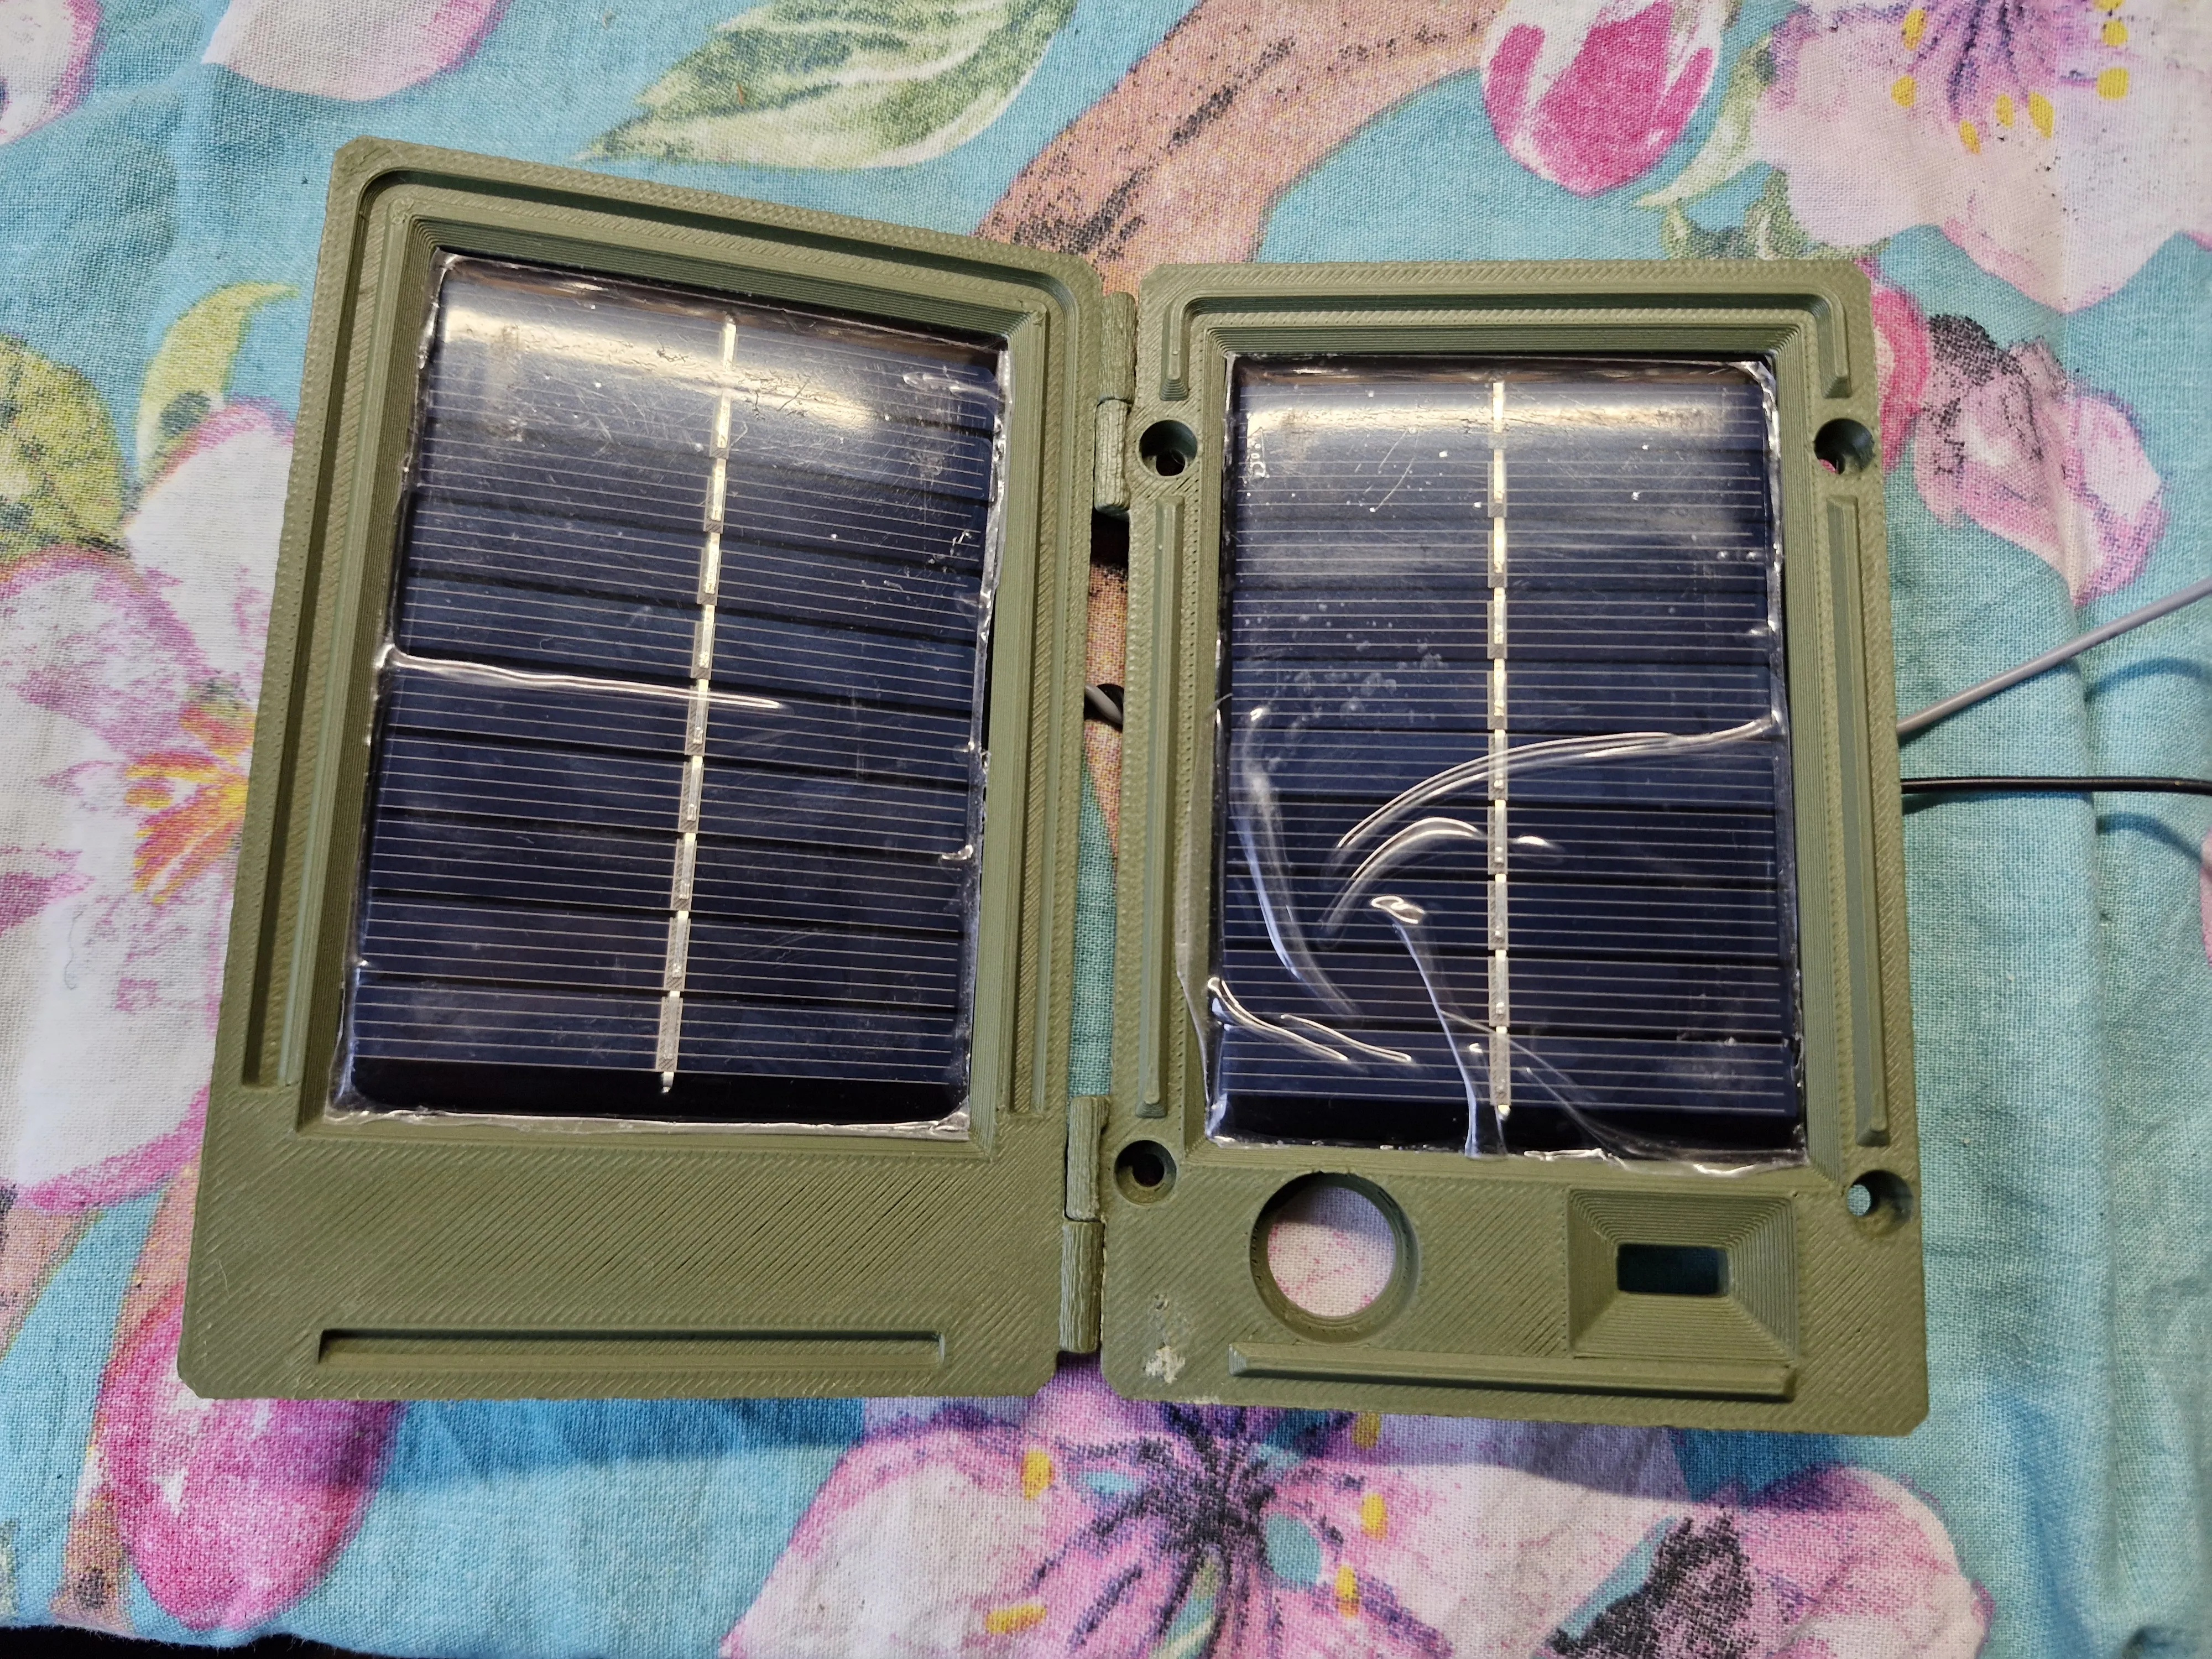
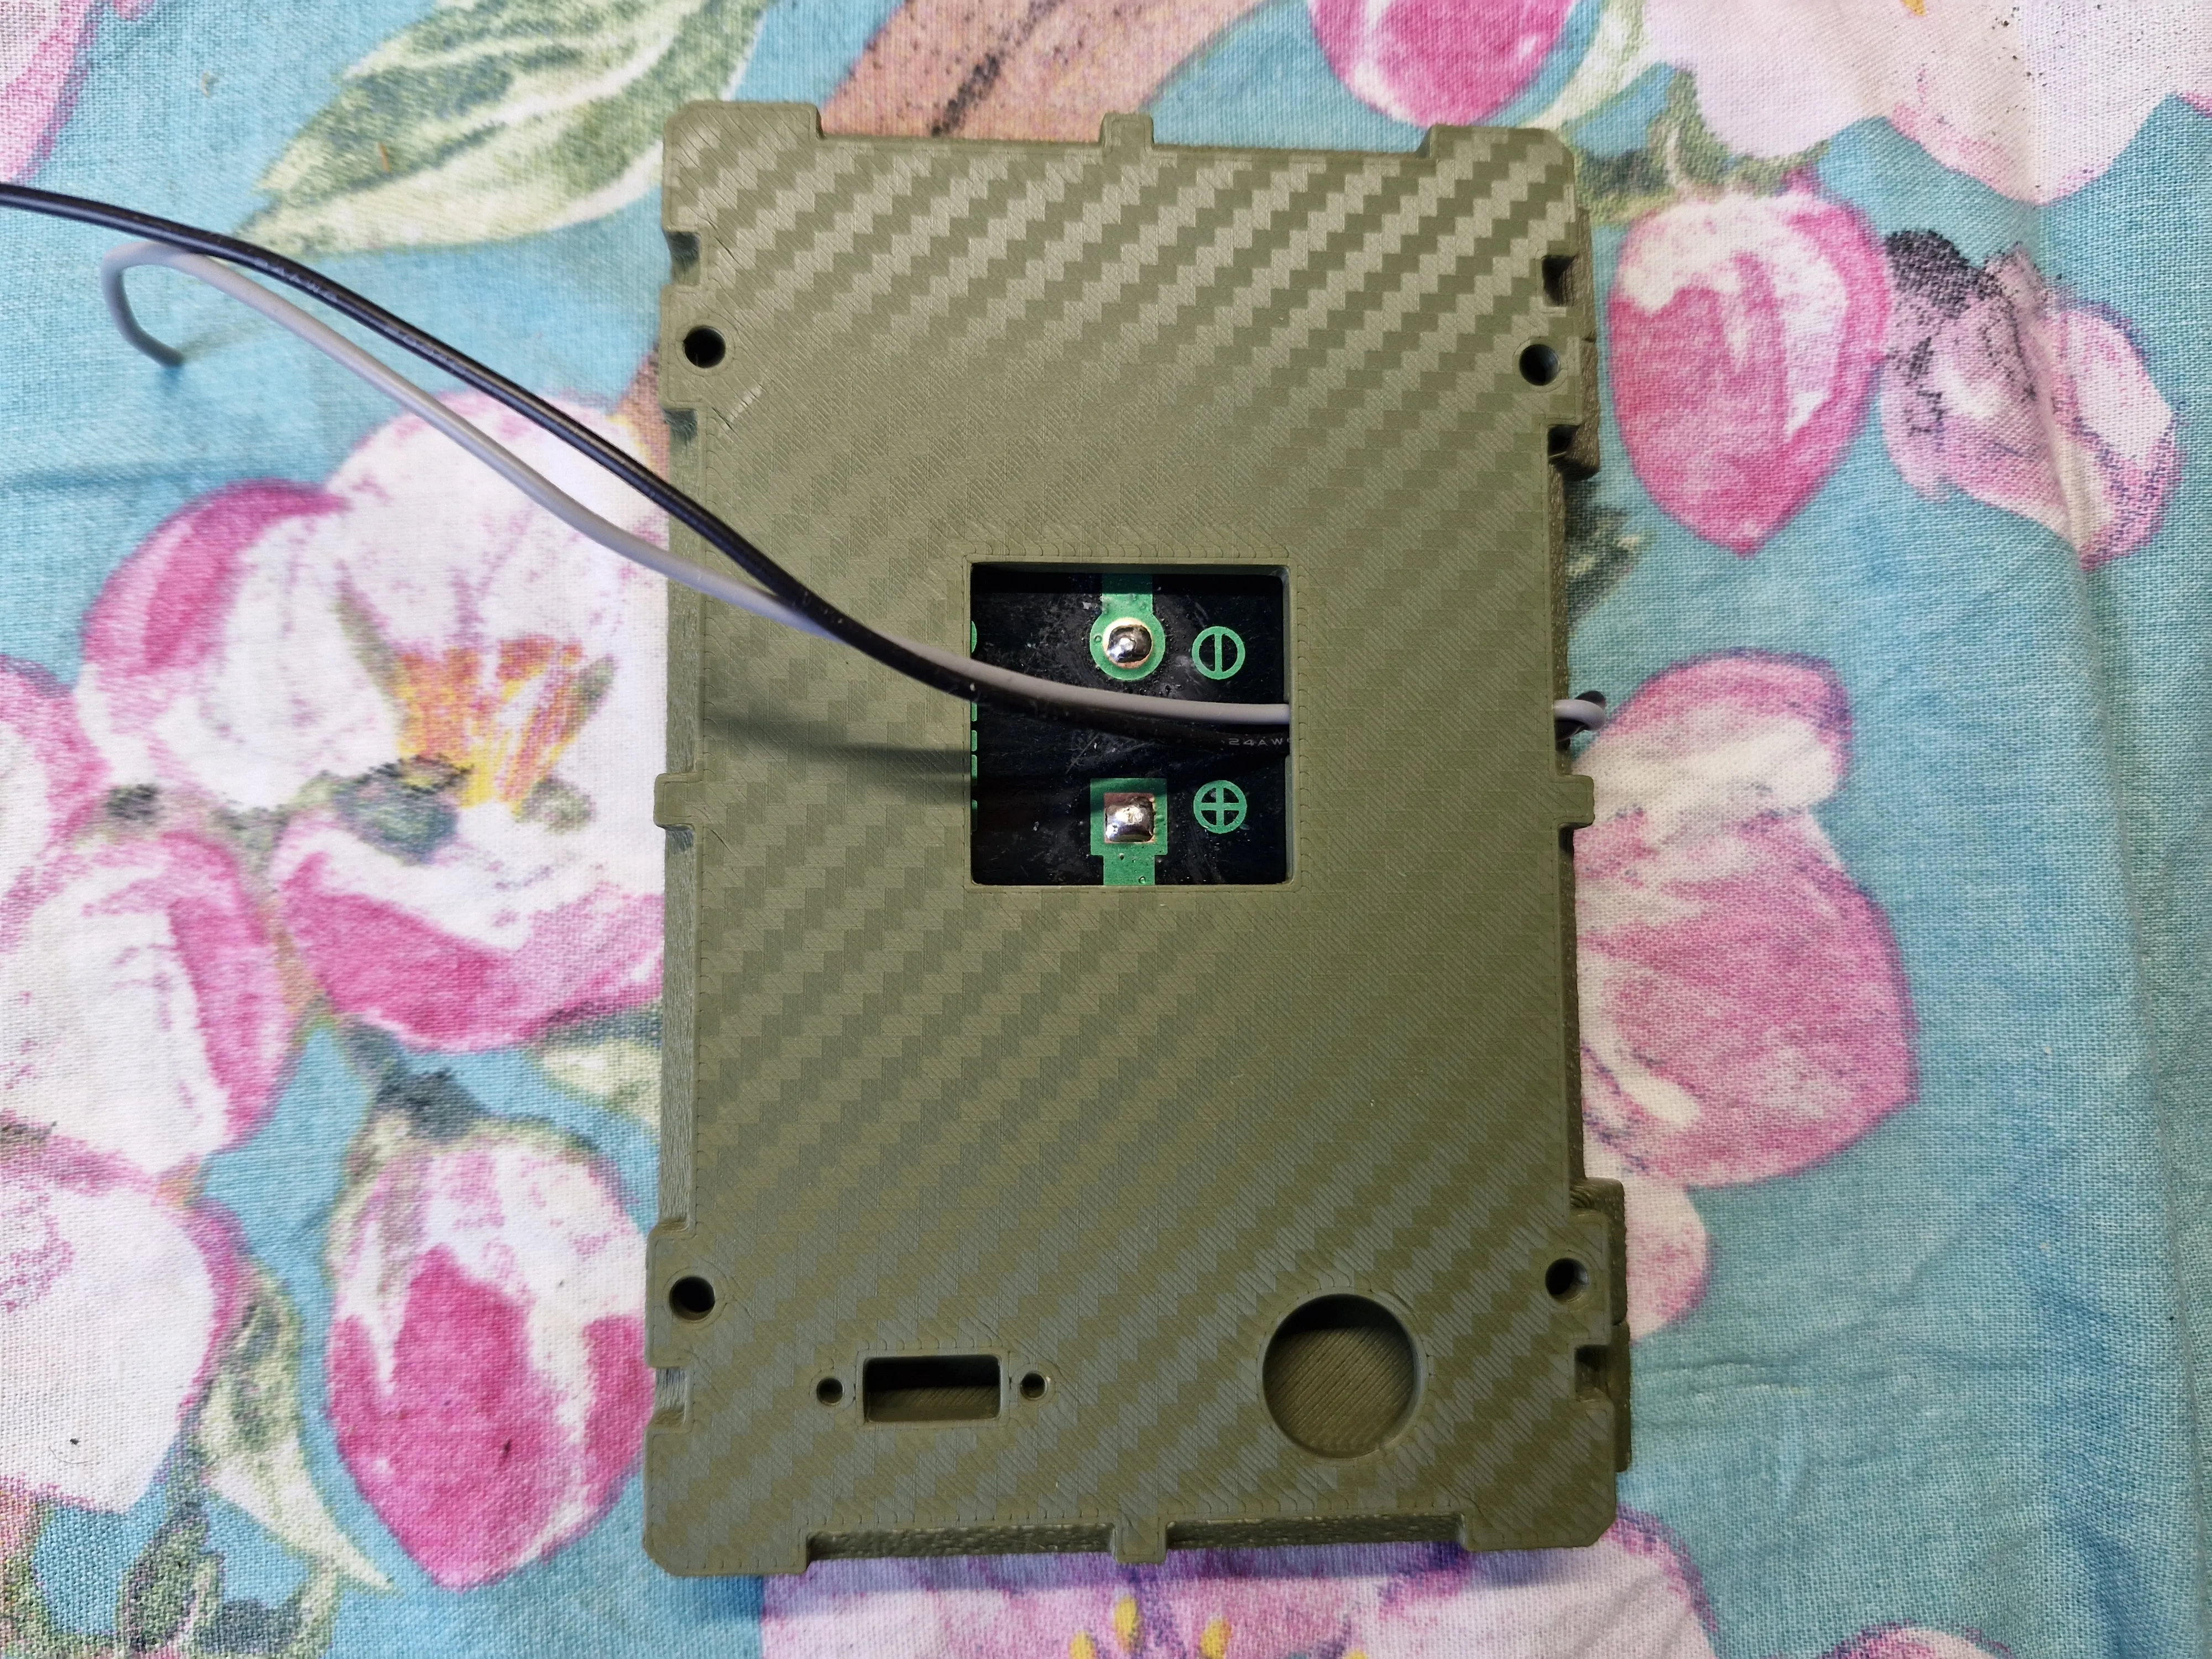
Result
A compact solar MeshCore node with:
- Magnetically closing solar panels
- Secure antenna mount
- Safe recessed power switch
- External charging port
- Visible LED through logo window
- Built-in solar stand
- Up to ~10 days runtime with very low sunlight
Boost Me (for free)
Like my models? Give me a boost! ⚡ It powers my next 3D experiment. 😜 It keeps the printer humming and my brain buzzing. 🤓
Follow me for more 3D experiments and borderline genius ideas. ⚡🤓
License

You shall not share, sub-license, sell, rent, host, transfer, or distribute in any way the digital or 3D printed versions of this object, nor any other derivative work of this object in its digital or physical format (including - but not limited to - remixes of this object, and hosting on other digital platforms). The objects may not be used without permission in any way whatsoever in which you charge money, or collect fees.


Comment & Rating (7)