flipped pedal mod for Logitech g29, g920, g923


Print Profile(1)
Description
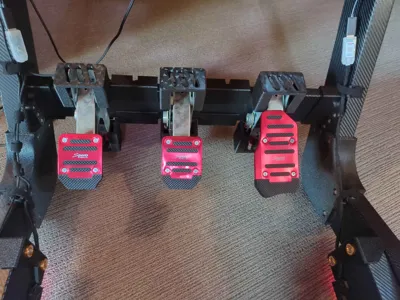
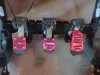
This is my custom flipped pedal mod for my g29 pedals, there are many like it, but this one is mine.
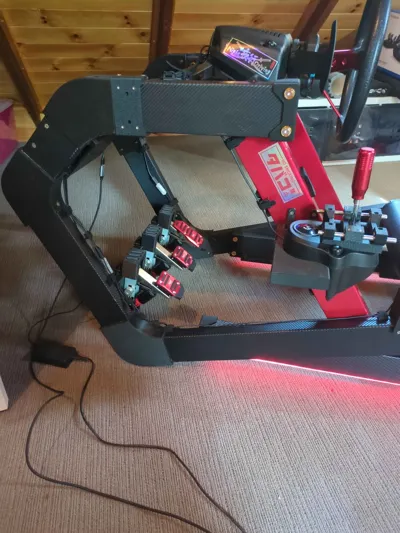
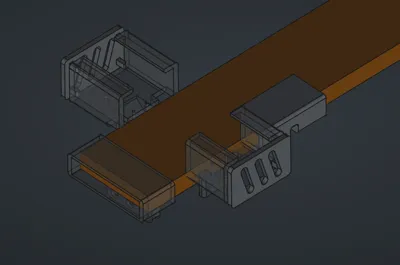
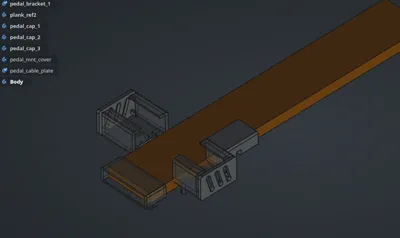
Very simple in concept and construction, 6 unique parts. I made this mod as a part of a larger fully custom diy racing sim rig project I'm working on (will upload as soon as I clean up the files) but this mod is versatile enough id say to be used on many other rigs as well as maybe some sort of diy floor stand for them. Hence I thought I'd share it.
The mod is mostly 3d printed BUT everything ultimately mounts to a plank of hardwood decking 90x20mm in profile. I just had this stuff lying around, but any material with this dimension should work. I think this is some sort of a standard size for decking, so it should be easy to find in store or garage. PS. I wrapped mine in carbon fiber for added fanciness. :)
INSTRUCTIONS:
- Print the parts included in their stated quantities (the profile has 3 plates with everything you need, raw part files state quantities).
- Determine the correct length of your ‘plank’, cut it to size and paint or wrap it (or dont, this is purely for looks).
De assemble the stock Logitech pedals and take out the pedals along with the cables (no need to unplug them, everything stays intact).
there are videos on youtube detailing this process, though its pretty simple, there are some hidden screws under the carpet grips.
keep the black screws (4 per pedal) that are used to attach the metal pedal bracket to the stock case. We will reuse them.
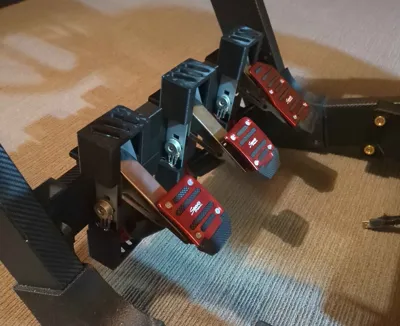
- For each of the pedals, attach pedal_cap_1 and pedal_cap_2 using those screws. They slide on from each side. Consider the desired pedal orientation and position when doing this. you probably want the slightly larger part to be on the side where the potentiometer cables come out of on each pedals, there are spaces for routing them which will become obvious.
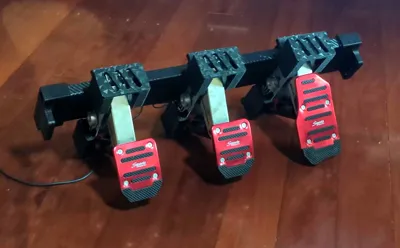
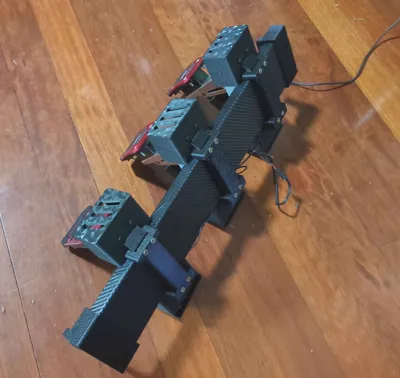
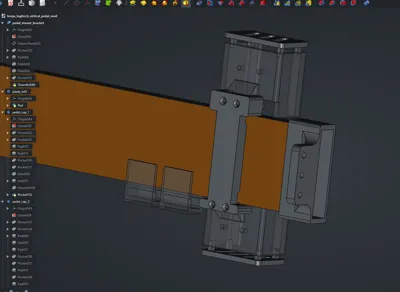
- At this point the pedals can slide onto the ‘plank’ and be spaced/positioned to your preference. Take this time to route your cables along the edges of the plank, and tape it down where appropriate. Once satisfied, on each pedal, press pedal_cap_3 part on from the rear of plank, connecting the two prior parts on each pedal and use appropriately sized 1-2 cm long wood screws to secure in place using the pre modeled holes (4 per pedal). Refer to pictures.
- Use the cable plates to cover the cable routing.
- Slide on the two pedal_mount_brackets from either side. If you are lucky they will pressure fit, if not, use adhesive or small wood screw to secure them in place. Press on the optional plastic covers on either side of the pedals. These could be easily modified to include your logo so go right ahead.
- assuming you cut your plant to the correct length, you should be done. Just attach it to your rig with screws/bolts appropriate to your specific cockpit.
It would be relatively trivial to adopt these to various types of metal pipe cockpits as well, good remix opportunity for you. But I don't have one. If enough demand, could consider sketching something up for specific cockpits if I can get a hold of the measurements/diameters of pipes etc.
Anyway, hope this is useful to someone, or maybe gives you an idea for your own project.
Note, the pedals shown in my photos are using a cosmetic pedal mod linked here:
You do not need to use these for this build. Stock pedals will do just fine.
Boost Me (for free)
for every boost, I will do 50 pushups (im not joking). YOU can directly break my lower back through the power of the internet by supporting my work :D
Comment & Rating (8)