
Rail Storage System - Ultimate Storage
Print Profile(3)

Description
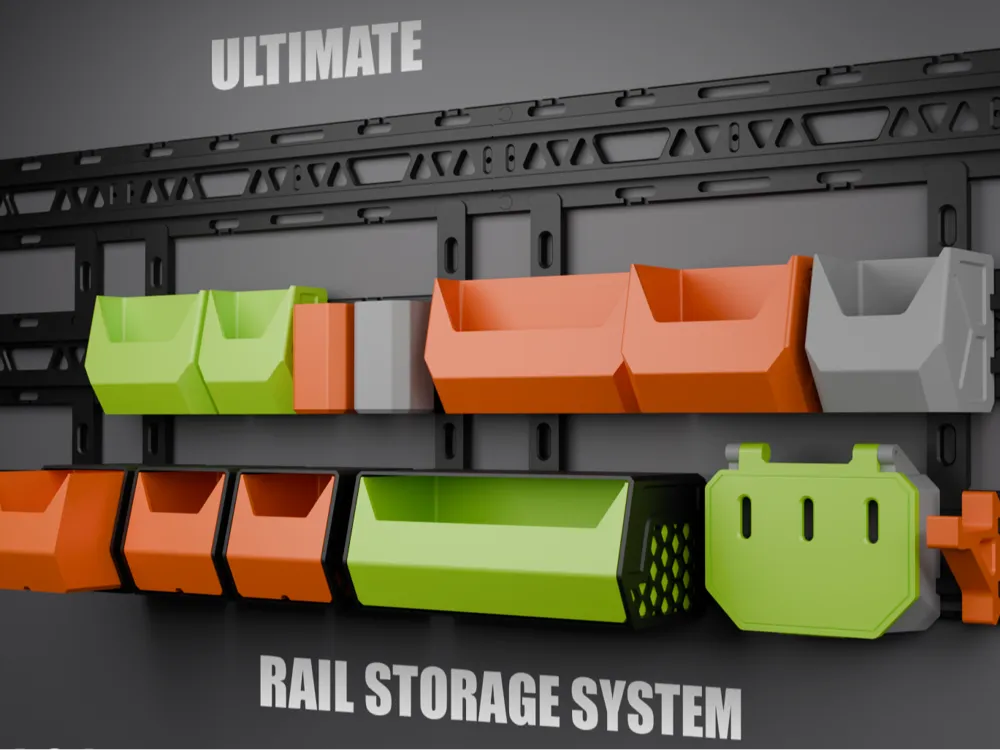
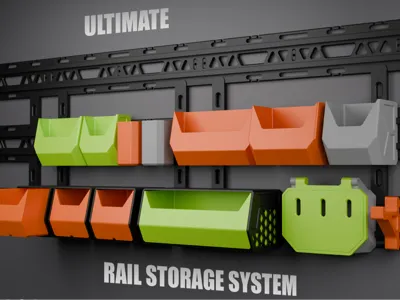
ULTIMATE RAIL STORAGE SYSTEM
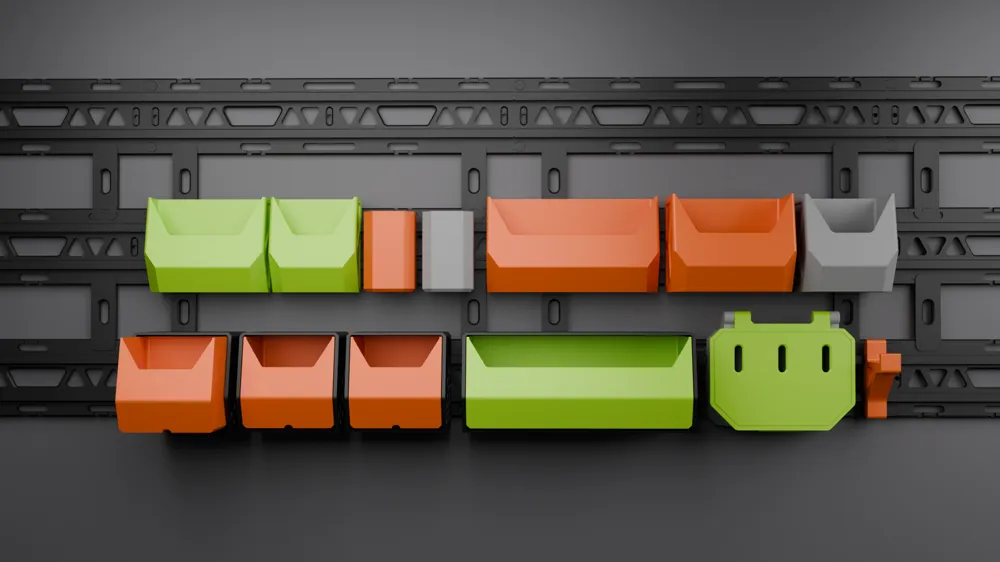
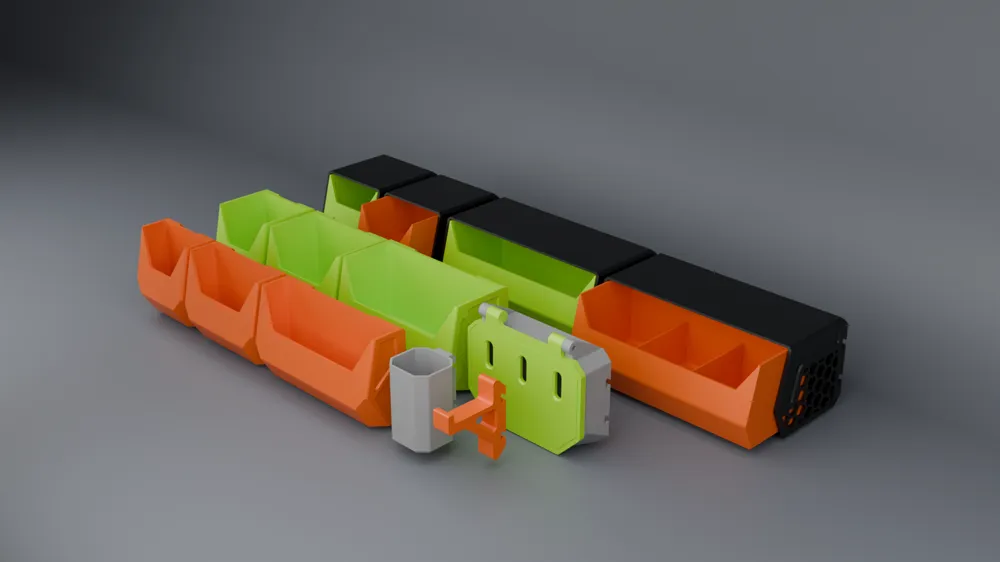
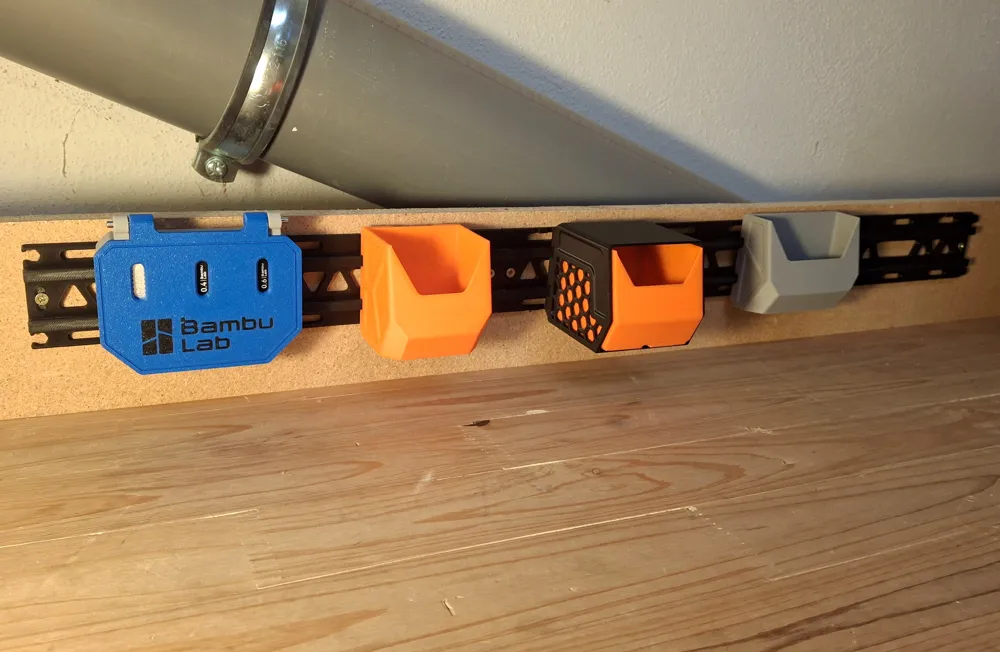
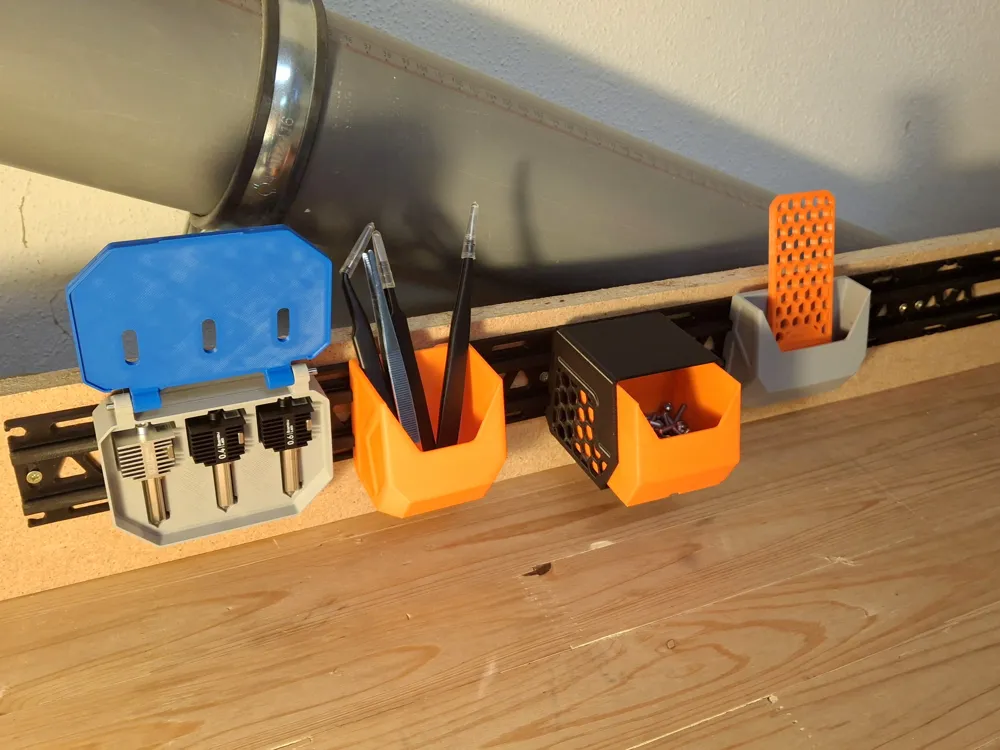
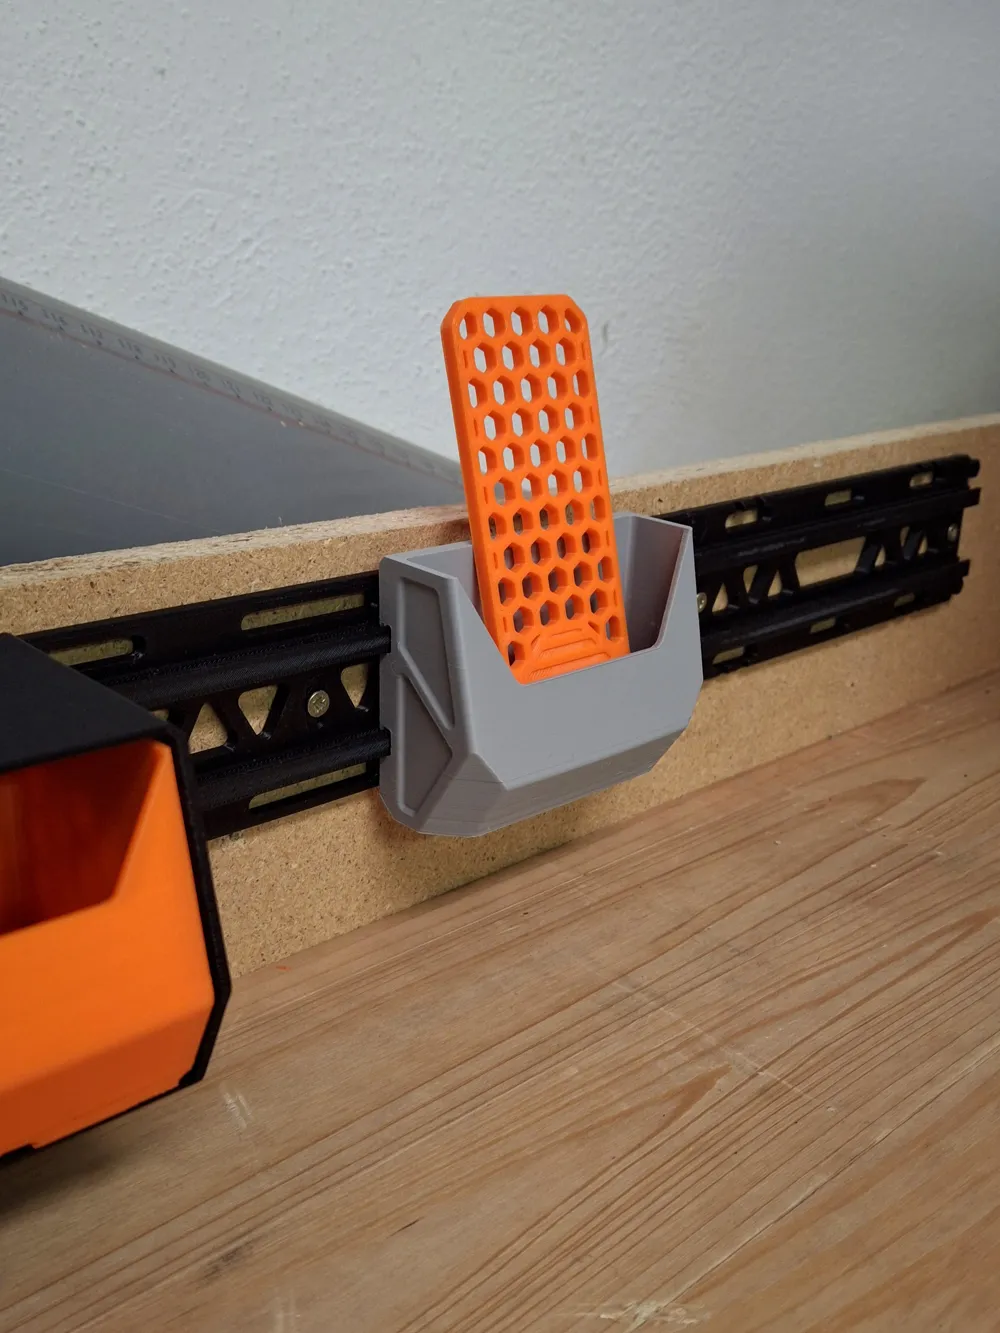
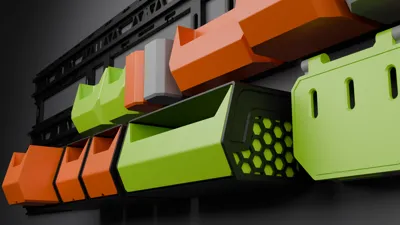
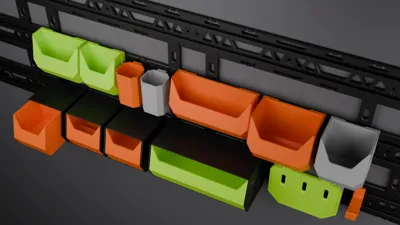
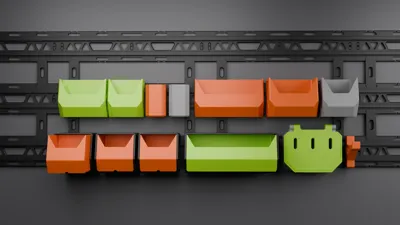
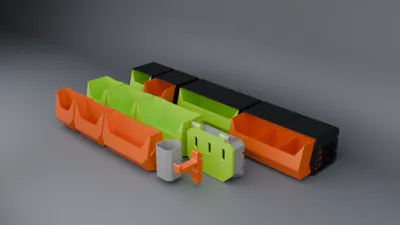
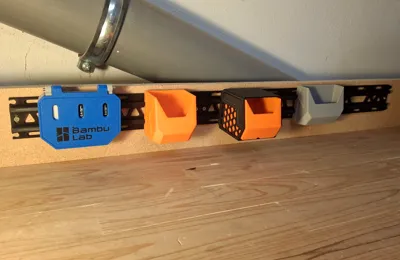
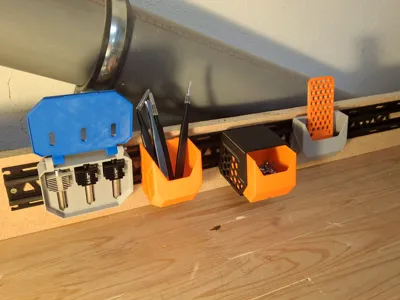
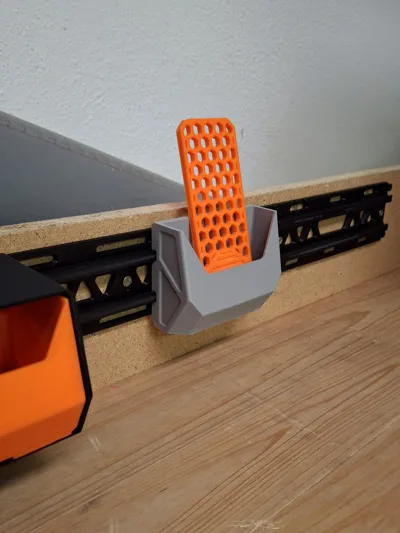
This storage system is a small project that I have been working on and it is designed to fit into your workspace/ workshop/ garage or home. The storage containers have been designed to slide along rails so you can create your own personal storage set up. I have created multiple storage container types and in different sizes. You can pick and choose which containers suit your needs the best from the print profile and then slide them onto the rail system.
This is an ongoing project so please leave comments or message me if you want specific container sizes or have any ideas of what I can add to improve the Storage System.
How the Rail Storage works:
1 - Rails
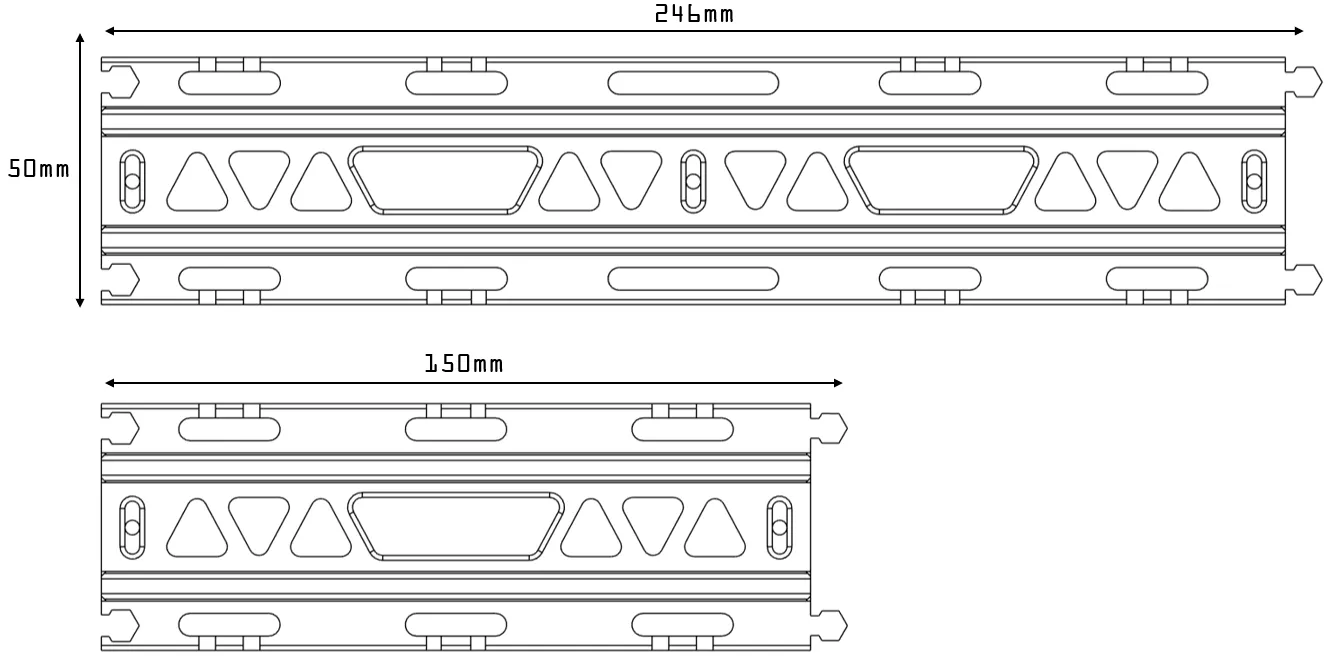
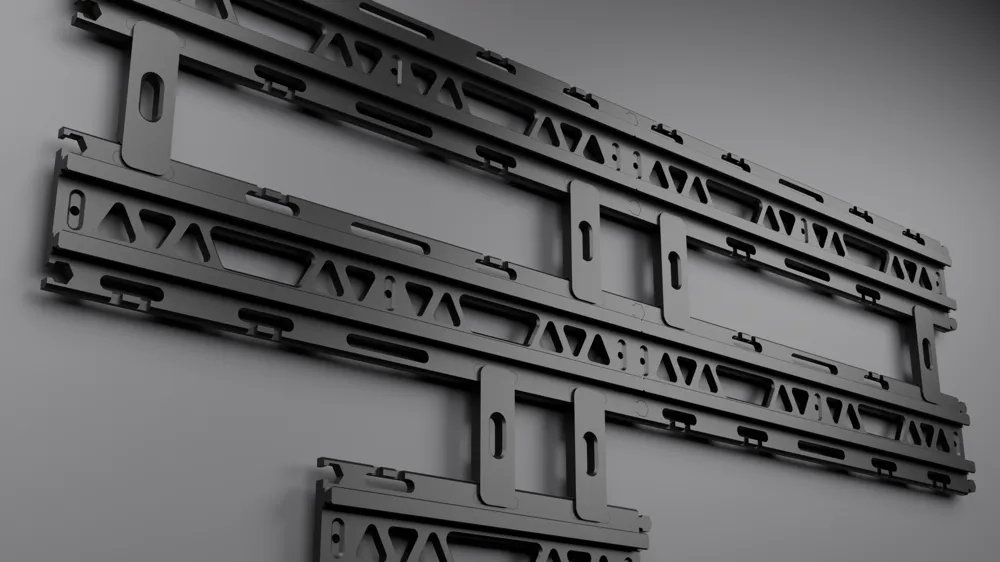
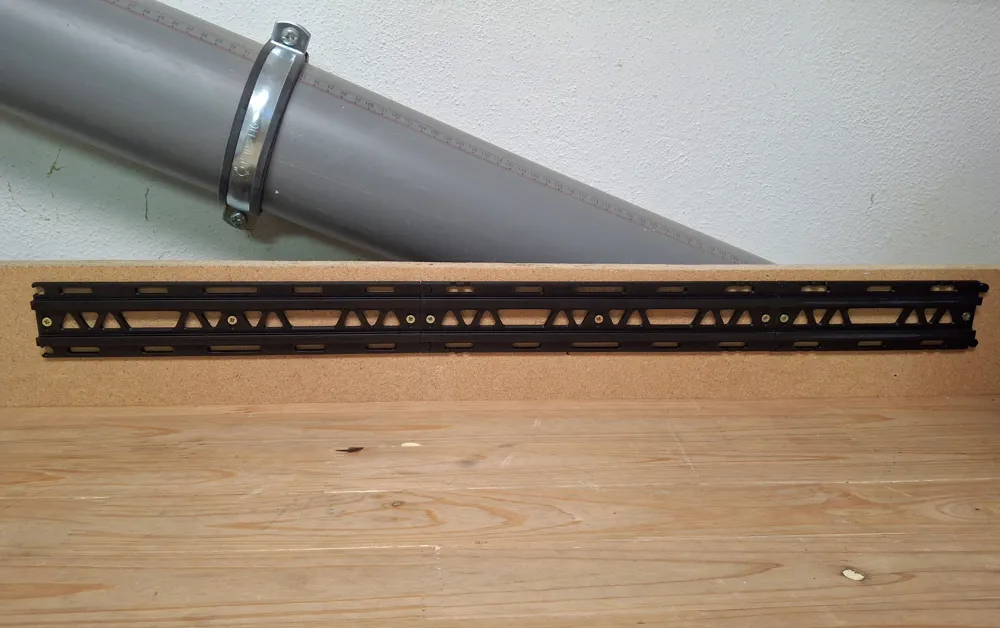
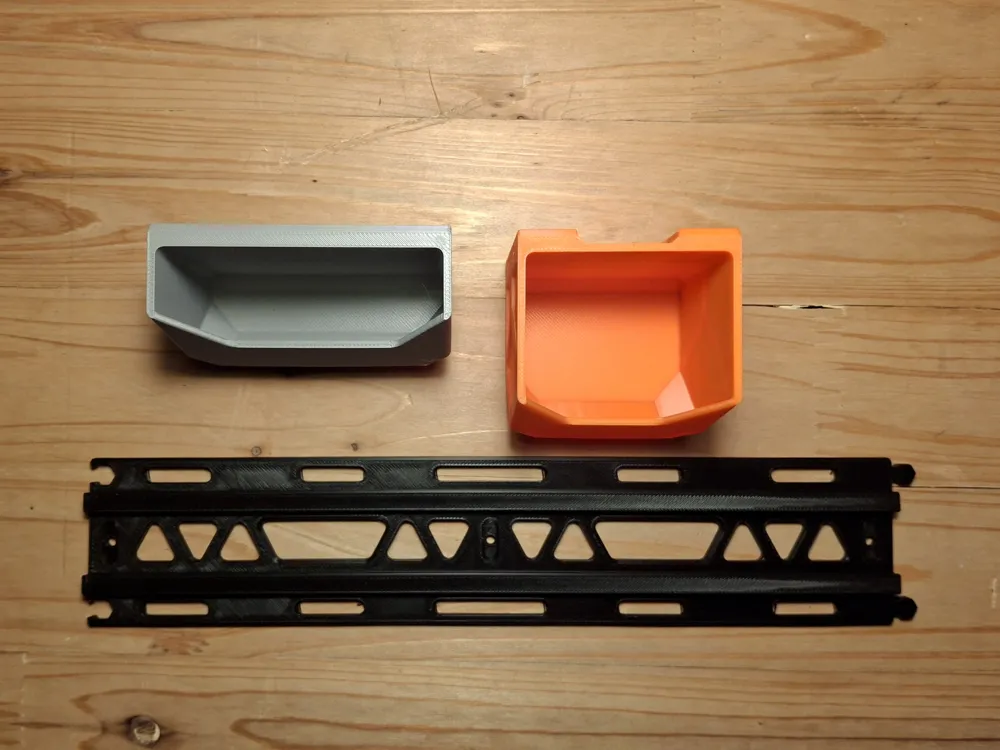
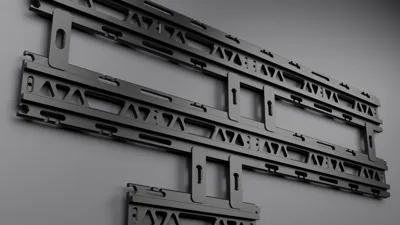
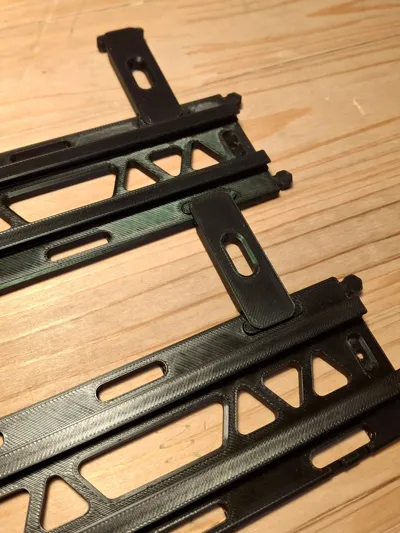
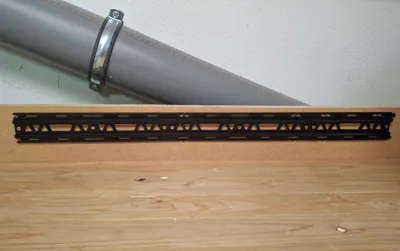
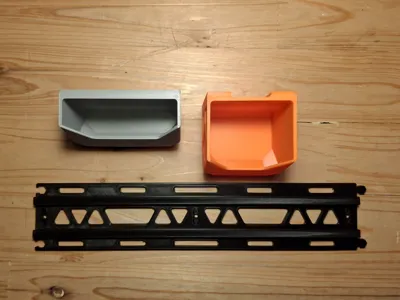
Here are the rails - There are two sizes, the smaller rail is designed for small spaces and to print on the A1 mini.
- Use 3x M3 screws to screw one rail fully to your wall (3 holes for long rail and 2 holes for small rail). Then connect the next rail using the hexagonal tabs. Screw this rail into place. Repeat this process.
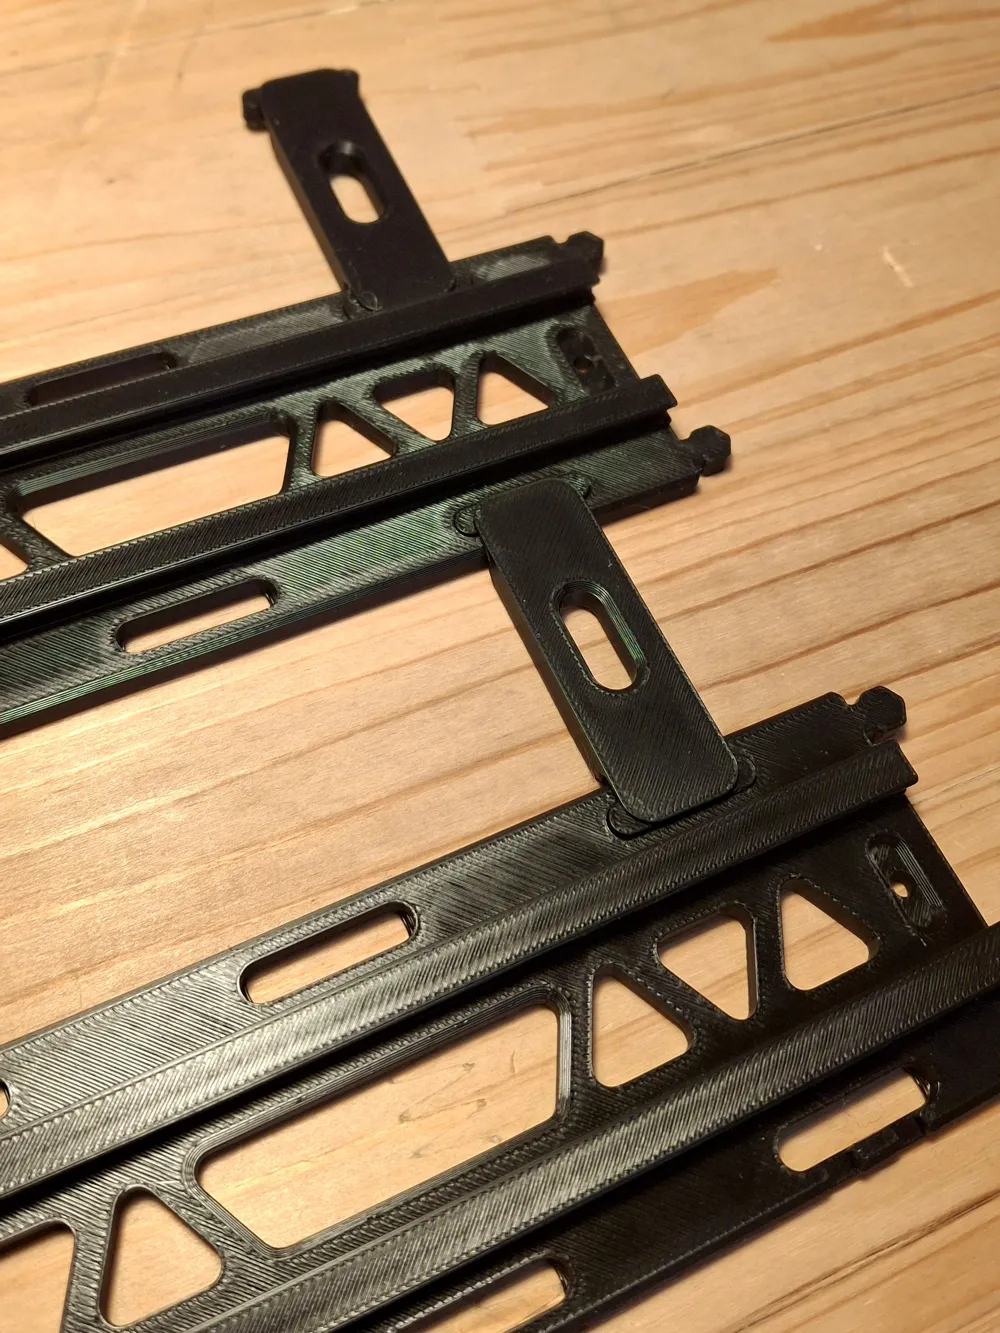
- I have also created spacers. The spacers are designed to keep equal gaps between the rails if you decide to place them above each other to create multiple rail lines. The spacers don't have to be there once you have screwed the rails to your wall. Obviously this is just a recommendation - you can have any sized gap between each line of rails.
- To use the spacers simply click them into place into the slots on the top and bottom of each rail. The spacer prints with tiny supports so please remove the supports so the spacers can fully click into place.
2 - The storage containers
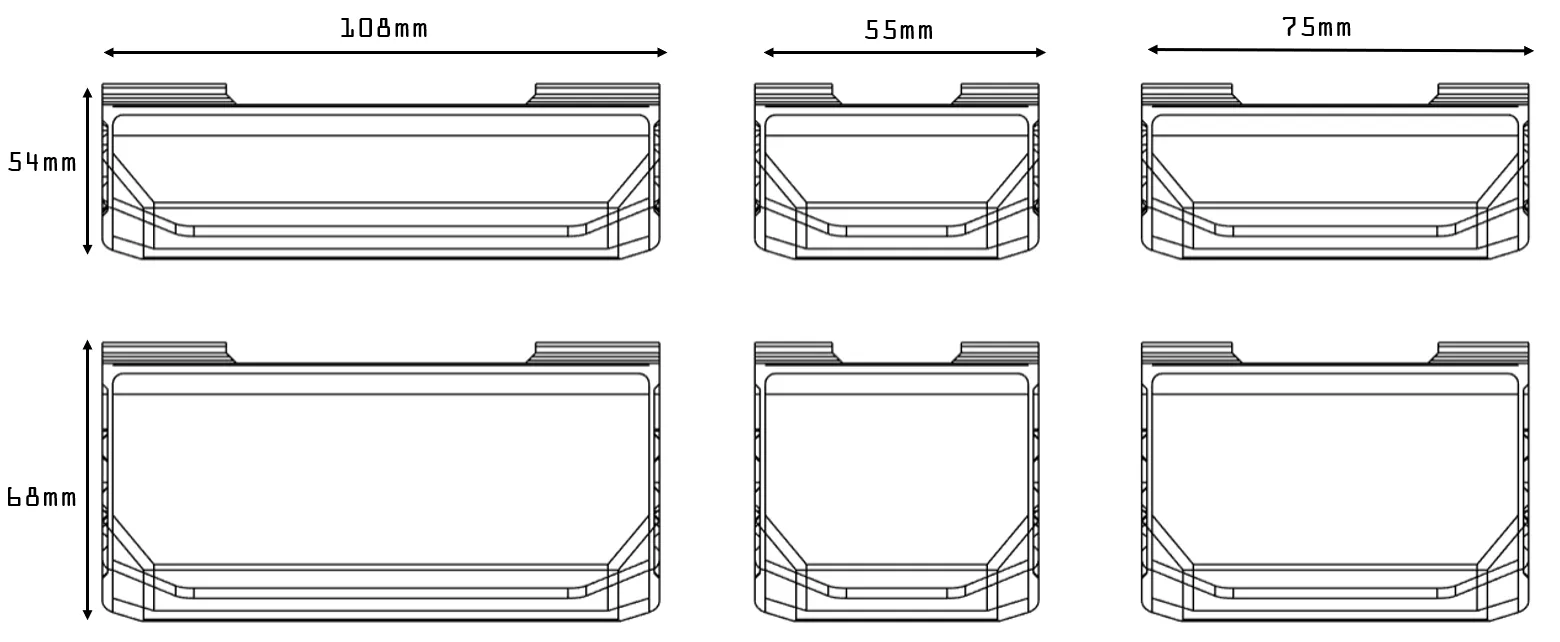
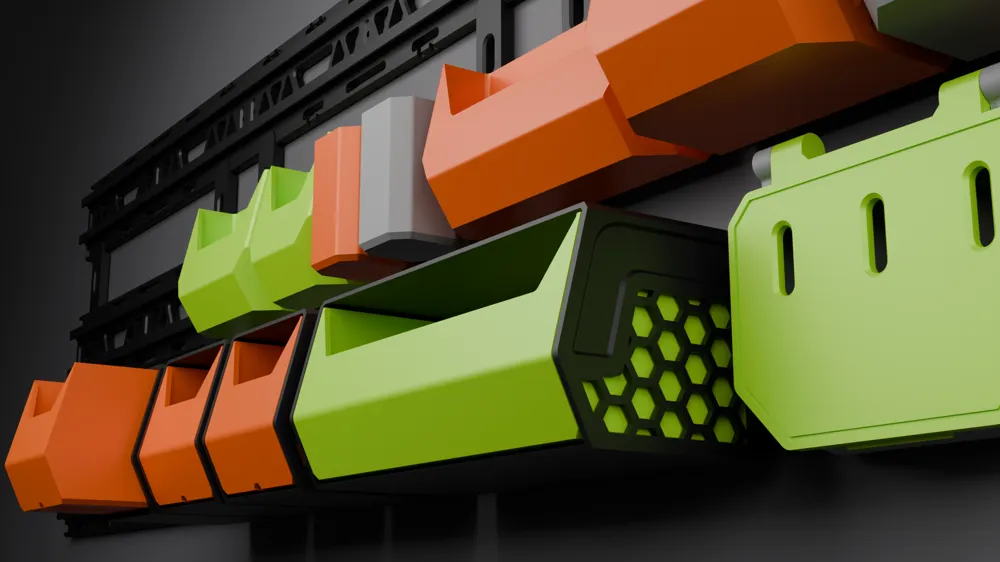
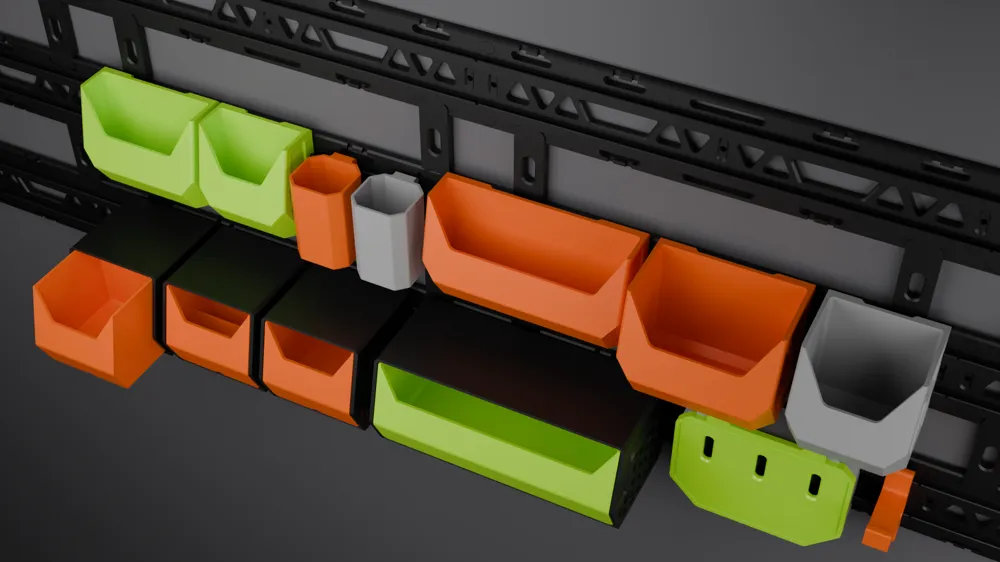
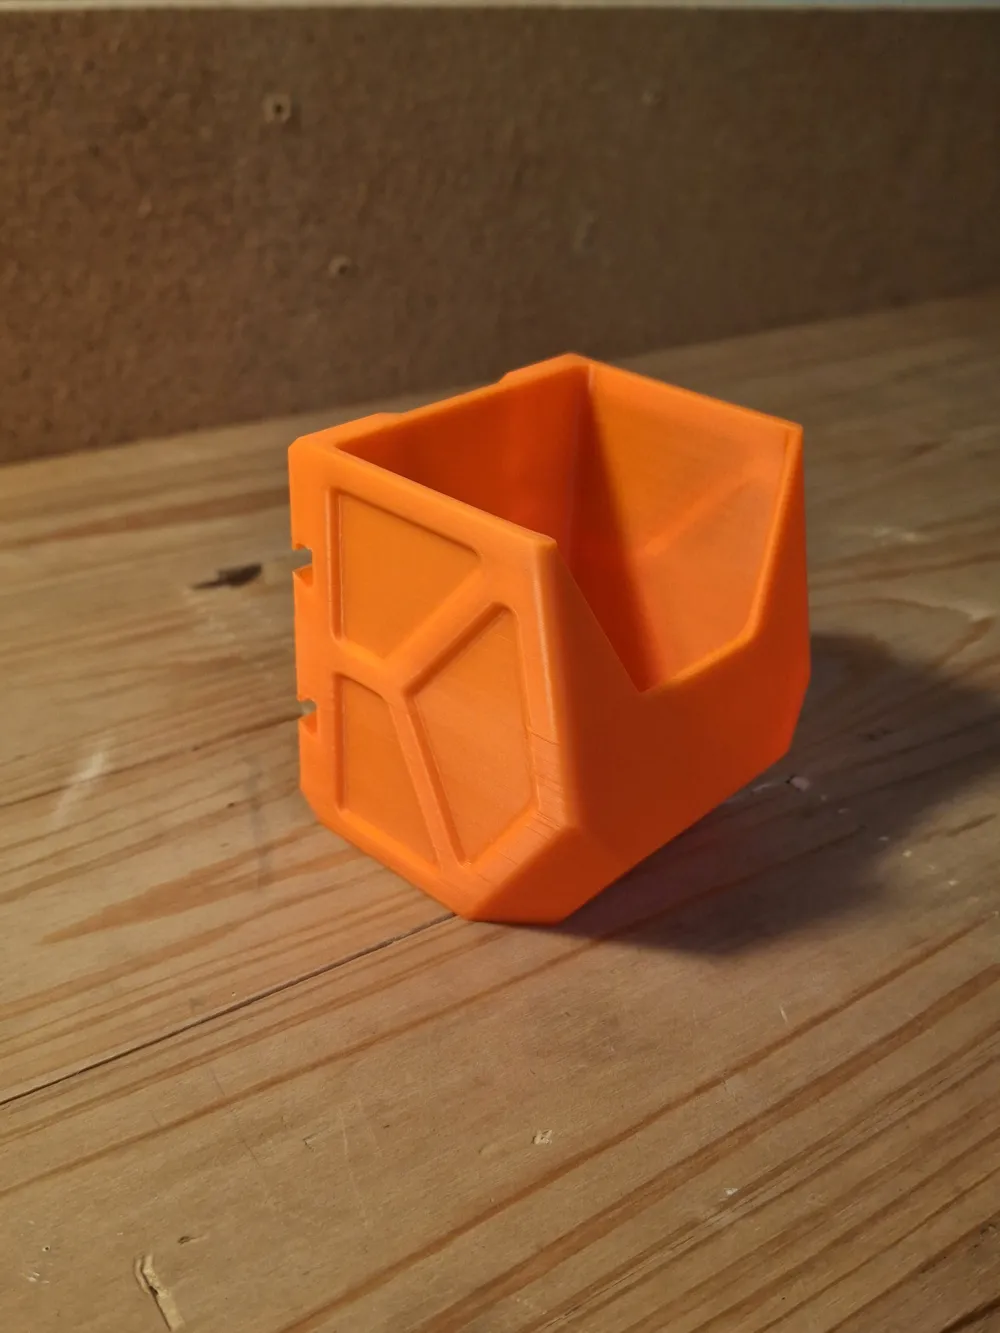
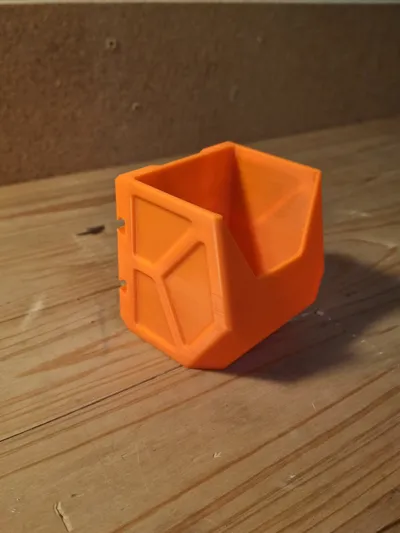
- There are two types of ‘open’ containers - slime and wide. They come in 3 lengths.
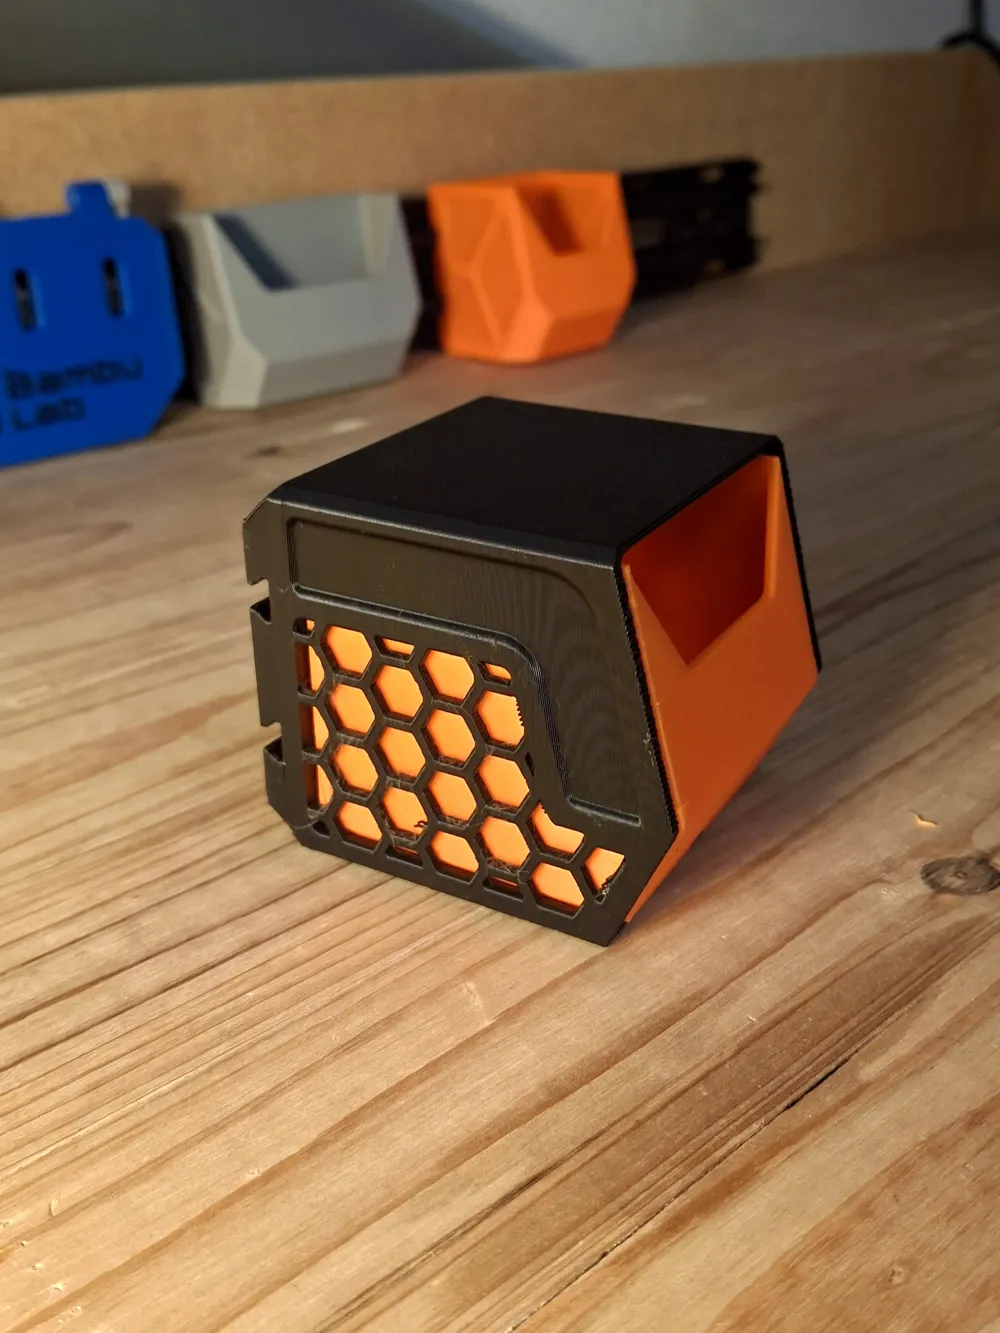
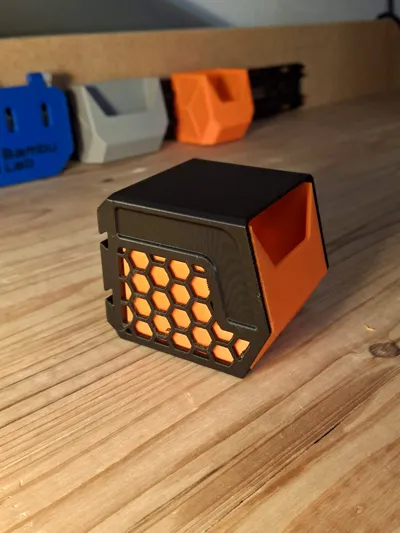
- There are also ‘closed’ containers which pull out of their housing - also come in different sizes.
- The closed containers also come in two configurations - one is simply a contianer and the other has divides so you can seperate the items into the container eg: Container for M3 bolts - 3 different lengths of M3 bolts.
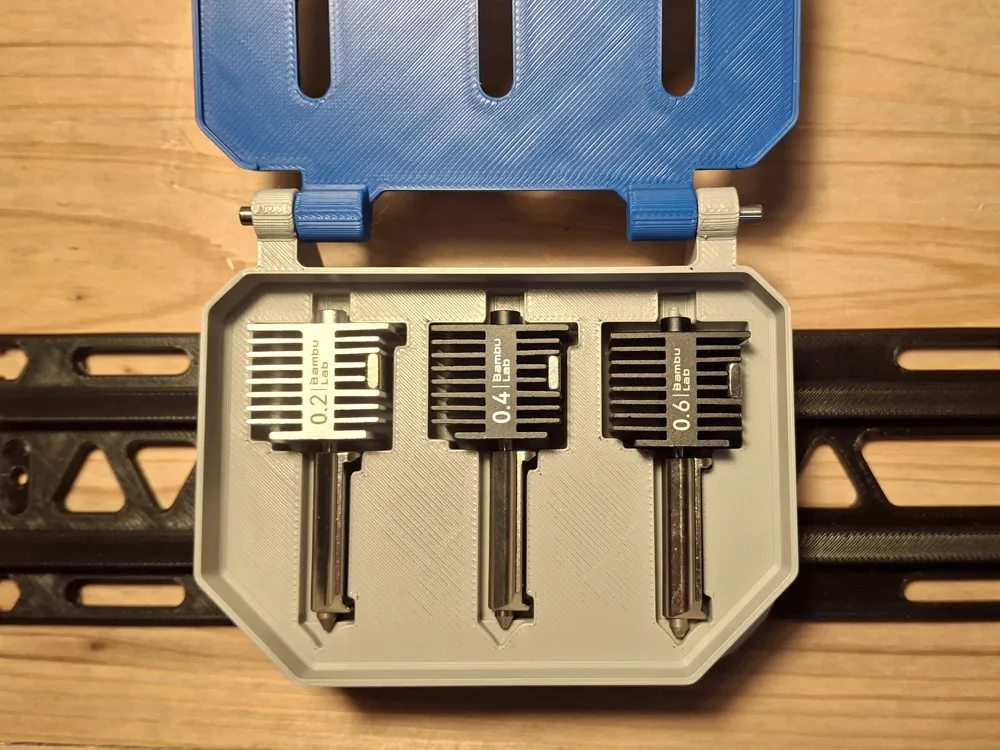
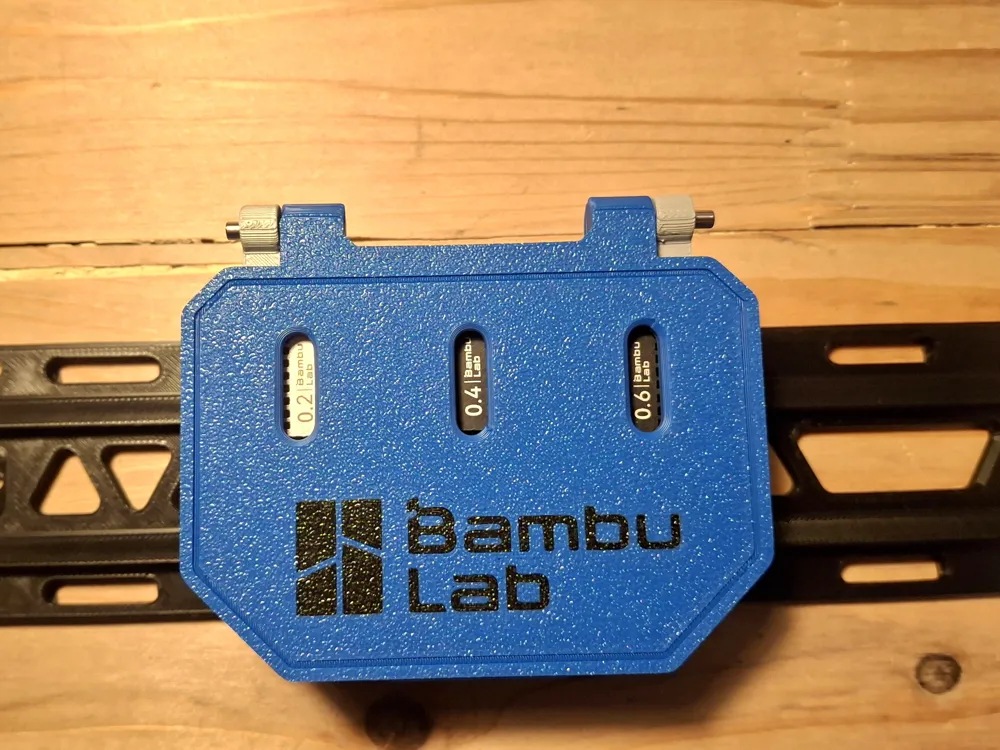
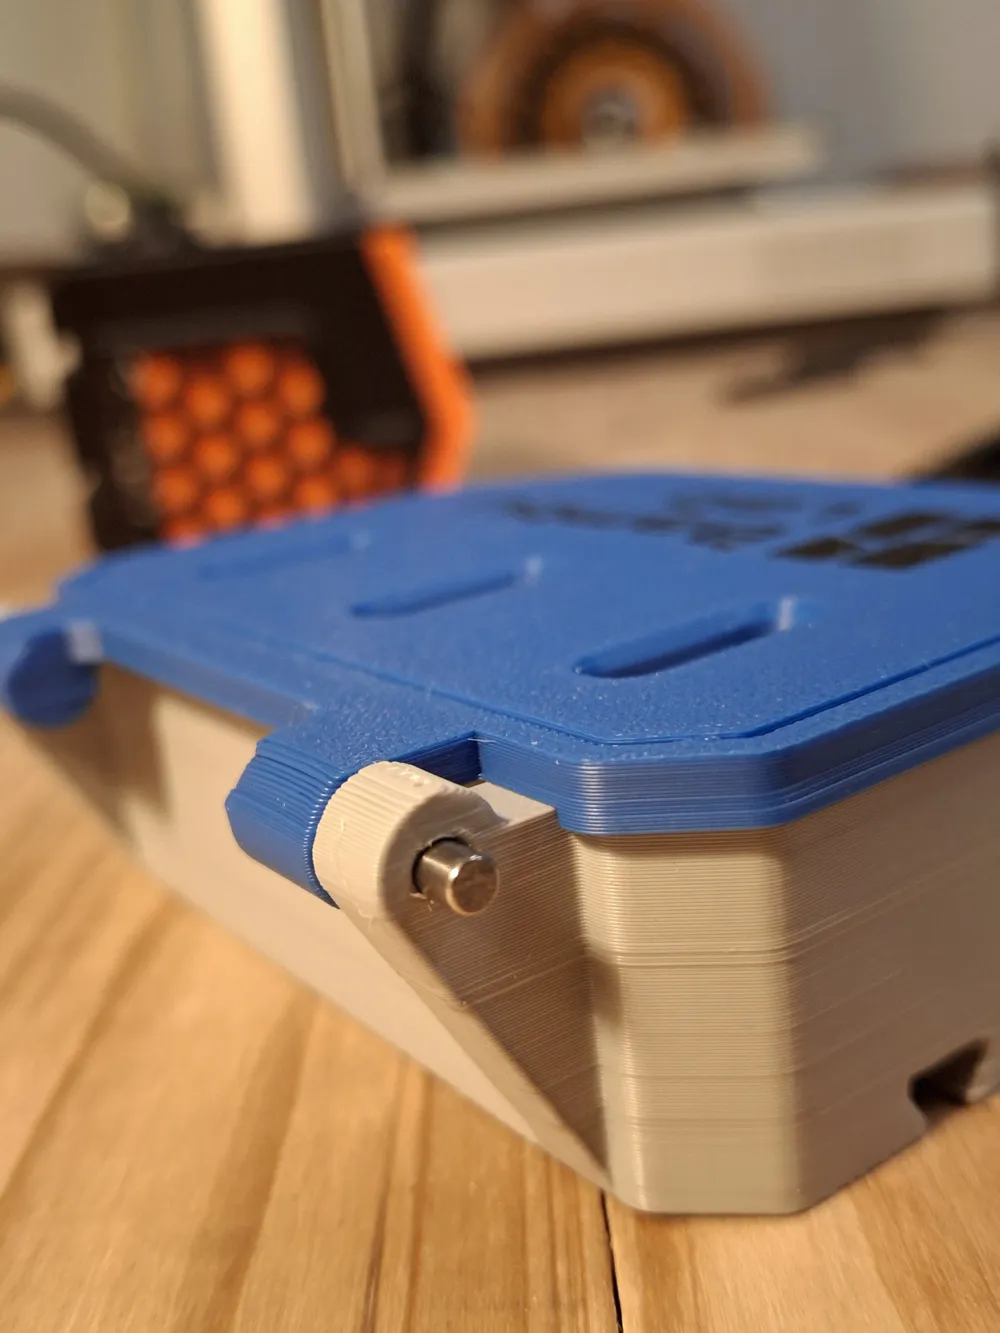
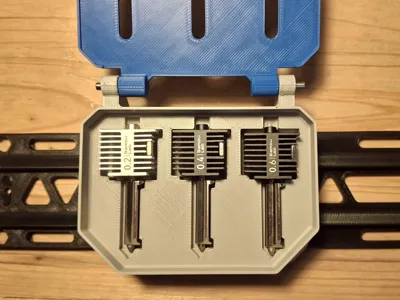
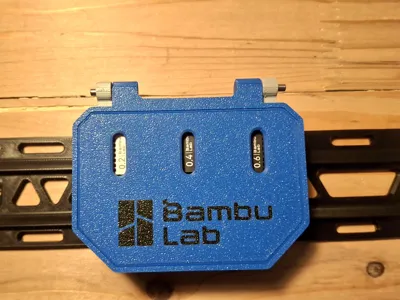
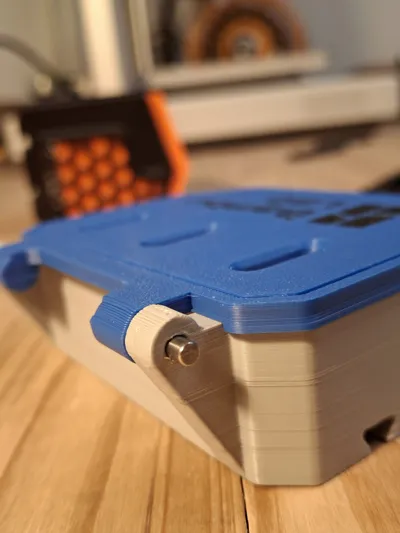
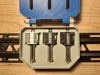
I have also created a storage box for A1 nozzles - for this you can print the dowel to create the hinge. I have bought metal dowel from the Bambu Lab website to create a strong and accurate hinge. (The metal dowel is highly recommended) Size needed - M3 x 16mm dowel
- Please note the holes in the print will not be exactly 3mm so you will need to drill out the holes with a 3mm drill.
Filaments used:
- Bambu Lab PLA Basic
Designed in Fusion360
Renders created in Blender
Boost Me (for free)
Thank you for looking at my design. A boost would be greatly appreciated!
License

You shall not share, sub-license, sell, rent, host, transfer, or distribute in any way the digital or 3D printed versions of this object, nor any other derivative work of this object in its digital or physical format (including - but not limited to - remixes of this object, and hosting on other digital platforms). The objects may not be used without permission in any way whatsoever in which you charge money, or collect fees.


Comment & Rating (0)