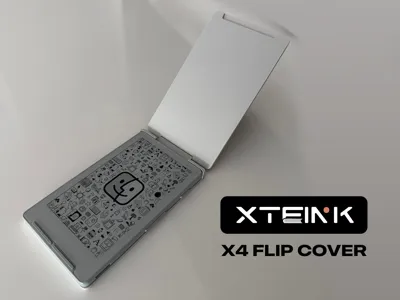
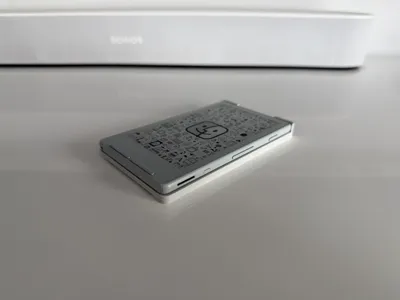
Xteink X4 Flip Cover


Print Profile(2)
Bill of Materials
- Paperclips x 2: Thickness around 0.8 mm
Description
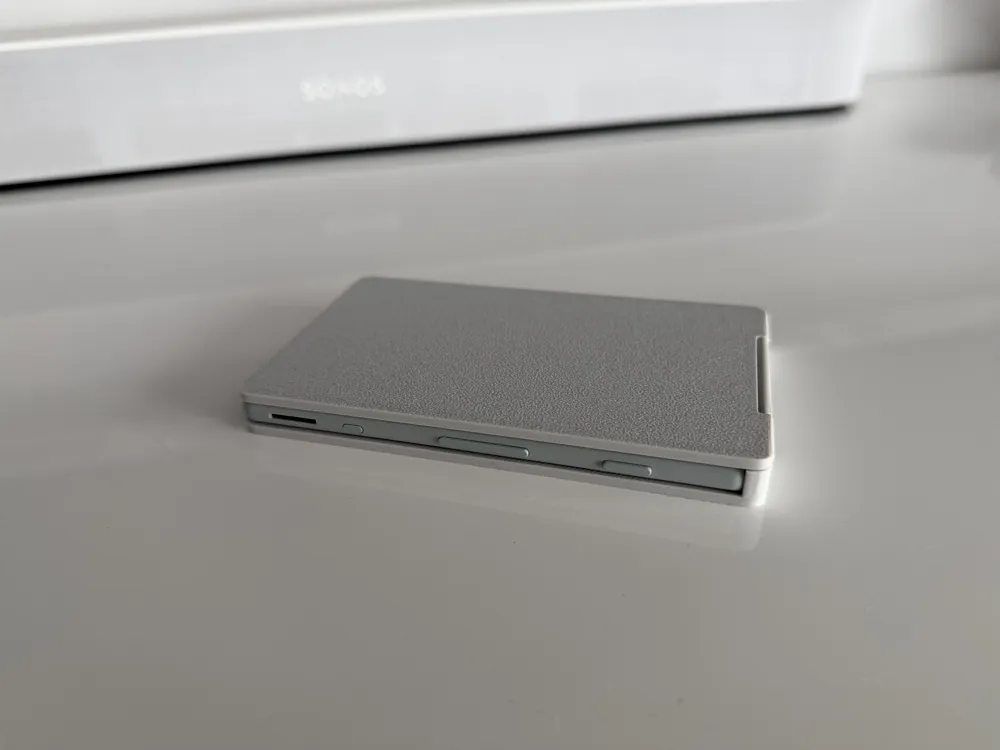
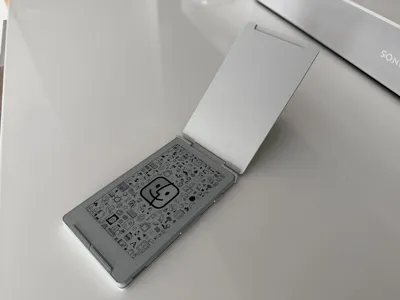
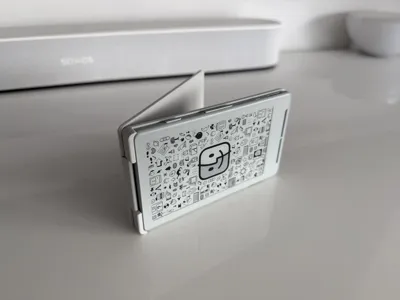
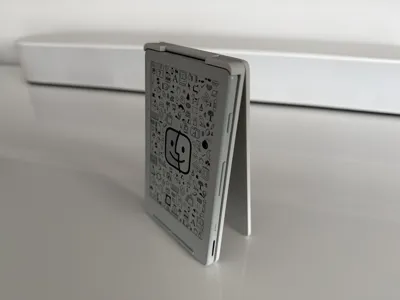
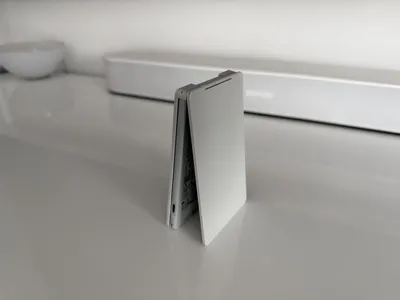
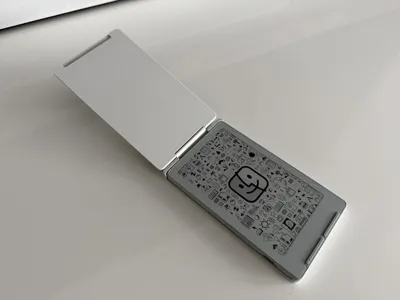
Meet your new favorite weekend project. I designed this flip cover because I wanted something that felt solid, looked cool, and actually worked. Instead of relying on thin plastic pins that snap the second you drop them, this case uses a "life hack" approach: old-school metal paperclips. It gives the hinge a smooth, sturdy feel that’s honestly pretty addictive to flip.
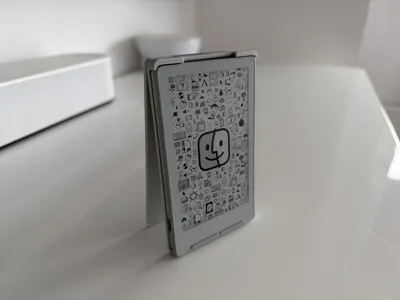
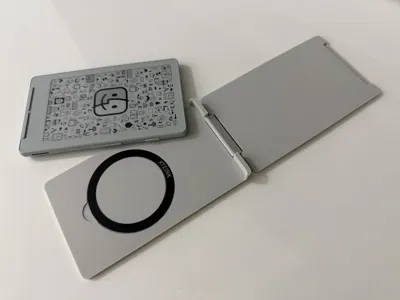
It’s also fully MagSafe-ready! I’ve carved out a perfect spot for an Xteink X4 ring, so you can snap it onto your charger or car mount without any bulk.
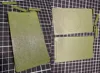
I know every printer is a little different (some print "fat," some print "thin"), so I’ve included three different hinge sizes. You don't have to guess; just print the set, try them out, and pick the one that feels the best to you.
Boost Me (for free)
If you like the model and had a successful print, please consider giving it a Boost! It really helps me keep these projects coming. 🫶
Assembly Guide
Additional Hardware:
- 2x Paperclips
- 1x Xteink X4 MagSafe Ring
Your print file includes three different hinge pieces labeled with slightly different widths. Because every 3D printer has a different level of "squish" (horizontal expansion), you’ll want to test the fit before final assembly.
1. Prep the Paperclips

Unfold your paperclips until they are as straight as possible. Preferably don't use plastic coated paperclips.
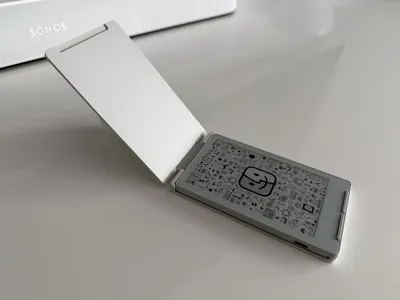
2. Align the Hinge
Position the Hinge piece between the Front and Back covers.
3. Insert the First Pin
Slide your first straightened paperclip into the hole on the side of the Front Cover, threading it through the Hinge piece. (If it feels stuck, don't force it! Rotate the paperclip like a drill bit as you push; this helps it clear any tiny 3D-printing artifacts inside the channel.)
4. Secure the Back Side
Repeat the process for the Back Cover. Once both paperclips are fully inserted, the case should flip open and closed freely.
5. Trim and Flush
Trim the excess wire so it's flush with the case.
6. Install the MagSafe Ring
The back of the case features a dedicated recessed area designed for the MagSafe ring (included with the Xteink X4).
- Clean the Surface: Use a small amount of isopropyl alcohol or a damp cloth to wipe the recessed circle on the back of the case. This removes any finger oils or 3D-printing residue, ensuring the tape bonds properly.
- Peel and Align: Carefully peel the protective backing from the double-sided tape on the MagSafe ring.
- The Drop-In: Align the ring with the circular indentation. Start by touching one edge down first, then slowly lower the rest of the ring to avoid trapping air bubbles.
- Set the Adhesive: Press down firmly on the ring with your thumb for about 30 seconds.
Tip: For the strongest bond, let the adhesive "cure" for about an hour or use a bit of superglue.
A Quick Heads-Up
I designed this flip cover to be a fun, sturdy project, but please remember that it is a DIY 3D-printed accessory.

While it’s great for everyday use, I am not responsible for any damage to your X4, MagSafe accessories, or anything else that might happen while using this cover. 3D prints can behave differently depending on your filament and printer settings, so please use common sense:
- Double-check that your hinge pins (paperclips) are secure.
- Make sure your MagSafe ring is stuck on tight.
- Regularly check for any cracks or wear in the plastic.
License
You shall not share, sub-license, sell, rent, host, transfer, or distribute in any way the digital or 3D printed versions of this object, nor any other derivative work of this object in its digital or physical format (including - but not limited to - remixes of this object, and hosting on other digital platforms). The objects may not be used without permission in any way whatsoever in which you charge money, or collect fees.
Comment & Rating (61)