RPi5 Pro Rack Mount 1U - Noctua & NVMe Edition


Print Profile(3)

Description
Description
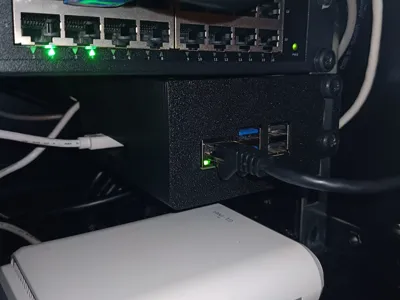
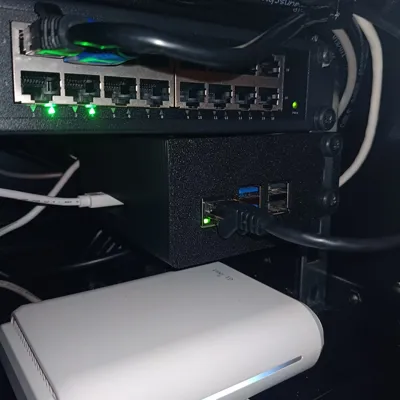
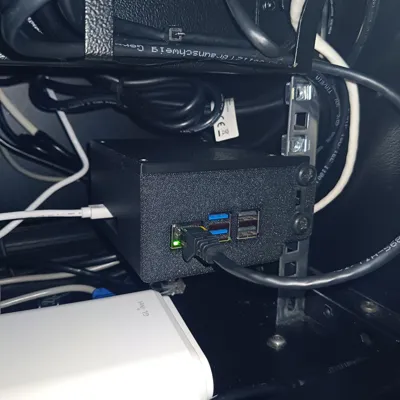
Take your Home Lab to the next level with this professional 1U Rack Mount for Raspberry Pi 5. This project is designed for users who don't want to compromise on performance or aesthetics.
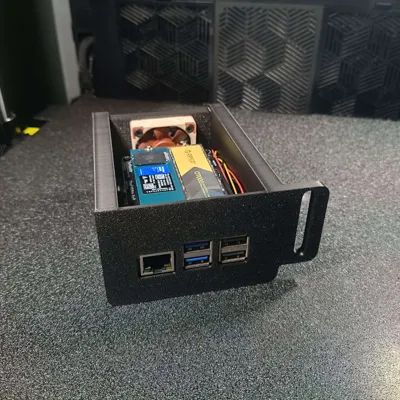
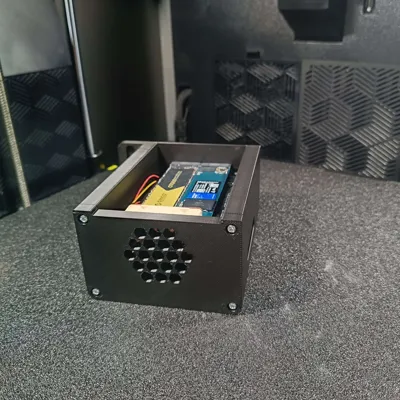
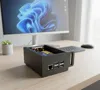
It features a dedicated space for NVMe Shields (up to 23mm) and a custom-designed back panel for a 40mm Noctua fan, ensuring your Pi 5 and SSD stay cool even under heavy workloads.
Key Features:
- Heat-Set Ready: Designed for M3 brass inserts for a rock-solid, professional assembly.
- Advanced Cooling: Optimized airflow with a custom honeycomb back panel for 40mm fans.
- NVMe Support: Spacious internal volume to accommodate most NVMe top/bottom shields.
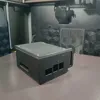
- Pro Aesthetics: Clean front bezel that hides the clutter while keeping ports accessible.
- Modular Design: Part of an upcoming ecosystem (SSD storage units and desktop versions coming soon!).
B.O.M. (Bill of Materials)
To complete this build, you will need:
| Item | Quantity | Details |
|---|---|---|
| Raspberry Pi 5 | 1 | Main Board |
| M3 Heat-Set Inserts | 4 | 3mm to 5mm length |
| Noctua 40mm Fan | 1 | 5V PWM (NF-A4x10 or NF-A4x20) |
| M3 Screws | 4 | 12mm to 25mm (depending on fan thickness) |
| NVMe Shield | 1 | Optional (Compatible with most brands) |
| M2.5 Screws/Standoffs | 4 | For mounting the Pi to the base |
Print Settings (Recommended)
- Material: PETG or ASA (recommended for heat resistance), though high-quality PLA+ works too.
- Wall Loops: 3 or 4 for structural strength around the inserts.
- Infill: 15-20% (Gyroid).
- Supports: Minimal supports needed for the front bezel openings.
- Layer Height: 0.2mm for a great balance between speed and detail.
Assembly Instructions
- Inserts: Use a soldering iron to carefully press the 4 M3 brass inserts into the rear holes of the main body.
- Fan: Mount the Noctua fan to the back panel using M3 screws.
- Pi Mounting: Secure your Raspberry Pi 5 (with its shield) to the base using standard M2.5 standoffs.
- Closing: Screw the back panel onto the main body.
- Rack It: Slide it into your 19" rack and enjoy the clean look!
Tips for Makers:
If you are using a Bambu Lab AMS, I highly recommend painting the "Raspberry Pi 5" text on the top bezel with a contrasting color (like white or red) for that extra "wow" factor!
Documentation (1)
License
You shall not share, sub-license, sell, rent, host, transfer, or distribute in any way the digital or 3D printed versions of this object, nor any other derivative work of this object in its digital or physical format (including - but not limited to - remixes of this object, and hosting on other digital platforms). The objects may not be used without permission in any way whatsoever in which you charge money, or collect fees.
Comment & Rating (1)