Mini Kukirin G2


Print Profile(3)


Description
Description
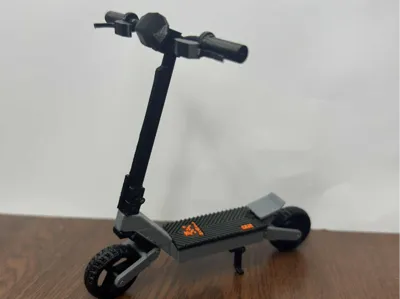
KuKirin G2 – 1:9 Scale Electric Scooter – Model Kit
📄 Description
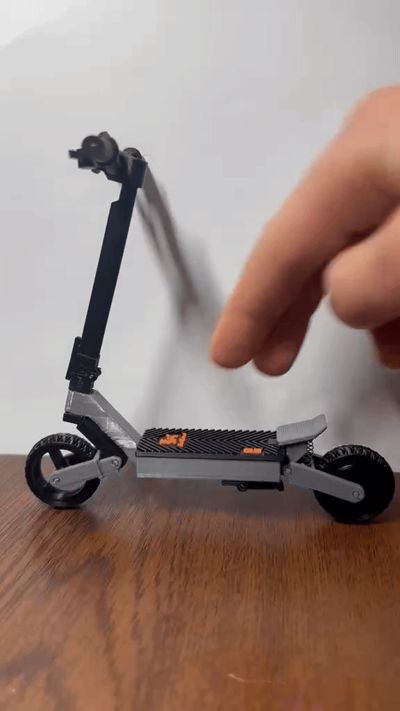
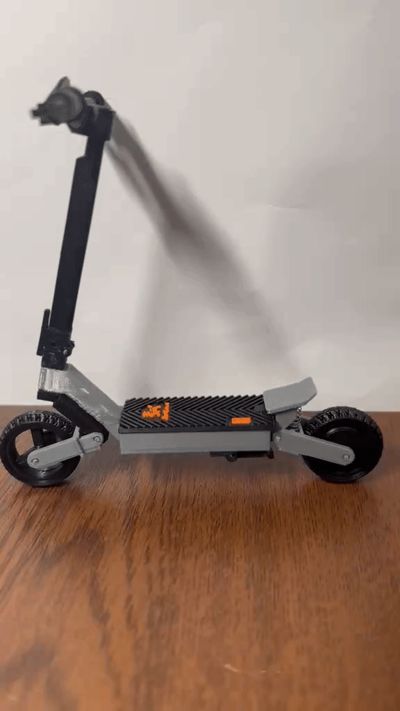
A 1:9 scale fully functional electric scooter model, inspired by the KuKirin G2.
Designed for easy printing, realistic mechanics and smooth assembly.
This model features working suspension, steering and folding mechanism, closely following the geometry of the real scooter.
All parts are connected using short pieces of 1.75 mm filament as pins —
no screws, no metal hardware required.
The model is fully 3D printable and optimized for FDM printers.
📐 Scale & Dimensions
The model was created at 1:9 scale, based on real KuKirin G4 dimensions.
Some proportions were slightly adjusted for 3D printing feasibility and durability, while keeping realistic appearance and movement.
⭐ Features
- Functional front and rear suspension
- Steering with turning handlebars
- Foldable steering column with locking mechanism (like the real scooter)
- Freely spinning wheels
- Working front fork and rear swing arm
- Movable kickstand
- Pin-based snap-fit joints
🔧 Assembly Tips
- Model was tested with Bambu PLA
- Clean build plate recommended for best results
- Some pin holes are intentionally tight for a firm fit
→ use pliers to insert filament pins if needed - If necessary, gently ream tight holes with a screwdriver
- Print quality and filament condition matter
Old or overly moist PLA can lead to brittle parts
Glue may be required only for non-moving structural parts.
🌀 Required Springs
- To achieve proper suspension movement, metal compression springs are required.
Springs are not included and must be sourced separately. 🔹 Front Suspension Spring
- Outer diameter: 5 mm
- Free length: 15 mm
- Wire diameter: 0,4 mm
🔹 Rear Suspension Spring
- Outer diameter: 6 mm
- Free length: 15 mm
- Wire diameter: 0,5mm
- Recommended spring source (worldwide):
https://www.aliexpress.com/item/1005005885596067.html - (Exact values may vary slightly depending on print tolerances.)
ASSEMBLY-
1.
a. Grab the two halves of the wheel labeled (rear wheel) then do the same with the front wheel.
b. apply glue all around wheel.
c. then place the 2nd half of the wheel onto the first. Ensure proper alignment of the tire tread.
d.Keep pressure on the wheel until glue sets - then set aside

2.
then place the swing arm on the frame and insert a piece of filament and install the spring

3.
a.place the front swingarm to the front swingarm mount, at the same time install the spring and then insert a piece of filament
b.then slide the whole thing into the frame

4.
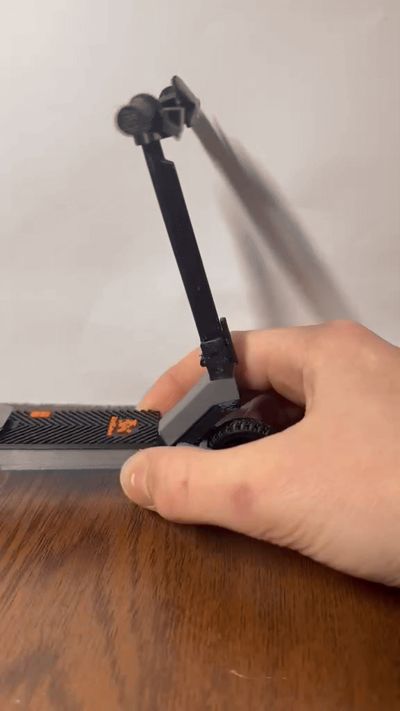
place the (folding hinge) on the (steering column) and then press in a piece of filament. (If it is difficult to insert, you can use pliers)

5.
a.slide the column onto the pin (front swingarm mount) and then insert a piece of filament and place (lockpin.stl) over the piece of filament
When folding and opening the handlebar, the locking pin must be removed.
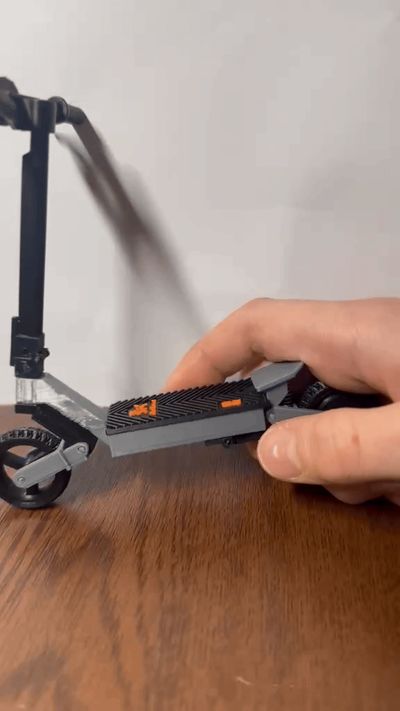
b.apply glue to the blue dots and then glue the deck mat

6.
put the wheels in place and then insert a piece of filament

7.
slide the screen onto the steering wheel

8.
slide the brake lever and grip onto the handlebars (do the same on the other side)

9.
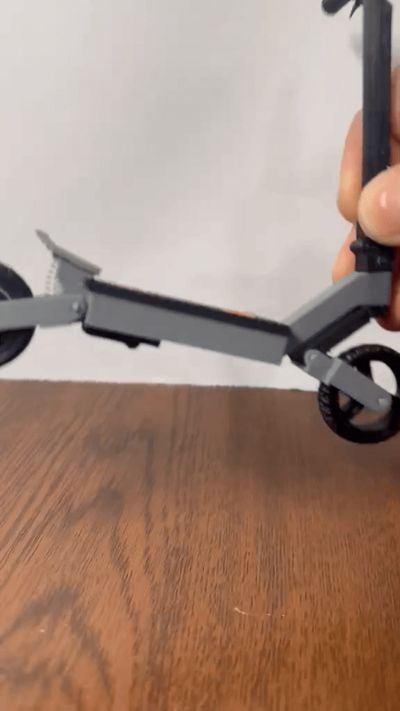
how it should look like-

10.
slide the cockpit onto the steering column pin

11.
a.place the upper kickstand element on the lower kickstand element and then insert a piece of filament
b.attach the finished kickstand to the frame (I recommend using glue)

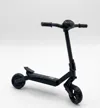
12.
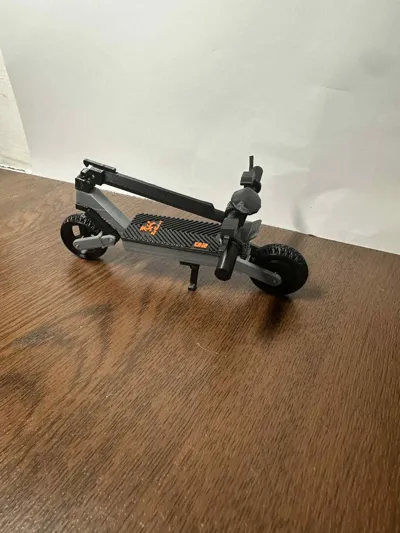
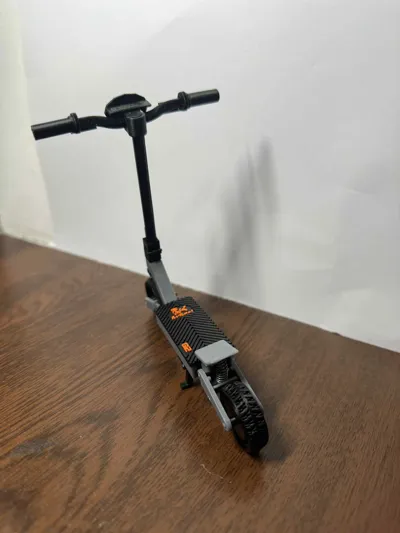
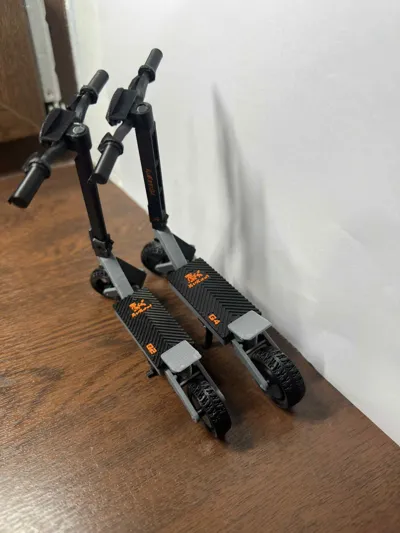
Fully Assembled Model

License
You shall not share, sub-license, sell, rent, host, transfer, or distribute in any way the digital or 3D printed versions of this object, nor any other derivative work of this object in its digital or physical format (including - but not limited to - remixes of this object, and hosting on other digital platforms). The objects may not be used without permission in any way whatsoever in which you charge money, or collect fees.
Comment & Rating (75)