Search models, users, collections, and posts
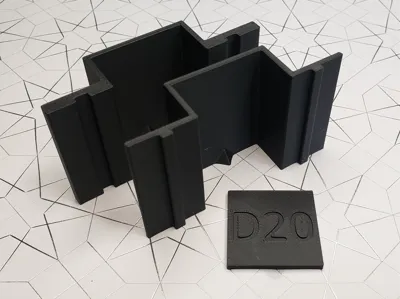
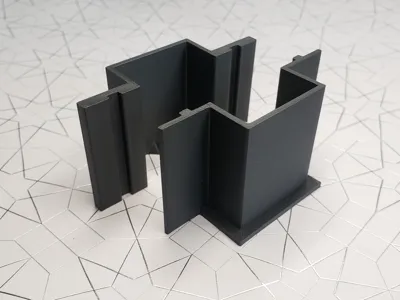
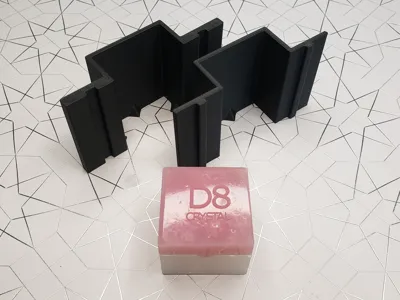
Individual Dice Mold Forms + Cap Labels
IP Report


Print Profile(1)
0.4mm layer, 2 walls, 15% infill
Designer
2.3 h
2 plates
Open in Bambu Studio
Boost
8
17
0
0
26
10
Released
Description
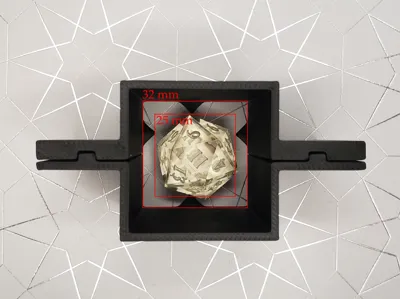
These molds forms are sized to fit most standard dice, however, to double-check I recommend sketching out the dimensions in the last photo on a piece of paper and physically positioning your dice masters within the bounds to make sure there is enough space.
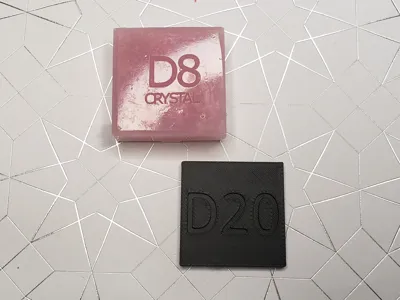
To use the cap labels, pour the silicone for the cap as you normally would, then gently place the label text-side down onto the top of the silicone. Leave the label in place while the cap cures to leave the imprint of the text on the top of the cap. Note: the text on the cap labels is intentionally backwards, so that the imprint of the text on the cap reads correctly.
Features:
- Individual dice molds allow for more flexibility (rather than having to cast a full set every time)
- Cap labels so you know exactly which mold you're grabbing without having to look inside
- Wide flange at the base to provide a better seal and minimize silicone leakage
- Wedge-shaped keys slide neatly into place even if the lid is put on slightly askew, reducing the risk of raised faces from keys not seating properly
You will need:
- Silicone (obviously) - I use Smooth-On DragonSkin 20
- A mold release for the interface between the base mold and the cap, such as talcum powder, vaseline, or mold release spray
- High-tack transfer tape (I use Cricut "strong grip" transfer tape) to hold the dice masters in place and seal the bottom of the mold form
- a pair of large binder clips to pinch the sides closed
License
This user content is licensed under a
Creative Commons Attribution-Noncommercial-Share Alike
Comment & Rating (0)