
PCB Vise & Solder Station
Print Profile(4)
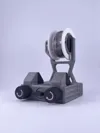
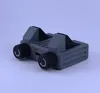
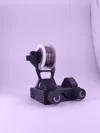
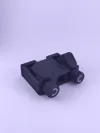
Description
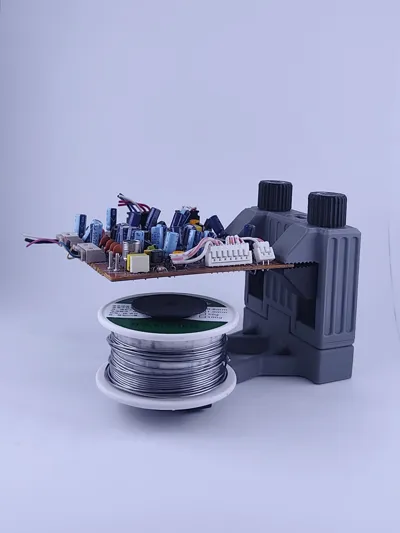
If you're looking for something faster to print and less filament: wire holder
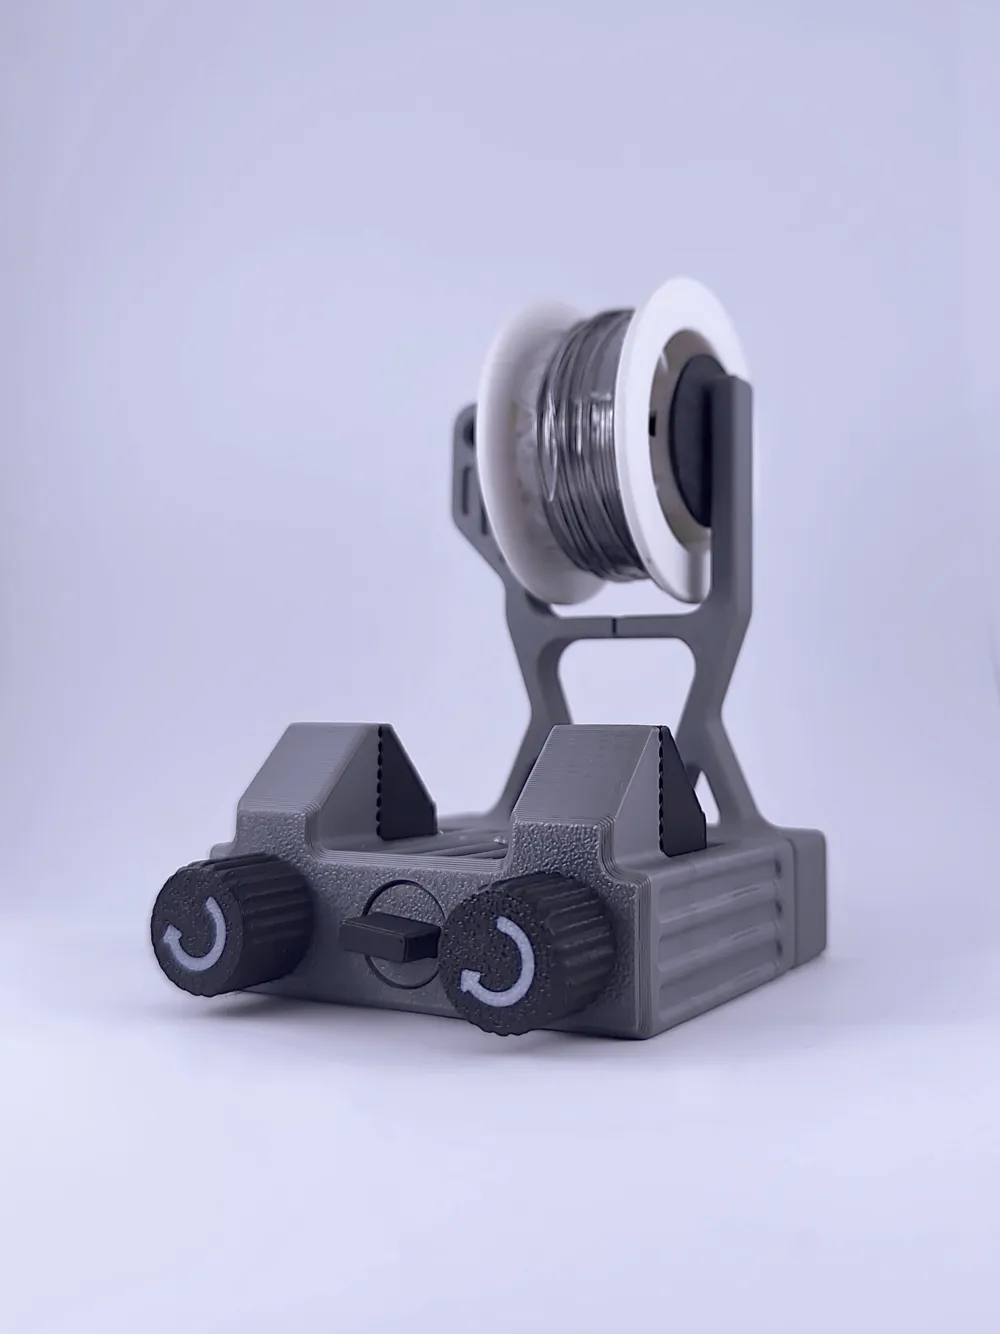

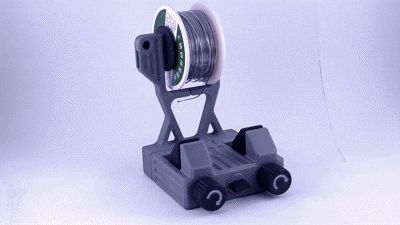
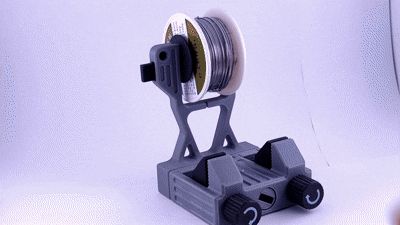
This soldering station only requires 66g filament, but is **very stable** and **multifunctional**
Without the solder holder, it only uses** 49g filament**, so you can easily use your **leftover filament** for it
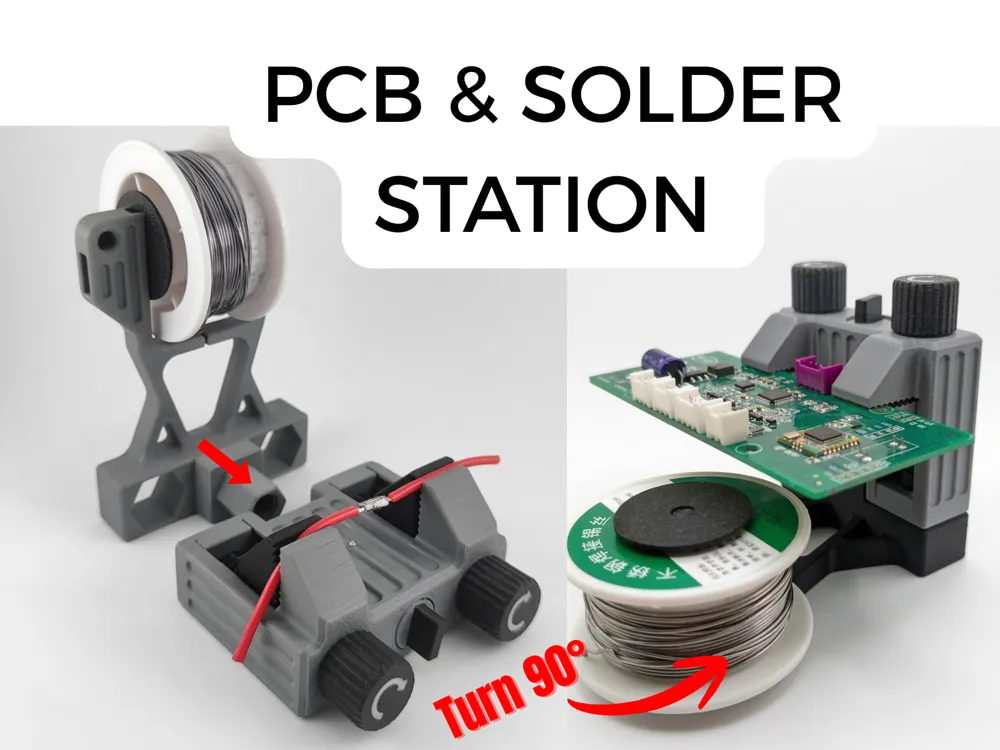
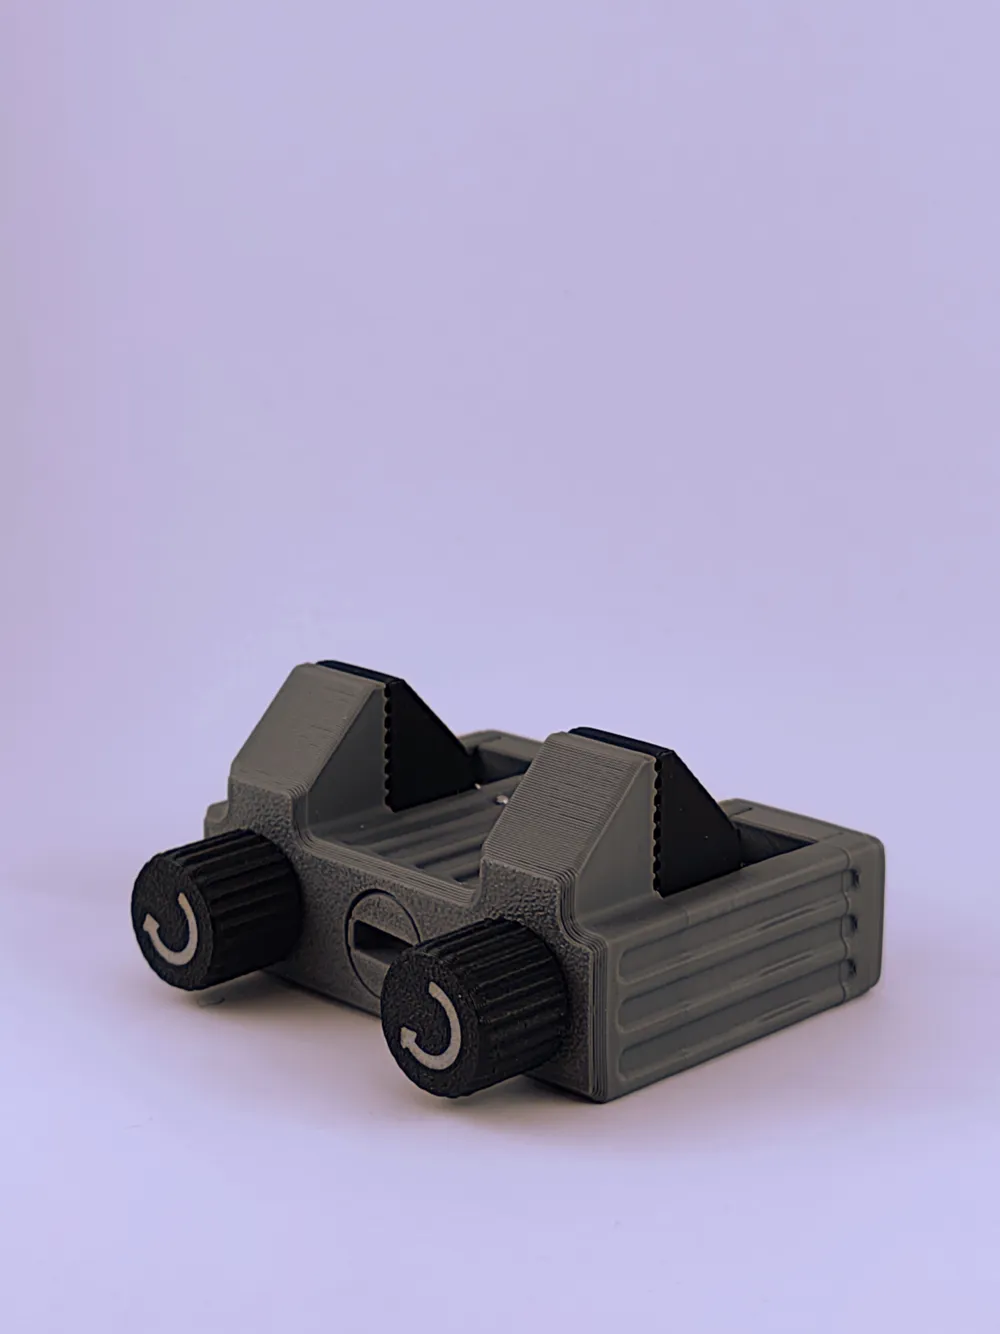
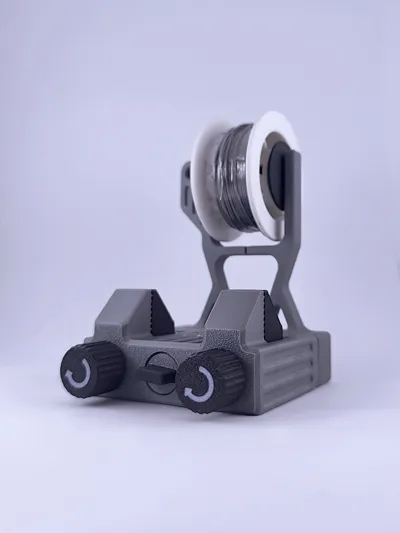
On MakerWorld, there is currently **no** satisfactory solution for a compact soldering station. Here is the **solder holder**, **cable clamp**, and **PCB holder** all in one
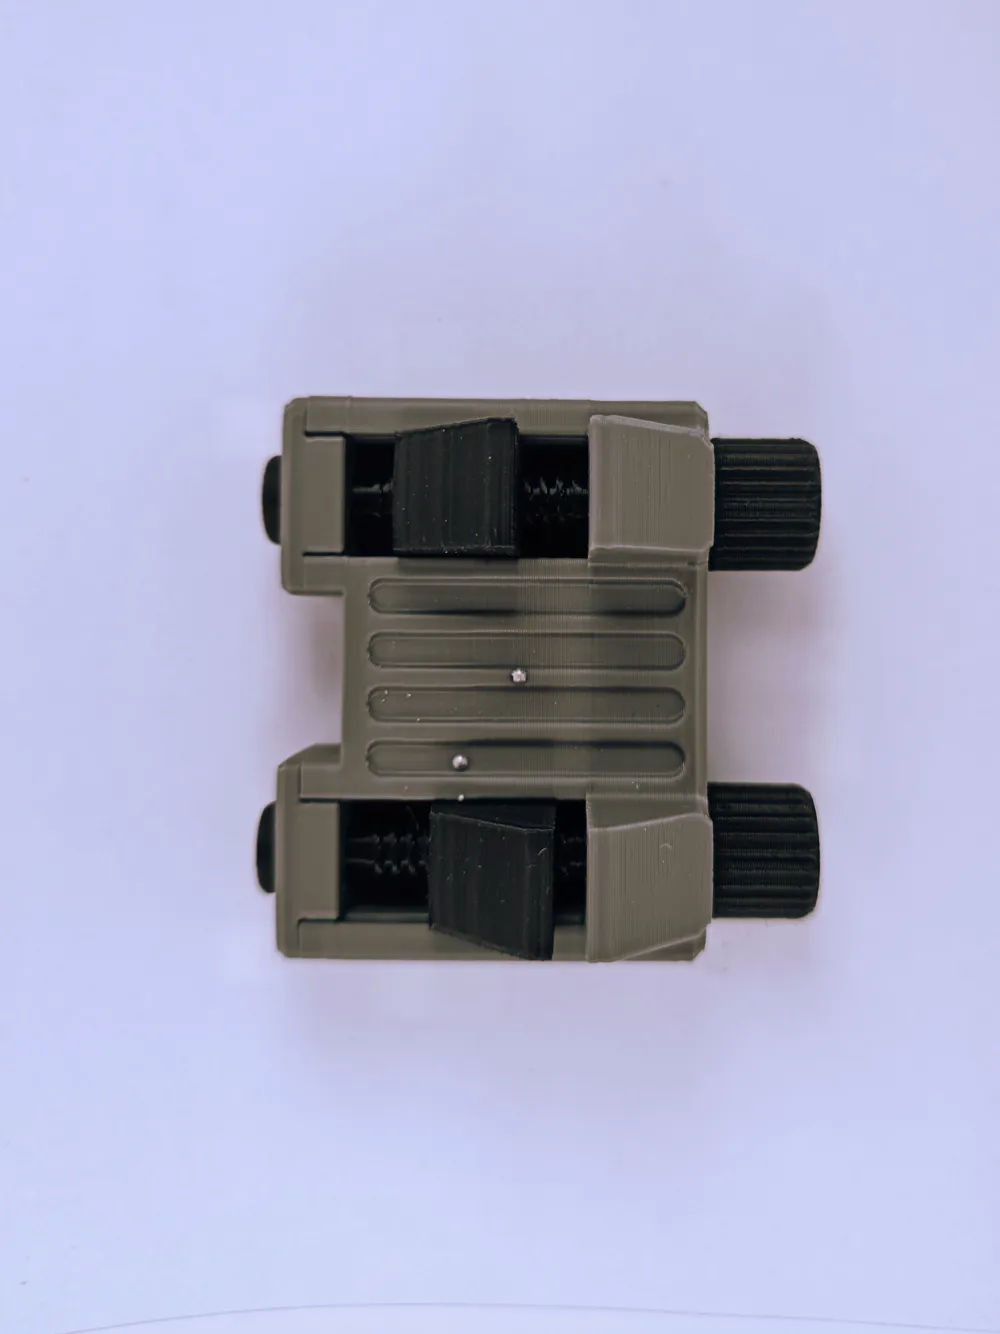
Unlike other stations, the jaws close properly here, so cables sit firmly when soldering and do not slip. Thanks to the guide, the **jaws close parallel**, and the threaded screw allows **cables** and **PCBs to be held firmly in position without damage**
Boost Me (for free)
I am an engineering student, please boost this model to support me
Membership
do you want to sell this? or support me? subscribe!
I am an engineering student, please boost this model to support me
Disclaimer: On my profile, you can also find the **old model**. The solder holder is **compatible** with this one. However, since the old one does not have a screw connection, the solder holder will probably need to be glued, as it will not hold on its own in the long run
Improvements:
- faster jaw adjustment
- multifunctional 3 in 1
- better design
The **functions** in detail:
Function 1:
Cable Holder
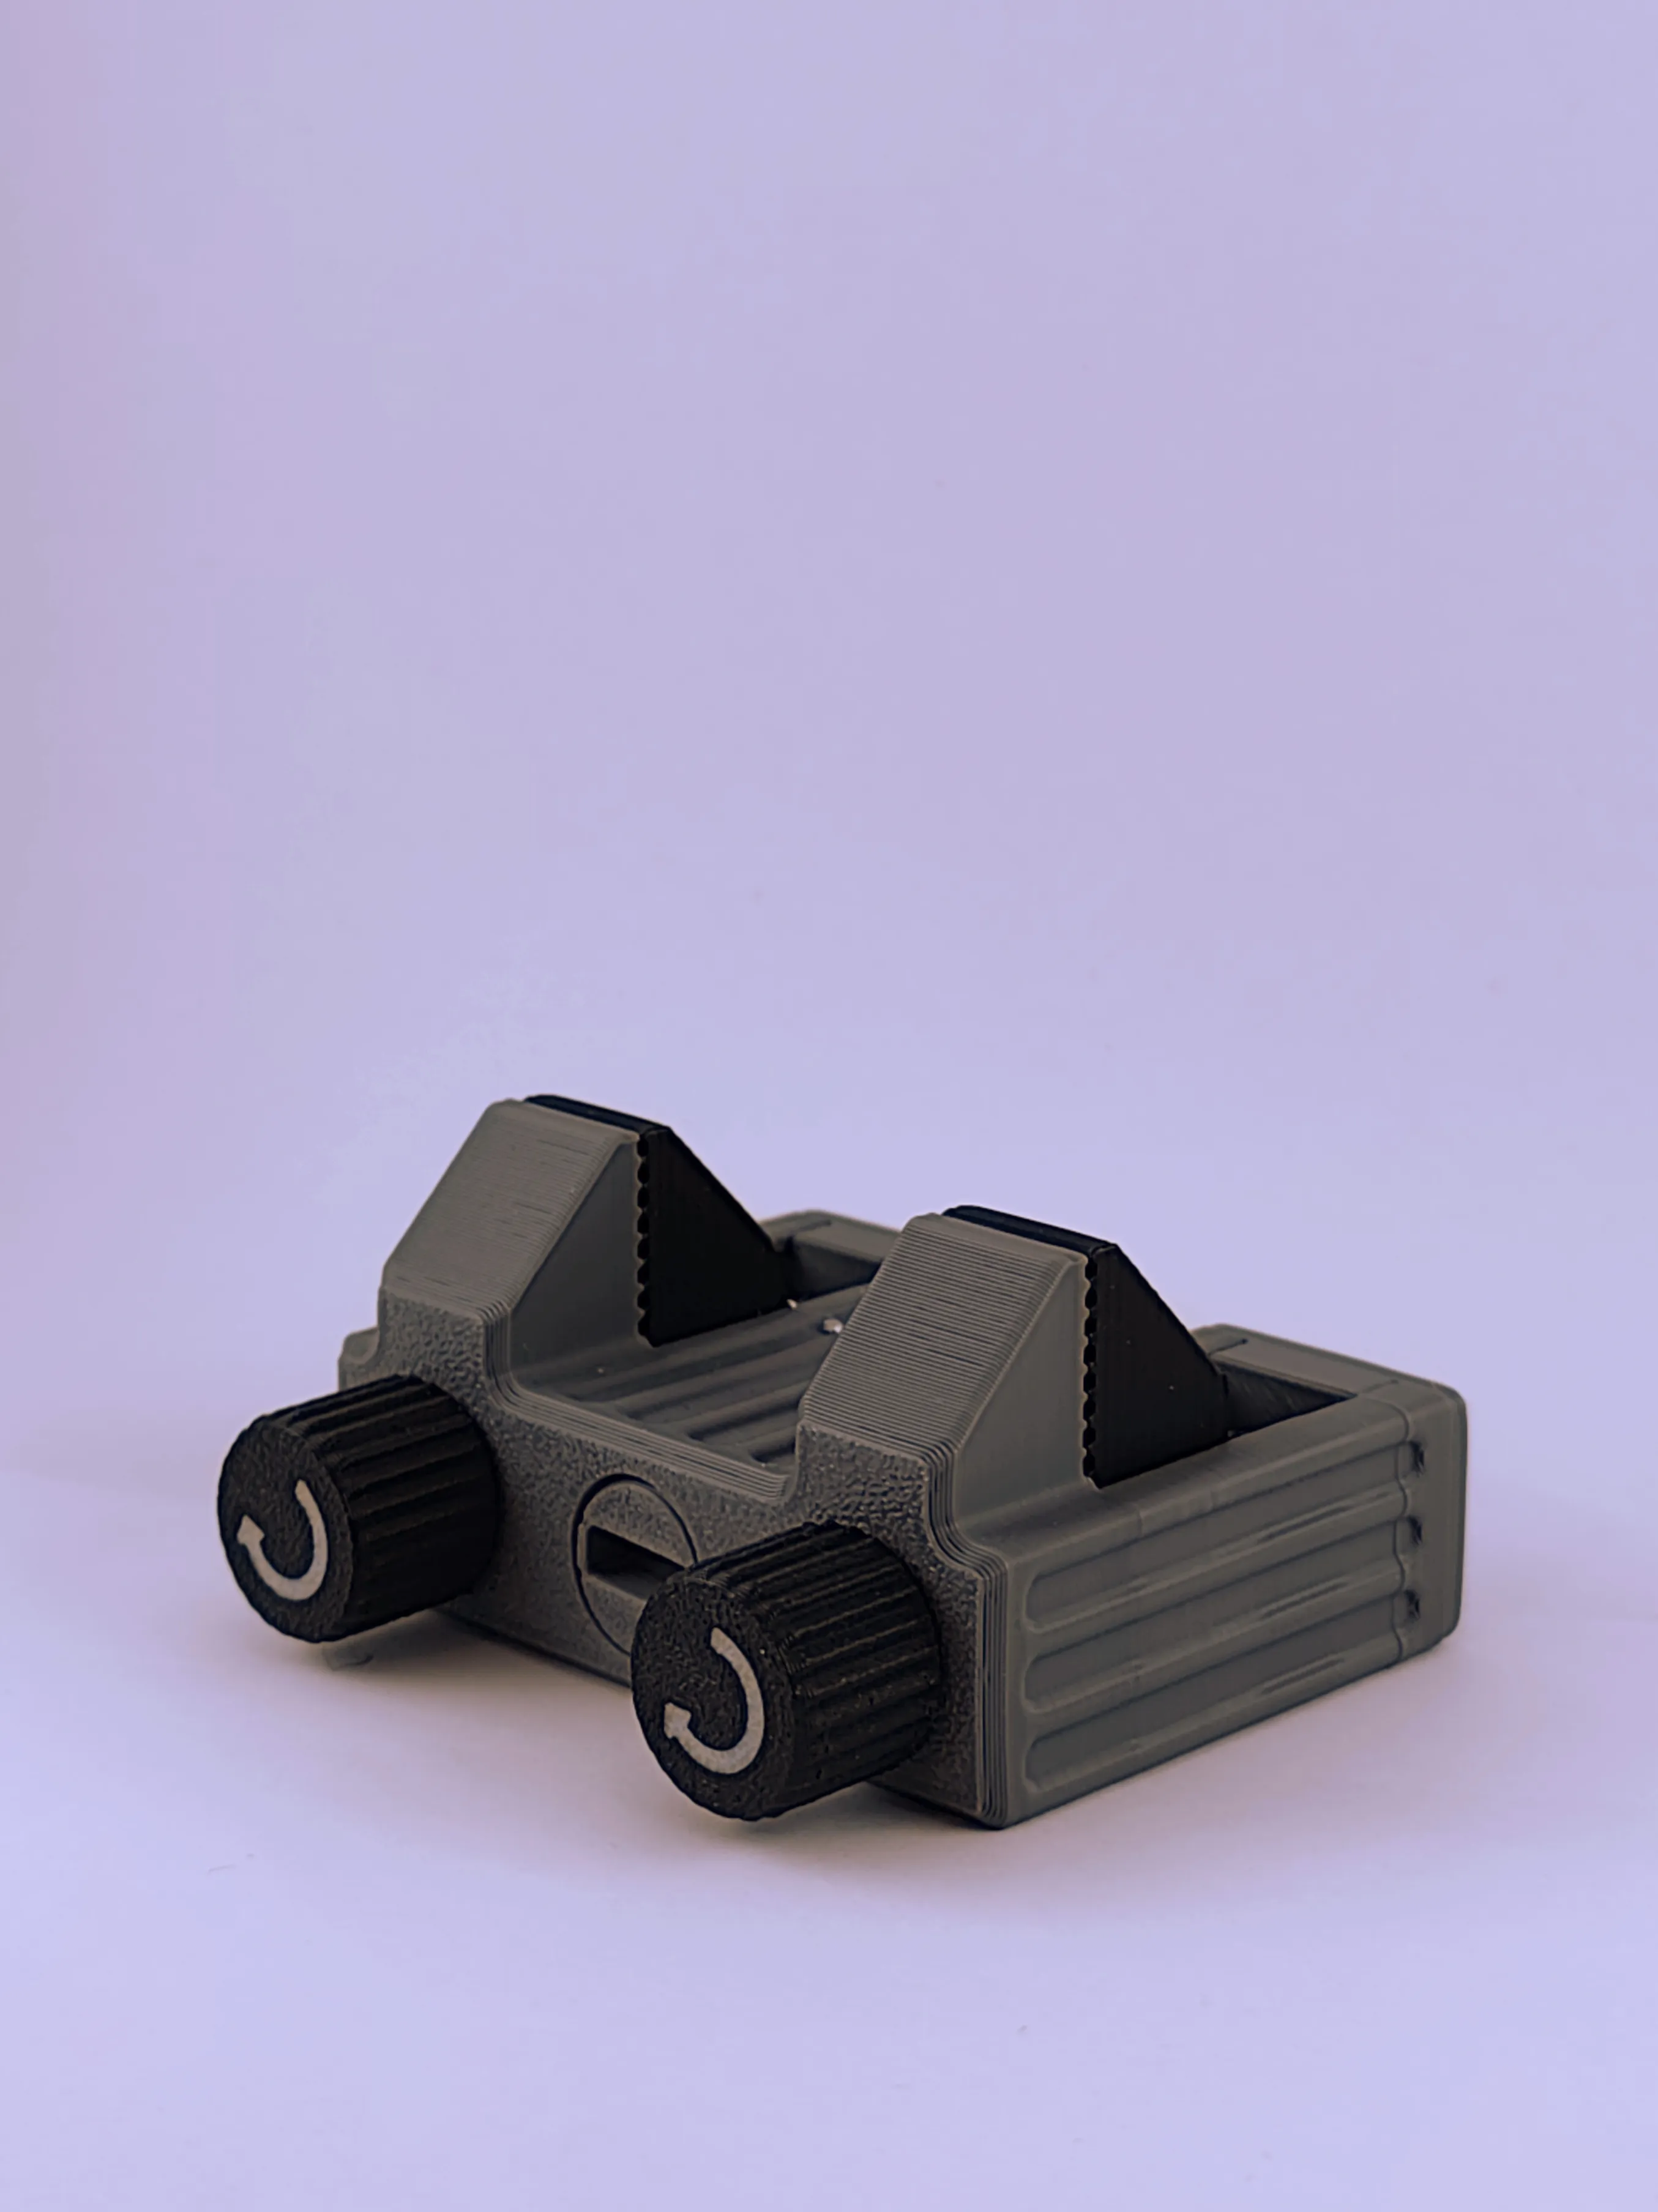
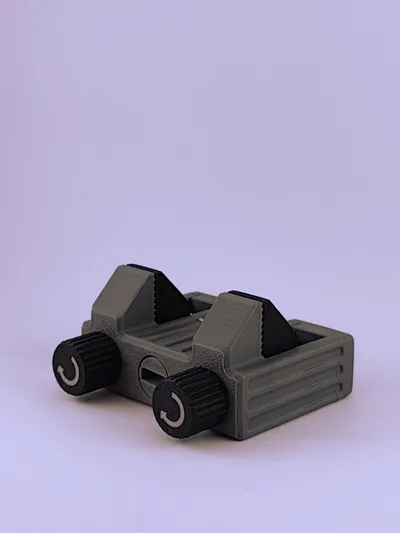
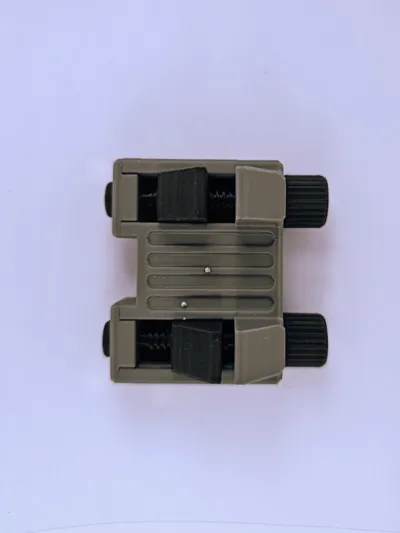
By turning the screws in the direction of the arrow, the jaws can be closed and **cables** can be **clamped** as desired
Function 2:
Solder Holder
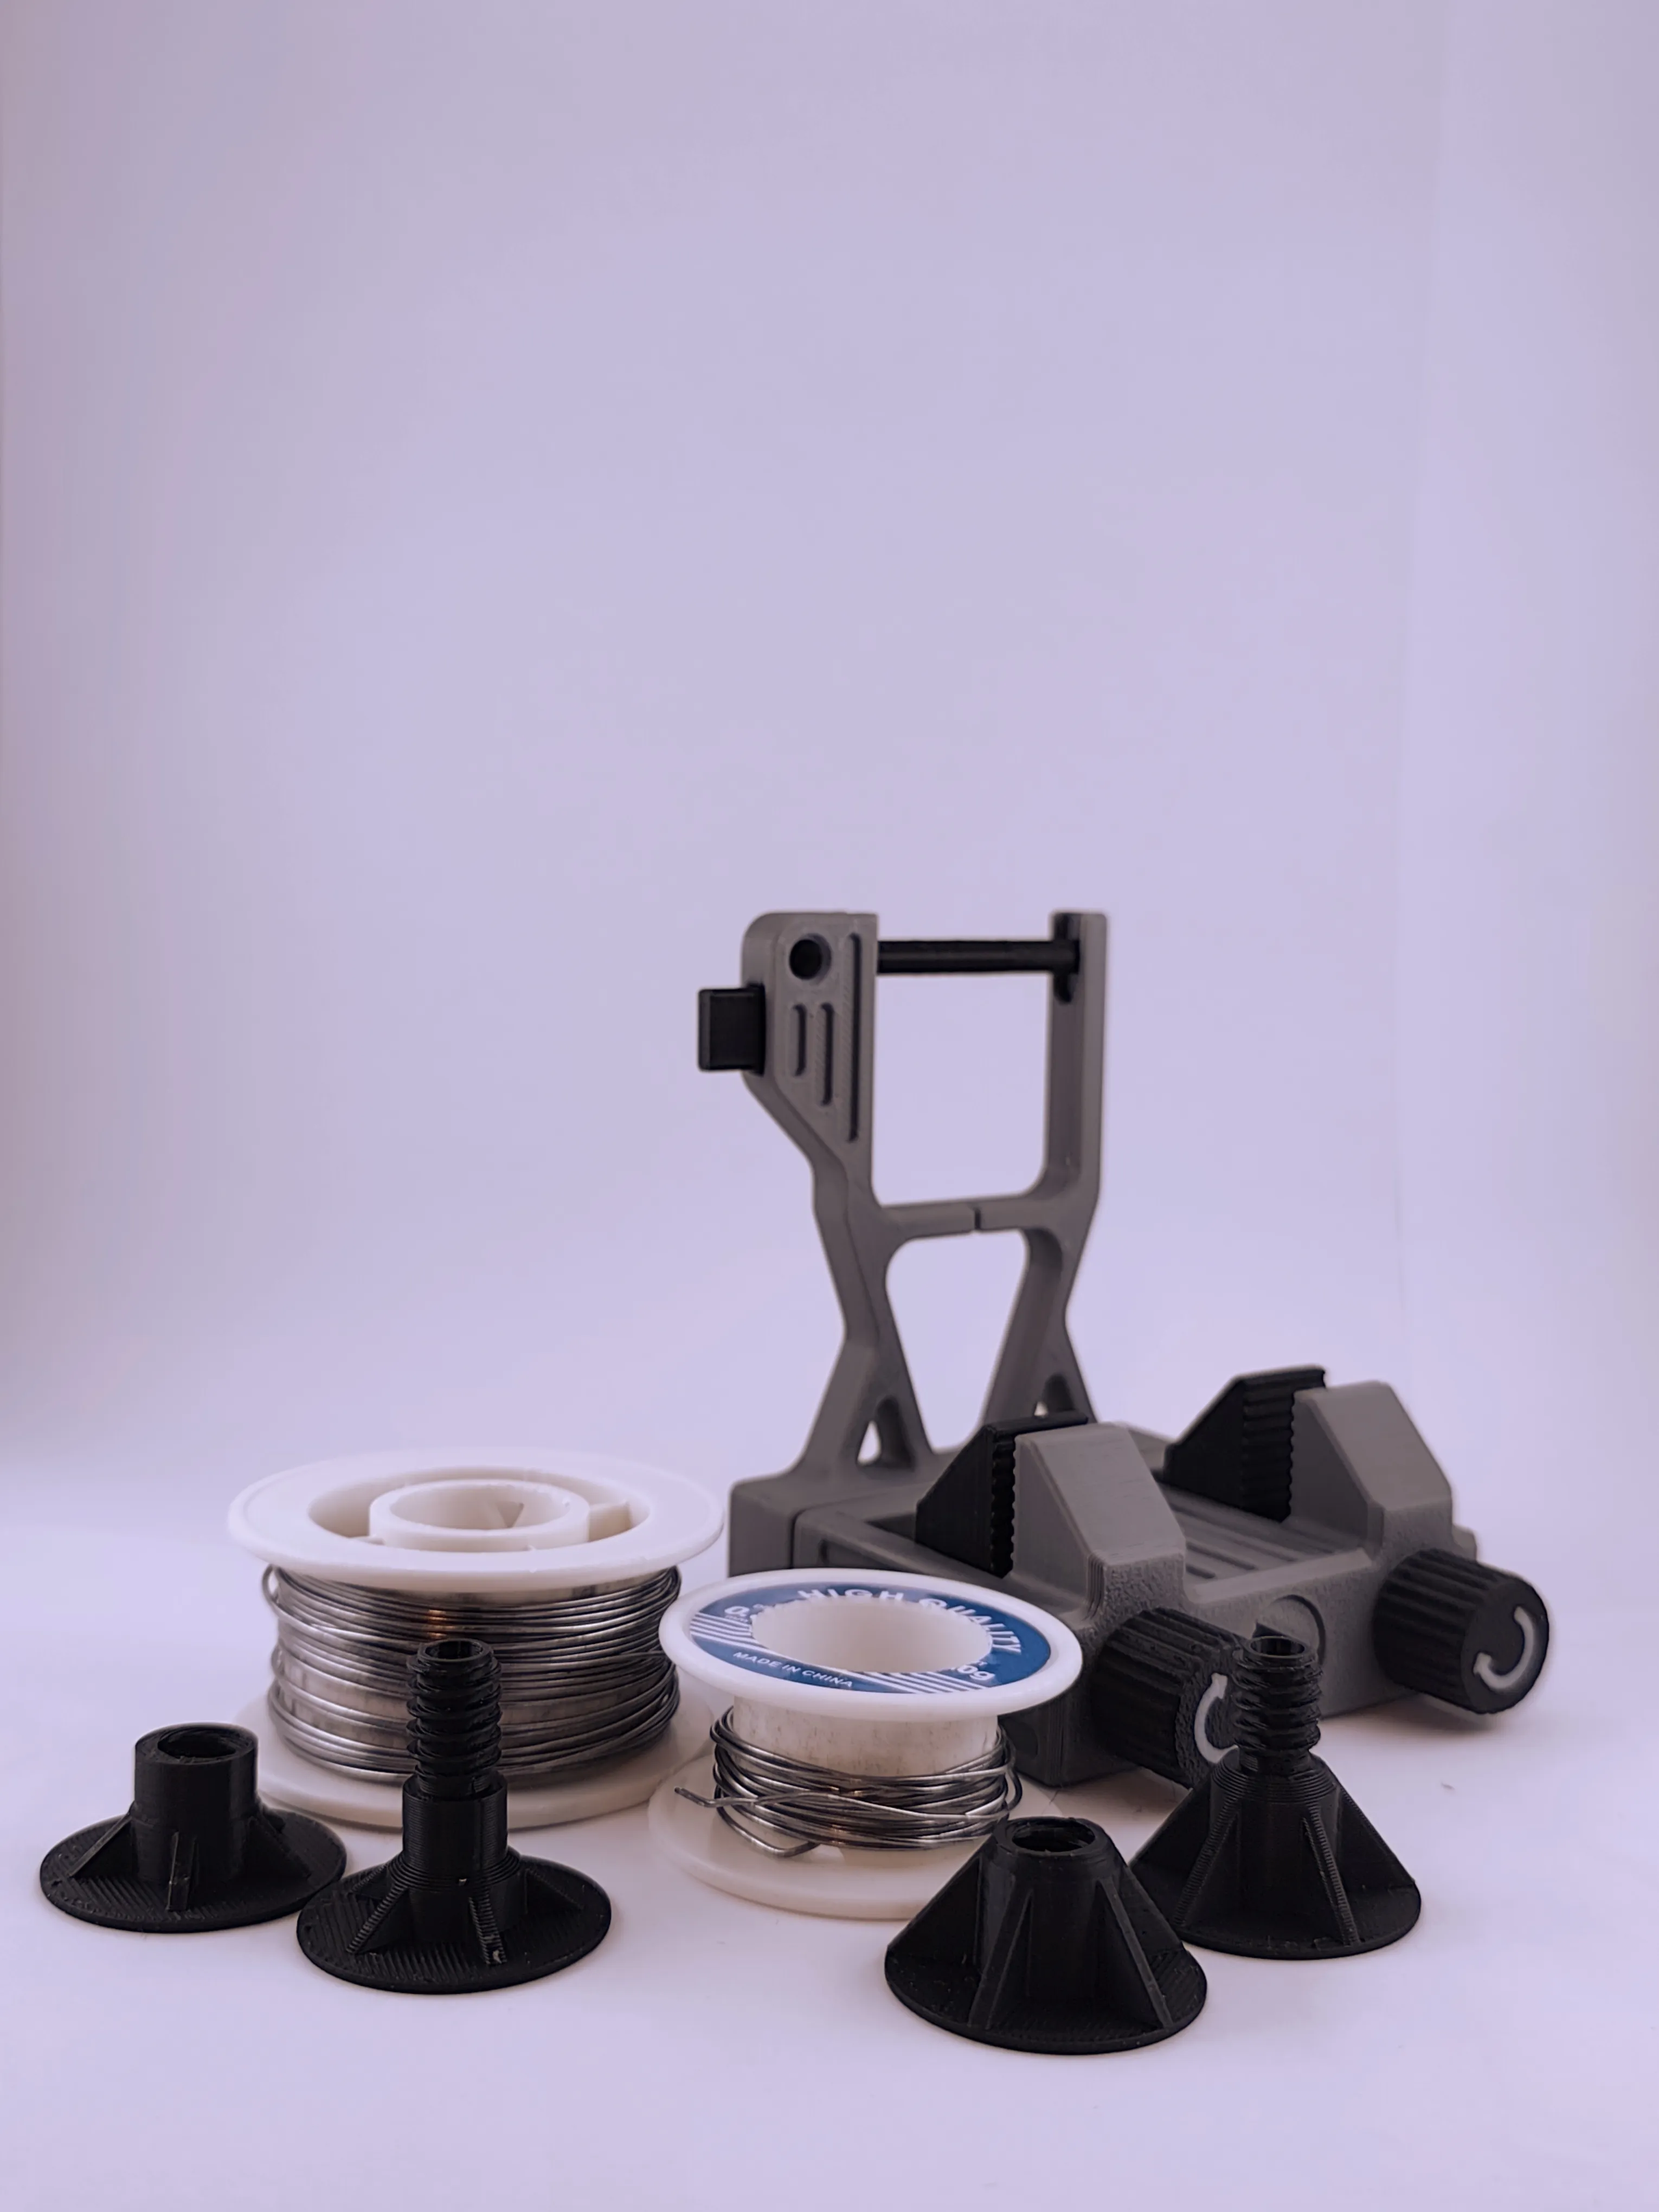
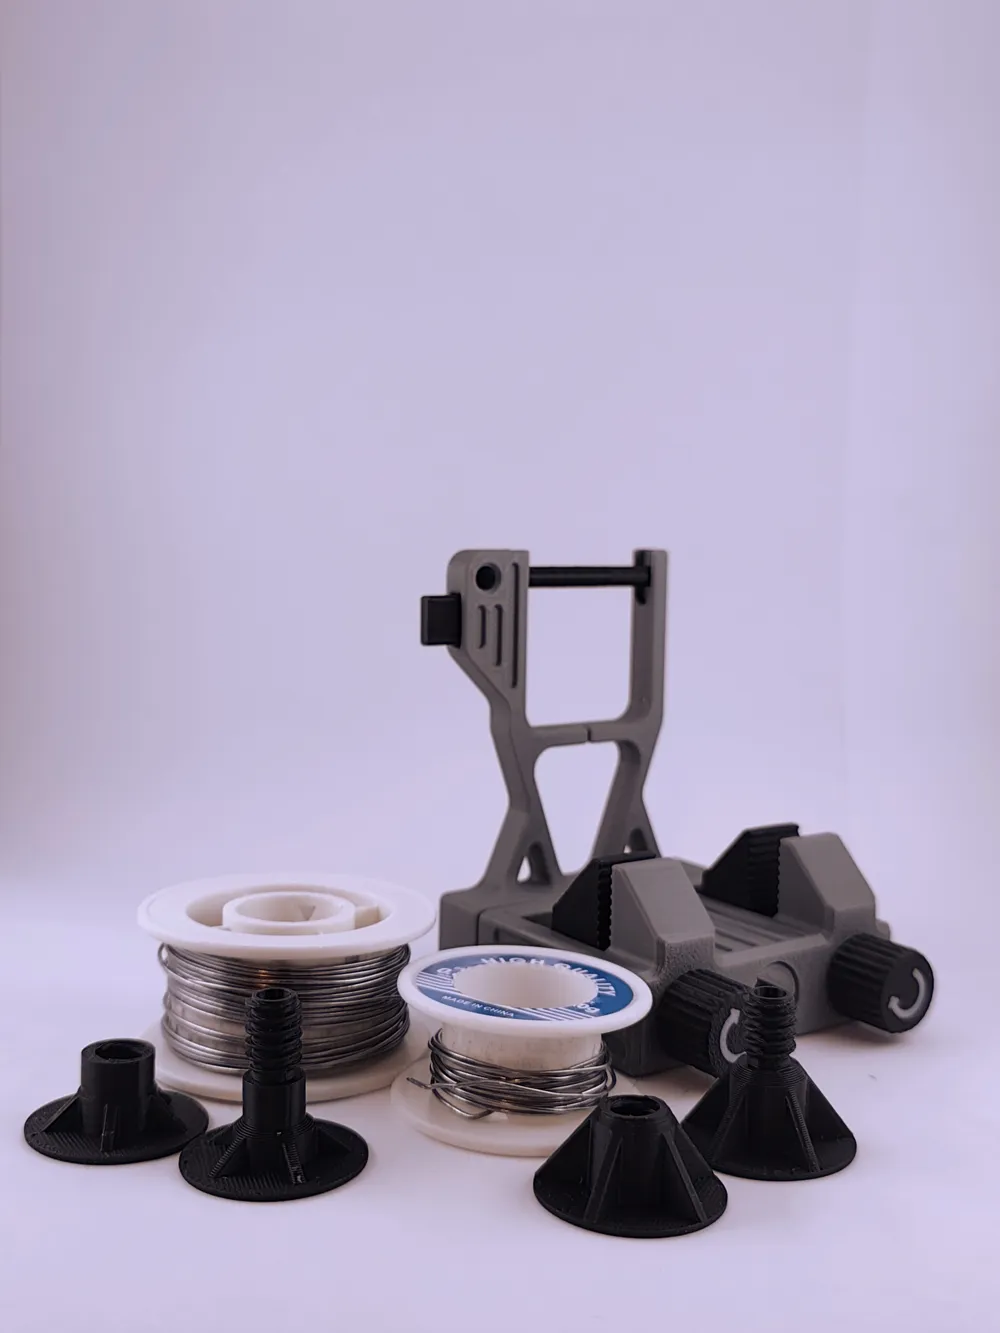
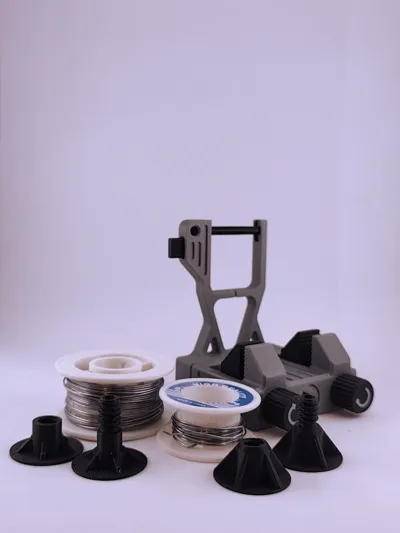
There are two receptacles for solder on the build plate. One set is for 50g spools, the other for 20g. Of course, **only one of the two** pairs needs to be **printed**
The receptacles must be screwed together. The solder is placed between them. Then, you push the axle through and insert the entire assembly into the solder holder from above
Function 3:
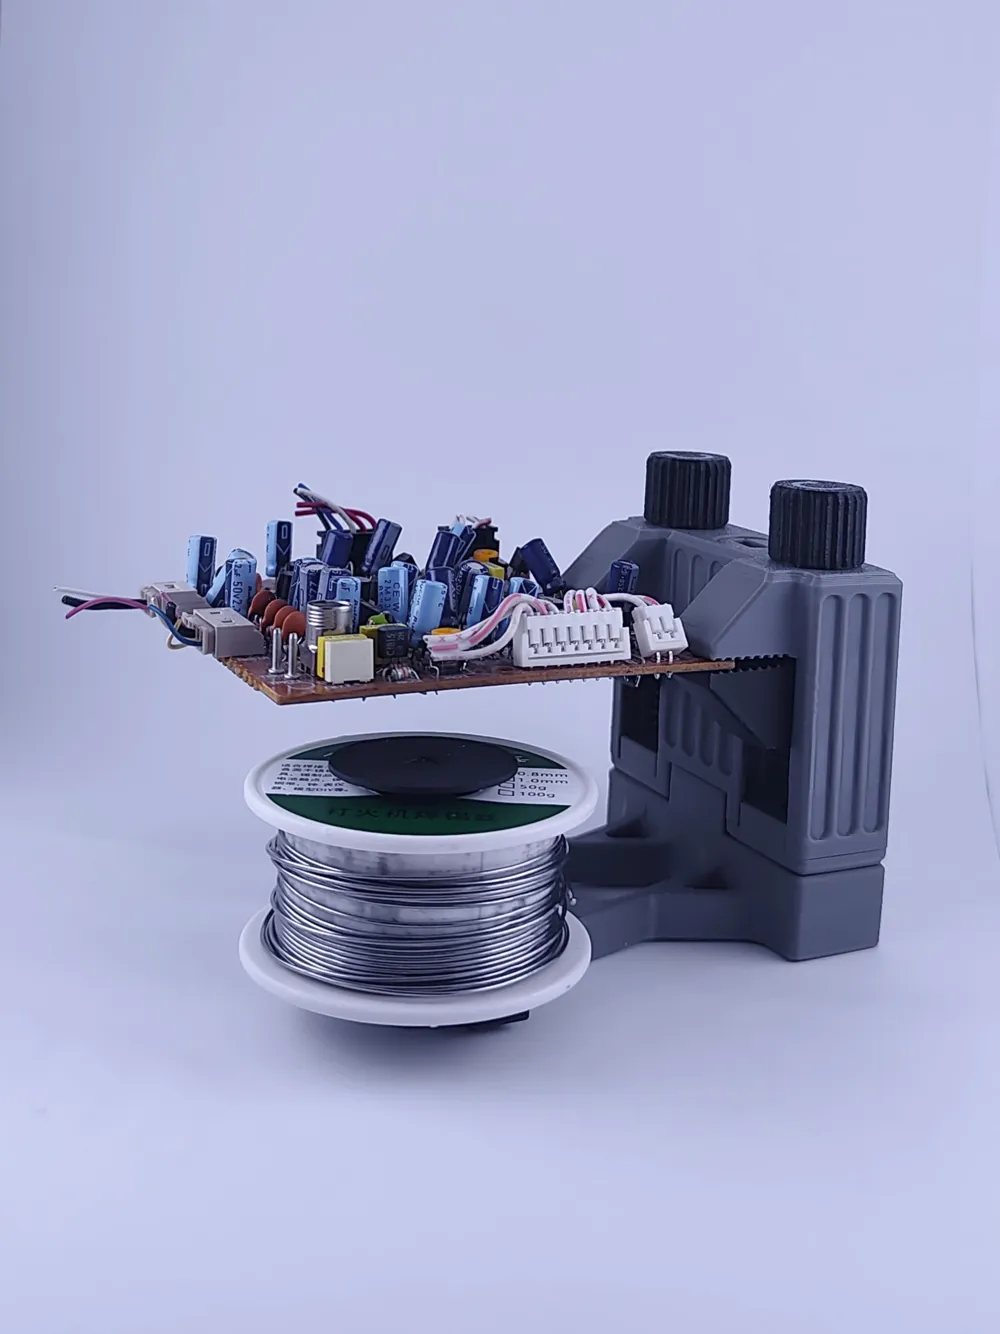

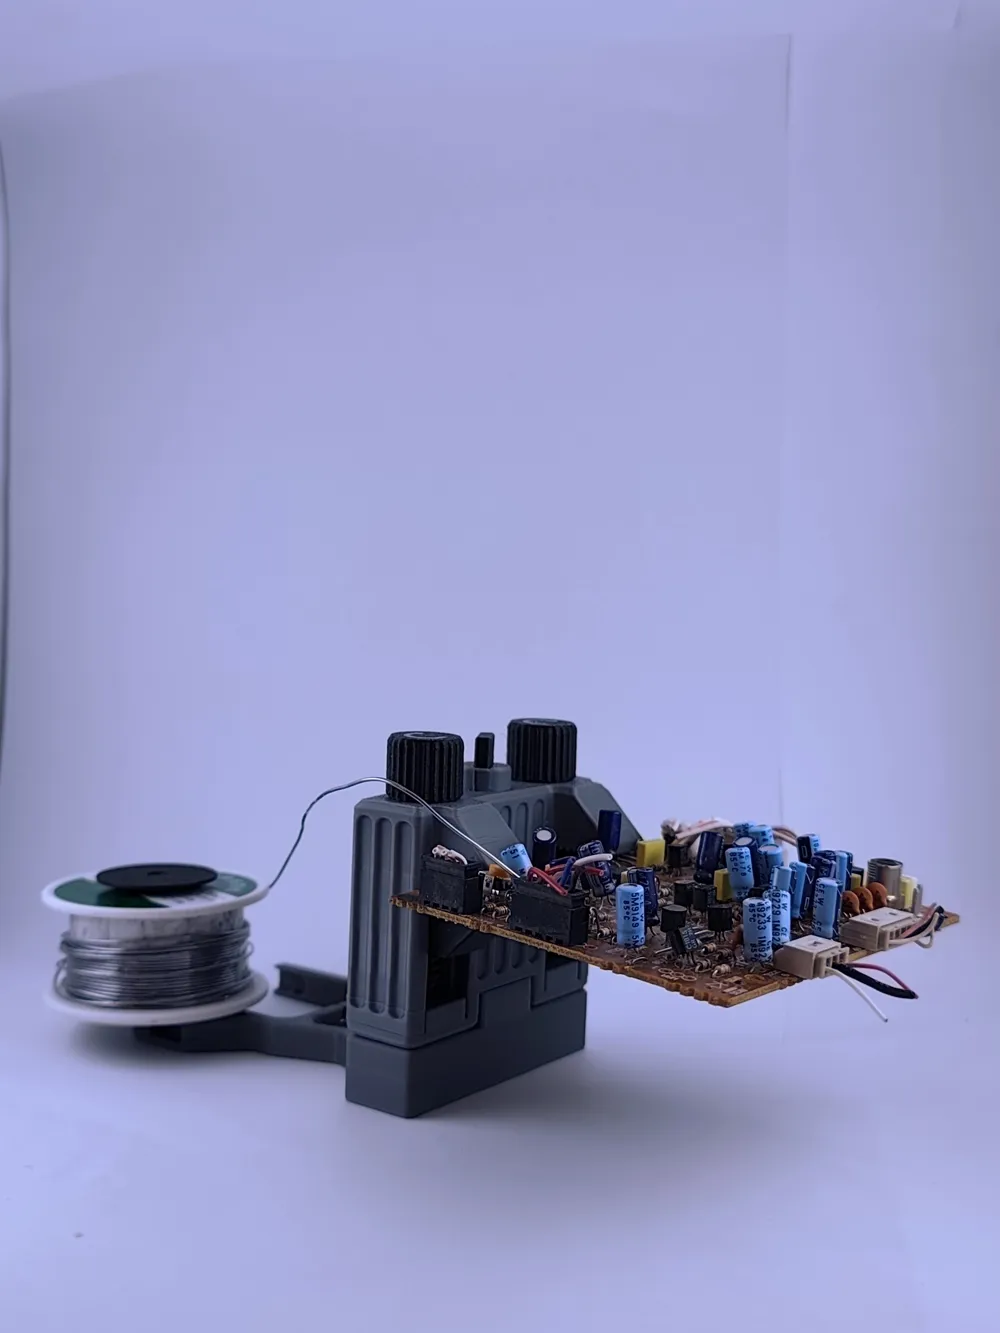
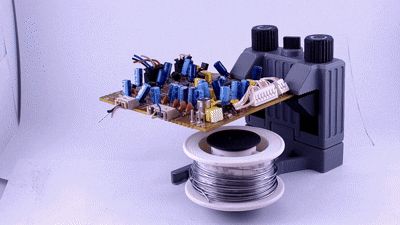
Soldering PCBs
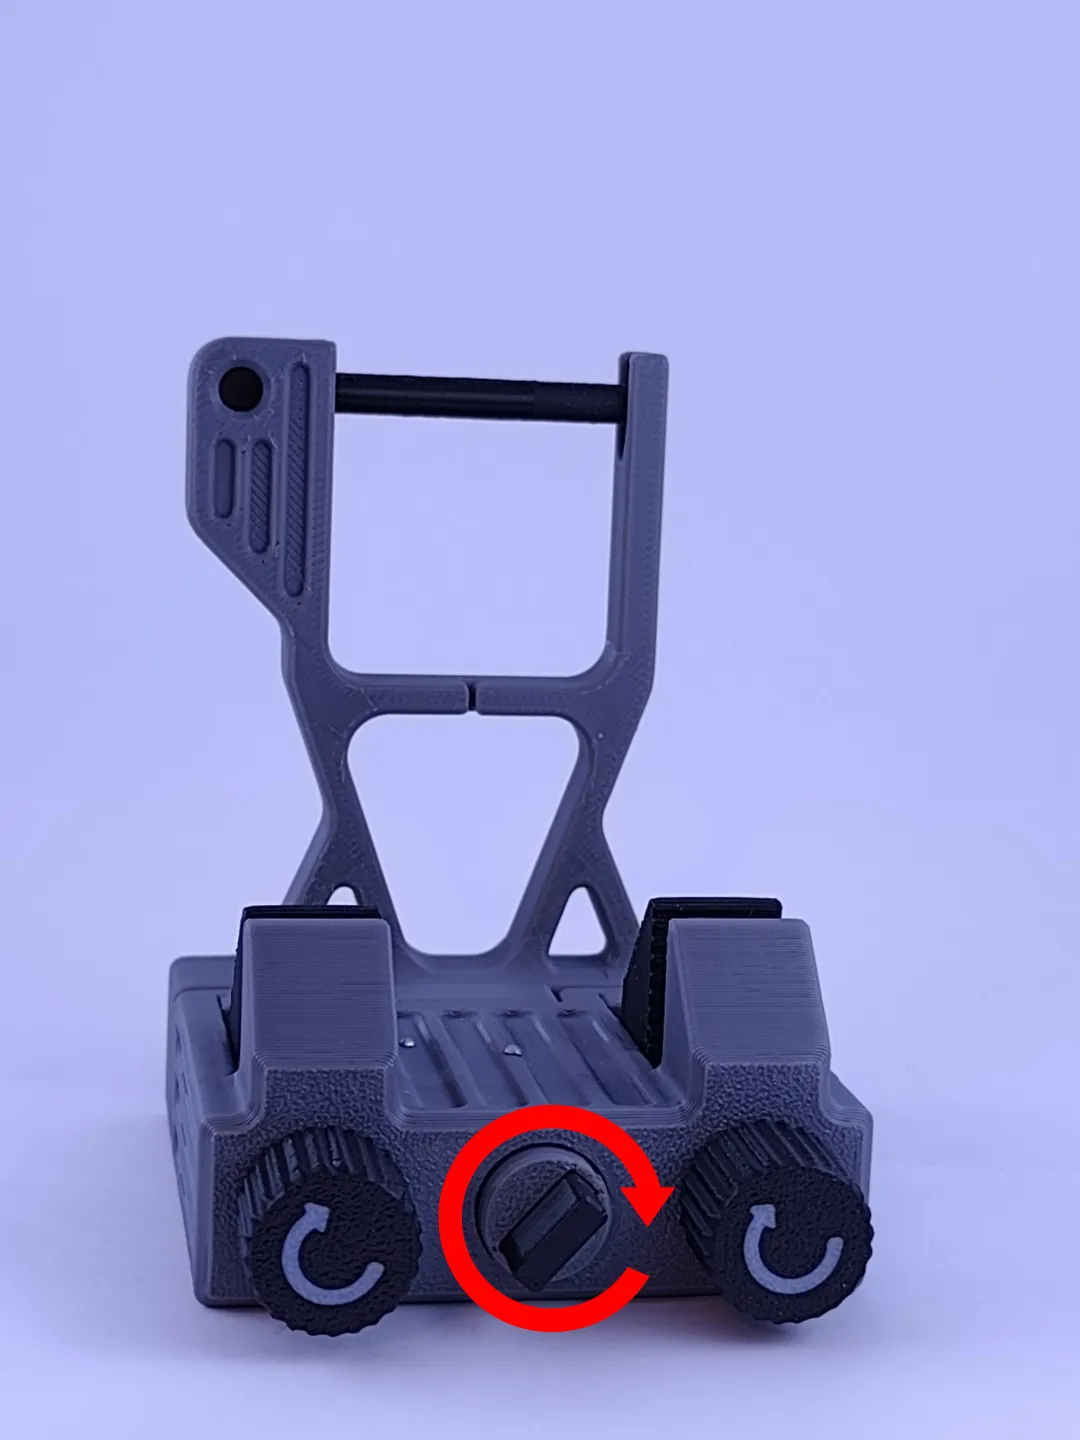
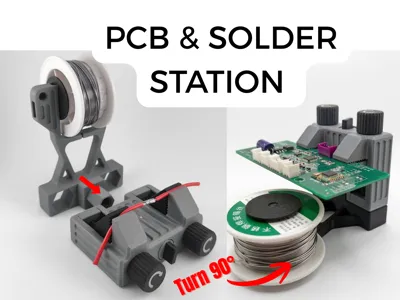
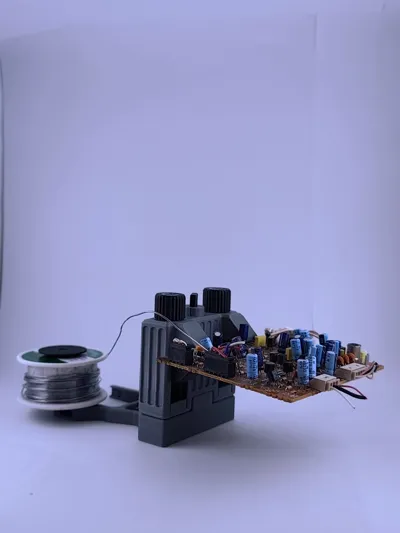
By turning the screw, the solder holder can be attached/removed and its direction changed if you want to solder a **large PCB**, as shown here:
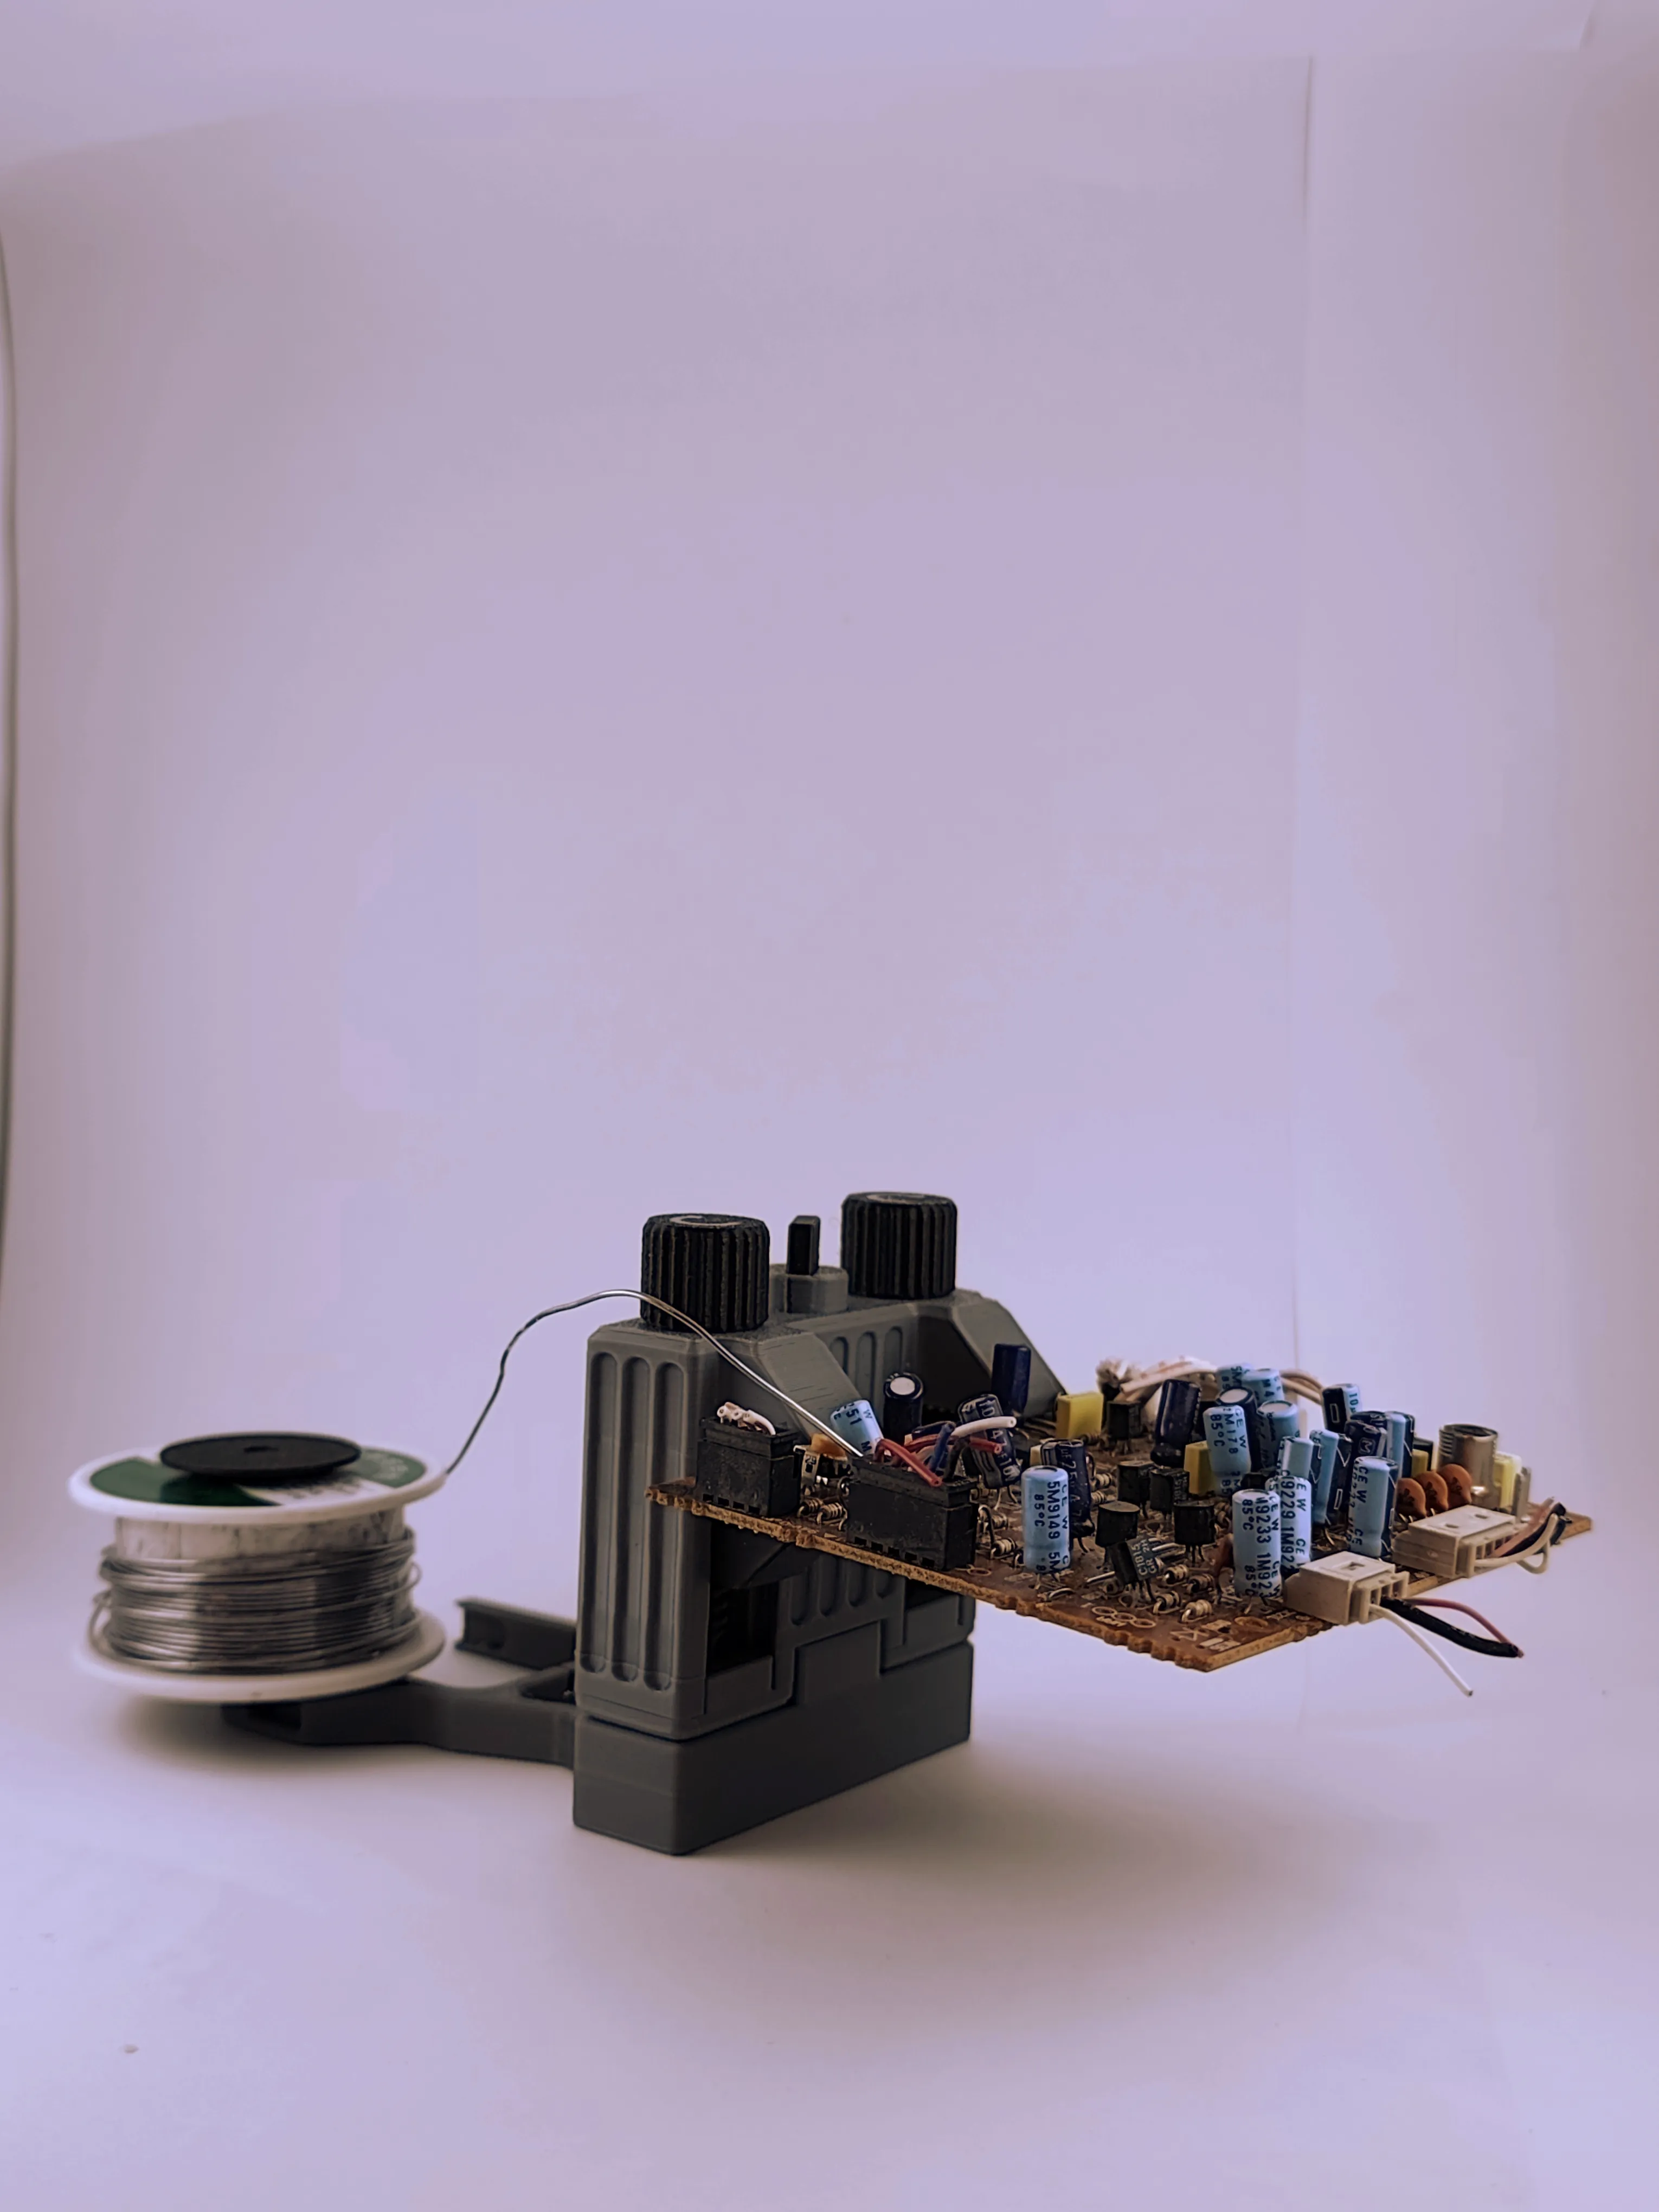
The station might **not lie flat** with the solder in the **holder**. You have to **remove the solder** from the holder again and insert the axle into the designated **hole**
If the **black key** is bothersome, it can be inserted into the side of the solder holder. This allows you to operate the clamp without obstruction
Instructions:
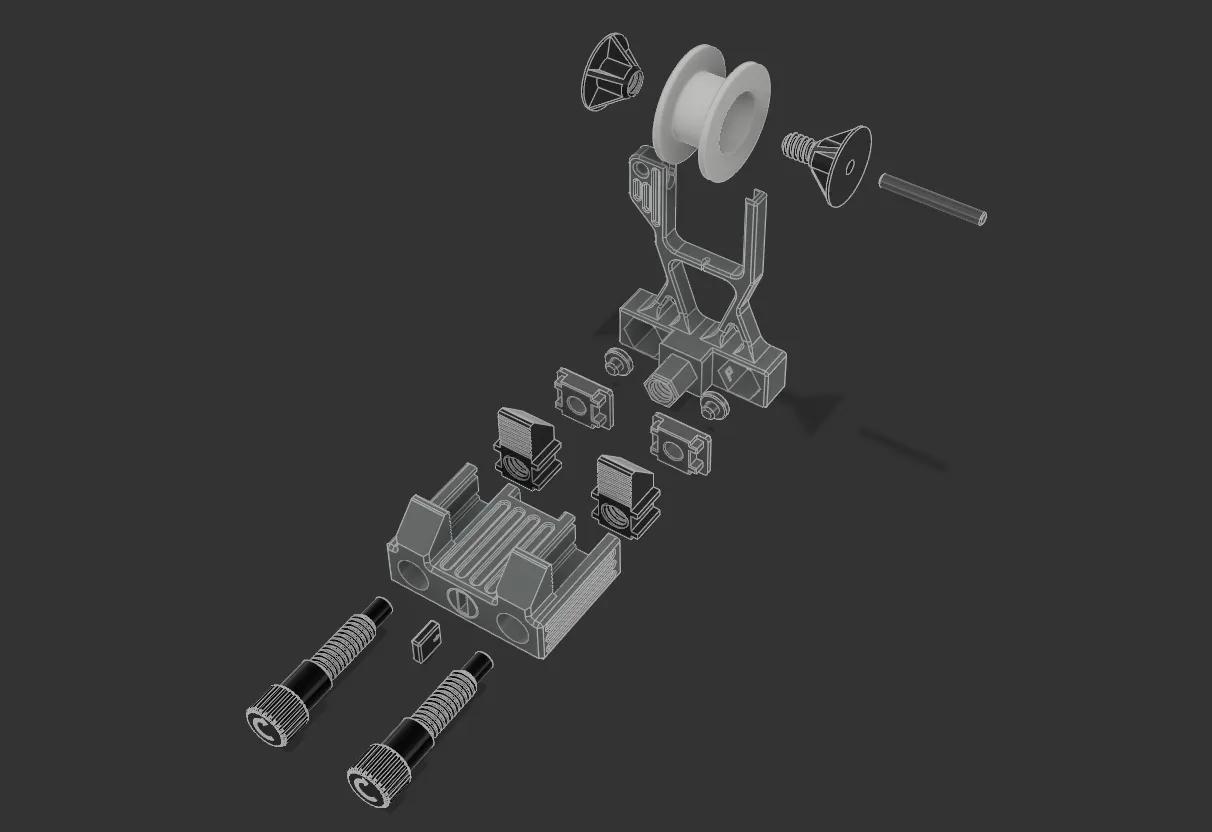
- Insert jaws into the housing
- Insert screws into the housing and tighten the jaws
- Press caps into the housing (Pay attention to the direction!)
- Press end plugs into the screws
- Press the square key into the housing screw (can be removed again if needed)
- Press the solder holder into the housing and **gently** tighten by turning the key (not too tight)
- Screw the solder receptacles together
- Insert the axle into the receptacle
- Press the axle with the solder into the holder from above
License

You shall not share, sub-license, sell, rent, host, transfer, or distribute in any way the digital or 3D printed versions of this object, nor any other derivative work of this object in its digital or physical format (including - but not limited to - remixes of this object, and hosting on other digital platforms). The objects may not be used without permission in any way whatsoever in which you charge money, or collect fees.


Comment & Rating (201)