Ghibli Inspired Village Book Nook


Print Profile(1)

Bill of Materials


Description
Boost Me (for free)
If you like my model, please consider boosting! It helps me fund materials to prototype more designs for you all! Thank you!
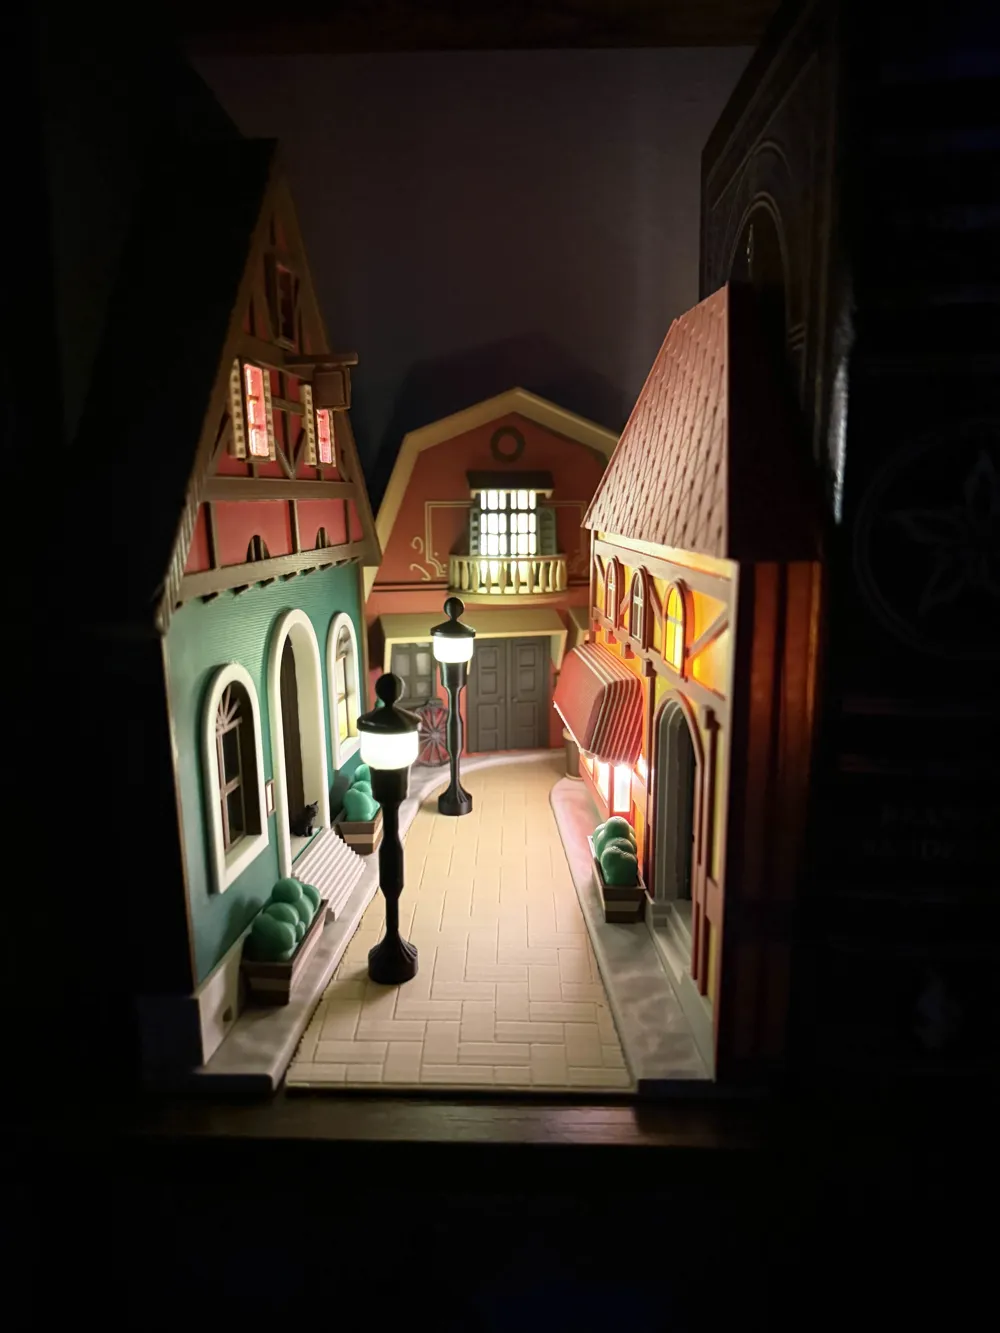
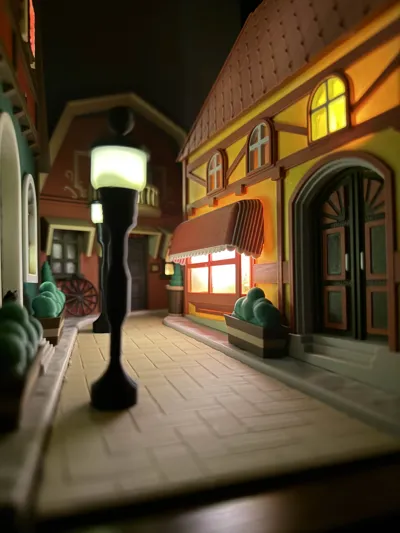
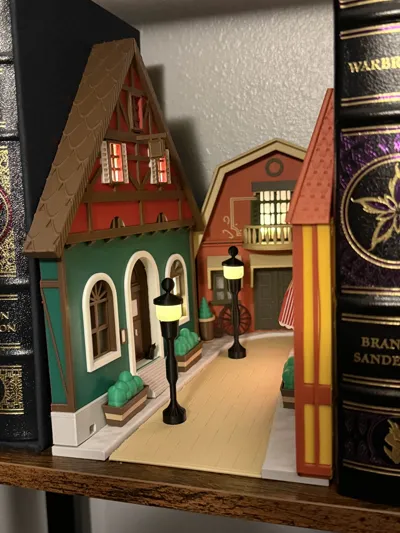
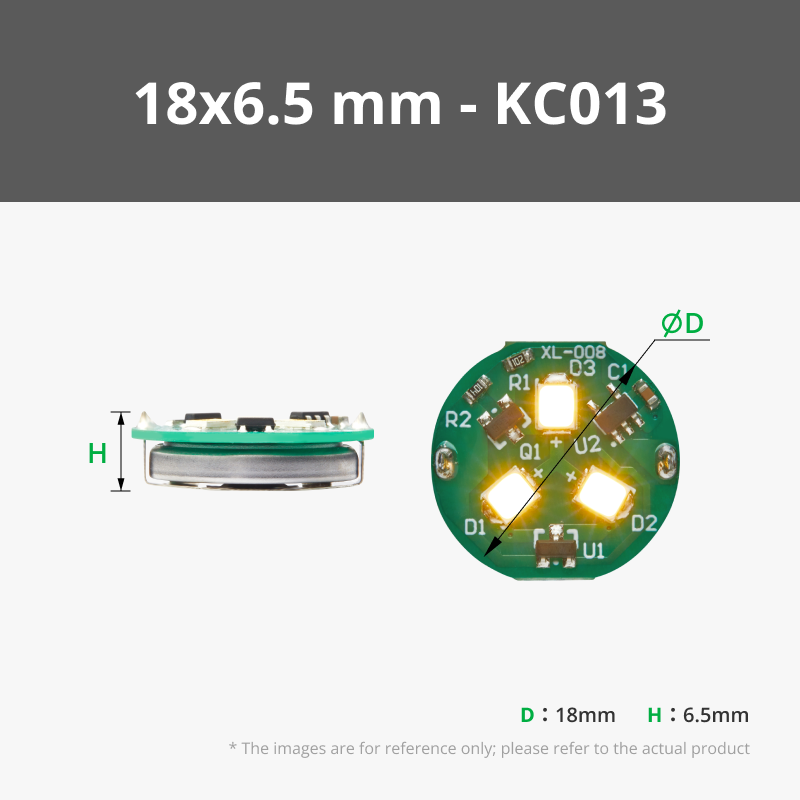
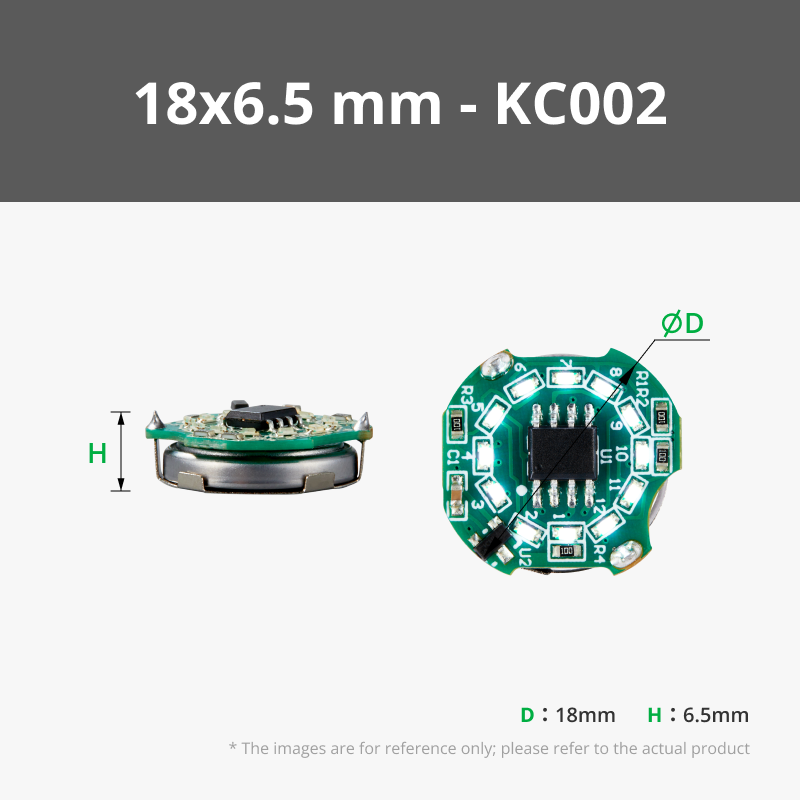
I'm proud to present my most recent design for the Book Nook Contest: A Studio Ghibli Inspired Street Scene Book Nook! The street lamps and windows are designed large enough to fit Maker's Supply Magnetic Switch LED lights, or for those more electrically inclined, you could wire lights into all the windows and run them to a switch!
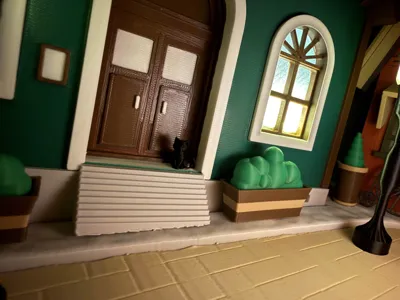
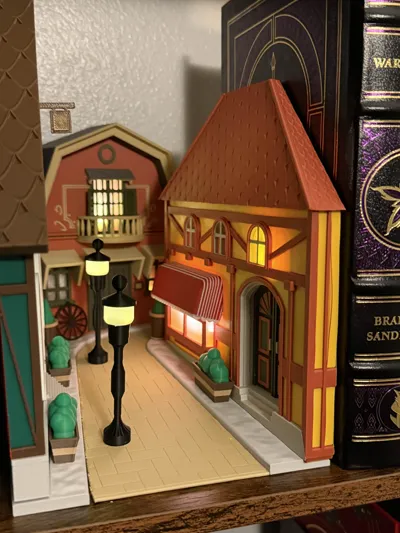
This design was heavily inspired by the look and aesthetic of Hayao Miyazaki's worlds. The Hat Shop was inspired by Sophie's Hat Shop in Howl's Moving Castle. The Library was inspired by the one found in Whisper of the Heart. And the Bakery was inspired by Osono's Bakery in Kiki's Delivery Service. I also added some smaller details to make the scene for alive such as plants, lamps, and a small cat. I gave the road a slight vanishing point and an incline with a curve at the end for some perspective illusion.
As far as assembling, here are few tips:
First off, I included two versions of the street lamp, so take your pick, or mix and match. It is designed large enough to drop the smaller LED right in, and you can use the magnet to touch the outside of the part to turn the light on. The smaller windows can fit the smaller LEDs, and the larger ones will fit some of the large windows.
As for the windows, I grouped them up on the plate for which building they belong to: Left to right on the window plate, first group is for the hat shop, second group is for the bakery, last group is for the library.

As for the fit, these windows were designed to be press fit in, with small tabs to keep them in. The fit does depend on your filament and printer settings, so you may need to scale the windows up or down (0.5% at a time depending on what you need). Luckily they are quick prints. If you don't care about the perfect fit, you could always drop a dab of super glue to hold them in. Additionally, try other filament colors for cool effects with the windows such as other PETG translucent, white, or even gold for a really warm feel.
For the rest of the assembly, it's pretty self-explanatory if you reference my photos. Everything is designed to fit perfectly into it's slot, with some pieces requiring some super glue to secure it there (Namely the hat shop roof pieces, library balcony and shutters, and the bakery awning).
The extra pieces such as the plants, lamps, bike and cat you can place wherever you'd like!
A side note, the two roof pieces for the hat shop are not symmetrical, so be sure to place the correct ones in their proper place (reference my photo).
You'll notice the hat shop and bakery are not printed flat on their backs even thought they could be. I raised them with supports so that the front face would print with high quality and avoid that “stair-stepping” effect on the front face. That said, feel free to mess around with orientation and support settings all you'd like to achieve faster or more frugal prints. Also, feel free to use whatever colors you think would look nice together, I'd love to see what you come up with.
One last note about the cat, I used MakerWorld's image to model generator (Powered by MakerWorld-Image-to-3D (https://makerworld.com/makerlab/imageTo3d) to turn a picture of mine into a model.
That's everything I can think of for now! Honestly, assembly isn't too bad, and I am really proud of how this turned out. If you have any more comments, questions or feedback for me, please don't hesitate to reach out!
License
You shall not share, sub-license, sell, rent, host, transfer, or distribute in any way the digital or 3D printed versions of this object, nor any other derivative work of this object in its digital or physical format (including - but not limited to - remixes of this object, and hosting on other digital platforms). The objects may not be used without permission in any way whatsoever in which you charge money, or collect fees.
Comment & Rating (20)